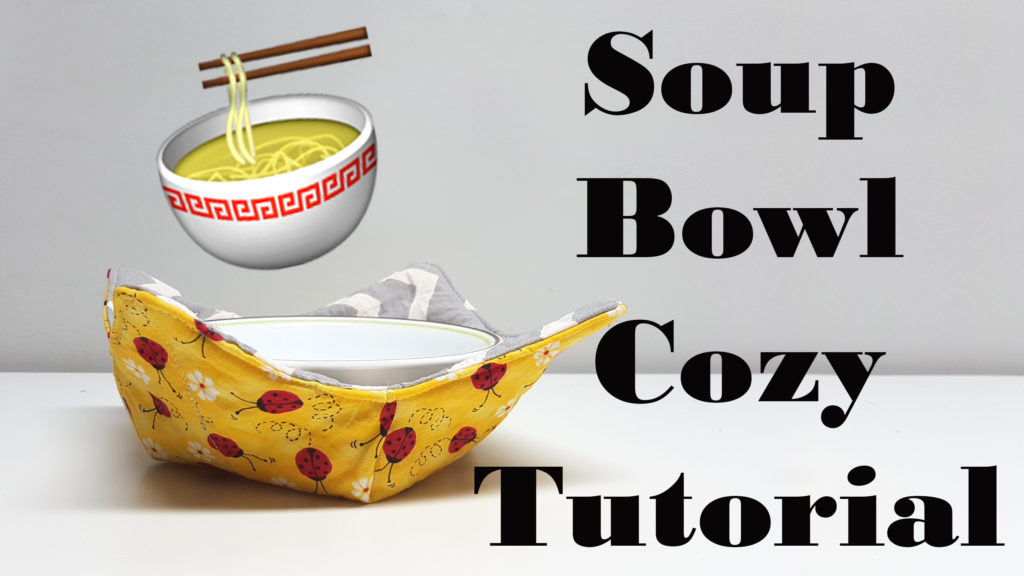
For this tutorial you will need Cotton fabric (or flannel) and a insulating fabric there are many different options on the market and even some that are used for the inside of oven mitts but for hot soup or cold ice cream you can use two layers of a fleece or fusible fleece
I just had some yellow fleece on hand so i used that and two pattern cotton
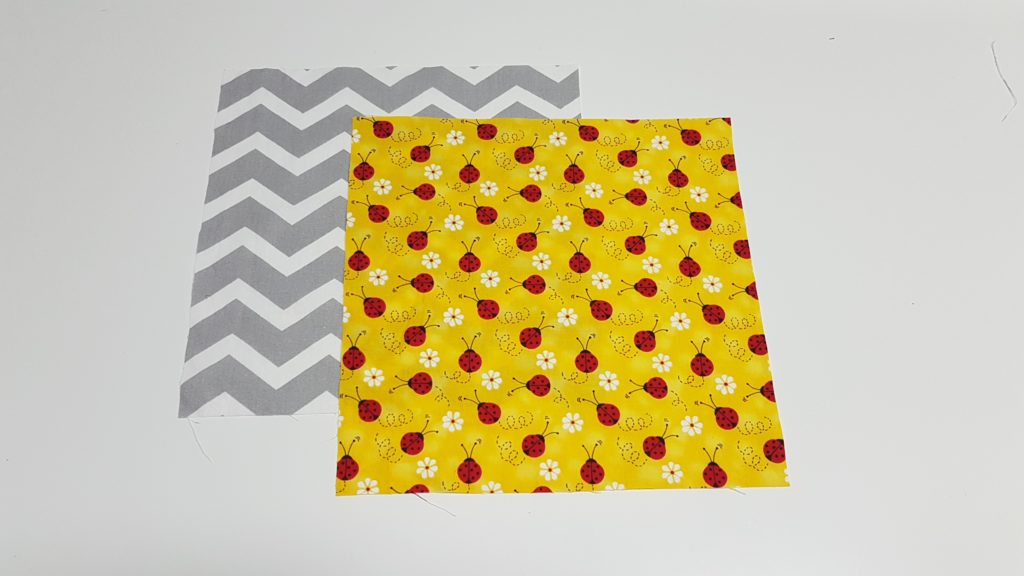
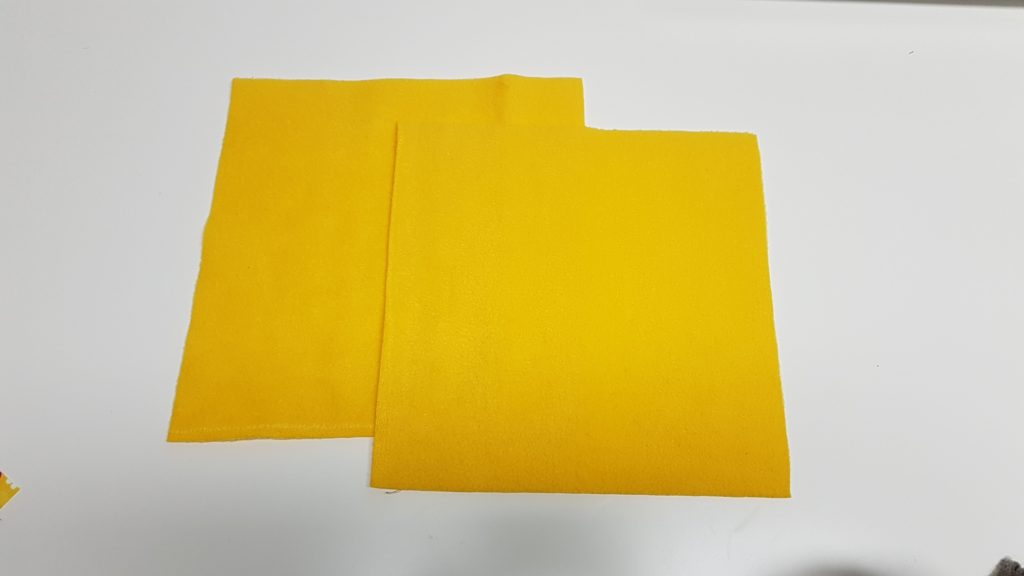
The first thing you will do is cut out two pieces of fabric 10″ x 10″ and 2 of your lining fabric at 10″ x 10″
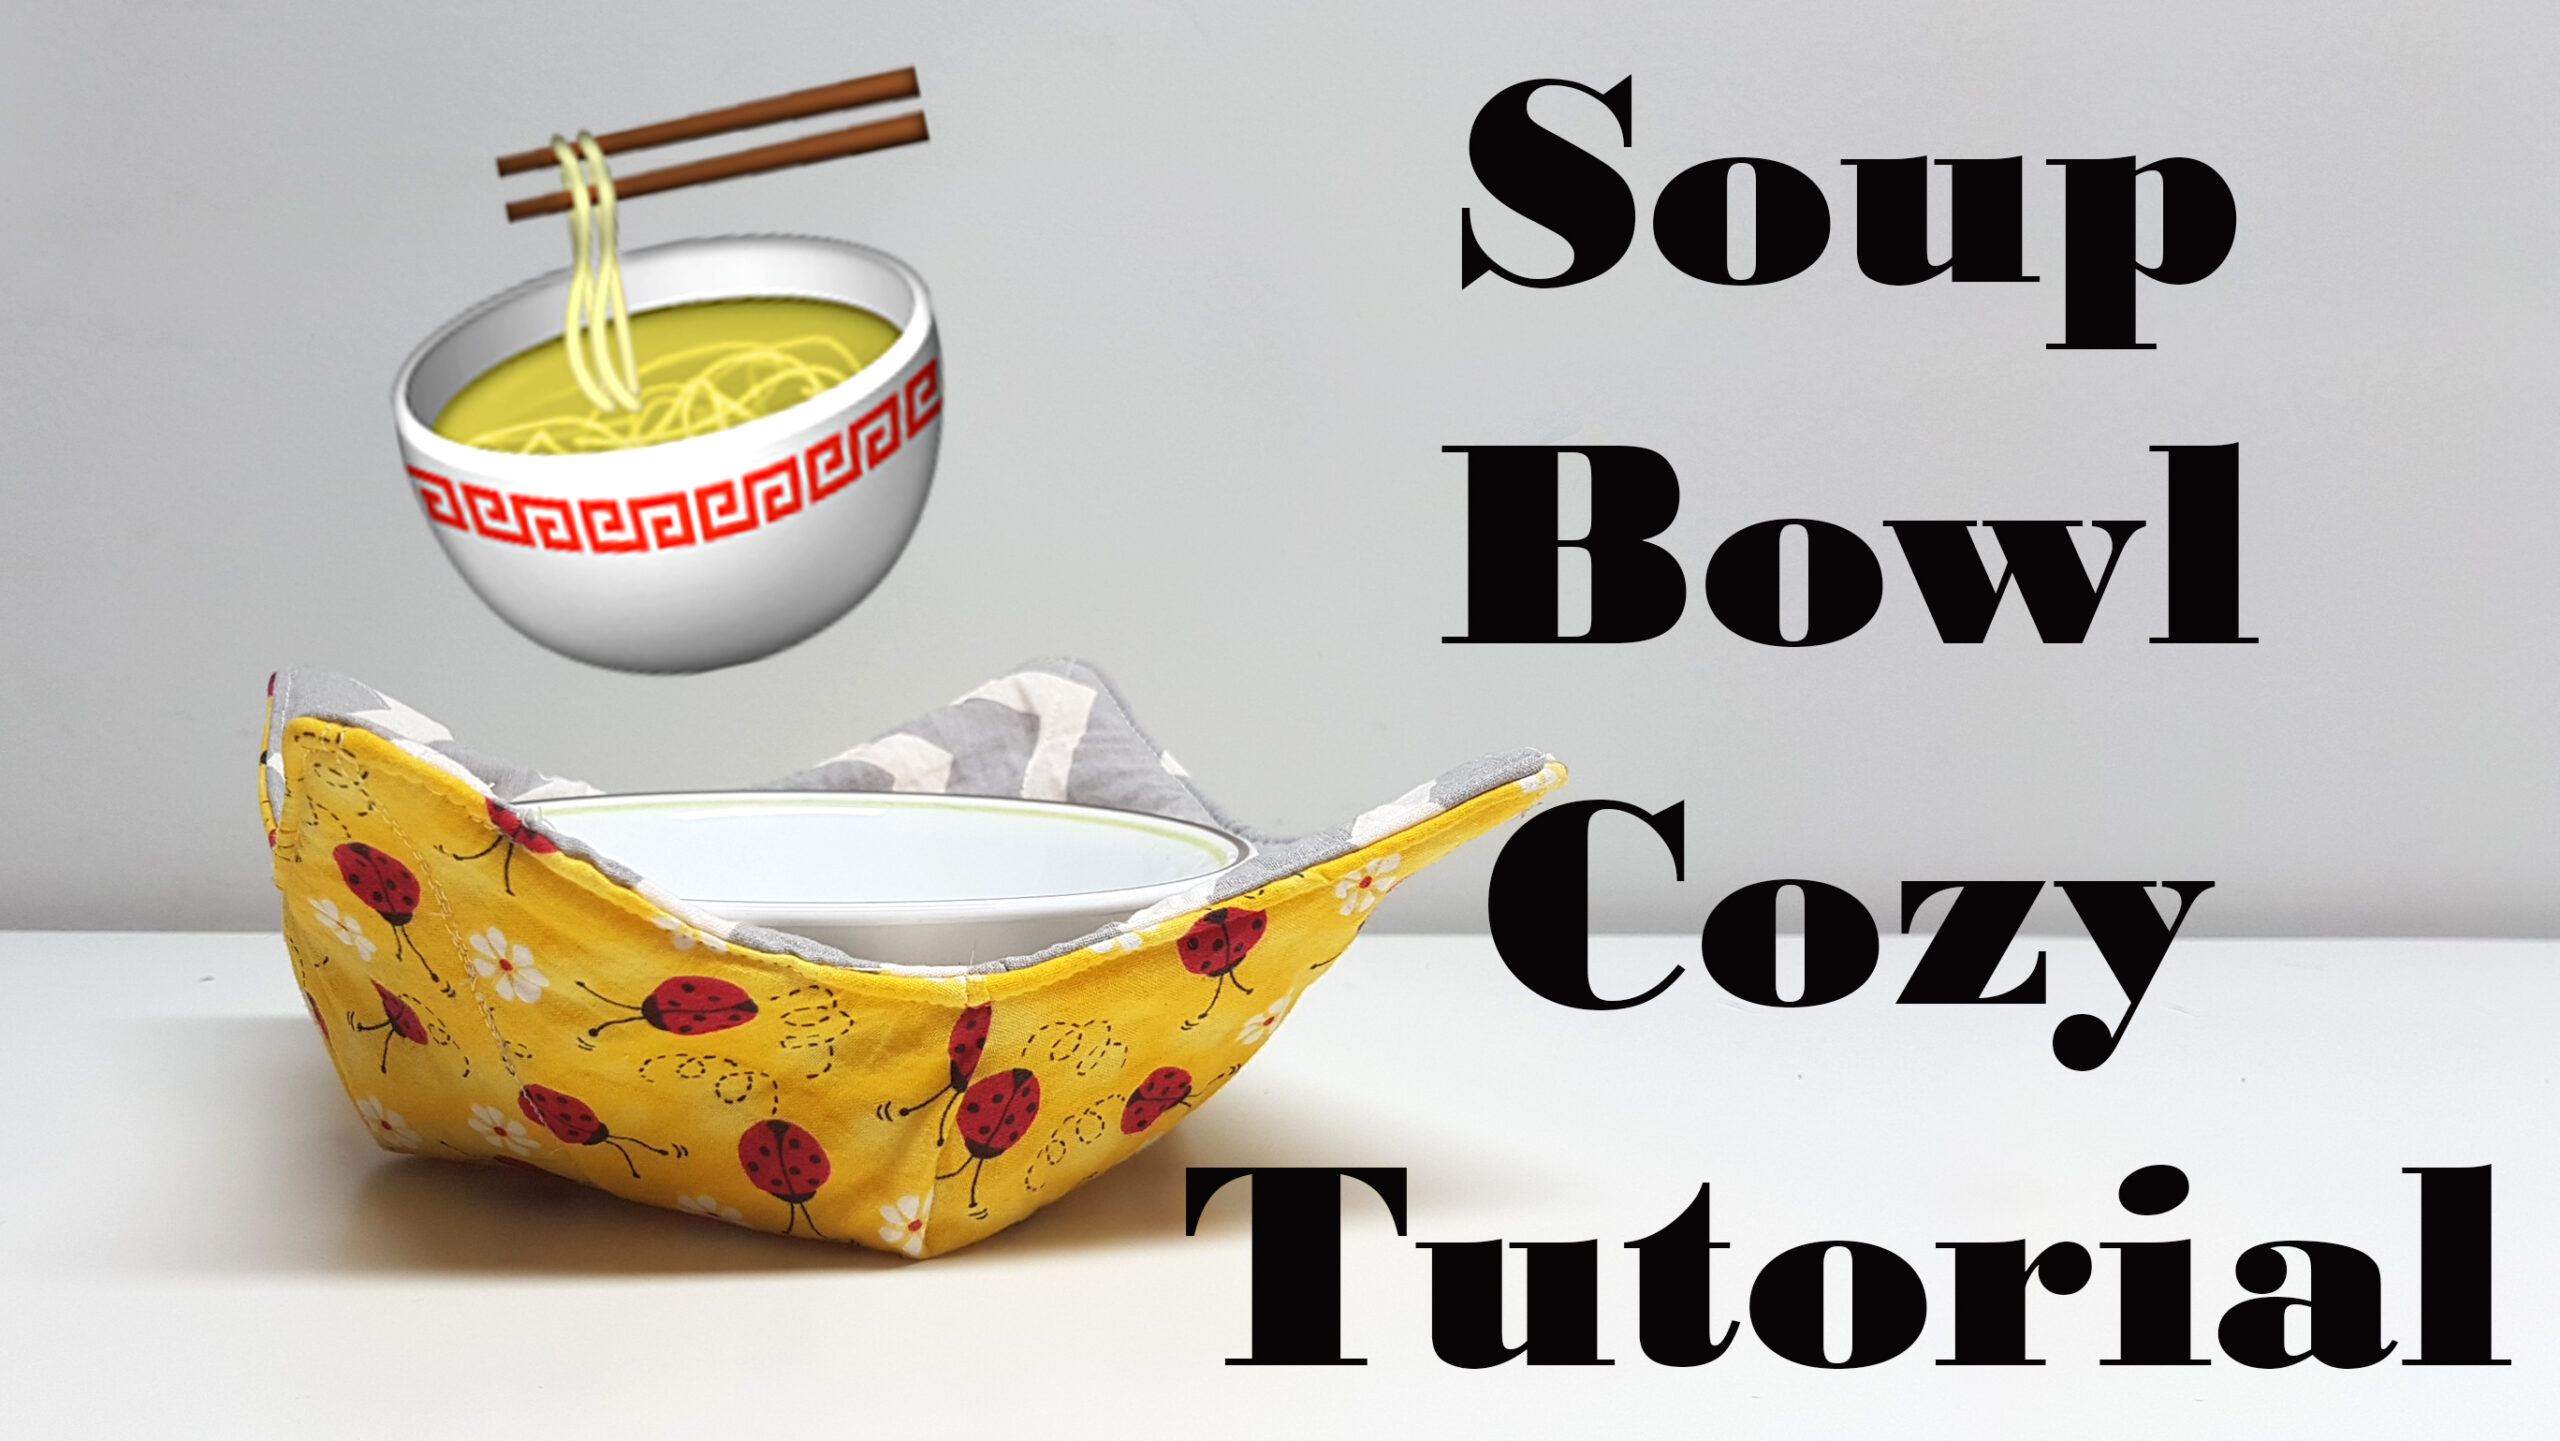
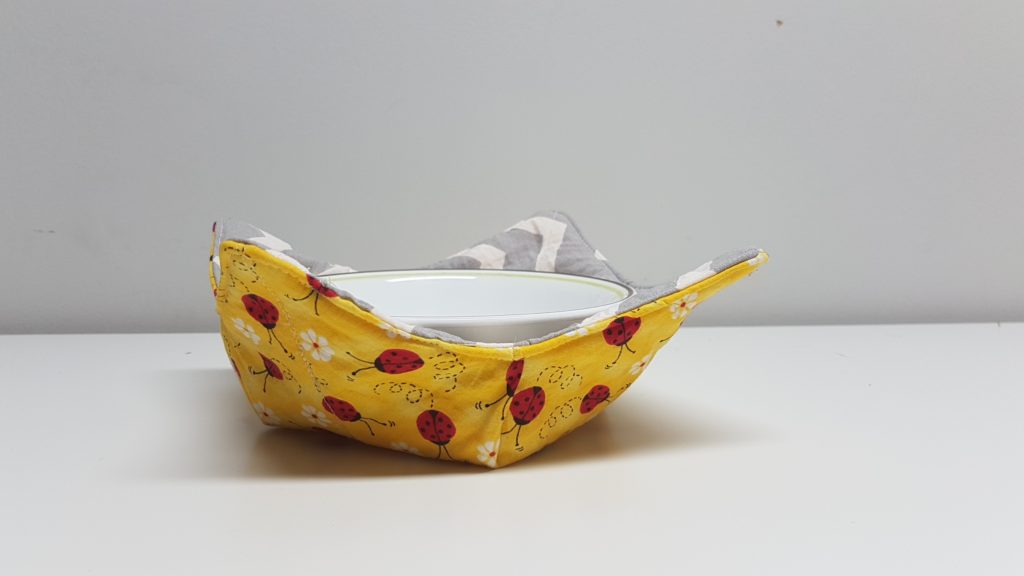
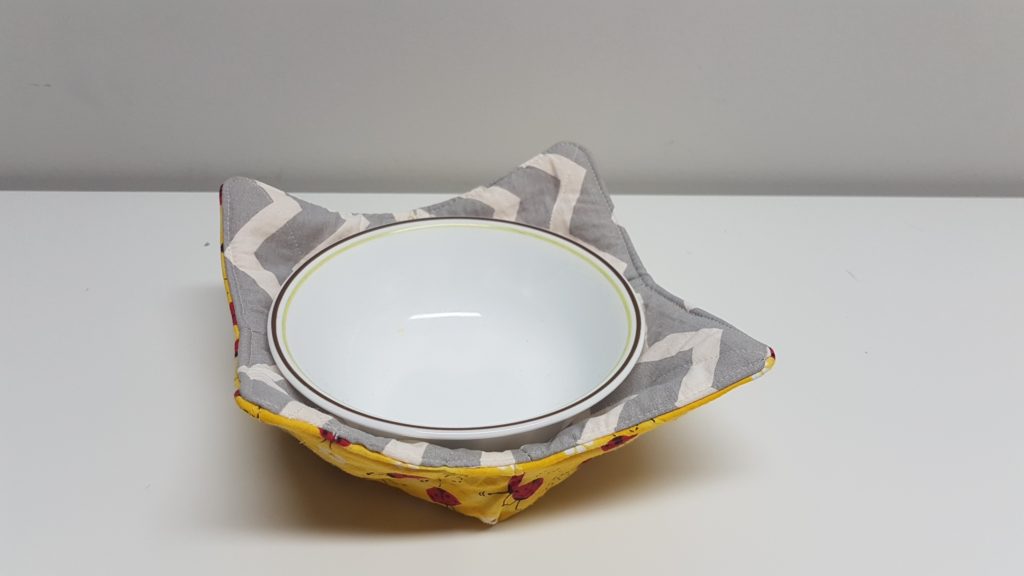
This bowl cozy fits a standard cereal bowl” in the photos i have a correlle bowl
PDF pattern charmedbyashley-bowlcozy
Watch the tutorial here!
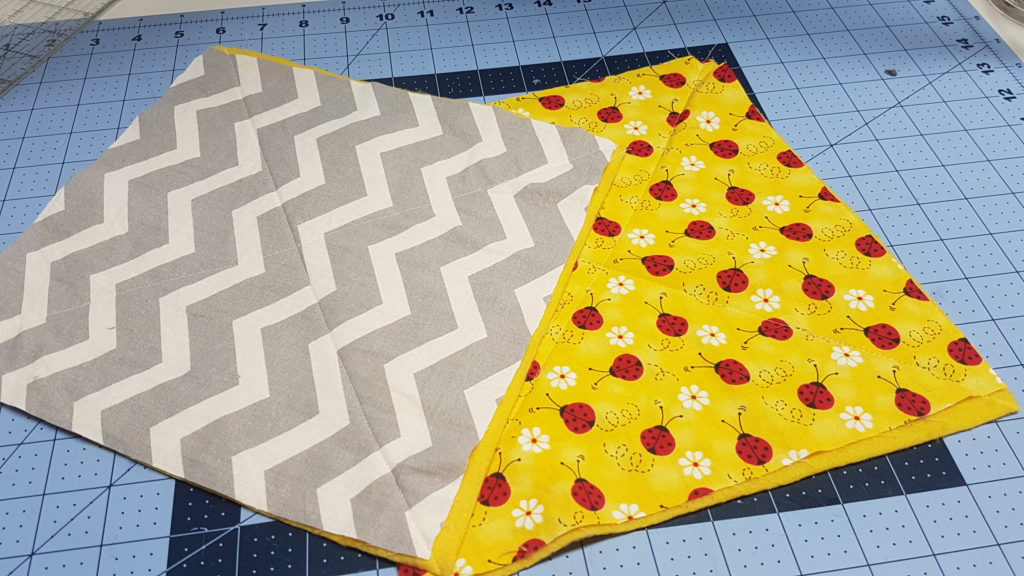
place the lining and outer fabrics wrong sides together and sew an X from corner to corner such as shown
At this point you can of course experiment with your machine, do some quilting, maybe add more lines or use your free arm and put swirls and curvy designs totally up to you if you want to add some personality to your bowl cozy
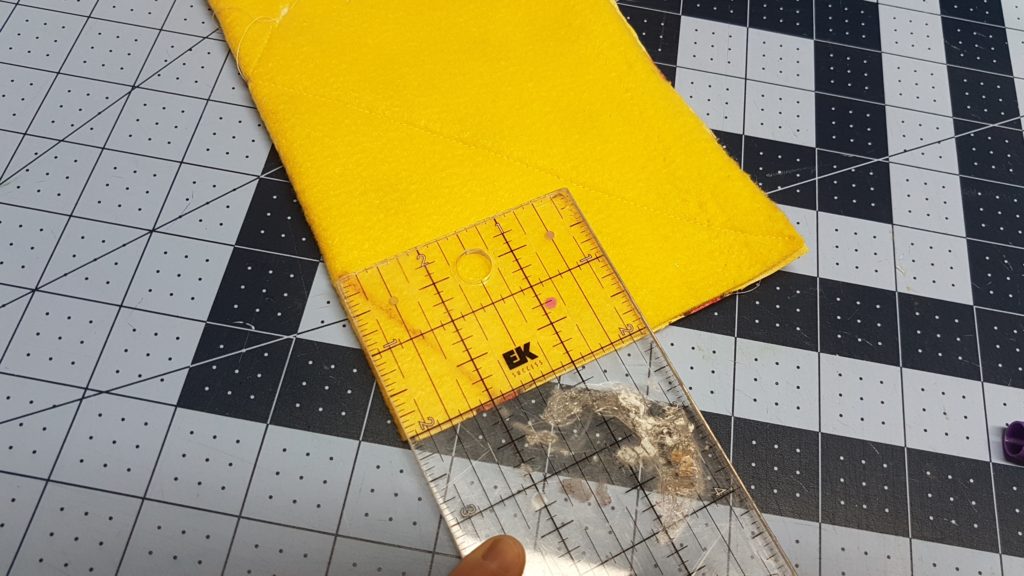
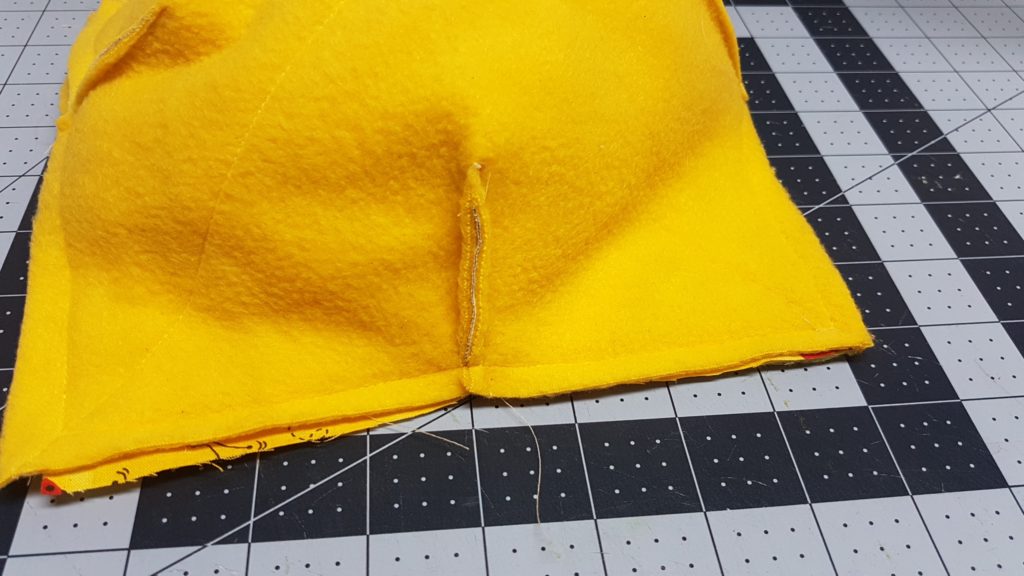
Now you take a square fold it in half and on the folded edge you will measure 2 inches down and 1 inch from the corner on the raw edge, draw a line from both points and you will sew on that line
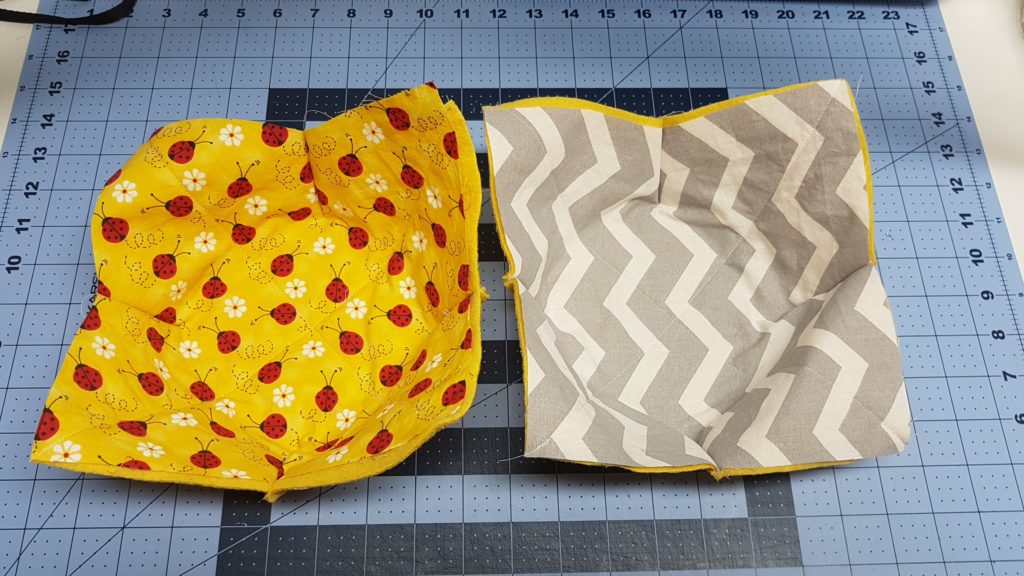
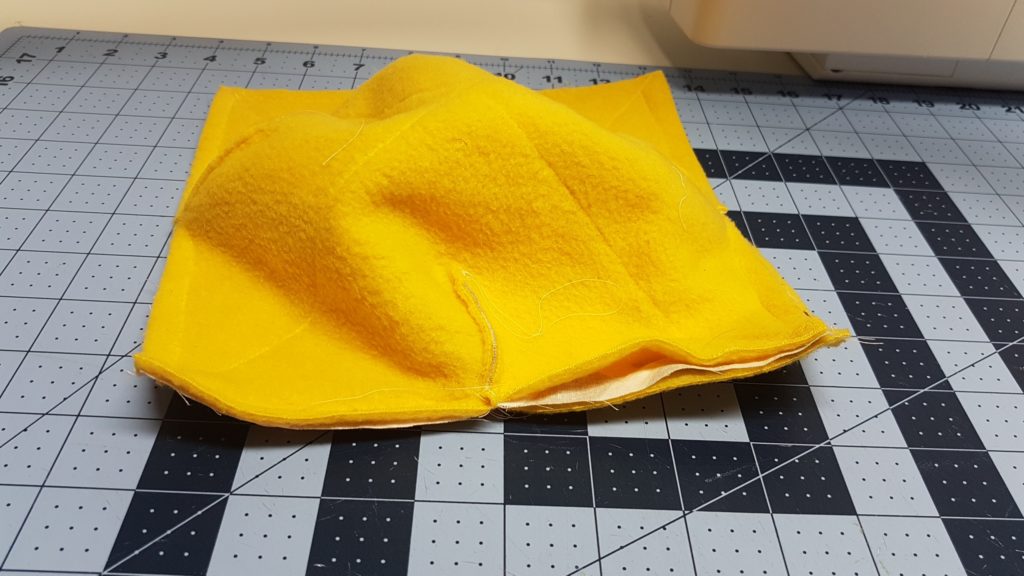
you will do this on each side of the square and do the exact same on the other square for a total of 8″ times these are referred to as “darts” so you will have 8 darts which you will then see the fabric start to form into the shape of your bowl cozy
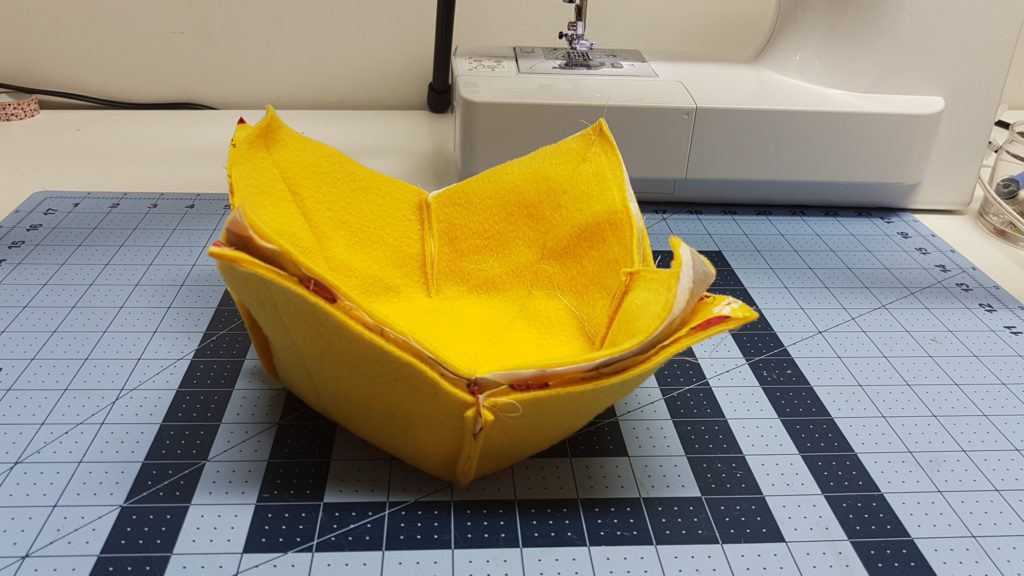
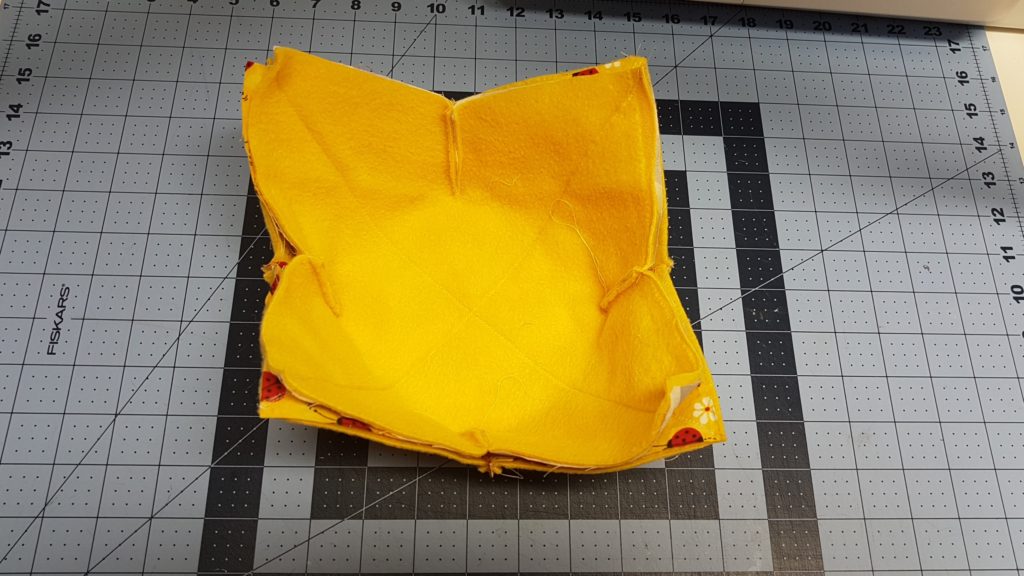
This is how they will look after you have done all your darts, from here you will place them right sides together making sure you line up the seams and the corners with each other
sew along the edge with a quarter of an inch seam allowance and leave a hole at some place about 2 or 3 inch’s long to be used for turning
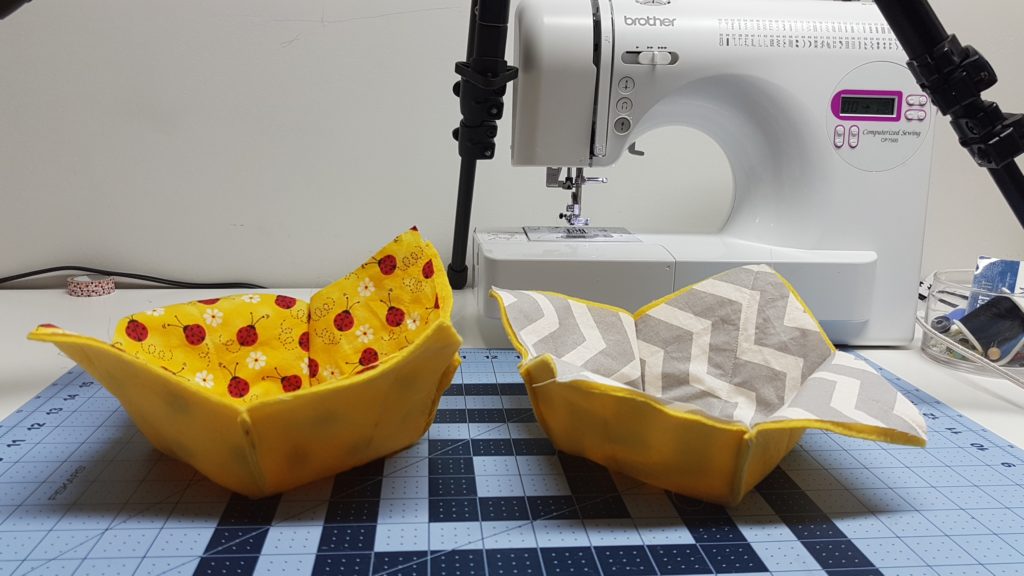
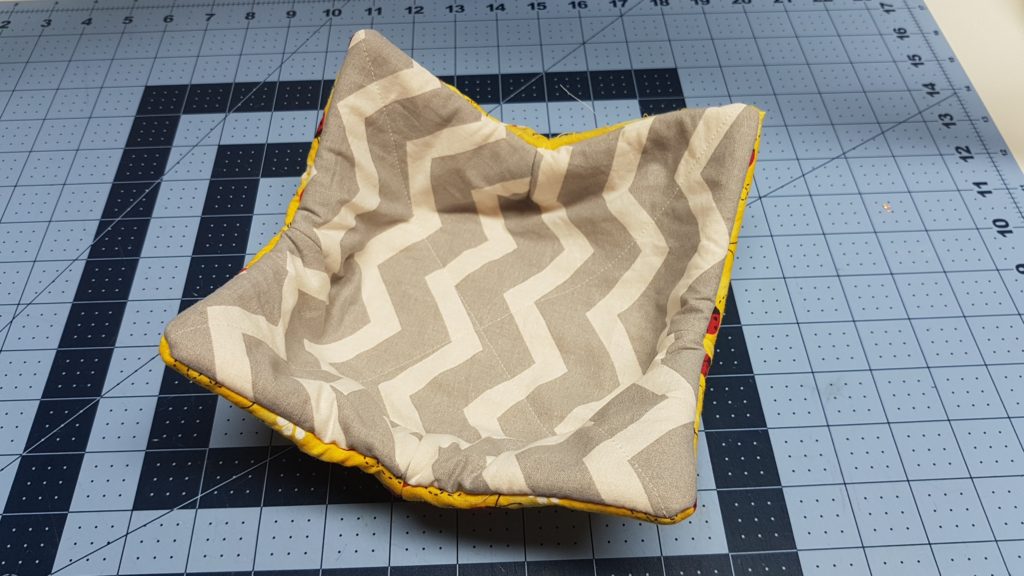
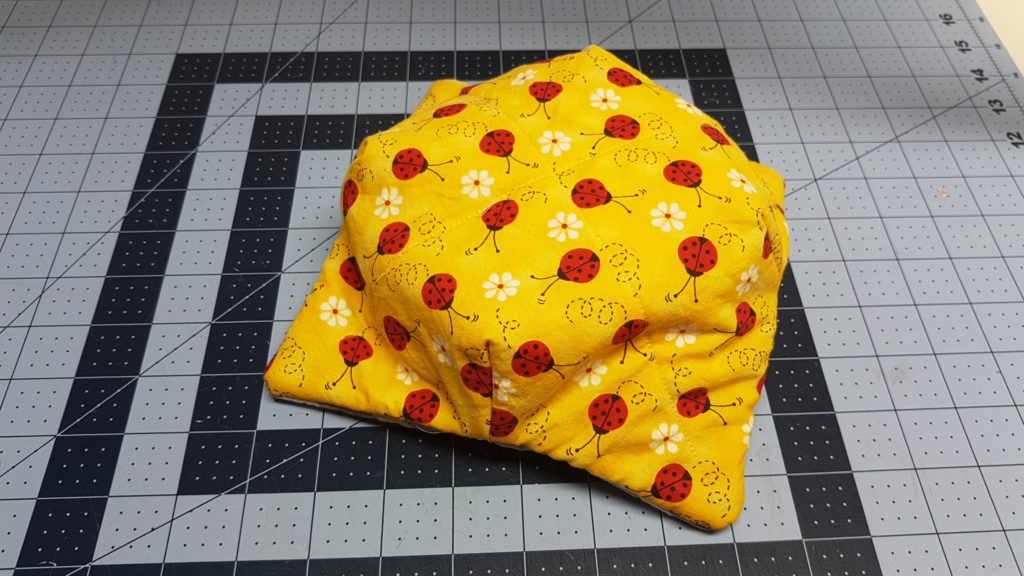
turn it right sides out and make sure you poke out all your corners, the great thing about this is it is reversible also!
top stitch about 1/4″ away from the edge to finish off the edge and then your Done!!


0 Comments