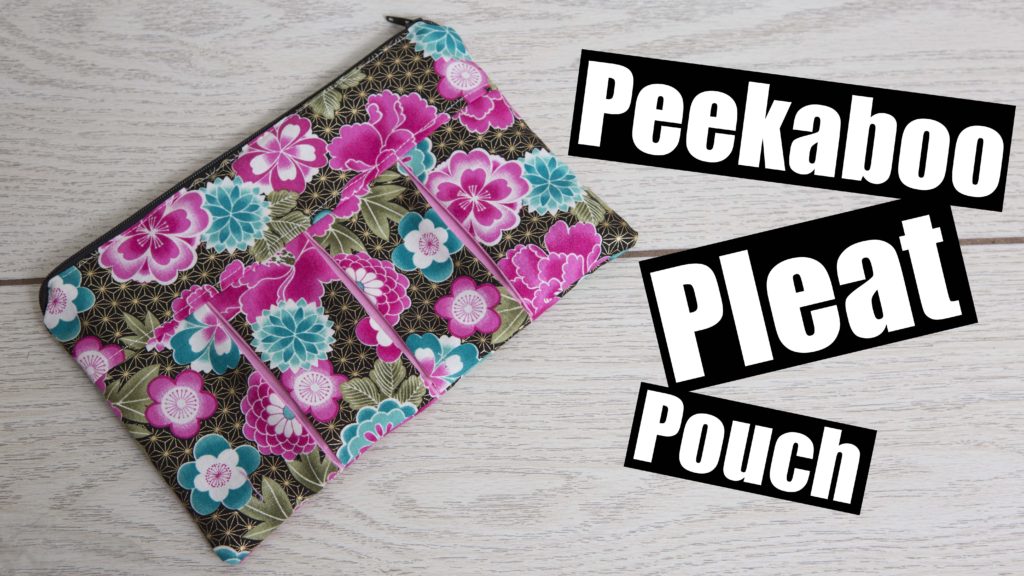
Peekaboo Pleat Zipper pouch
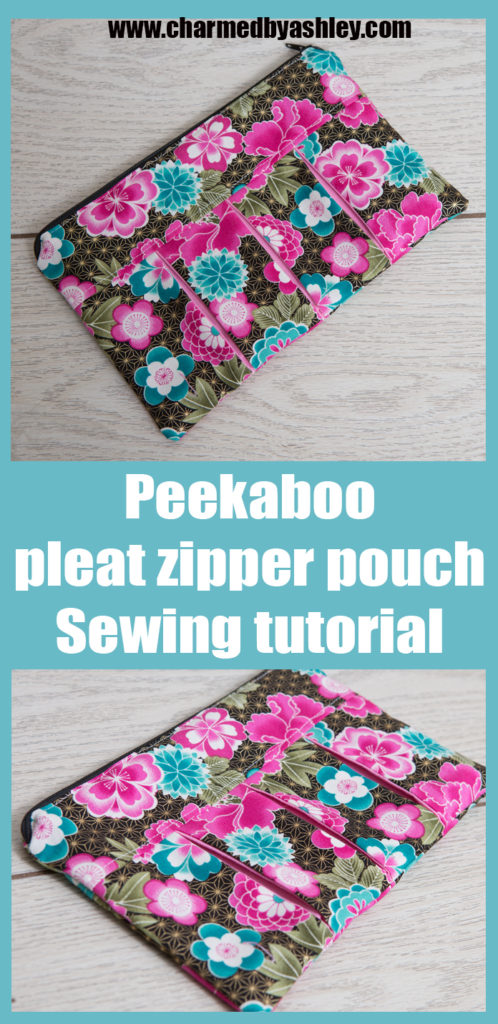
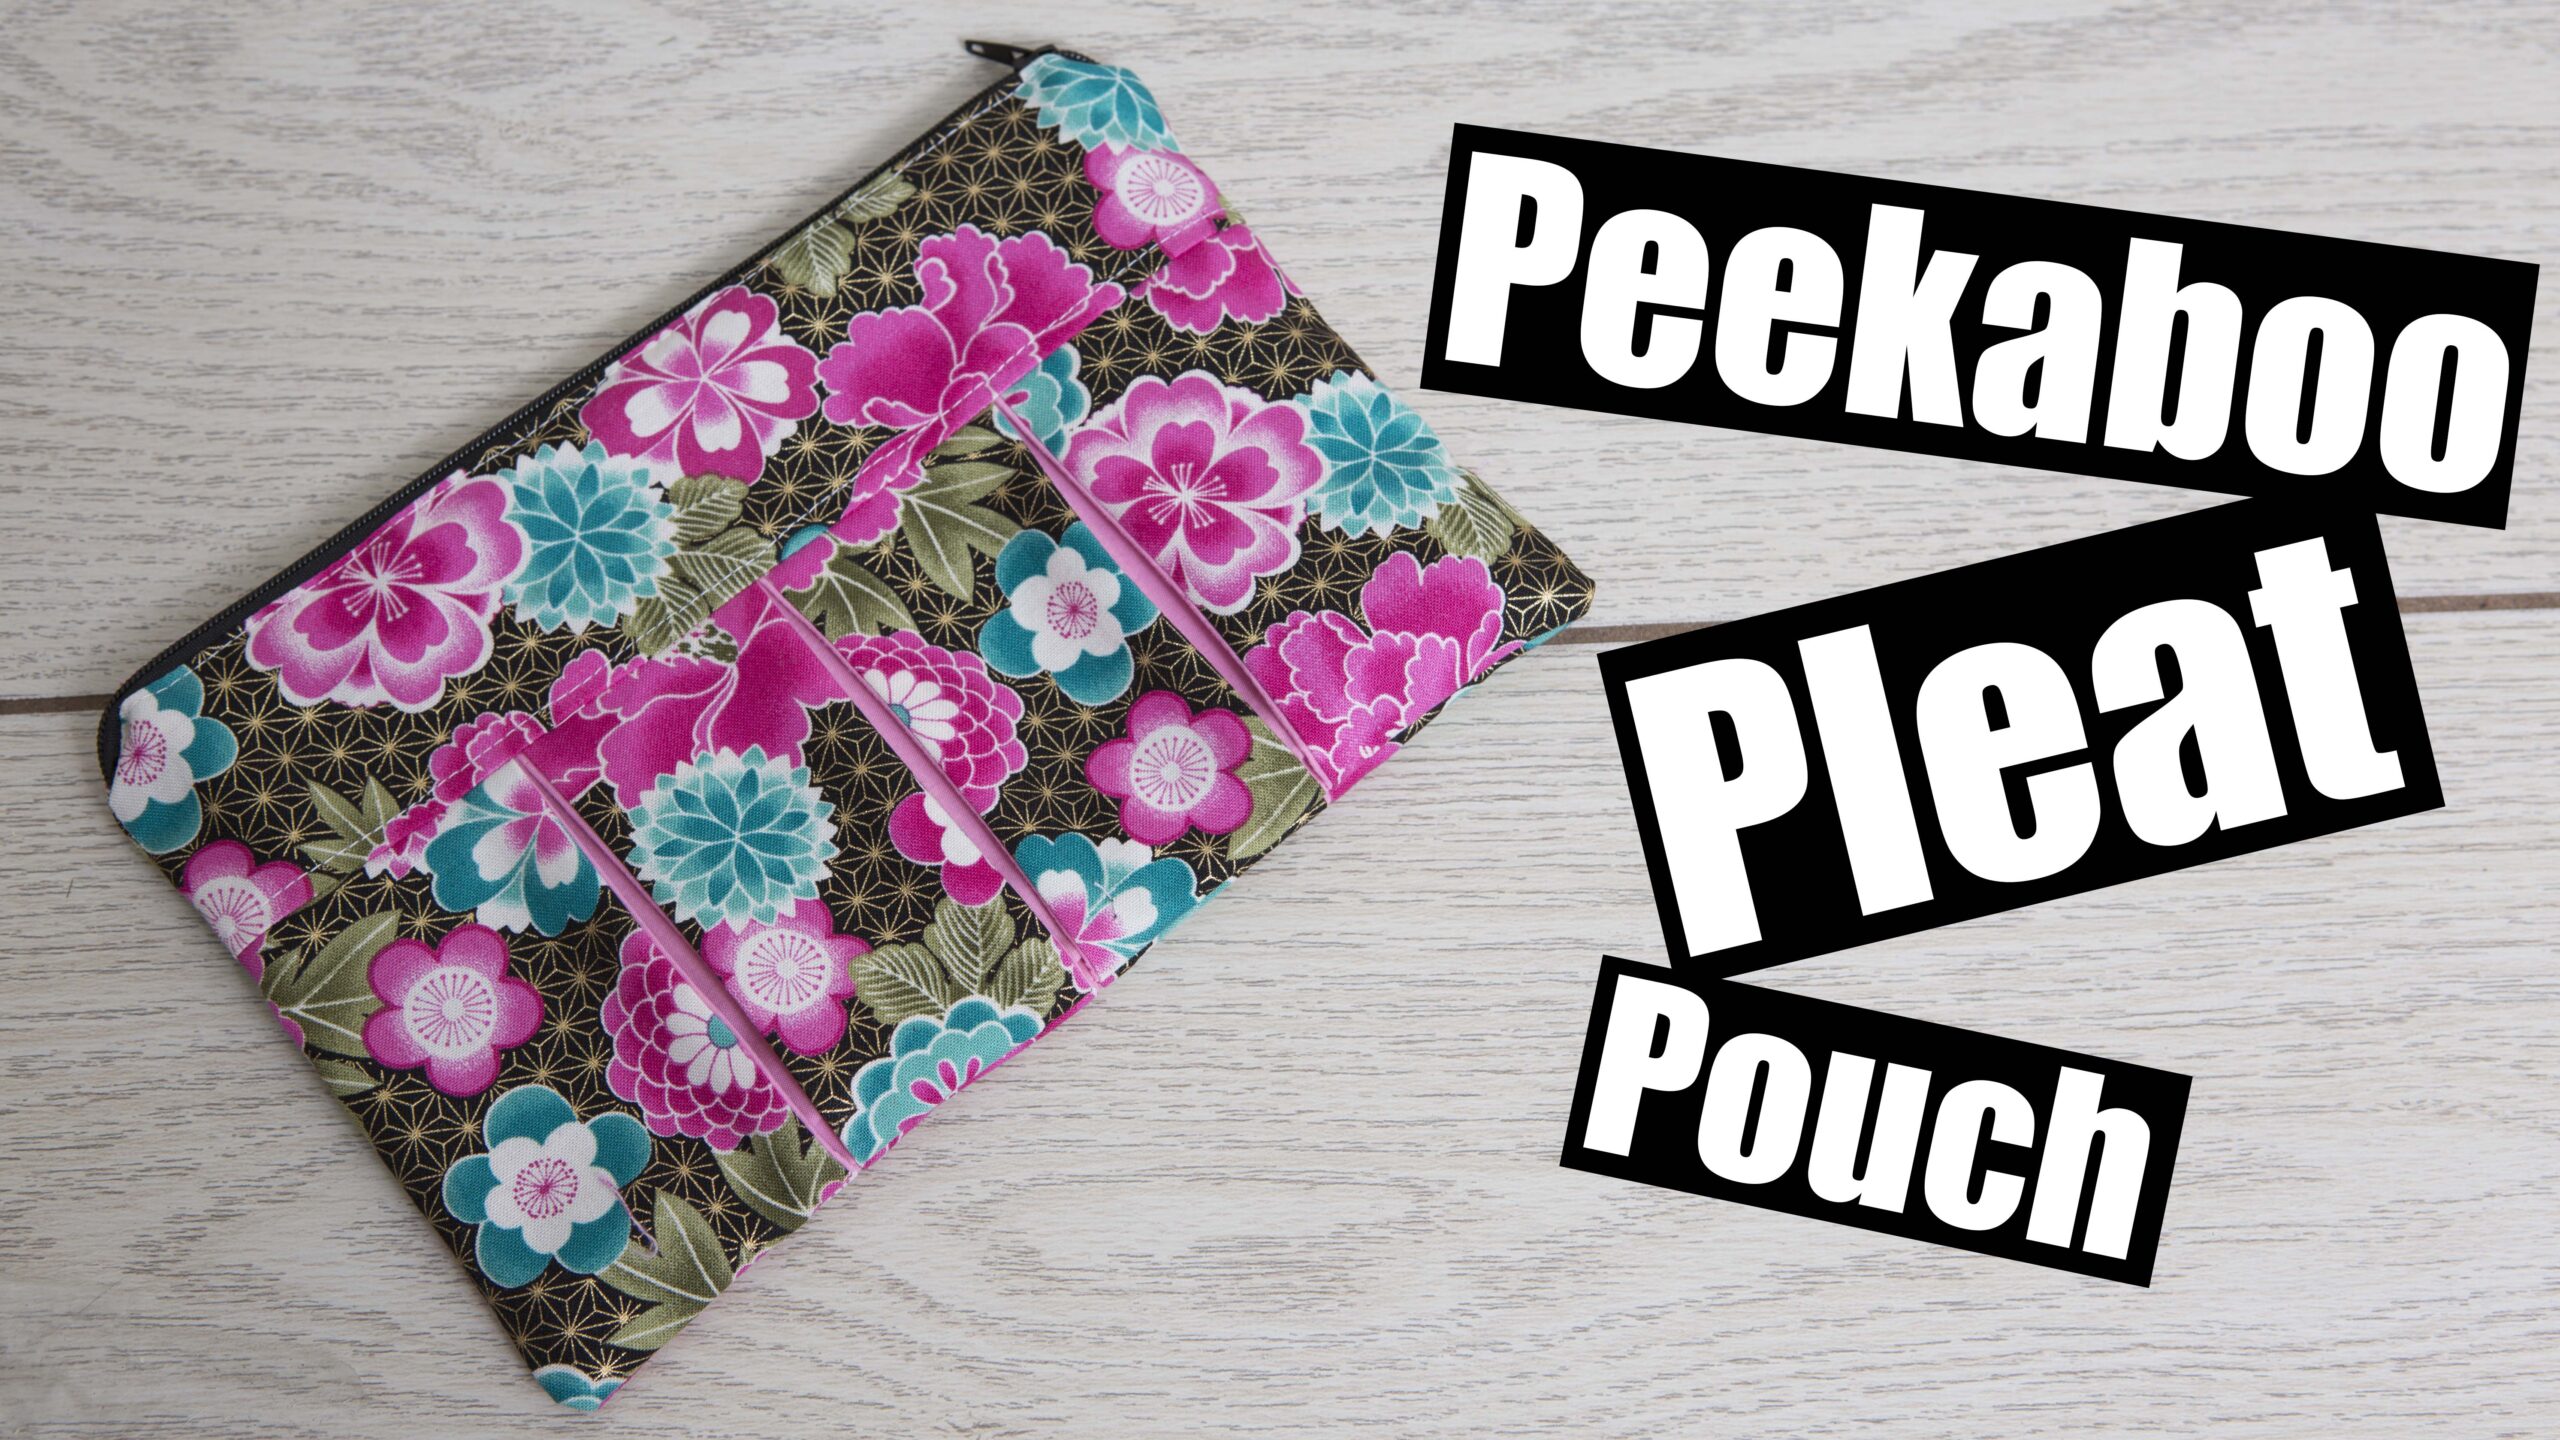
This is a flat zipperpouch with peekaboo pleat details in the front. This tutorial can be used to custom make other projects!
Apply this pleated panel to other types of zipper pouches to add a fancy touch!
Materials
Cotton Fabric for Outer and lining
Optional interfacing ironed on to all pieces to help create a more rigid bag Medium weight , Light weight
Nylon Zippers 10″ +
Tools
Iron The one i use
Measurements
to make this exact pouch refer to the measurements below. you can very easily increase or decrease your sizes to make a custom pouch for your needs
Cut 2 – 10″ x 2 1/2″
Cut 4 – 4 1/2″ x 3″ – Outer pleats on the end
Cut 4 – 4 1/2″ x 2 1/2” Outer pleats in the middle
Cut 6 – 4 1/2″ x 2″ – Inner pleat
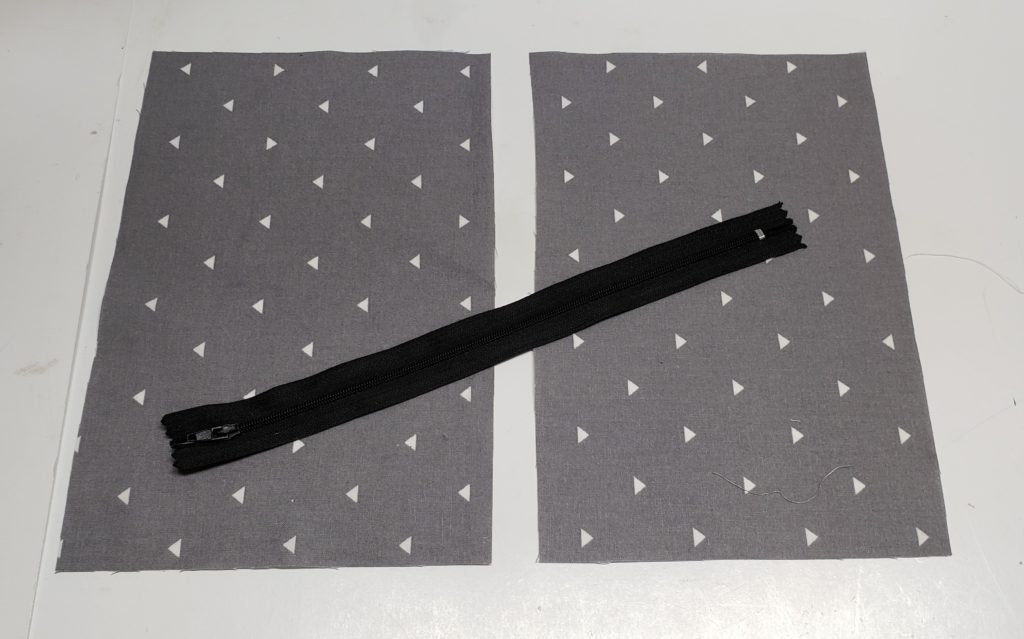
Lining pieces – 10″ x 6″ – Cut 2
Zipper 10+
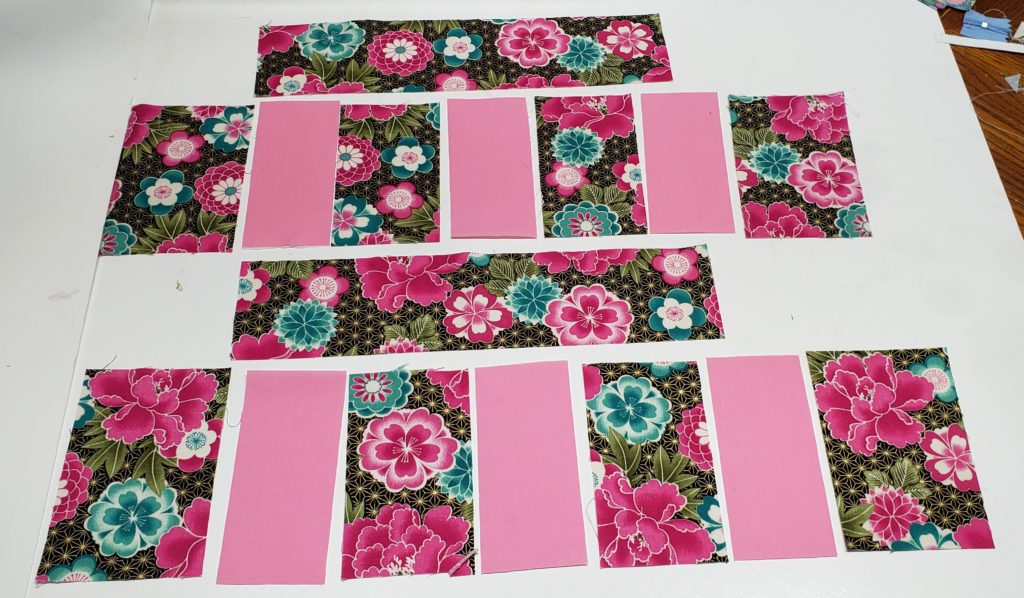
Step 1, assemble your first panel.
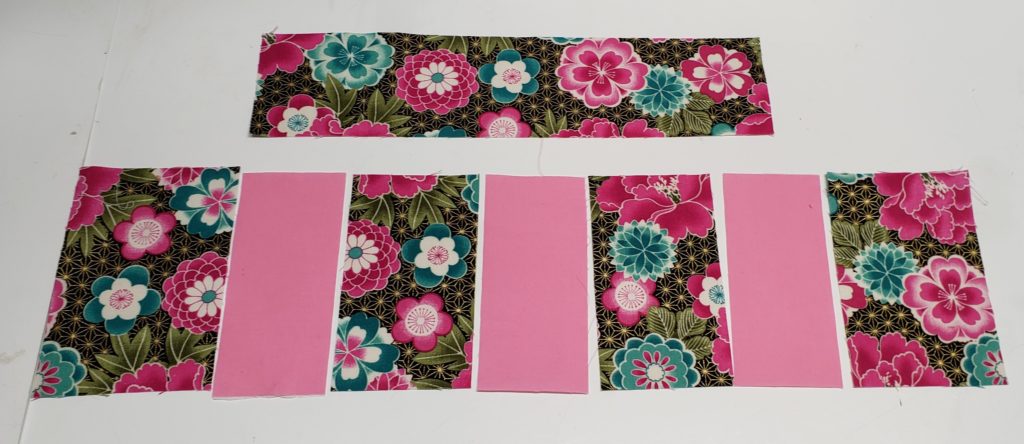
make sure the two pieces on the end are the 3″ wide pieces.
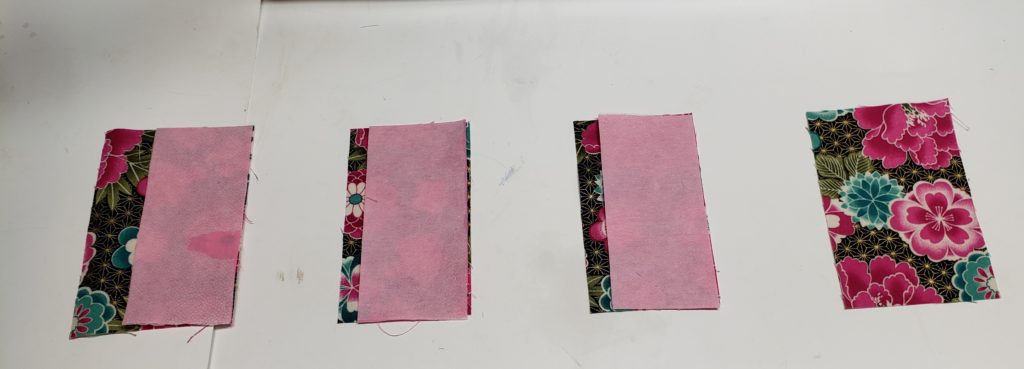
place these right sides together and sew with a quarter of an inch seam allowance
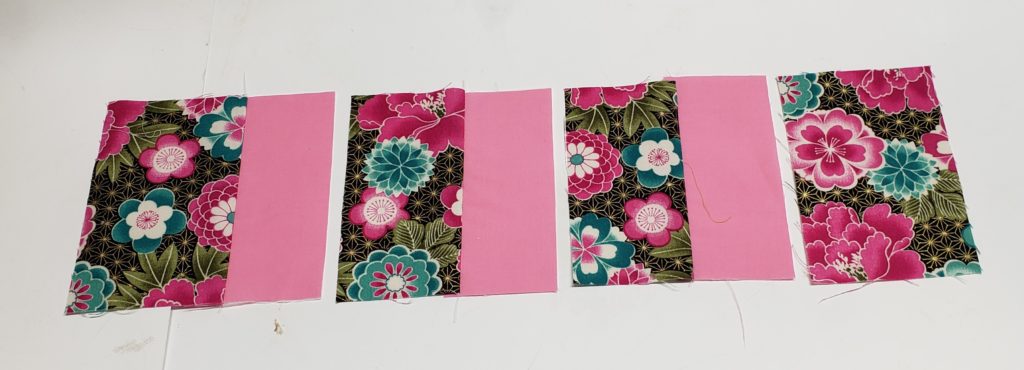
now sew all the pieces together in a row.
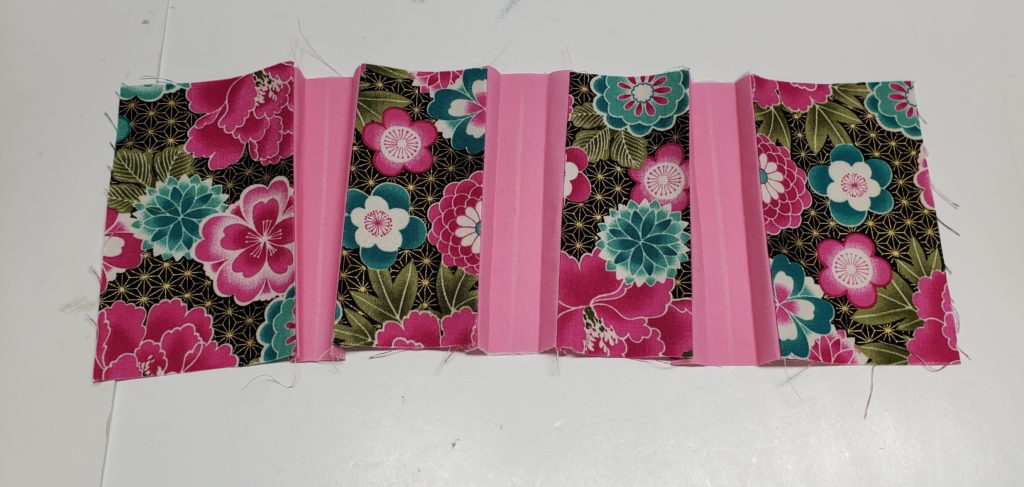
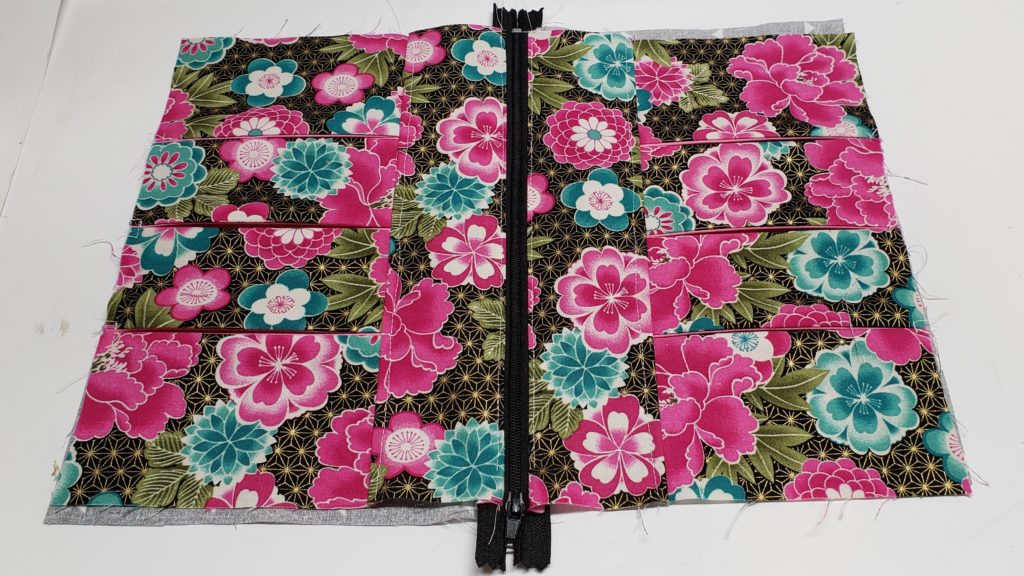
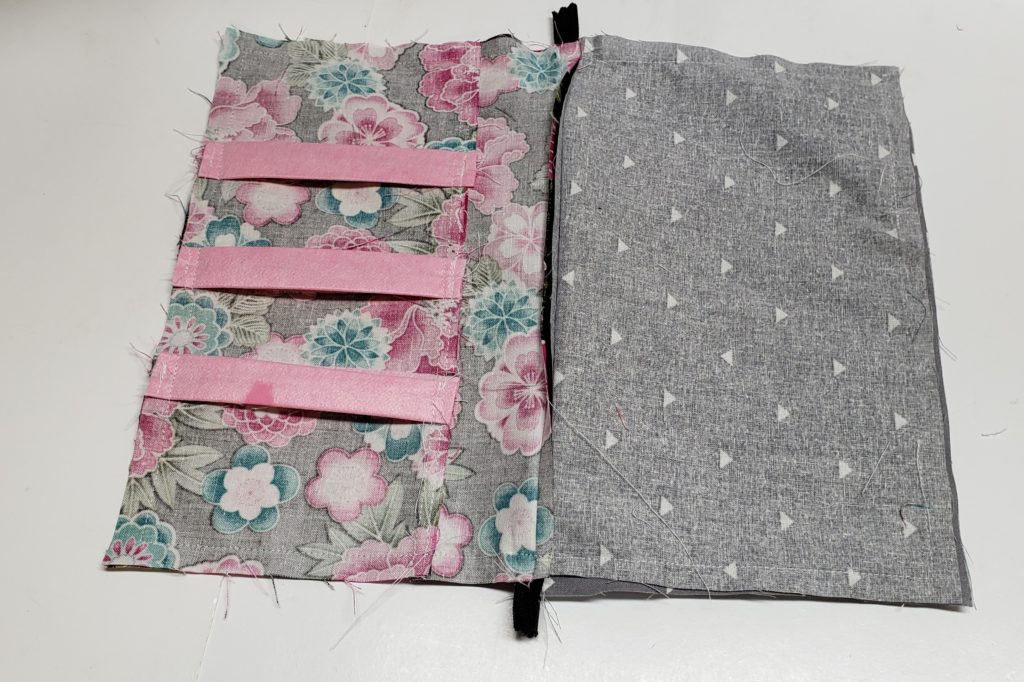
you can draw a line down the centre of your pleat fabric as a guilde, fold the fabric in towards the guide line bringing the seams together.
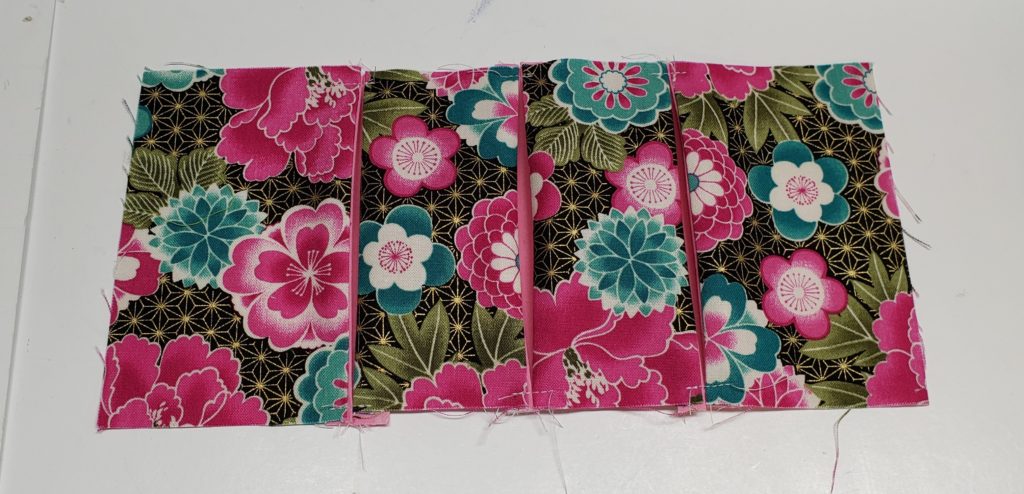
the fabric should come together so it hides the inner fabric but when pulled open the other fabric peaks through. tack all the pleats.
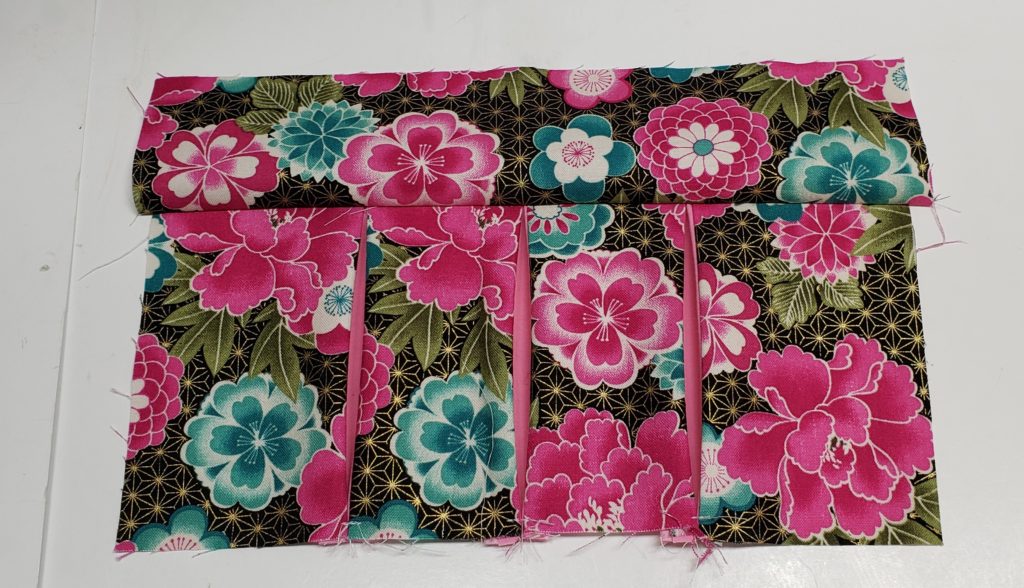
sew the top rectangle to the top of your pleats
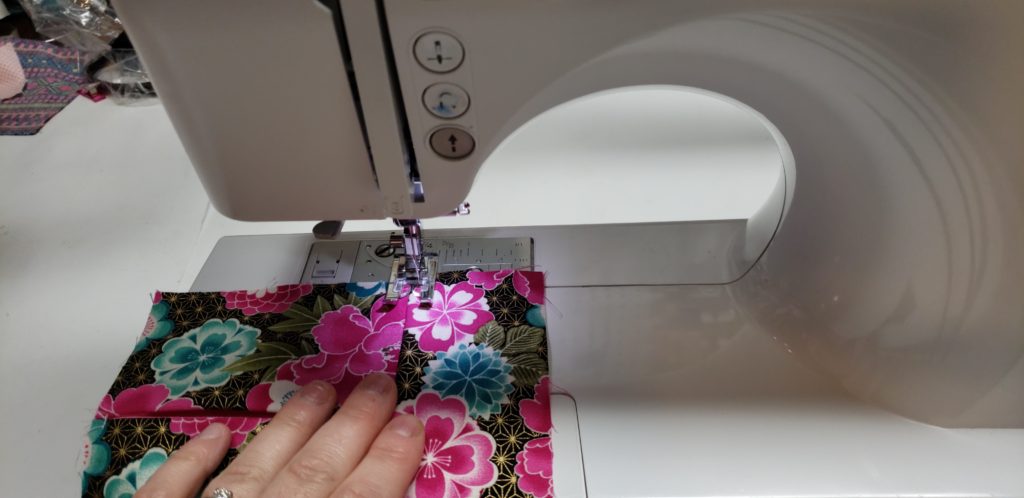
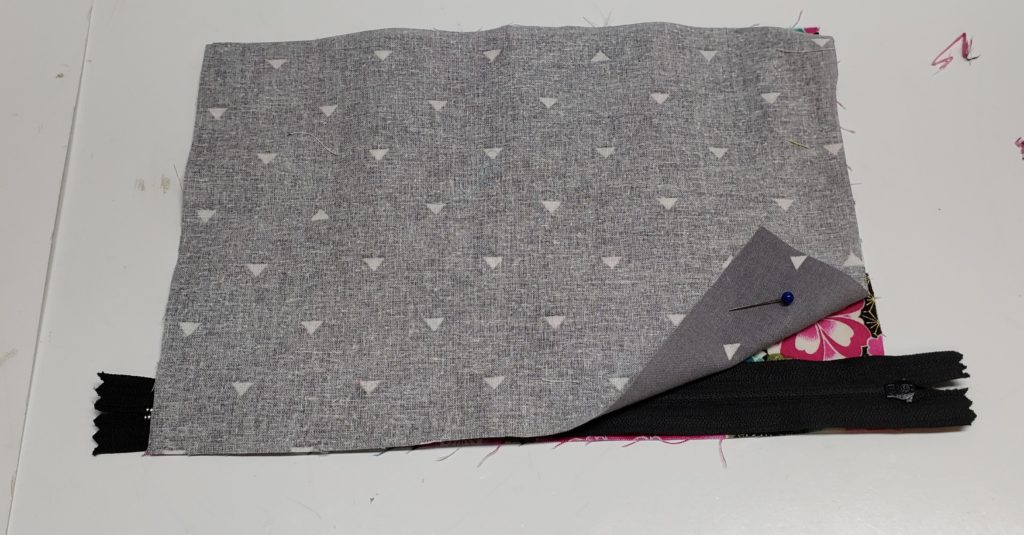
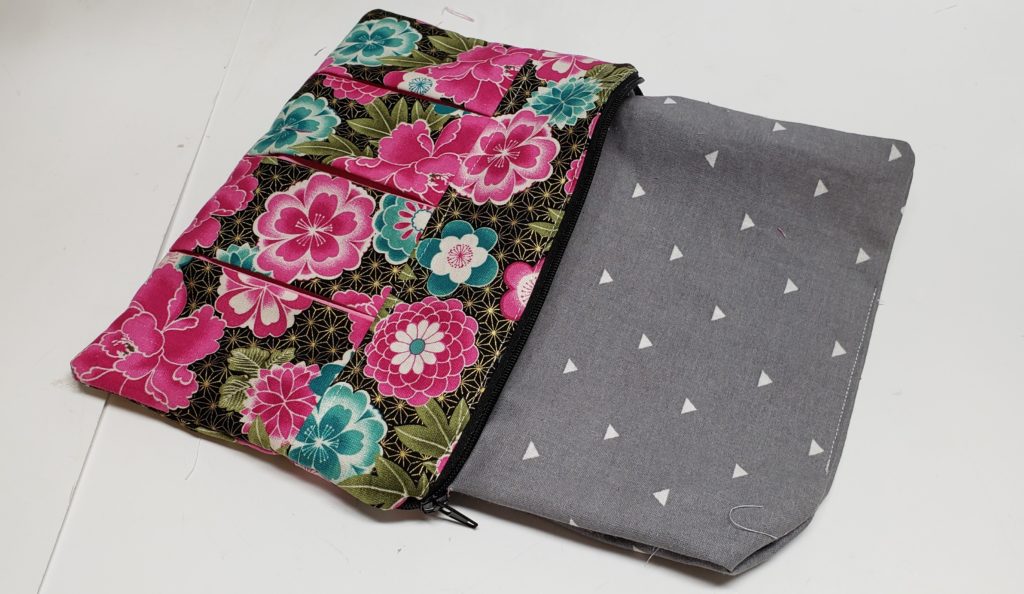
lay flat and do a top stitch, from there i just turned it into a regular zipper pouch, i will link zipper pouch tutorial if you would like to see a step by step tutorial how to do that.
some links are affiliate links


0 Comments