
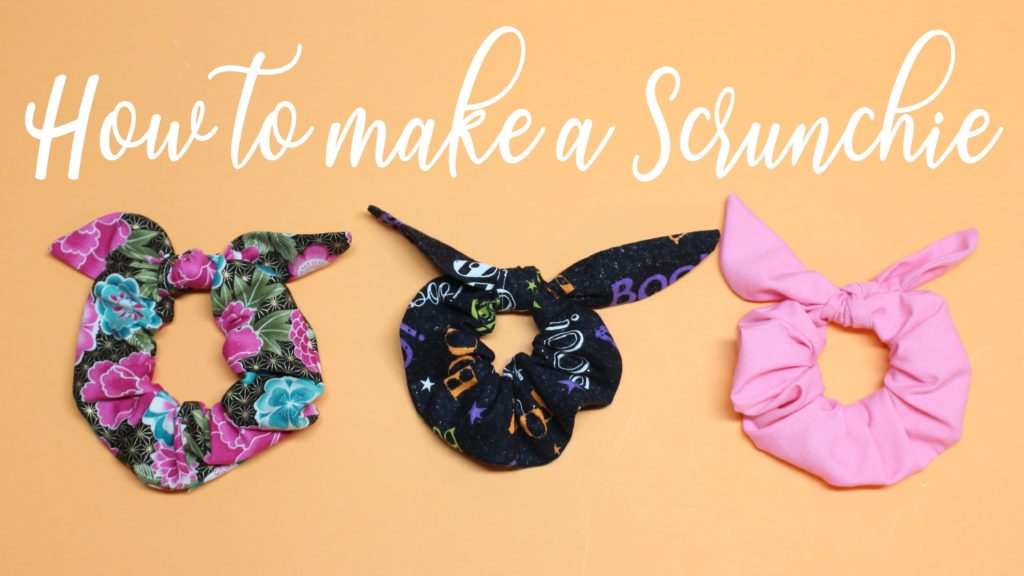
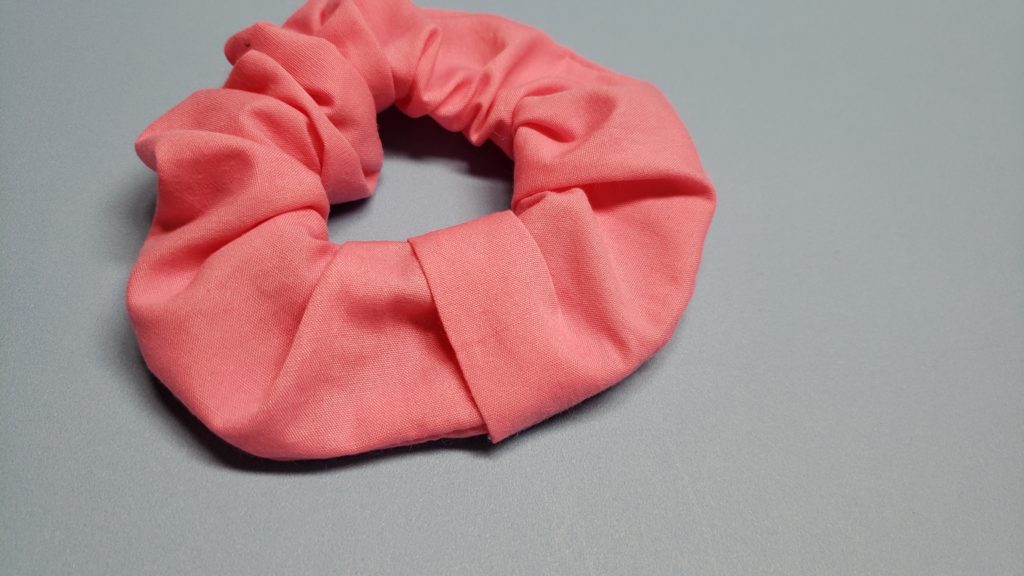
Welcome to the super cute scrunchie tutorial!
here you will find instructions, materials, measurements and video tutorial
Materials
Cotton fabric
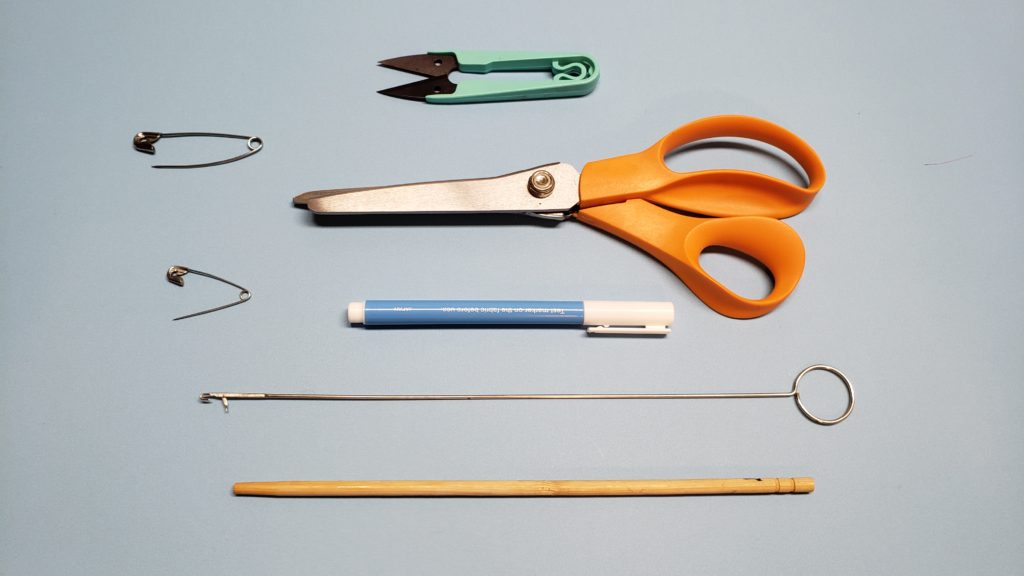
Helpful tools for this project
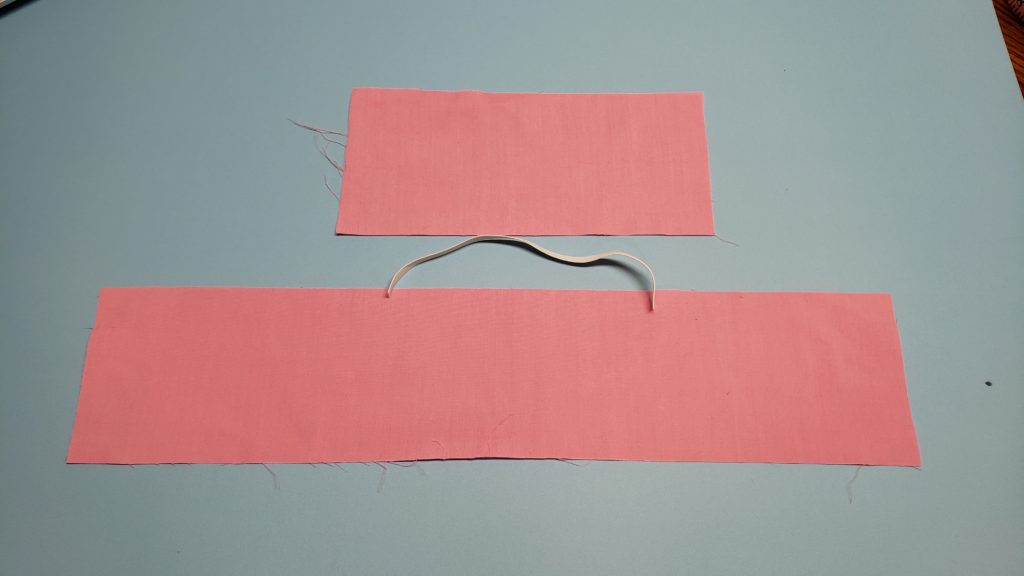
Measurements
The larger ones are ideal for thick hair, the small one is great for thin hair or children
Large
Cut 1 – 18″ x 4″
Cut 1 – 9″ x 4″
Elastic – 8″
Small
Cut 1 – 14″ x 4″
Cut 1 – 9″ x 4″
Elastic – 6 1/2″
Some tools i use
Iron – Oliso
Sewing machine – Brother
Ironing Board – Tutorial
Rotary Cutter – Olfa
Cricut –
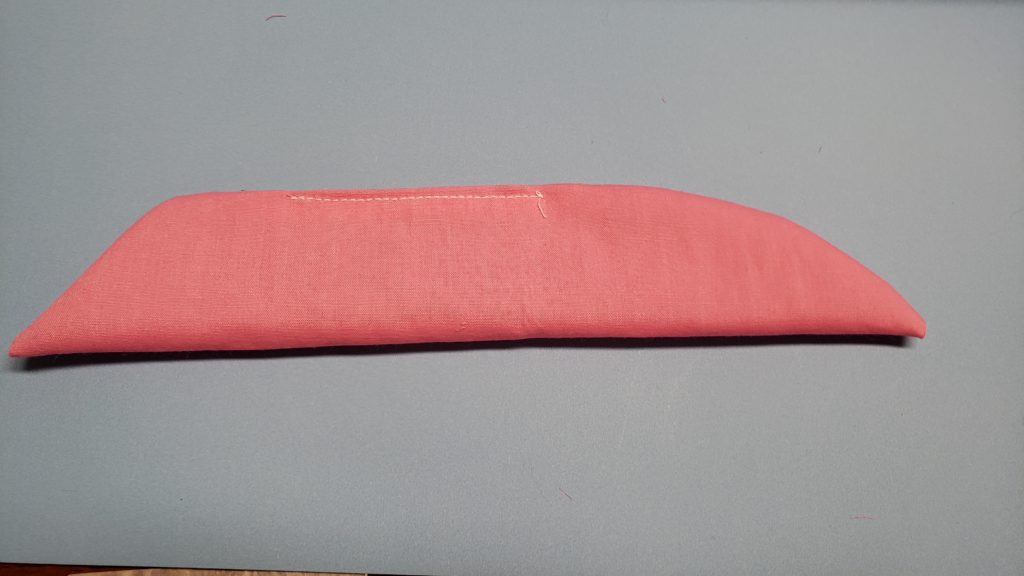
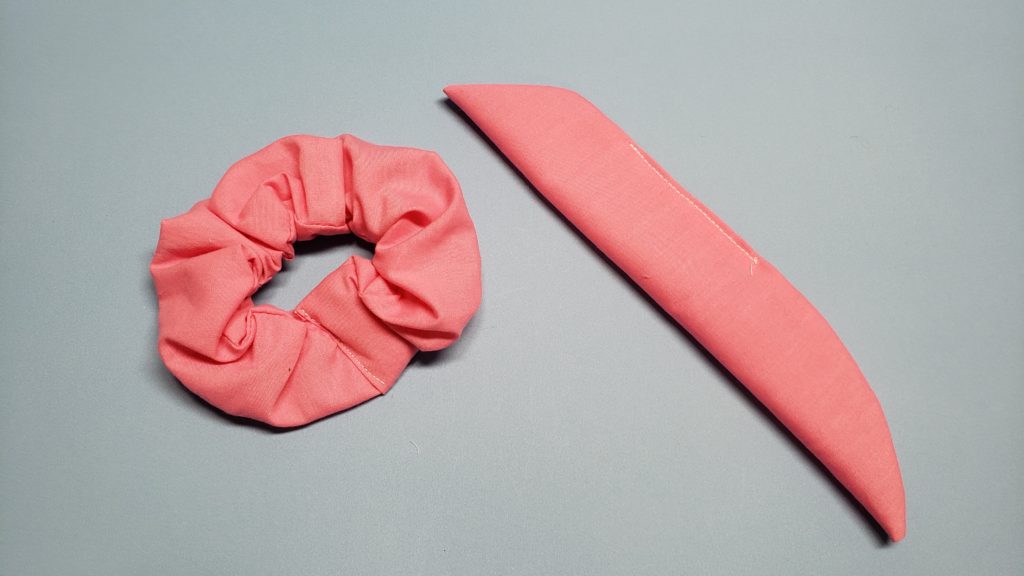
(make yours more symetrical then mine haha leave a 1 1/2″ gap for turning, Cut off the excess fabric and turn
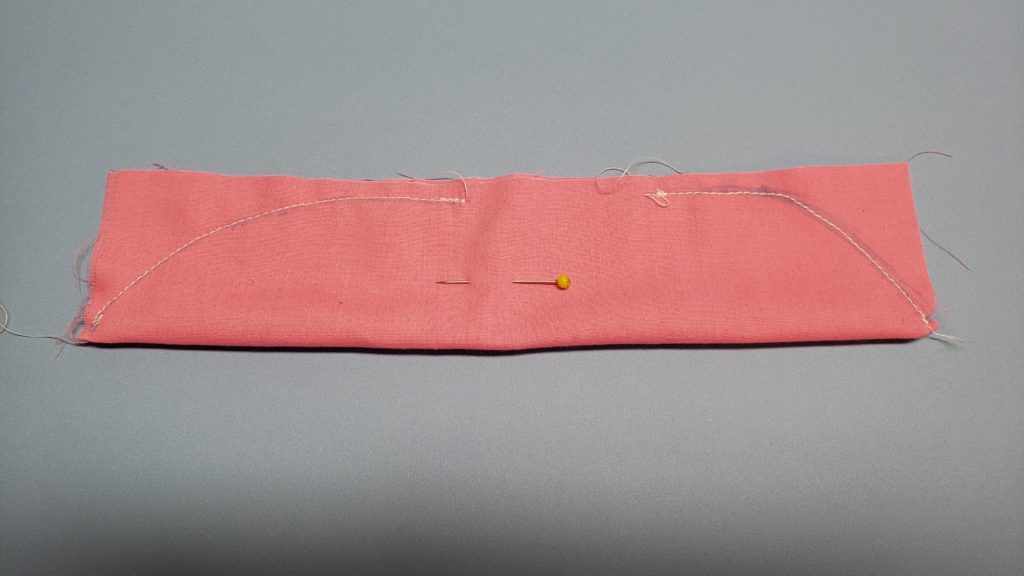
Sew up the hole used for turning, these stitches shouldnt be visible in your finished product but depending on your fabric matching thread is recommended
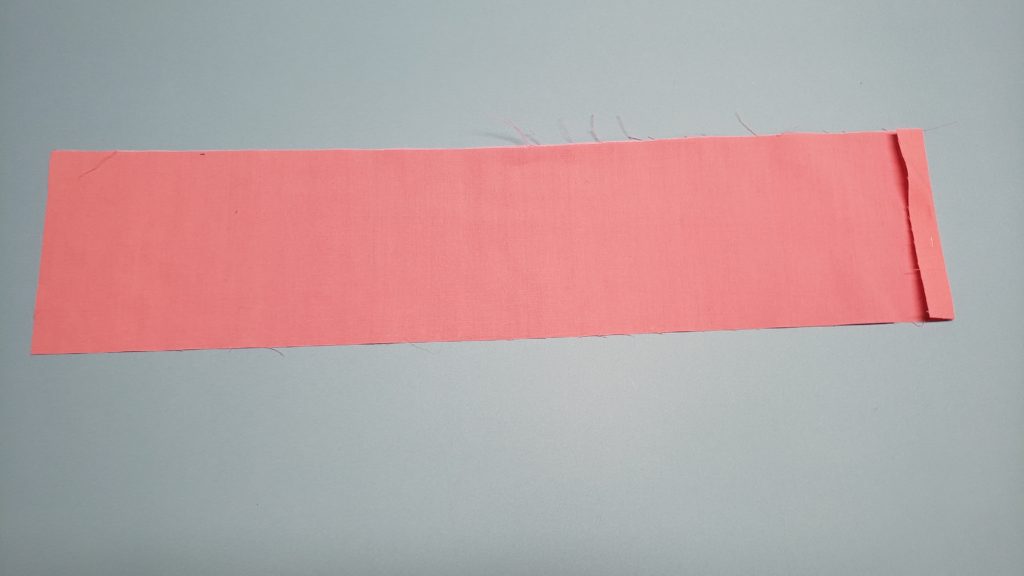
take larger rectangle and fold in the side a 1/4″
fold in half with right sides together and line up long edge
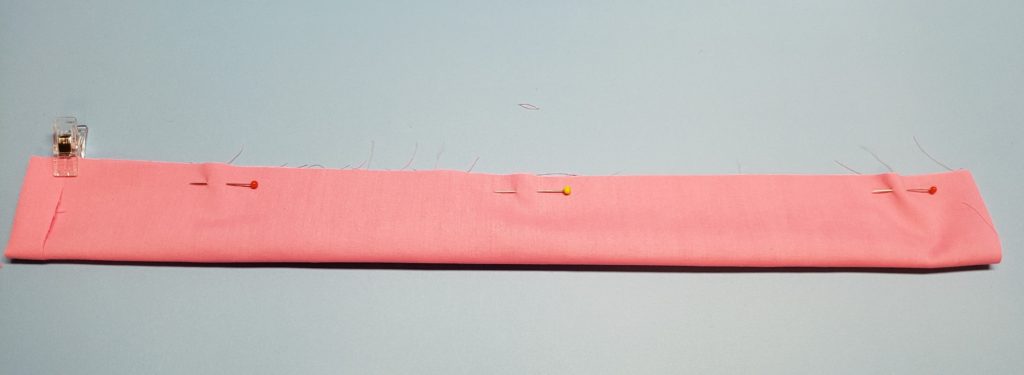
sew down the longest edge
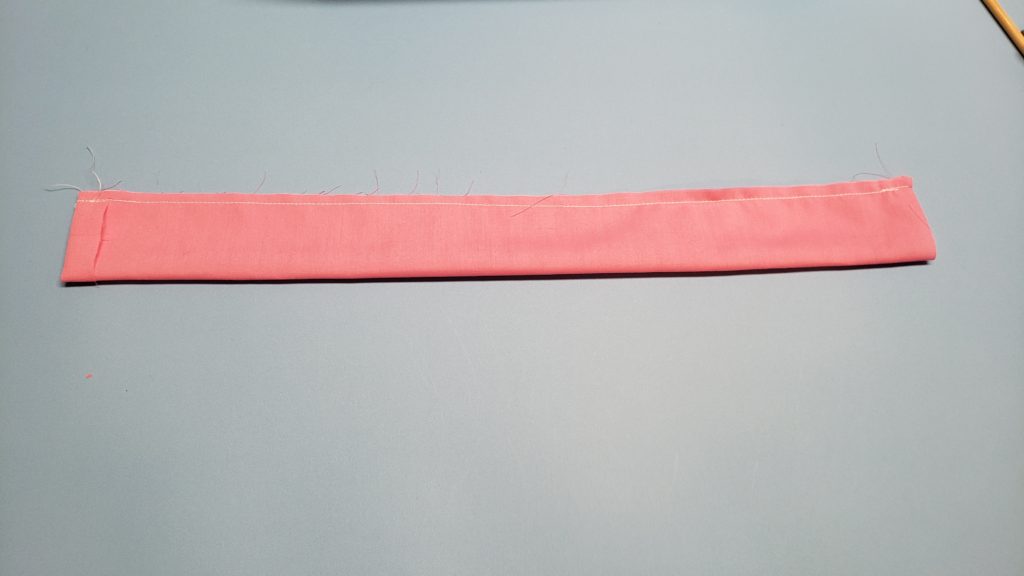
Flip tube
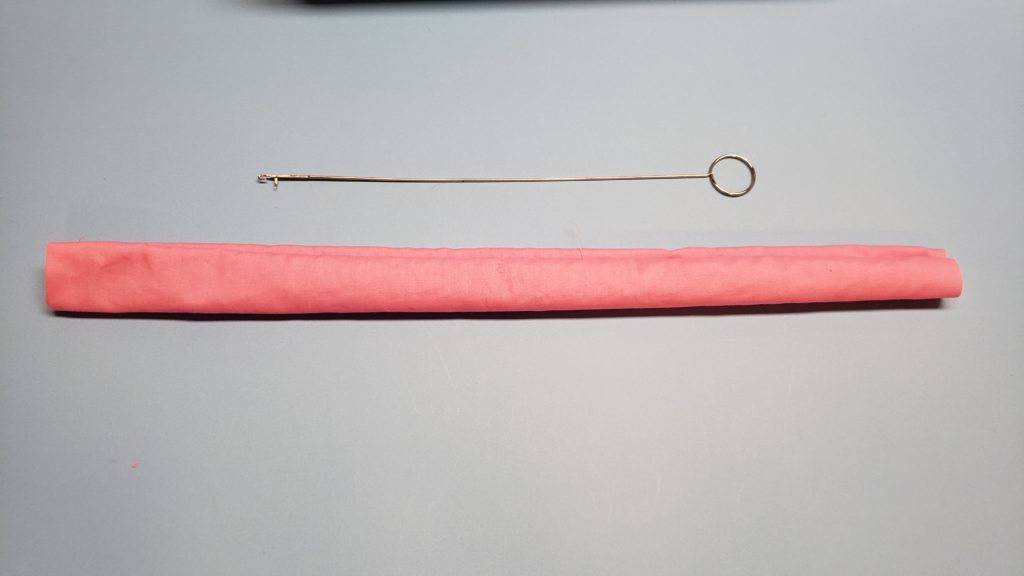
attach two safety pin to both ends of the elastic, attach one of the safety pins to the edge of the tube so you dont loose that end when you feed through the other end
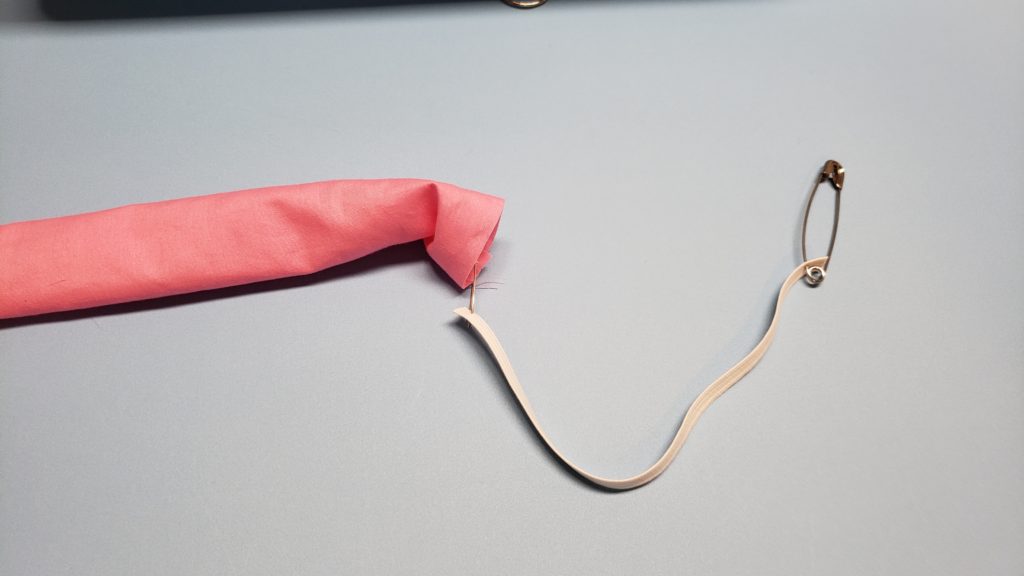
feed through elastic to bring the ends of the elastic together
sew the elastic together to create a loop
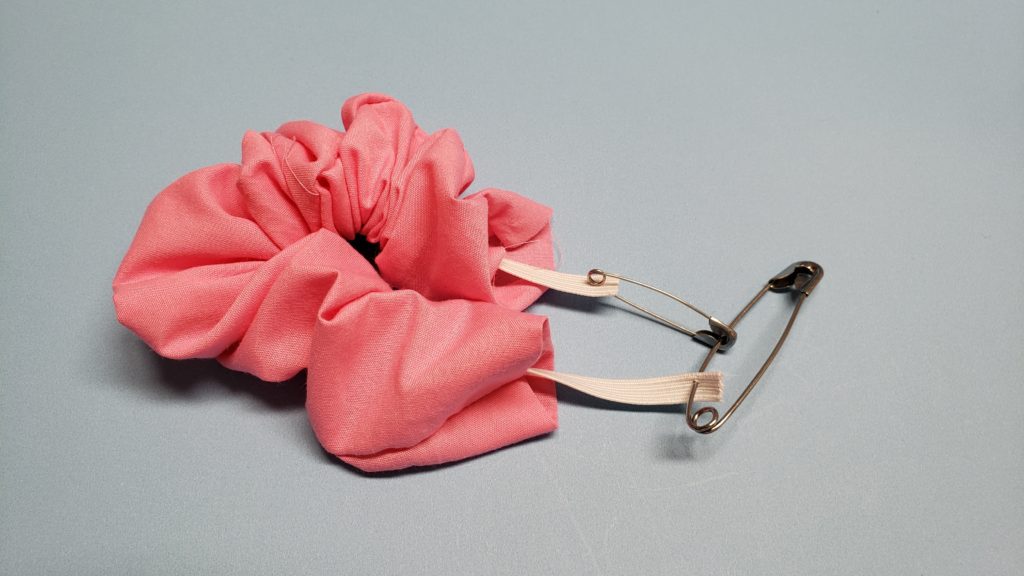
tuck the elastic inside and over lap the tube over the raw edge of the tube. sew across this seam, this will reinforce your elastic as well as close up the tube
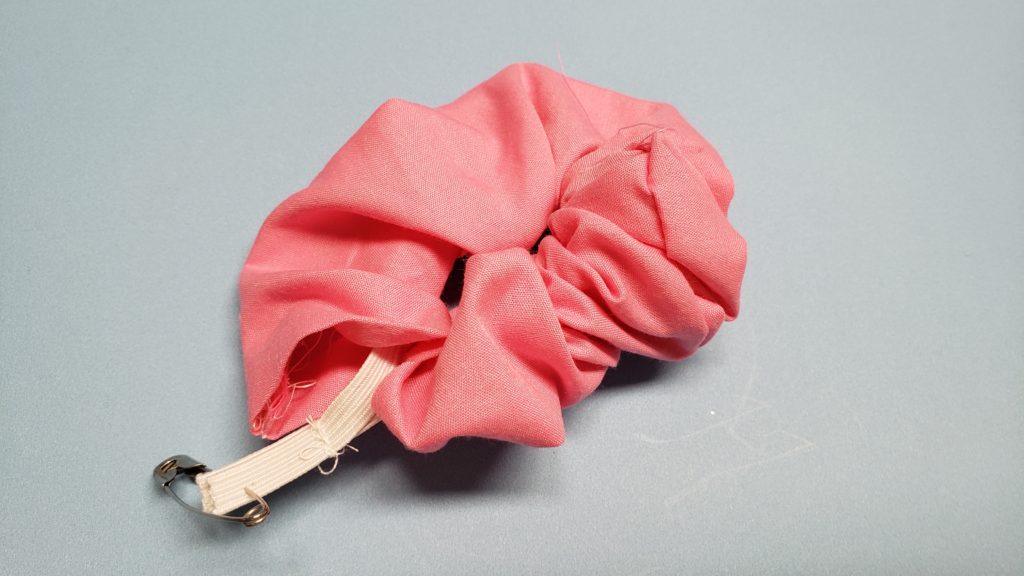
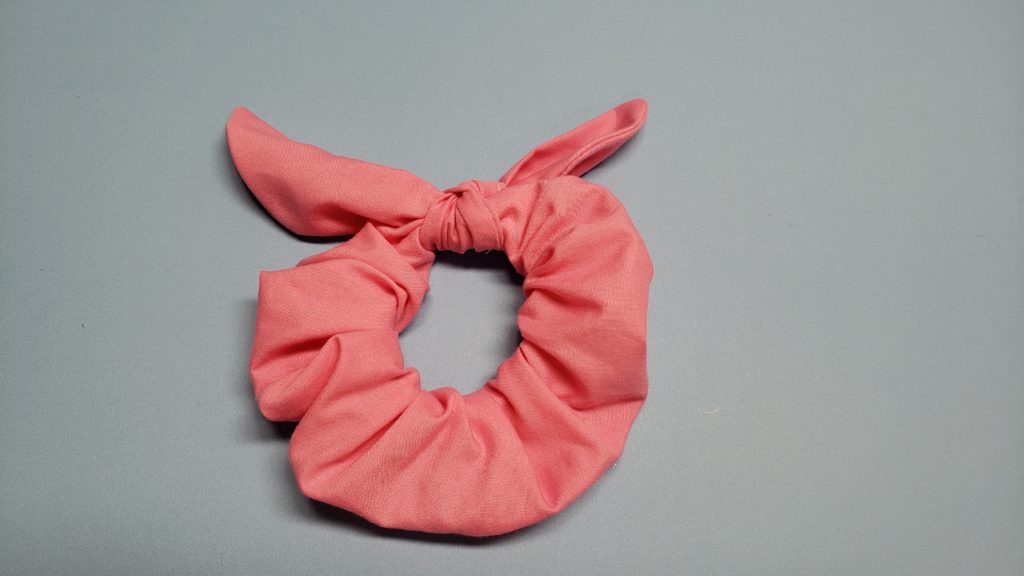
take your tie and tie it around the scrunchie into one knot, tie it around the part that we hae sewn to hide the seam of the tube
one knot should will do, if your worried about it untieing then add some tacking stitches to keep everything all in place.


0 Comments