
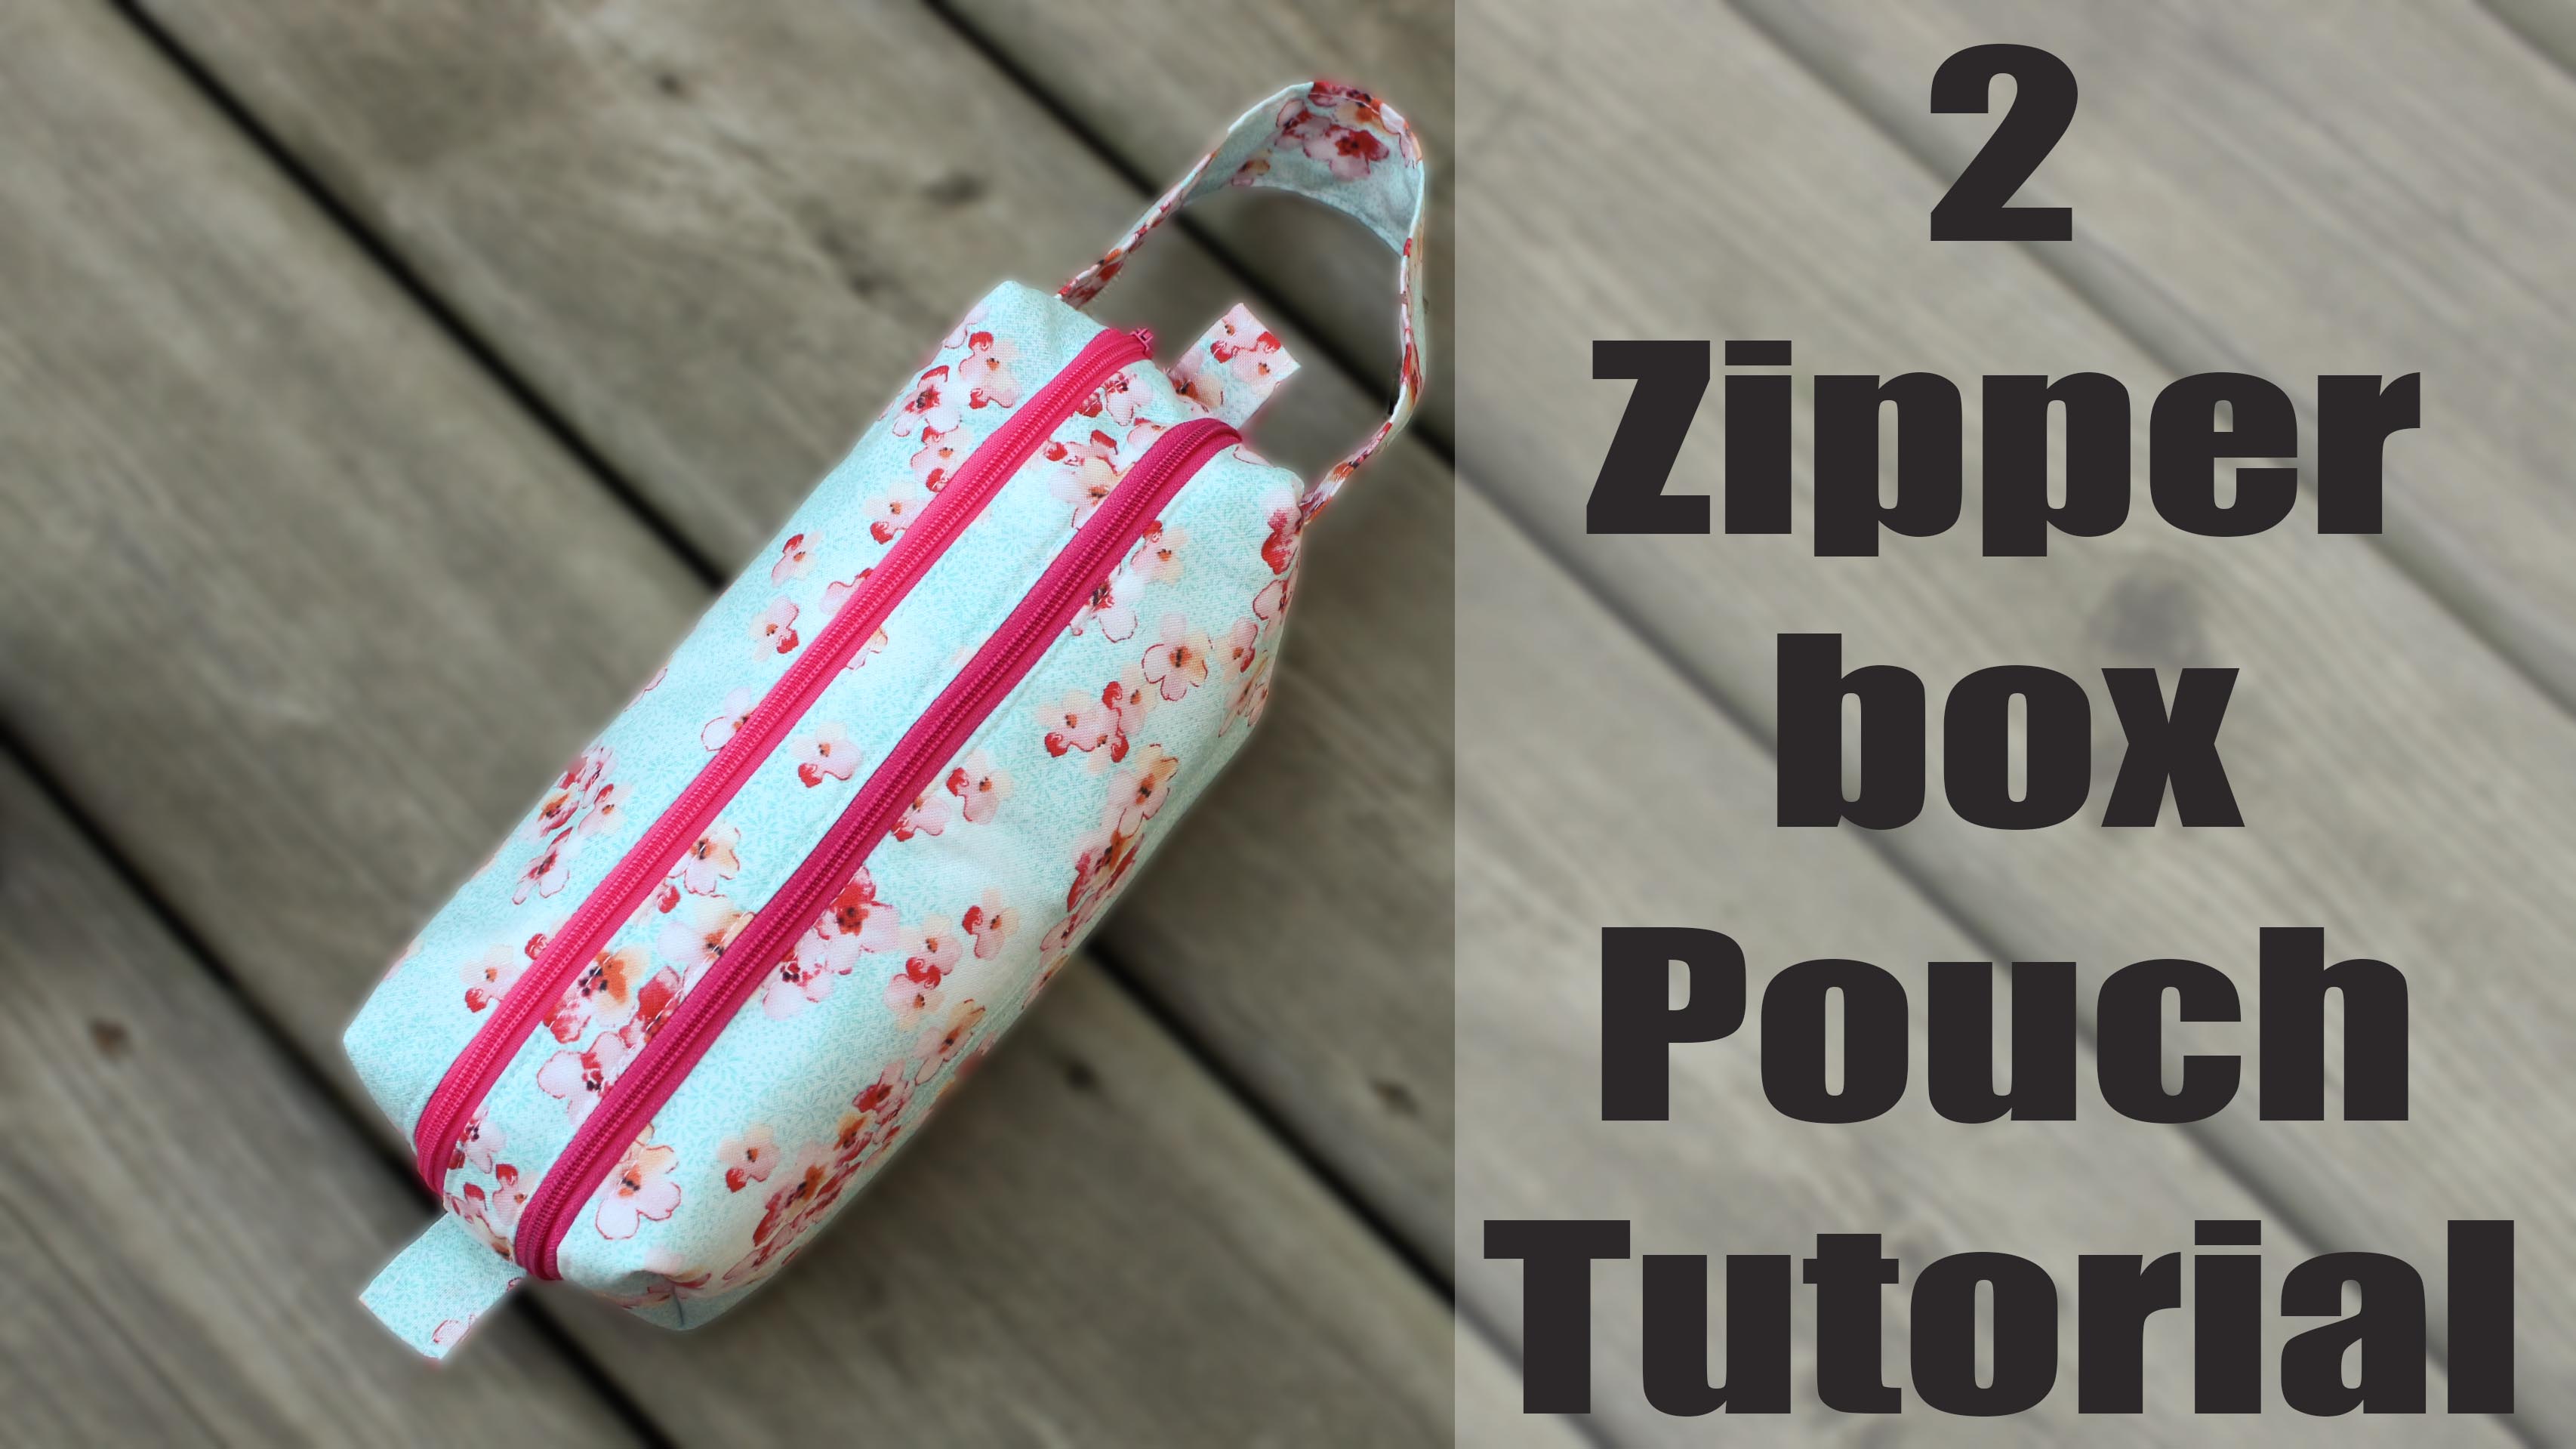
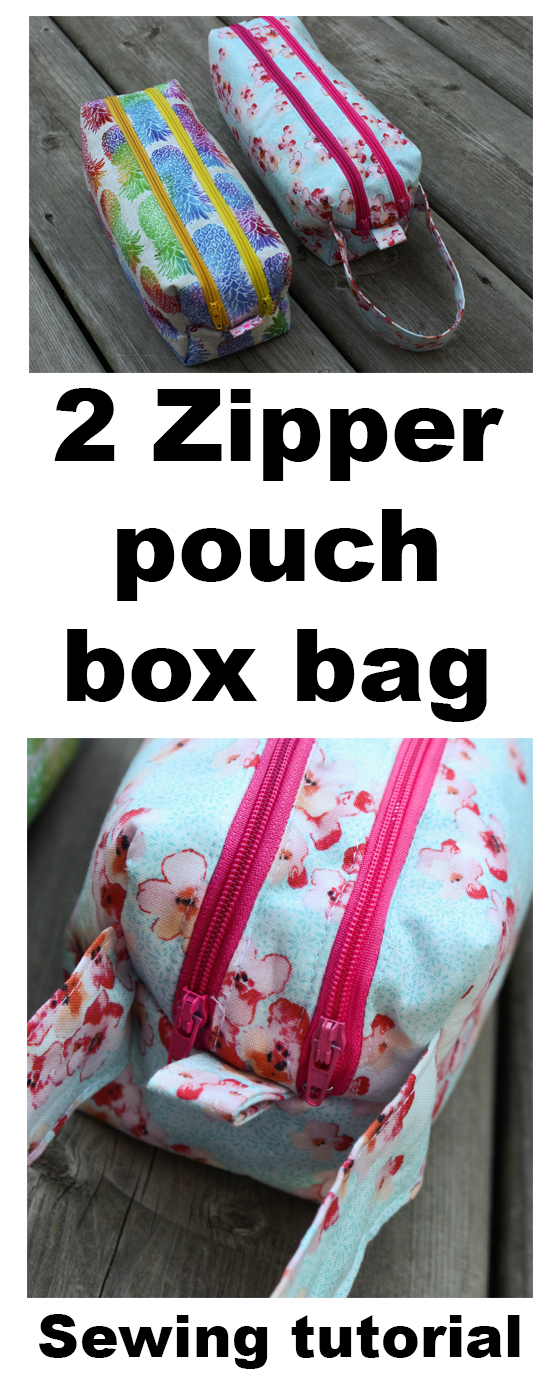
Hey guys! welcome to the 2 Zipper pouch Box pouch tutorial!
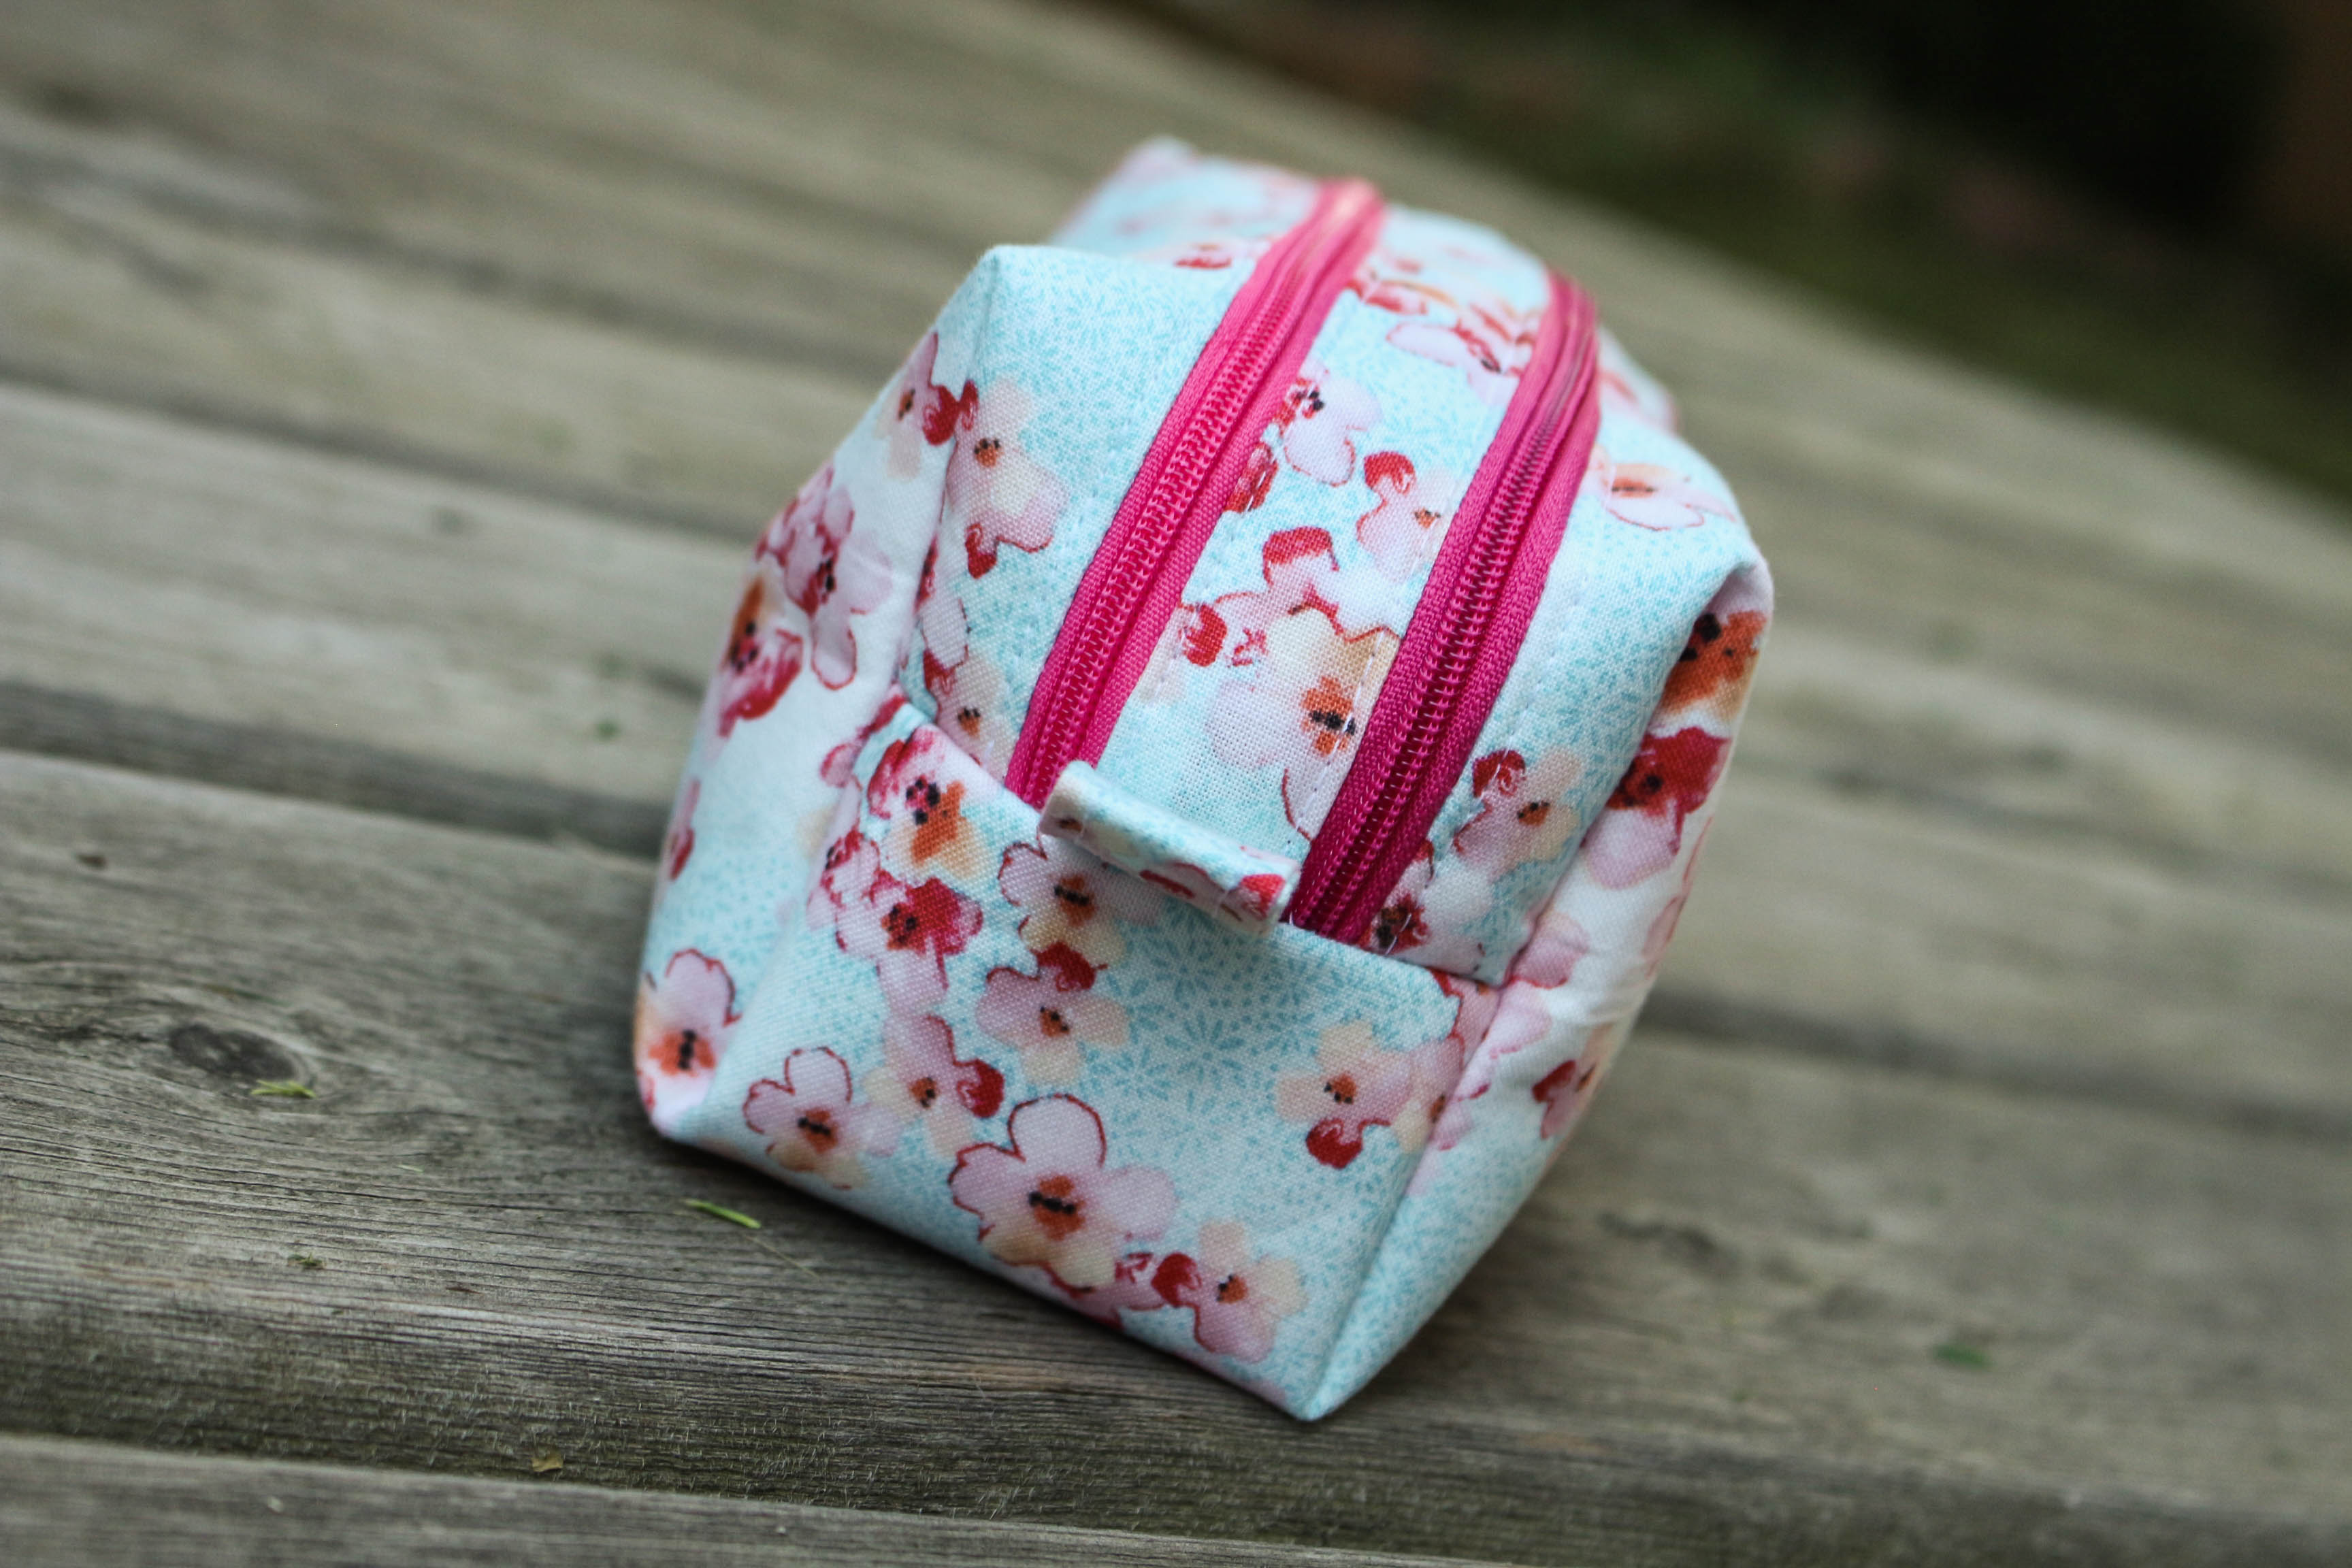
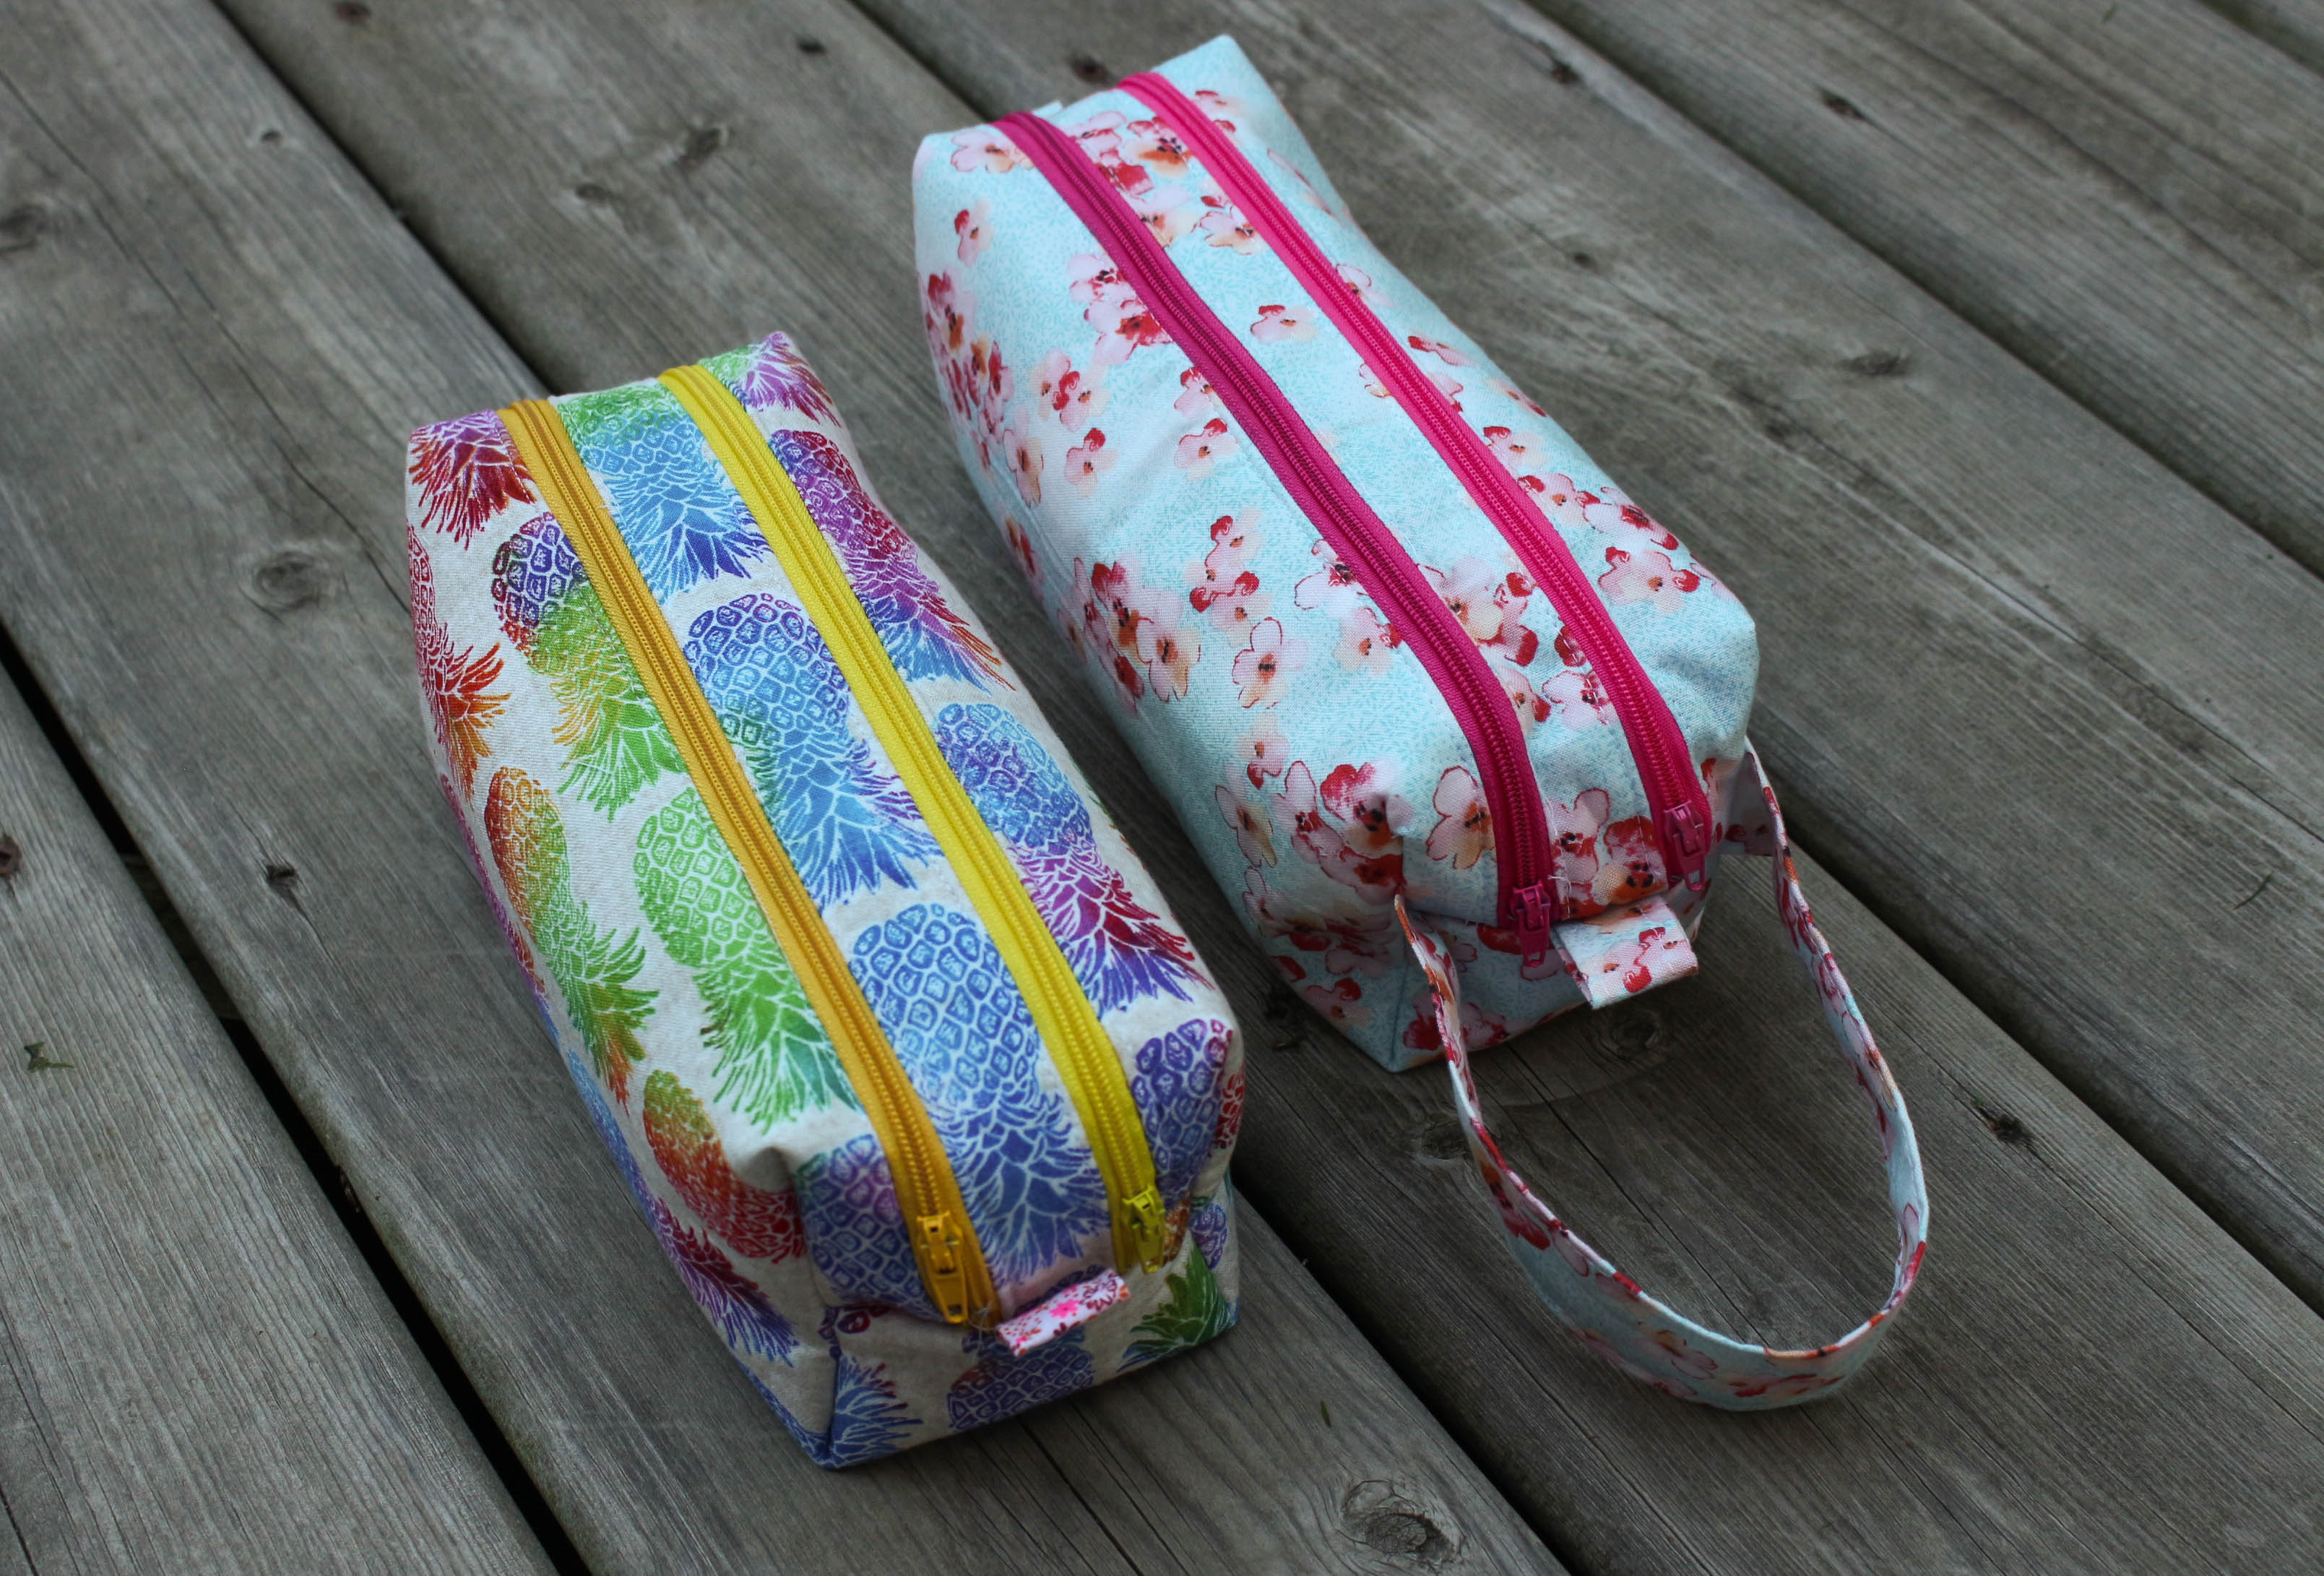
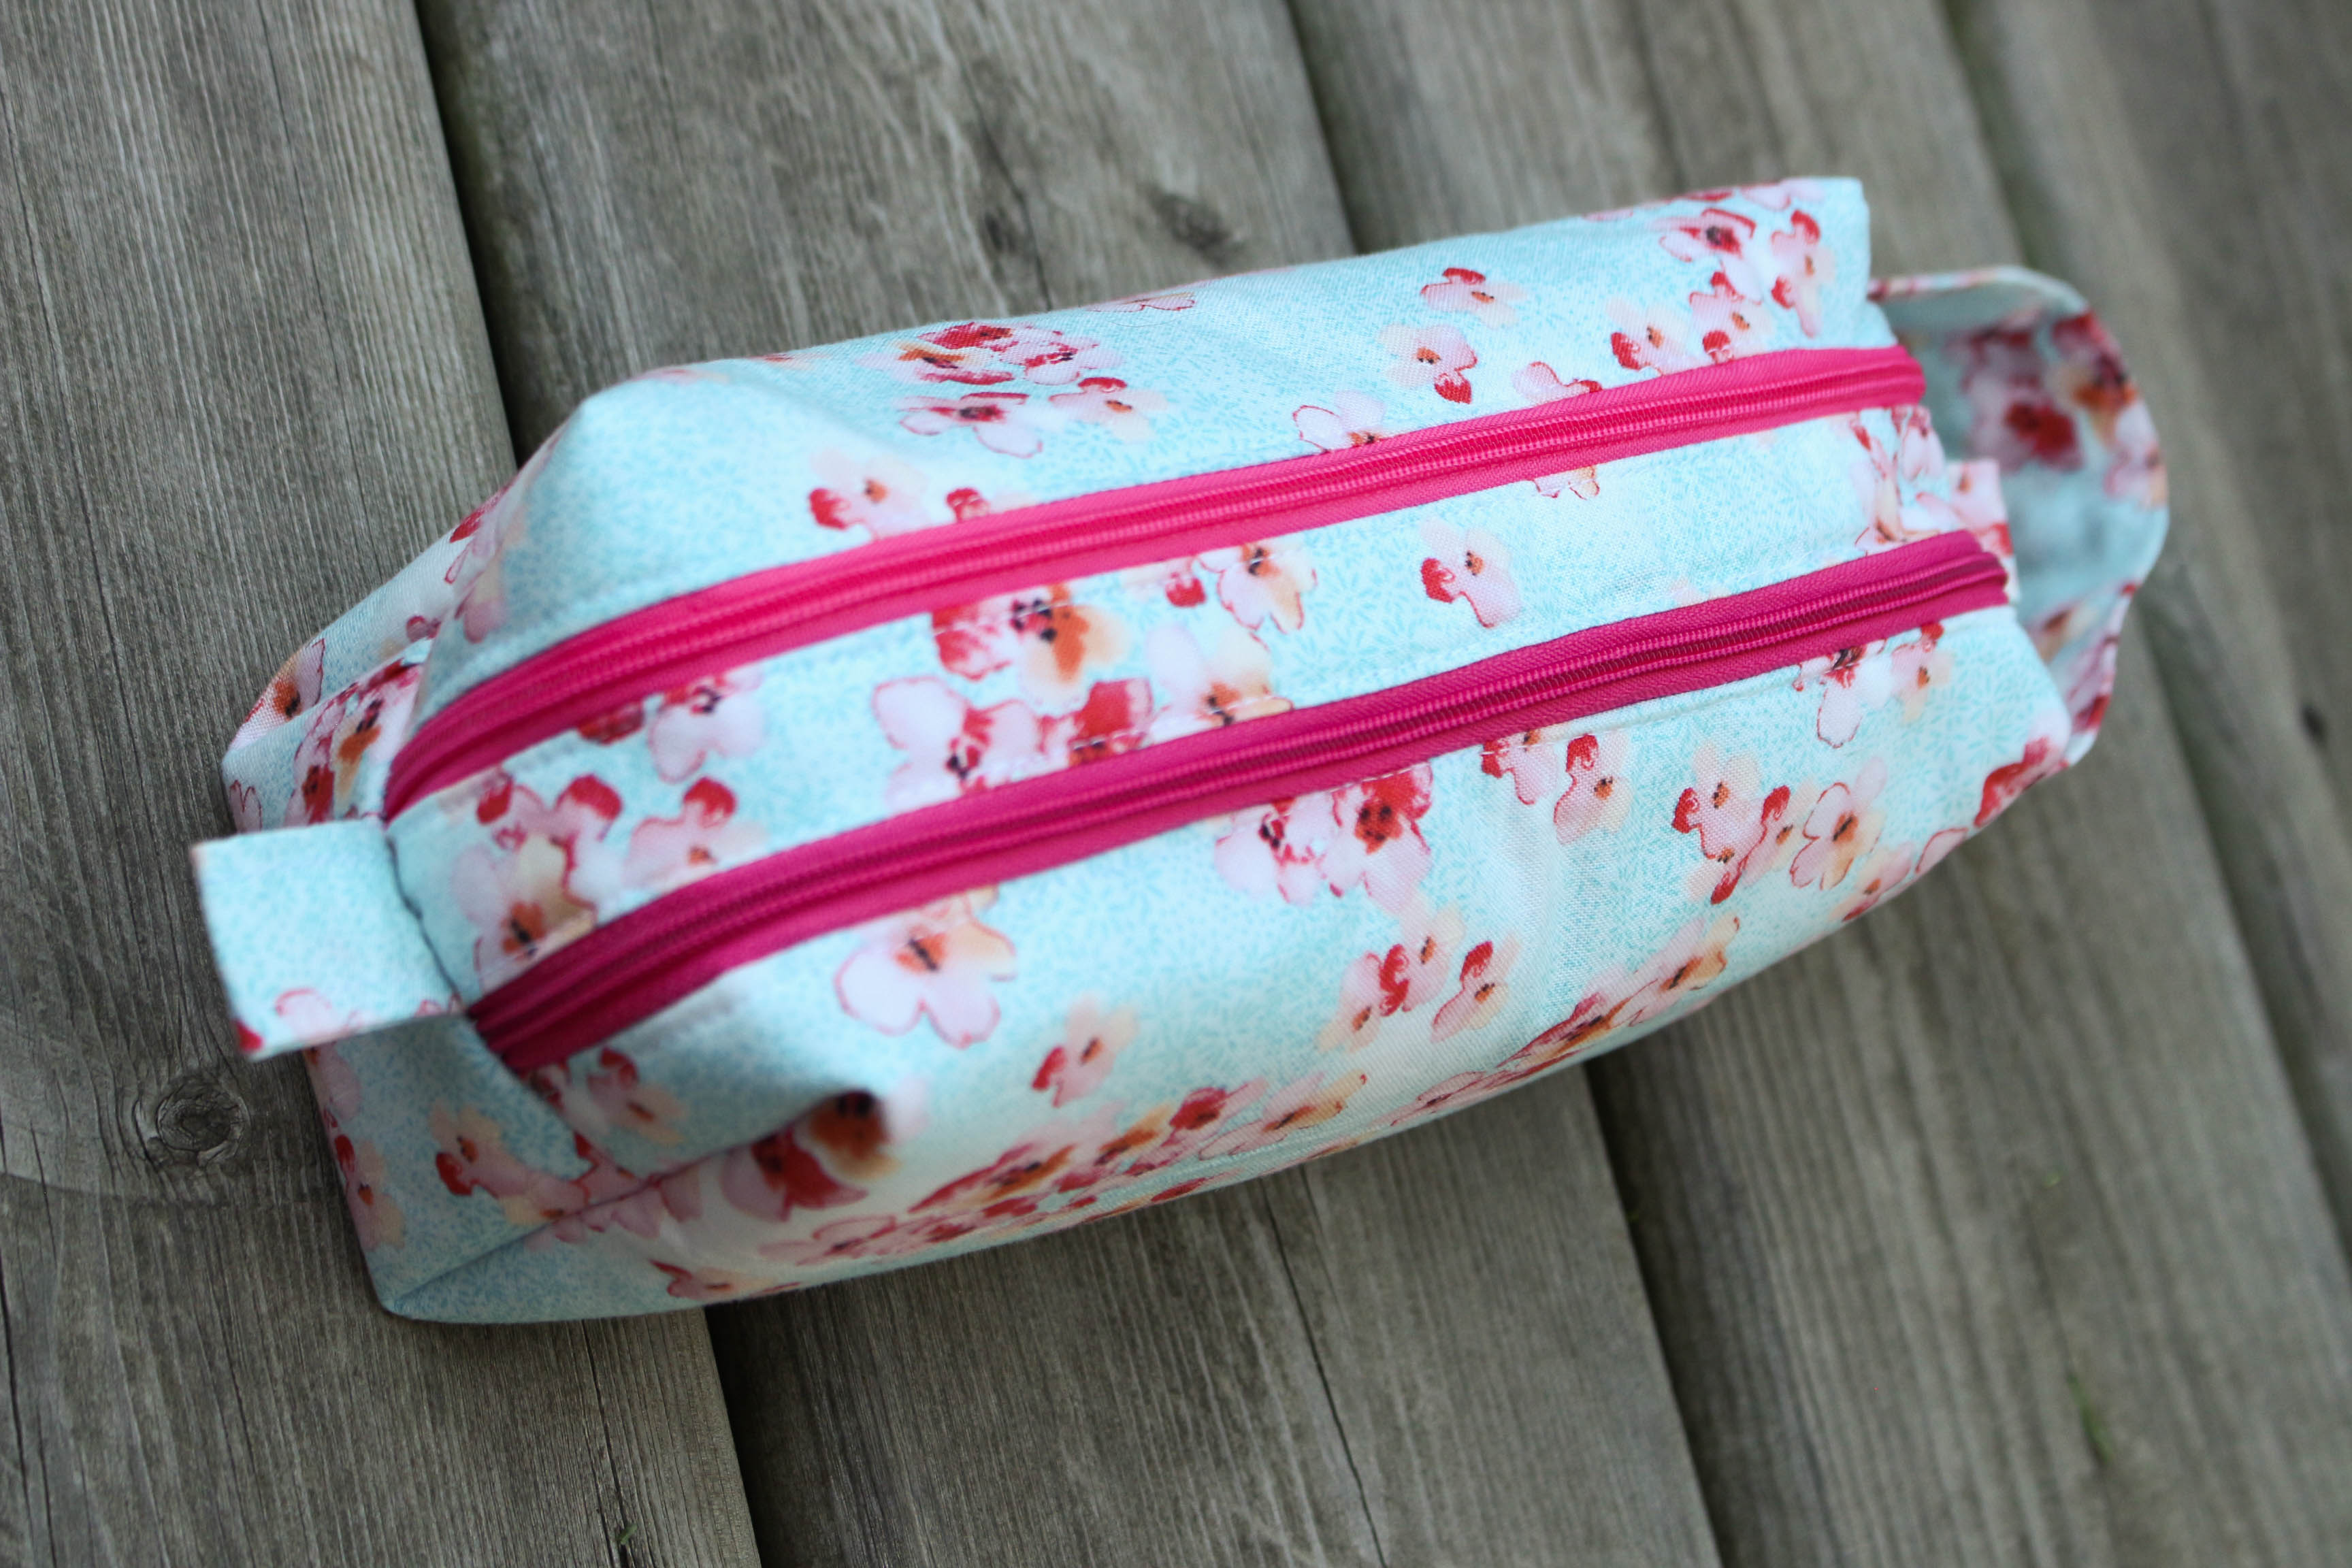
thats a mouth full… haha this beautiful zipper pouch has 2 seperate compartments to organize your make up, toiletries or your stationary!
I have a full video tutorial so i highly suggest checking that video out as some parts of this tutorial can be a little bit hard to articulate through photography, so check out the links for the products i use and head over to my youtube channel www.youtube.com/charmedbyashley to watch the full 1080 p video tutorial!
Materials
For this tutorial you will need Cotton fabric, i suggest two different fabrics a lining and an exterior
Fusible Fleece or Medium weight interfacing to give you a nice strong sturdy bag
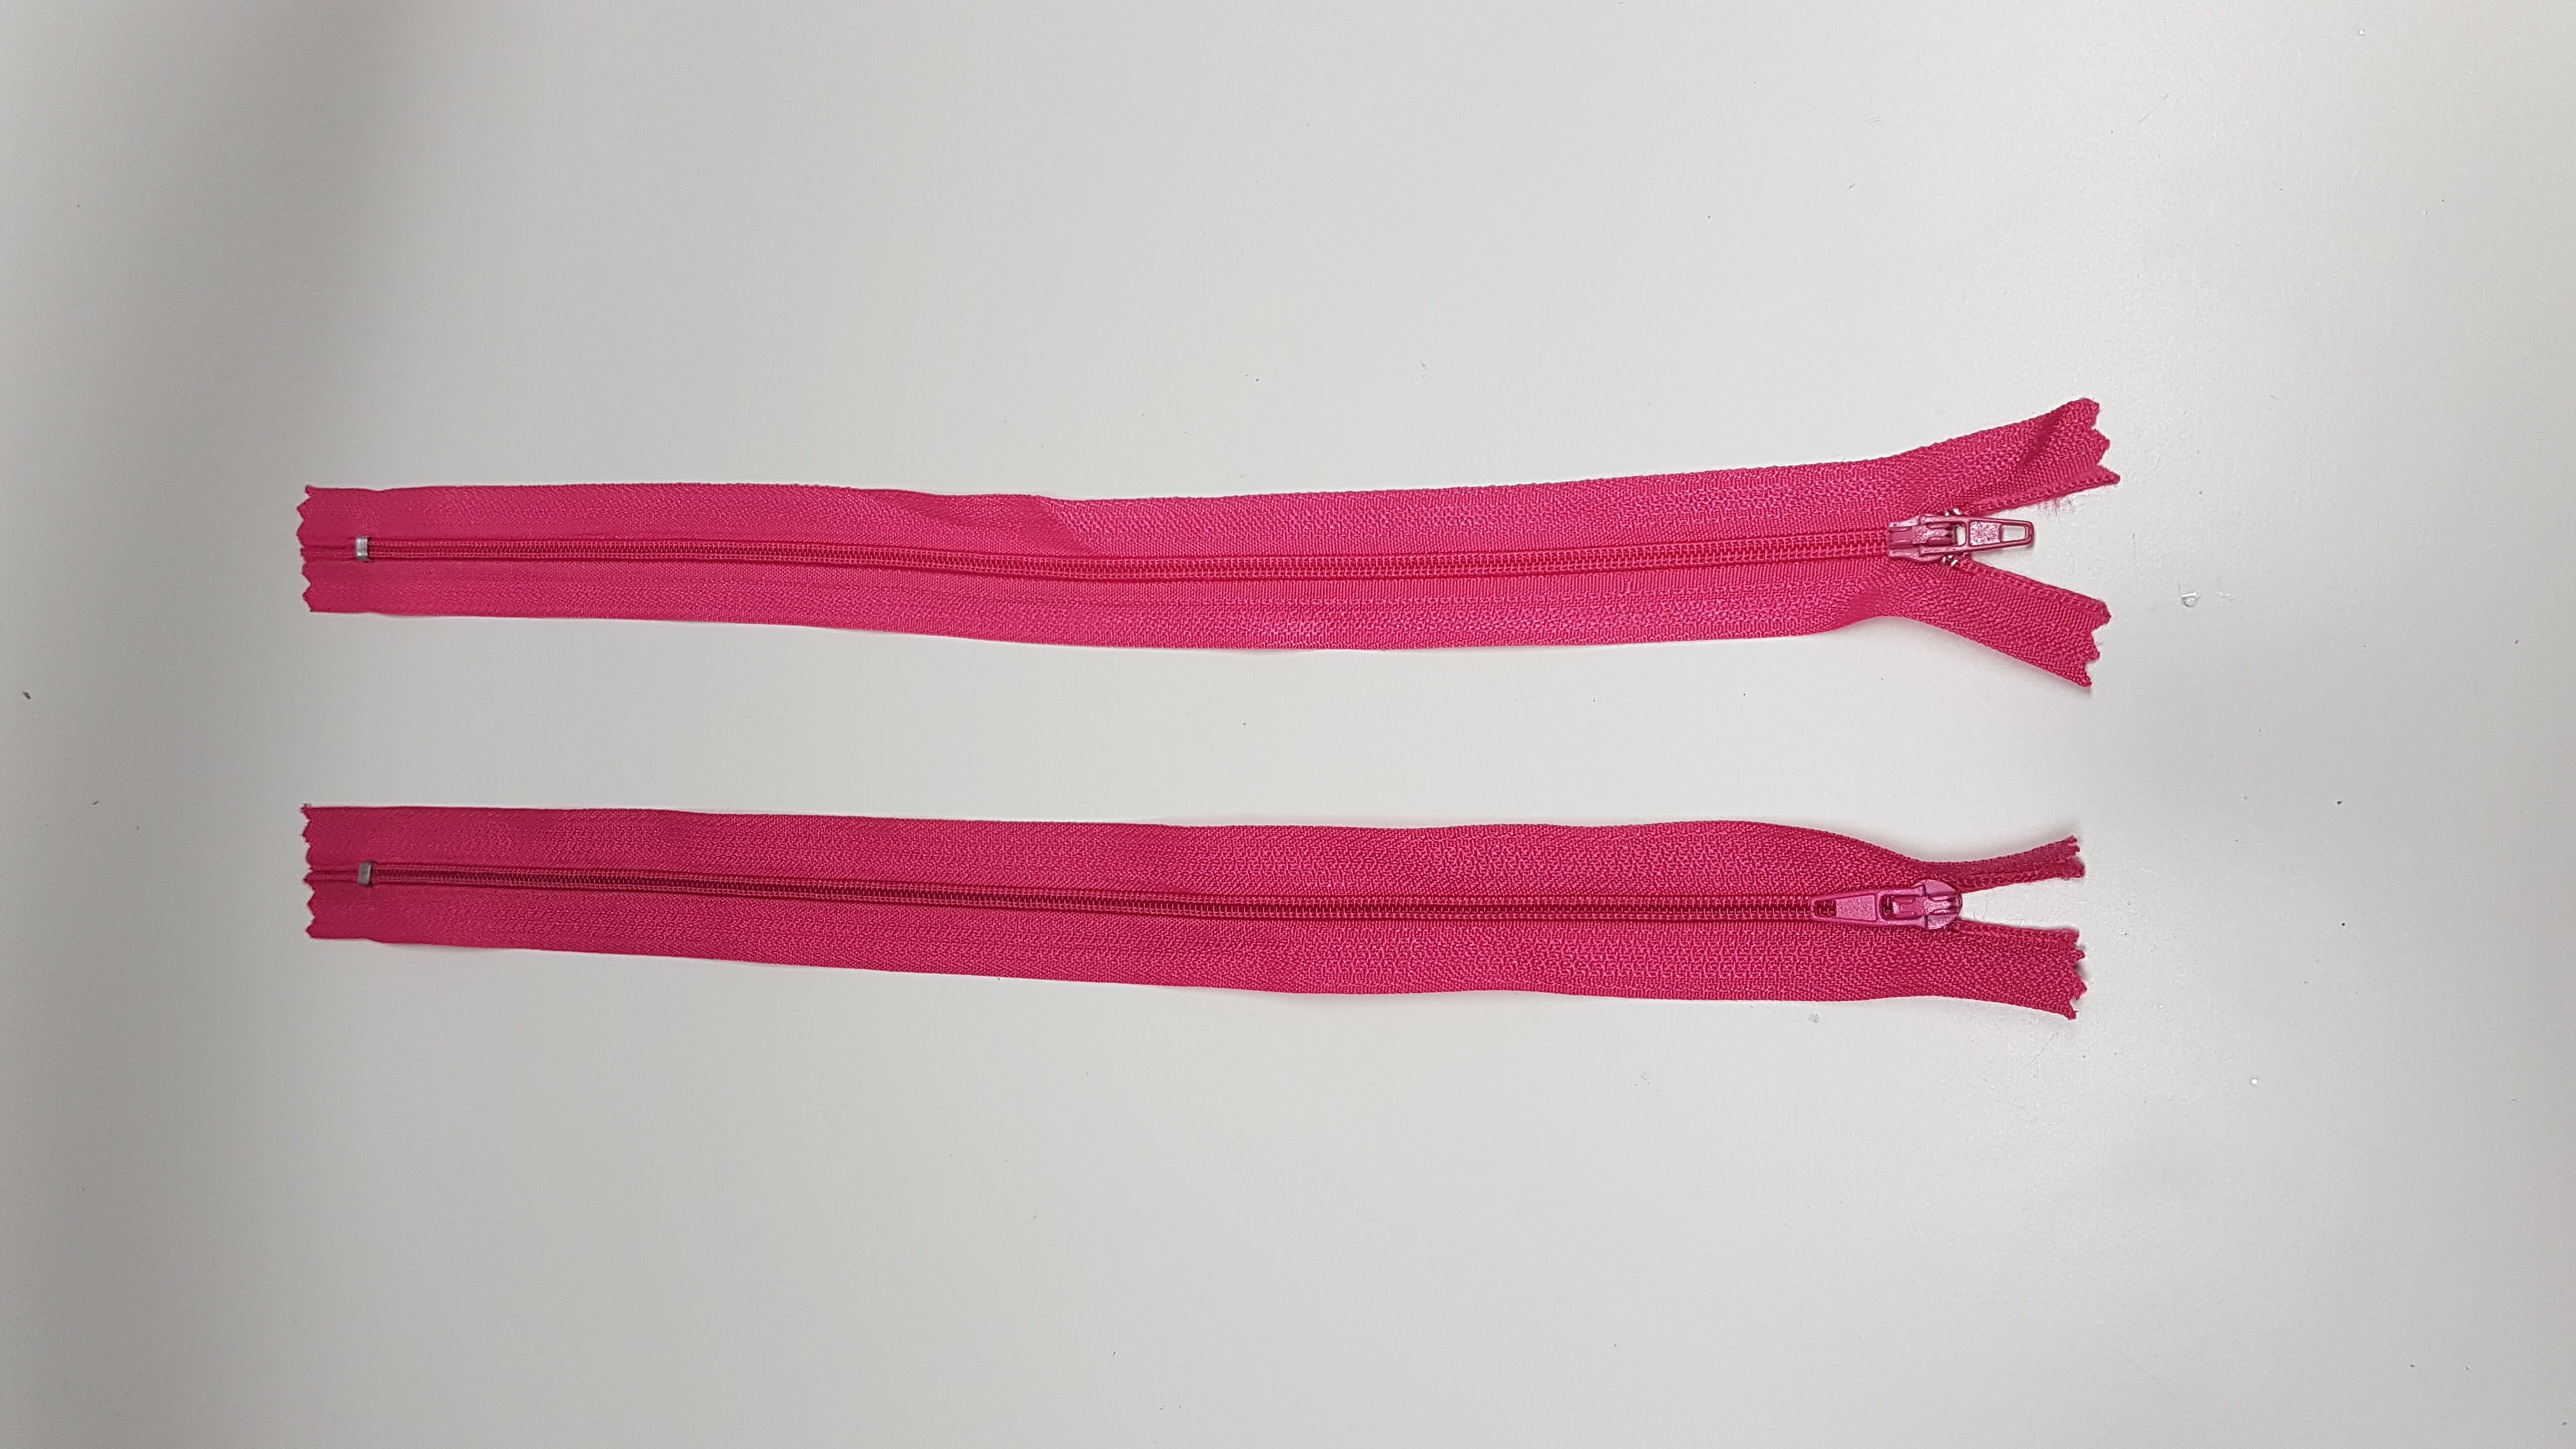
2 x 12″ or greater zippers
The Measurements for this bag are as follows
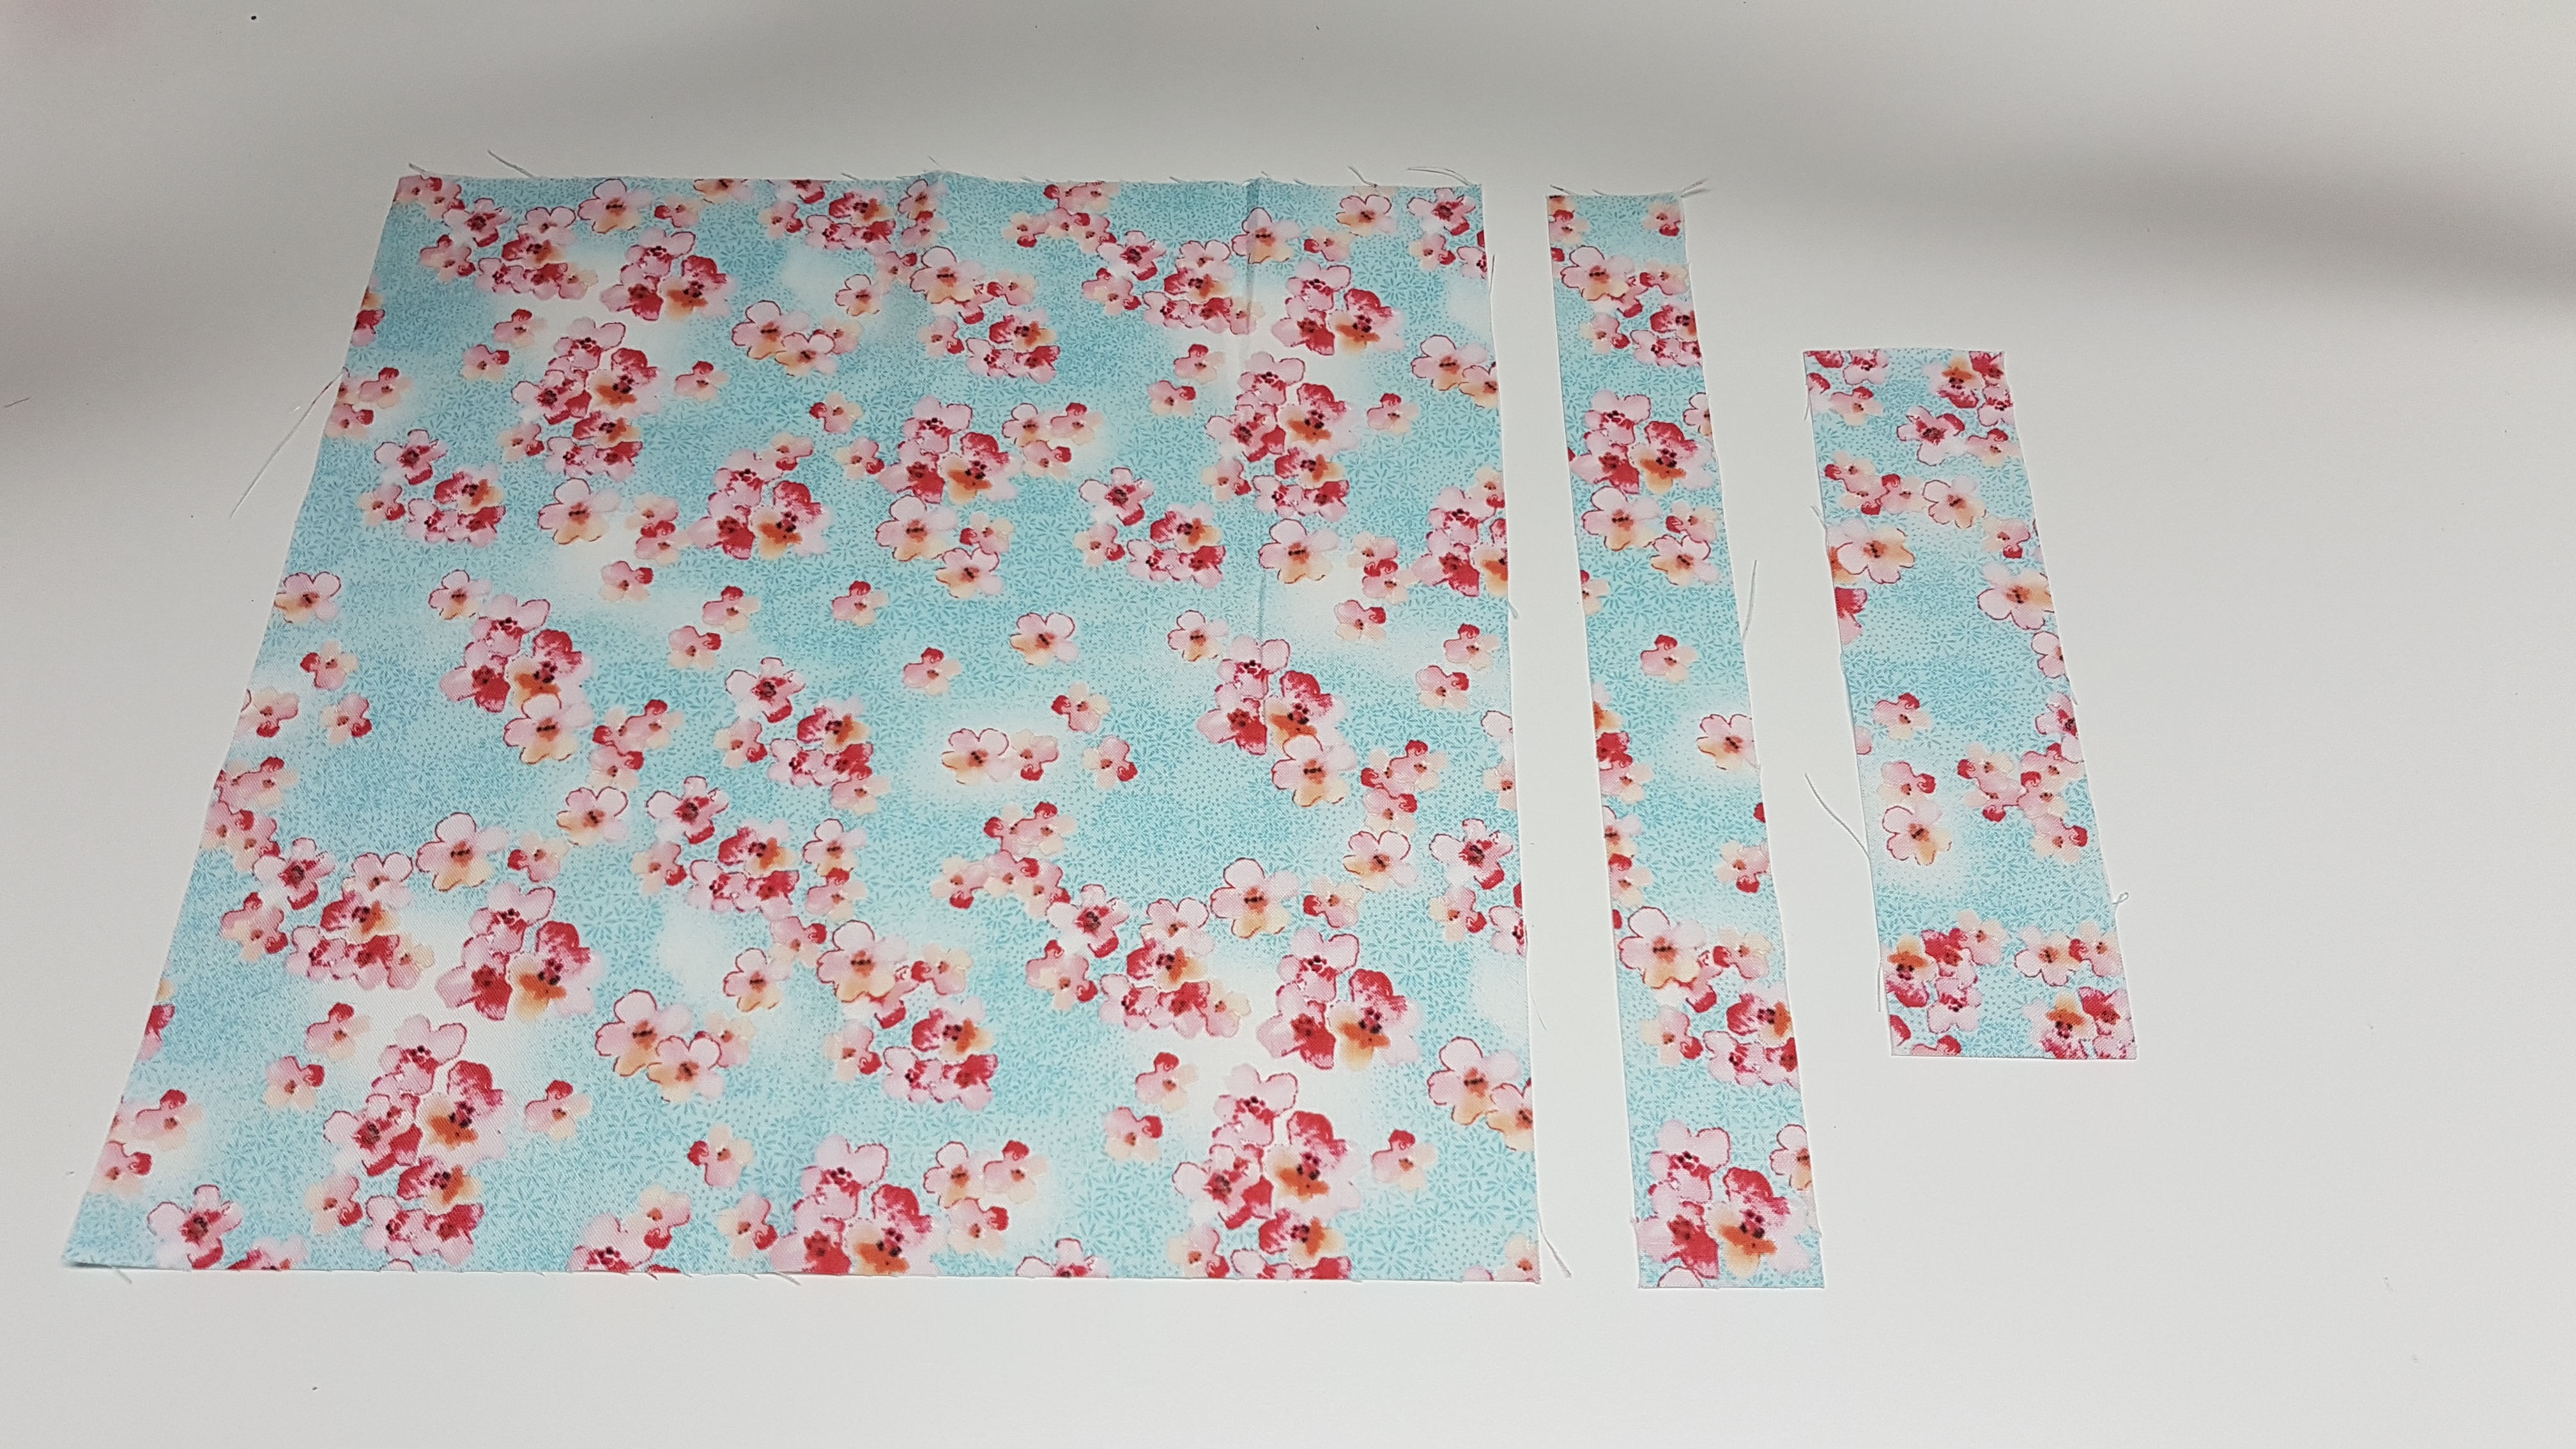
- Exterior large piece – 12″ x 12″
- Exterior small piece – 1.5″ x 12″
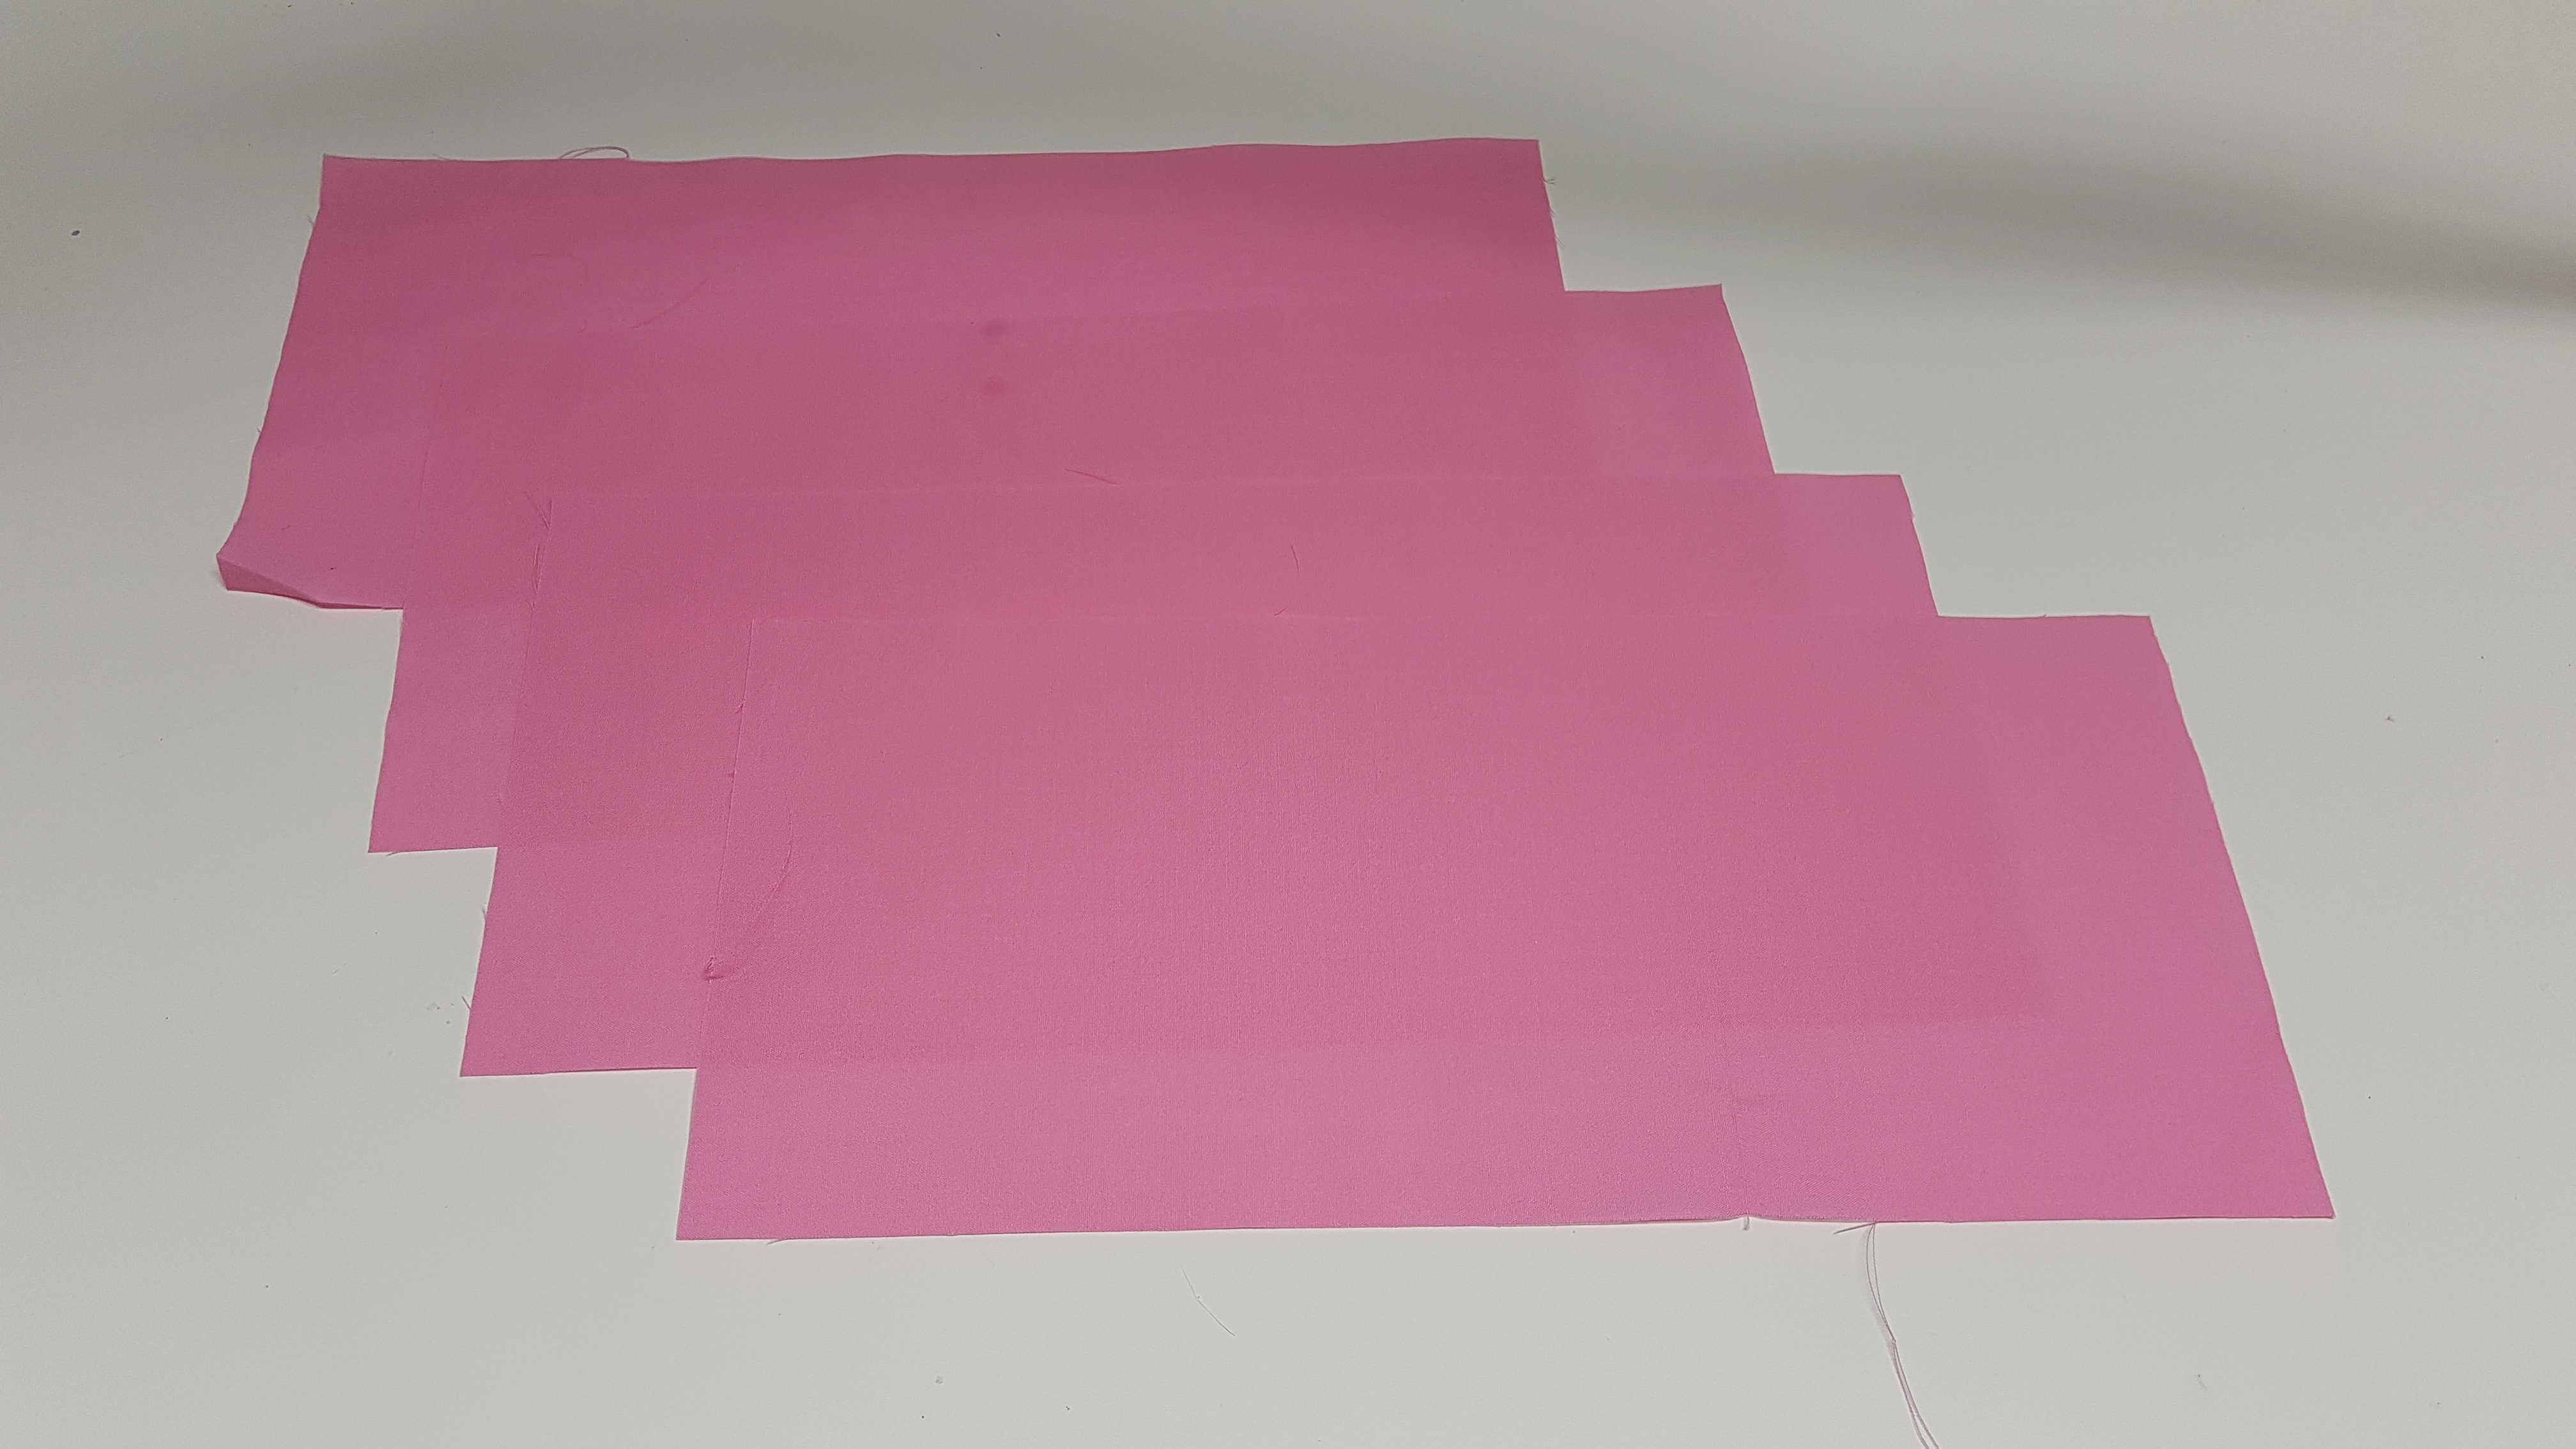
- 4 x Lining pieces – 12″ x 5.5″
- Tab piece (to be cut to size larger on) 1.5 x 5″
- Optional Handle – 4.5″ x 11″ (NOT PHOTOGRAPHED)
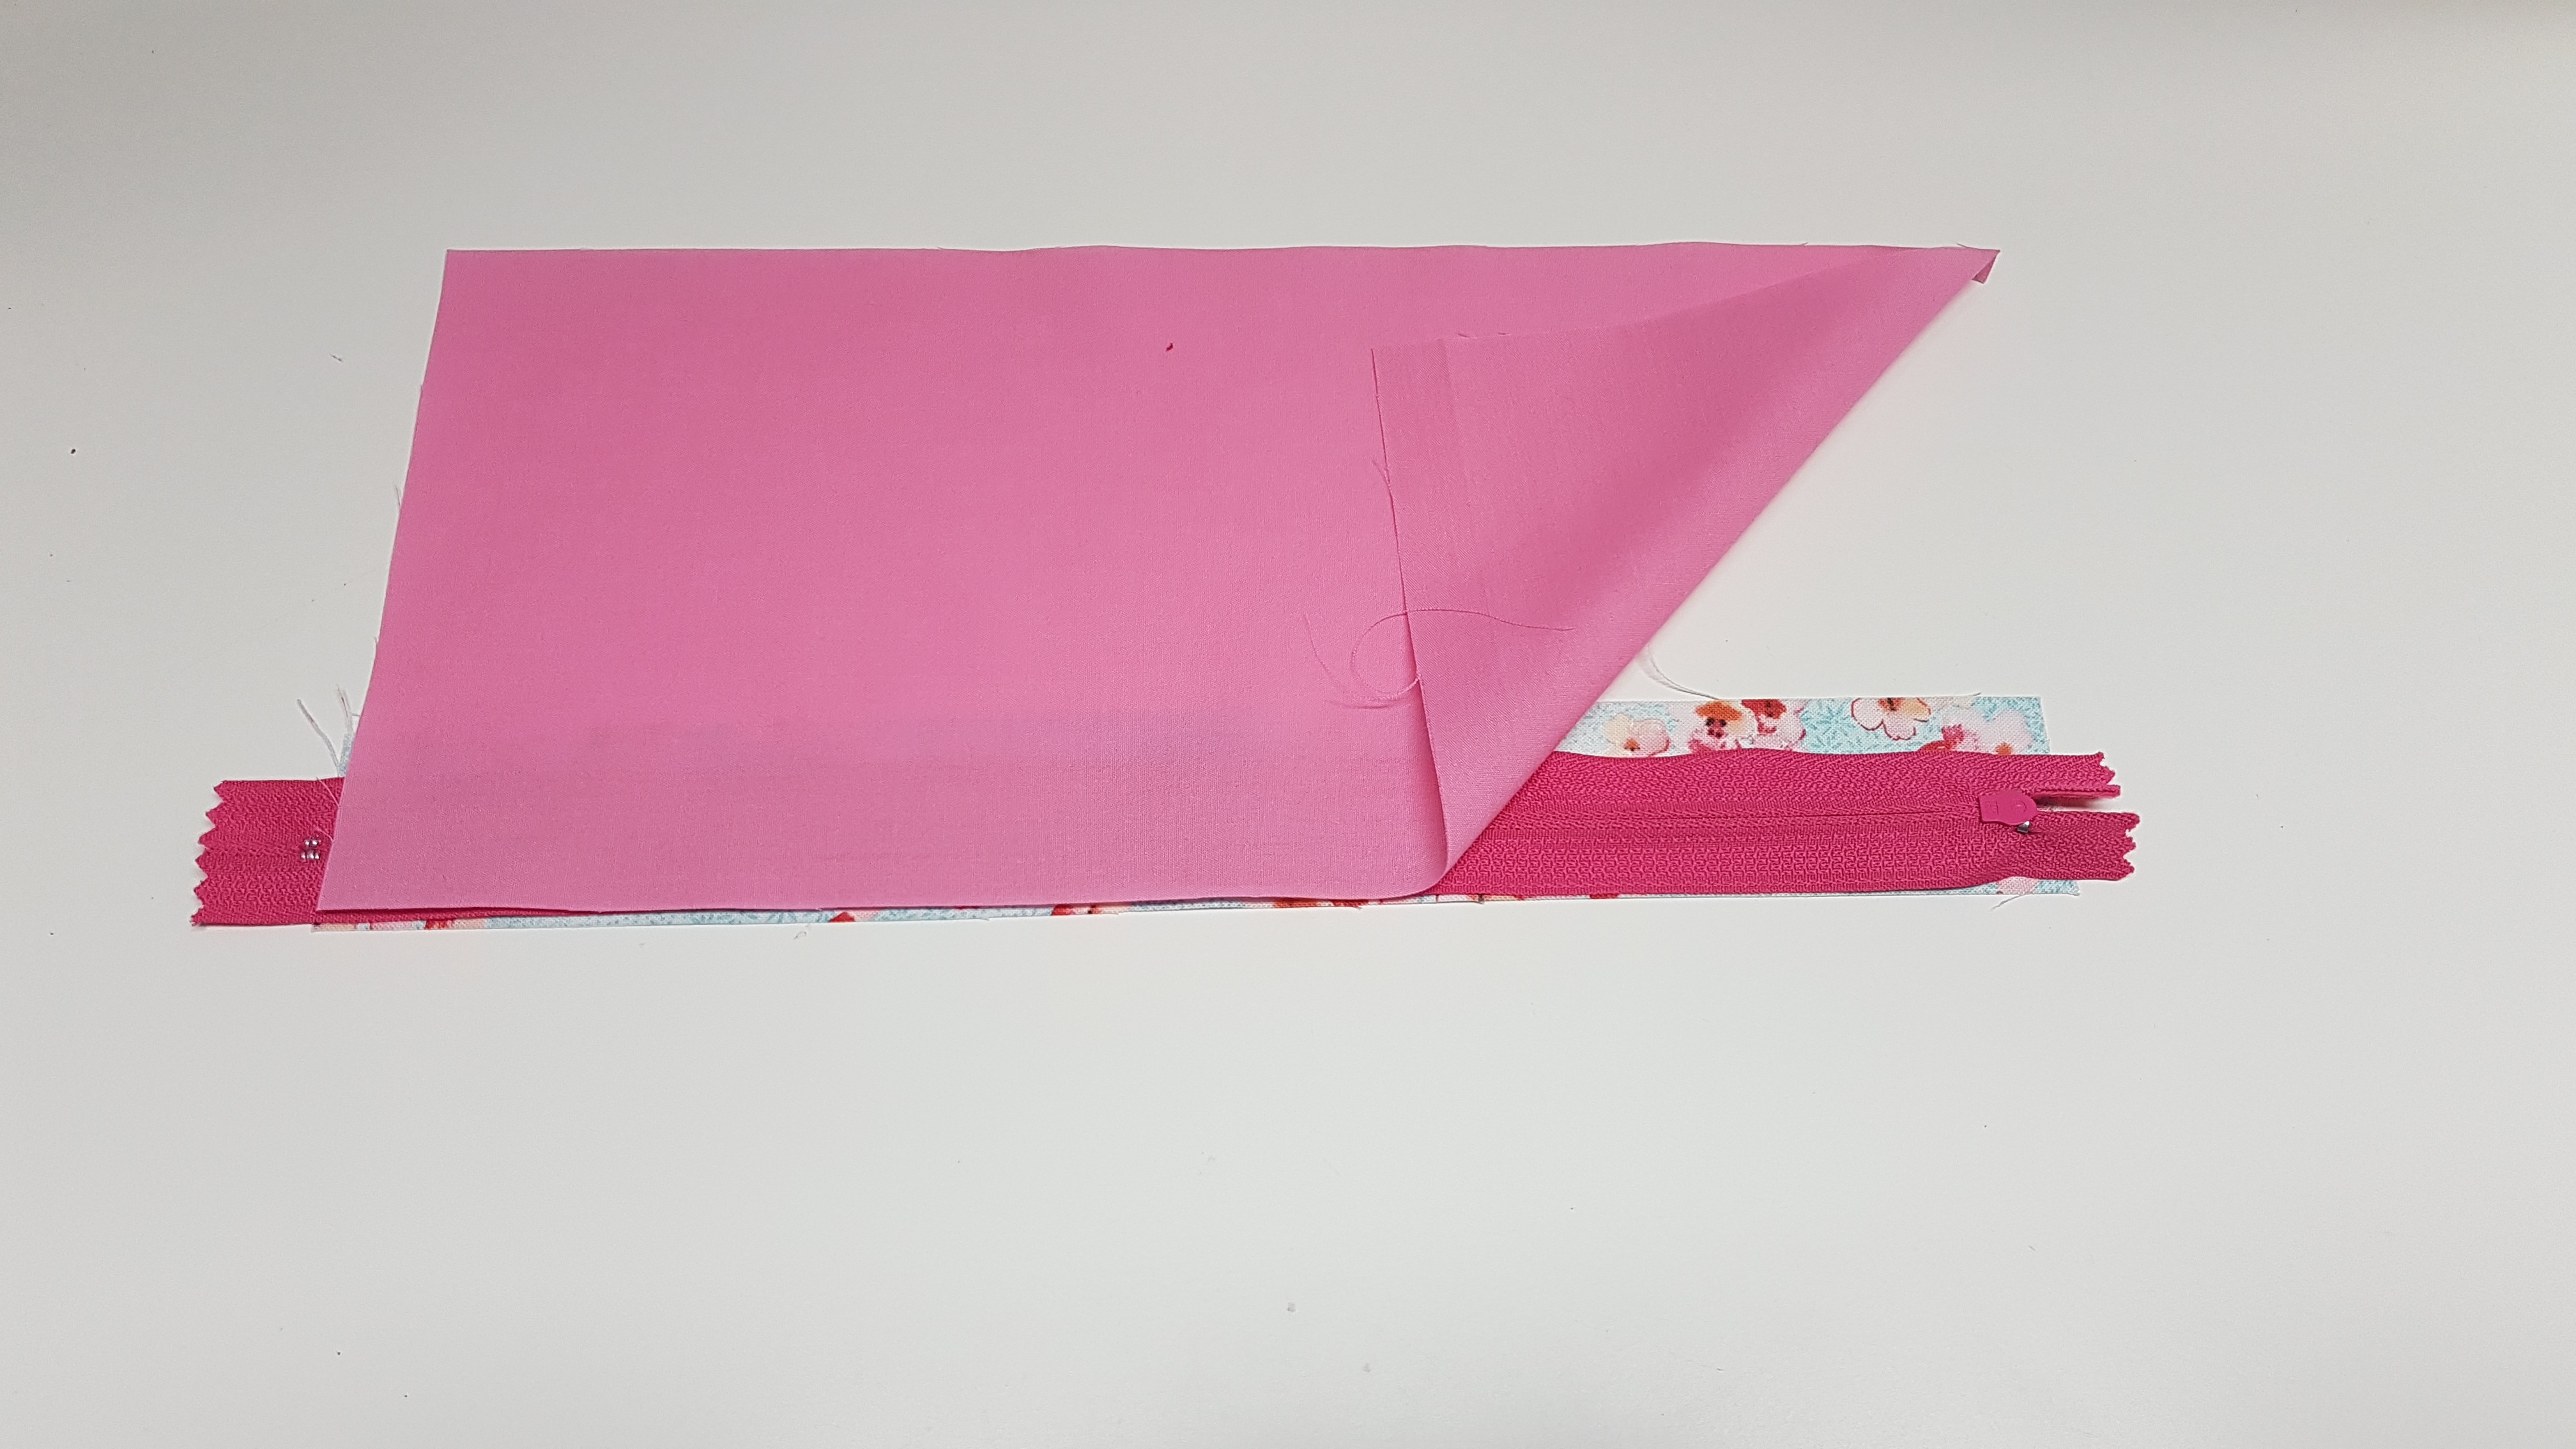
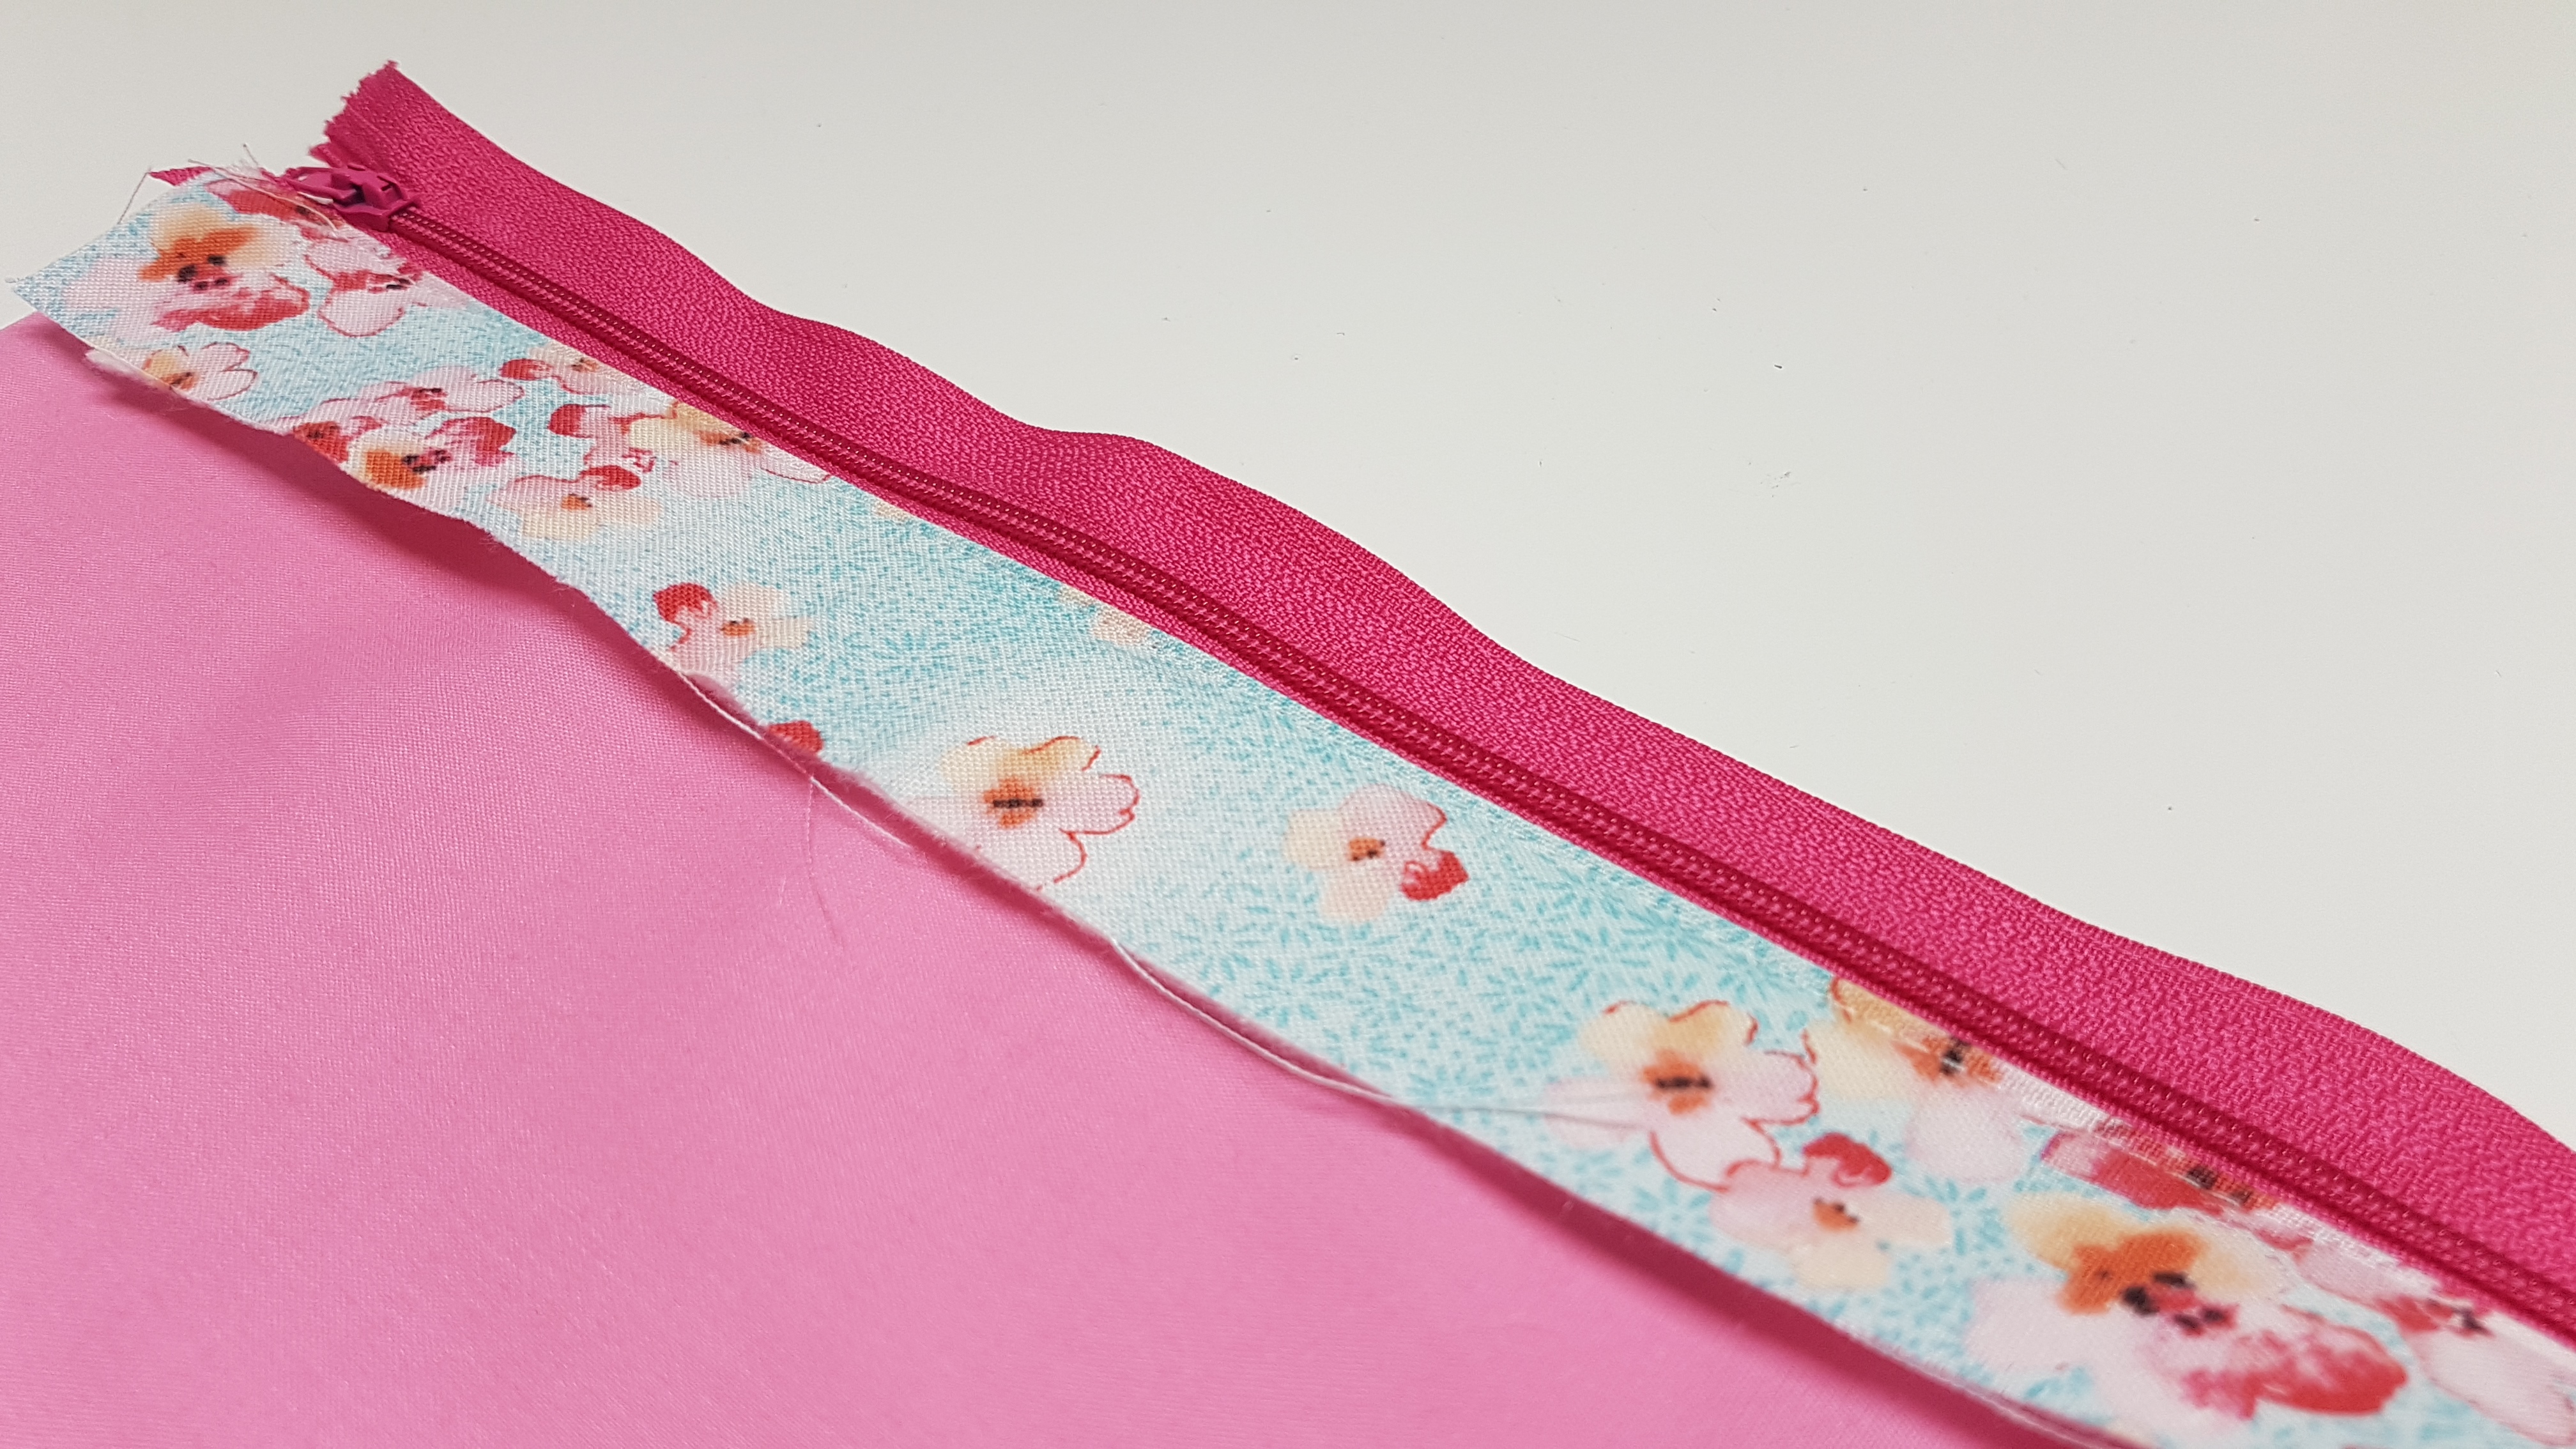
STEP 1 – starting with the small exterior piece lay that flat with the right sides up, place zipper ontop with zipper pull down lining it up with one edge, place one lining piece ontop of the zipper, make sure all the pieces are lined up and sew along the zipper teeth (preferably with a zipper Foot)
Step 2 – flip the piece with the right sides out and top stitch along the edge close to the zipper to finish it off
step 3 – Install the second zipper on the other side of the small exterior piece, we will again create a zipper sandwich with the exterior fabric and a Second piece of lining, once sewn again flip it right sides out and top stitch the exterior fabric near the second zipper to finish it off
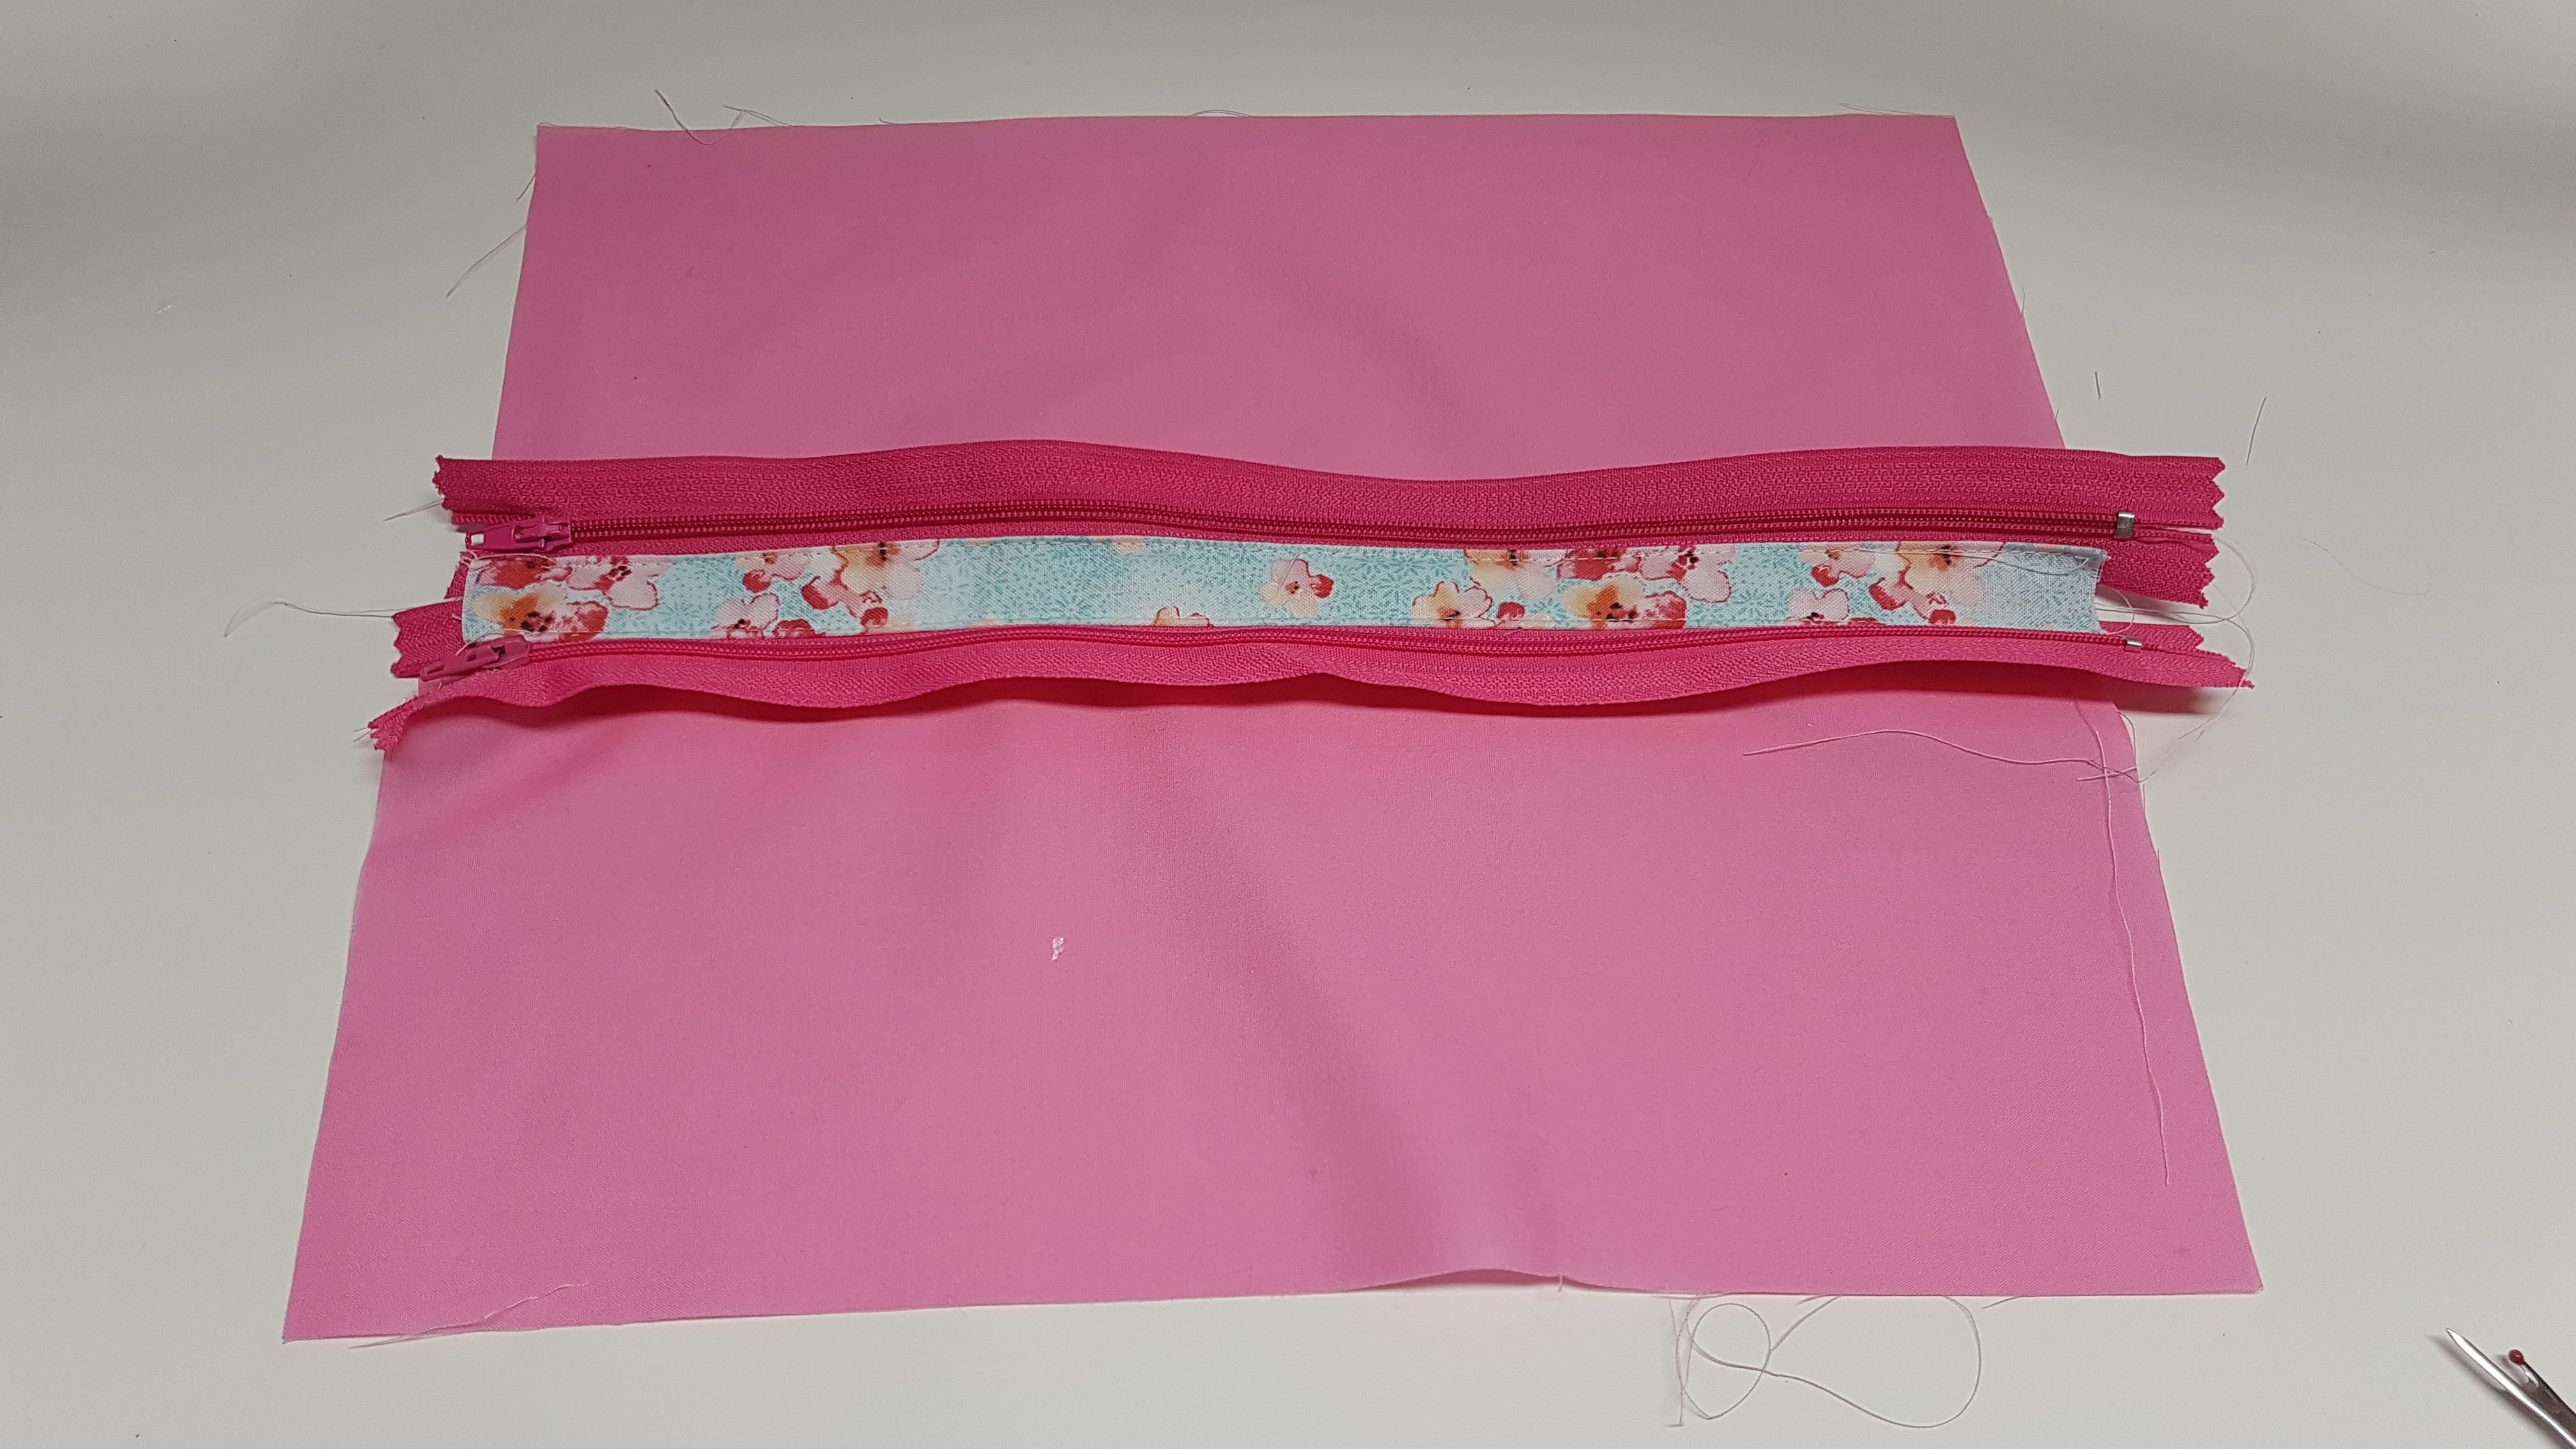
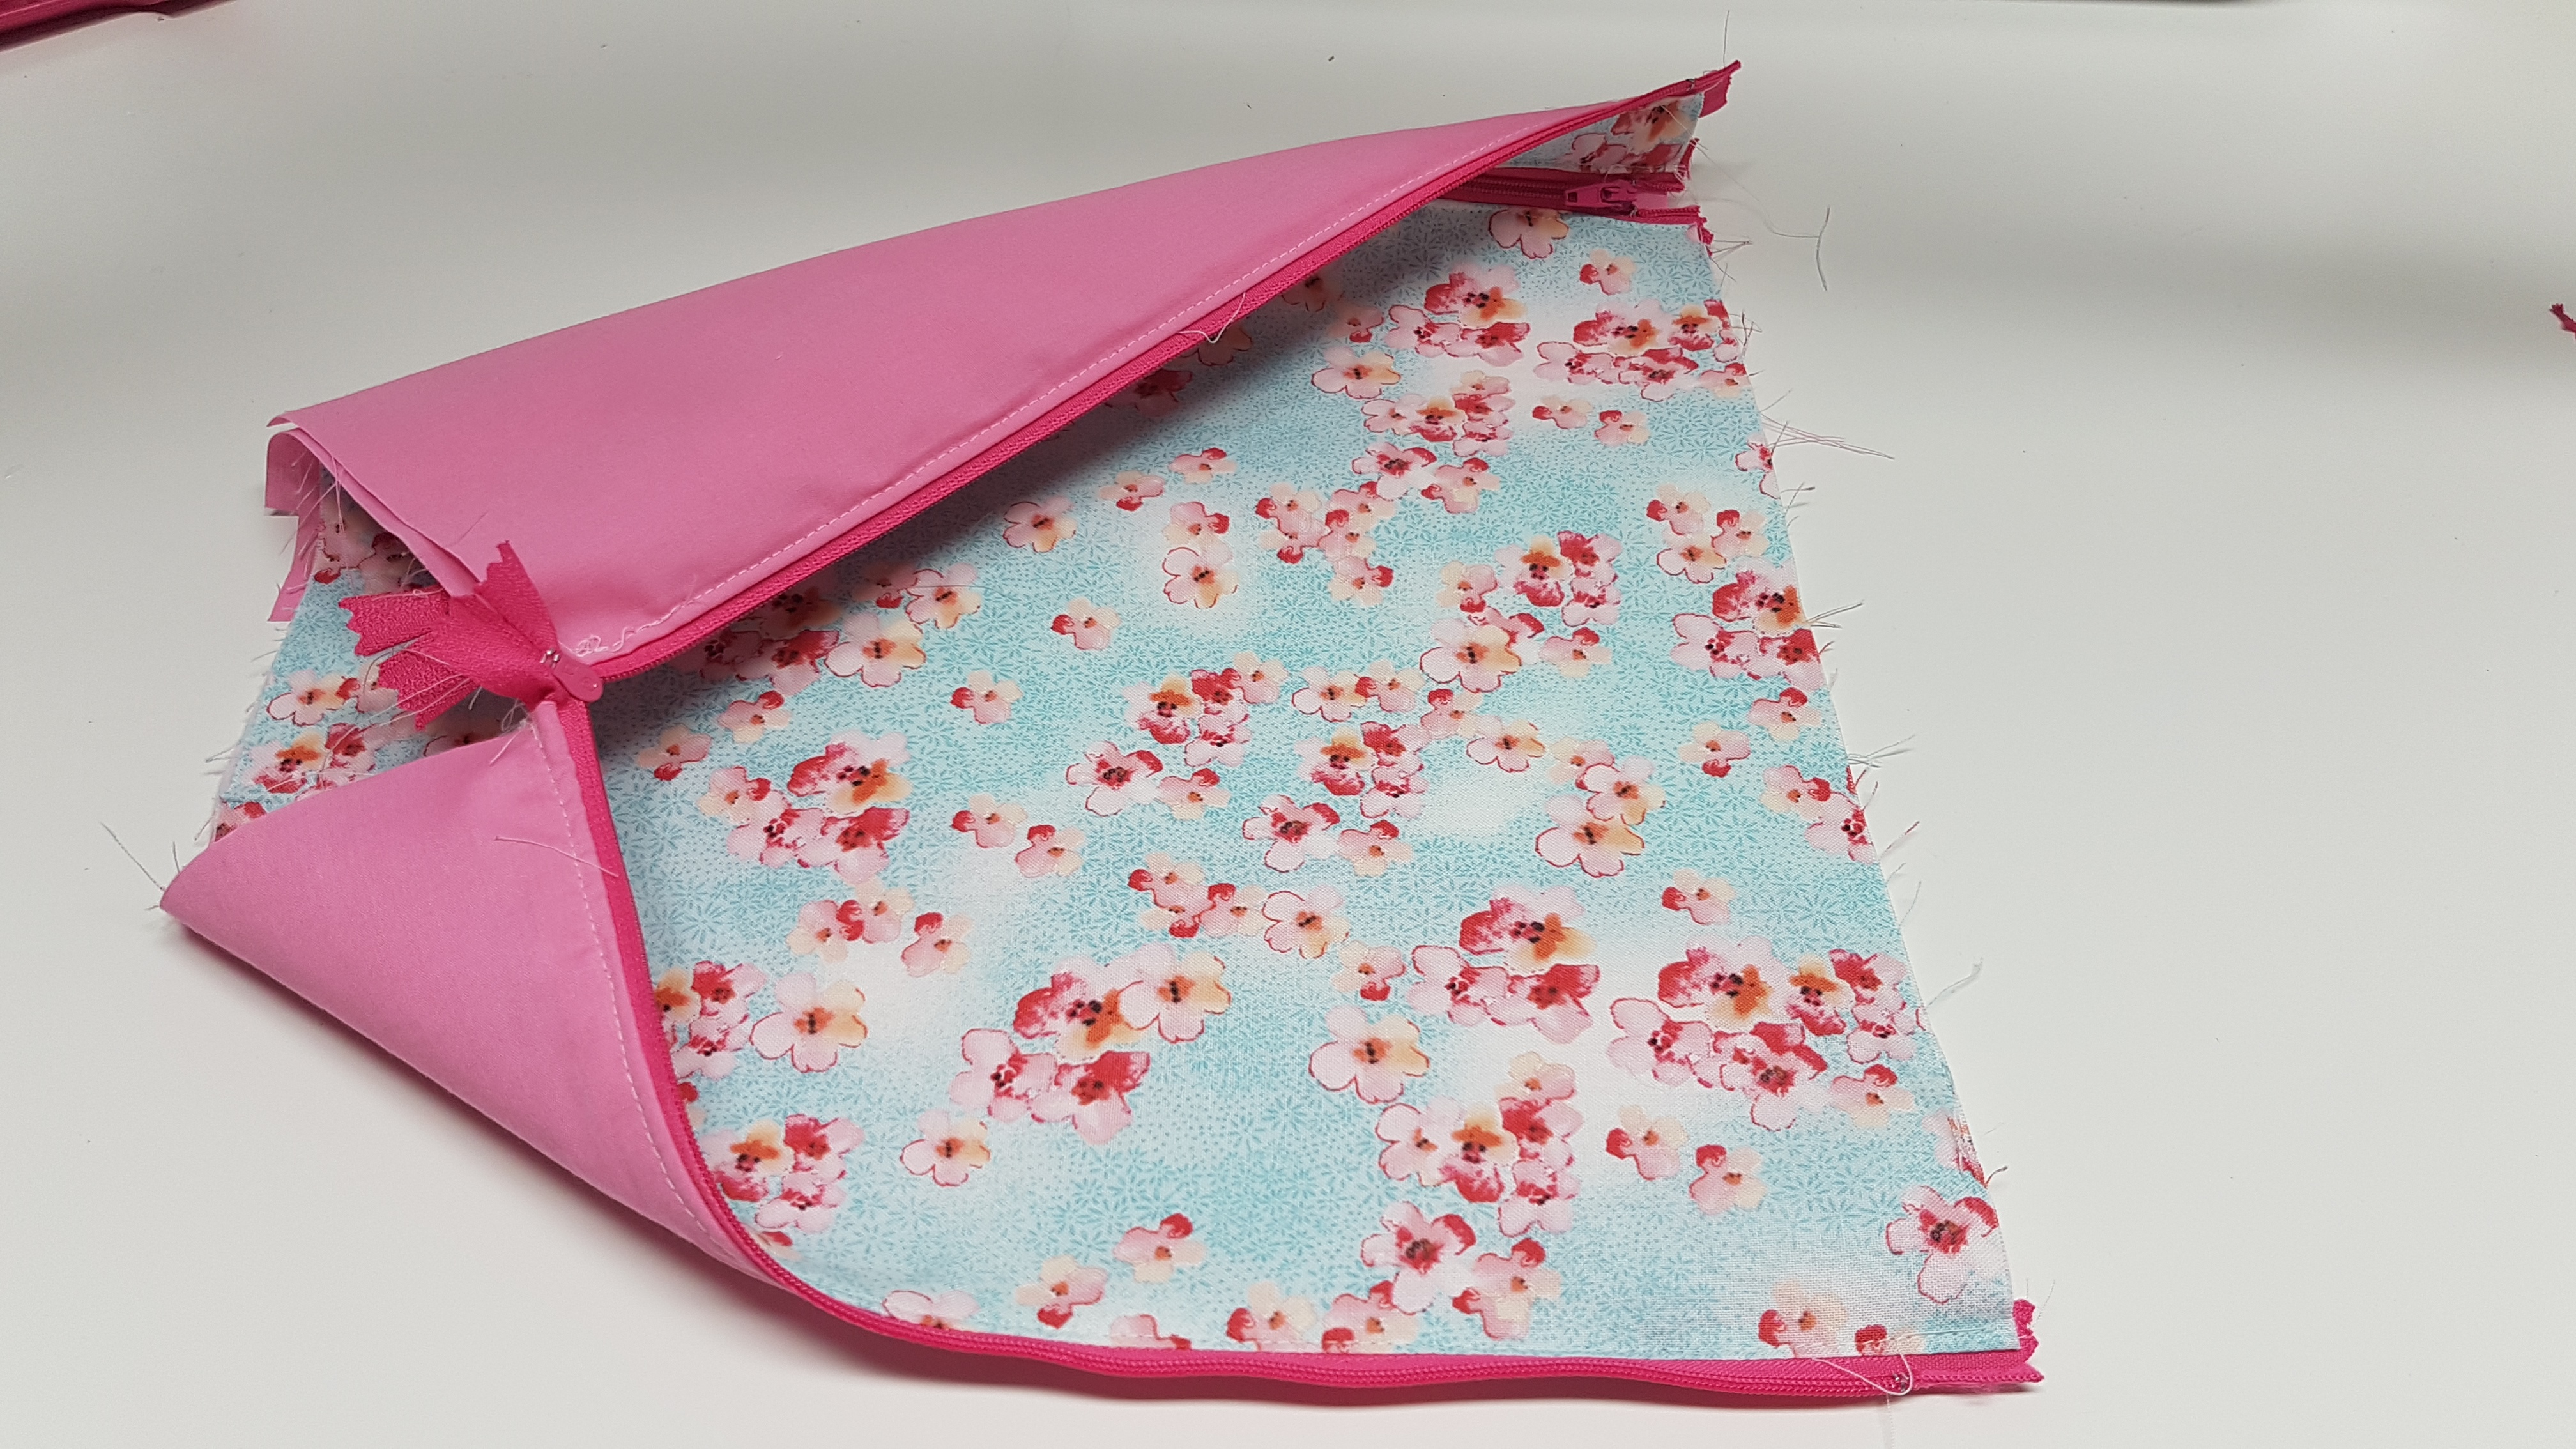
Step 4 -Now you will attach the large exterior fabric to one side of one of the zippers, doing another zipper sandwich line up the edge of one zipper to the exterior fabric edge and place the 3rd piece of lining on top, sew along the zipper and again flip it right sides out and top stitch the exterior fabric close to the zipper
This is how it will look!
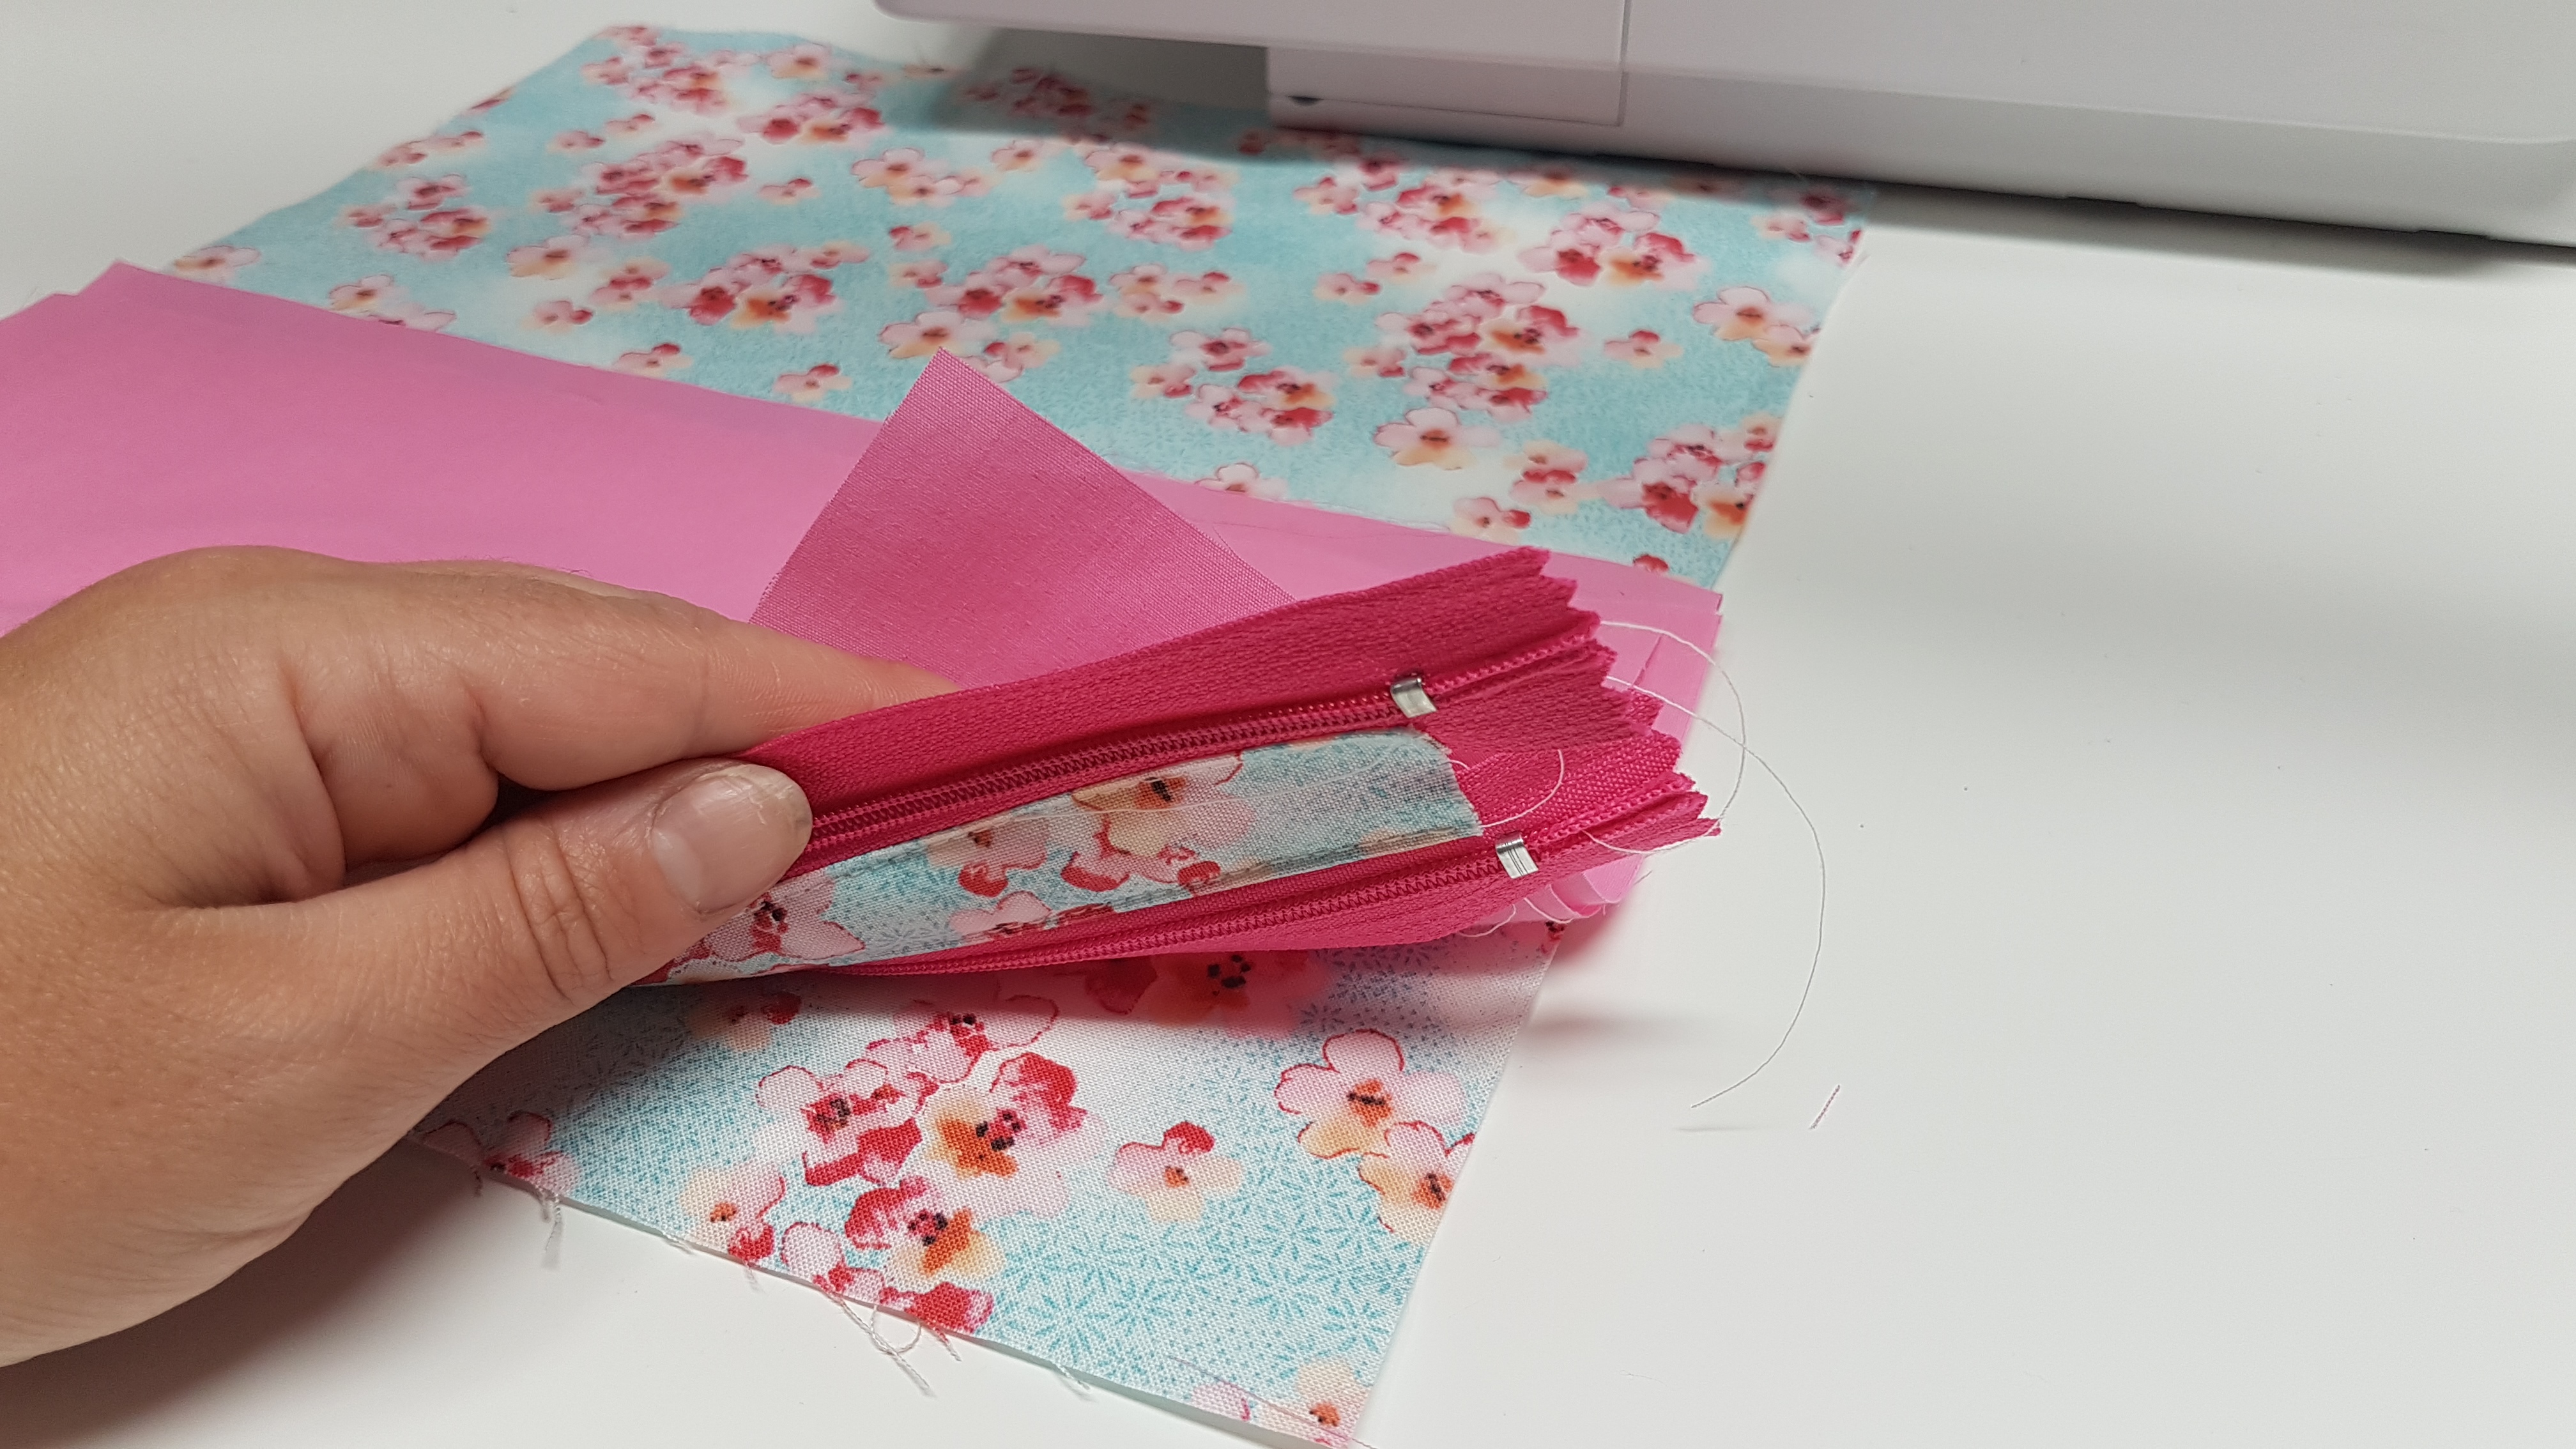
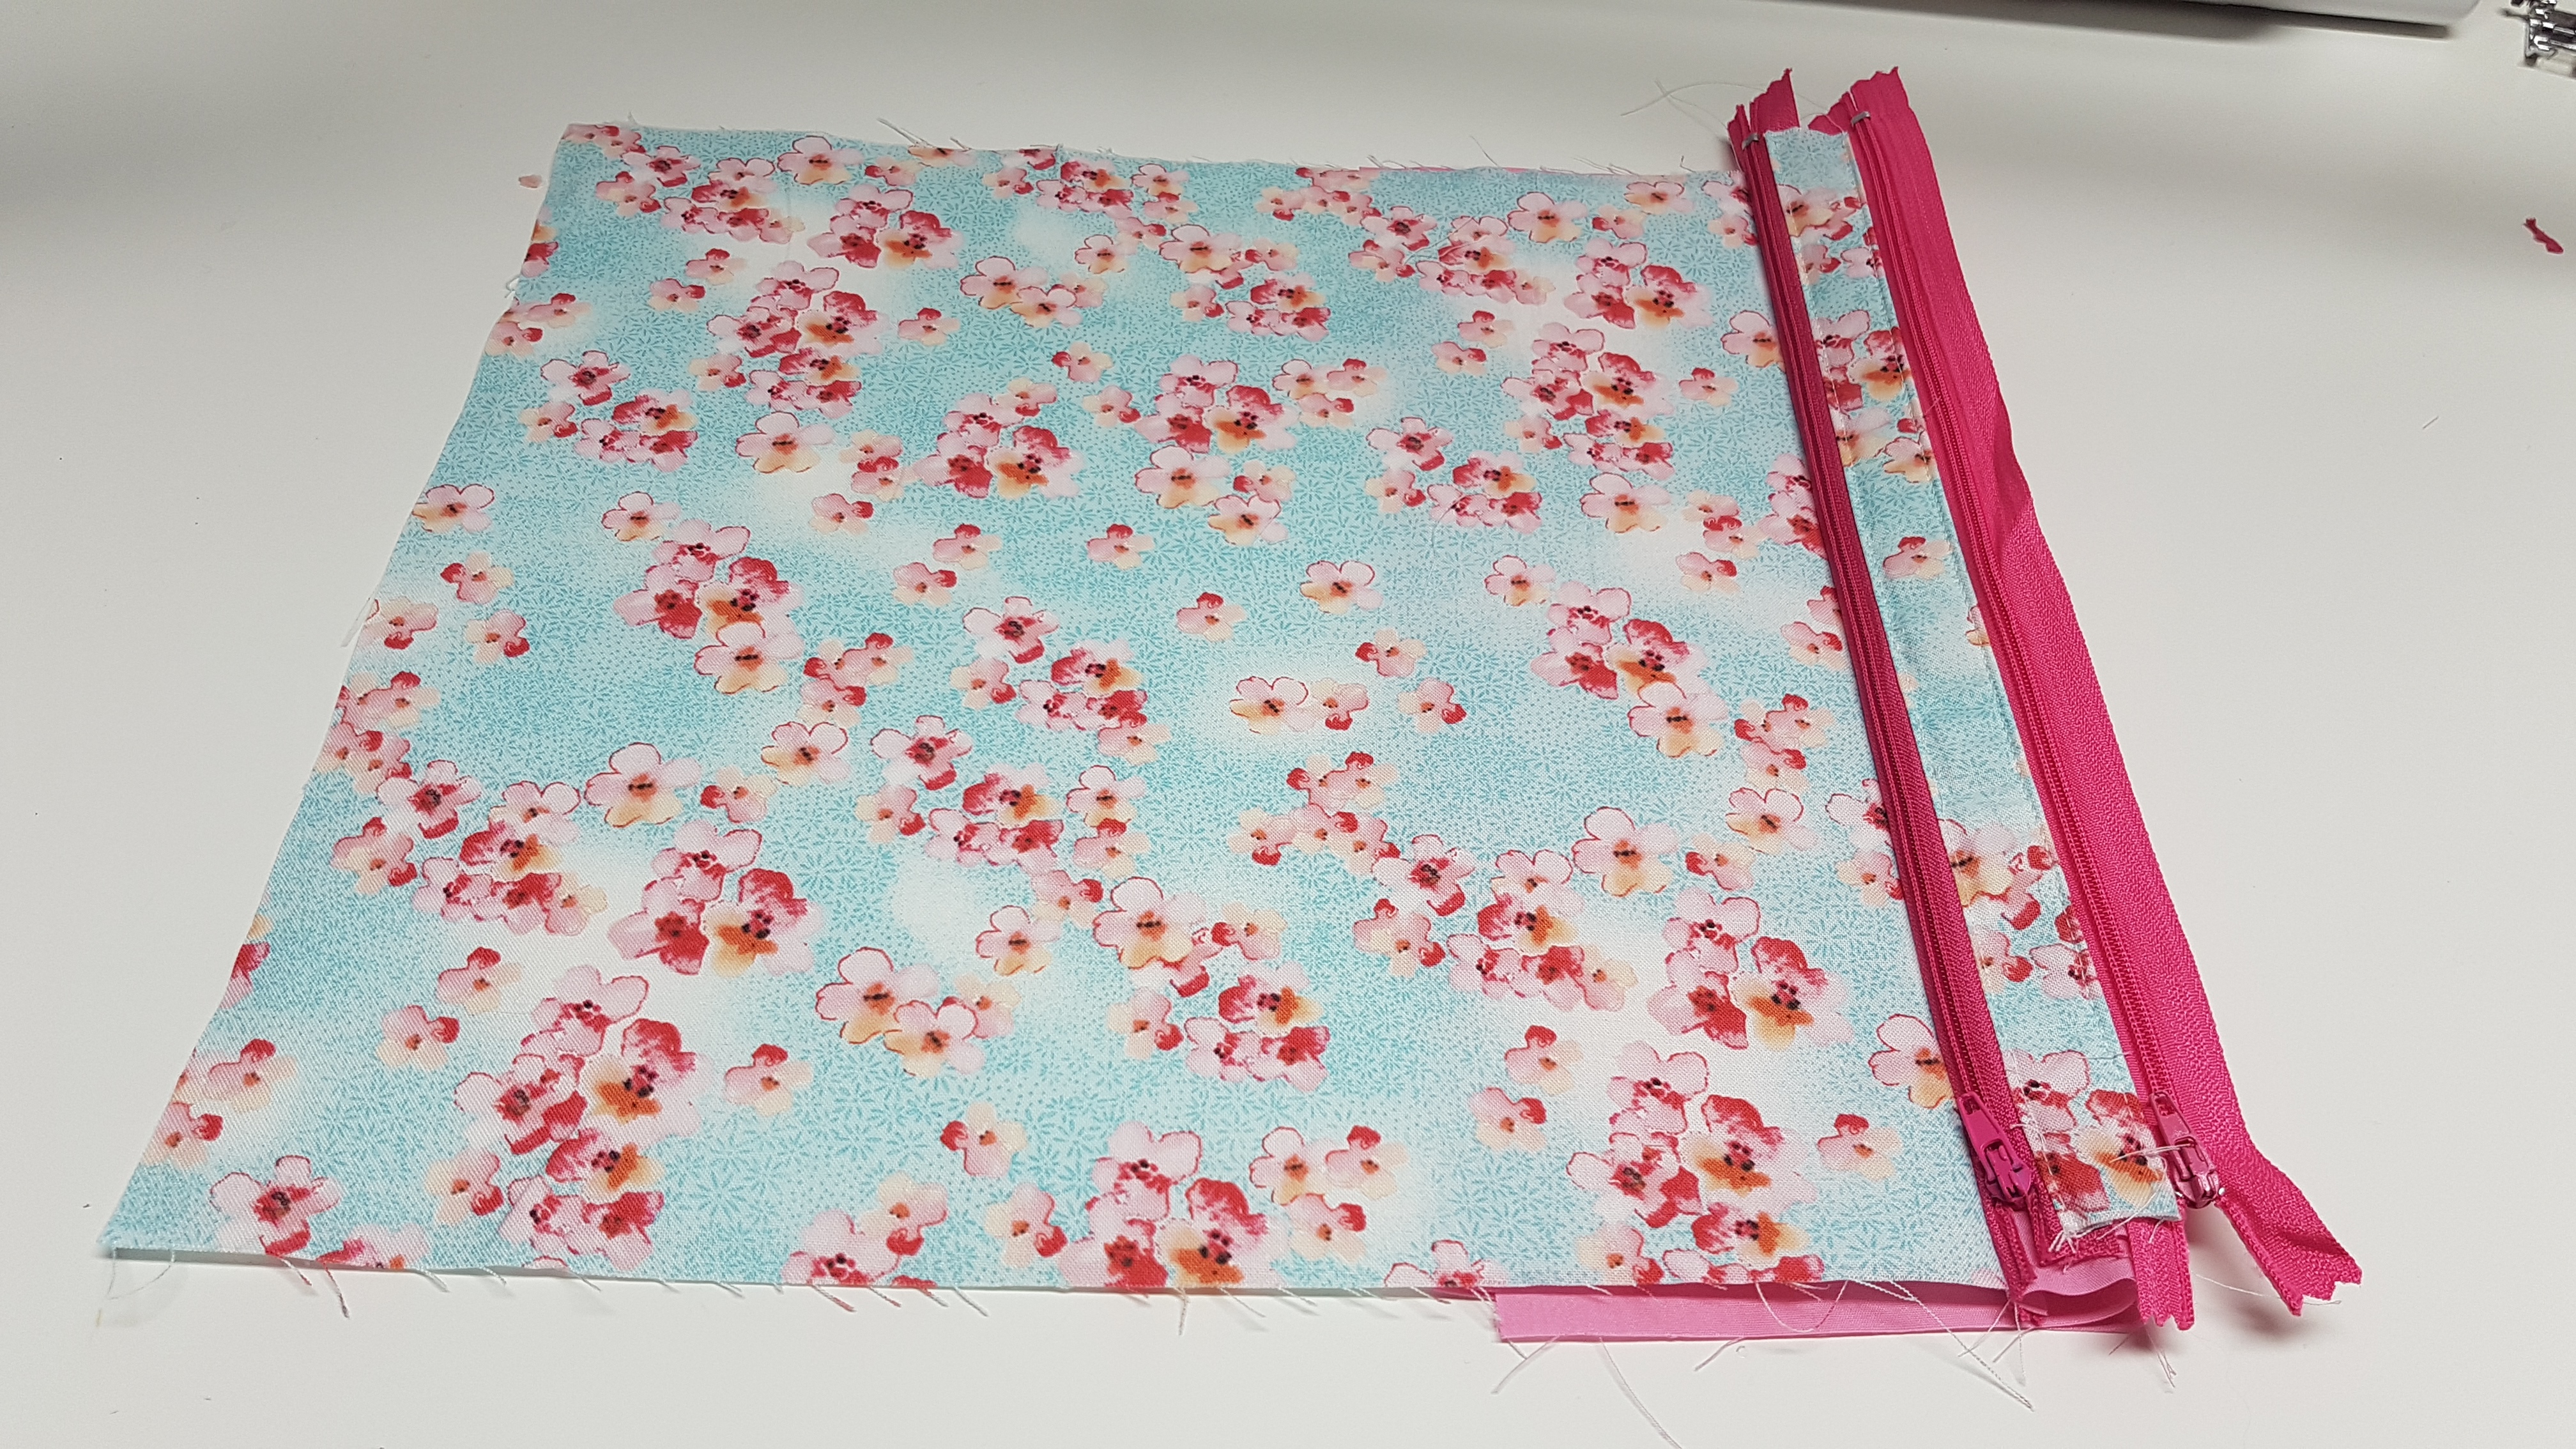
Step 5 – Fold the large piece of exterior fabric in half lining up the edge with the last side of the other zipper, again create a zipper sandwich and place the 4th lining piece on the opposite side of the zipper, sew along the zipper to finish all the zipper installations. at this point you will have a tube
Since it will be in a tube it will be harder to top stitch in this way, So! you will need to unzip that zipper and this will let you have access to the other side of the fabric and you can top stitch easily now.
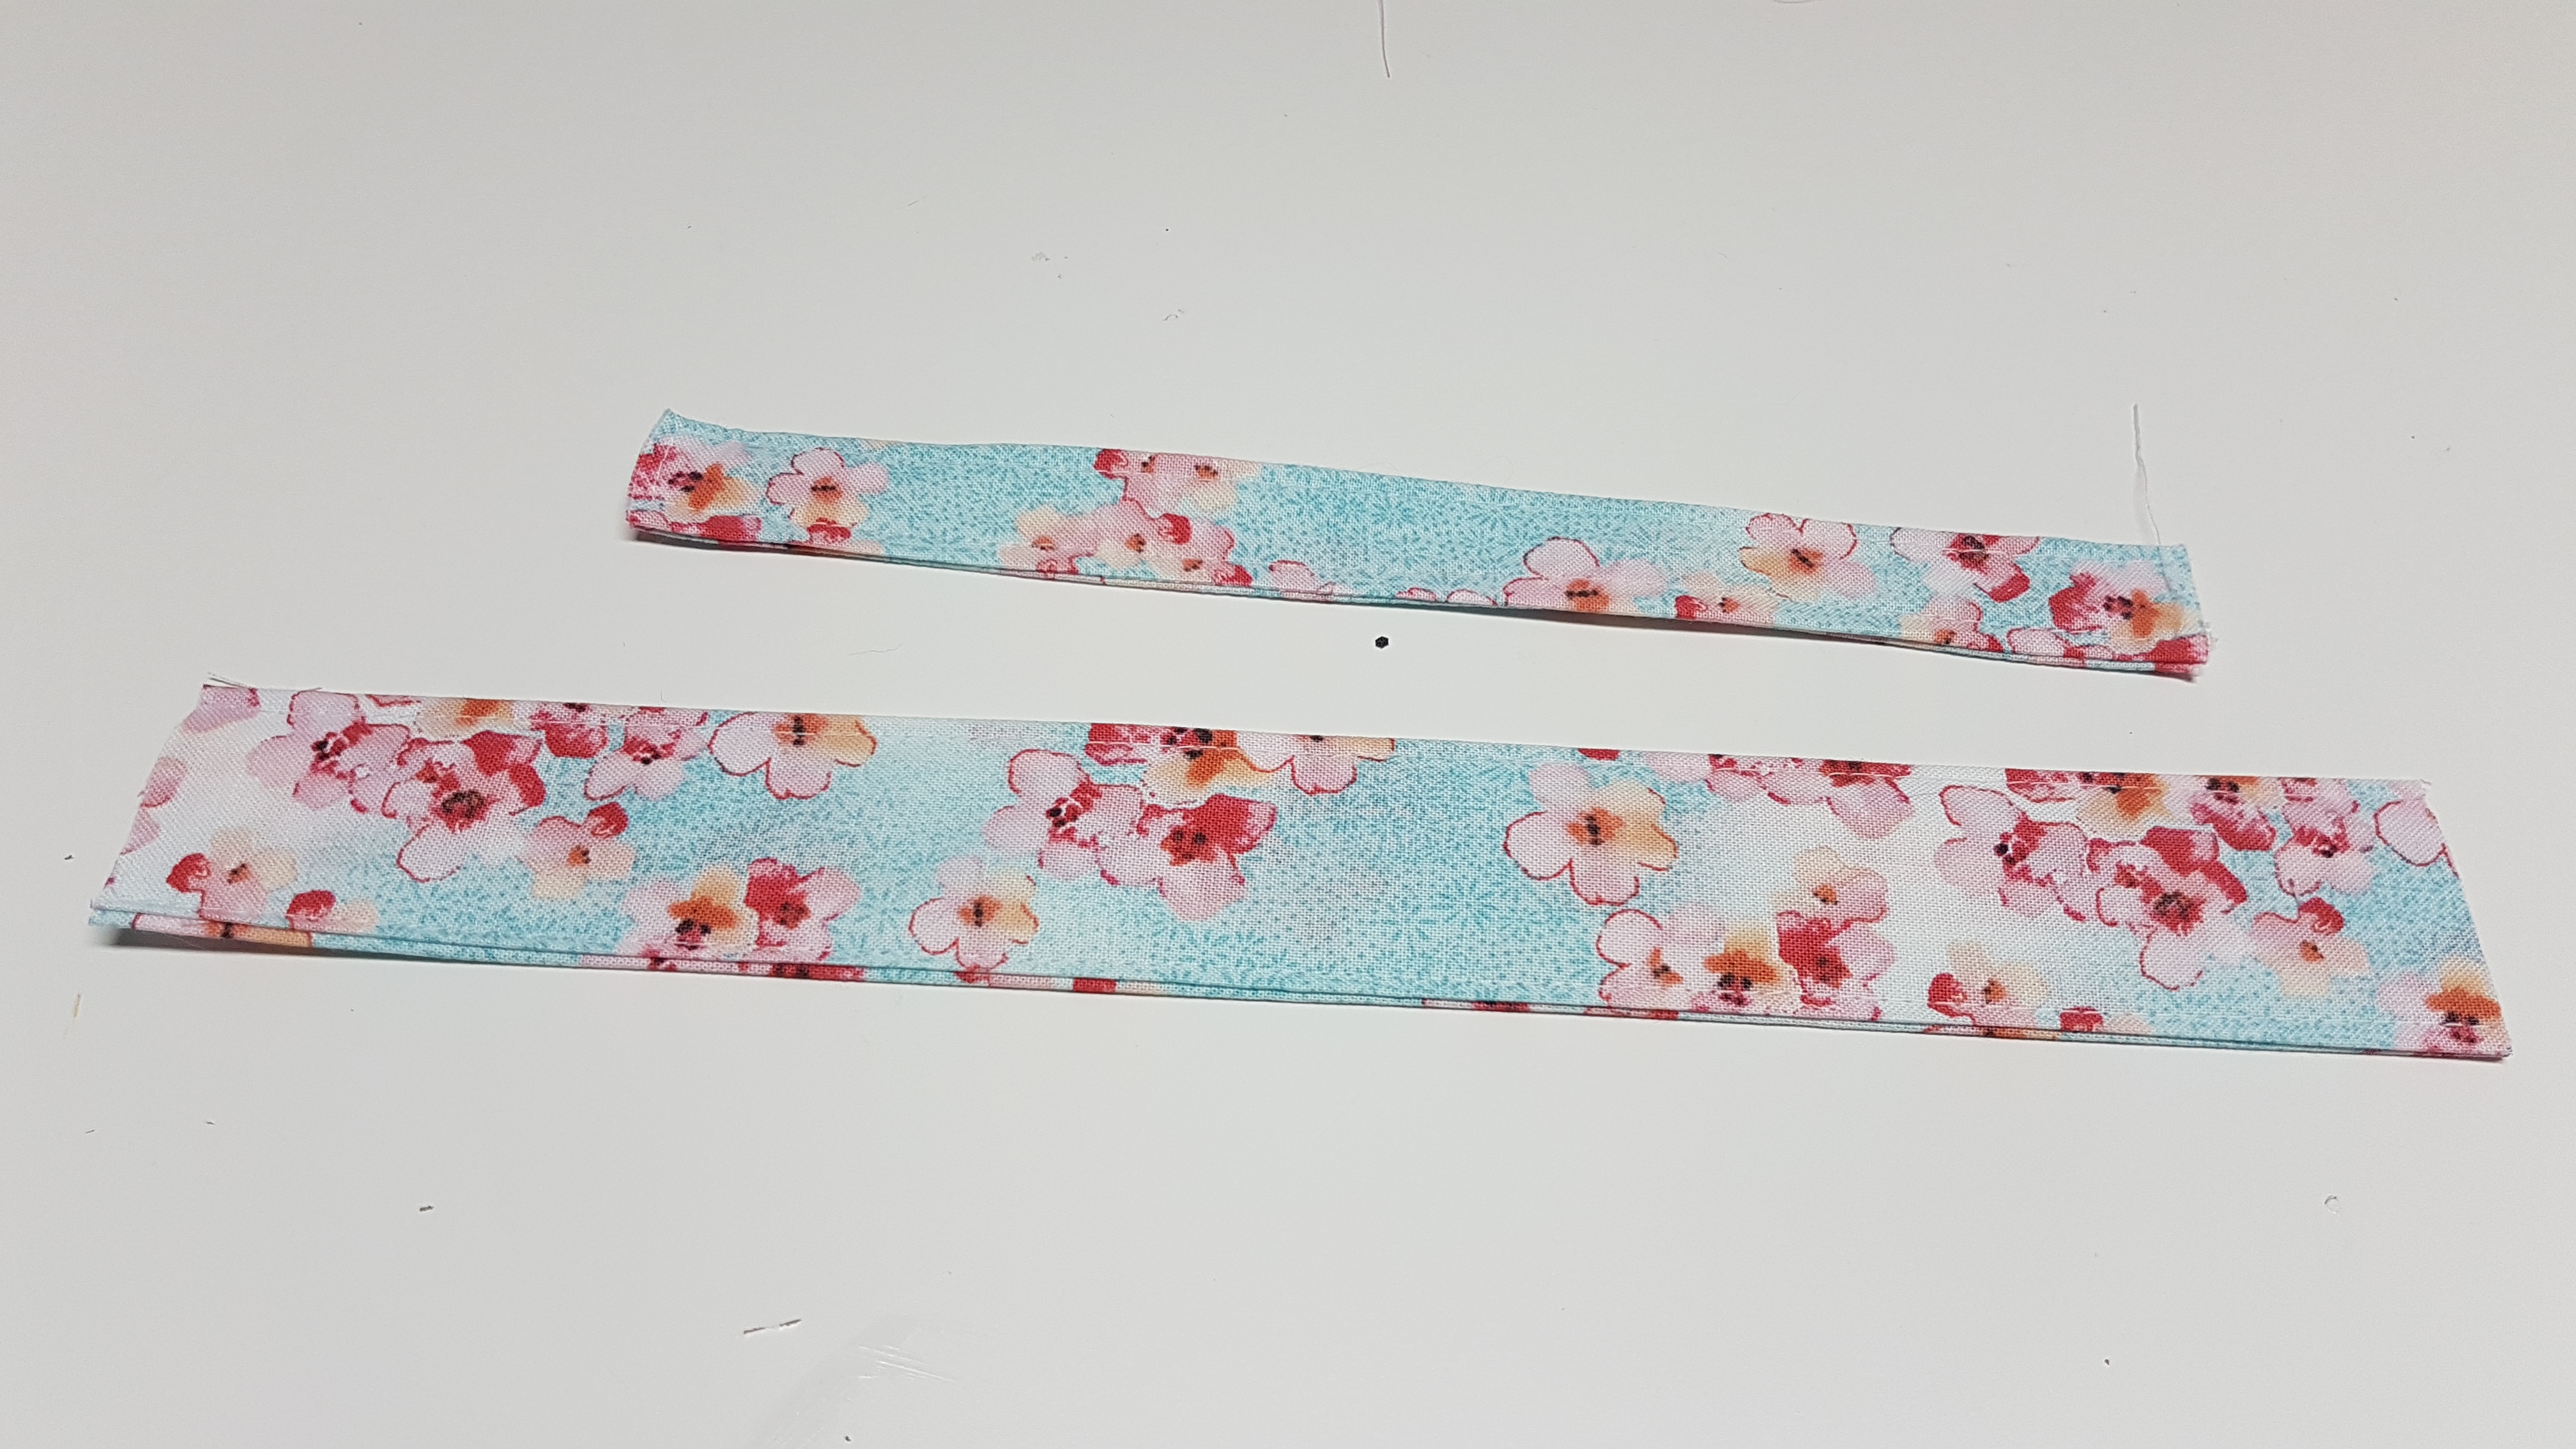
Step 6 – Now you can work on the tab and the (optional) handle piece
I fold them right sides in sew along the edge, flip the tube and top stitch along each side to finish them off
The tab piece will be cut to your desired size, i put them into 2″ pieces and they will be folded when placed into the bag
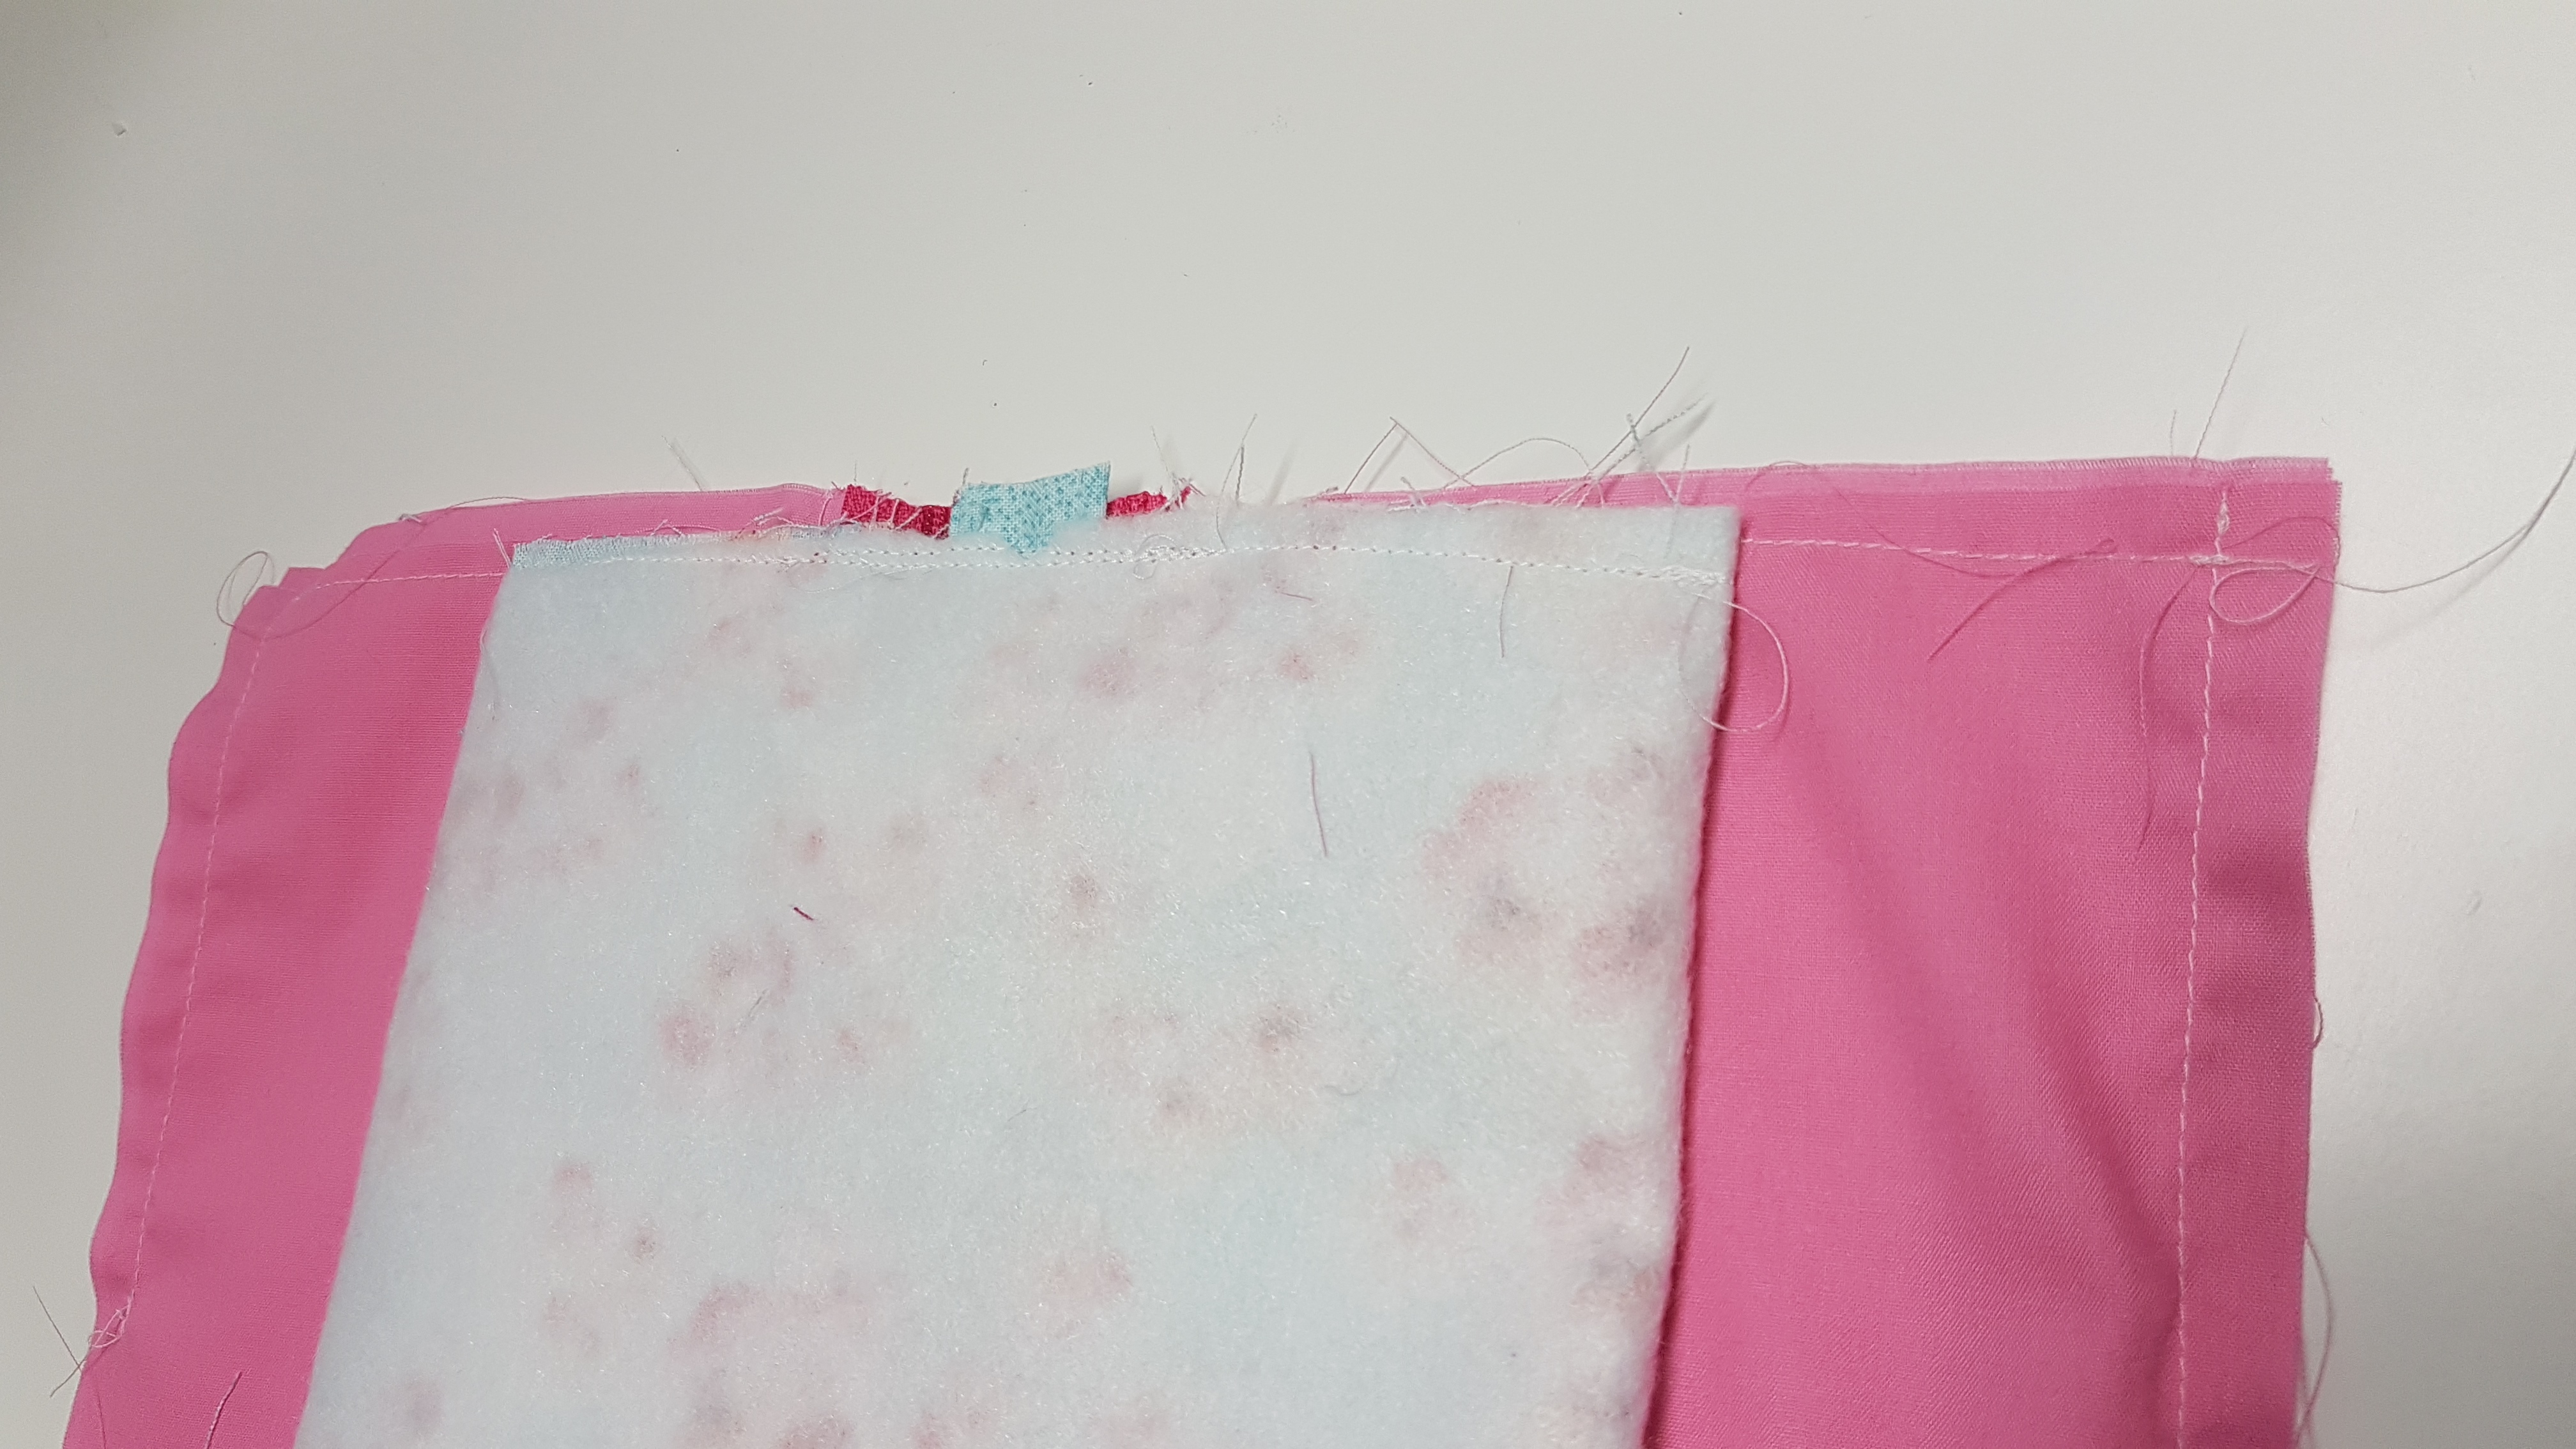
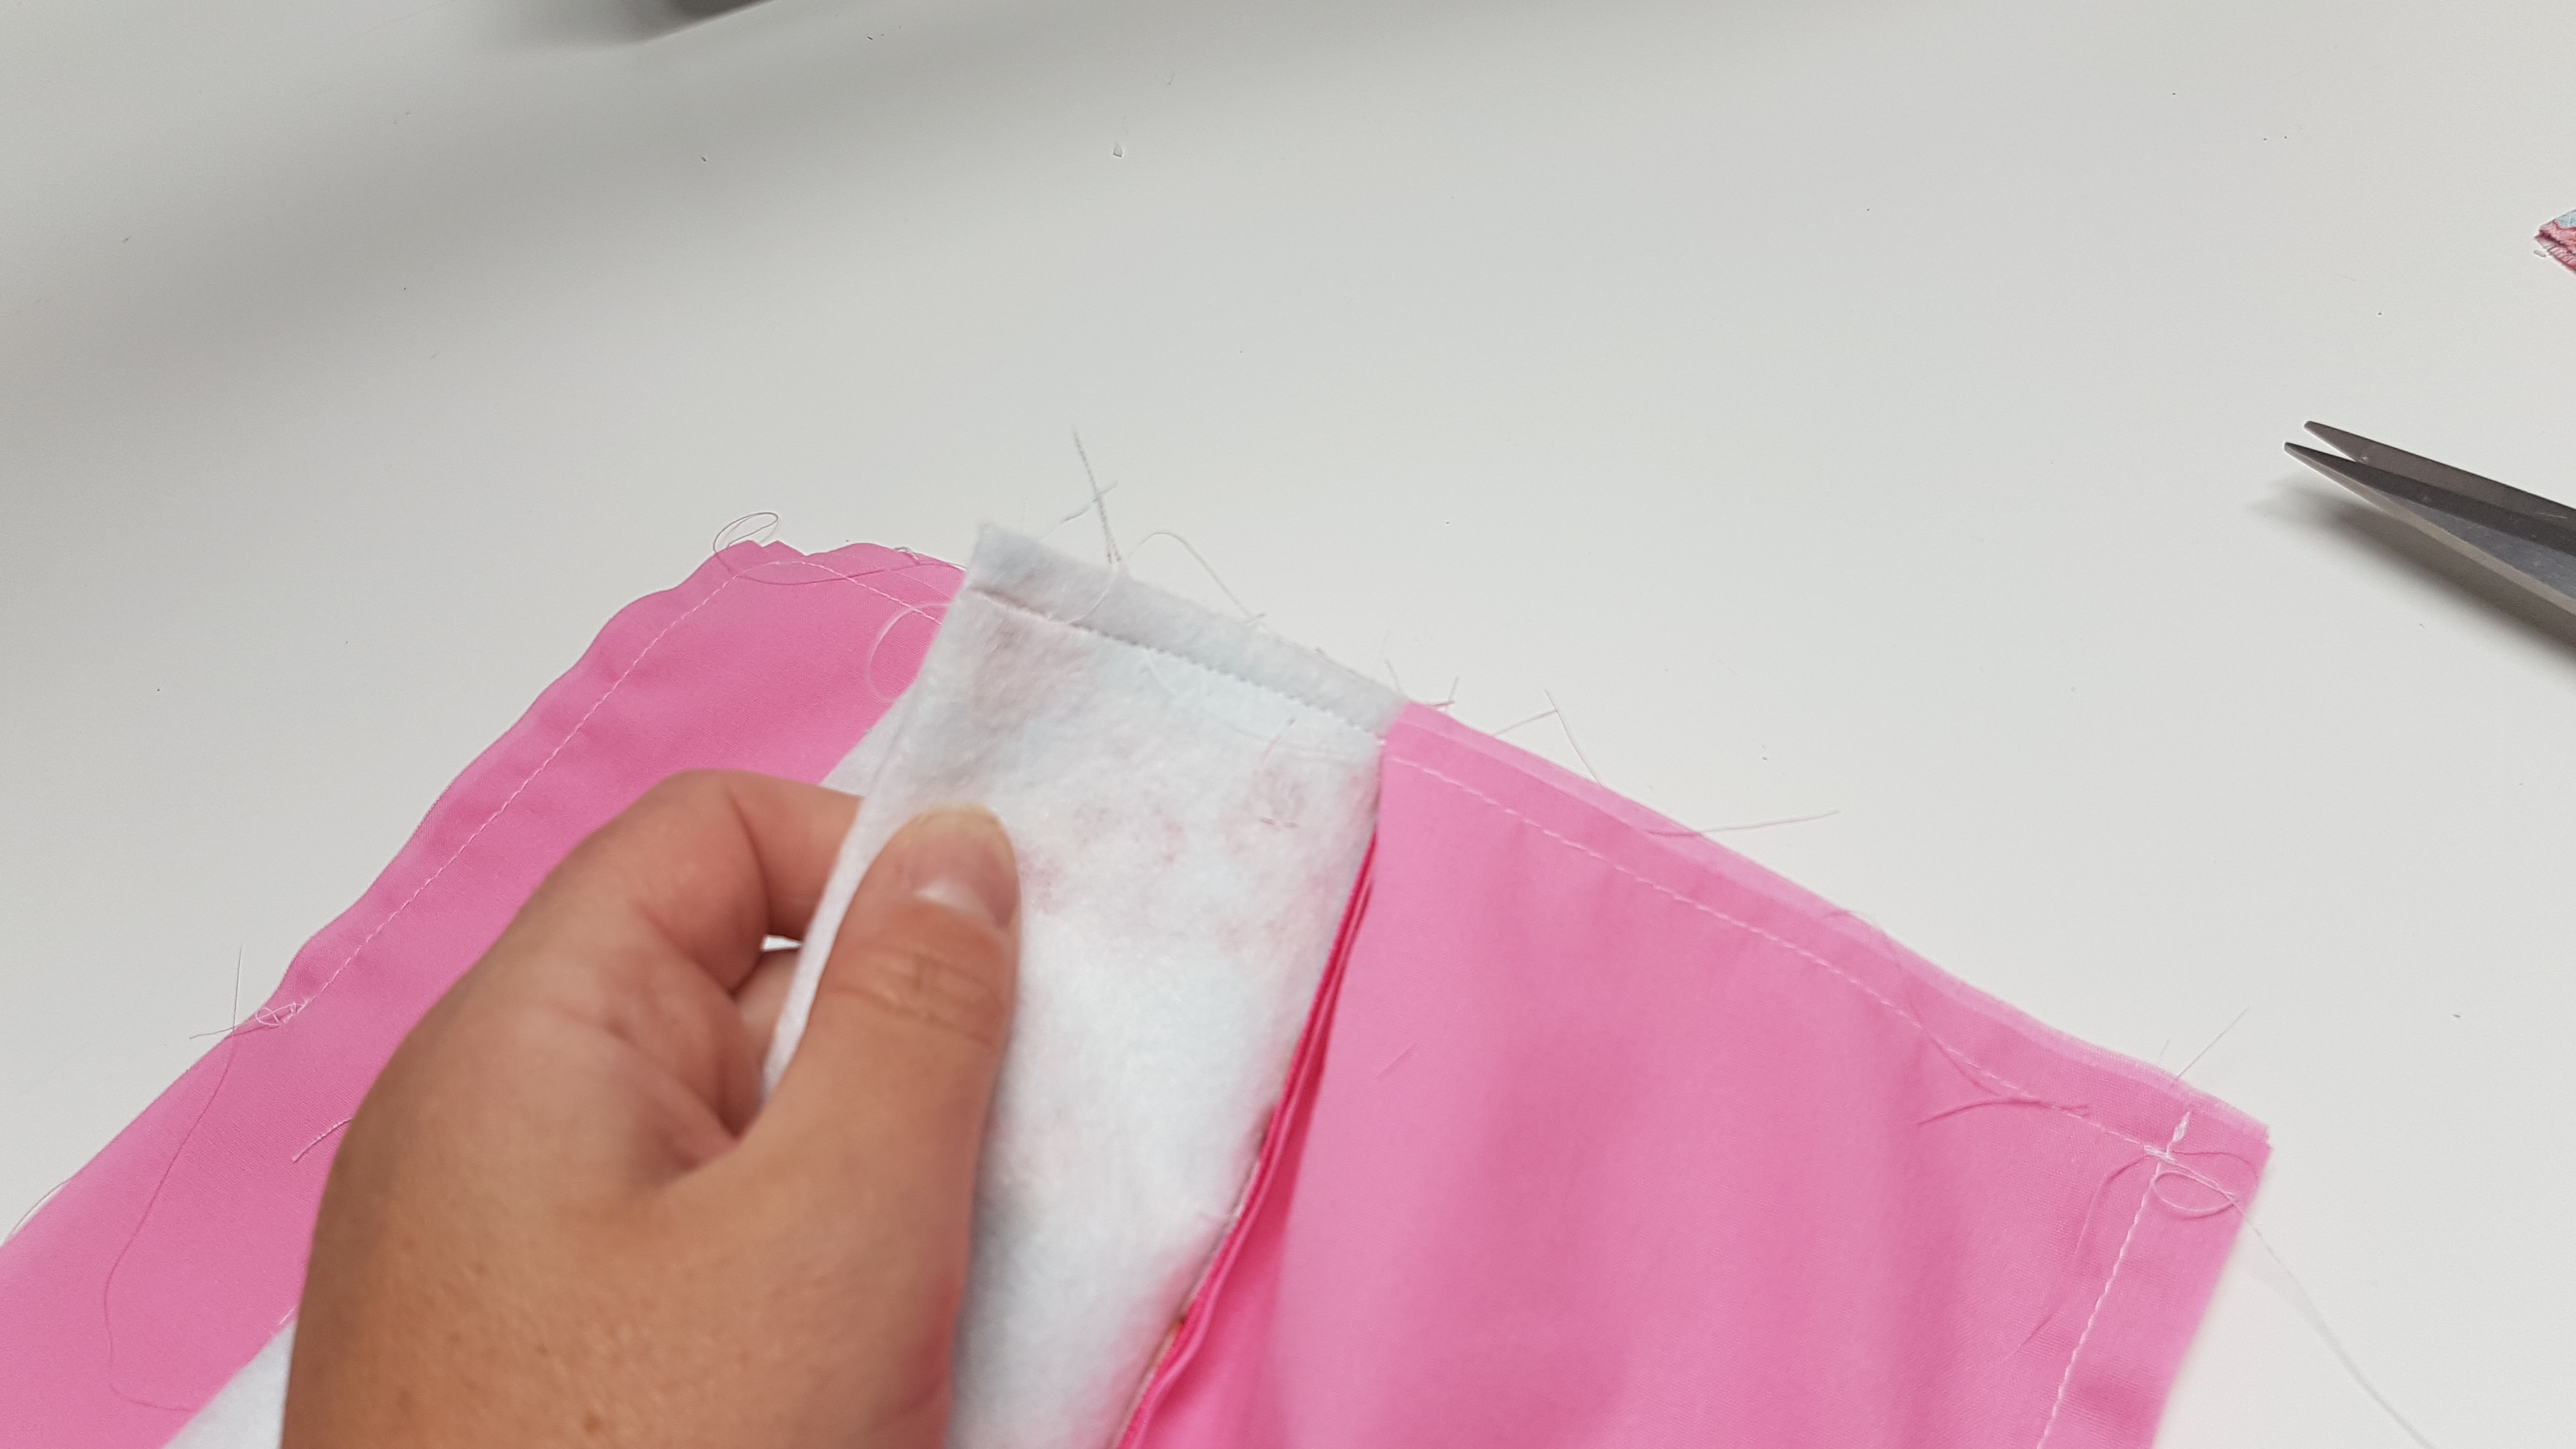
Step 7 – Now we will take the linings and close them up. Take the lining from one zipper lining up the edges sew along the 3 sides, sew up the sides close to the zipper and then stop
for the second lining pieces sew along the sides and the bottom but leave a 4 or 5 inch hole this will be used for turning.
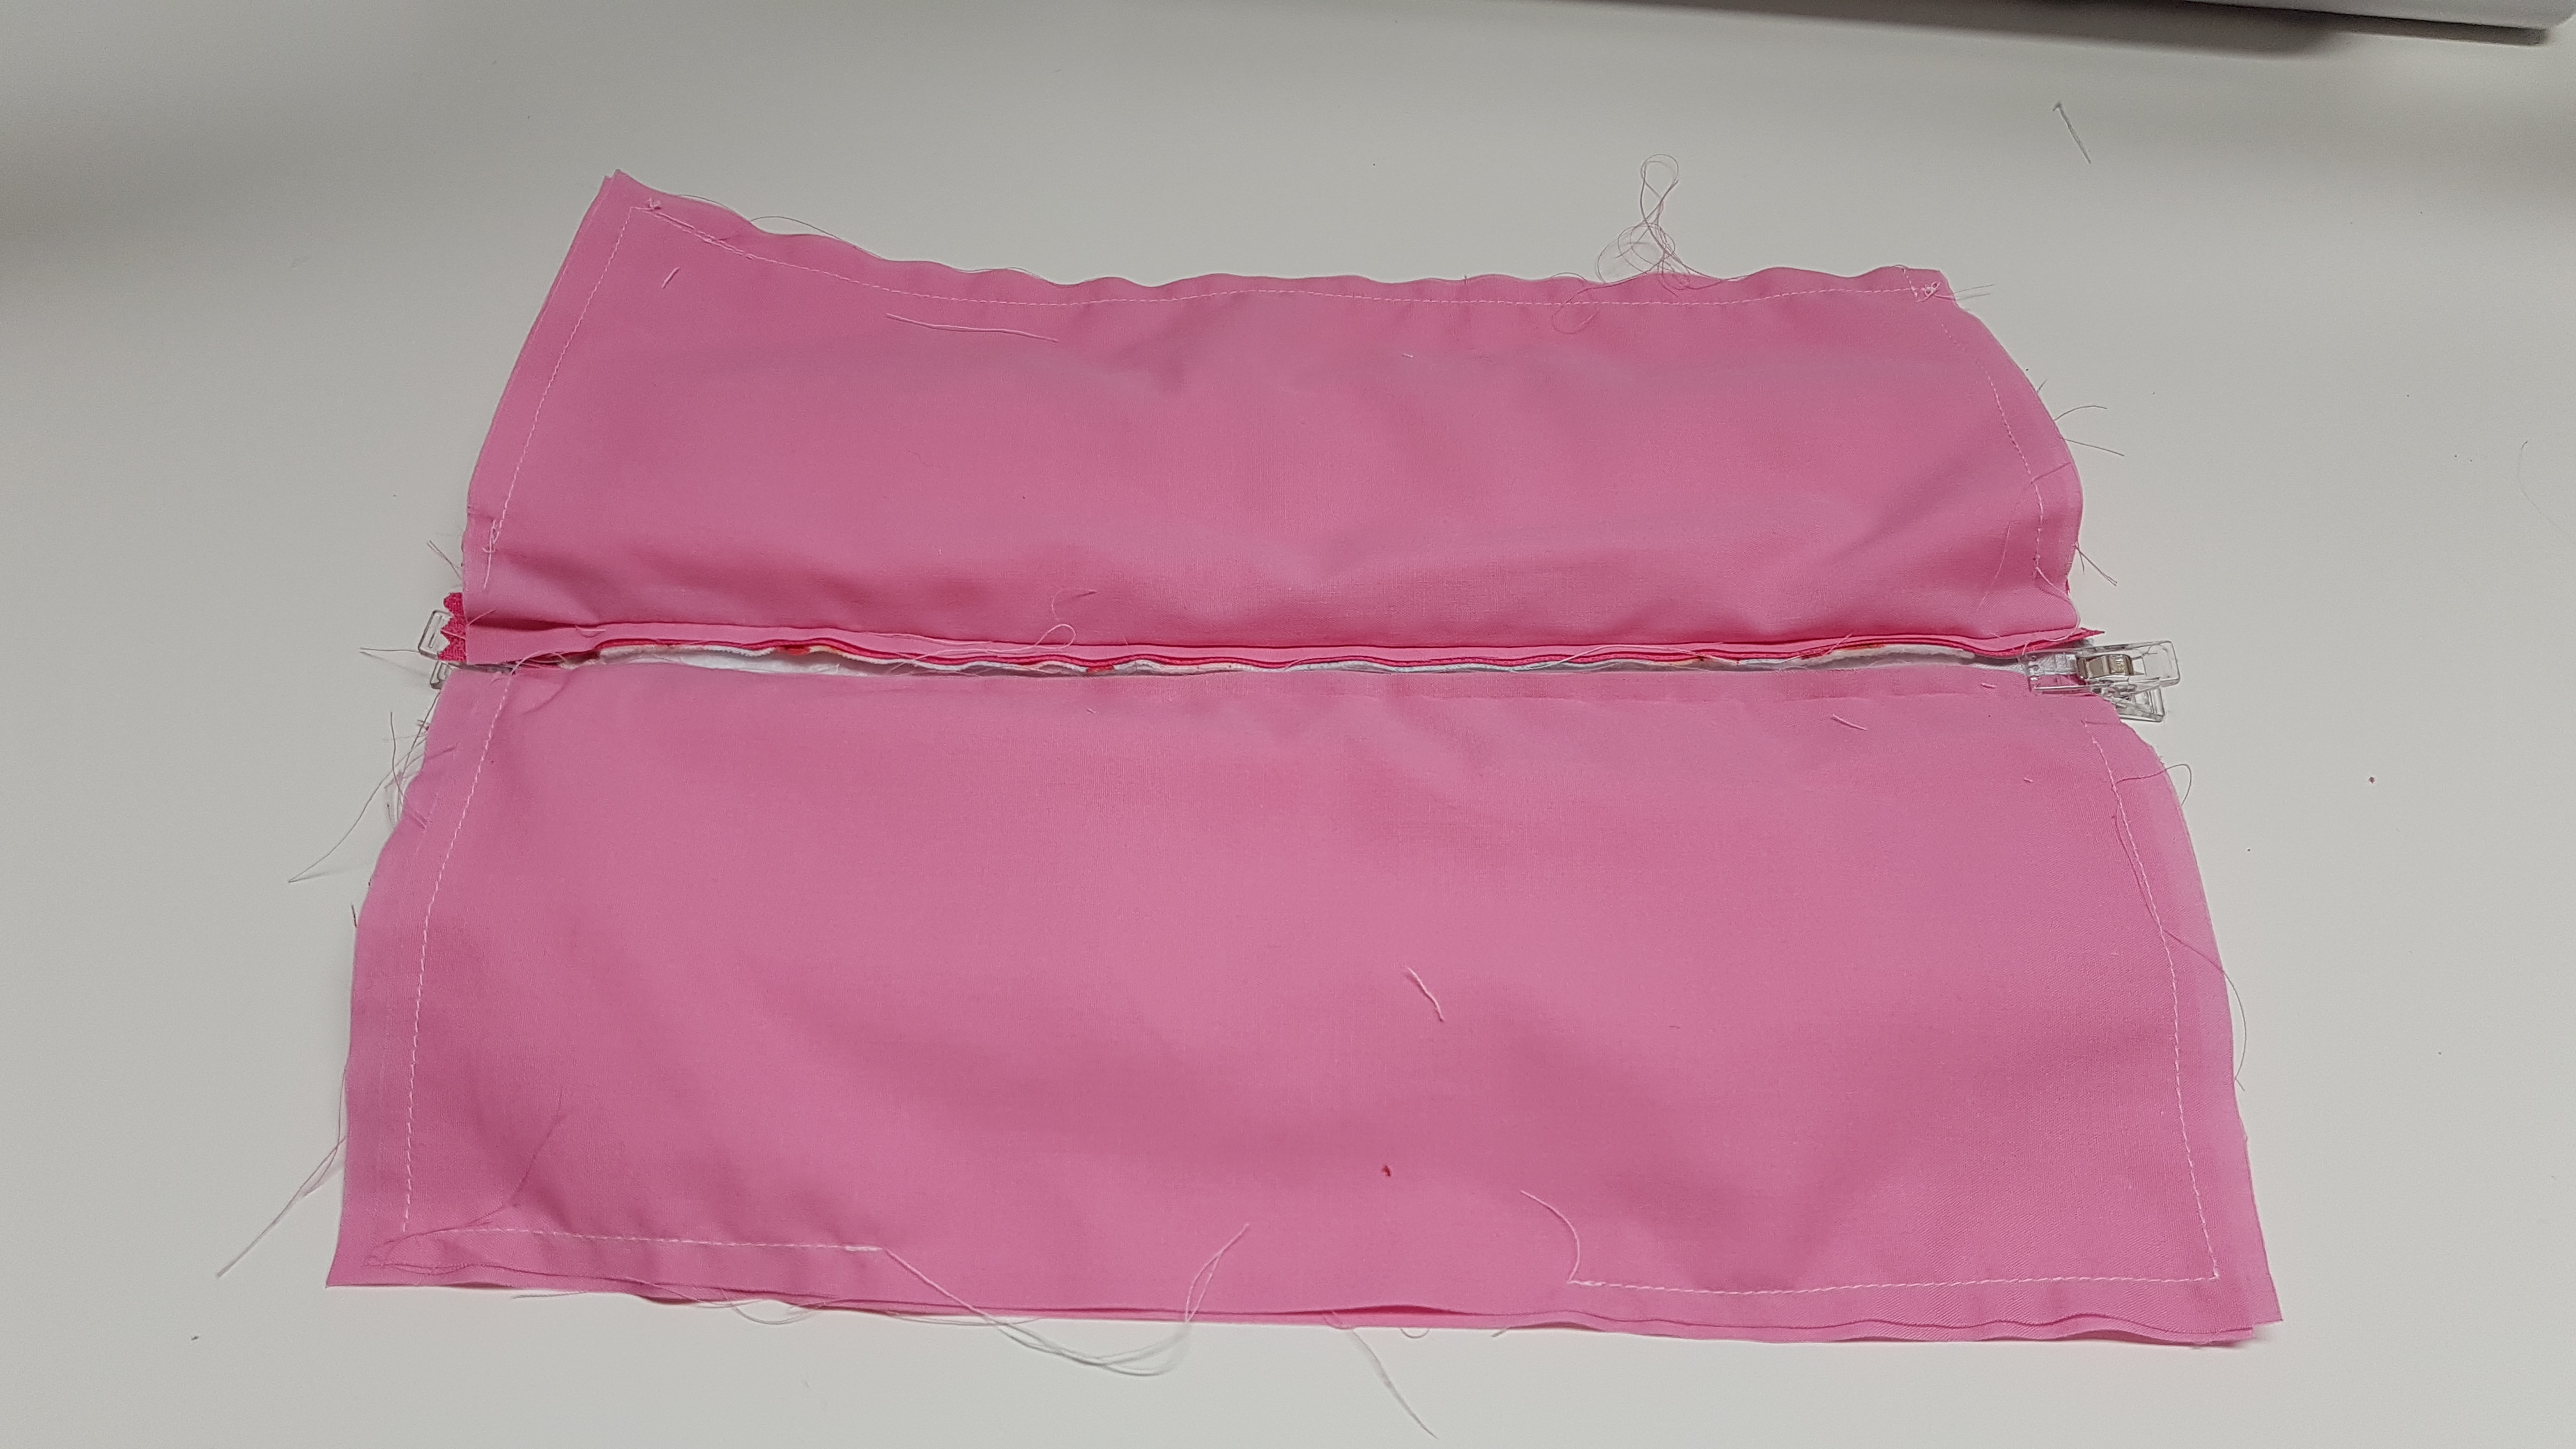
Step 8 – Now we will close up the side of the bag, take the exterior piece and flatten it, centre it with the zippers so there is even fabric on either side. you will place your cut tab pieces centred with that top exterior small piece, clip that so it stays in place while sewing,
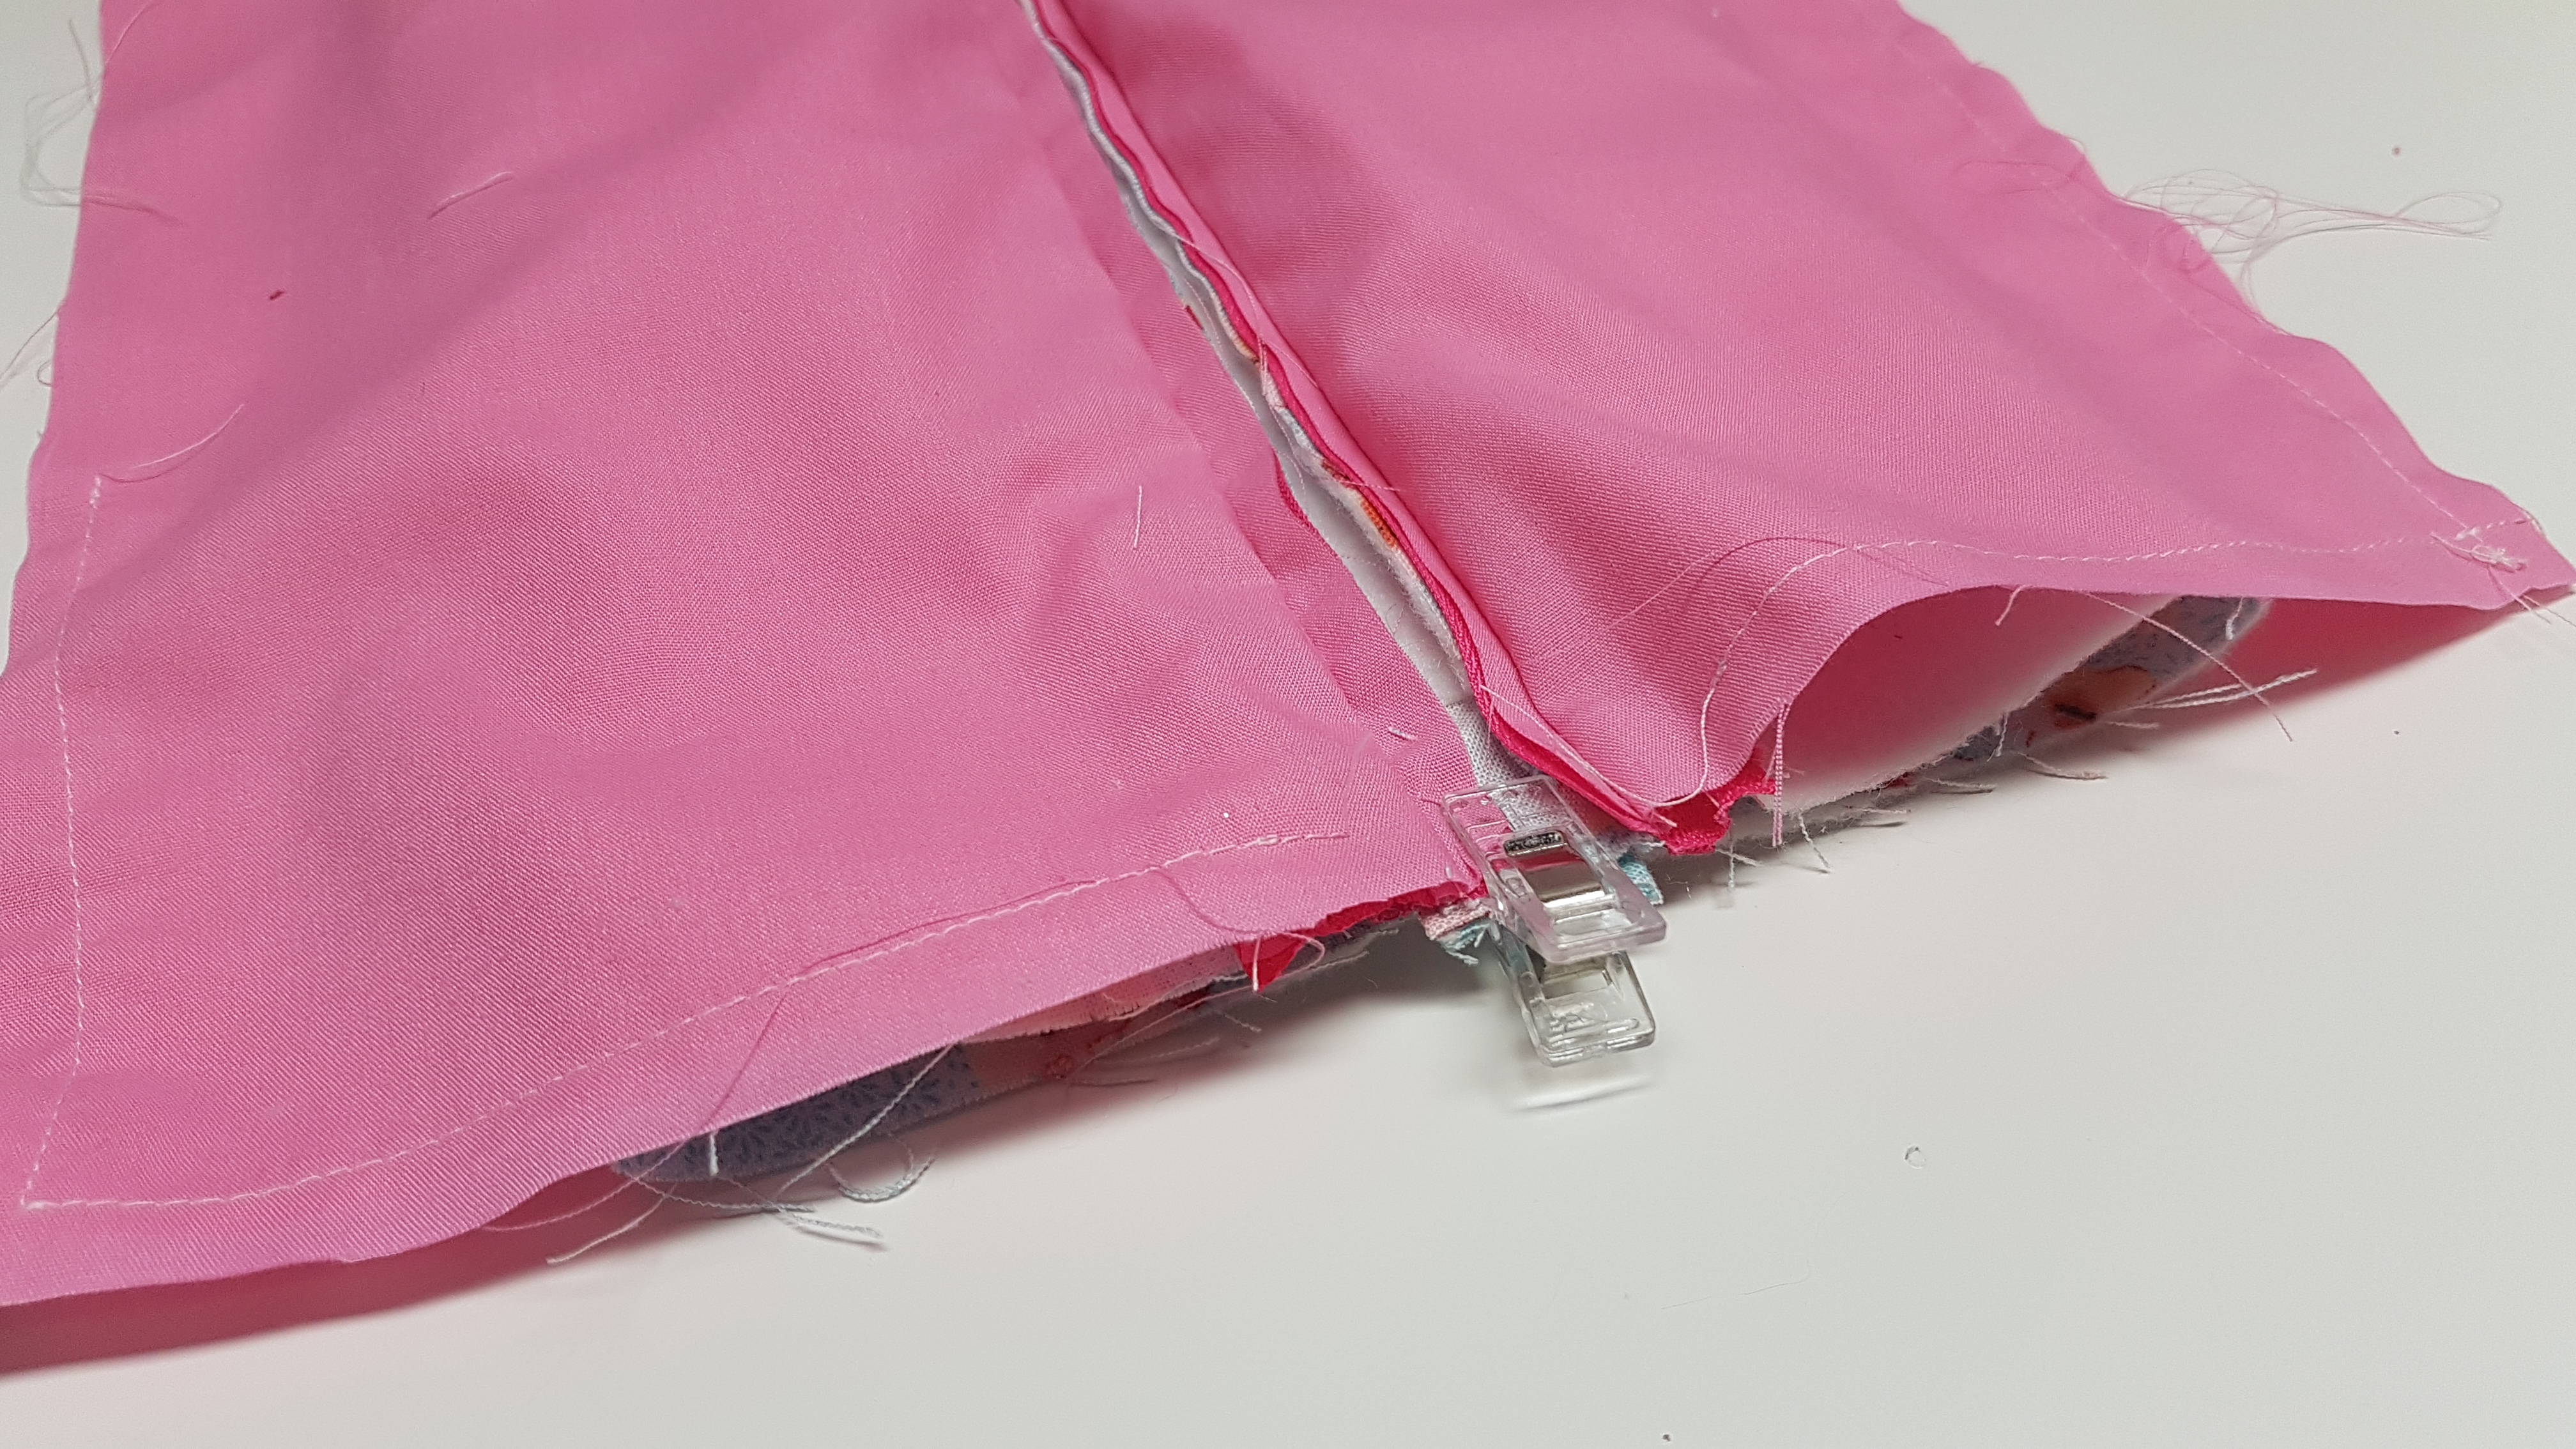
step 9 – Now we will sew along the edge of the exterior piece of fabric, move the lining pieces out of the way, take it out of your machine and lay the lining pieces flat and sew from zipper to zipper, take it out of your machine and flip the other lining piece over and sew along the exterior raw edge again. This is very hard to explain and this is why i suggest checking out the video if not but just for this step alone.
*Unzip the zipper that has the lining with the hole for turning in the bottom, this will help when you turn the bag right sides out on the last step
so hard to explain… haha
Step 10 – now we will snip 1.5″ x 1.5″ notches into the 4 corners of the exterior piece, you will flatten those notches lining the seam in the centre, sew along with a quarter of an inch seam allowance, sew all 4 notches
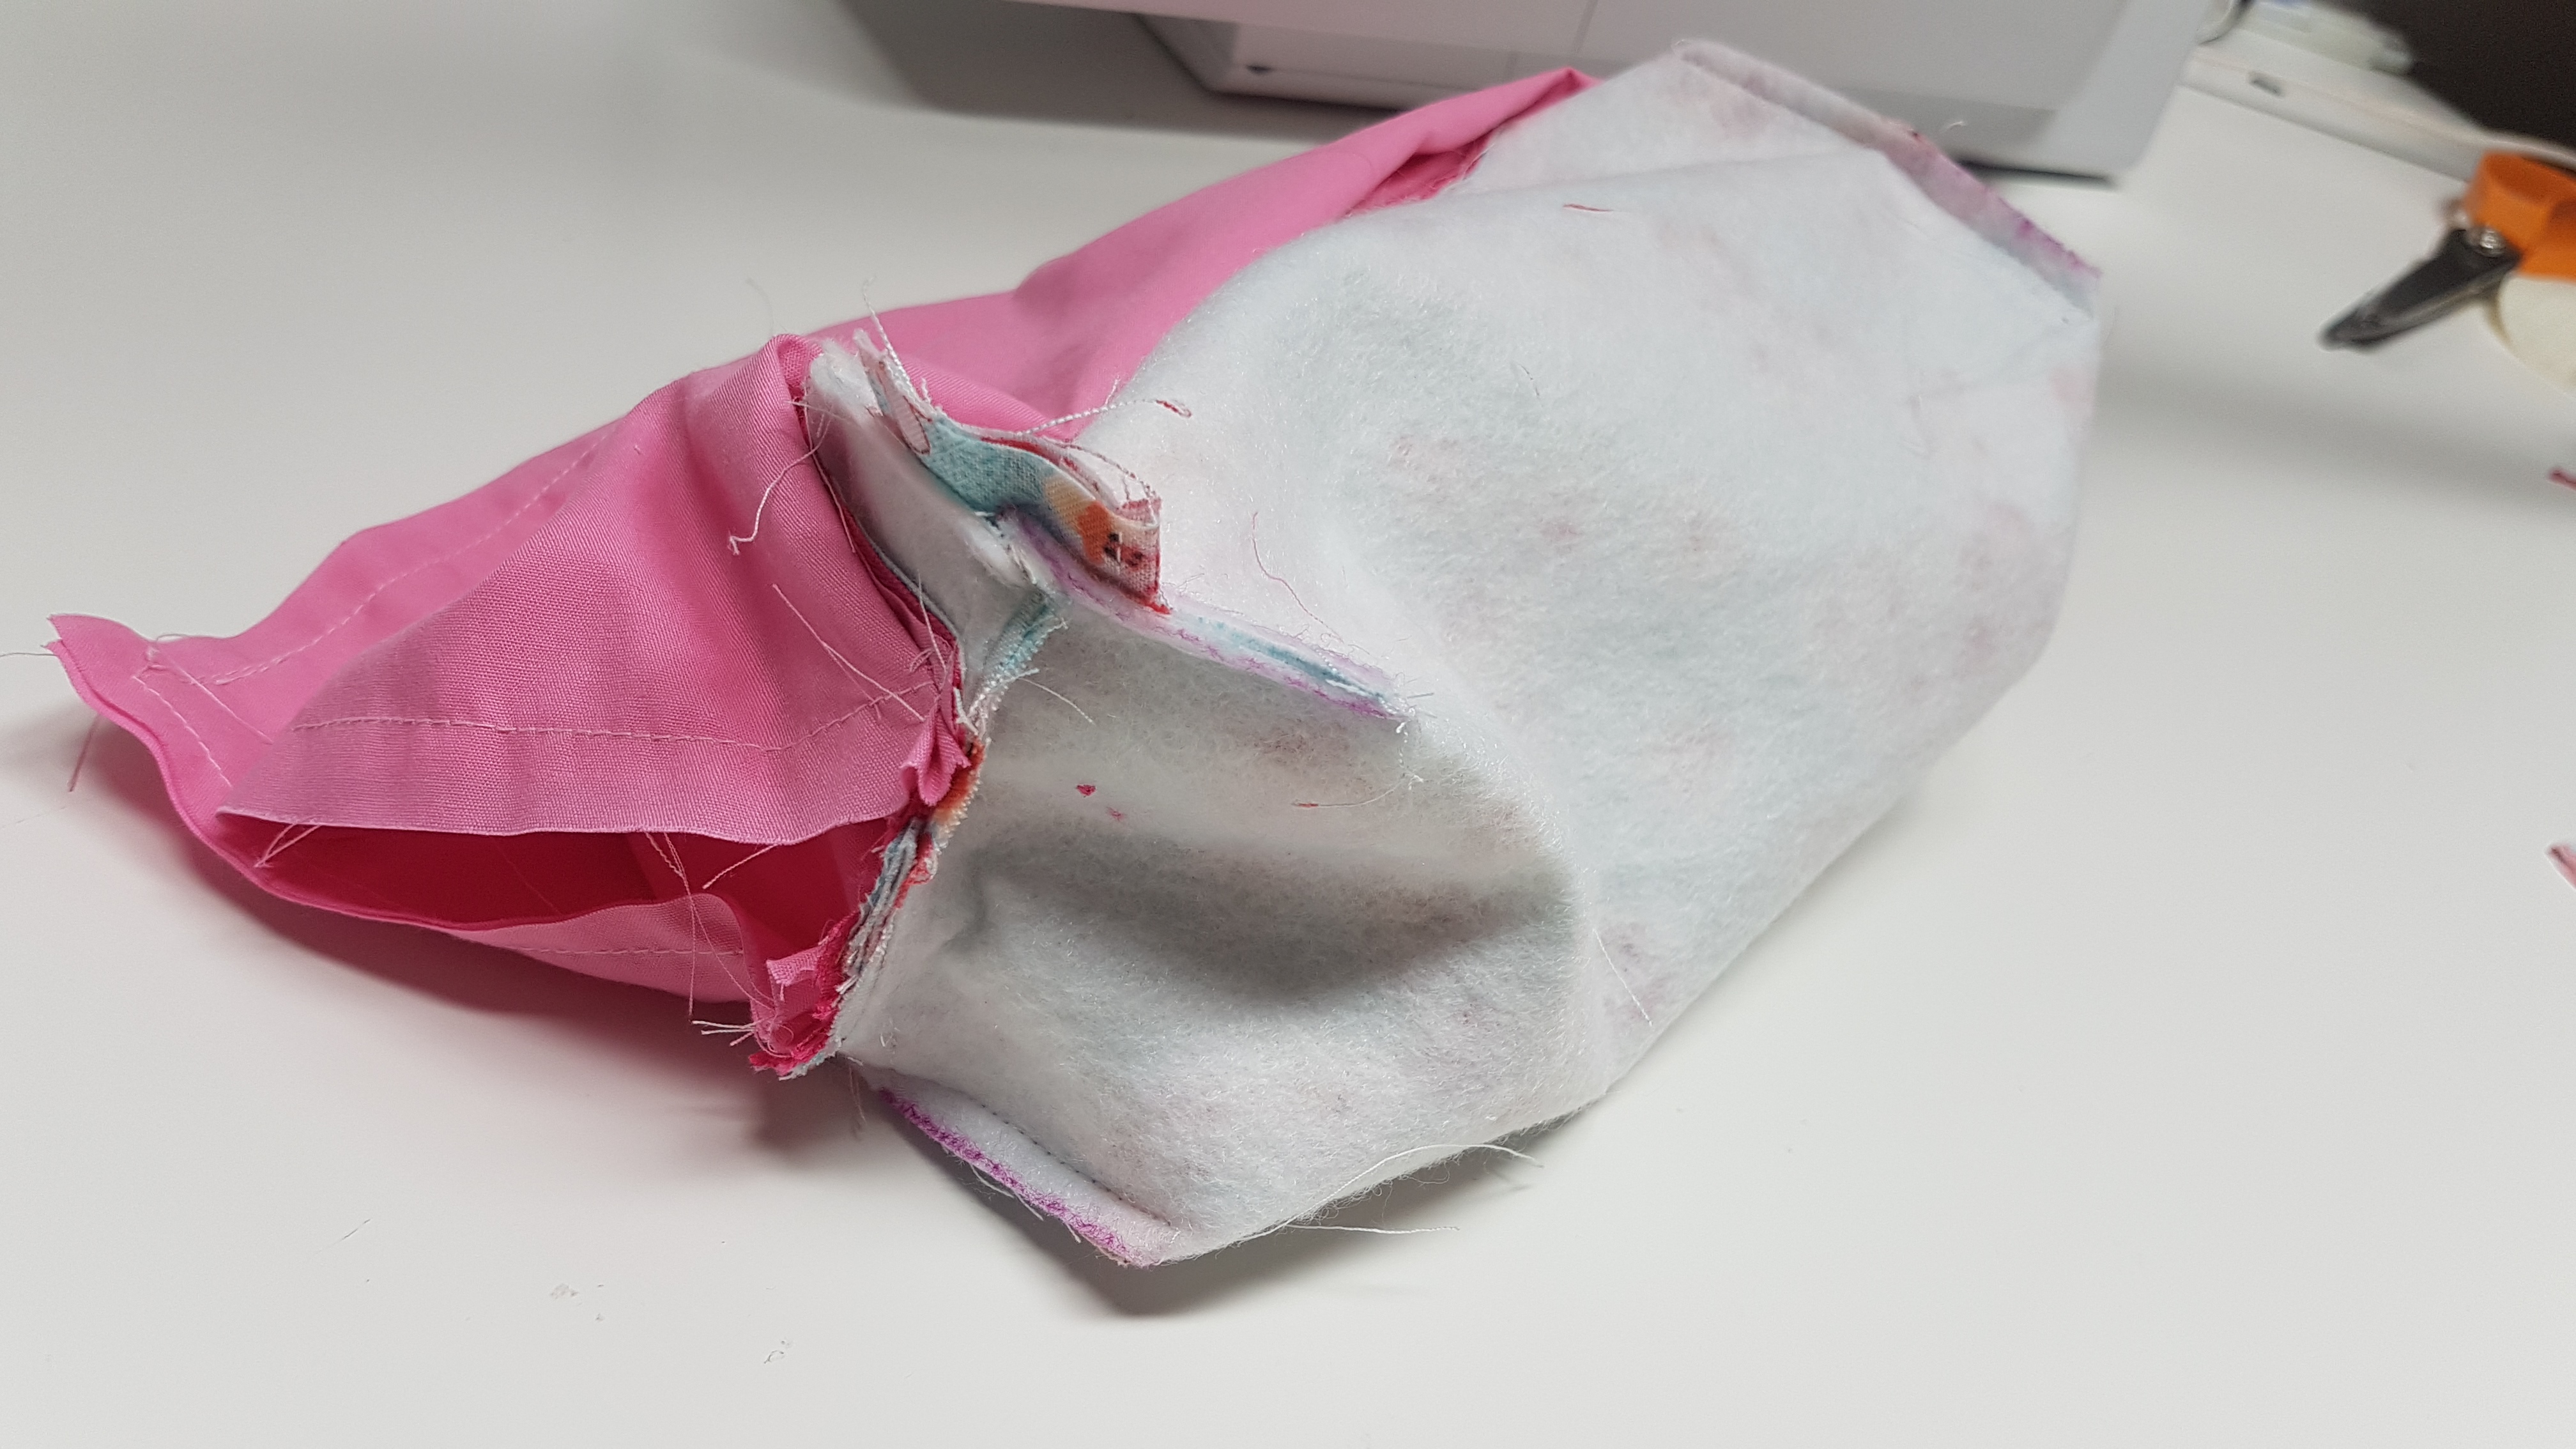
Step 11 – Now we will box out the corners of the lining, take the corner of the lining and flatten it with the seam centred in the triangle, measure up 2 1/2 inches from the tip of the triangle and sew across, Snip off the excess fabric
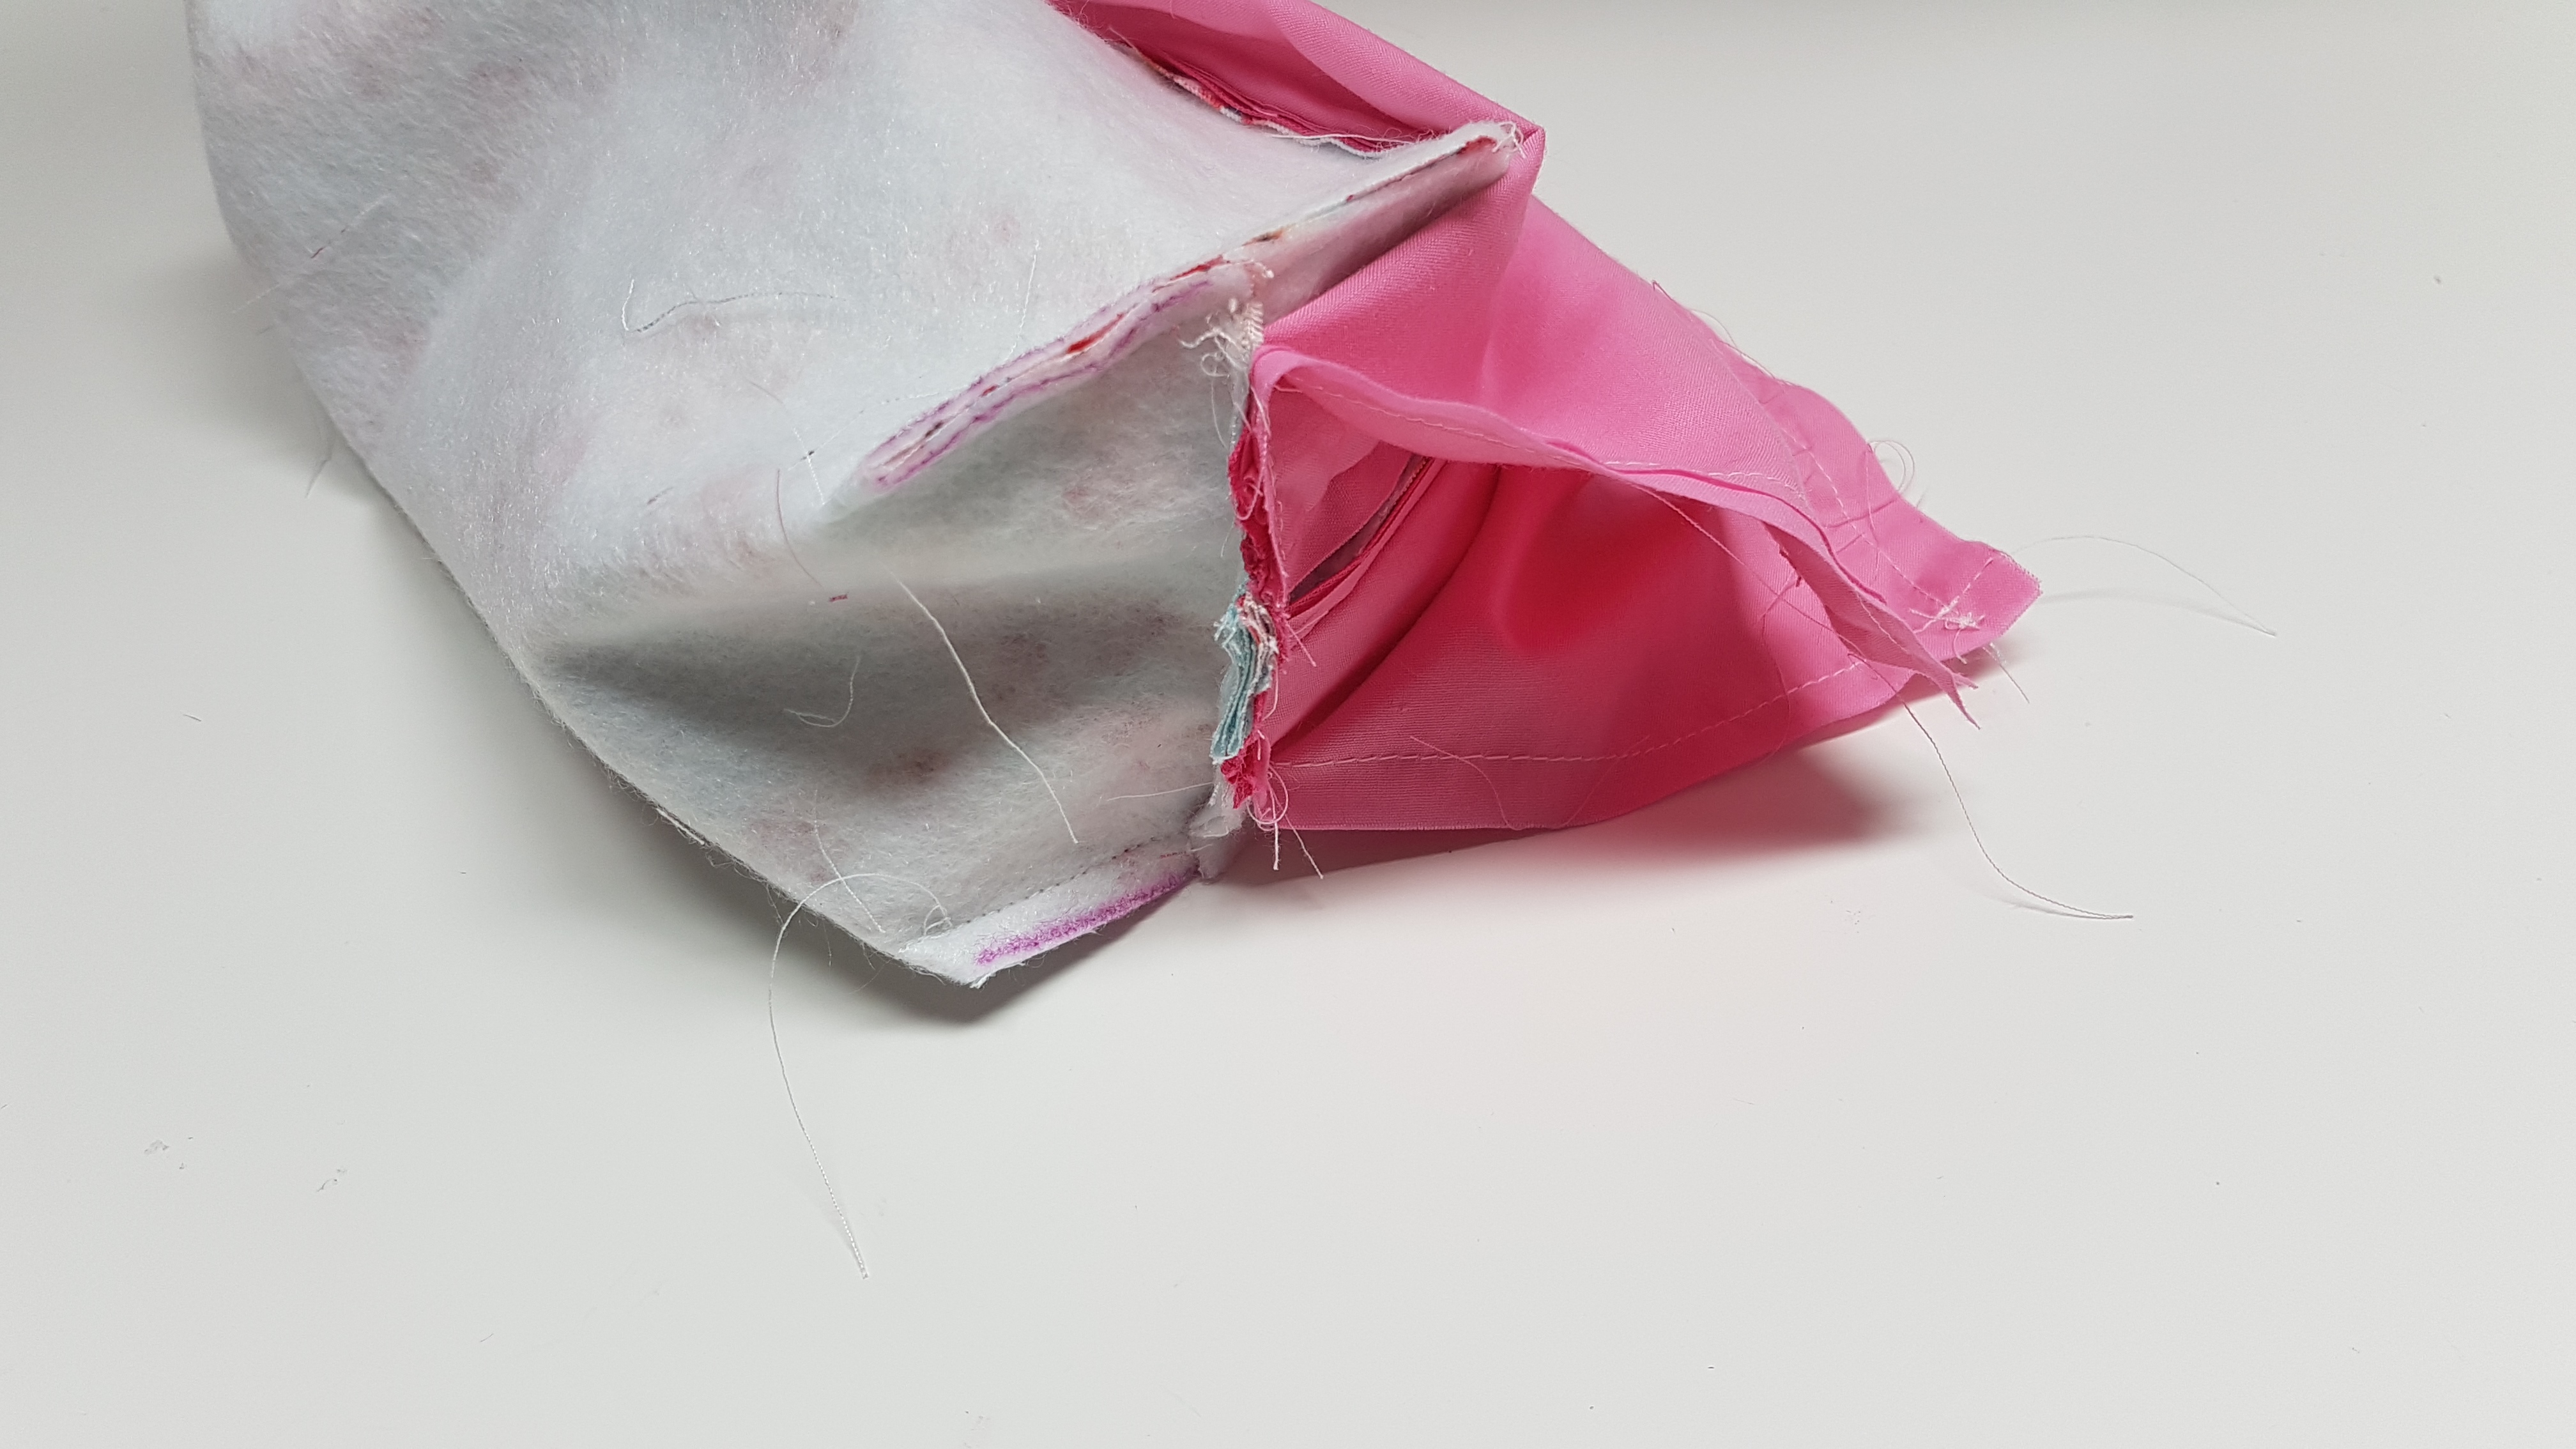
Now its the moment of Truth! flip the entire bag out through the zipper of the pouch that has a hole in the lining.
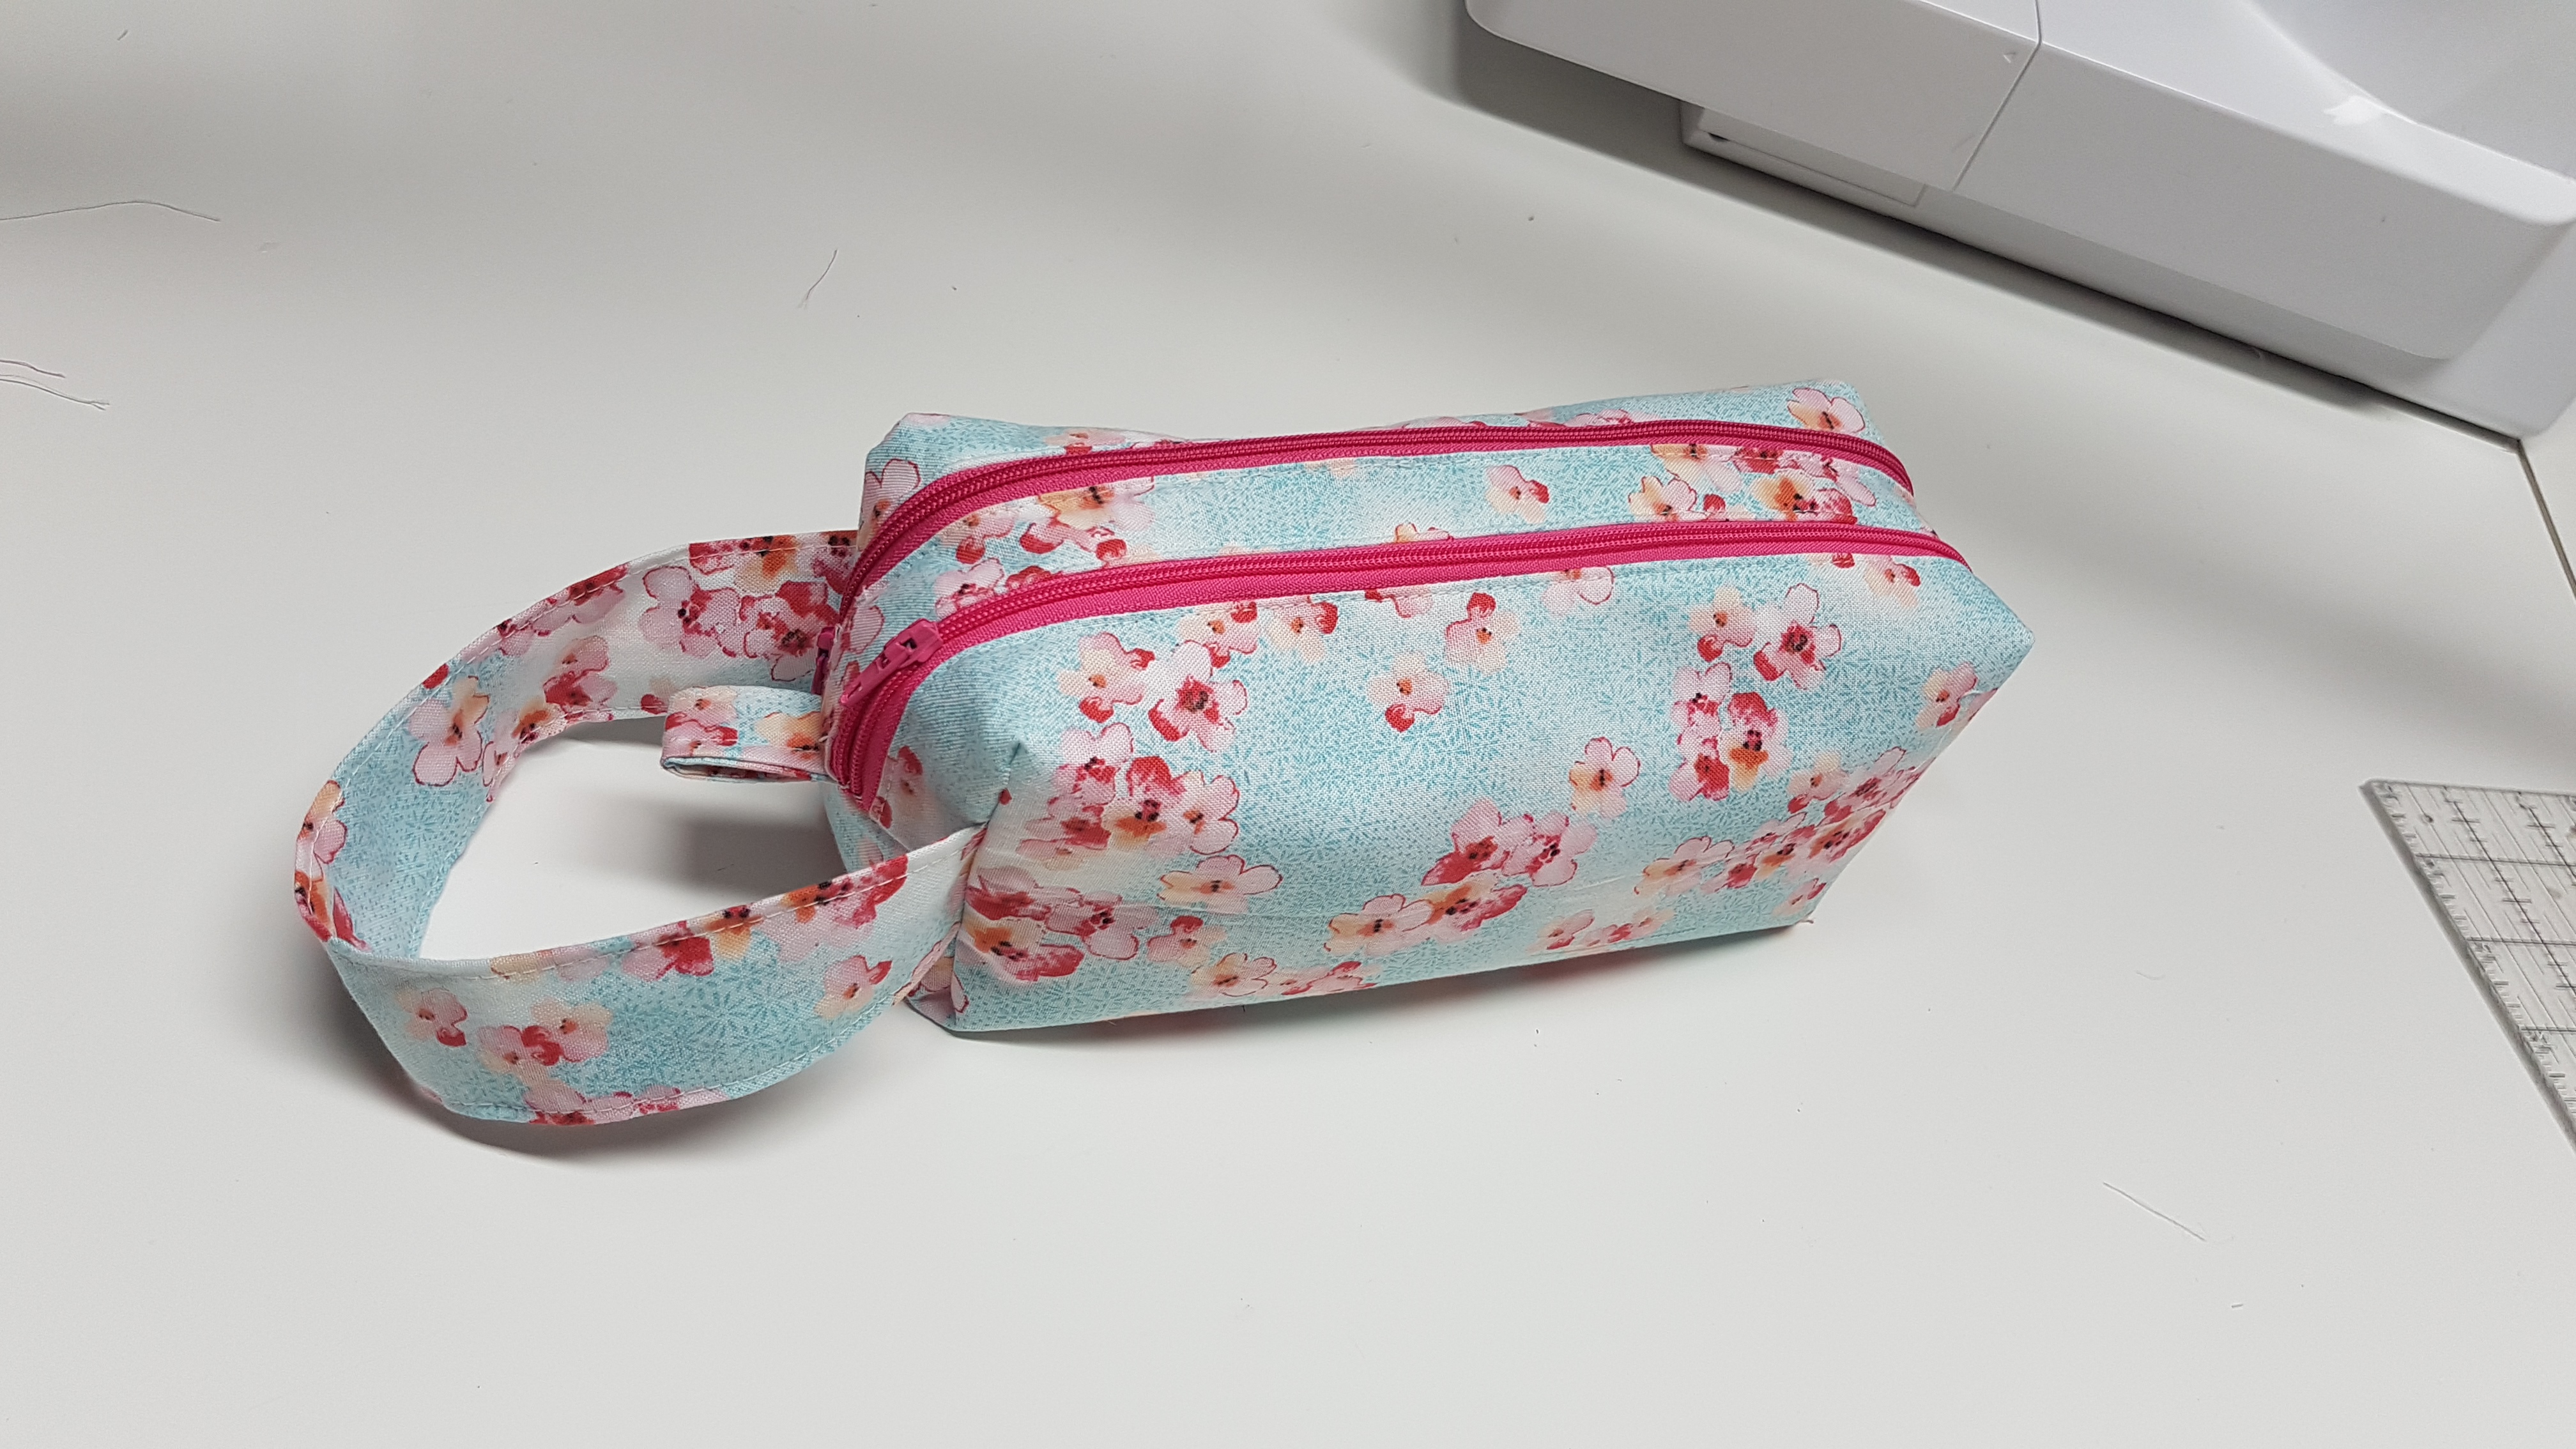
Once its turn right sides out sew the lining shut with a top stitch and then you are finished!


0 Comments