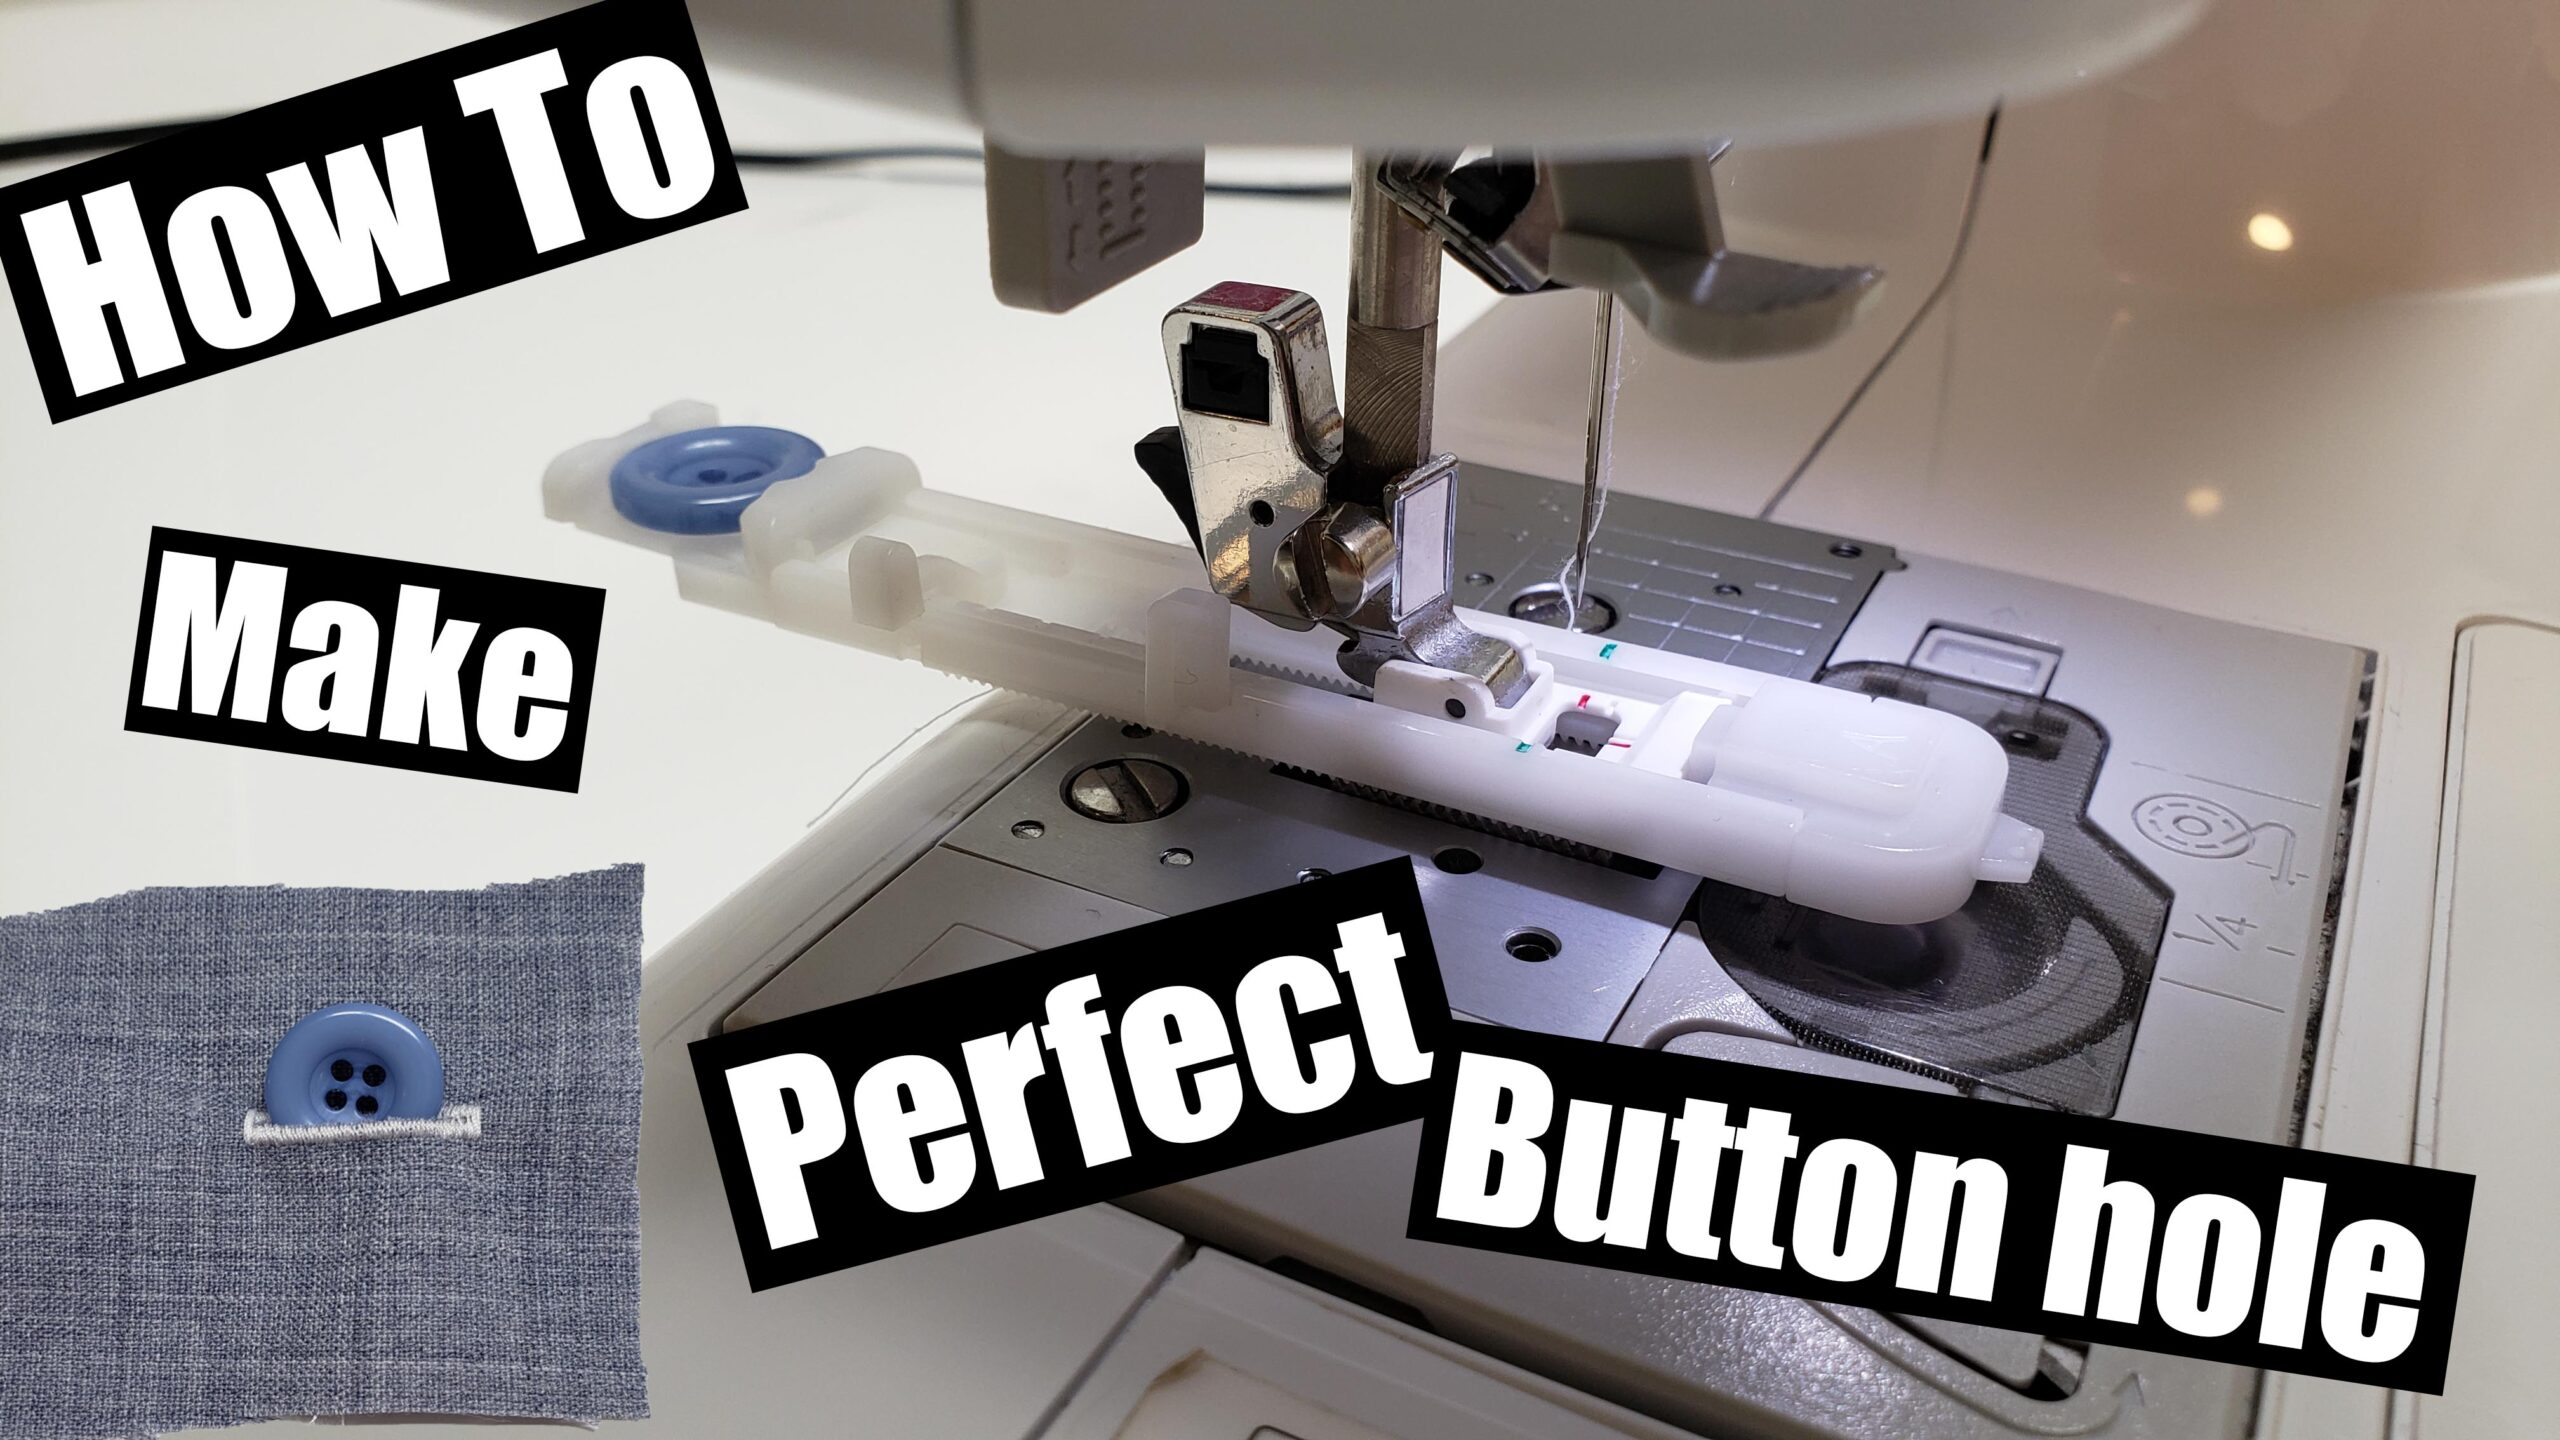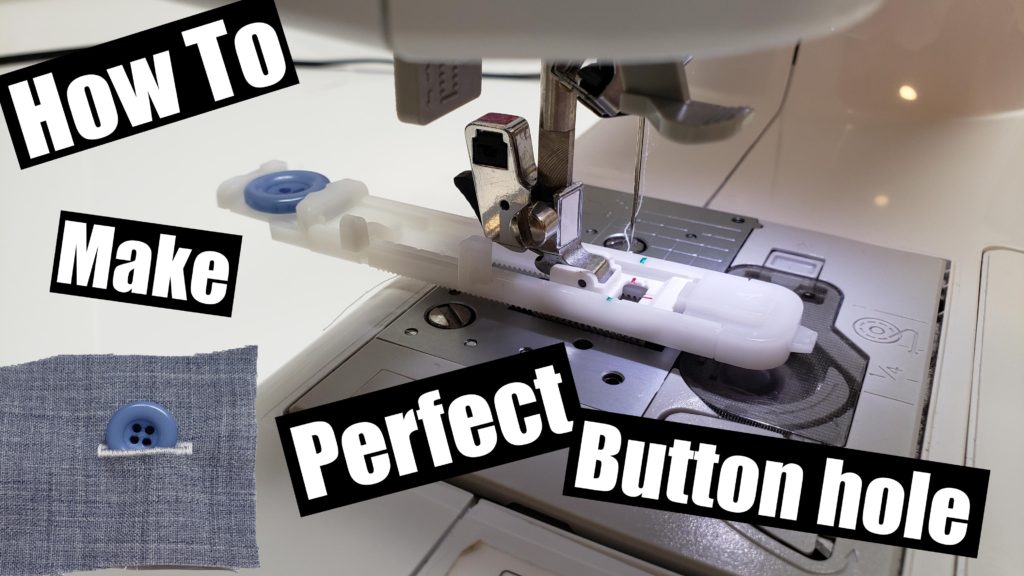
How to create a Button hole using an automatic button hole foot
My machine is a Brother CP7500, this might apply to your machine as most machines would perform these stitches.
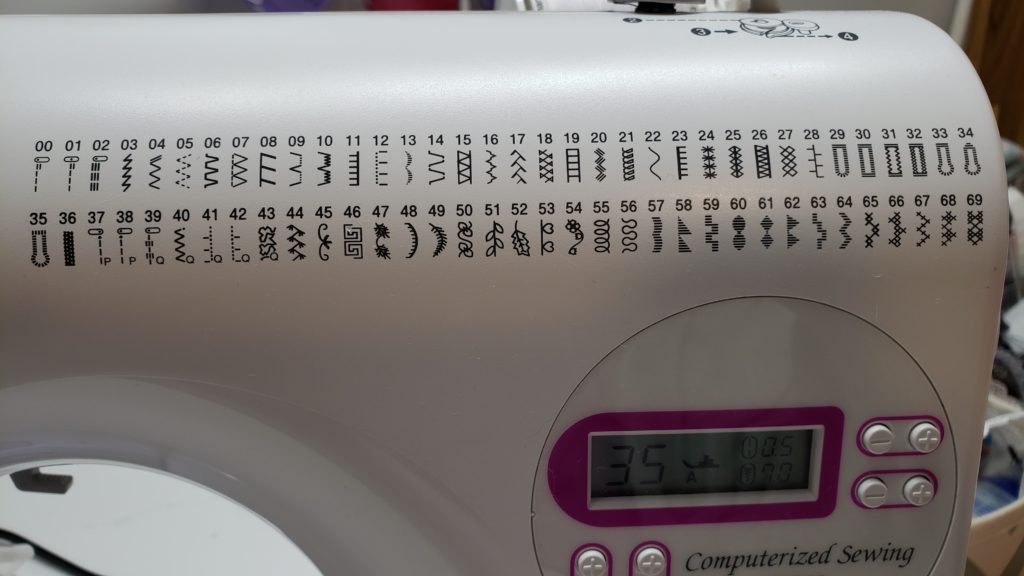
These are the stitches on my machine, Stitch 29-35 are all Button holes

This is my automatic button Hole foot, remove your presser foot and place your button hole on the shank of the machine, make aure the space for your needle is placed under your needle, it hass 3 markings so you know where the hole is.
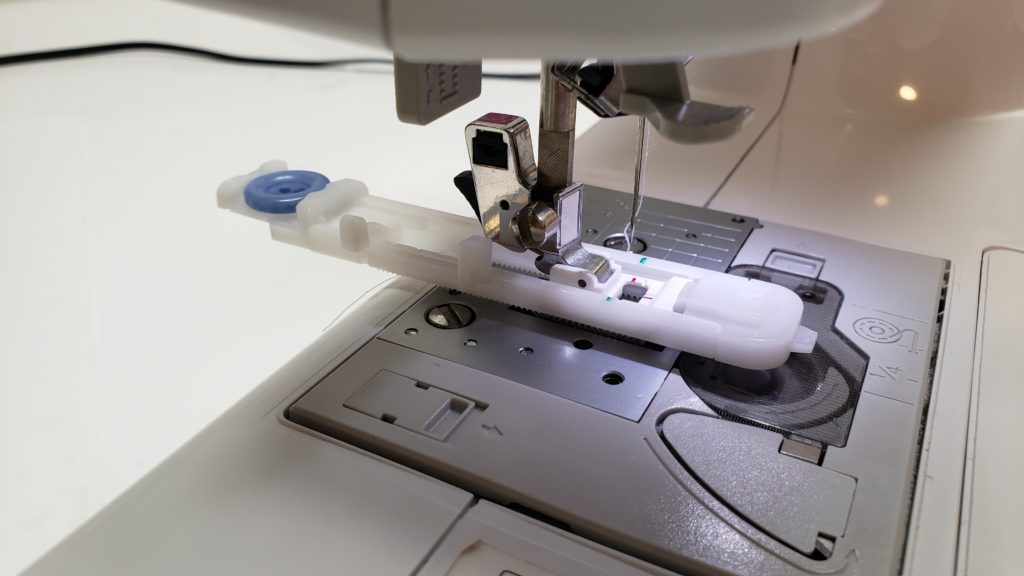
a pull out tray on the back of your button hole foot is used to hold the button you will be using for your project. this will help you create a perfect size button hole to fit your button, if your using the hole for other reasons such as a shower curtain measure the distance between the two plastic posts sticking out the side of your foot.
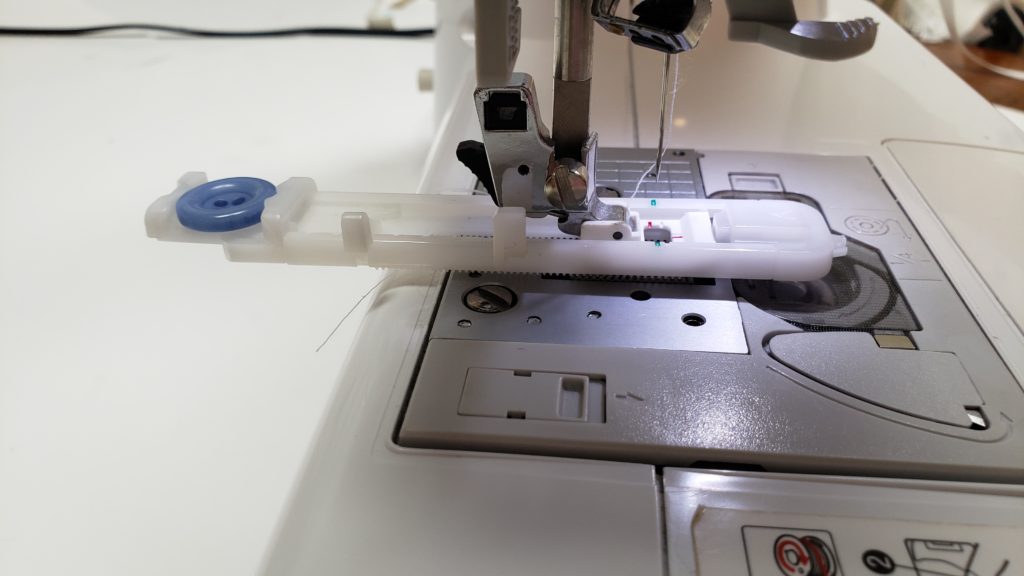
With my particular machine there is a button hole level loved next to the machine shank, it has a button hole graphic pictured on the plastic, pull that down all the way so it is placed between the two plastic posts sticking out of the button hole foot.
choose your button hole type
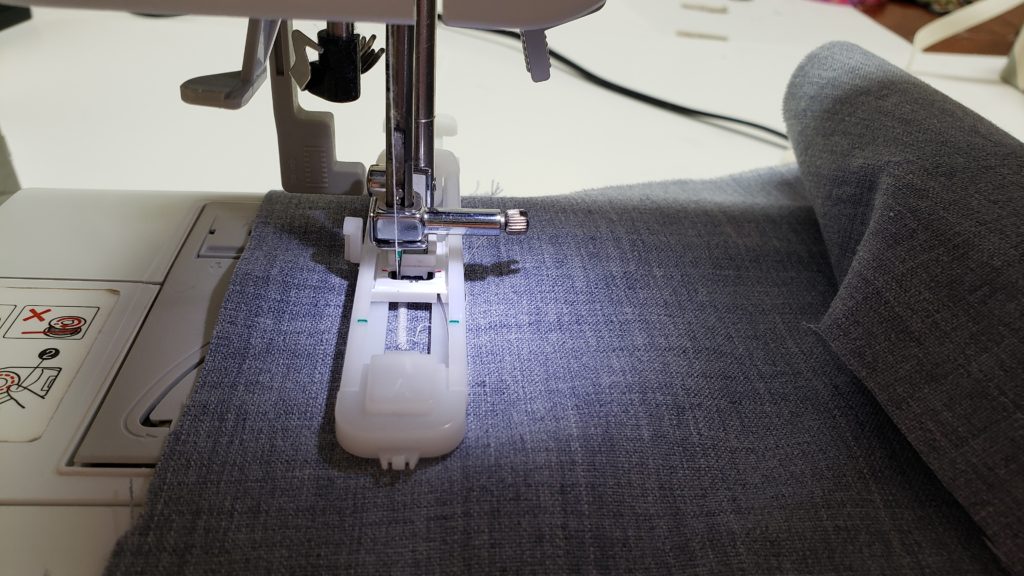
place your fabric under your needle and then press your pendal down, the machine will start and stop on its own so dont lift your foot until it has finished doing the whole thing.

Here are the 6 Button holes my machine does from 29 to 35.
- 29 – Thin/Medium fabrics (horiztonal hole)
- 30 – Thin or medium fabrics
- 31 Strenth Fabrics (coarse weave)
- 32 Stretch fabrics
- 33 – Suits / over coats
- 34 – Jeans / trousers
- 35 – Thick coats

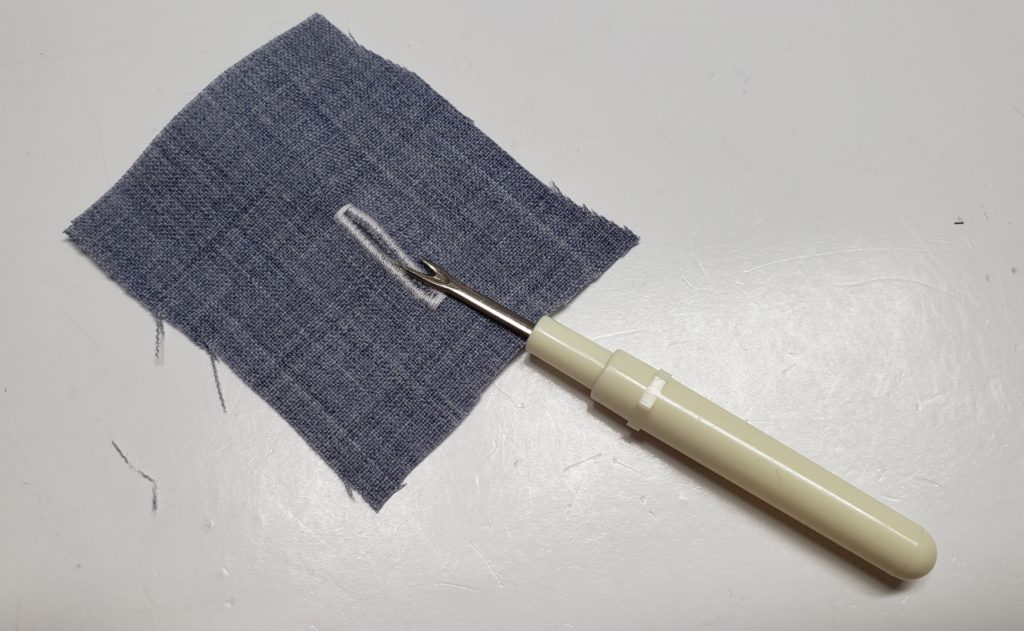
When your button hole is finished us a stitch ripper or scissors to slice down the centre of the stitches to open up your hole!
