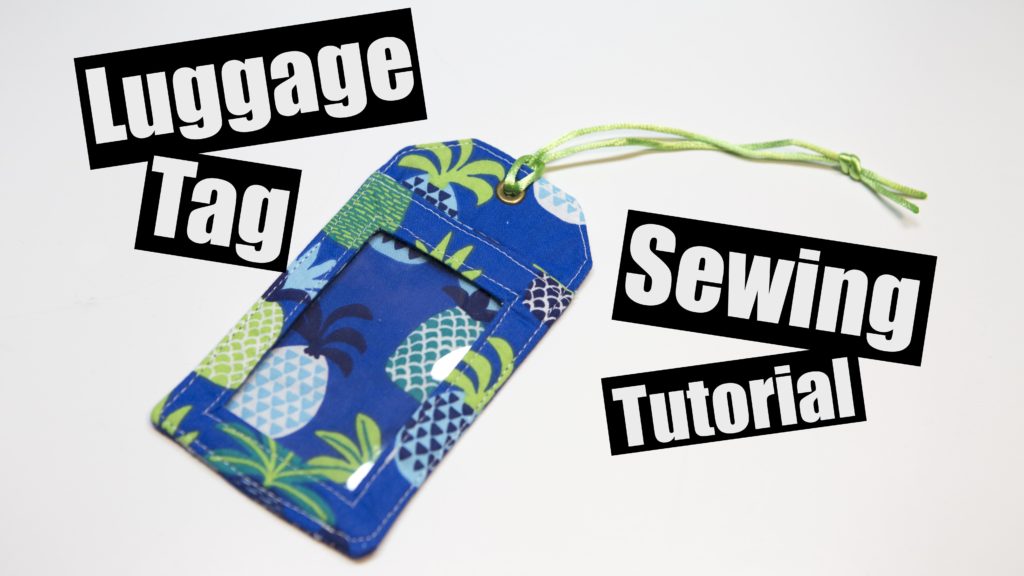
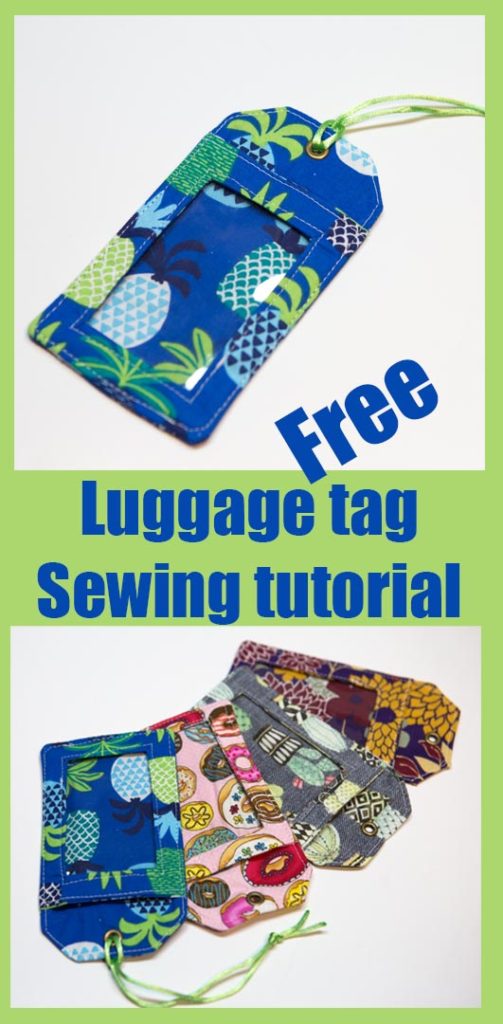
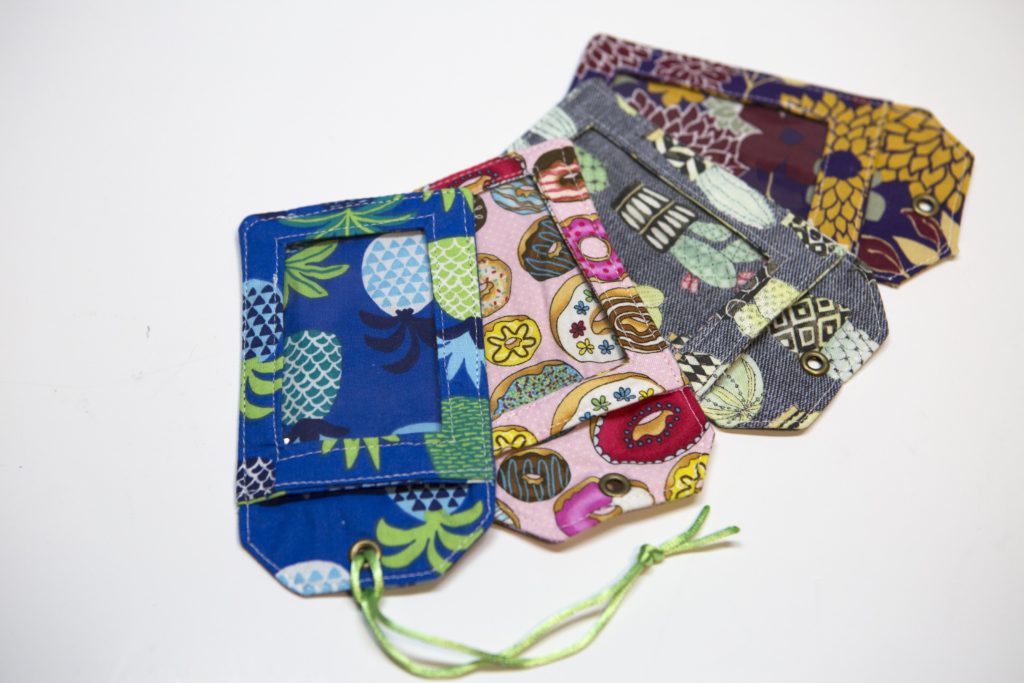
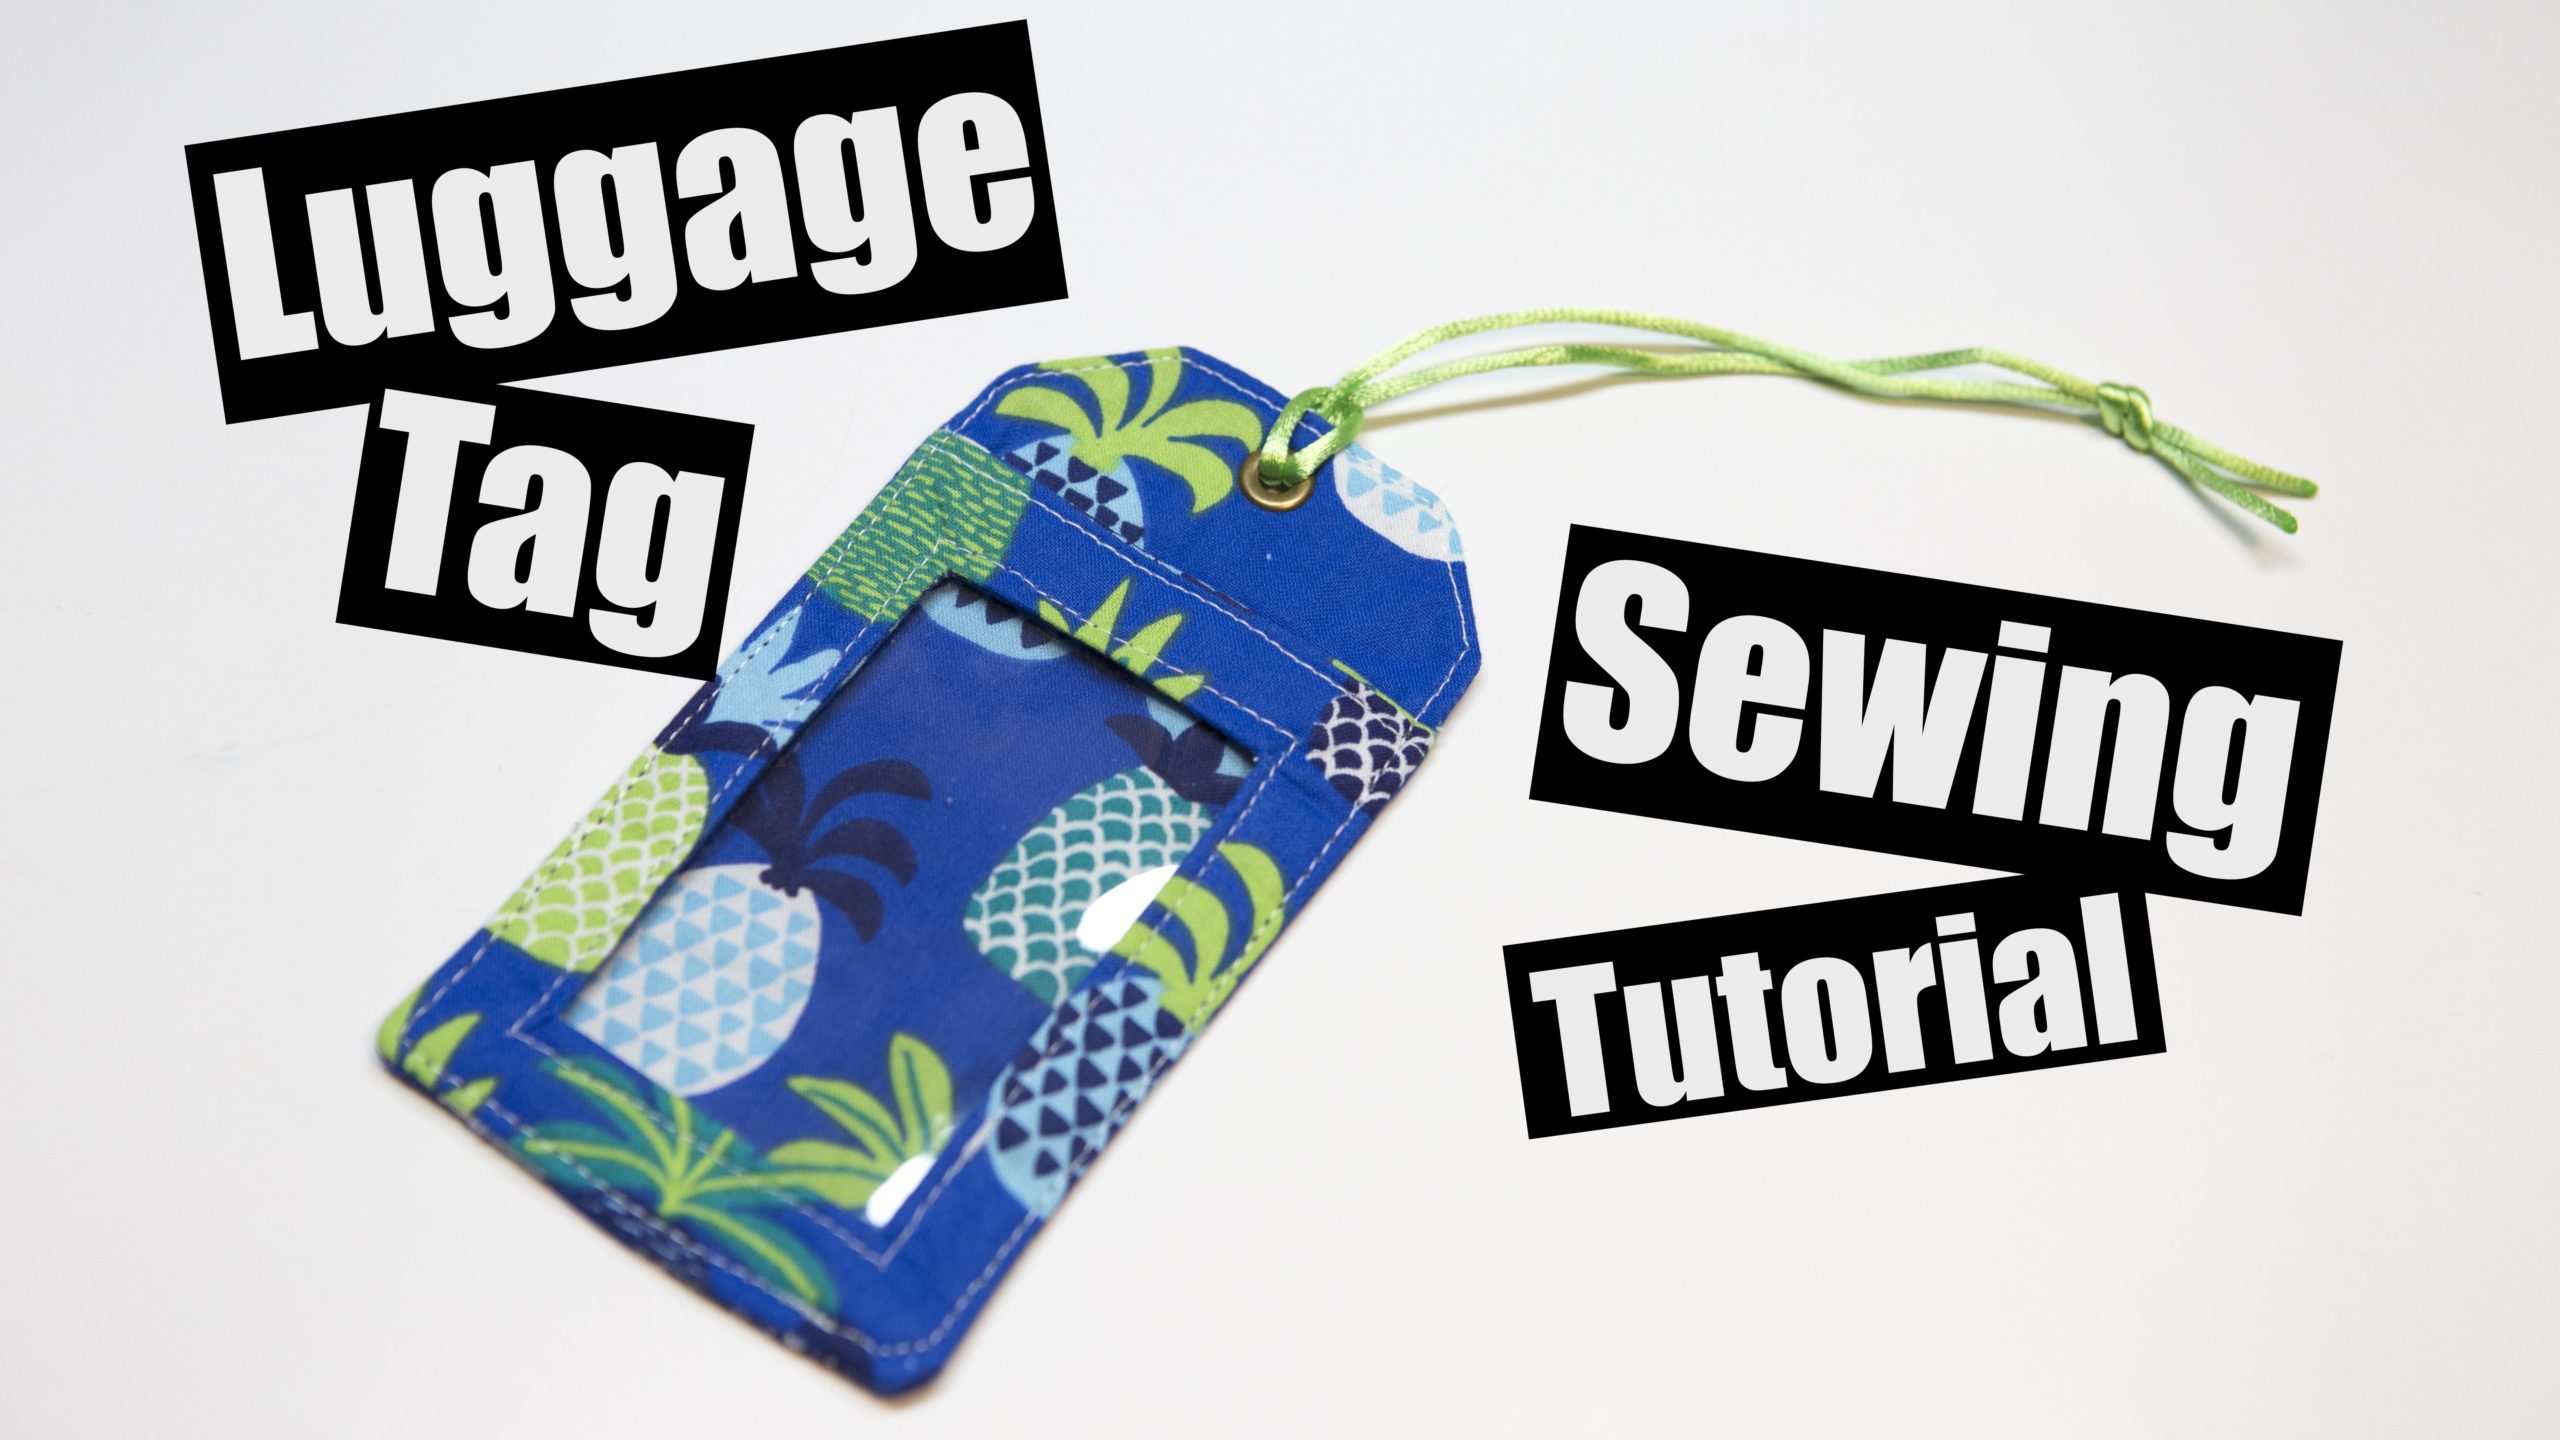
Welcome to the luggage tag tutorial! here you will find the measurements, links for supplies and tools, and video/photo tutorial!
[wpedon id=”3129″ align=”left”]
Supplies
Fabric recommendation – Cotton fabric / Canvas fabric.
Tools
Measurements
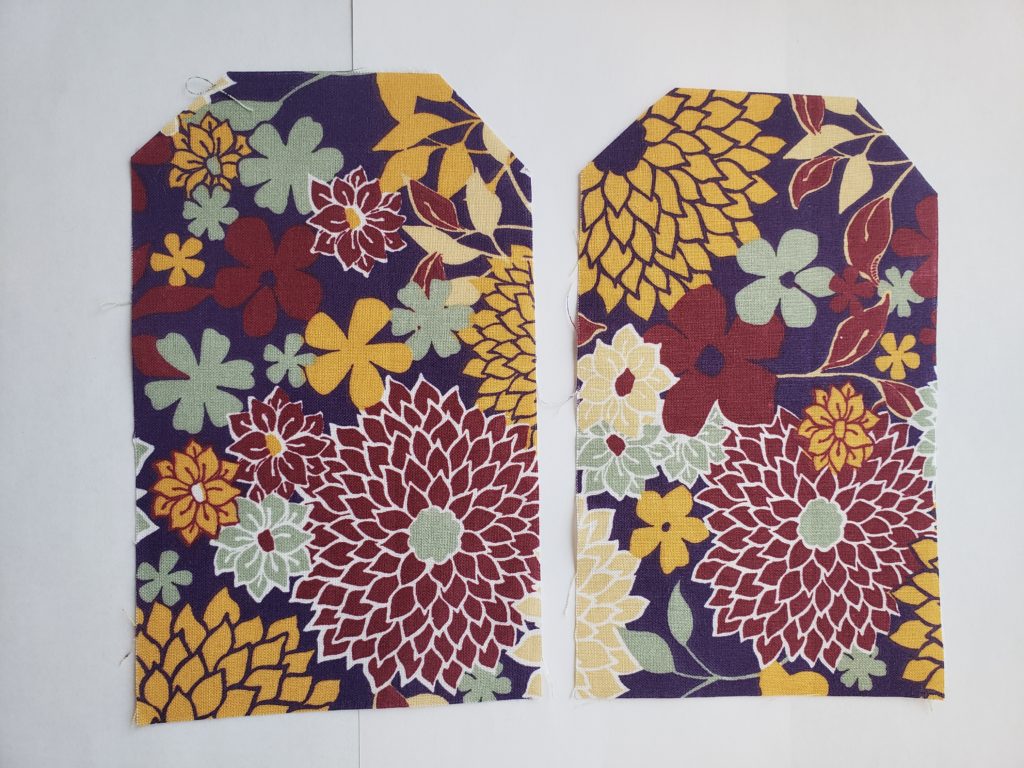
Cut 2 – 4″ x 6.5″
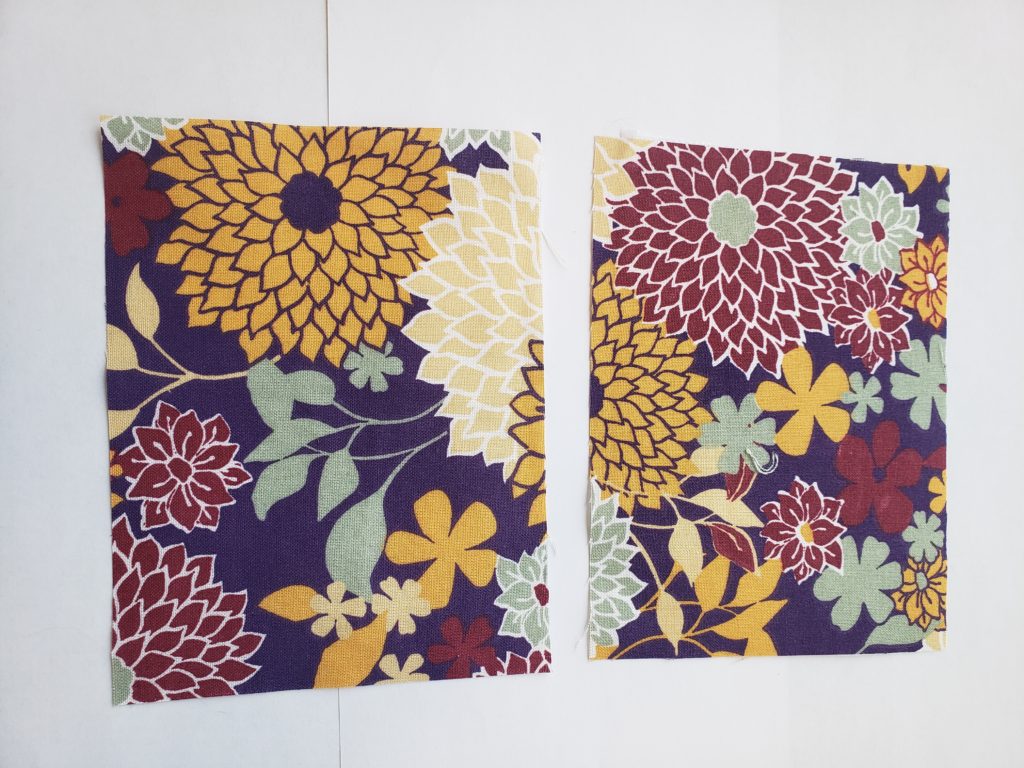
Cut 2 – 4″ x 5 1/4″
Interface all pieces if using cotton fabric
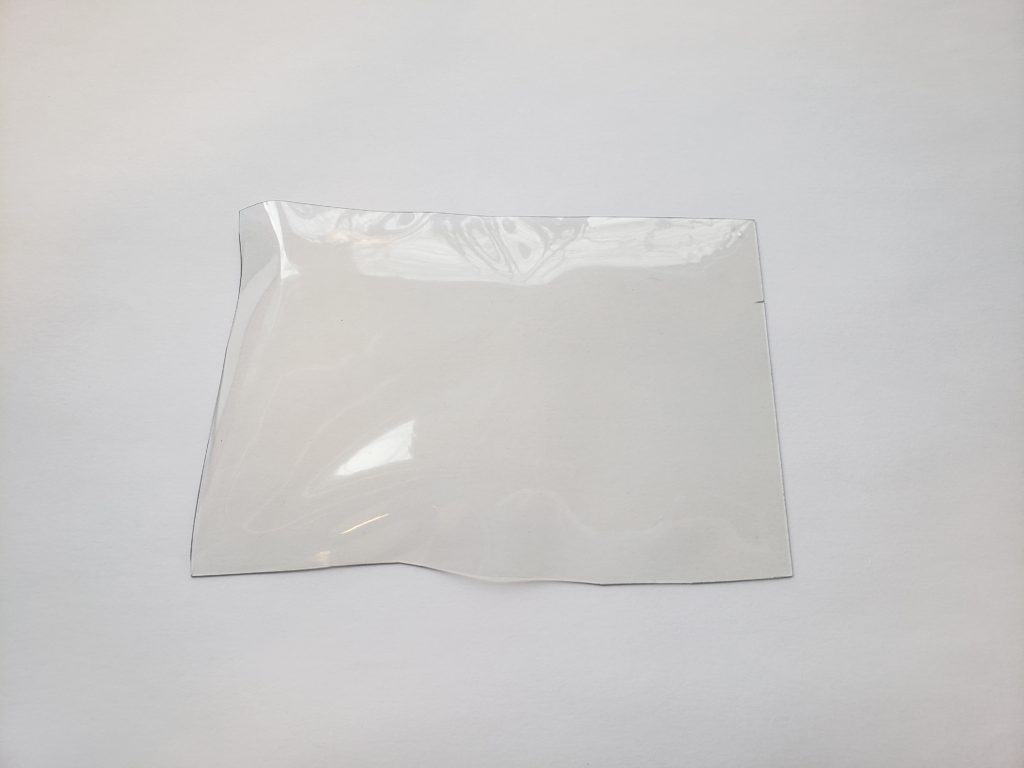
Clear Vinyl – 3 3/4″ x 3 1/4″ (it may be a little large just incase there is shifting, cut off excess vinyl once its sewn on)
Cord – 12″ in length
Step 1 – take the two large rectangles and measure 1″ away from the top corners, cut the corner off on both sides.
This is how they should look, if your using a directional fabric be sure this is the top of your print.
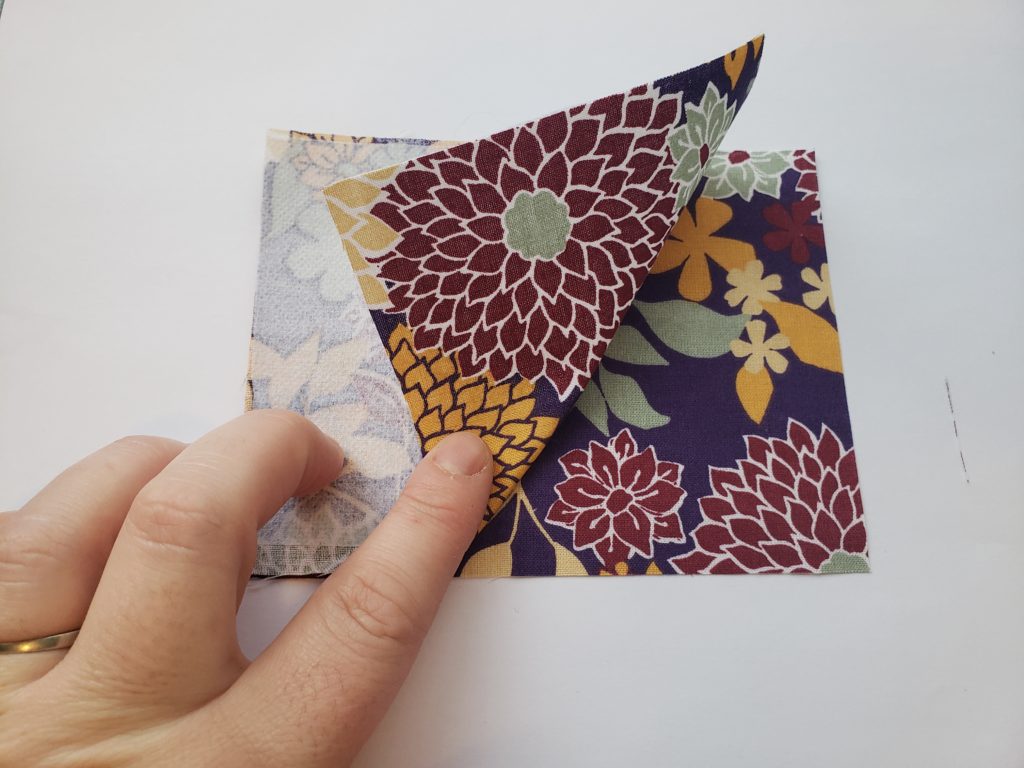
step 2 – place 2 smaller rectangles right sides together (be sure the fabric is going the same way if directional)
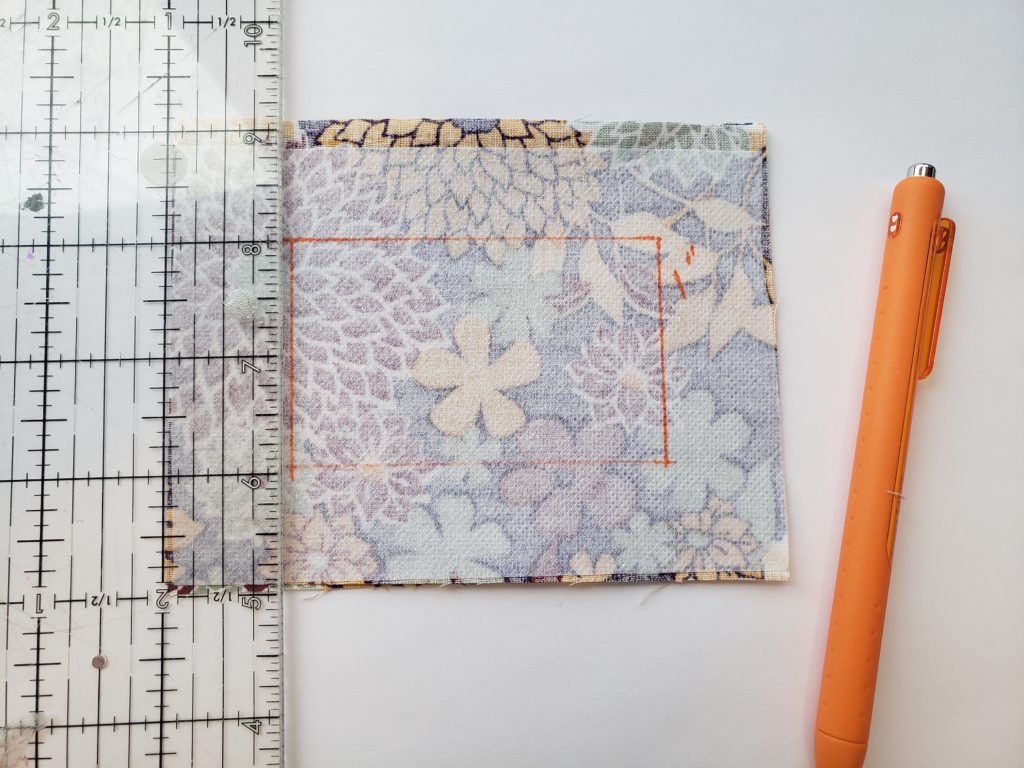
Step 3 – draw a box measuring 1″ from all 4 sides.
using the drawn rectangle sew along the line.
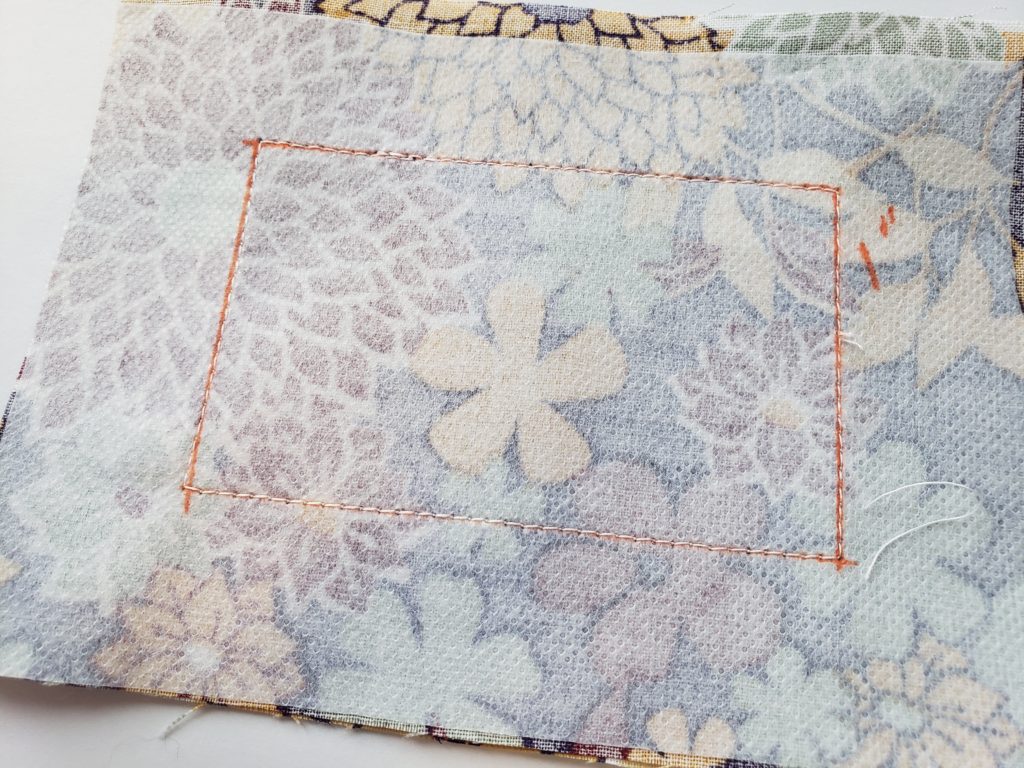
step 4 – cut out the rectangle 1/4″ away from the seam. snip into the corners as close as you can get without cutting a stitch.
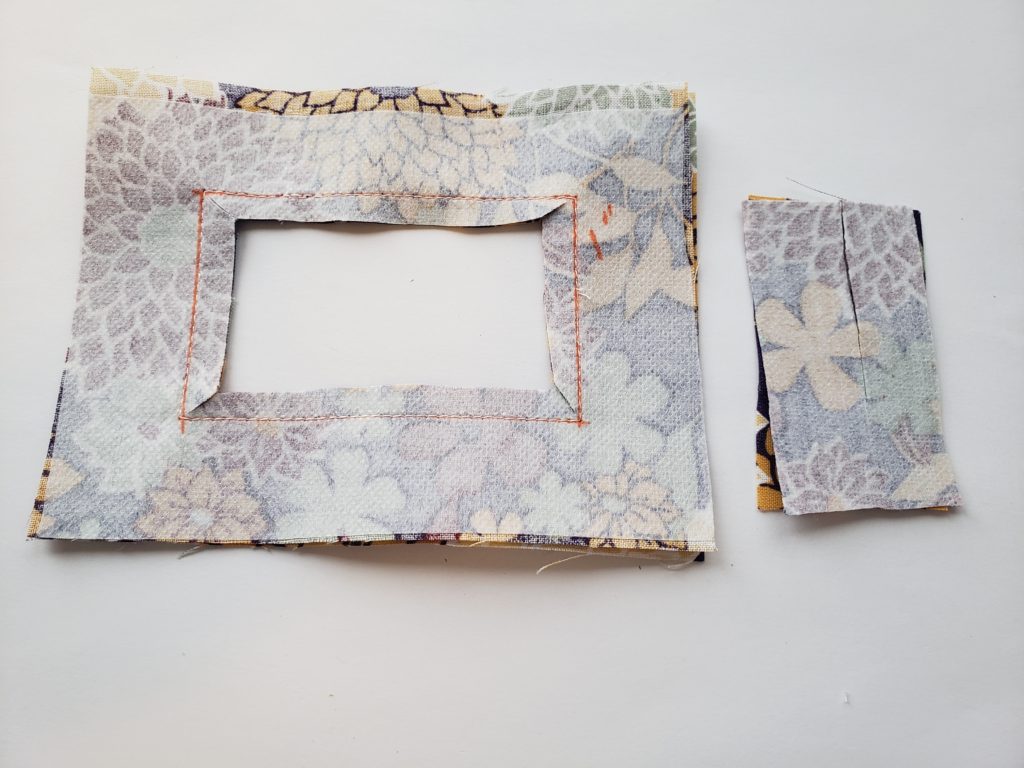
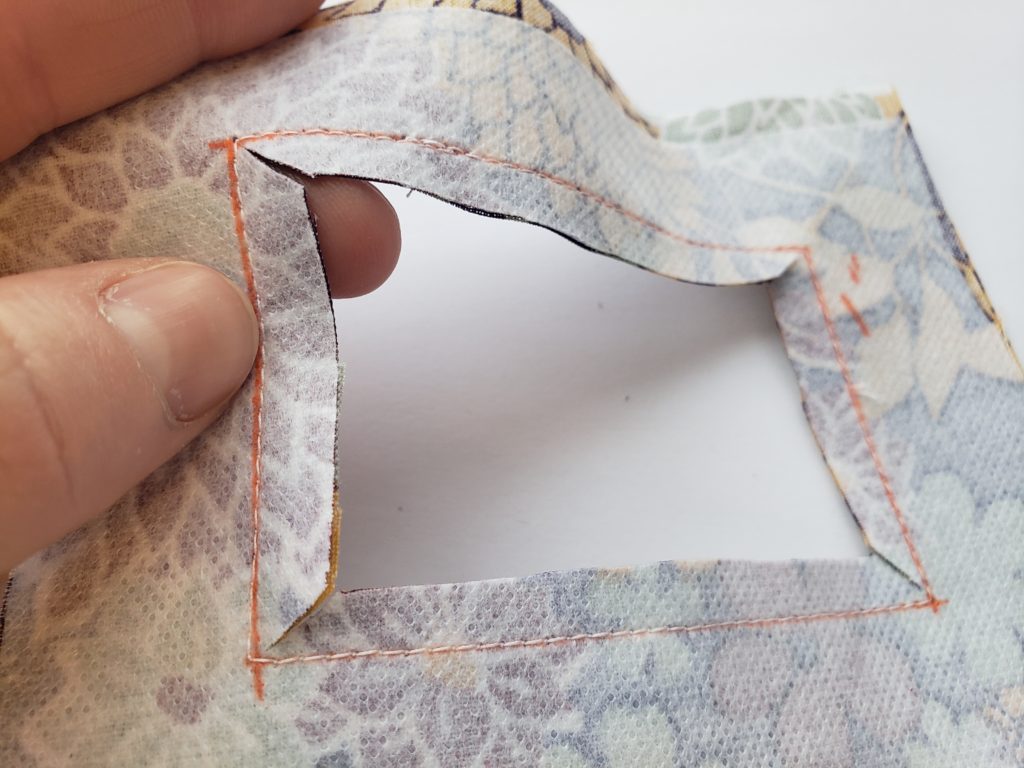
step 5 – Flip it right sides out and press. if your corners dont look as nice then you might need to snip it a little closer in the previous step.
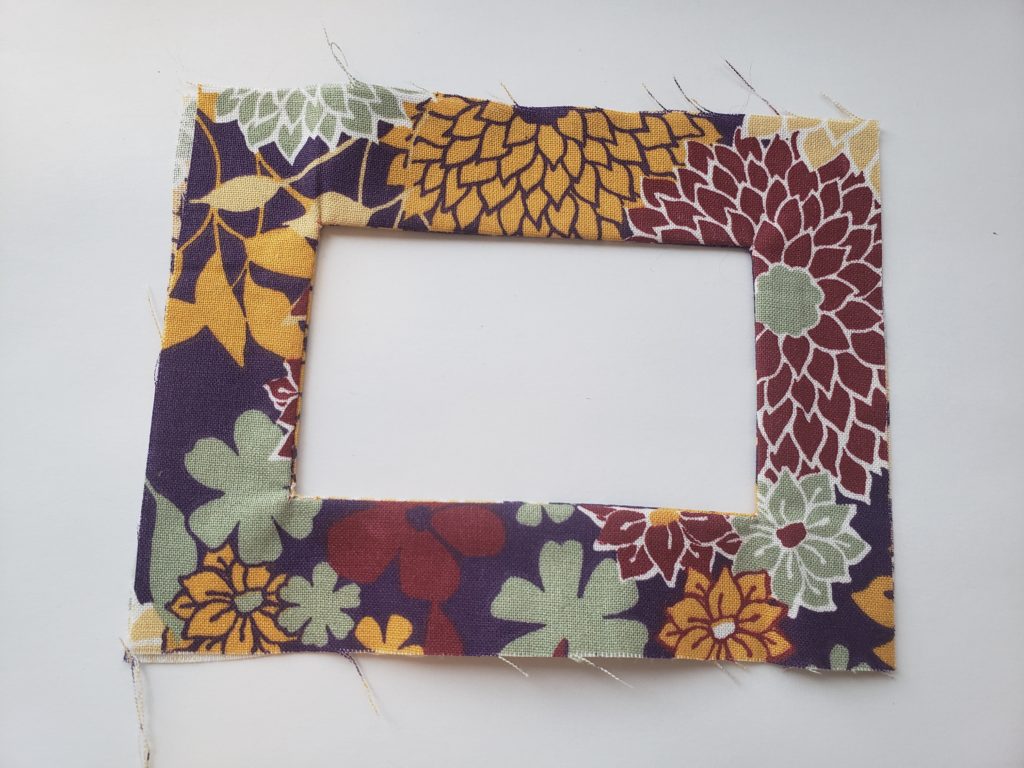
Step 6 – place the vinyl window on one side of your piece secure vinyl by sewing a seam around the window 1/8″ away from the edge of the window. Cut off any excess vinyl.
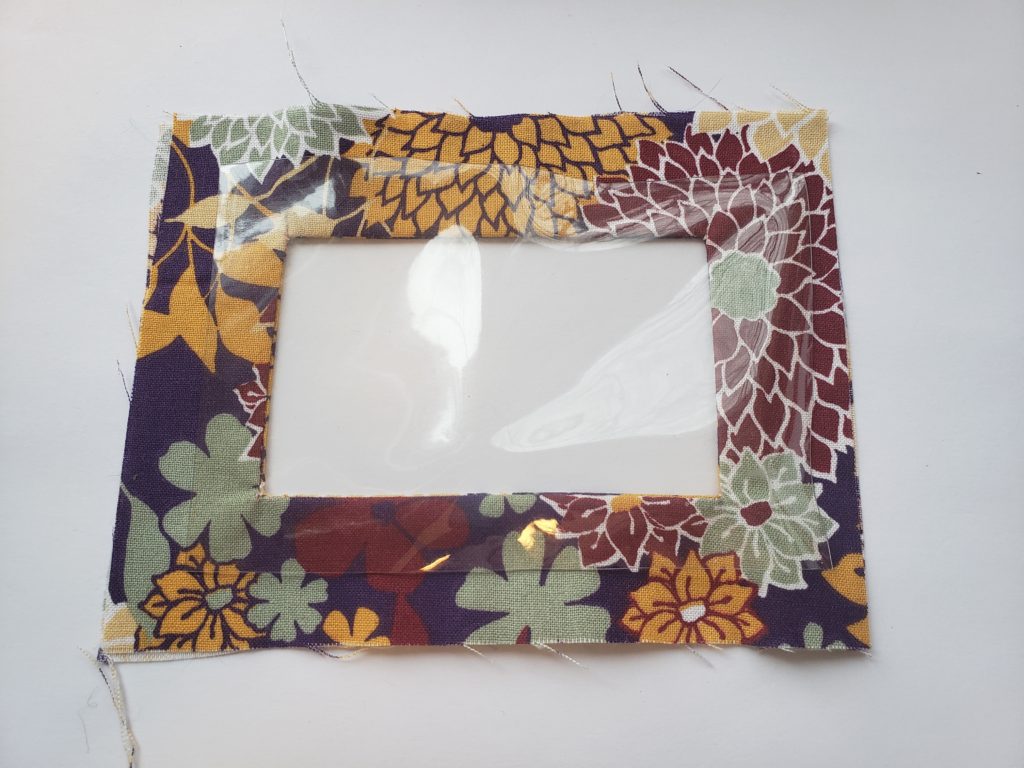
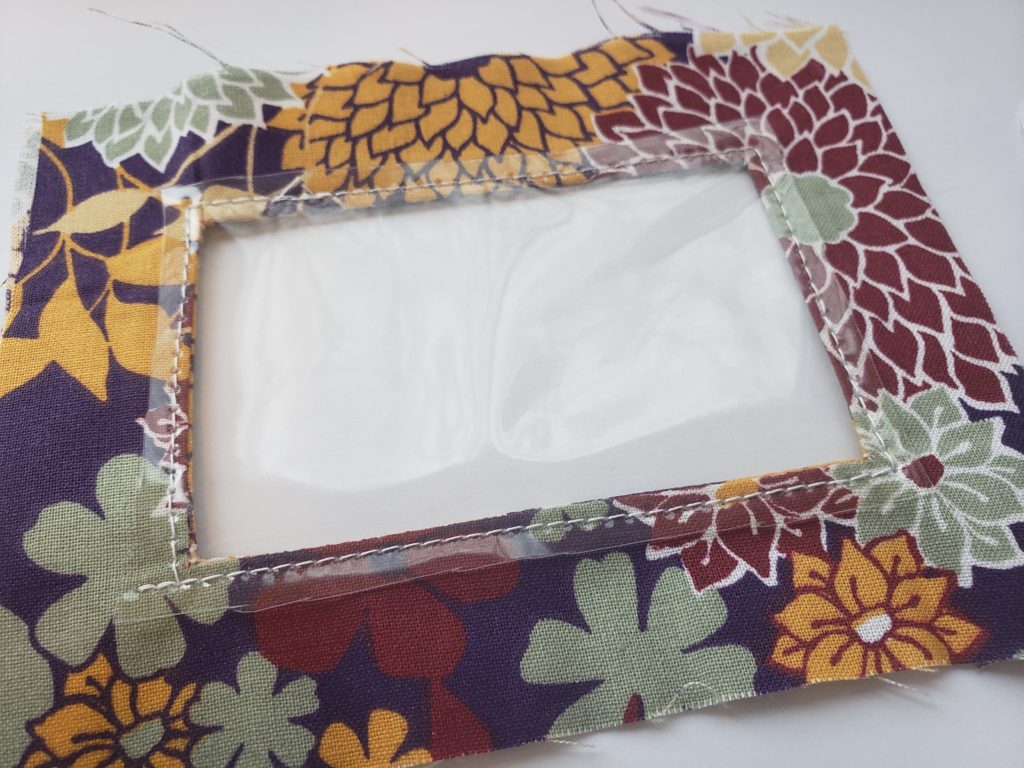
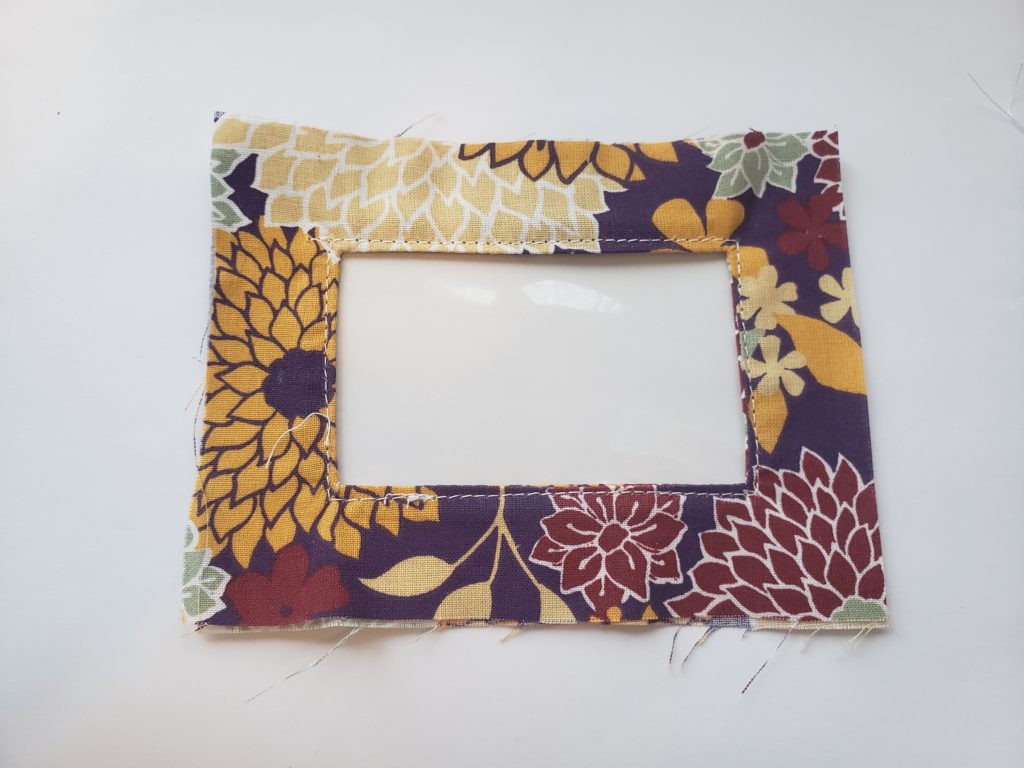
step 7 – on one short end fold in raw edges 1/4″ and press, to help get your fabric nice and lined up i like to use school glue for this step.
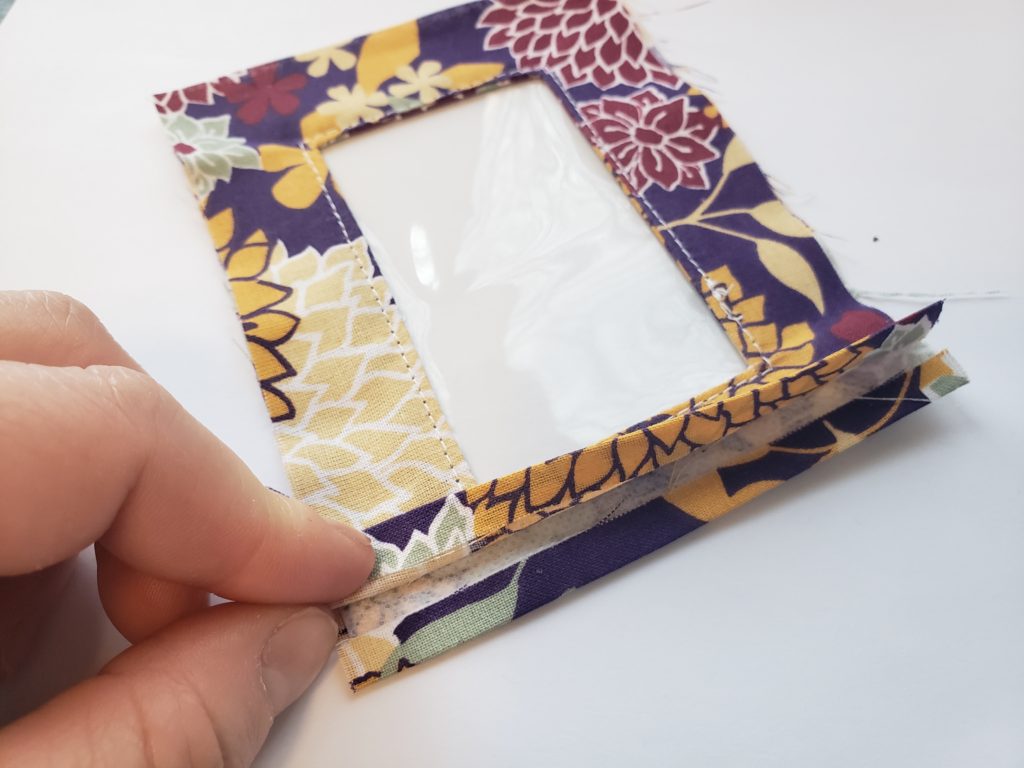
Step 8 – sew a top stitch along that edge.
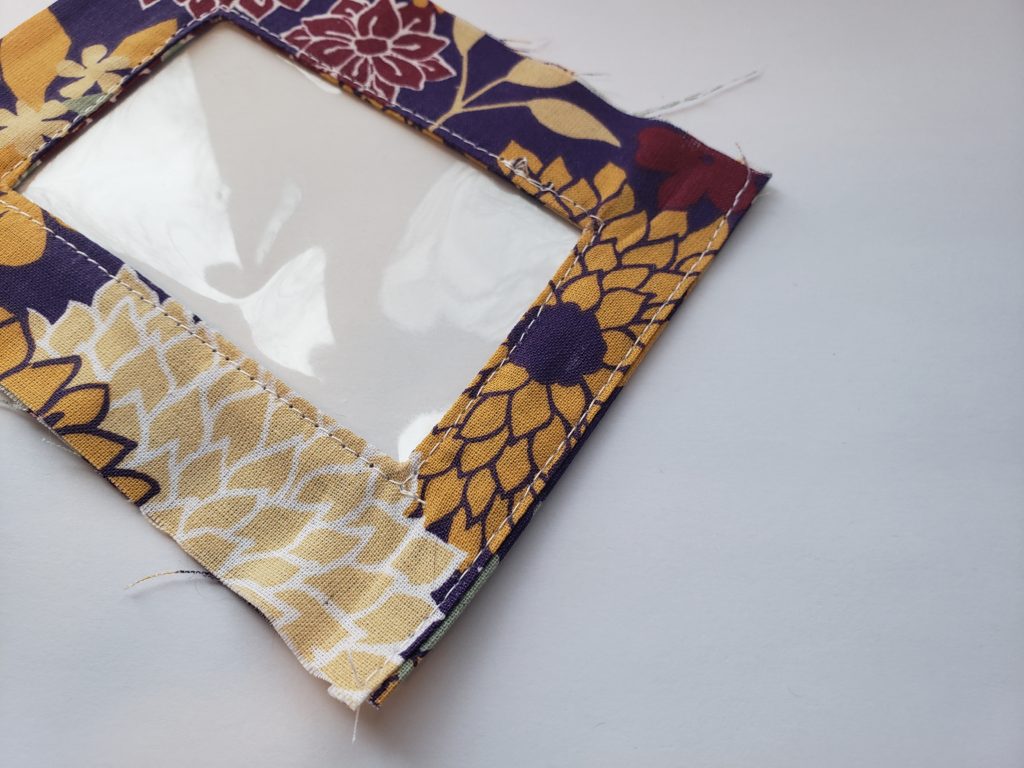
step 9 – place window piece on top of one of the larger pieces.
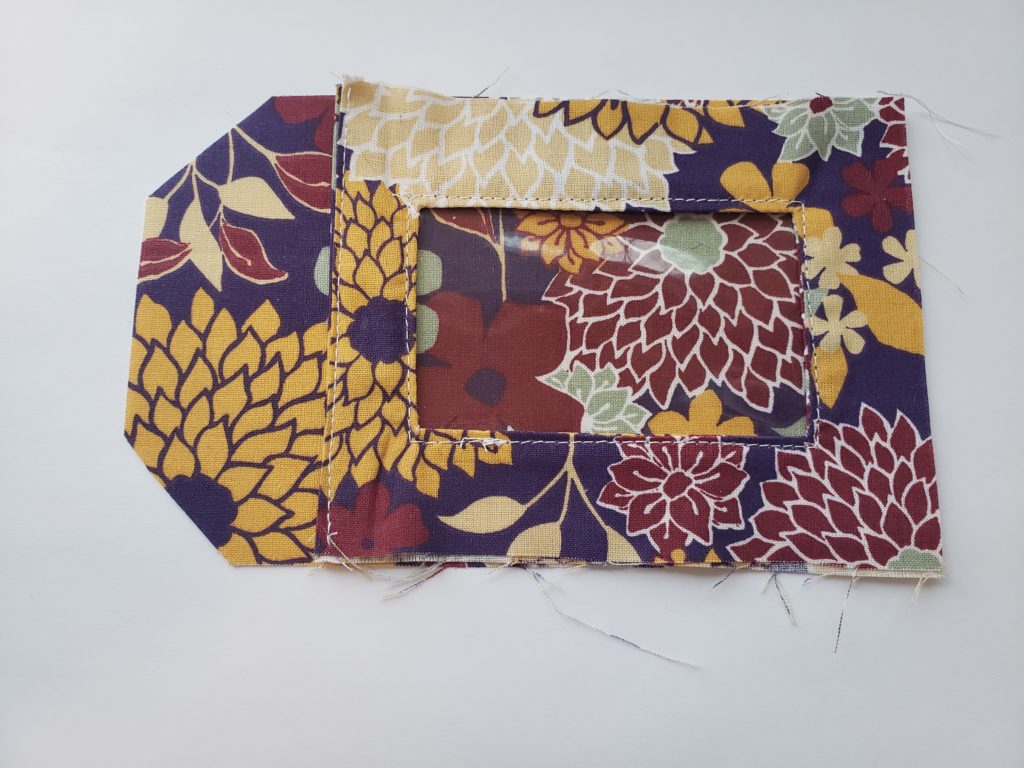
sandwhich the remaining piece on top with the right sides together.
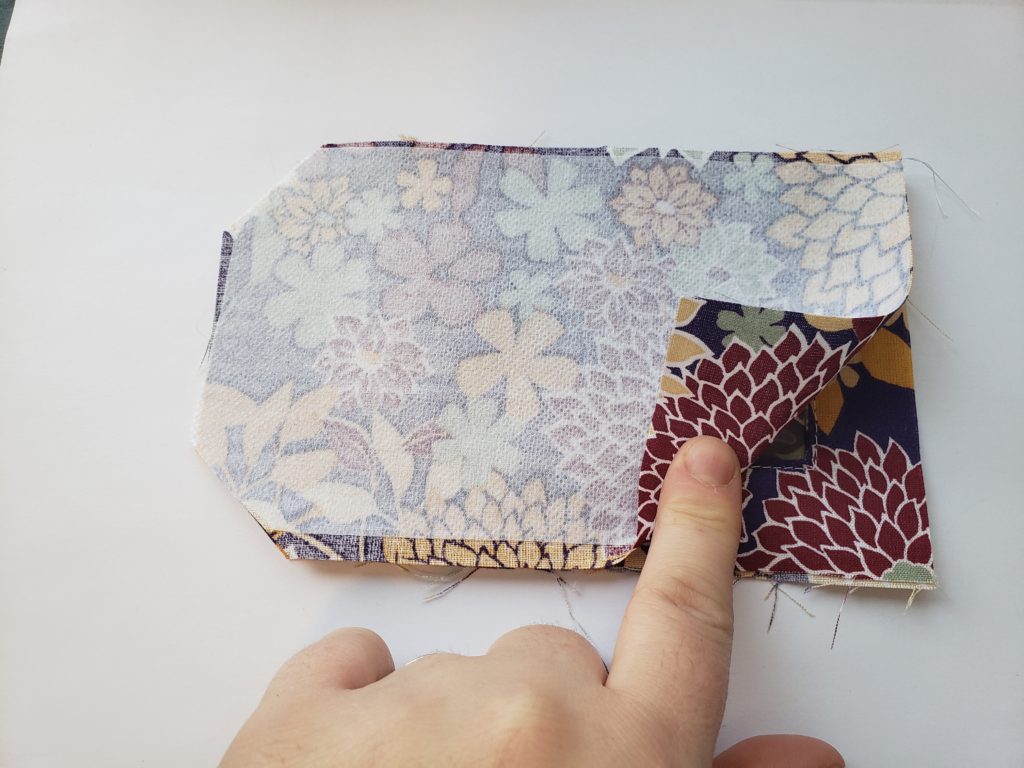
step 10 – sew all the way around leaving a 1 1/2″ gap at the bottom.
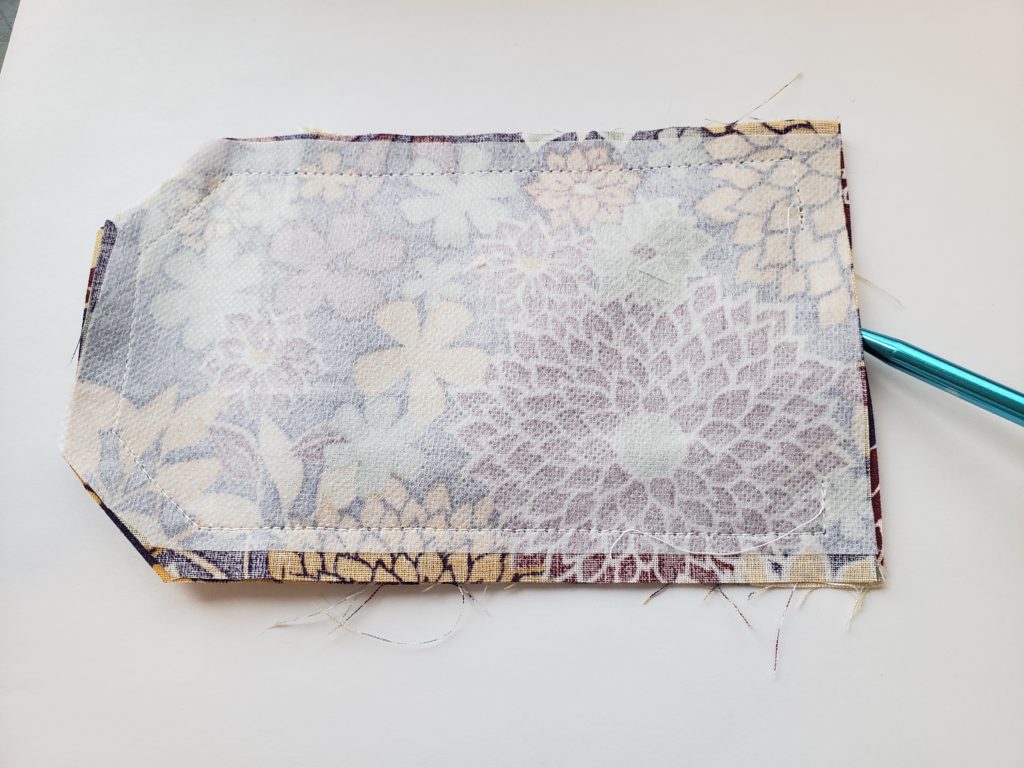
Step 11 – snip the corners to reduce the bulk and flip right sides out.
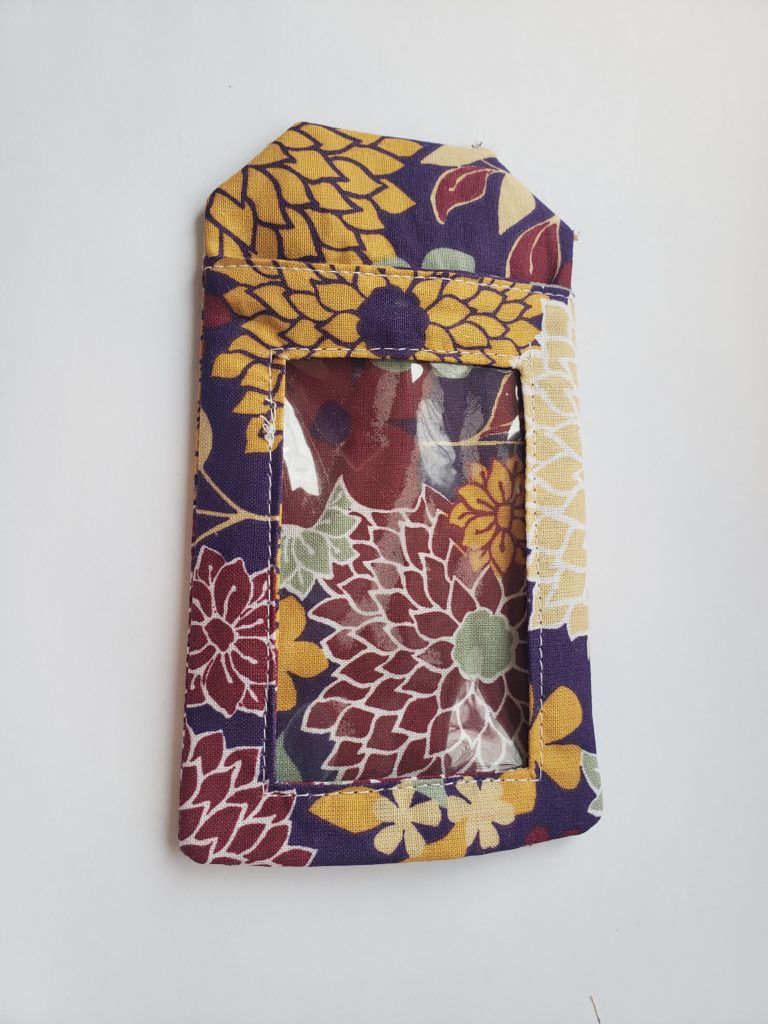
if pressing, press from the back for 3 sections, enough so u dont melt the vinyl.
Step 12 – top stitch all the way around and to close up the hole.
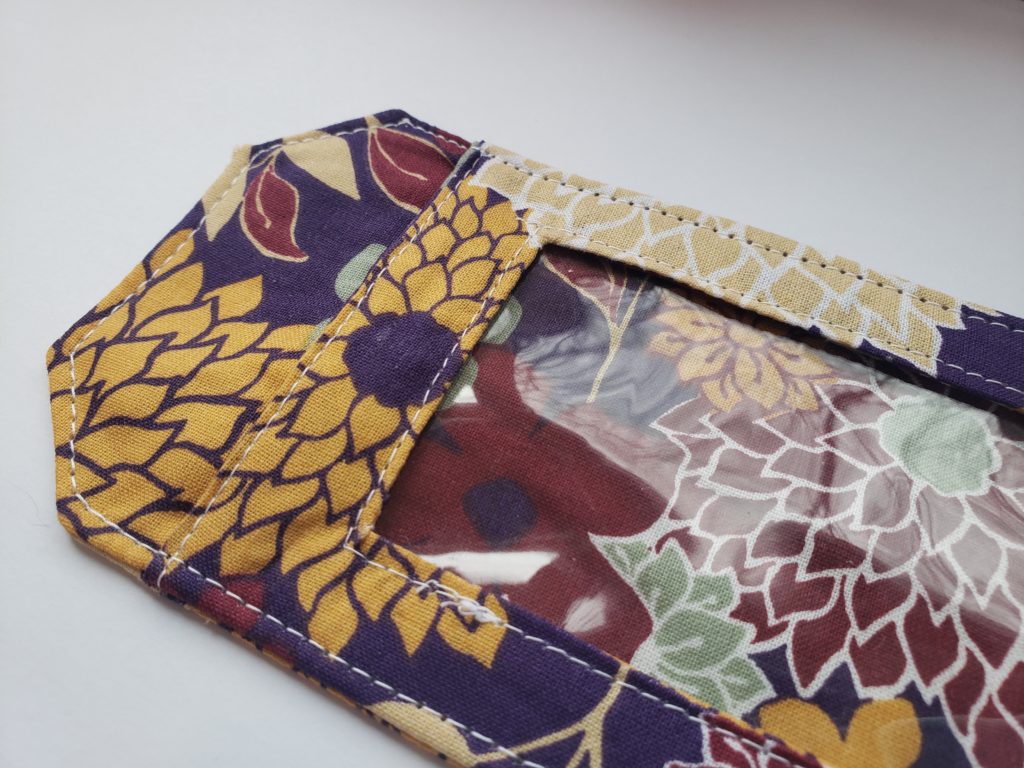
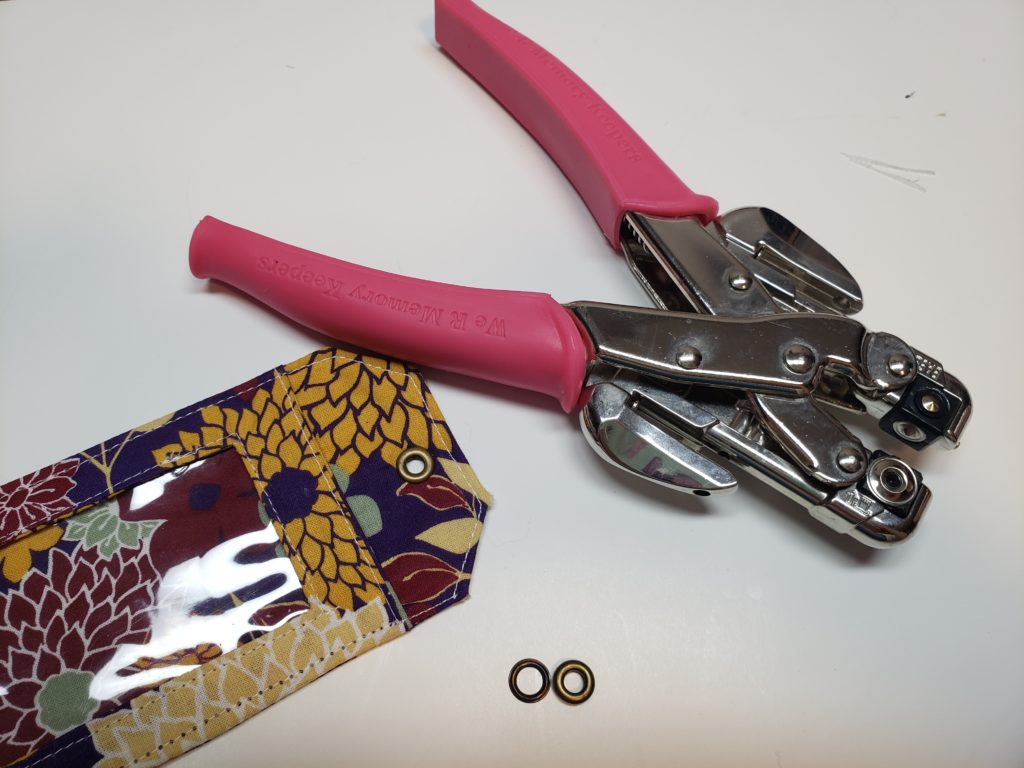
place a grommet / eyelet at the top centred 1/4″ from the edge and add your cord!
get the We are memory keepers Crop – o – Dile I love it!
some links are amazon links and help to support this blog! Thank you for purchasing through these links <3


0 Comments