Welcome to the first tutorial of the 2022 holiday gift giving series!
In todays tutorial we will learn how to make a super simple book mark, i know its not the most difficult project in the world but it is a great beginner friendly project that can add a personal touch to a notebook or book gift!
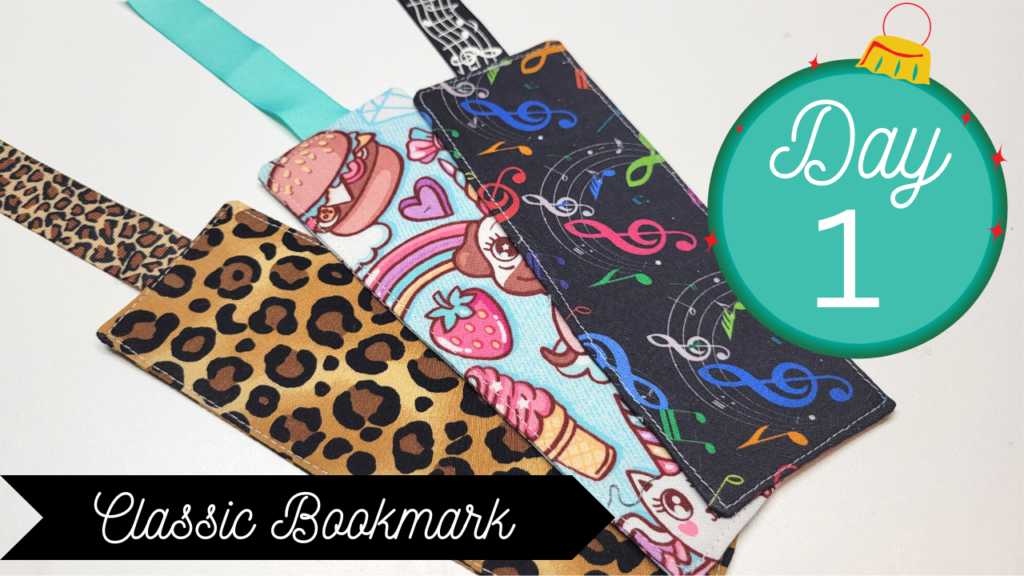
With winter quickly approaching more people are looking for those indoor cozy activities that will keep them out of the cold, snuggling up by the fire with a good book is just what is on most peoples to do list this winter season.
Supplies
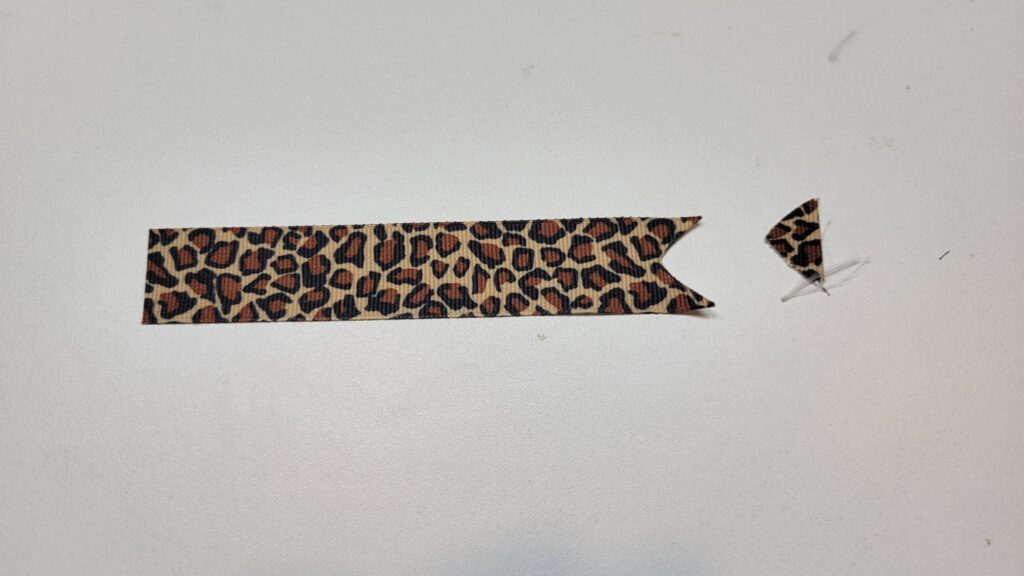
Snip a triangle into the end of your ribbon if you wish and singe the edge with a lighter or flame, this will prevent the ribbon from furthur fraying.
[wpedon id=”24976″ align=”left”]
https://youtu.be/Zqq8YVpDRpo
Measurements
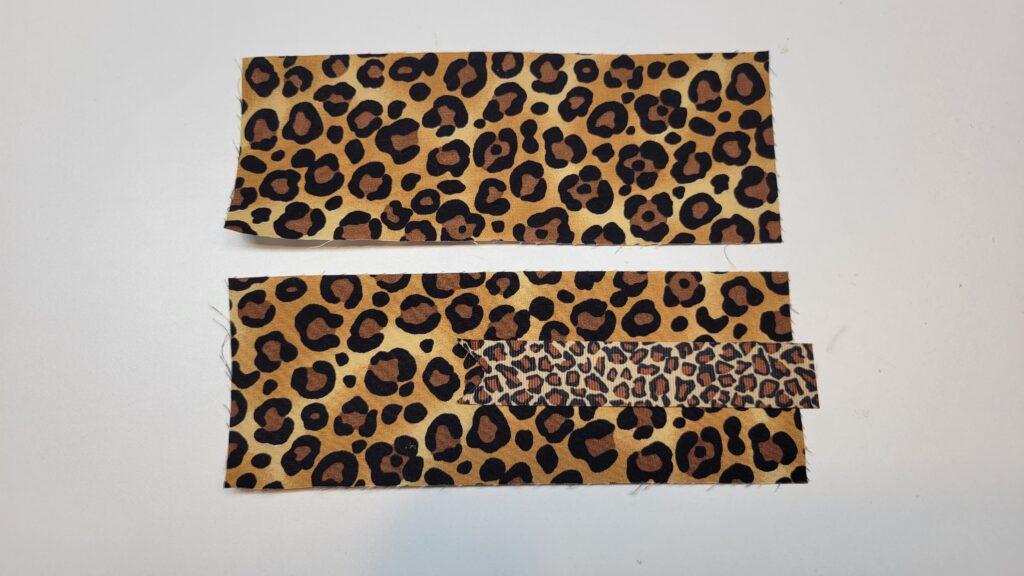
Cut 2 – 3″ x 6″ piece of fabric with a 4″ piece of Ribbon
Iron on the interfacing onto the back of your fabric, this will add stability to your cotton fabric and make for a nice crisp bookmark.
Step 1 – Place the ribbon centered on your fabric with one end sticking over one of the short sides of your fabric.
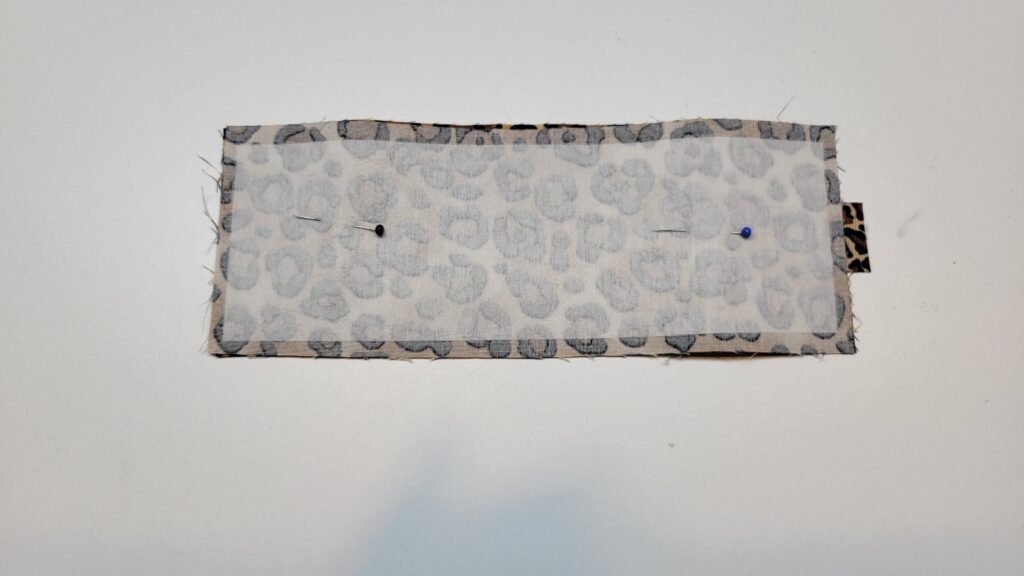
Step 2 – Sandwich the ribbon with the second piece of fabric ontop, make sure your fabrics are right sides together.
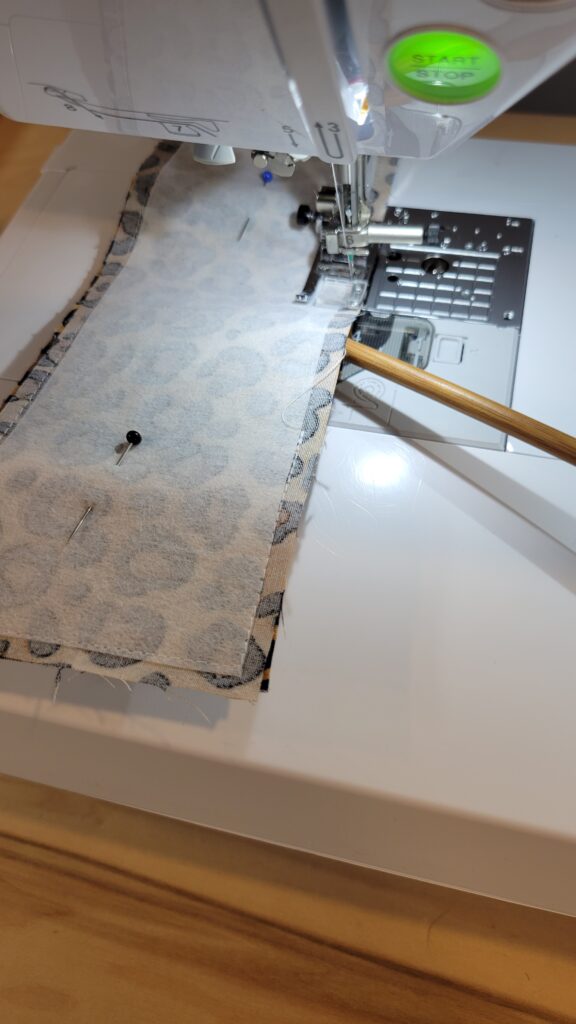
Step 3 – Sew all the way around your book mark leaving a 2″ gap on one side.
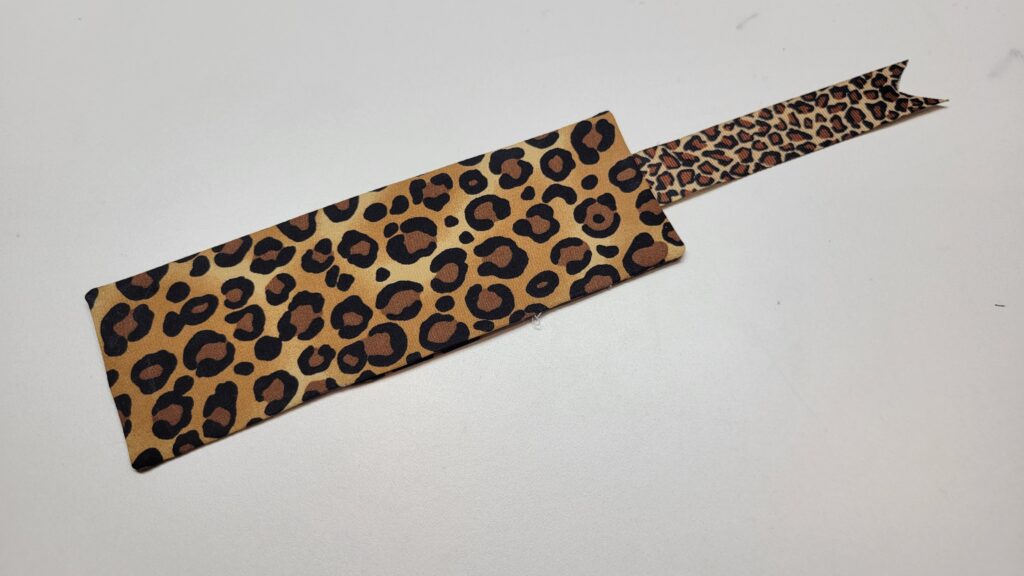
Step 4 – Flip your book mark right sides out and give it a good press. turn in the raw edges of the hole you left so it looks nice and even with the side of the bookmark.
- Take your time and make sure it looks nice, if you do a good job with this than once your finished you wont be able to see where the hole was on your finished bookmark
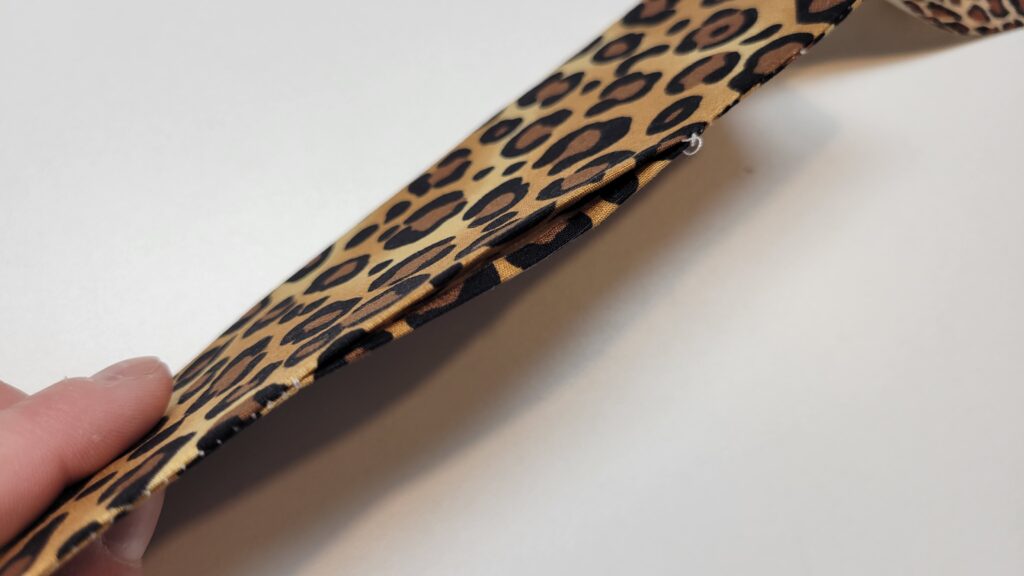
Step 5 – Sew a top stitch all the way around your book mark with a 1/8th seam allowance. this will give your book mark a finished look, add detail and also close up that hole!


0 Comments