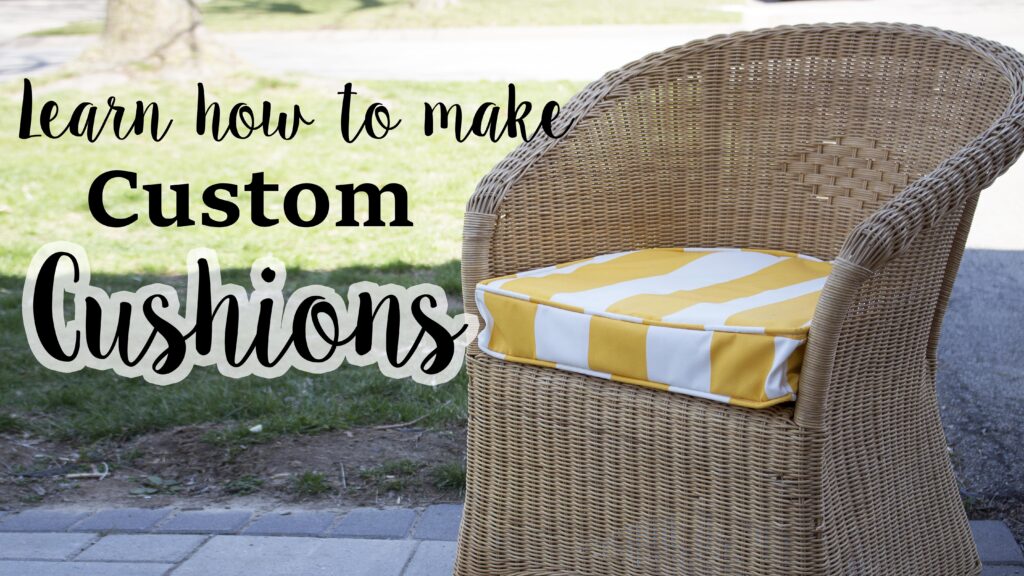
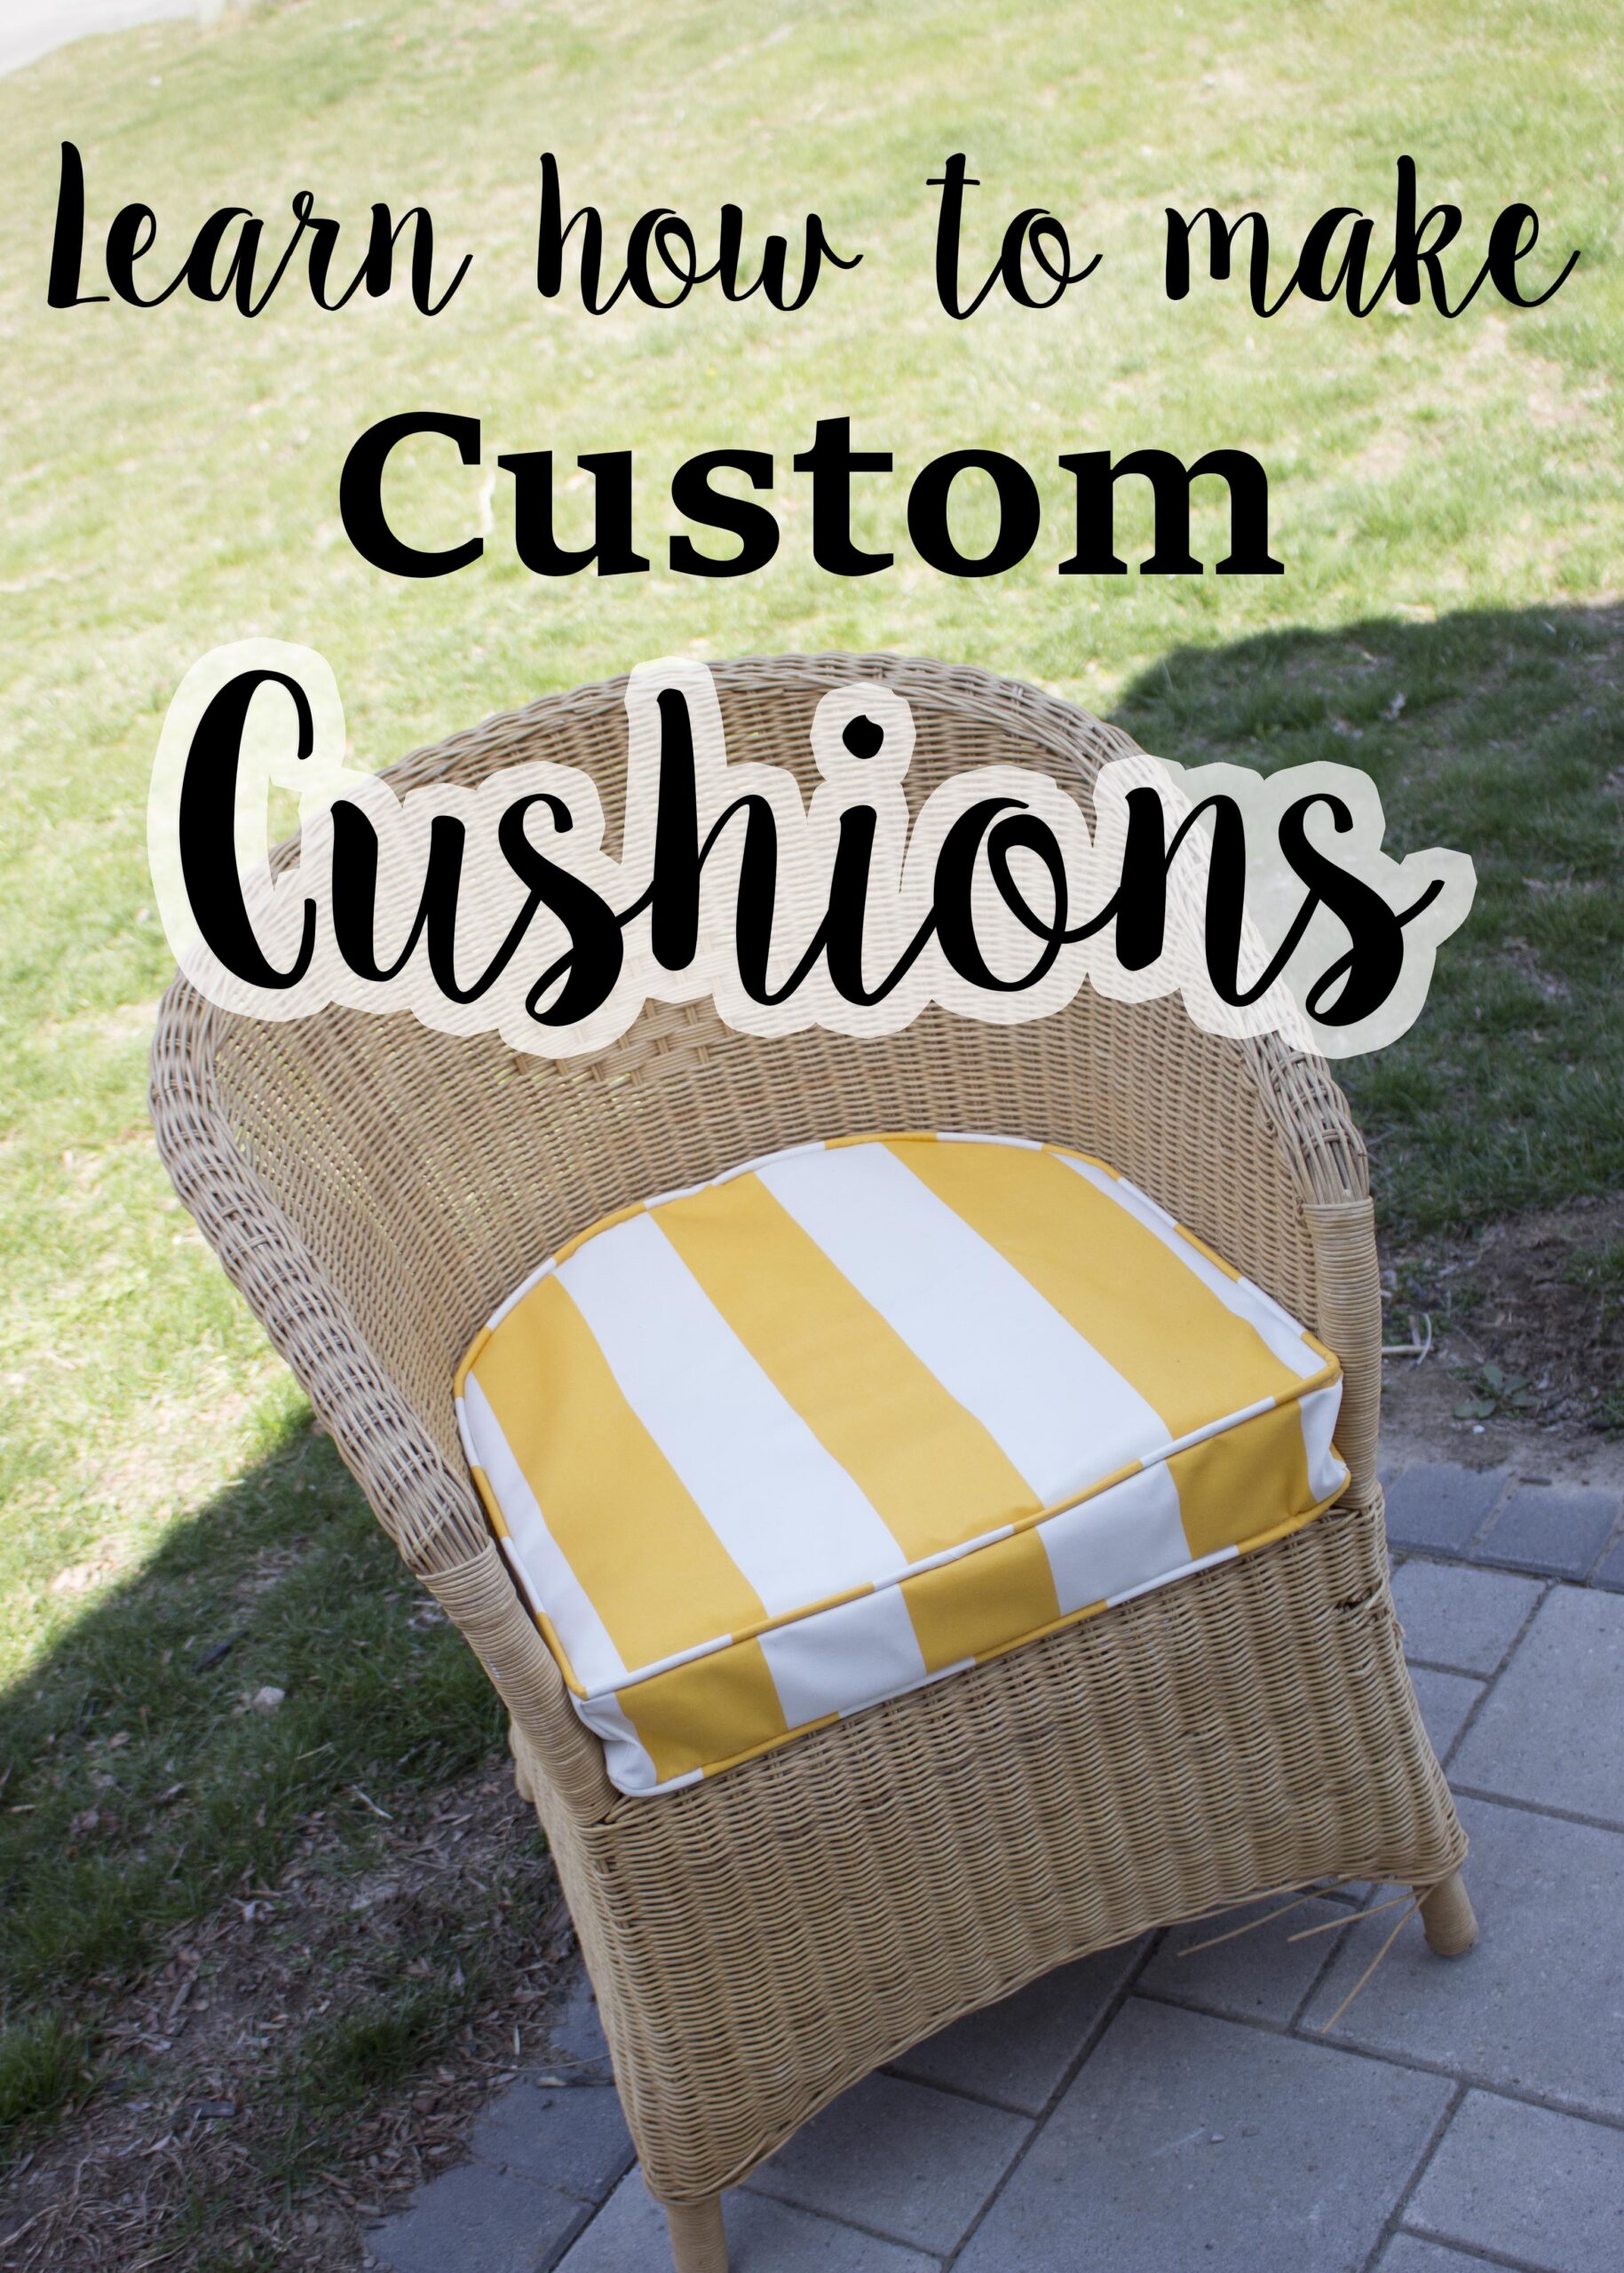
Learn how to make a custom slip cover cushion!
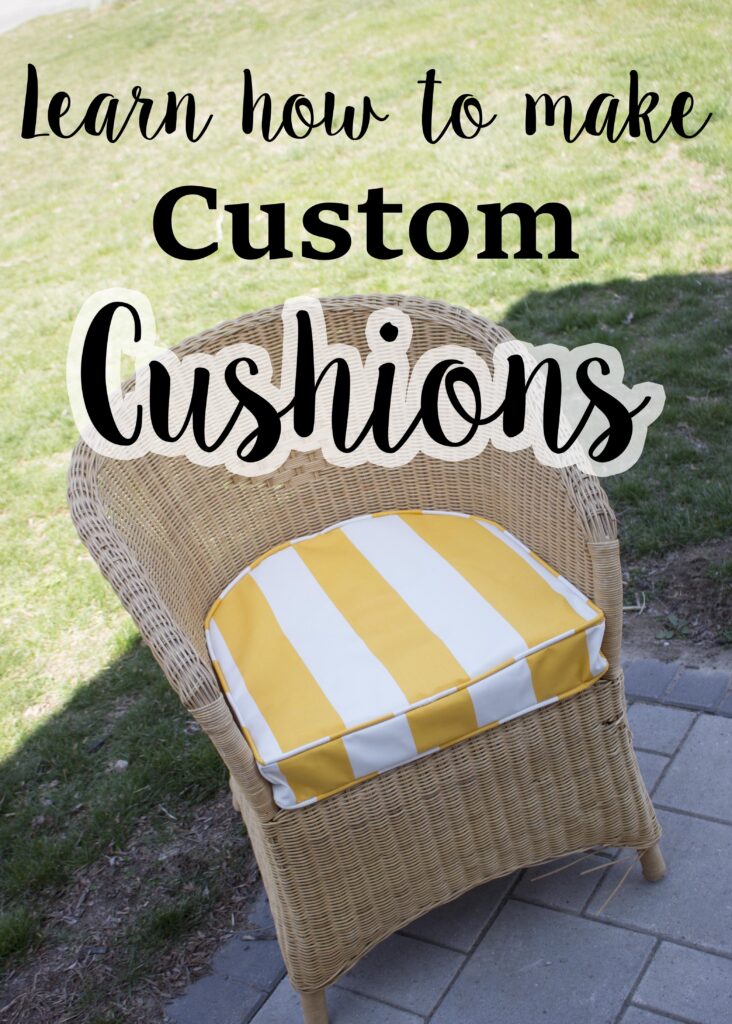
Please check out the tutorial to learn how to make a custom cushion.
This is a step by step on how i made my custom cushion so hopefully you can use the process and techniqes to create your own!
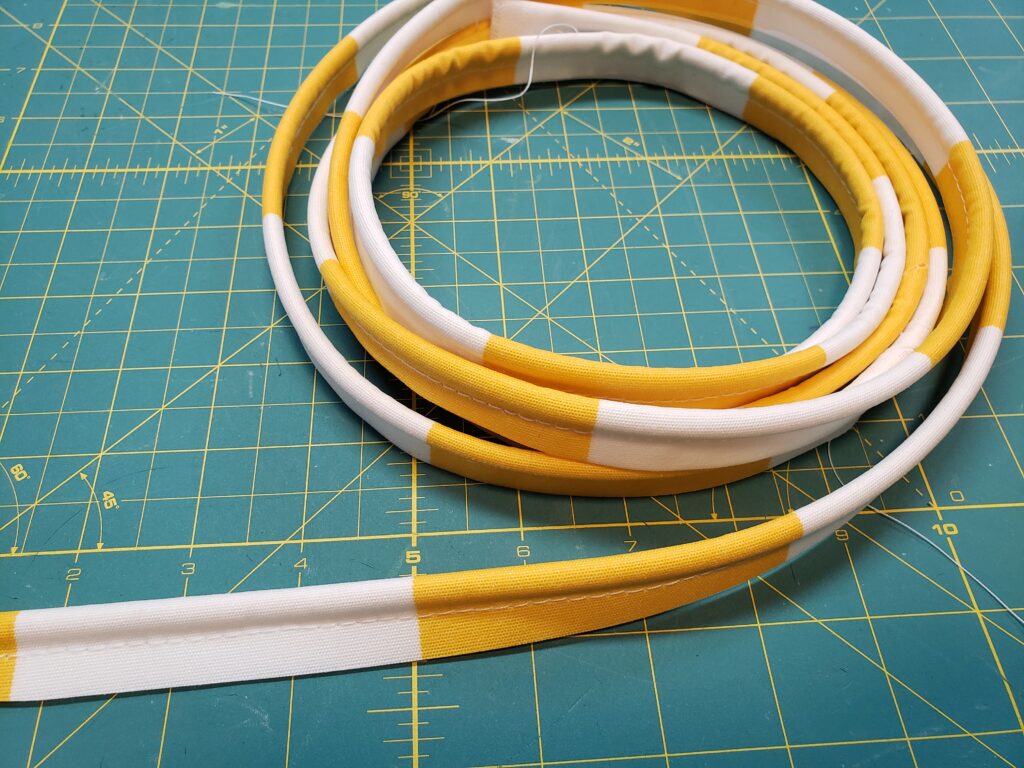
Where to find the piping
3/16th cord – https://amzn.to/39U7m2M
1/4″ piping cord – https://amzn.to/3dLNsIv
4/32 piping cord – https://amzn.to/2OuJCe8
Premade piping – https://amzn.to/320Vesk
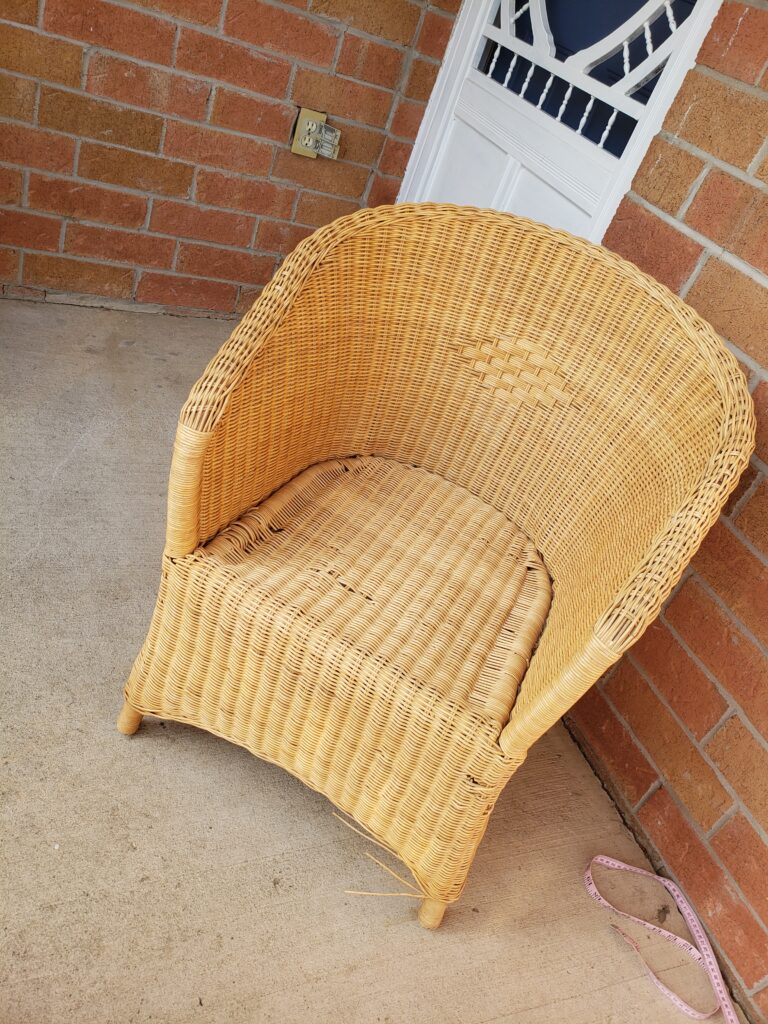
Today i made a cushion for this chair i grabbed over at the auction for $20, to make a custom cushion it can be rather easy but very intimidating! i totally get it! This cushion is going to be a slip cover so i can easily take it off and wash it if i choose. so the first thing i did was measure my cushion, because it has a curve i chose to cut out a rectangle from the width and the depth of the seat.
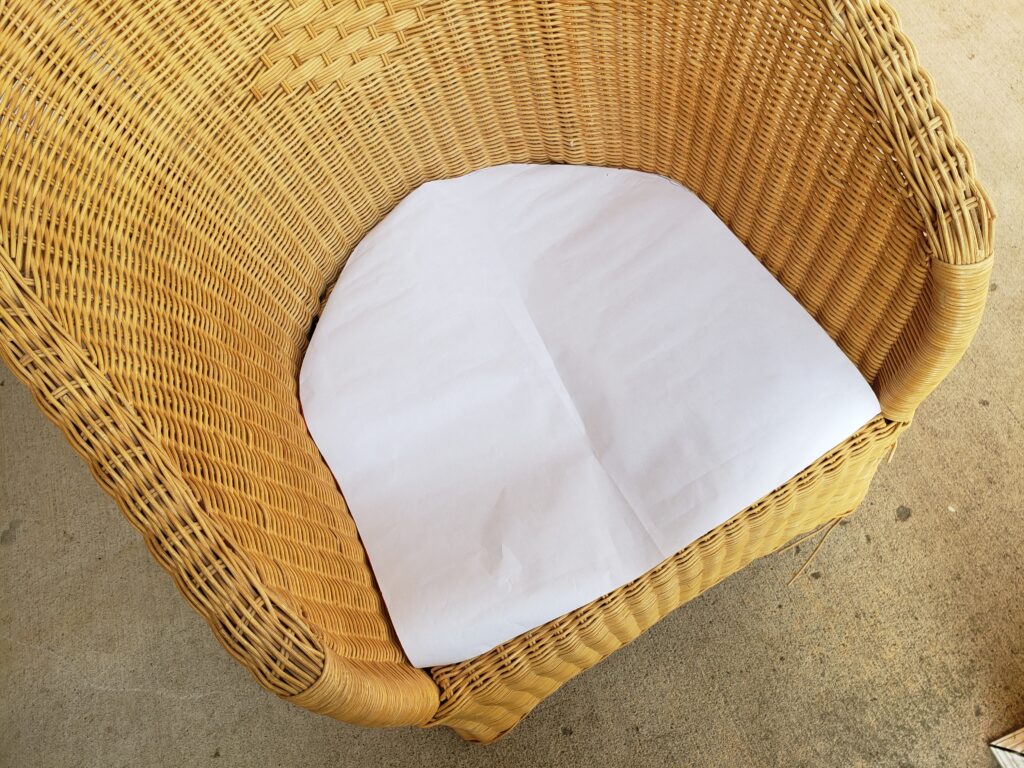
I placed the paper onto the seat and foldedthe paper into the curves of the chair, i folded the paper in half because its a symetrical shape, rounded the shape of the curve with a pencil line and cup the shape out to create my template. this is going to be used to cut out the foam for the seat. we will use it to make the sewing pattern after.
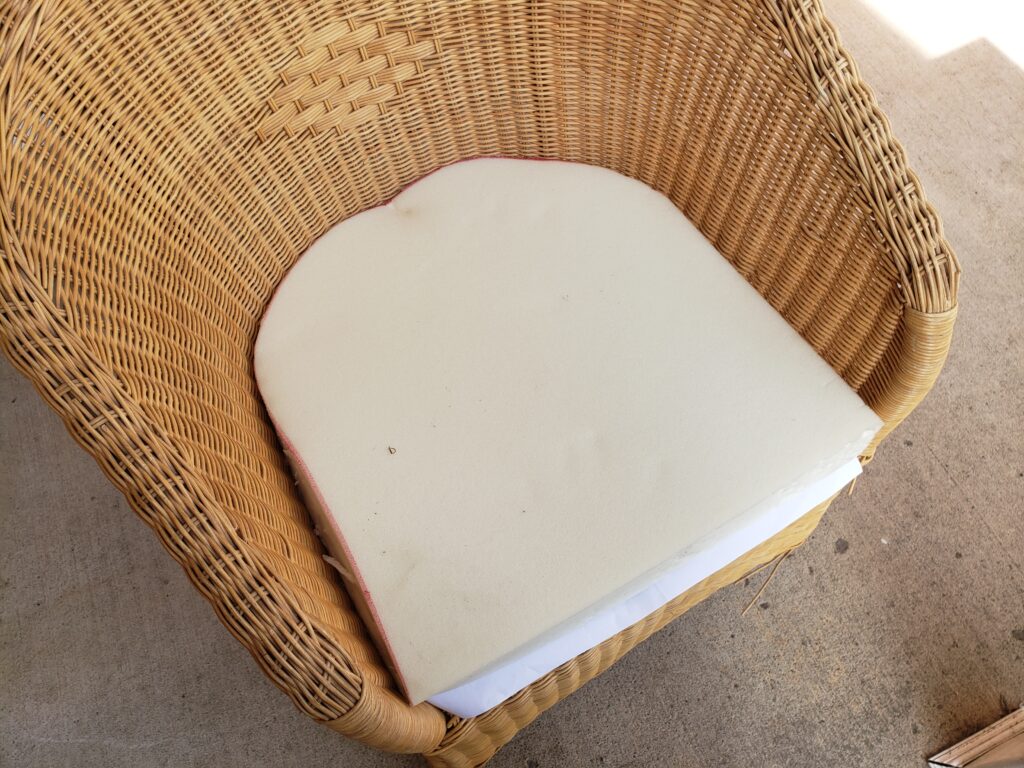
for this cushion i chose to use memory foam, i grabbed a large matress topper and used that to cut out a piece. if you can get your hands on something like that you can save yourself some money on foam, if not grabbed a piece larger then the size of your seat to cut from.
Using a high density cushion foam will help to give your bum a good amount of support – https://amzn.to/2RdOEwx
place the cushion into your seat to make sure it fits nicely, if its going into a chair like this make sure its nice a snug!
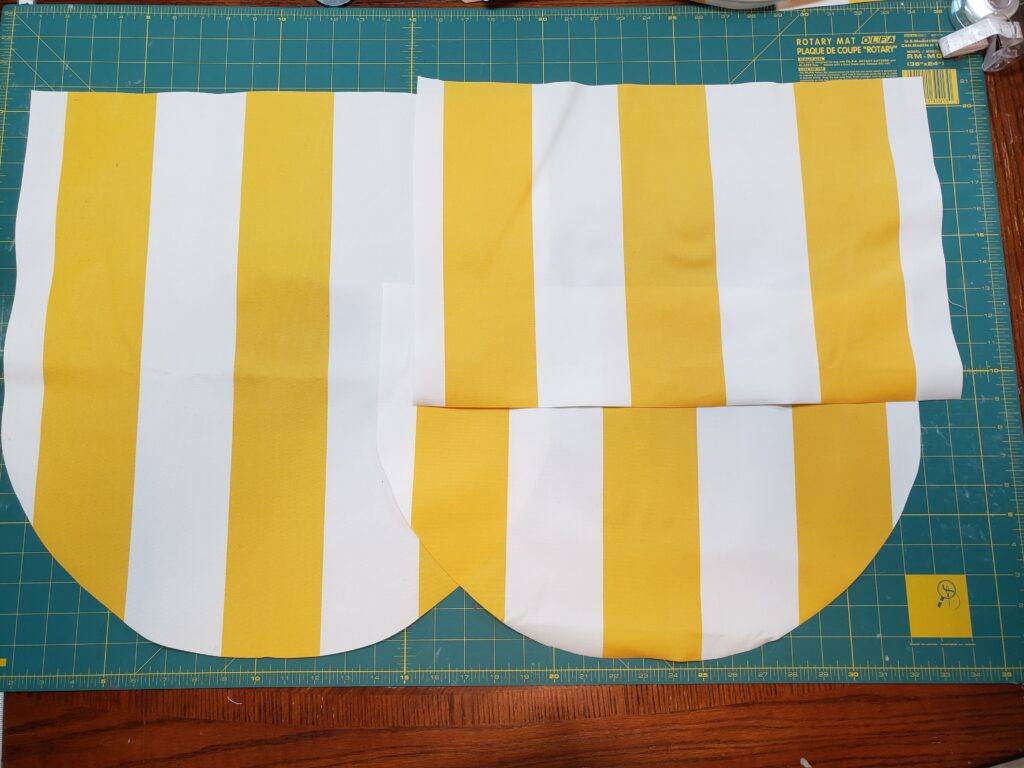
top and bottom of cushion 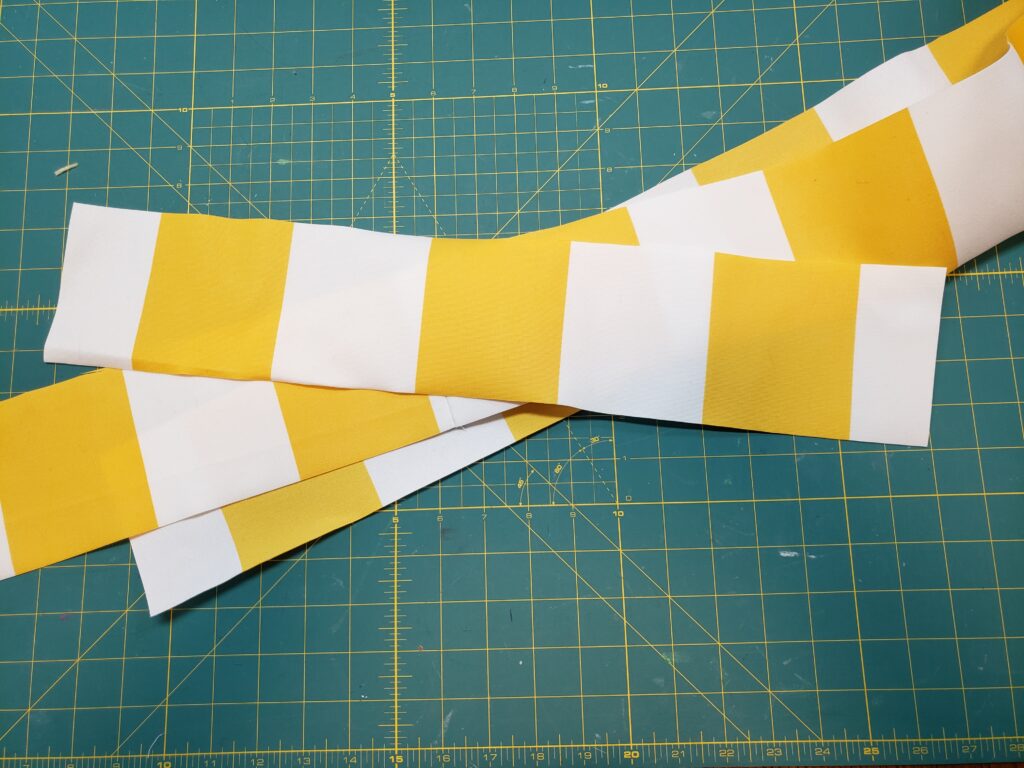
sides of cushion



0 Comments