[wpedon id=”3129″ align=”left”]
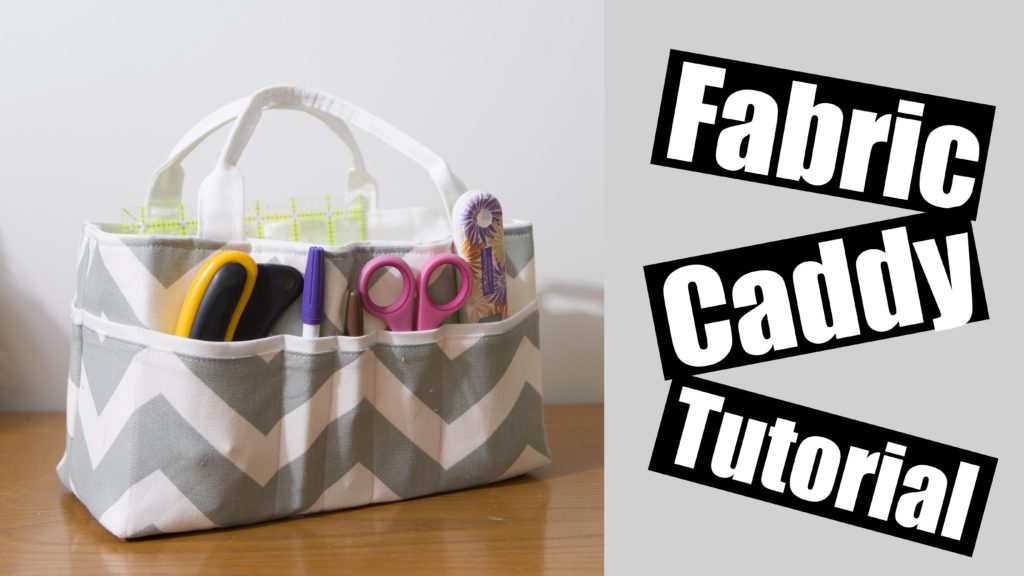
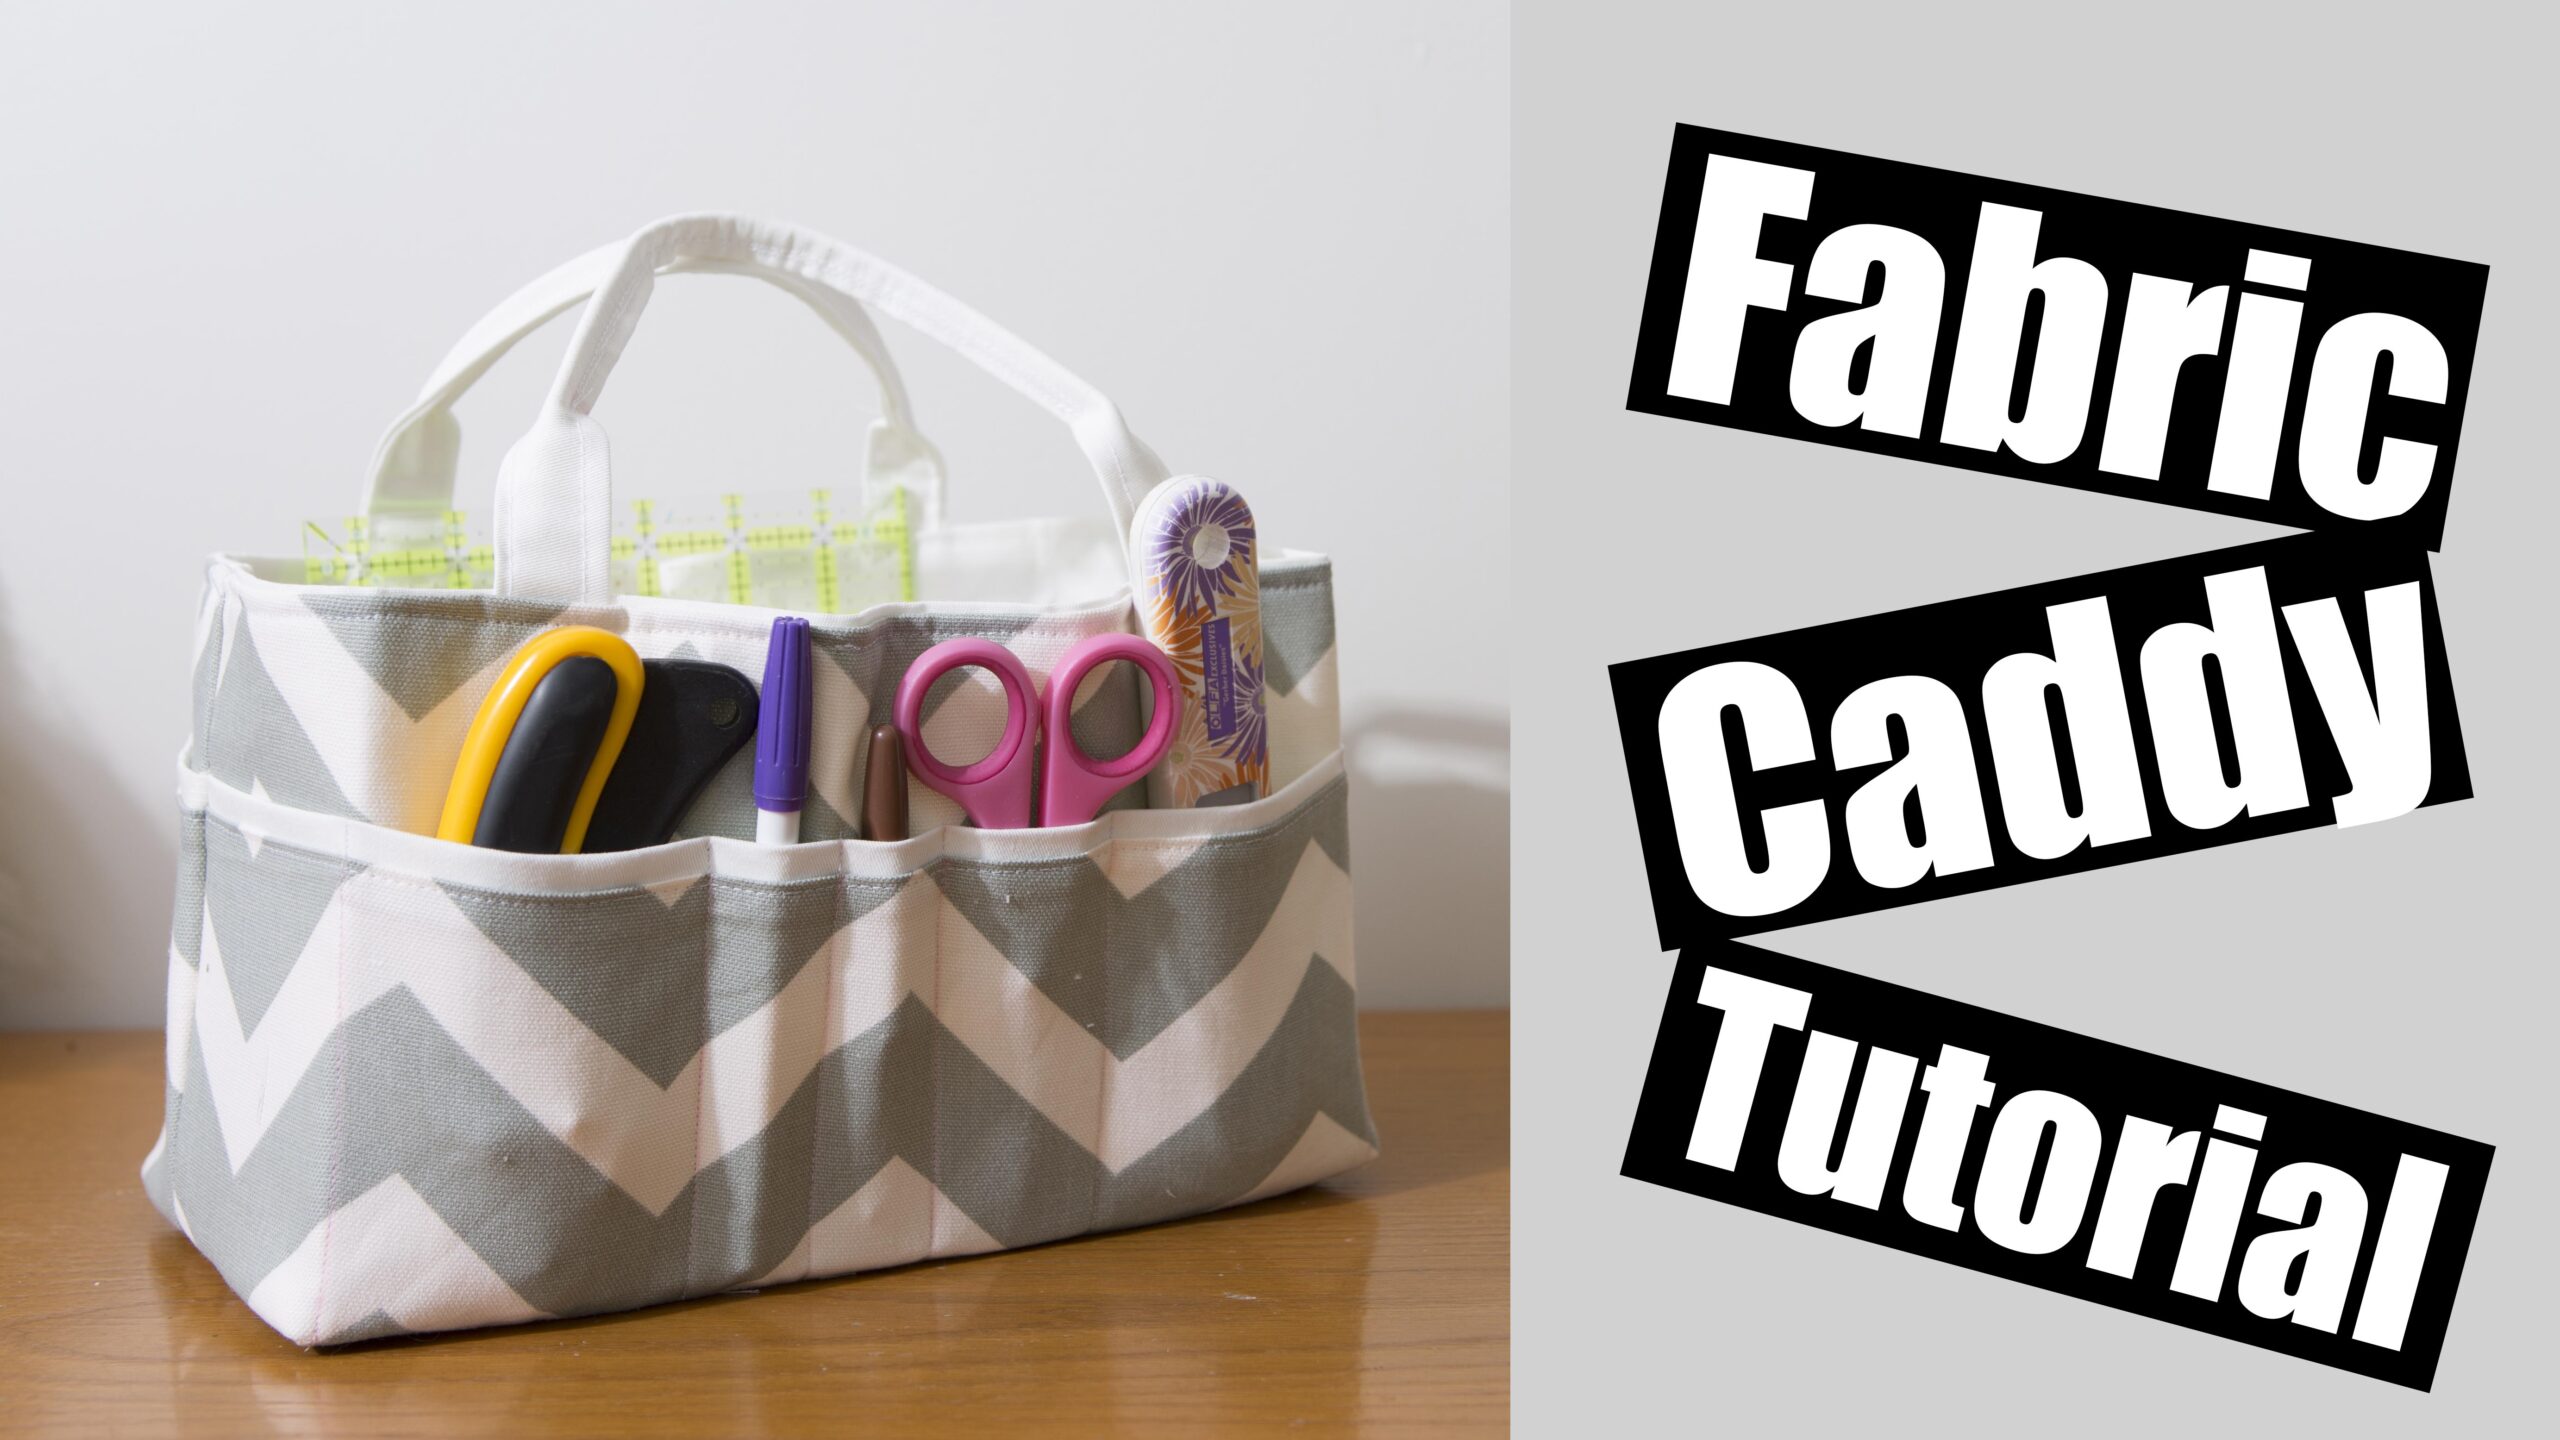
Welcome to the Fabric caddy tutorial, here you will find the materials and measurements for the Fabric caddy Video tutorial over at www.youtube.com/charmedbyashley
This caddy is made out of Peltex sew in interfacing, this is a sturdy interfacing and is great for projects like this!
Substitutes for Peltex, Heavy interfacing on all pieces, Fusible fleece on all pieces.
Materials
Canvas fabric
Peltex, Heavy interfacing, fusible fleece
Other suggestions, Jean fabric, Duck canvas, Cork, Cotton fabric will need to be heavily interfaced
For this tutorial i will be using Canvas for all pieces, Chevron for the outsides fabric, and a beige canvas for the lining.
Measurements for Medium Caddy (featured in the tutorial)
Outer fabric – 17″ wide x 10″ tall (cut 2)
Caddy lining – 17″ x 10″ tall (cut 2 )
Peltex – 17″ x 10″ cut 2
Outer fabric pocket – 7 3/4″ tall, 17″ wide (cut 2)
Lining of outer pockets – 8 1/4″ tall, 17 ” wide (cut 2)
Strap piece 3 1/2″ wide x 22″ long (to be cut in half later to create two seperate straps)
Measurements for Small Caddy
Outer fabric – 13″ wide x 10″ tall (cut 2)
Caddy lining – 13″ x 10″ tall (cut 2 )
Peltex – 13″ x 10″ cut 2
Outer fabric pocket – 7 3/4″ tall, 13″ wide (cut 2)
Lining of outer pockets – 8 1/4″ tall, 13 ” wide (cut 2)
Strap piece 3 1/2″ wide x 22″ long (to be cut in half later to create two seperate straps)
Tools
Iron – Oliso
Clips – Cheap clips off amazon
Sewing Machine – Brother
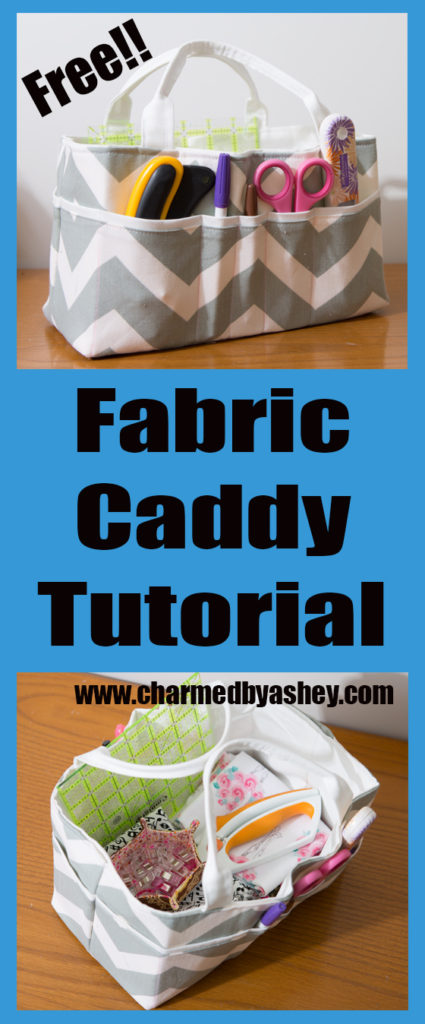
Outer pieces
, 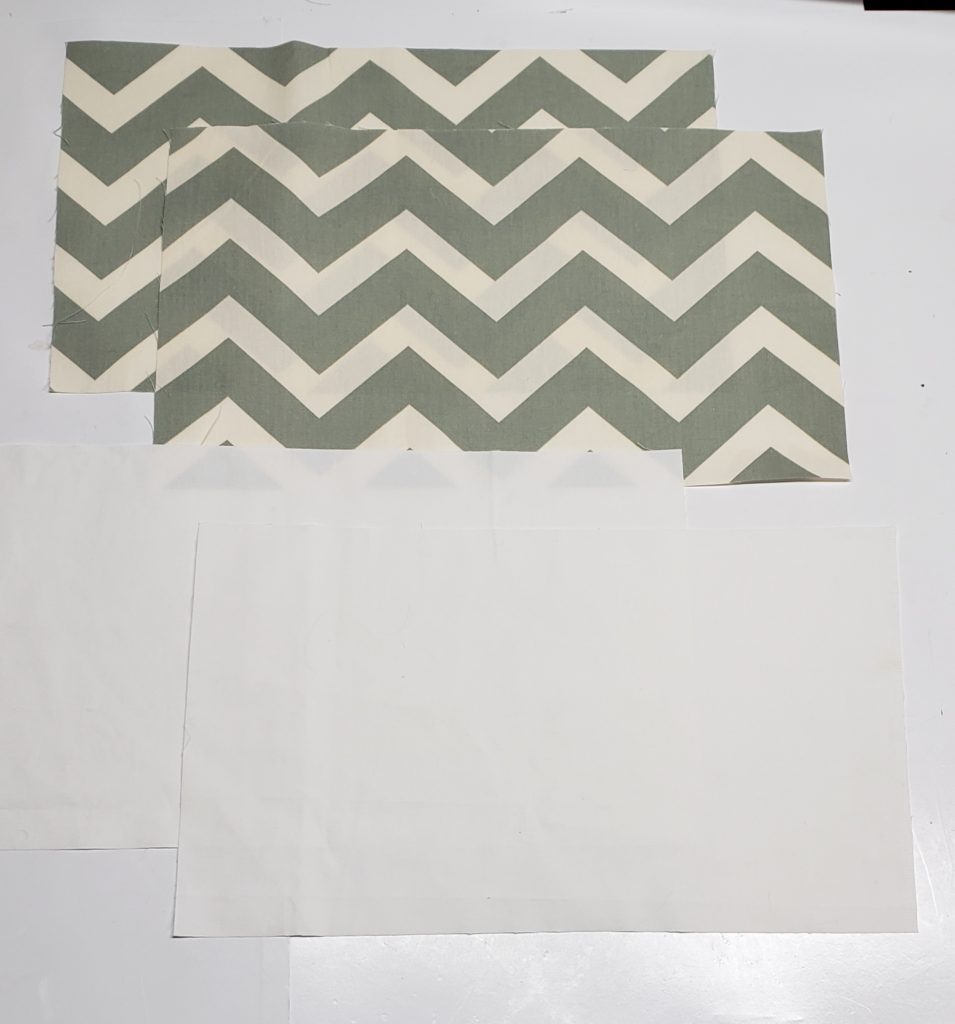
Pocket pieces
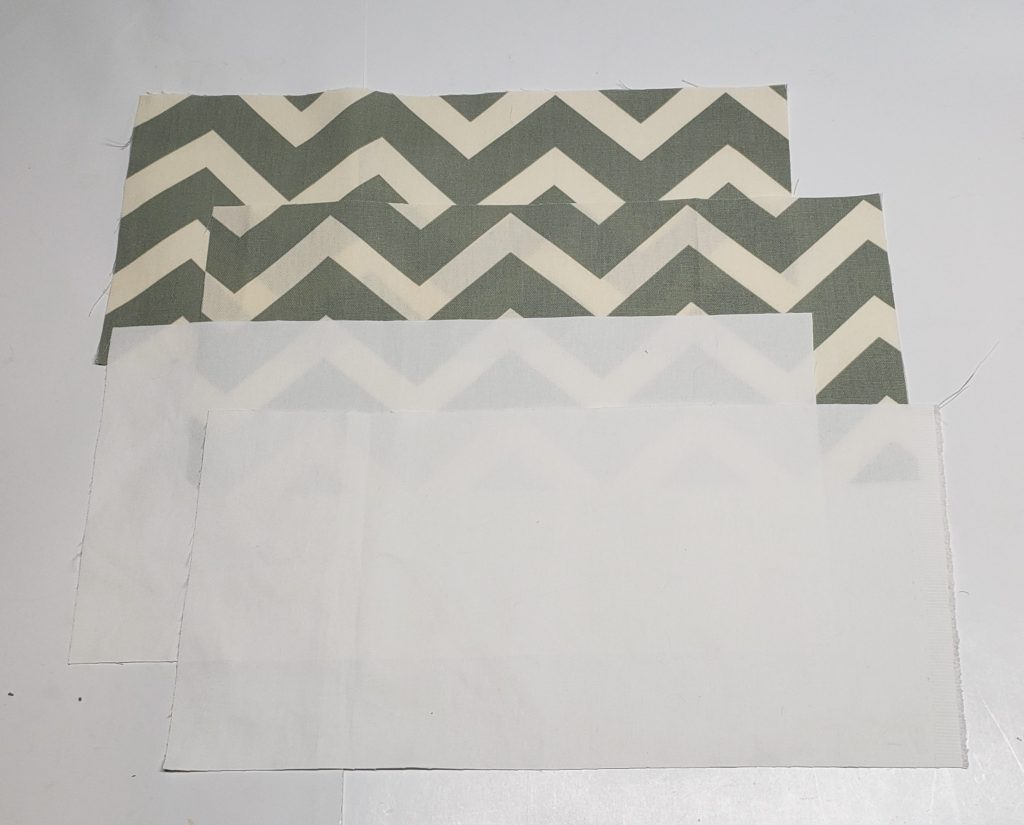
Strap piece
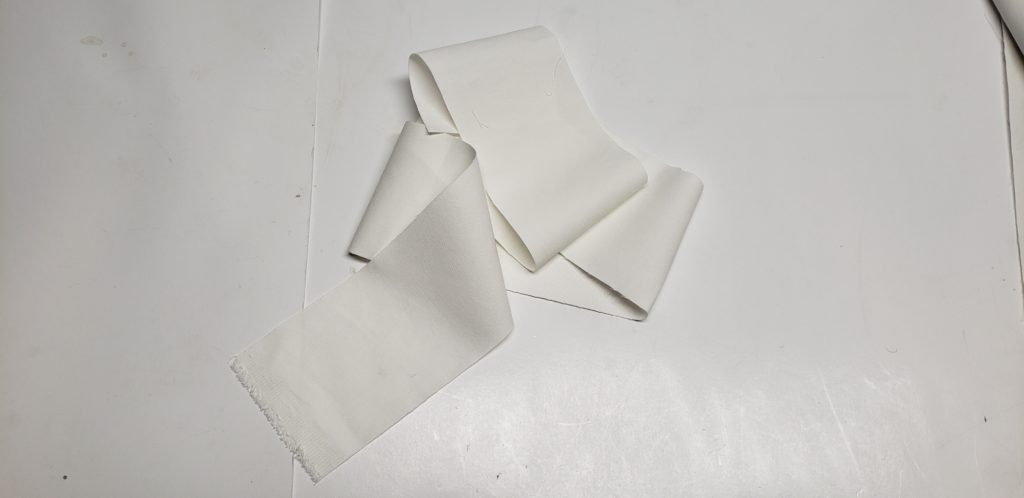
step 1, sew the outer pocket piece and lining pocket piece together with the right sides together (these two pieces are not the same height so you will see some of the lining at the end.)
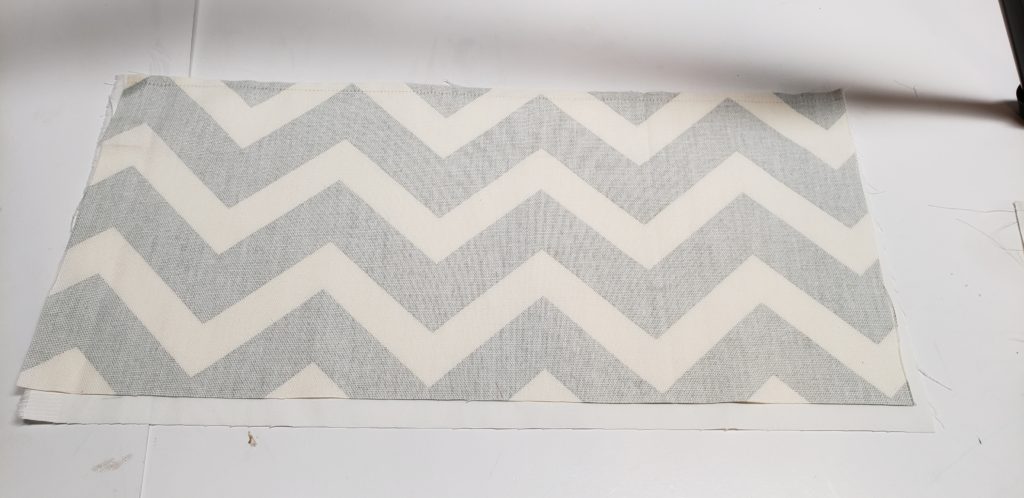
Sew along the long side.
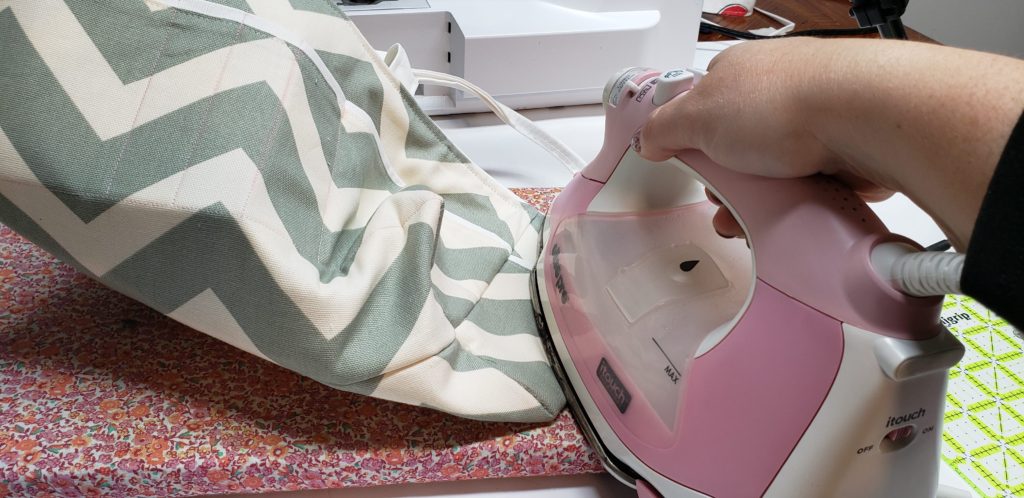
Flip your piece right sides out, line up the bottom edge this will cause the ling to fold down a bit at the top to create a cute trim edge, press in place
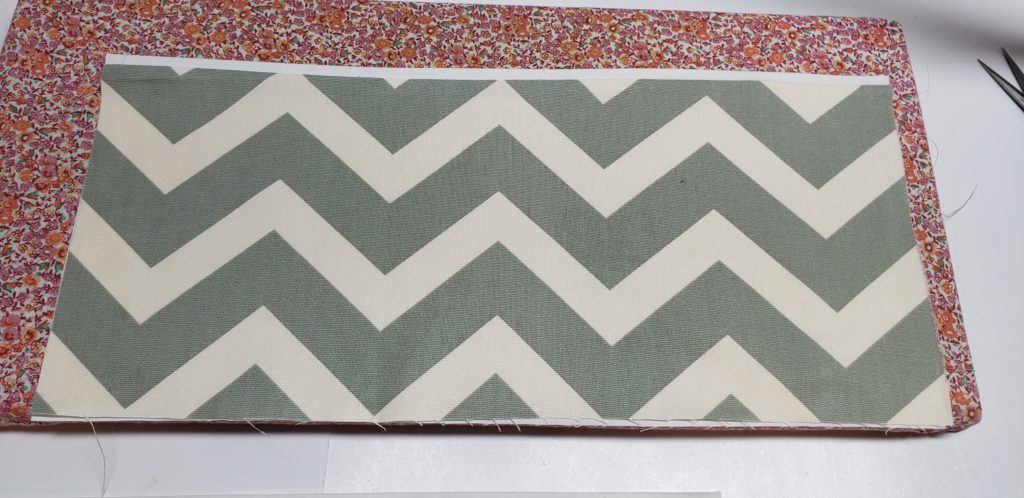
do a top stitch to finish off the edge, repeat the steps above for the other pocket pieces.
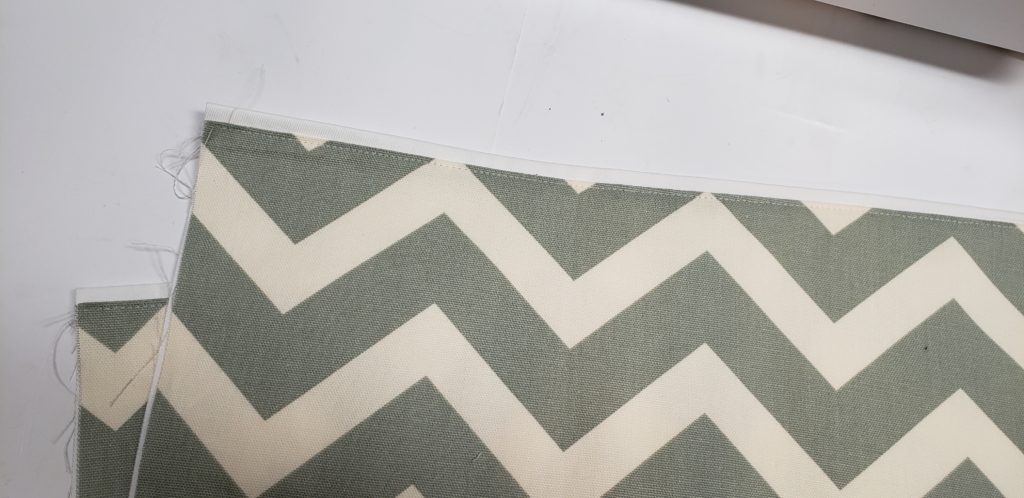
place the pocket panel ontop of the outer fabric, i put my peltex on the wrong side of my outer piece of fabric,
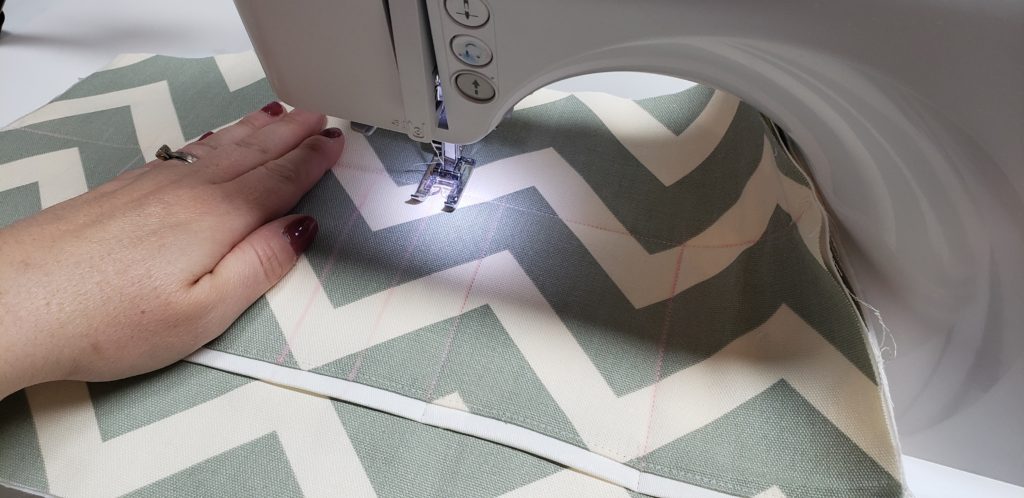
use chalk or disappearing ink pen to mark guide lines.
draw one line 3 1/2″ up from the bottom, draw verticle lines from that first line measuring 3 1/2″ away from either end and then in the centre you can customize your pocket needs.
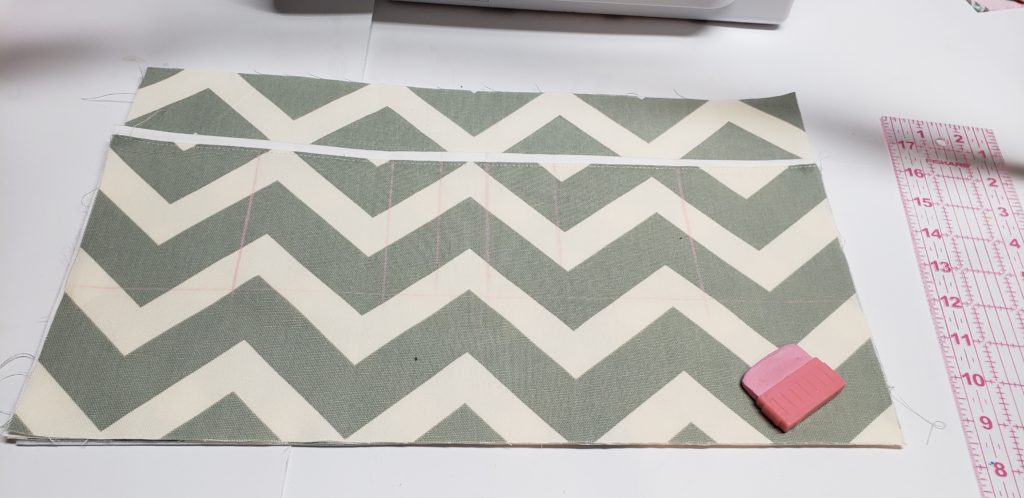
sew along those guide line.
i chose to snip off 1/2″ of the top of my peltex to reduce the bulk, depending on your interfacing you might want to do this.
we will fold down the top fabric 1/2″ to hem the top of the bag. (the peltex is too stiff to be able to do this in my opinion)
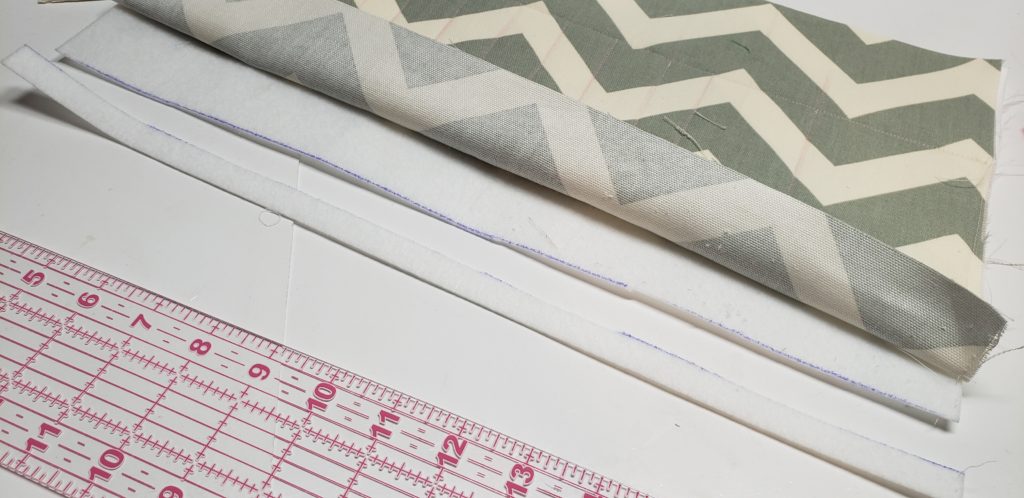
fold down all your pieces at the top 1/2″ this will help when assembling the bag
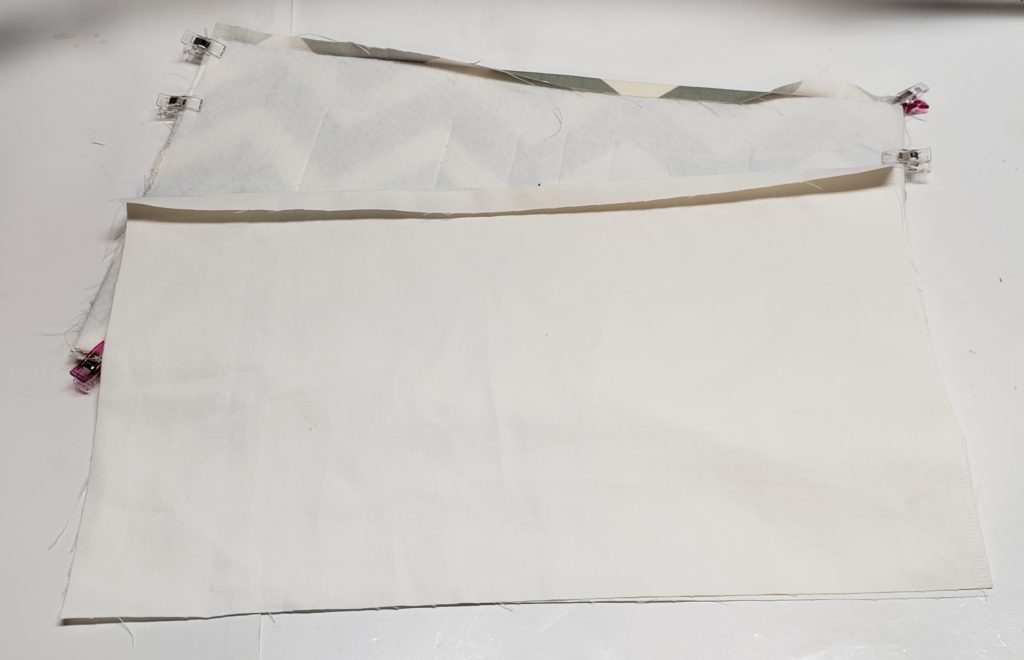
place the outer pieces right sides together, and your large lining pieces rights sides together, sew down 3 sides
create your strapping
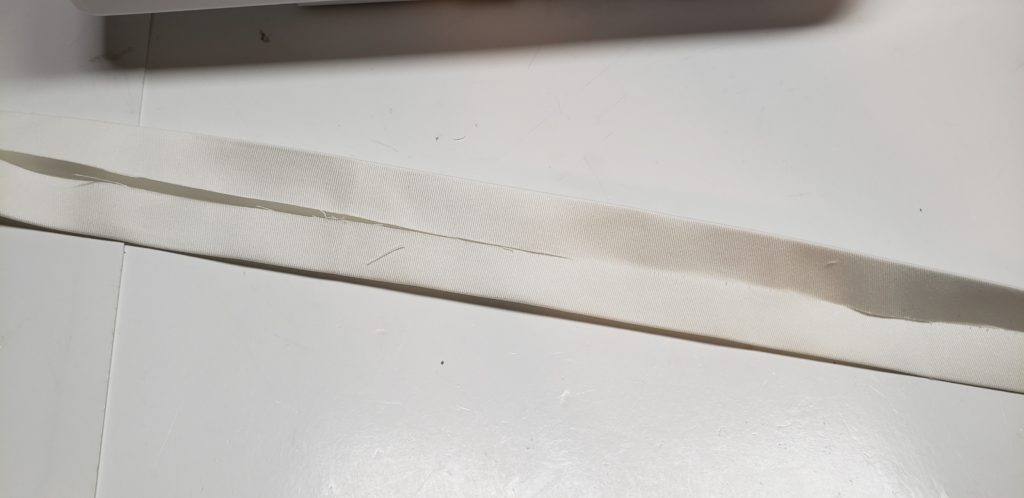
sew both sides with a top stitch to create your strapping, refer to the link for instructions on different types of strapping!
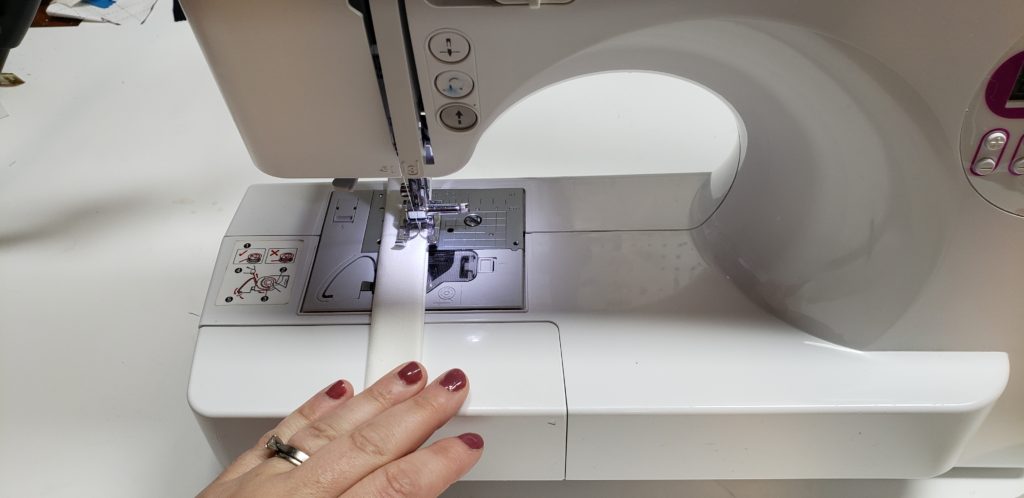
Corner off the main caddy pieces, line up the sides seam with the bottom seam, with the outter piece the guide seam that we did early on will create a guide line for you to sew across, this will not be the case for the lining so you will need to measure 6″ across
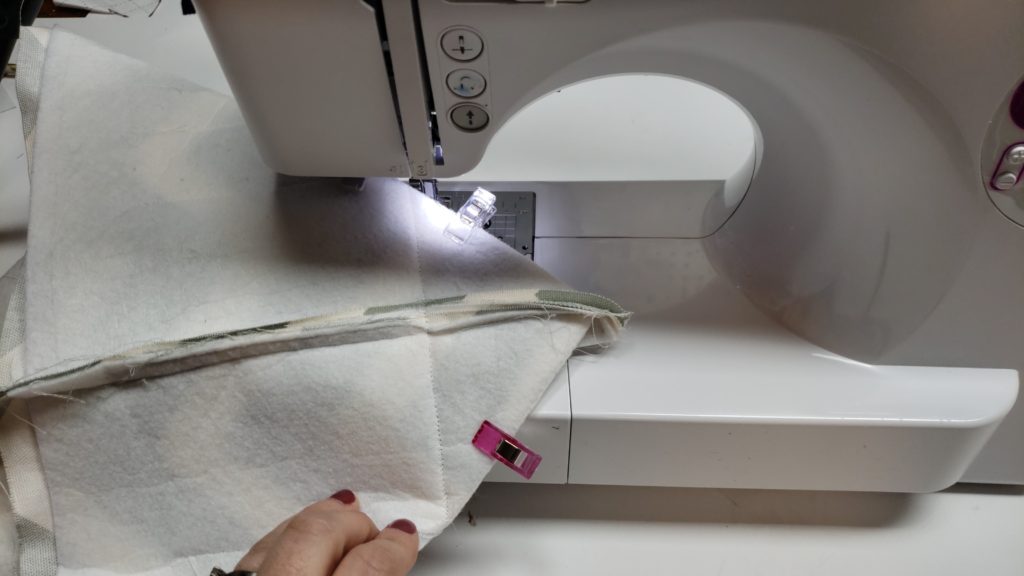
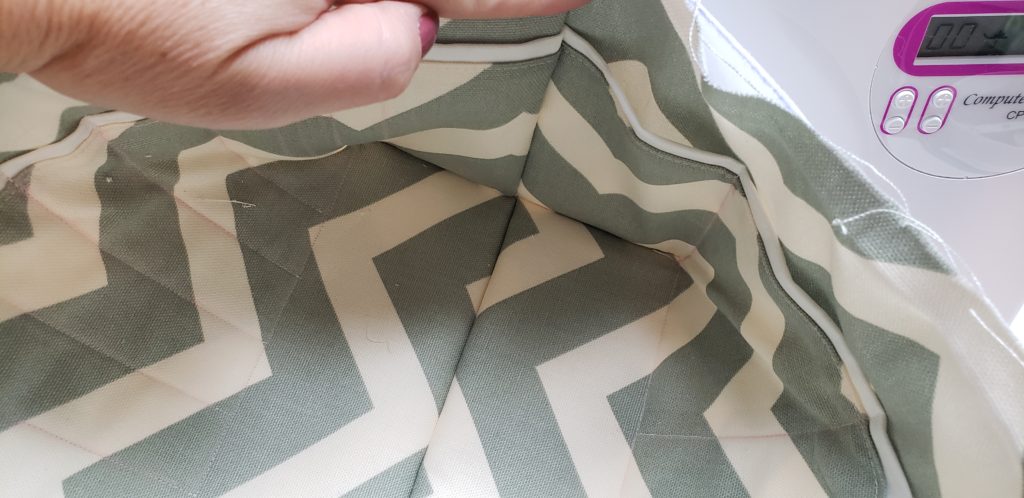
make sure you line up those seams as best you can!, and cut off the excess corners
your caddy is taking shape!!
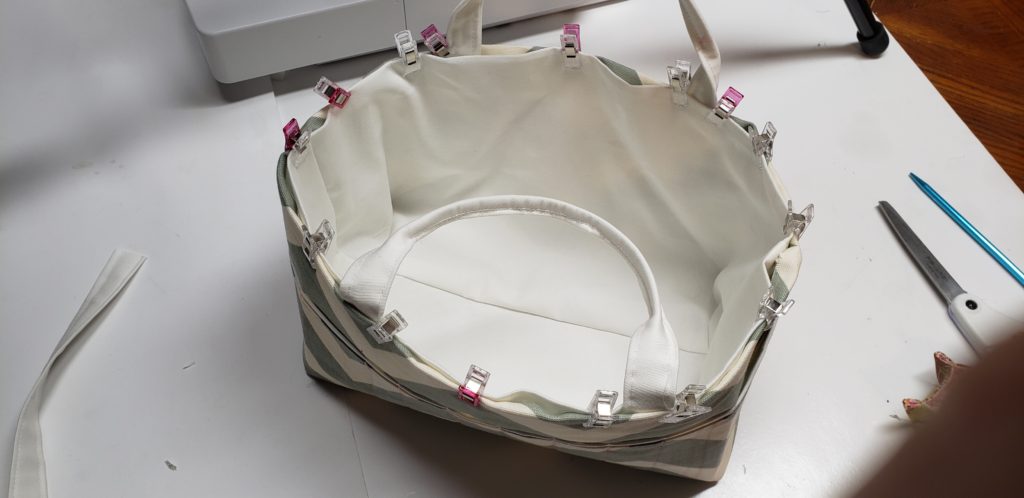
cut your straps to the size you desire, between 10 to 12 inches long, Turn the outer caddy piece right sides out and place the lining inside.
line up your side seams and the edges of the caddy.
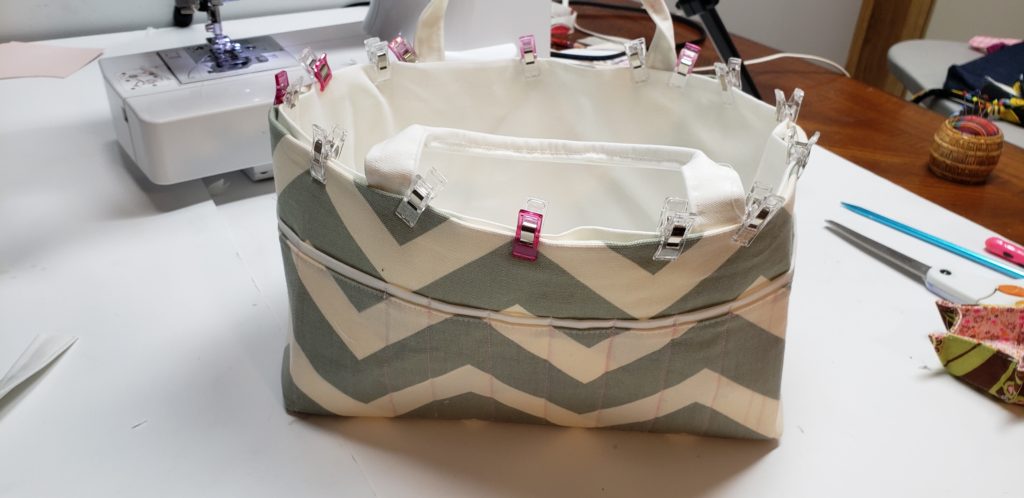
place the handles about 1 1/2″ away from the corners on the side of the caddy
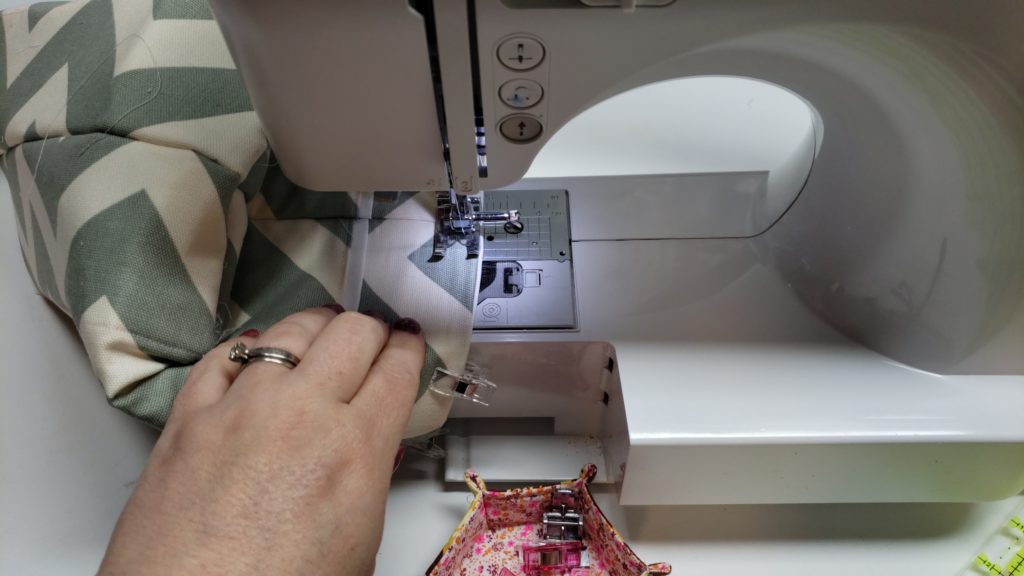
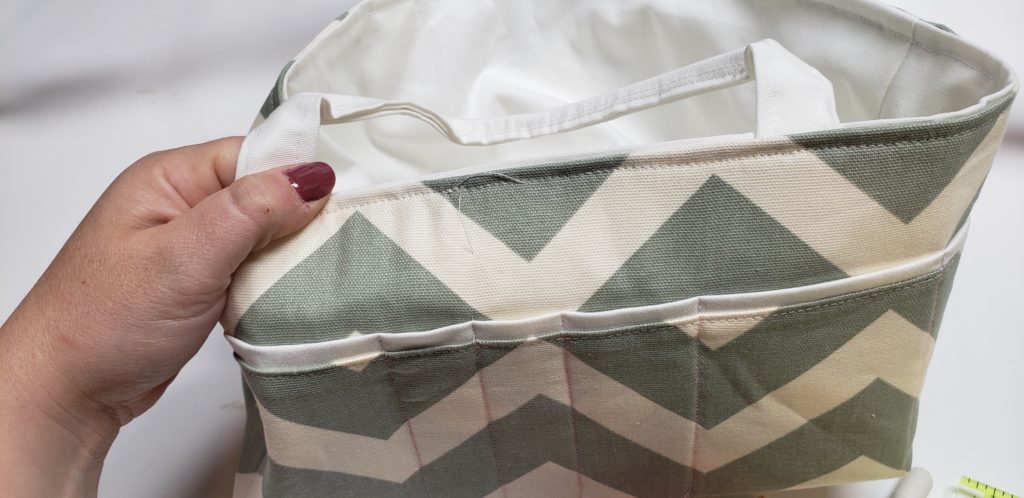
do a top stitch around the edge of the carry to finish off your Caddy
some links are affiliate links


0 Comments