
[wpedon id=”3129″ align=”left”]
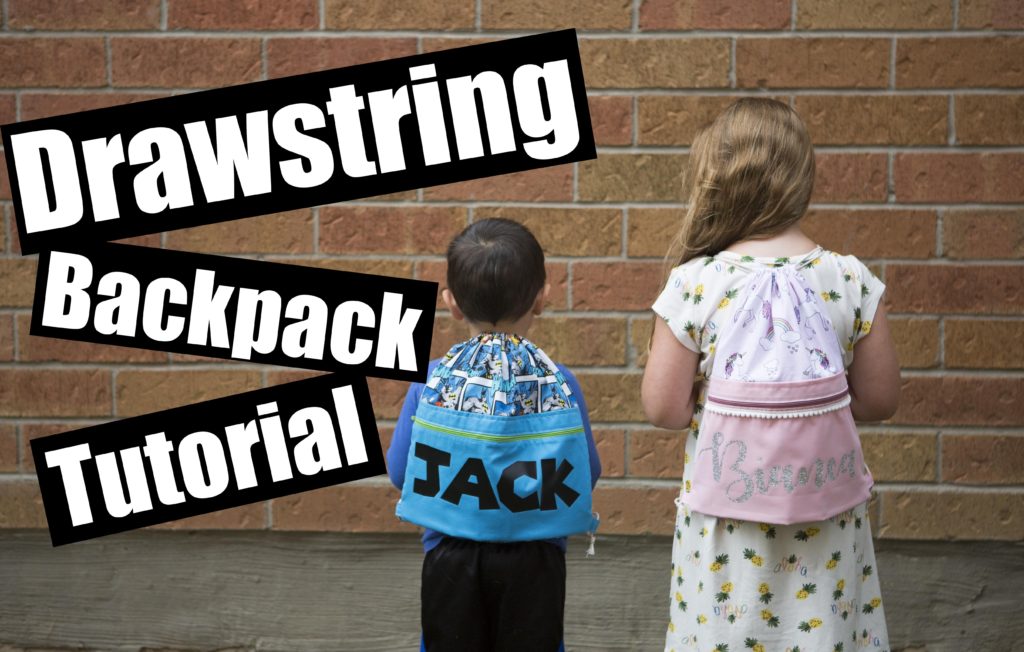
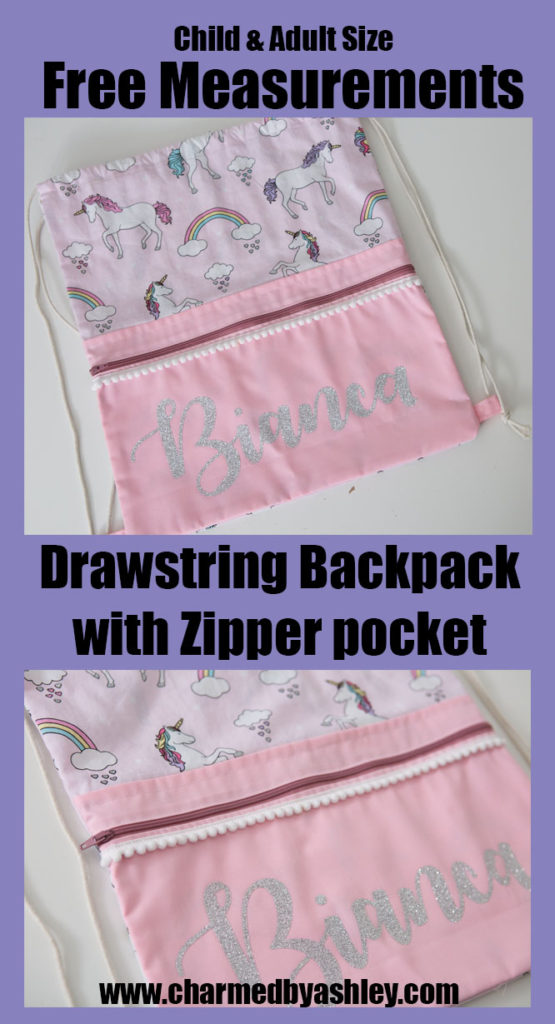
Welcome to the Drawstring backpack with pocket tutorial!
Here you will find Measurements for two sizes child and Adult, Materials, Video tutorial and links to products
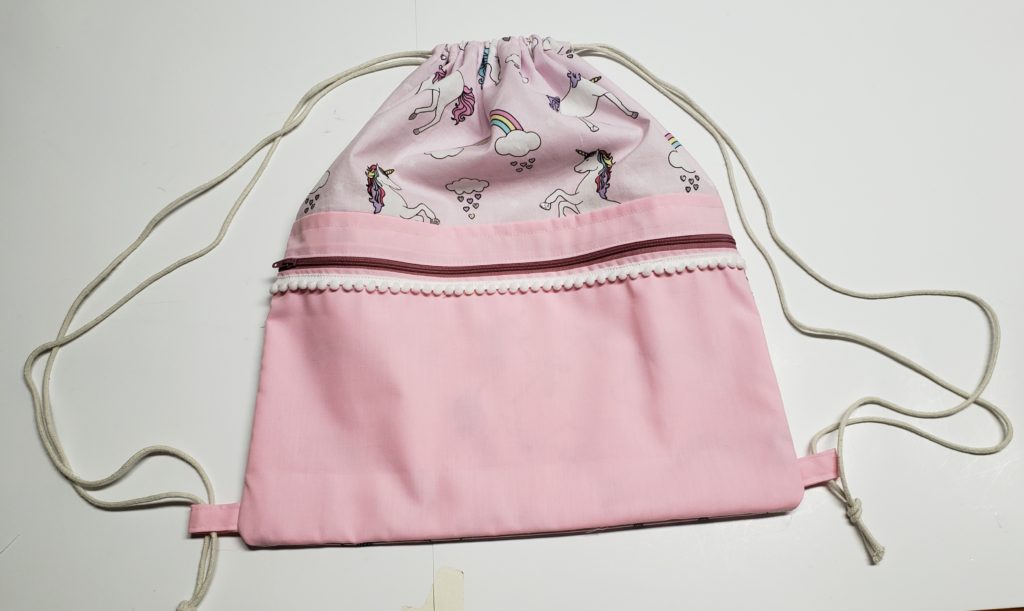
Finished measurements
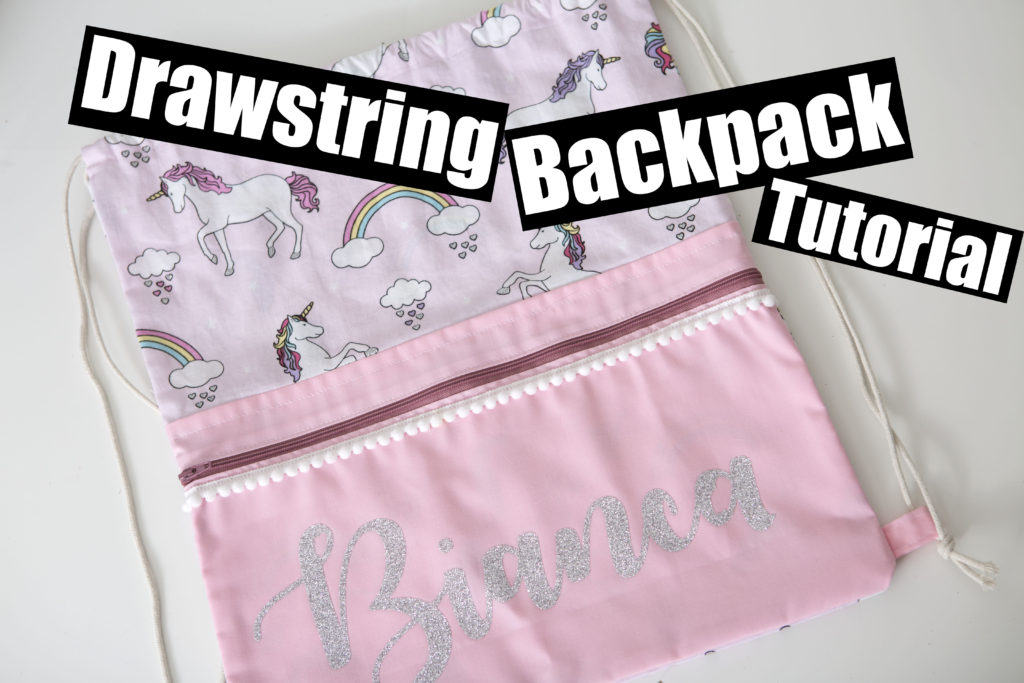
Child measures approx 14″w x 15 1/2″ tall – Pocket measures approx 7″ deep
Adult measures approx 16″w x 18″ tall Pocket measures approx 8″ deep
Materials
Bag – Recommended materials – Cotton, Waterproof apparel fabric, light canvas
Tools I use
Iron – Oliso
Sewing machine – Brother
Ironing Board – Tutorial
Rotary Cutter – Olfa
Measurements
Child Size
Main pieces – 15″ x 17″ – Cut 2
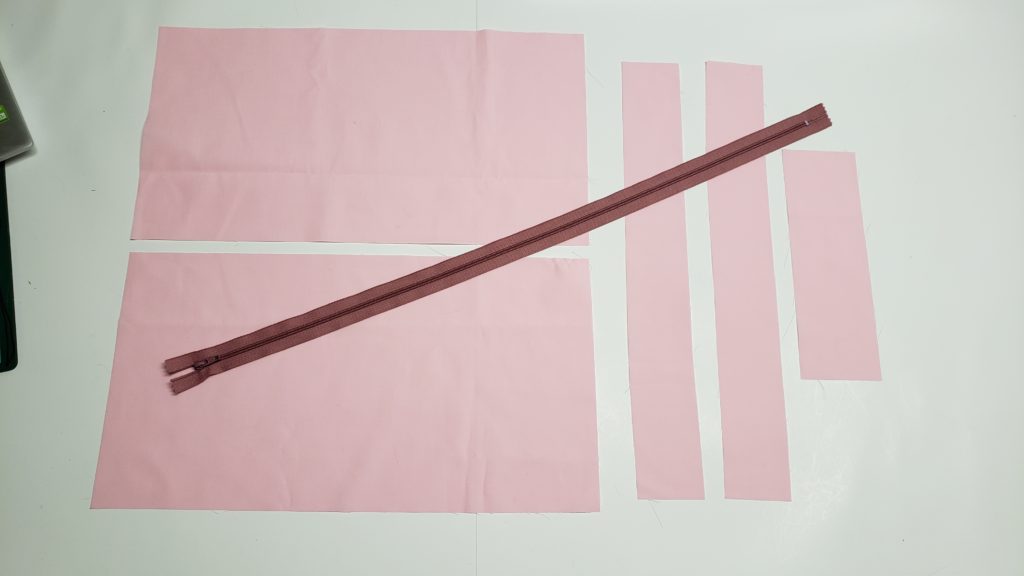
Pocket piece – 15″ x 8″ – Cut 2
Top pocket piece – 15″ x 2″ – Cut 2
Strap – 2 1/2″ x 7″ – Cut 1
Adult size
Main pieces – 17″ x 20.5″ – Cut 2
Pocket piece – 17″ x 8″ – Cut 2
Top pocket piece – 17″ x 2″ – Cut 2
Strap – 2 1/2″ x 7″ – Cut 1
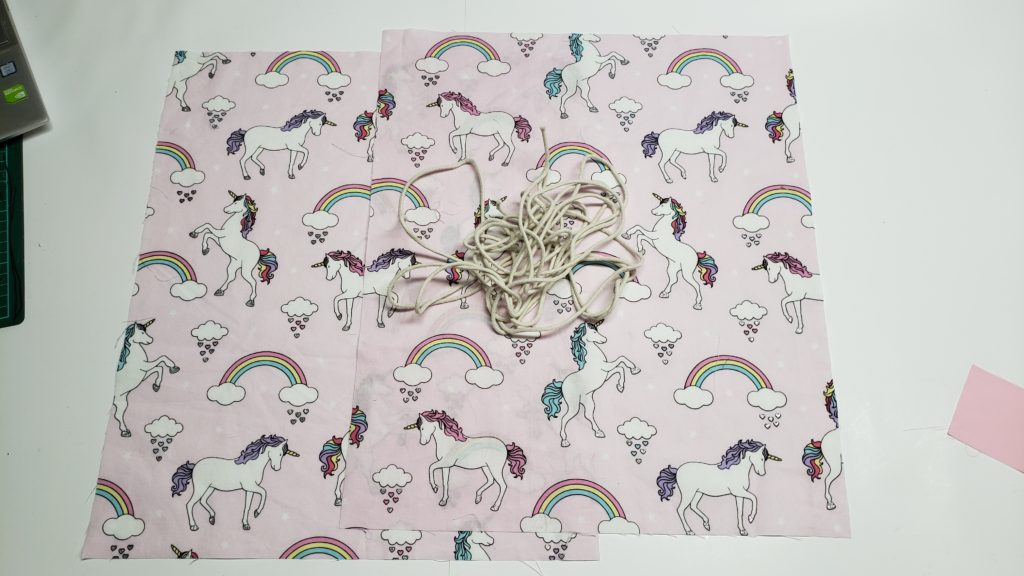
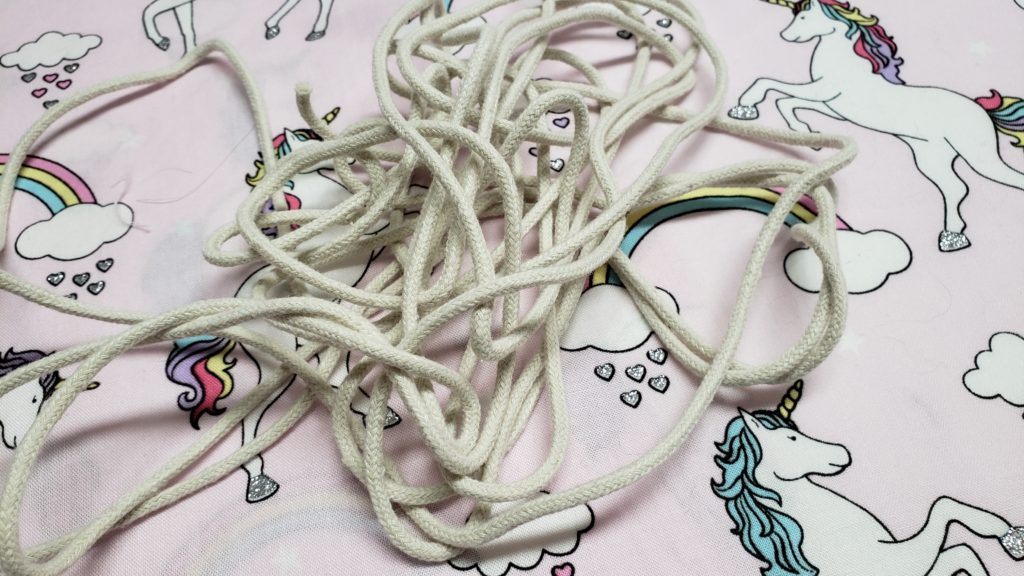
the Cord i used i bought over at my local hardware store, a Cotton braided cord works great and is durable
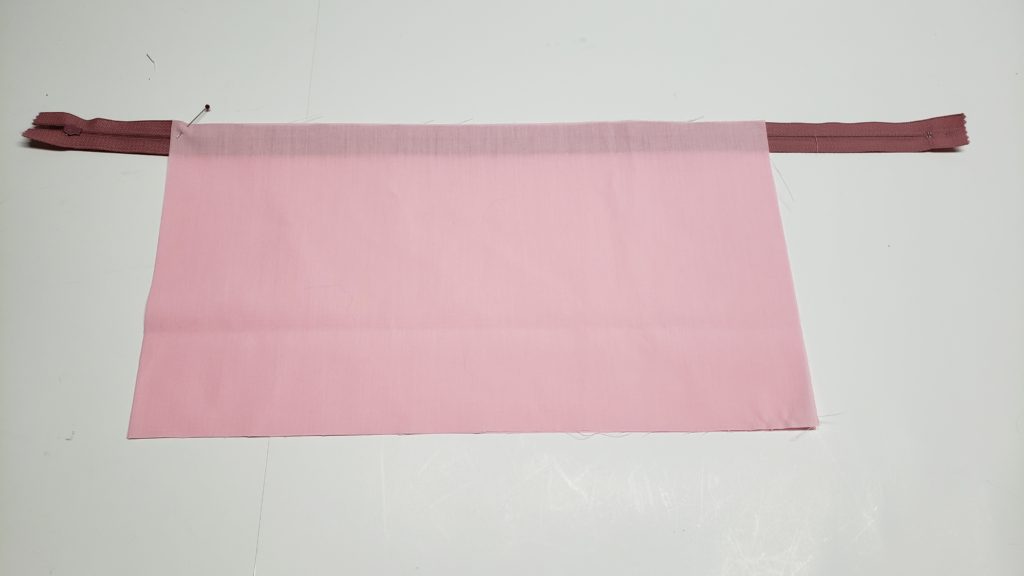
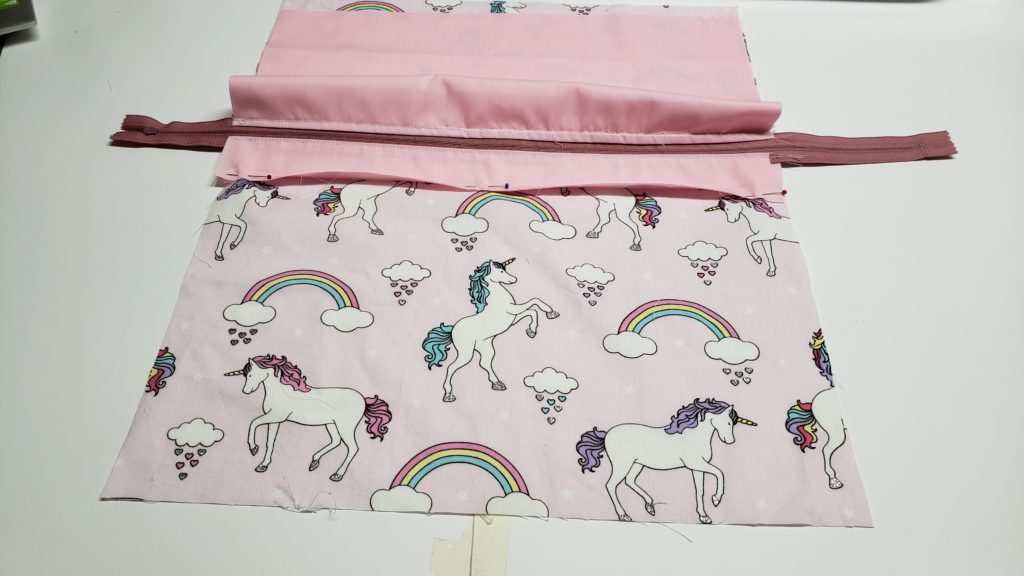
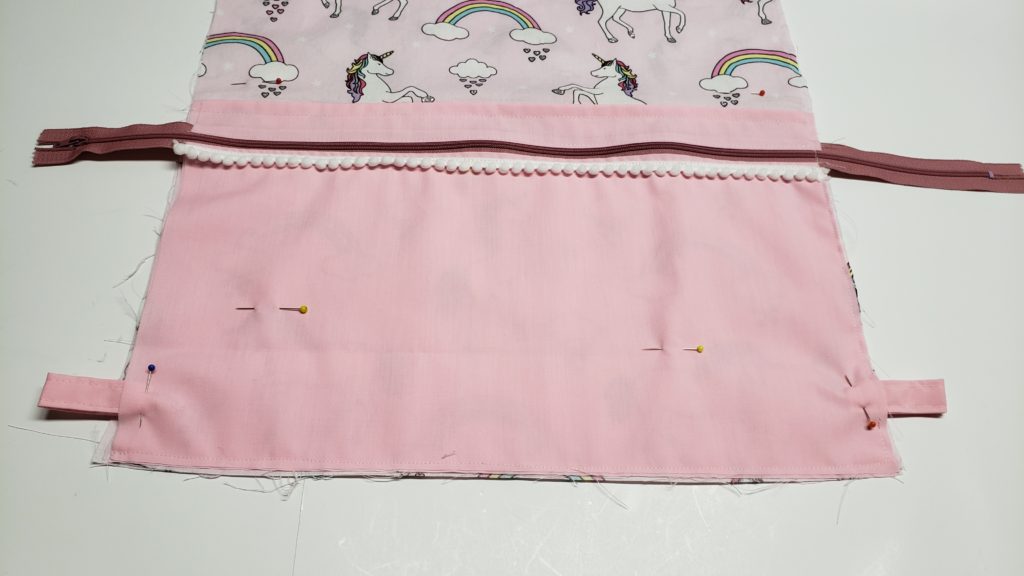
sandwich the zipper between the two large pocket pieces lining up the long edge.
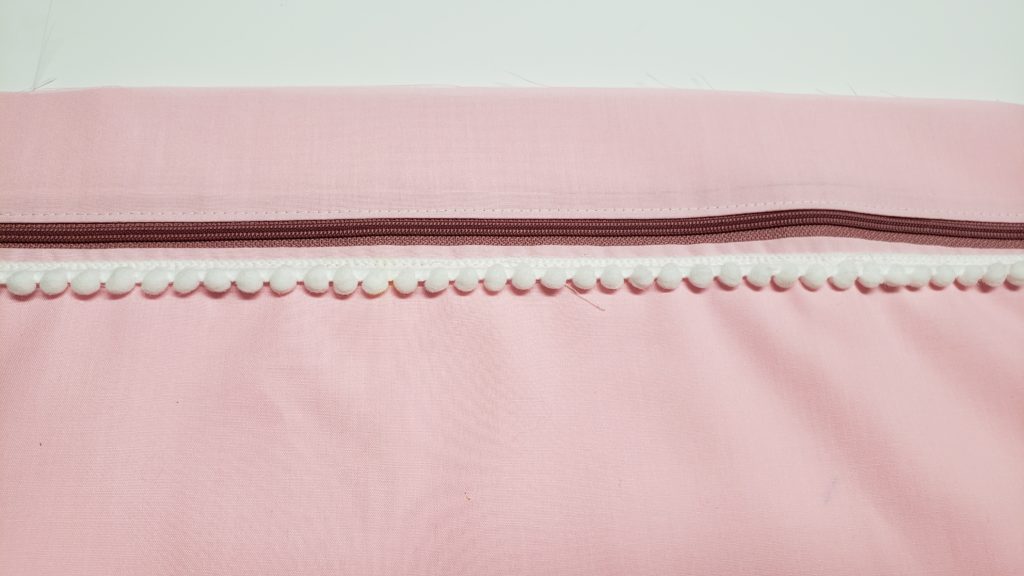
turn the fabric right sides out and top stitch along the zipper. I chose to place some mini pom pom trim along thing edge and did the top stitch to help secure the trim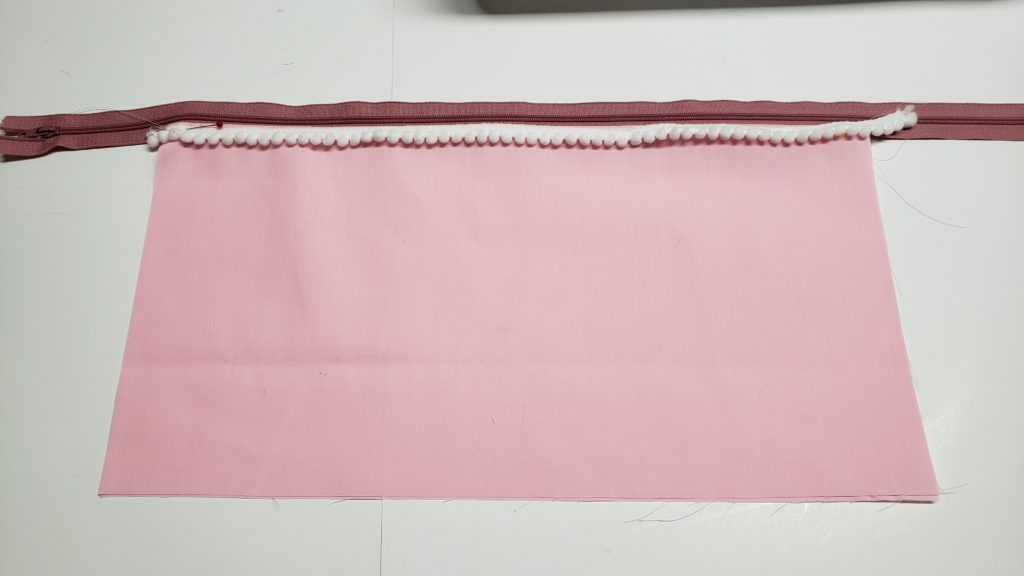
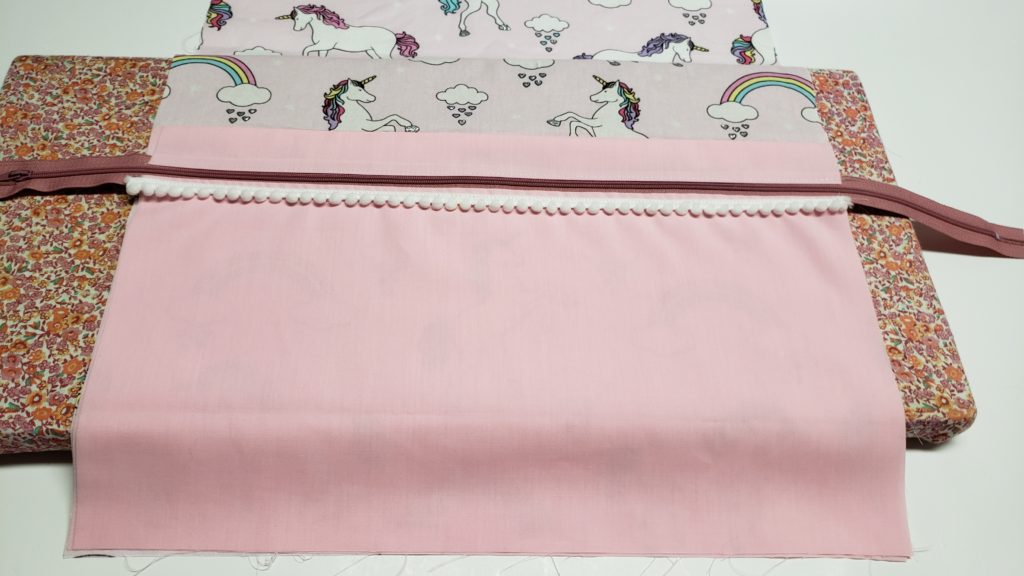
sandwich the remaining two pocket pieces on the other side of the zipper (right sides together)
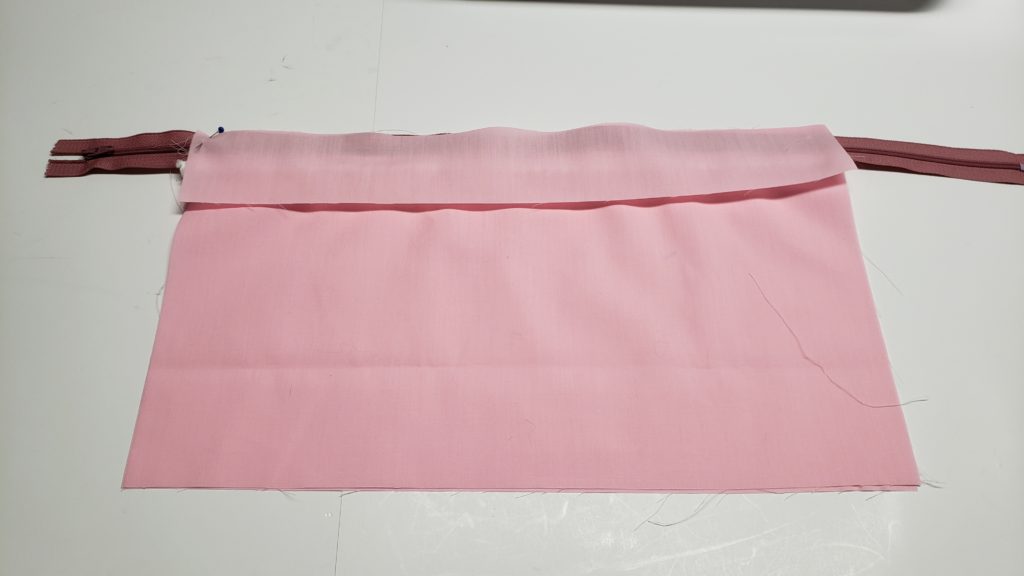
turn fabric right sides out and top stitch along zipper.
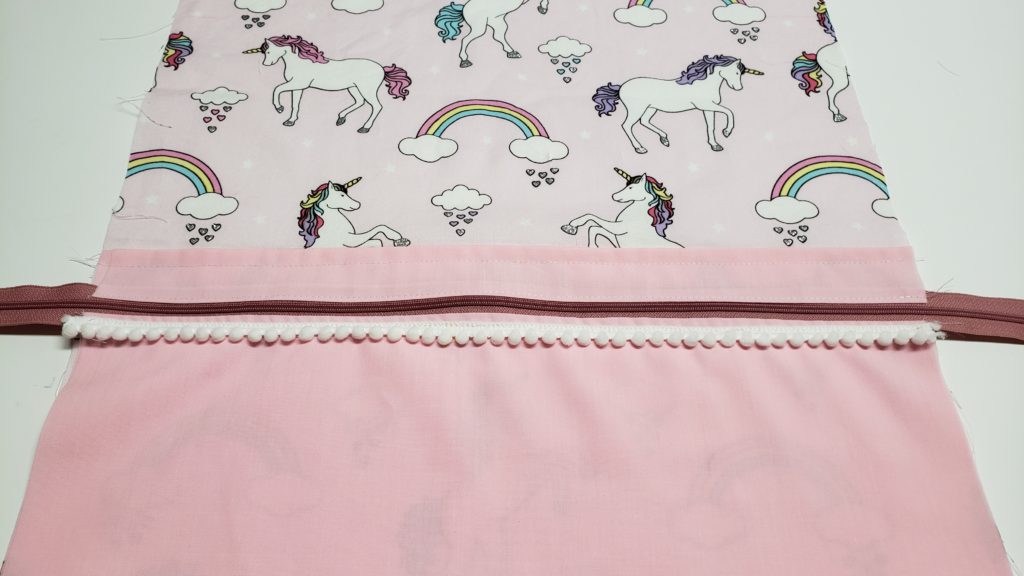
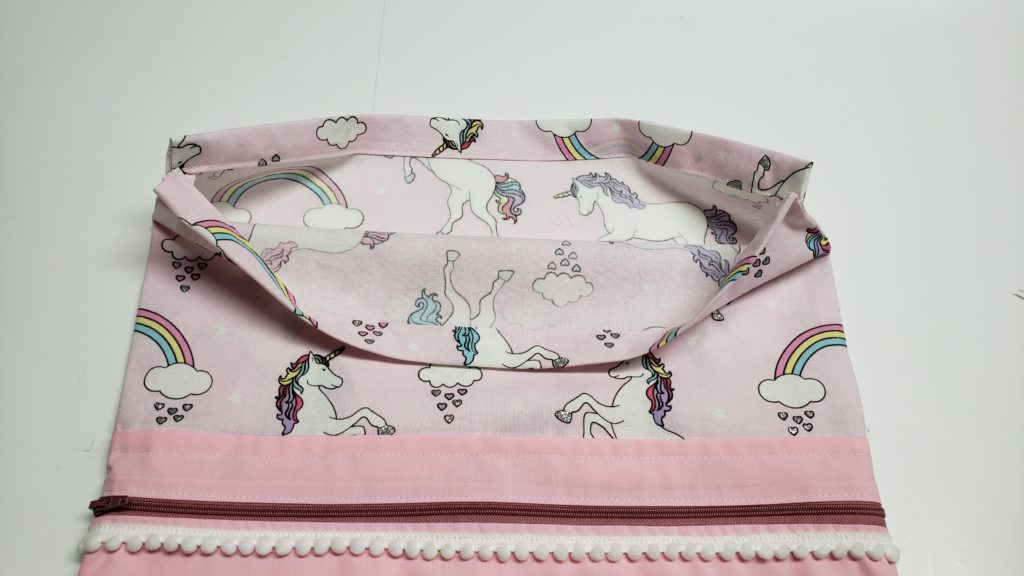
the pocket panel is now complete, place the right side of the panel to the right side of the outer fabric, sew along the top to secure it to the centre of the bag, it should fold down to hide the raw edges
(if you have difficulty in this step please refer to the Video tutorial for clarrification)
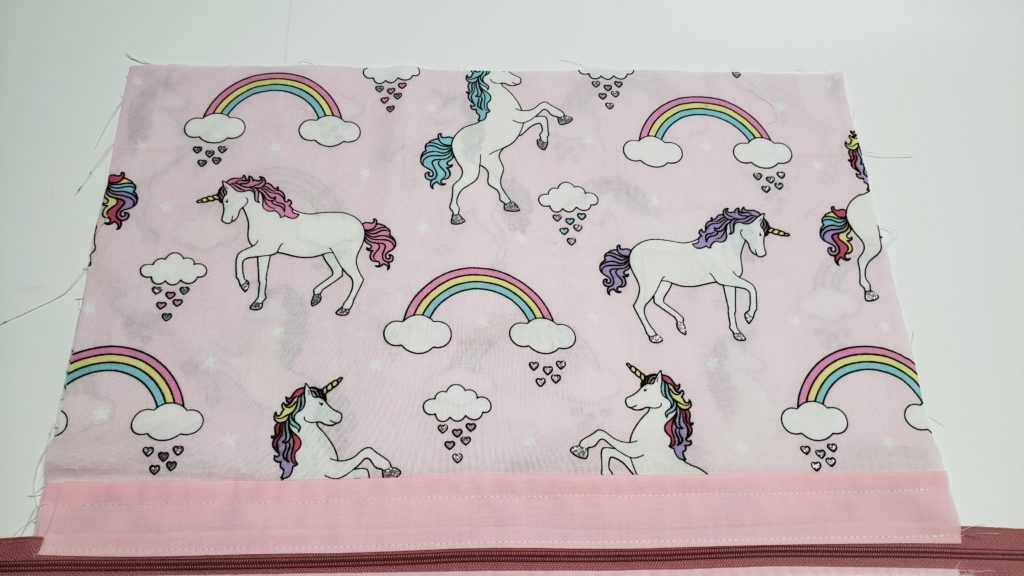
Fold down fabric and press. top stitch along the top of the pocket a 1/4″ away from the top to excase the raw edge.
Mark 2 inches down from the top of each outer bag piece, you will not sew past these markings.
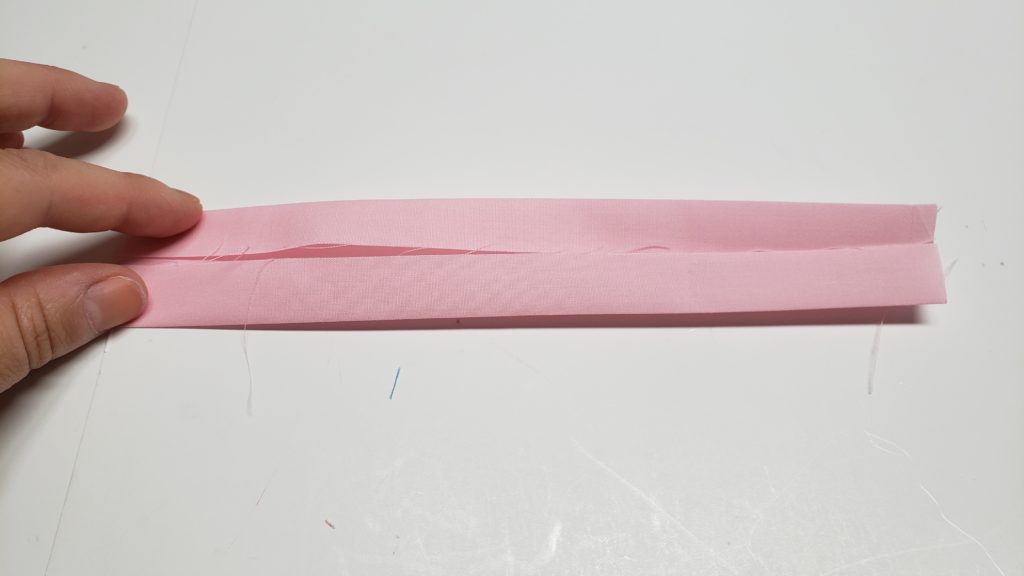
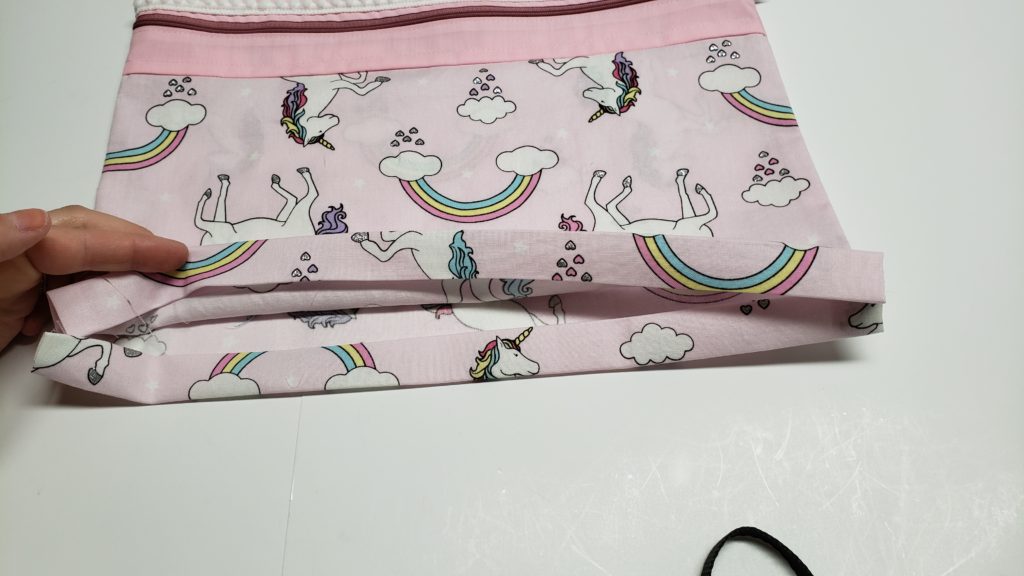
take the 7″ x 2 1/2″ piece and create little tabs.
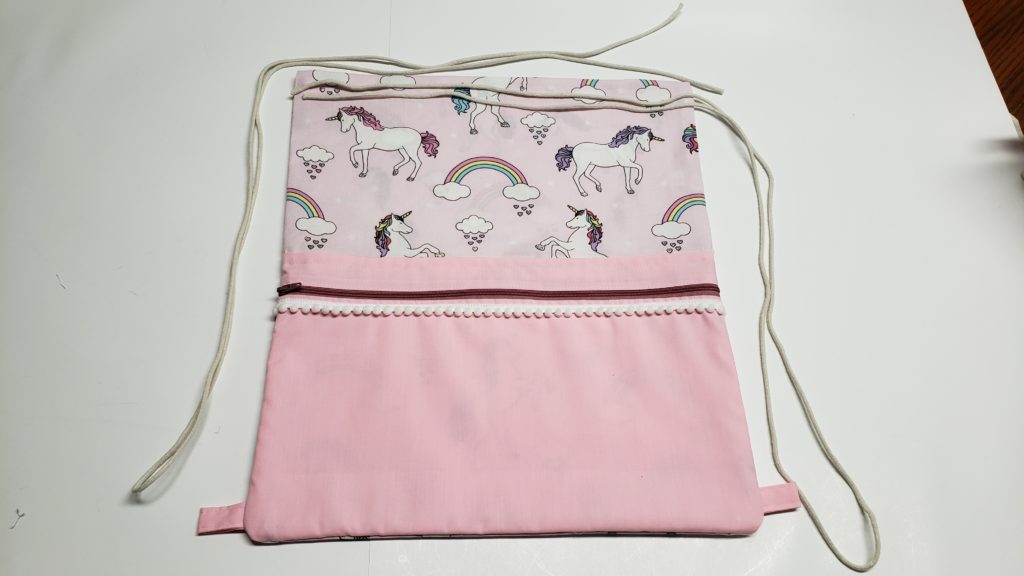
To finish off the inside raw edges we will do French seams, to do french seams take the front panel and the back fabric and place with the Wrong sides together. place your tabs 1″ from the bottom of the bag and pin.
sew along the three sides up to the 2″ markings we left at the top of the bag.
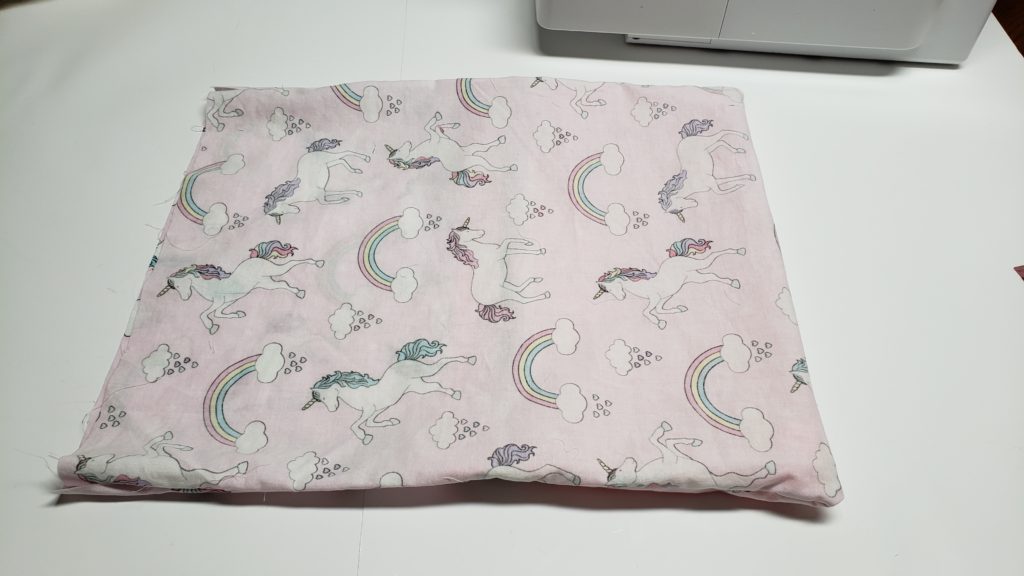
turn the bag right side out and again sew the 3 sides, not past the 2″ marking. This will encase those raw edges.
now we will hem the top, fold in 1/4″ and then again 1″ to create a casing on the from and back of the bag.
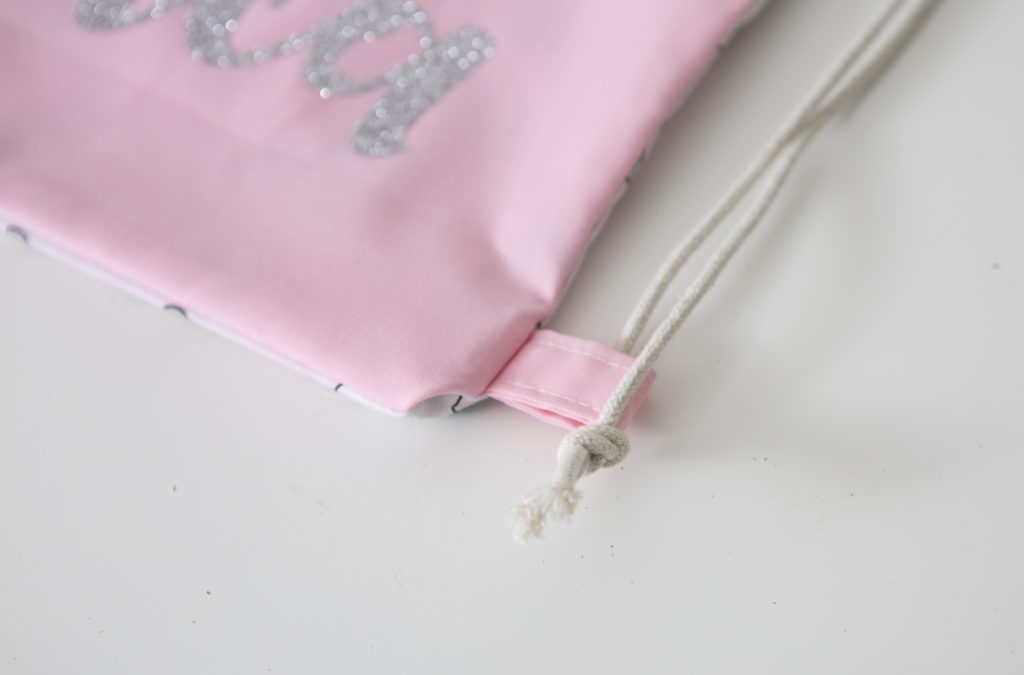
To measure your cord.
measure the top of the bag down to the bottom corner, double that. This will give you the length of your first piece of cord. Cut a second for the opposite side.
thread one cord all the way through the front and back and down to the side securing in a knot, do the second cord the same way going down the other side of the bag.
This will allow you to pull it and cinch it up.
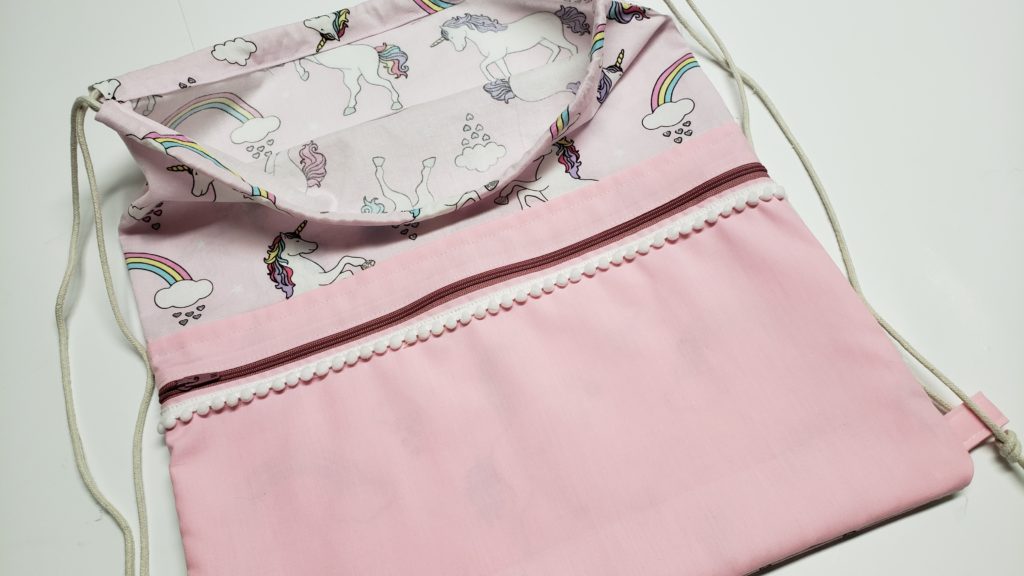
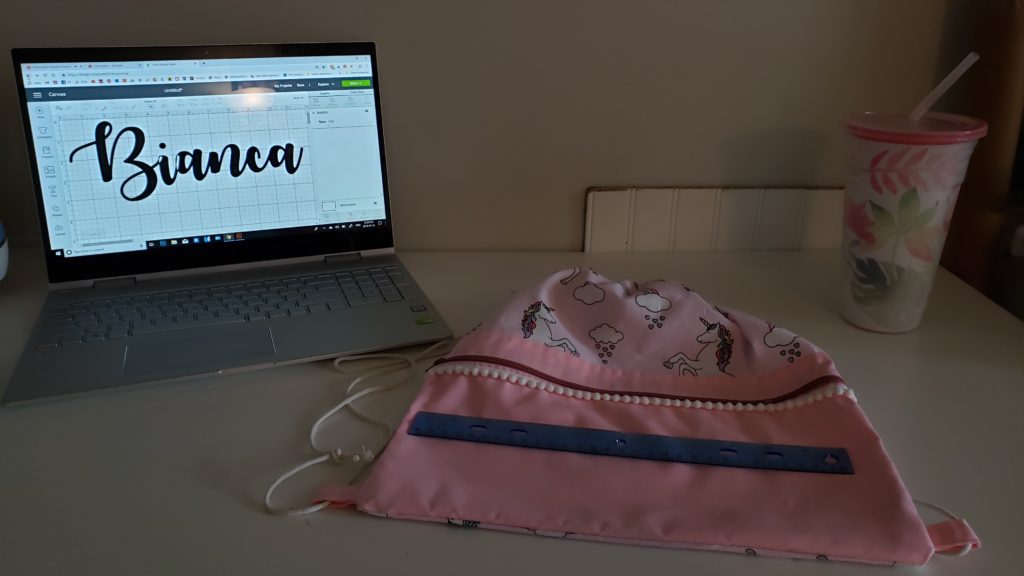
Add some fun to your bag!
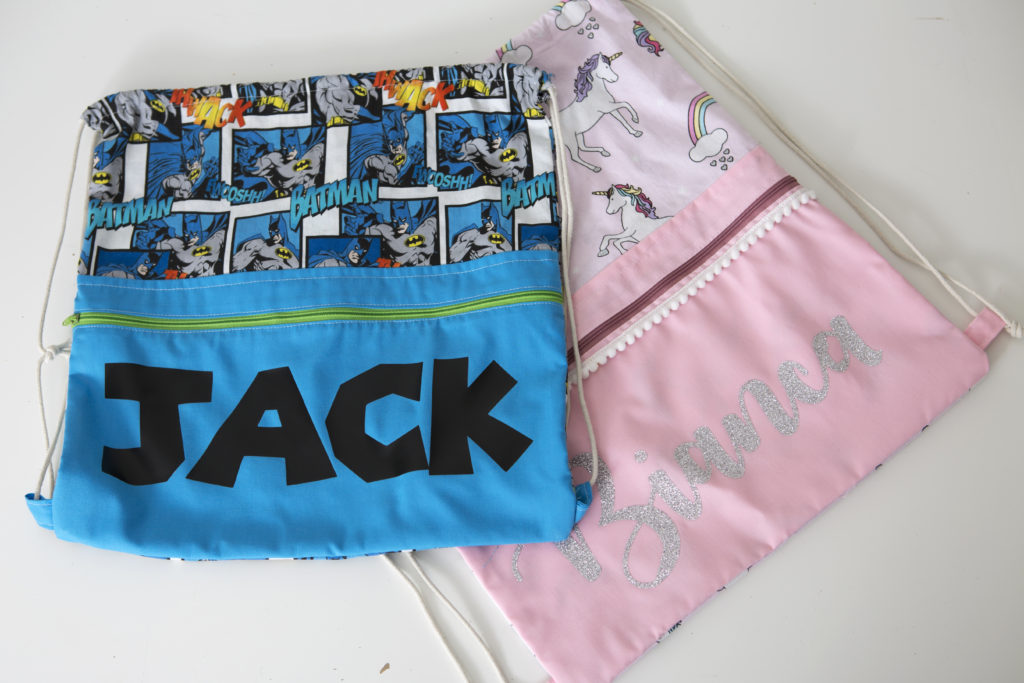
Jack font – Super mario 256
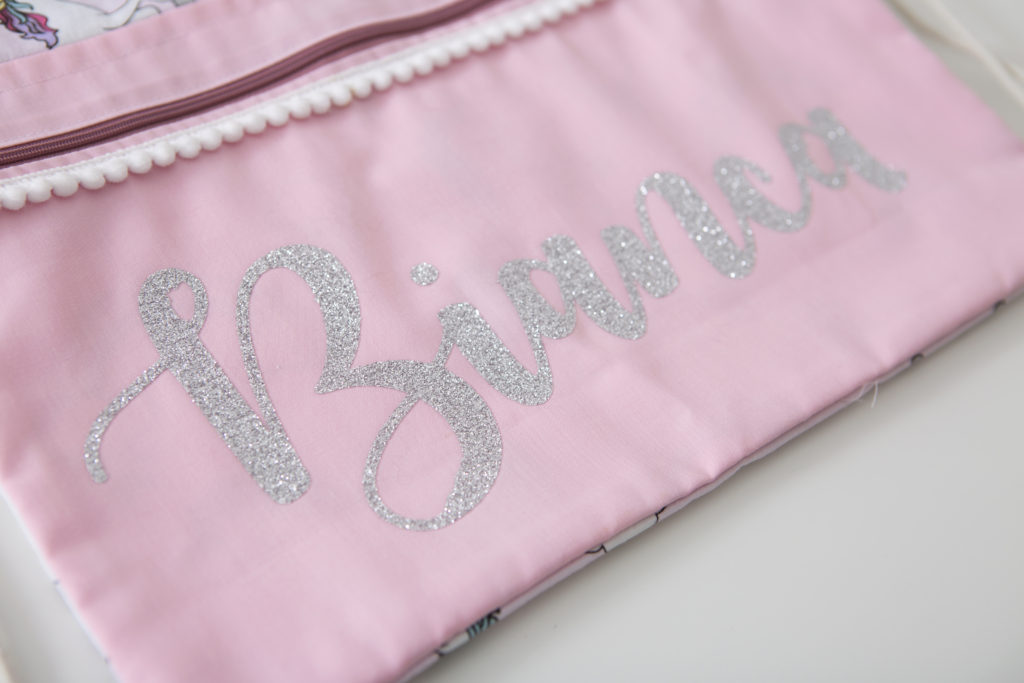
Bianca Font – November n Autumn
[wpedon id=”3129″ align=”left”]


0 Comments