
[wpedon id=”3129″ align=”left”]
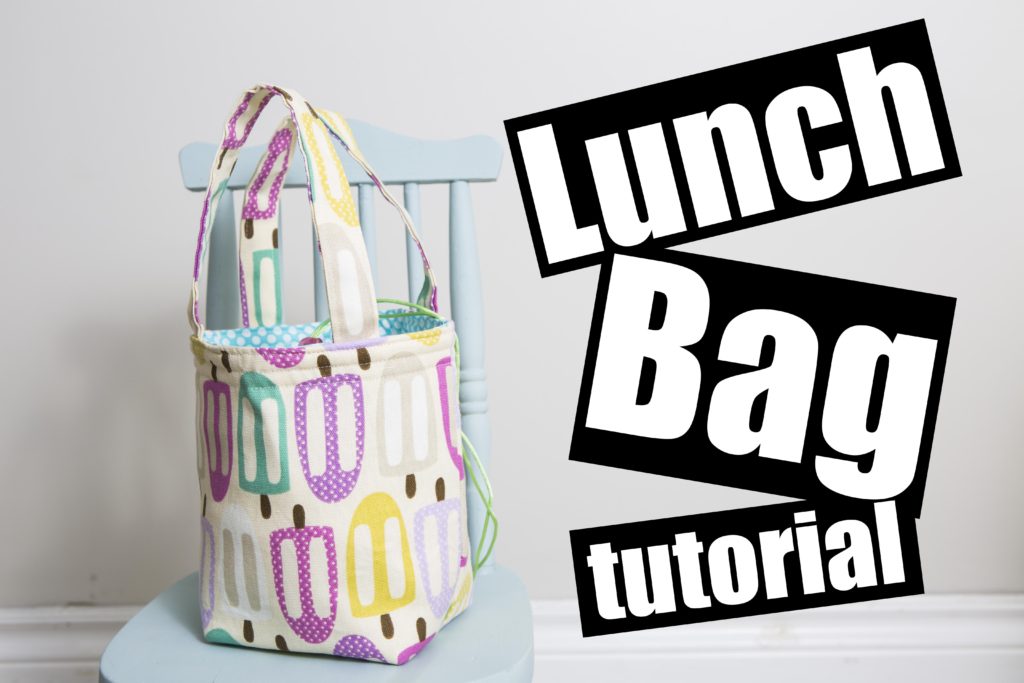
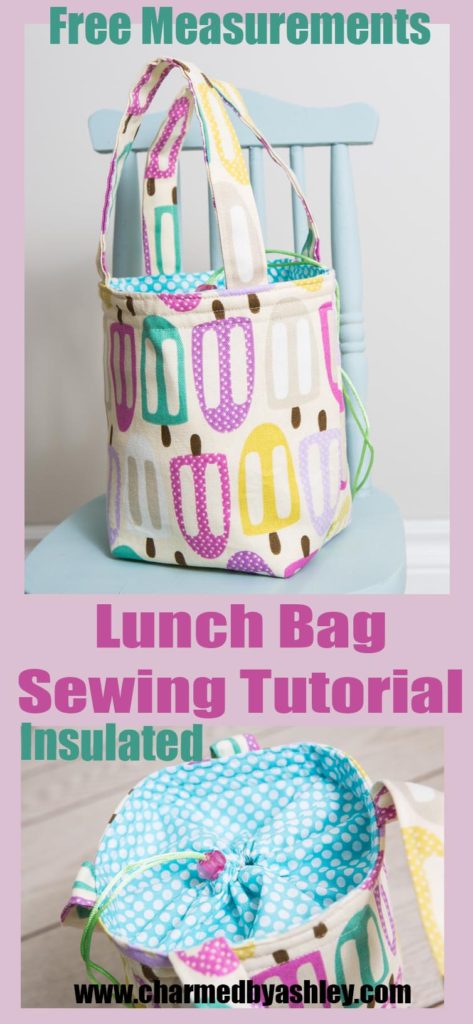
Welcome to the lunch bag tutorial, here you will find the measurements and any links to products i used to make this bag!
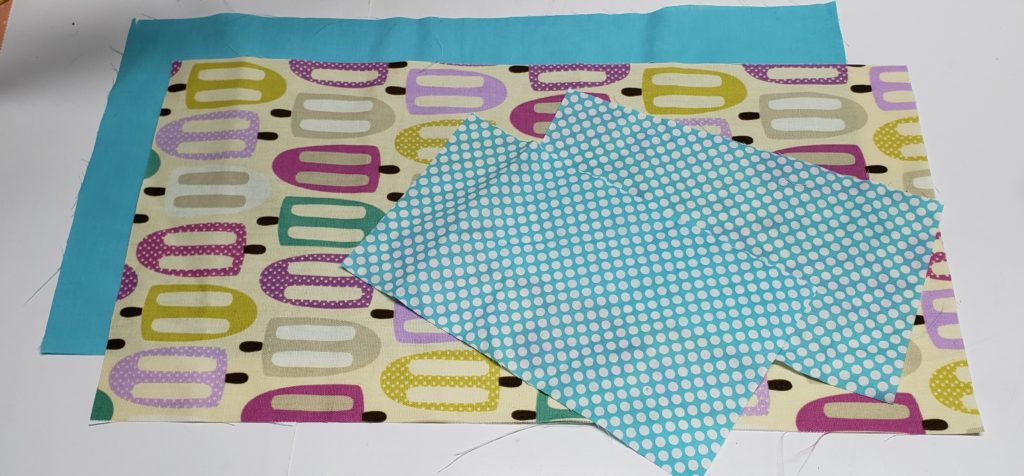
Materials
Canvas fabric
Cotton fabric
Support my channel and use the Affiliate links!!
Measurements
Outer fabric – 20″ x 10″
Lining Fabric – 20″ x 10″
Inner piece – 10″ x 6 1/2″
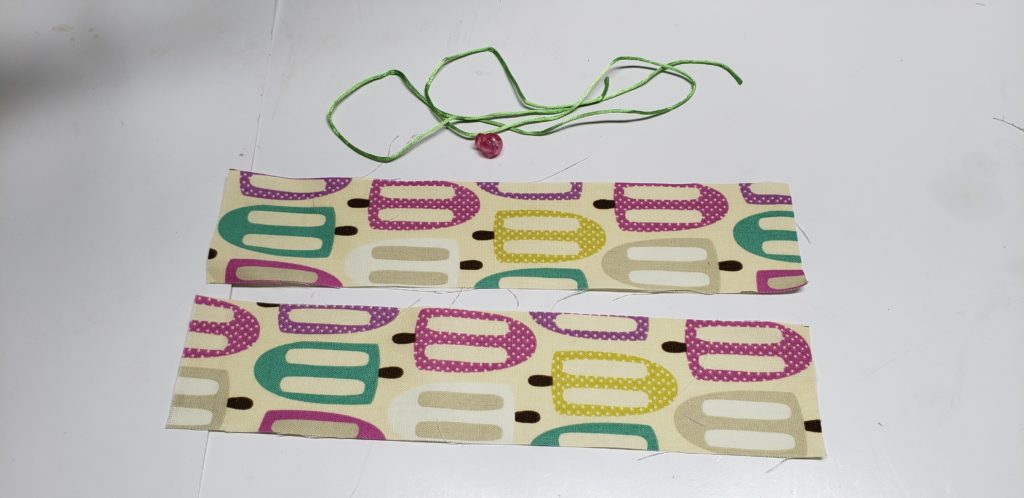
Cord – 20″
Handles – 3″ x 13″
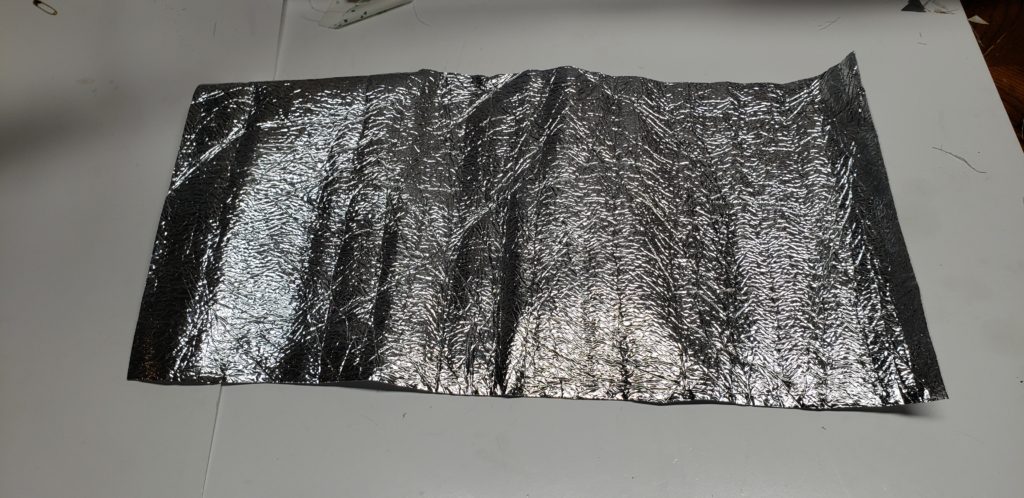
Optional – Insulating Material – Insulbright 20″ x 10″
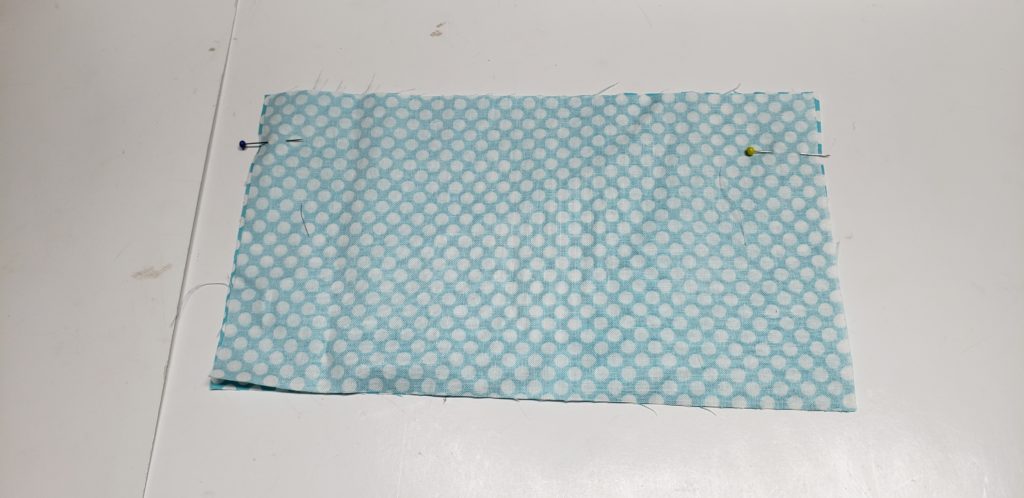
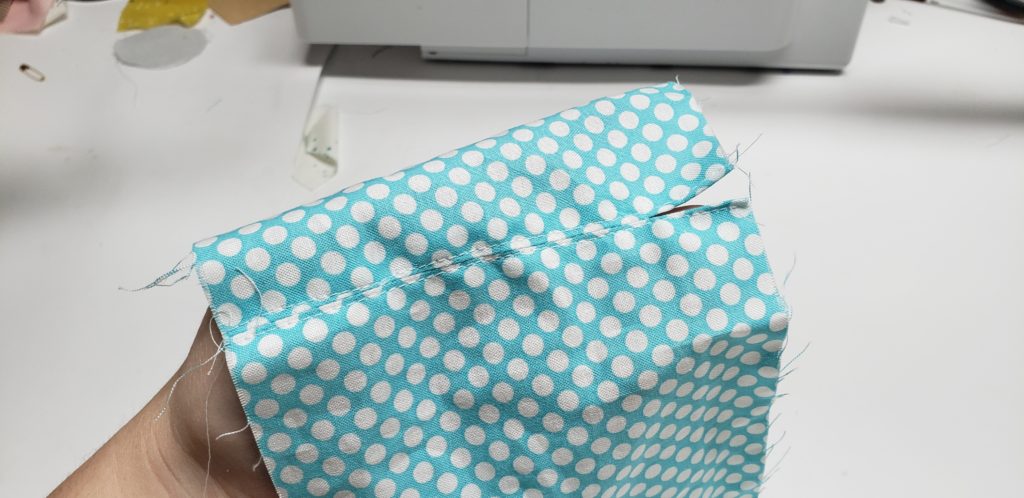
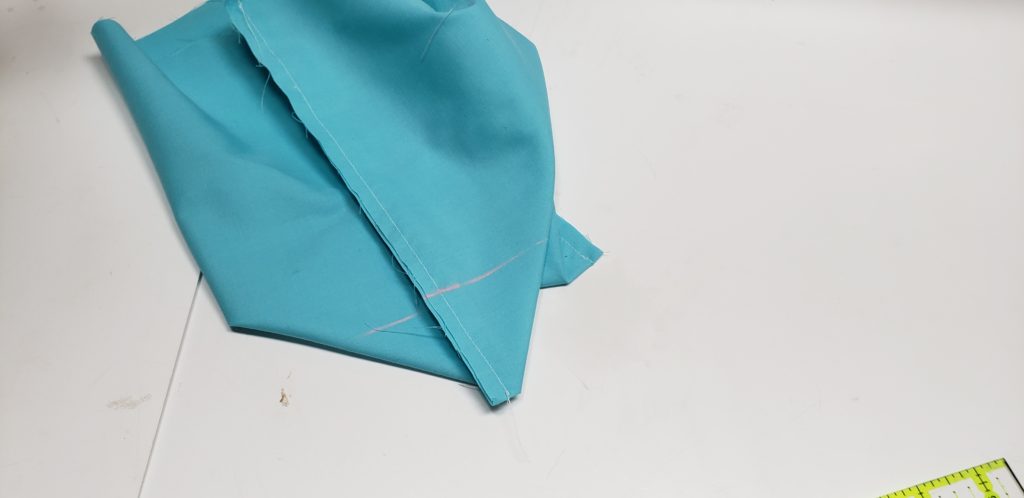
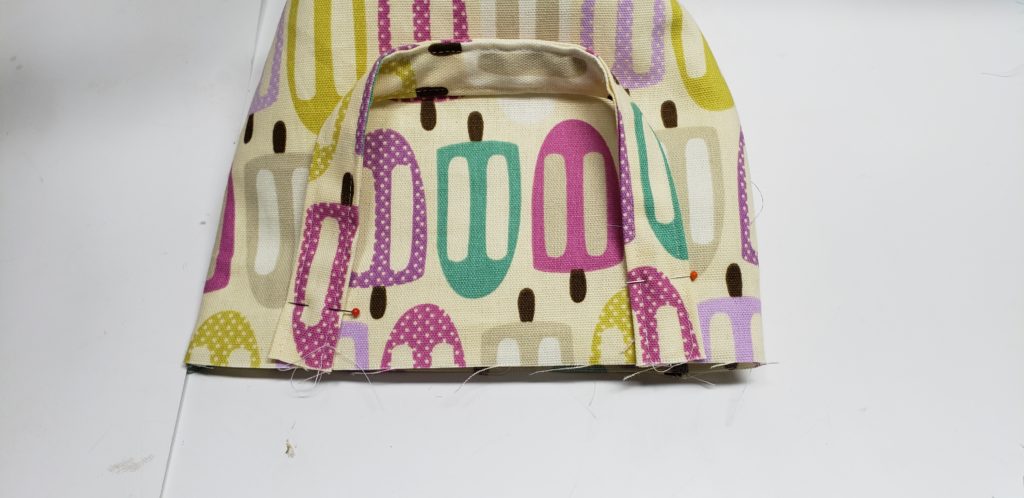
Step 1 – Place the two small pieces right sides together, Mark 1″ up from each side. Sew the short sides starting at the pins.
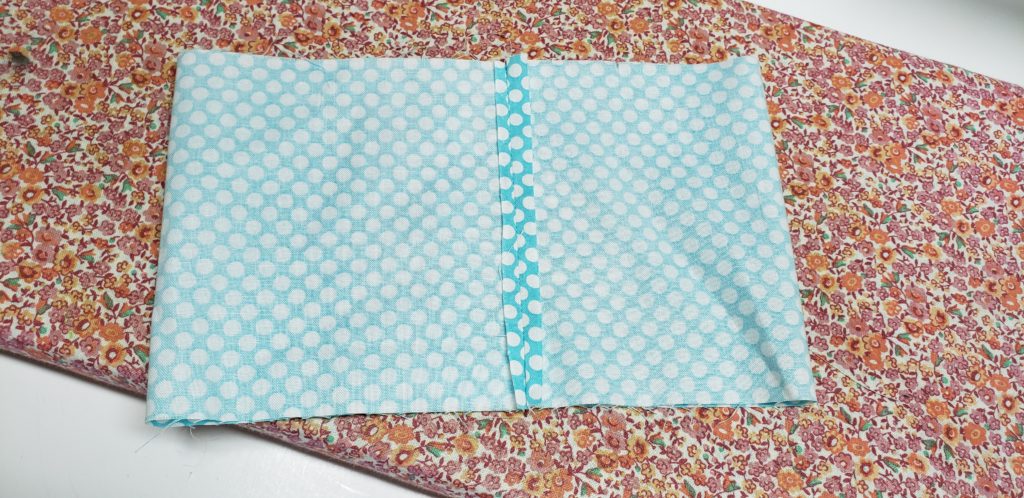
press your seams open on both sides.
Step 2 – Sew a seam down both sides of the side seams, down both sides about 1/8th of an inch away from the side seam.
Step 3 – fold down fabric 1/4″ and then again 3/4″
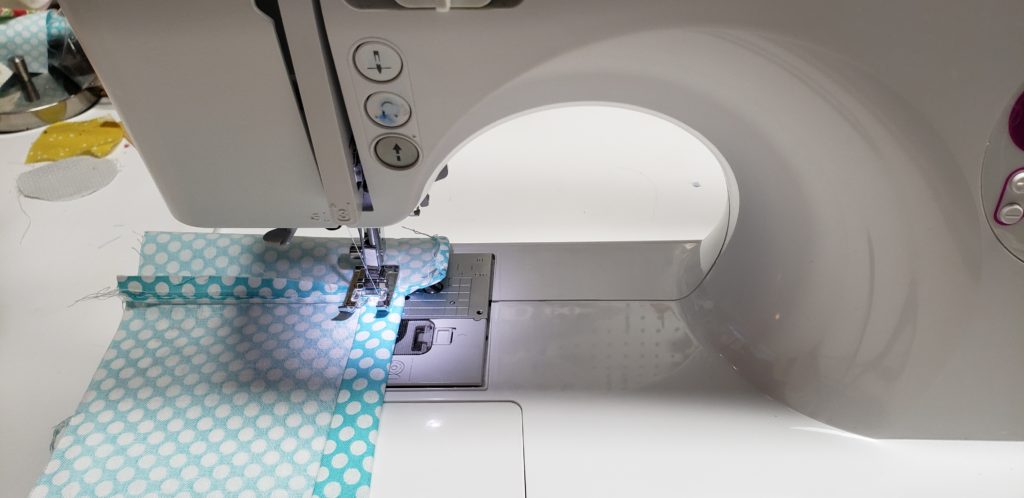
sew down the hem, this will create your casing for your cord.

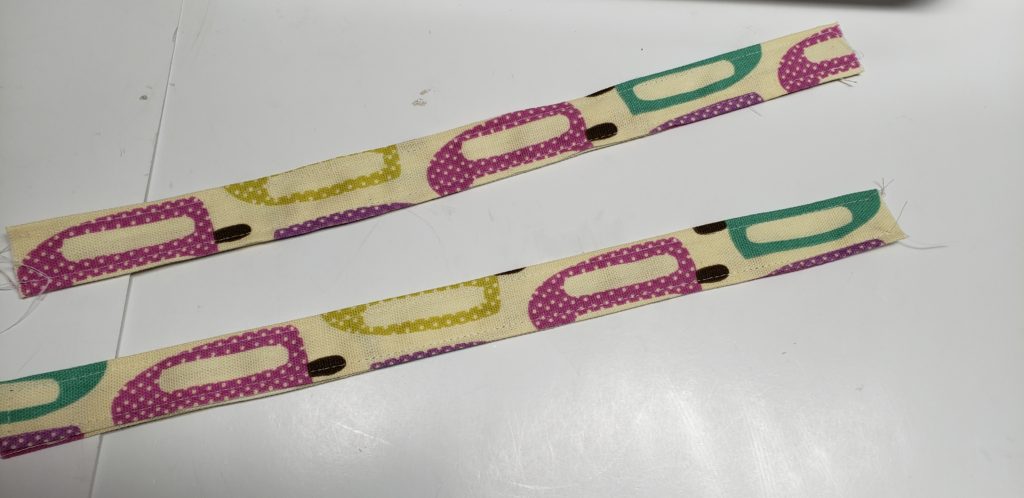
Step 3: create your straps, fold in 1/4″ and then fold in half. Sew a top stitch down both sides to create a top stitch.
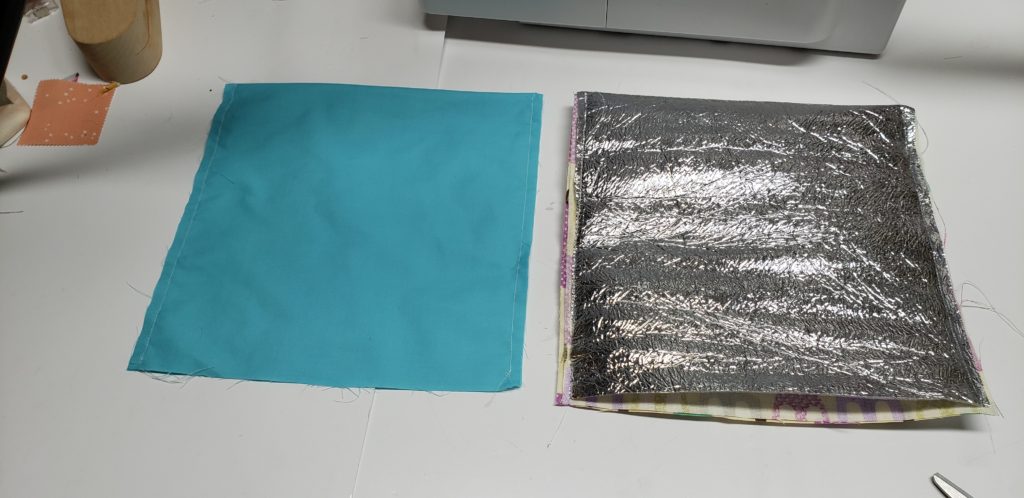
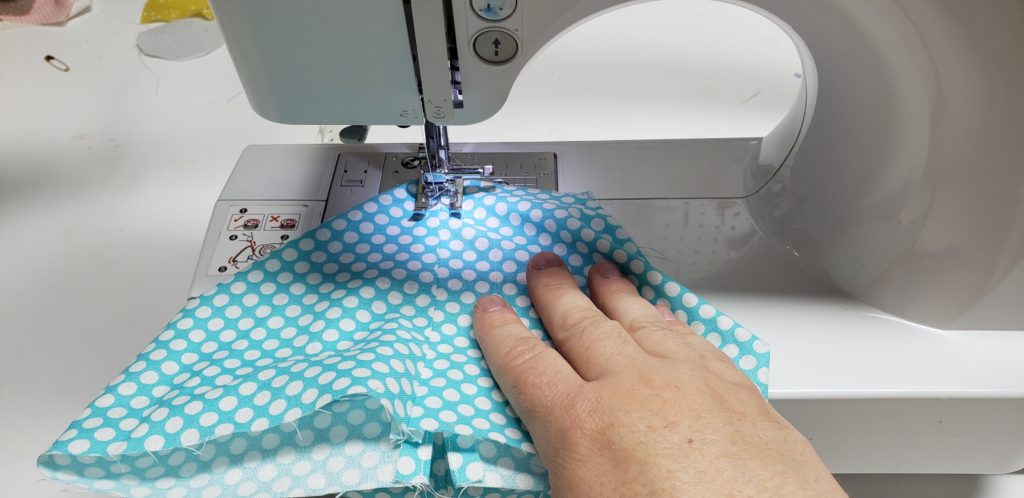
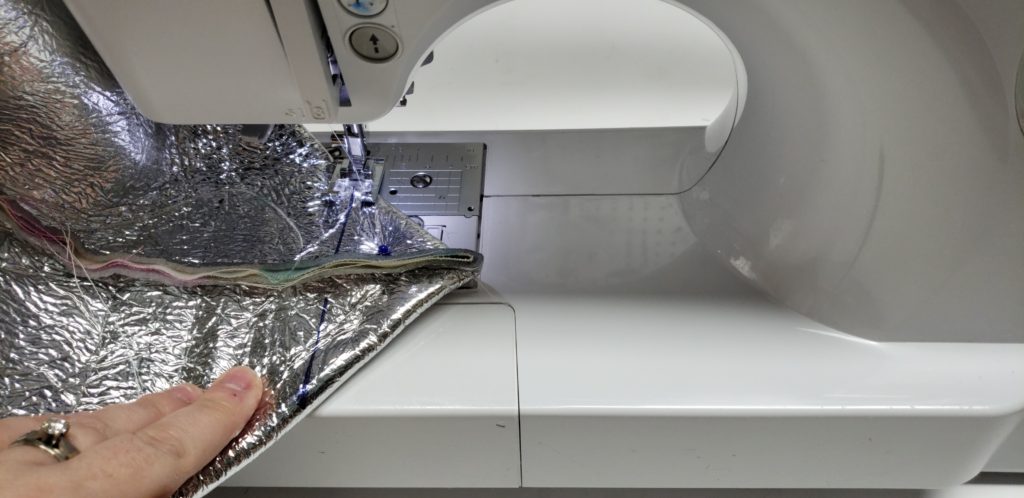
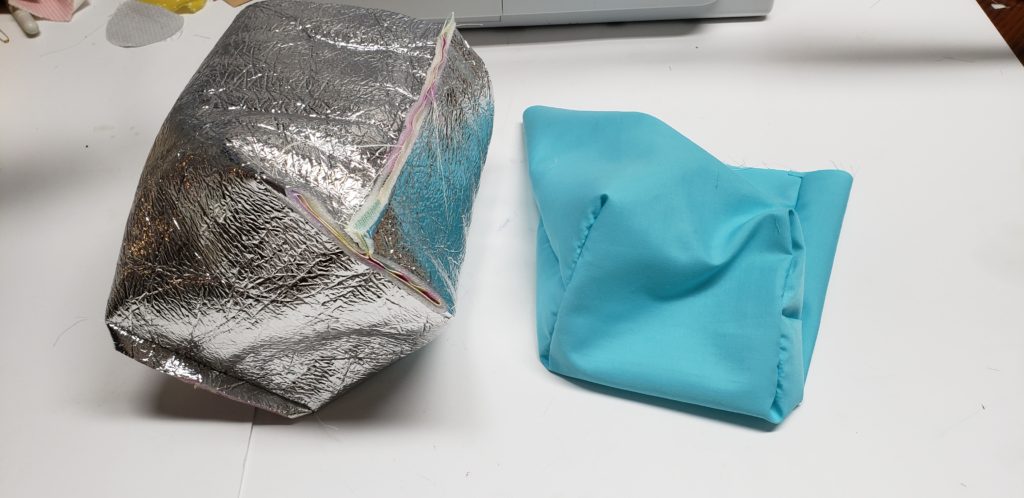
Take the lining and fold it length ways in half, Place insulating material onto the back of your outer fabric, fold both in half so the outer fabric is right sides together,
Sew down the sides on both pieces.
Triangle the corners of both pieces, measure 4 inches from side to side.
sew along the drawn line.
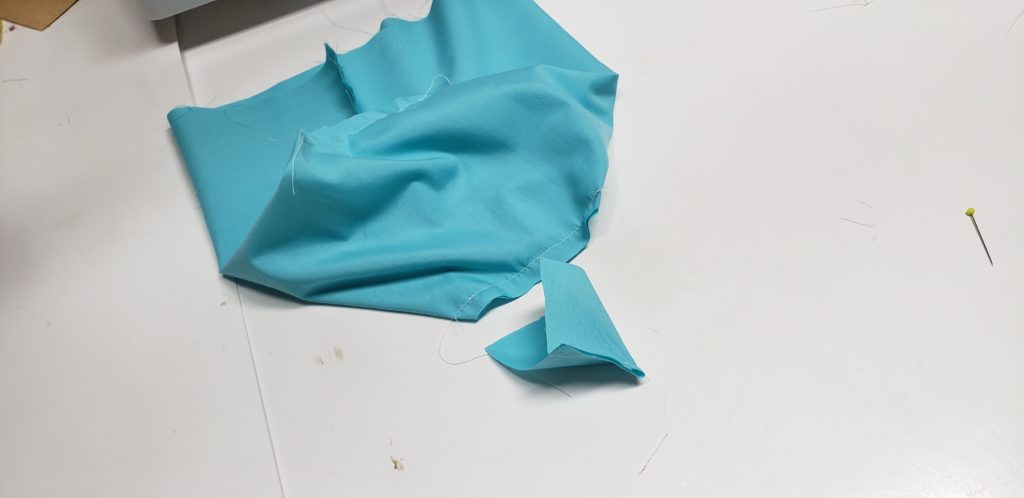
snip off the excess fabric from each corner.
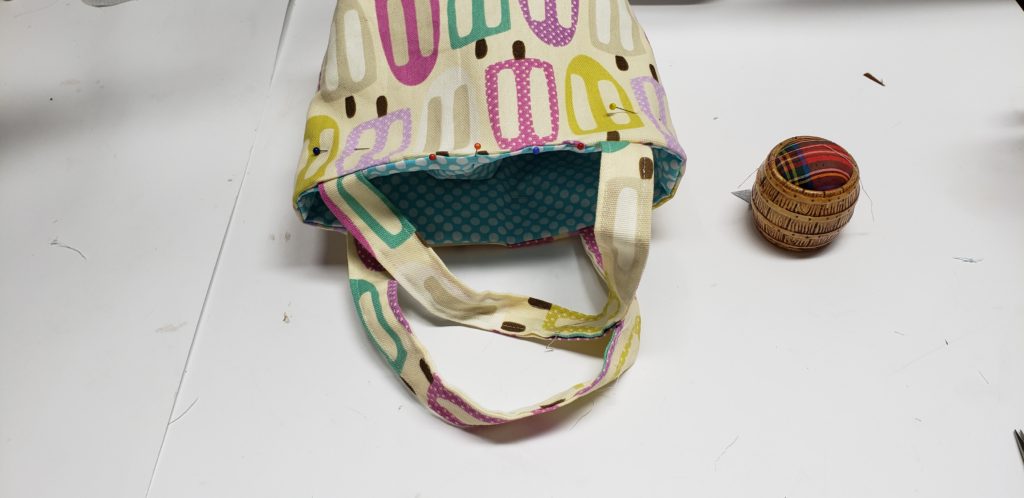
Place your handles on both sides of the outer fabric, center to the side seams and atleast 4″ apart in the middle.
baste stitch the handles if you would like to make things easier for the next step.
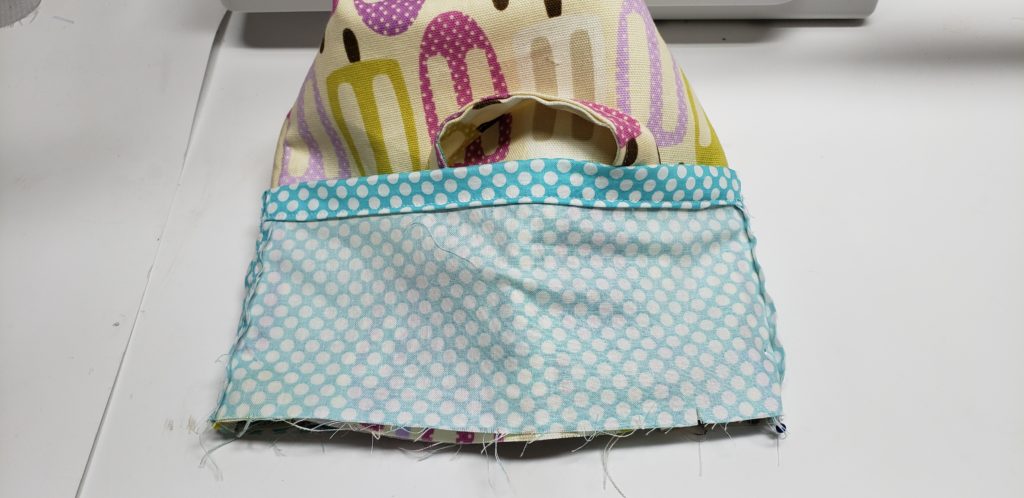
place the middle piece with the right sides together over the outer fabric lining up the side seams and lining up the top of the raw edges together
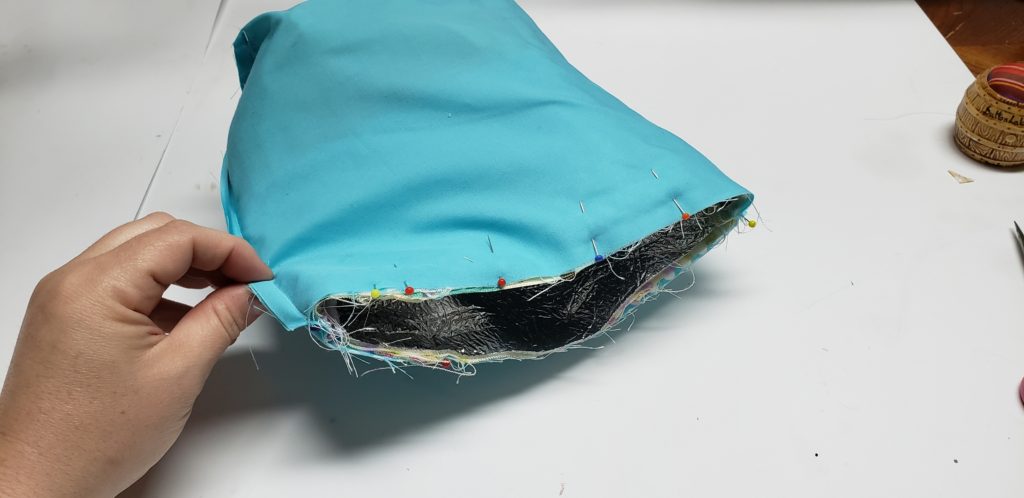
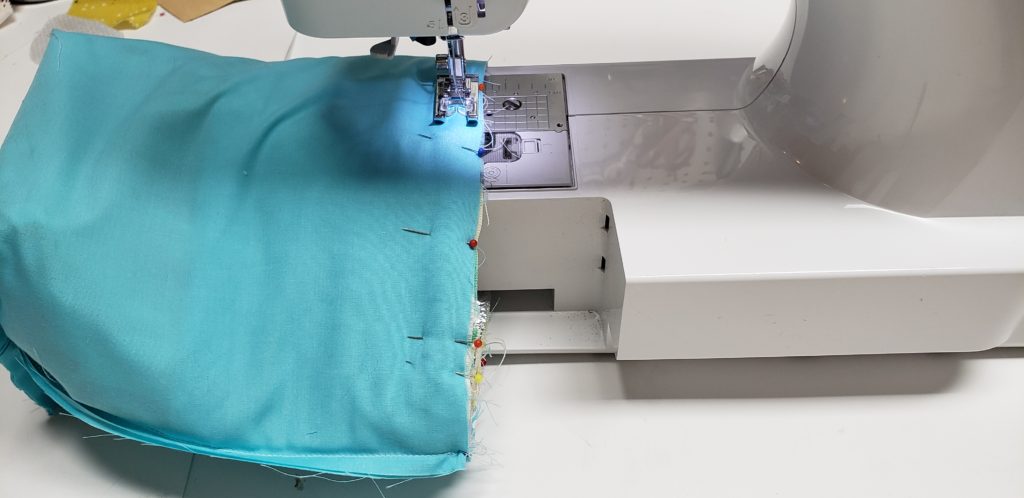
place the lining over the outer bag piece lining up the raw edges, make sure the lining is inside out. Sew all the way around the opening of the bag leaving a 3.5″ gap which is best placed between the handles.
turn the bag right side out using that gap that was left.
fold the inner piece down into the bag and press around the edge of the bag, fold in the raw edges and pin so the opening is nice an even with the rest of the bag. do a top stitch around the top of the bag.
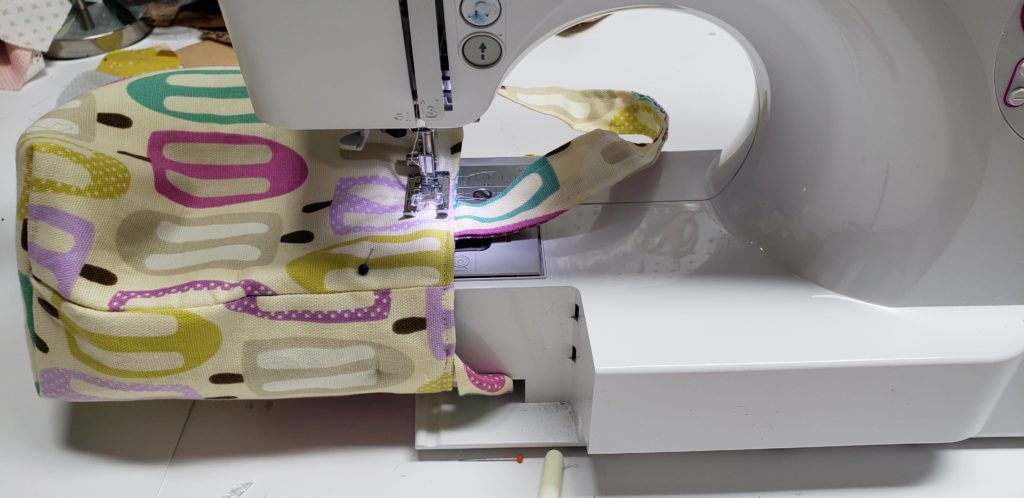
do two more top stitches 1/2″ away from the first top stitch, make sure the middle piece is push down inside the bag, this will inset the lining.
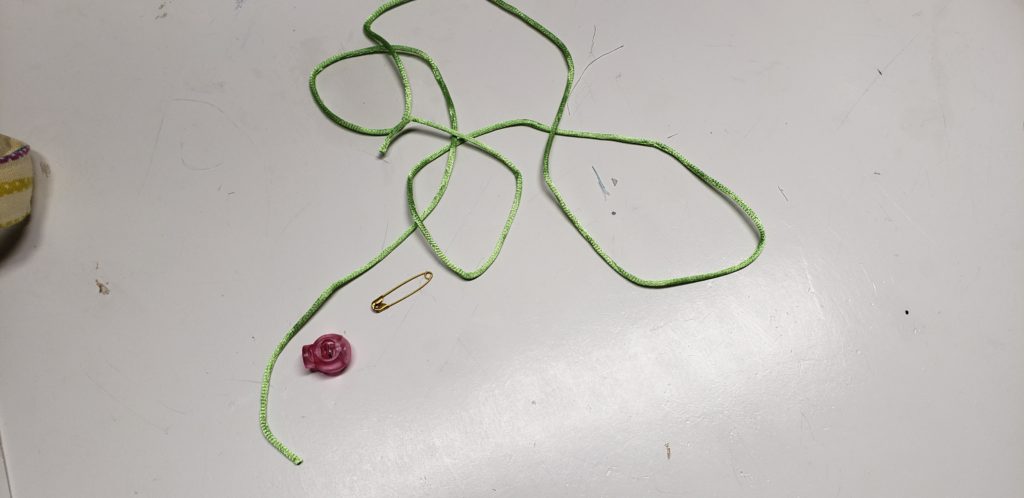
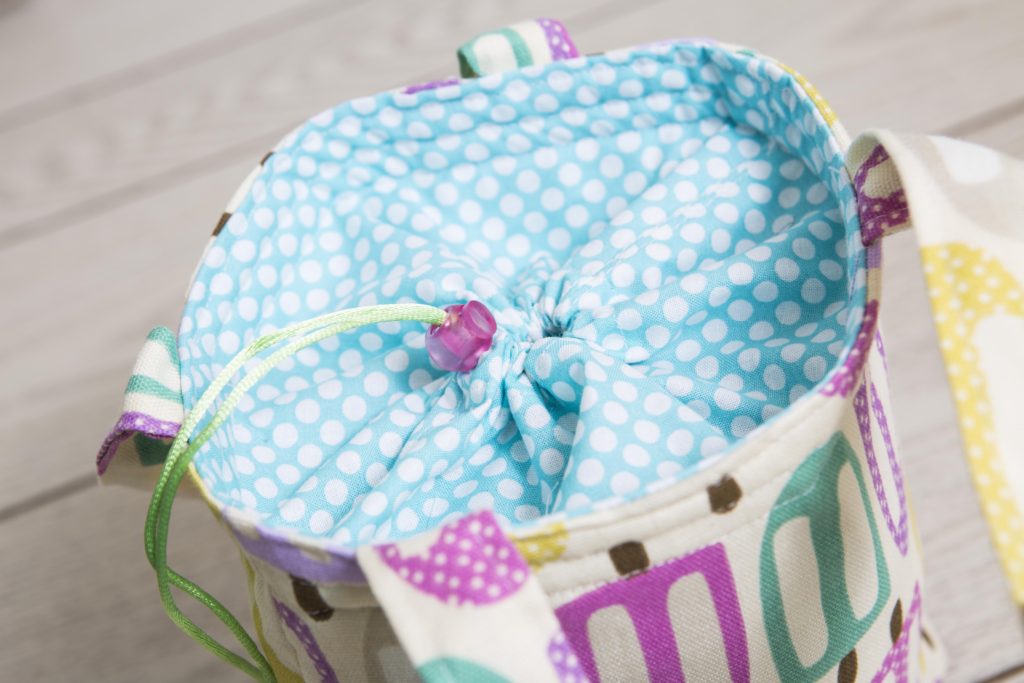
use a safety pin to install your cord through the little holes in the inner piece


0 Comments