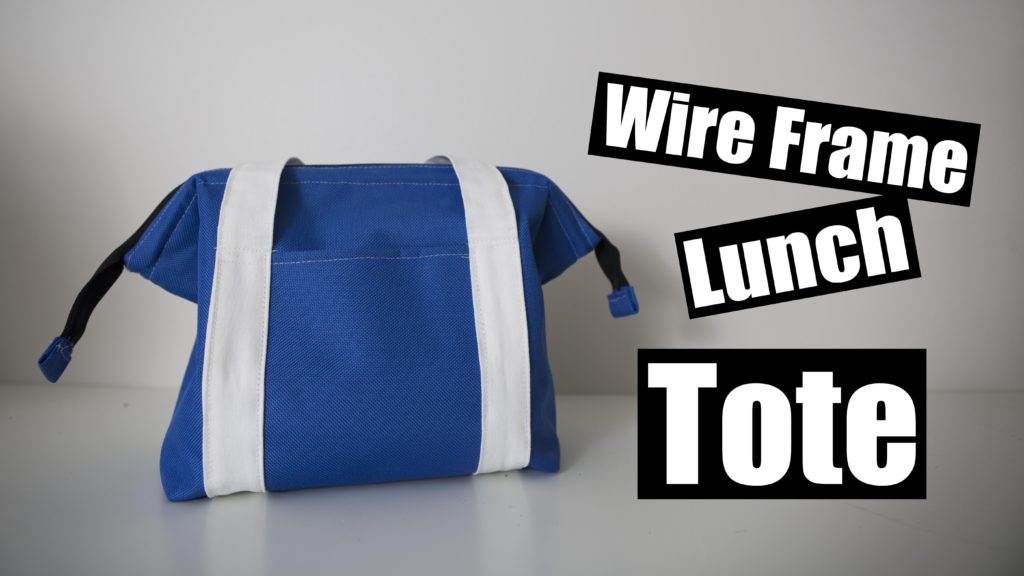
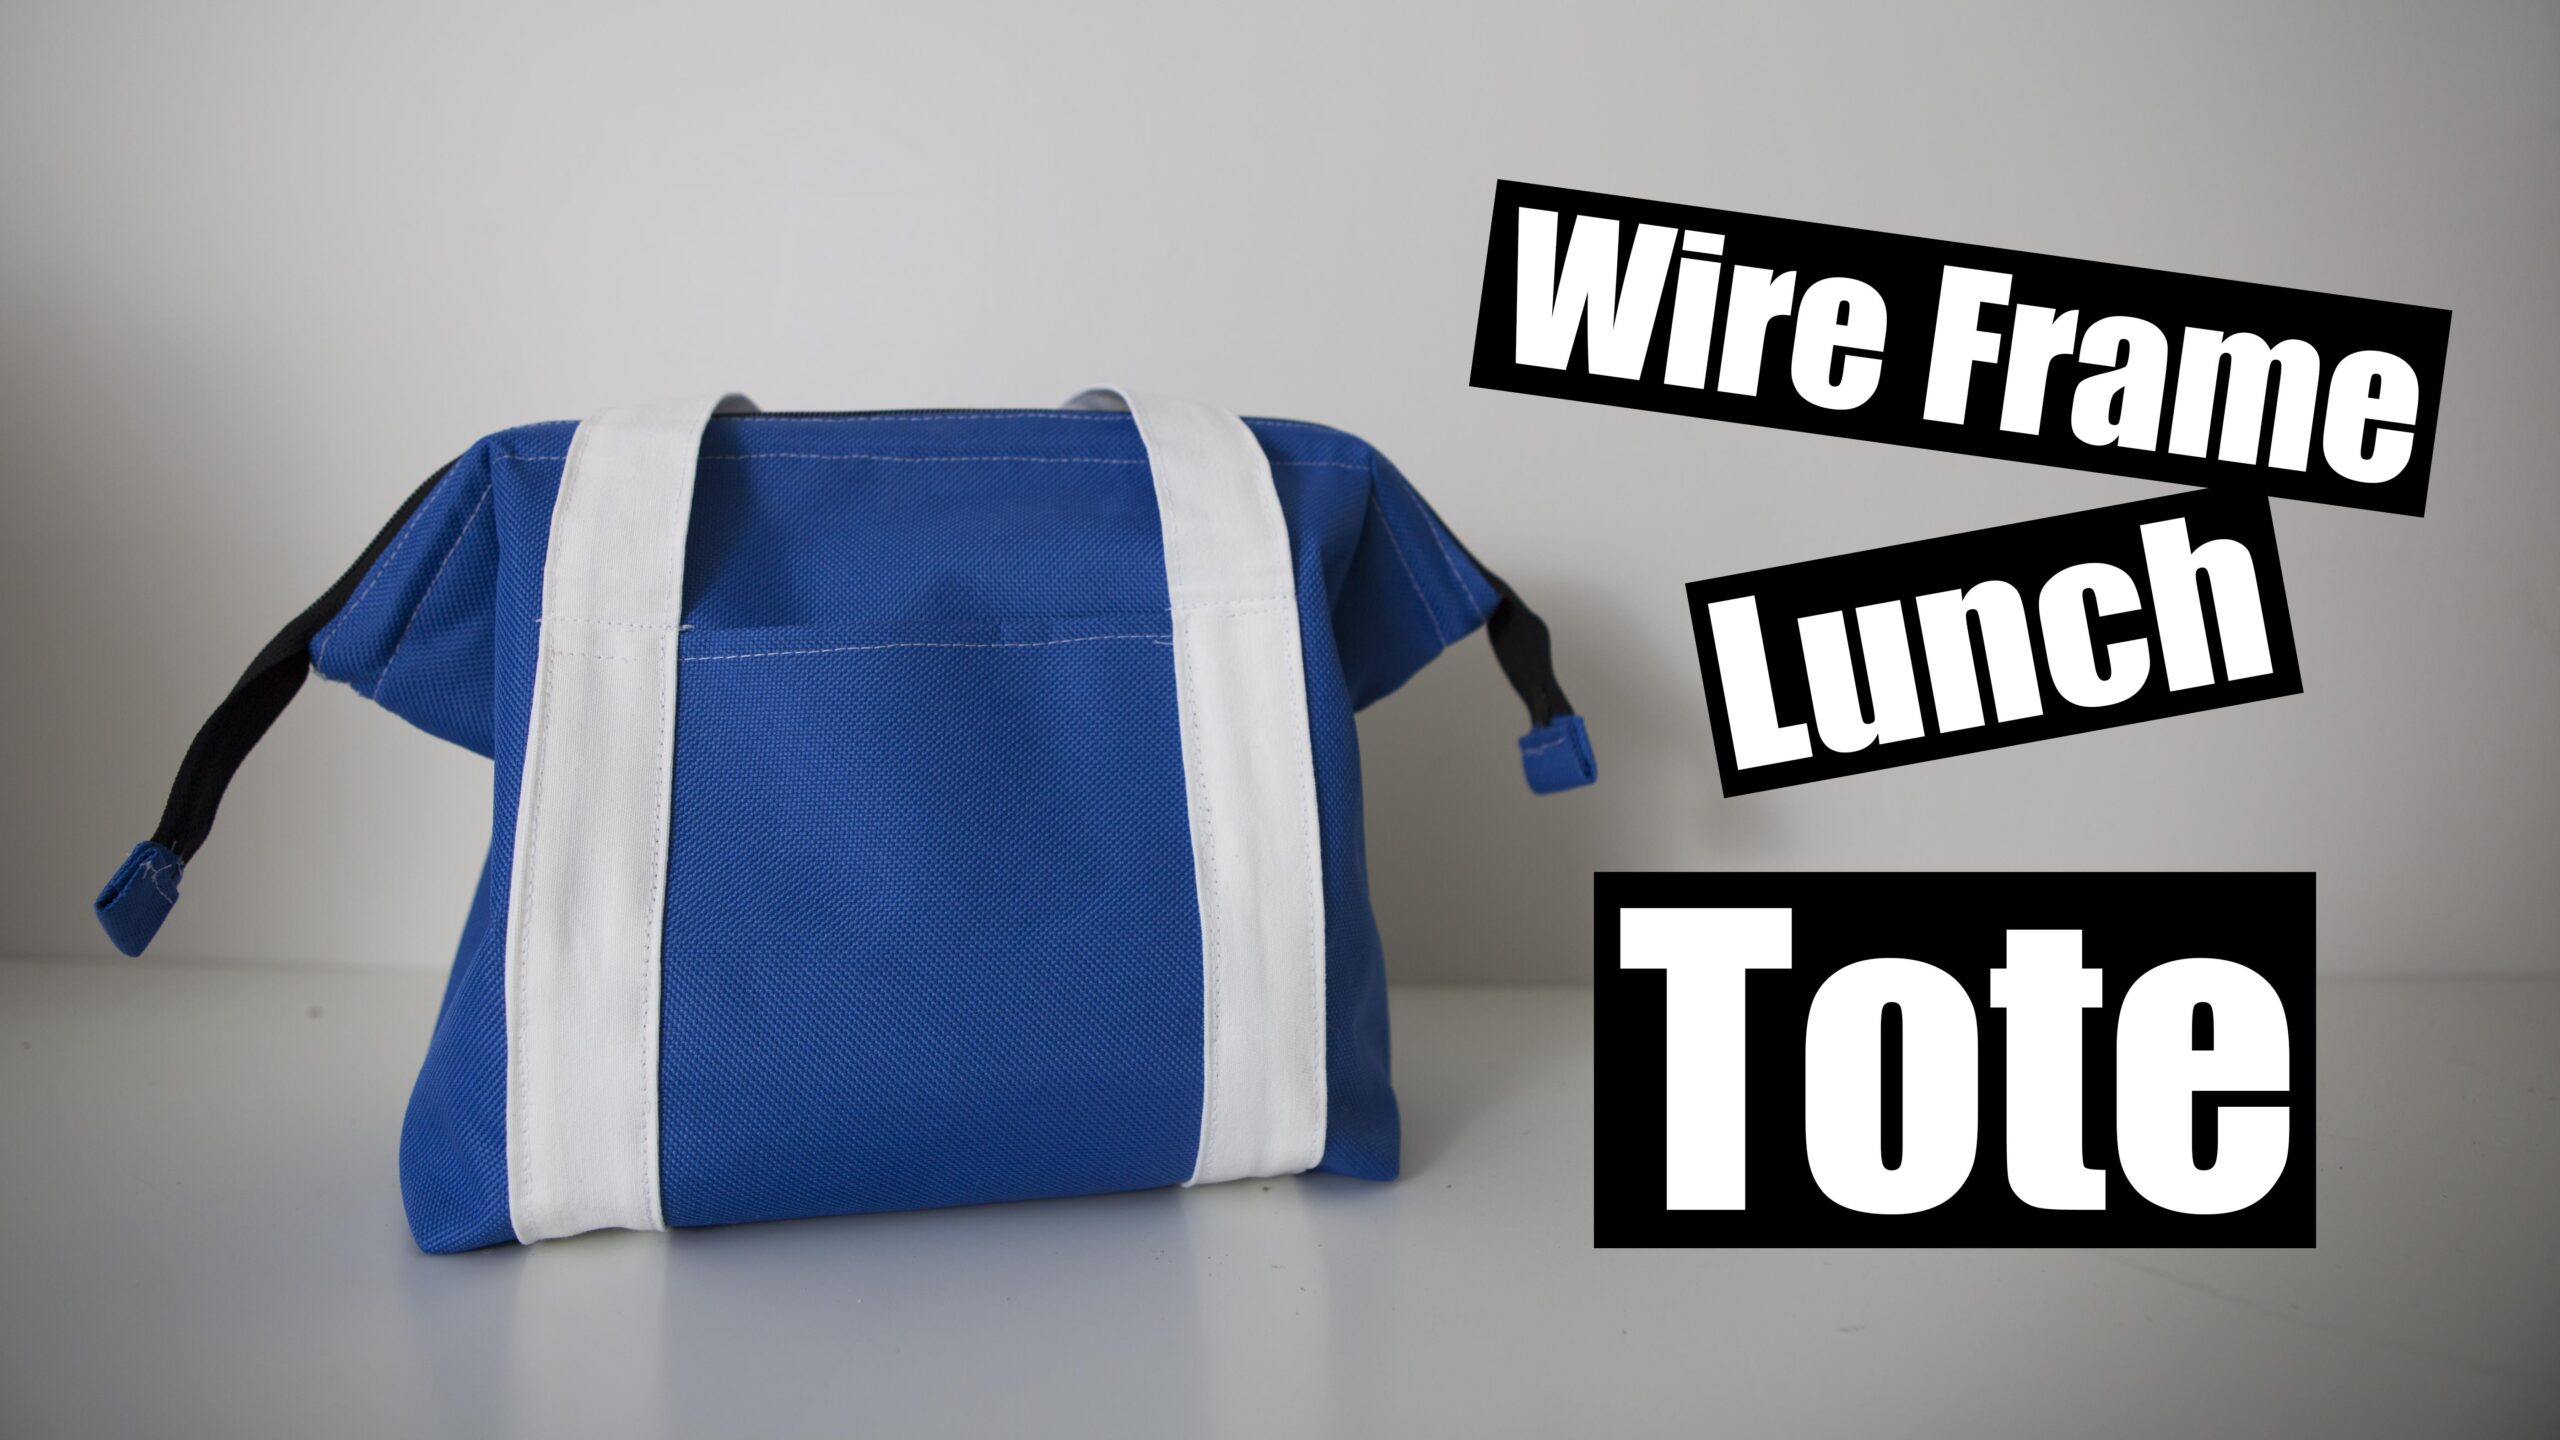
Welcome to the Wire frame lunch tote tutorial, here you will find step by step tutorial, a video tutorial, measurements and links to products and tools i use.
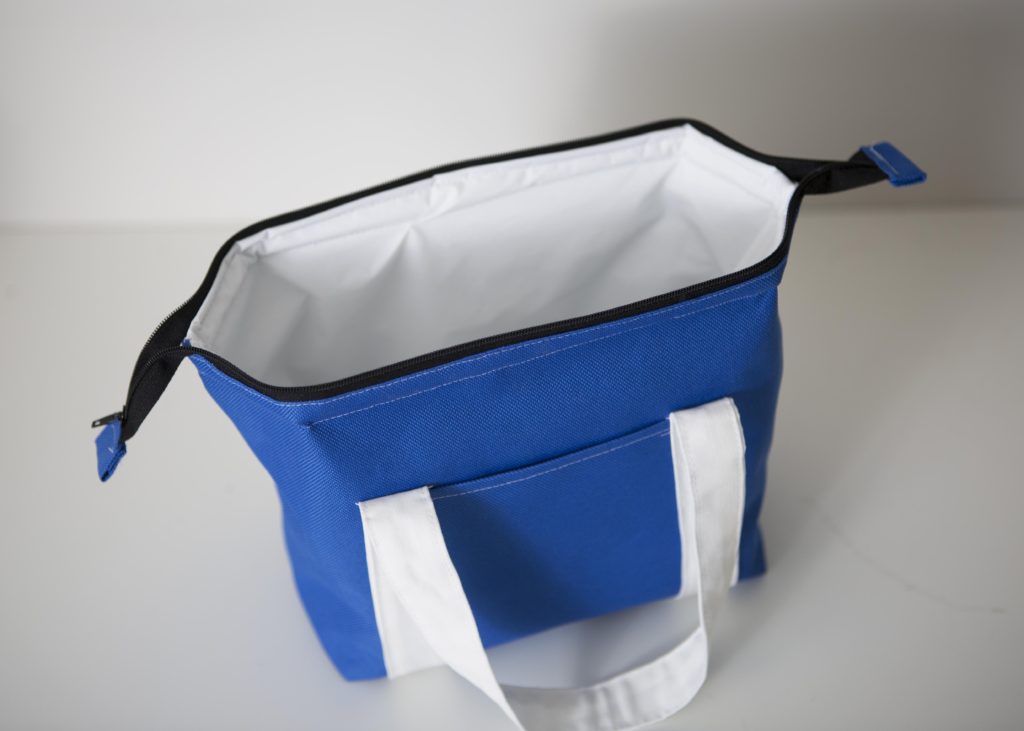
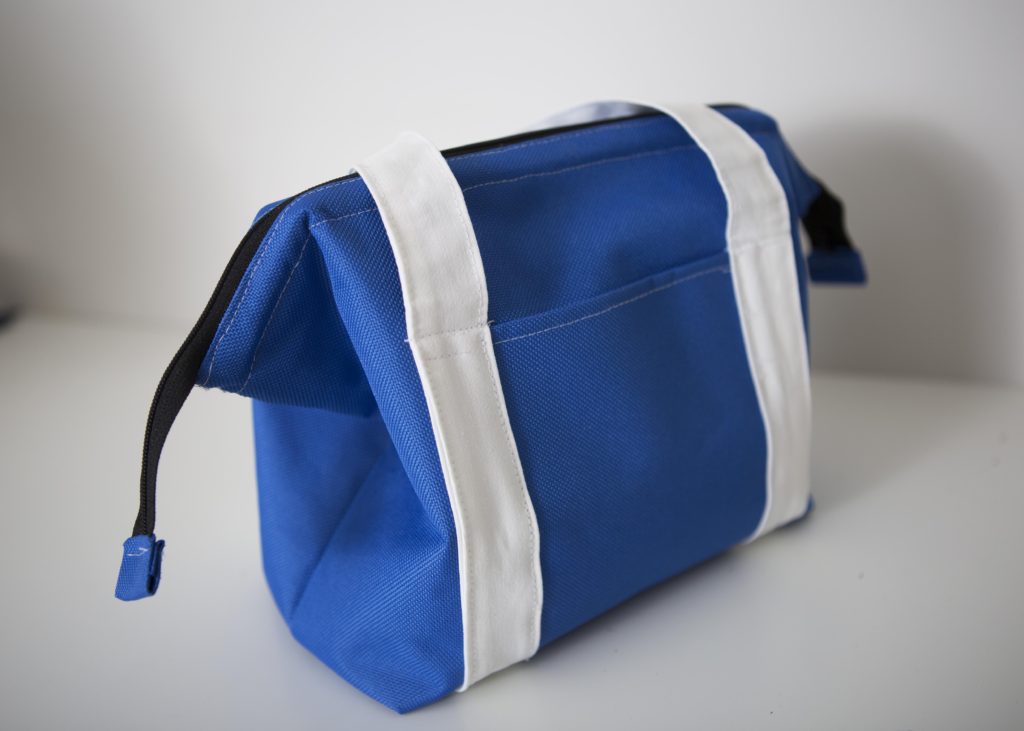
This bag is made out of Waterproof canvas and a plastic lining and has a handy outer pocket.
Please pin and share with your friends to keep my tutorials Free!!
The finished measurements are Approx 12″ wide x 10″ tall

Materials
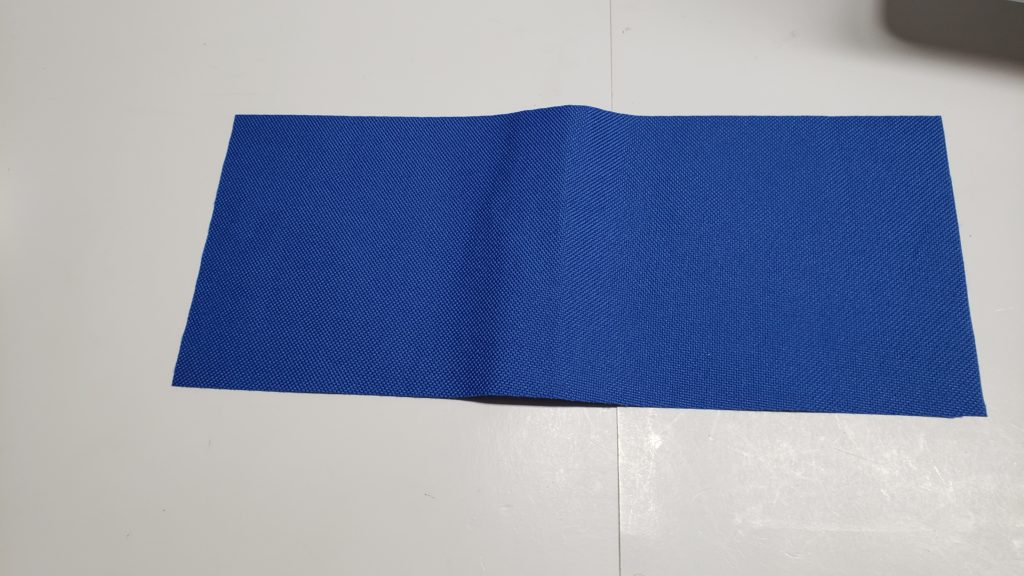
Outer fabric – Waterproof Canvas
Recommended Fabrics – Canvas, Denim, any heavy weight fabric. (for lighter weight fabrics using a heavy weight interfacing will keep the bag nice and rigid especially under the weight of the bag frames)
Lining – A shower curtain (yes you read that right haha) or PUL, Vinyl
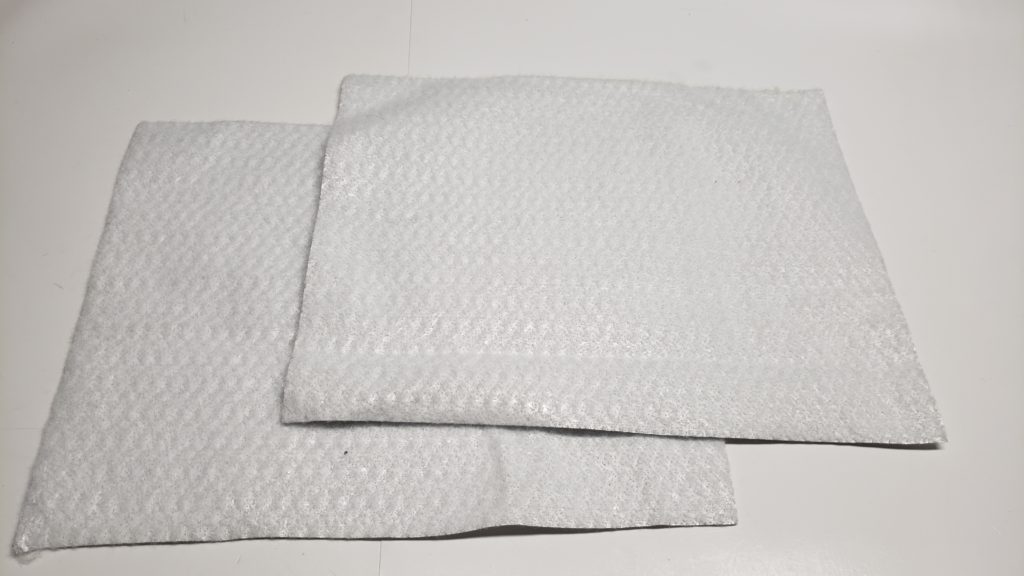
Insulation material – Insulbrite
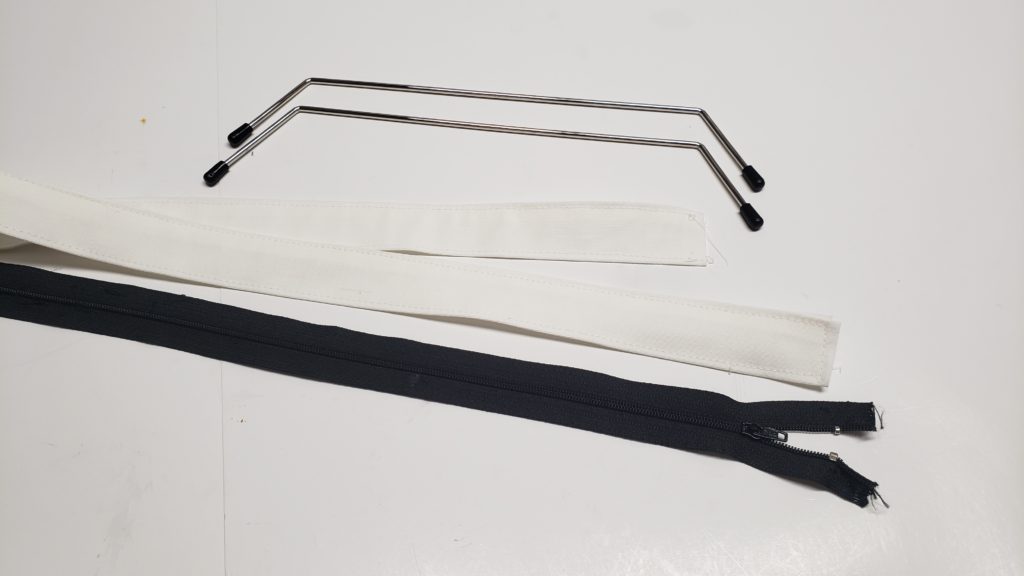
Zipper – Nylon zipper
Canvas or webbing for the straps.
Purse / Bag frame – Internal Frames
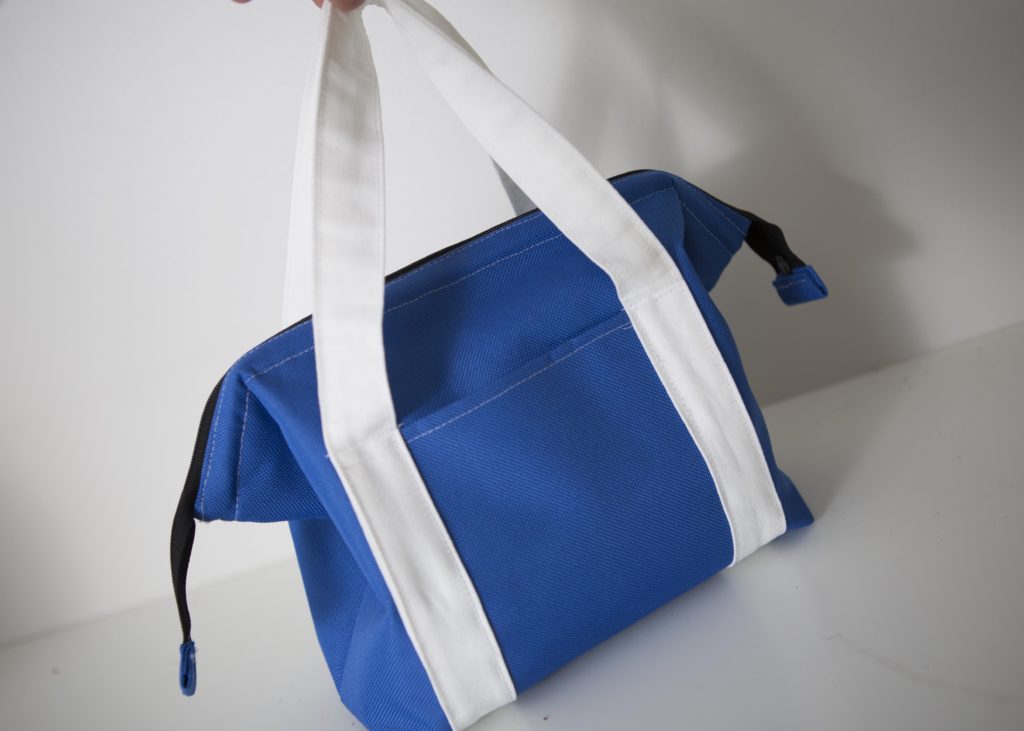
Help keep the measurements free!
[wpedon id=”3129″ align=”left”]
Measurements
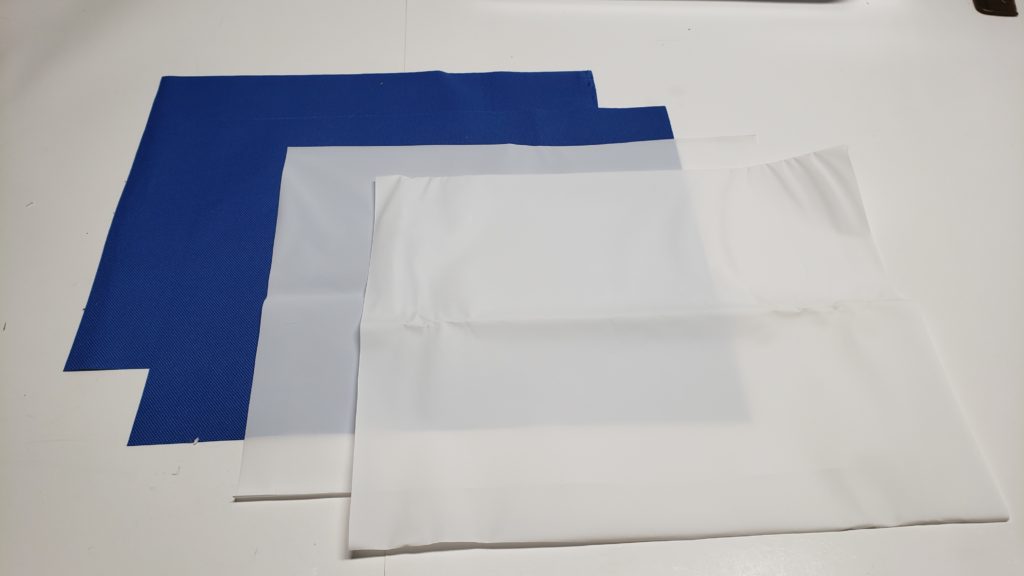
Outer fabric – Cut 2 – 13.5″ wide x 11″ tall
Lining fabrics – Cut 2 – 13.5″ wide x 11″ tall
Insulating material – Insulbrite – Cut 2 – 13.5″ wide x 11″ tall
Zipper pocket – 5″ x 16″ (to be folded in half length ways)
Straps – 30″ x 3″
Zipper – atleast 14″ long
Some tools i use
Iron – Oliso
Sewing machine – Brother
Ironing Board – Tutorial
Rotary Cutter – Olfa
Cricut –
Step 1 – sandwich zipper between outer fabric and lining with the right sides together and zipper pull towards the right side of the outer fabric. if using the Insulbrite place that on the lining side.
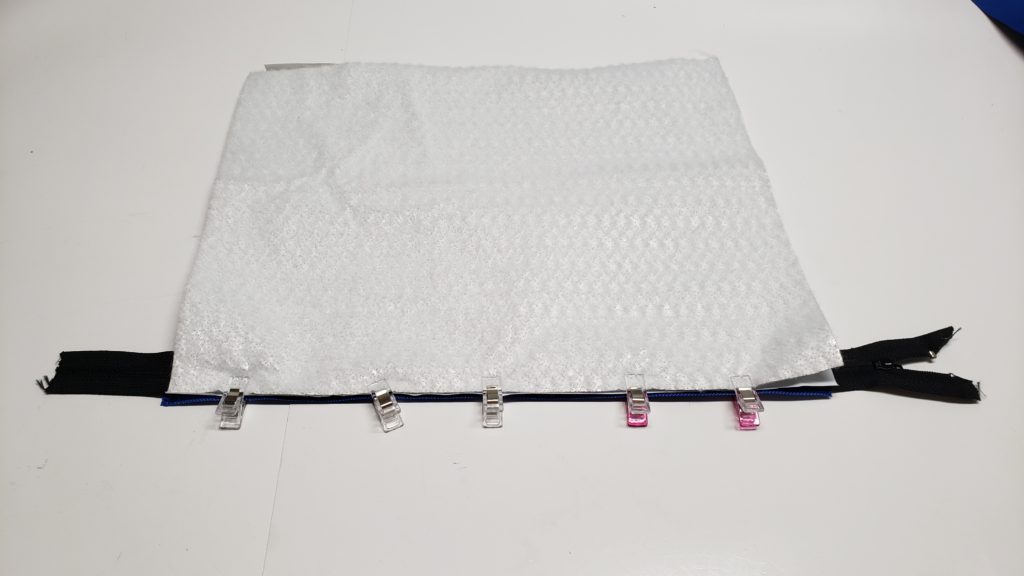
When sewing the zipper in pull zipper towards fabric at each end to veer off the zipper. do this about 1 ” away from both ends.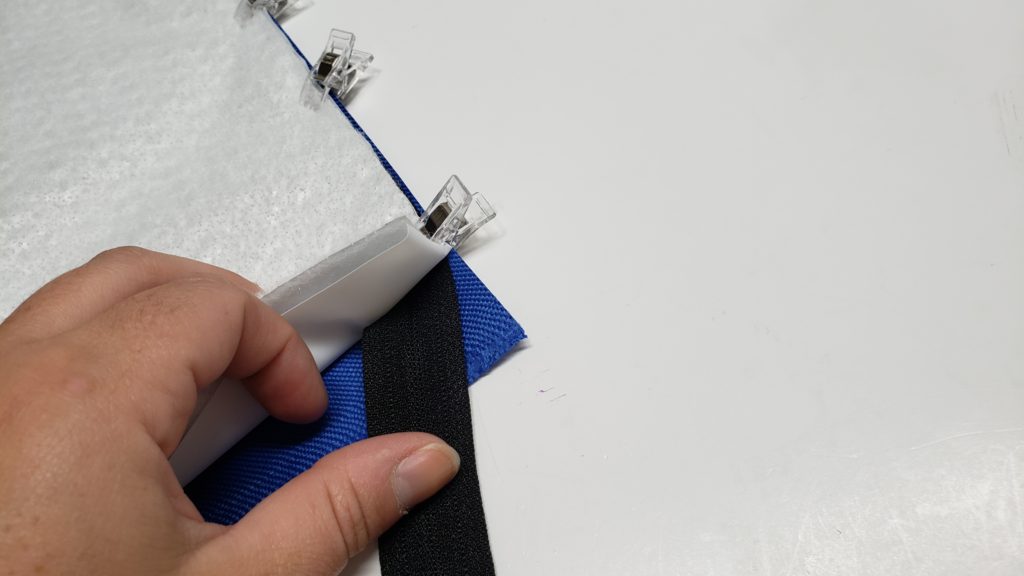
install other pieces to the otherside of zipper, zipper pull towards right side of outer fabric.
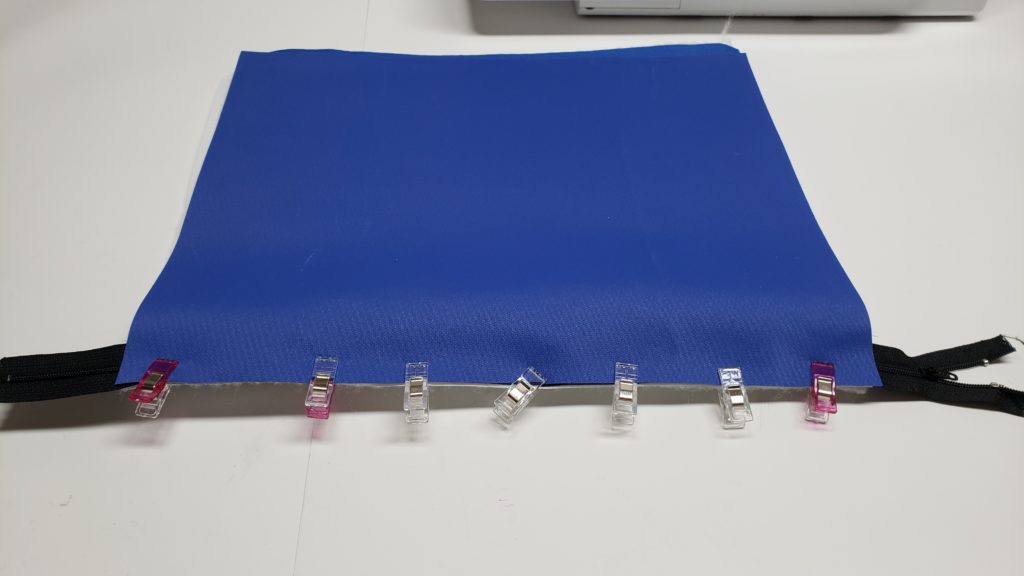
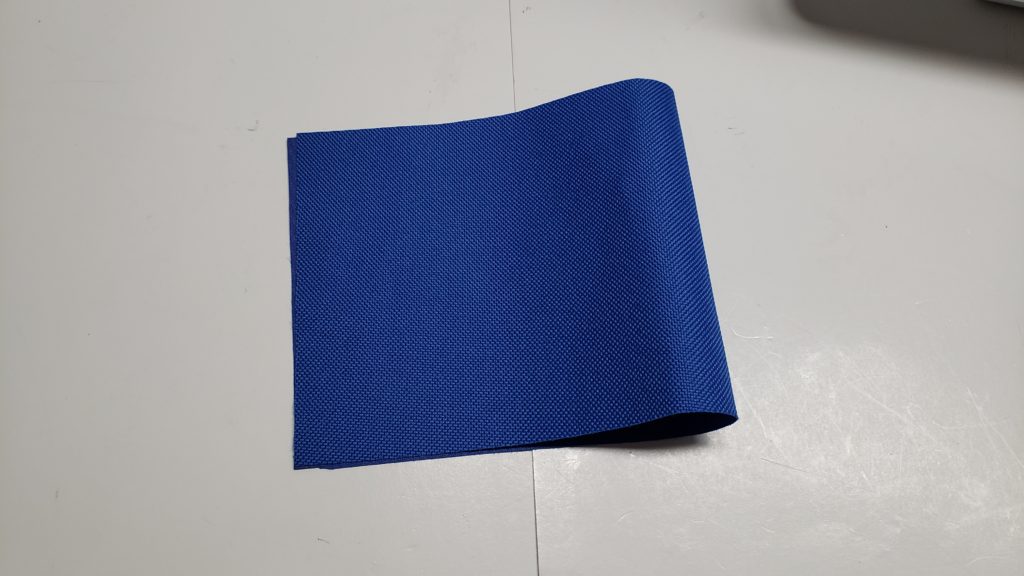
Take pocket piece

Fold in half length ways, top stitch at the top of the fold
Place pocket on outer panel and centre, place your strap such as the photo over lap the strap over pocket about a half inch.
mirror straps to the otherside of the bag.
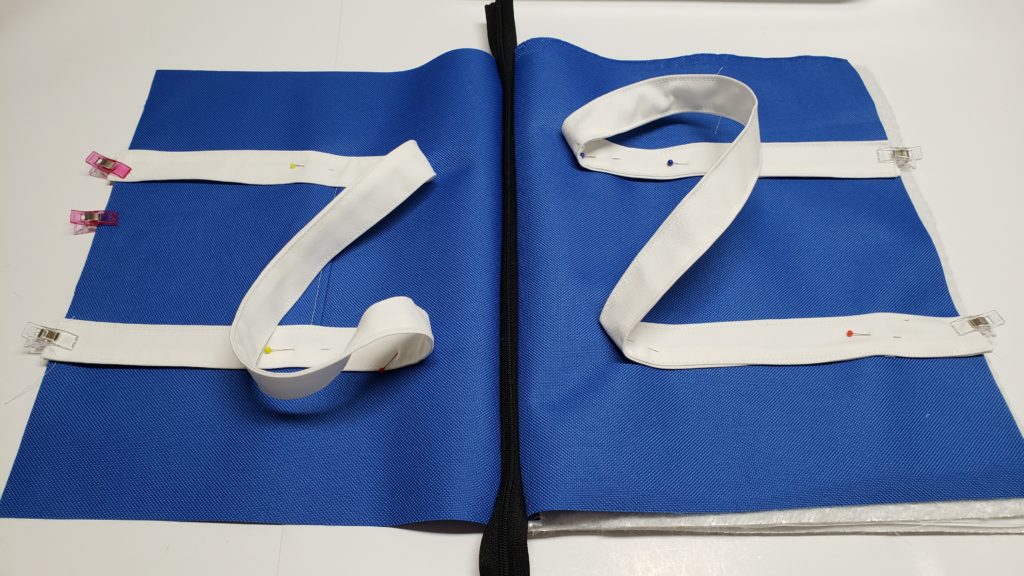
sew up the strap across and then back down the strap, on all four sides. sew up the strap till your about 2.5″ away from the zipper.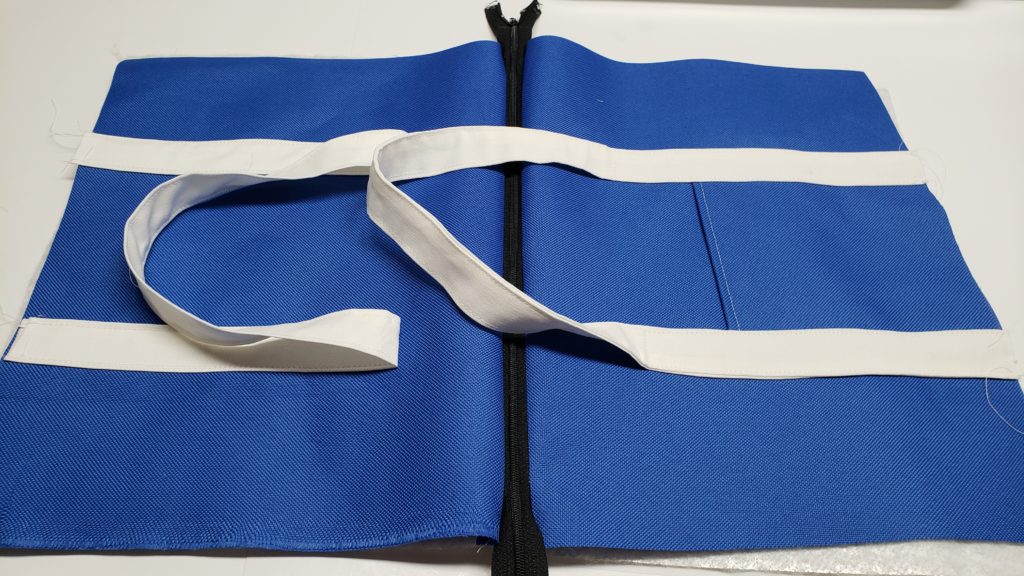
put right sides of outer fabric and lining together. place clips all around and line everything up, unzip zipper and push the zipper in towards the outer fabric so you dont sew over the zipper at all.
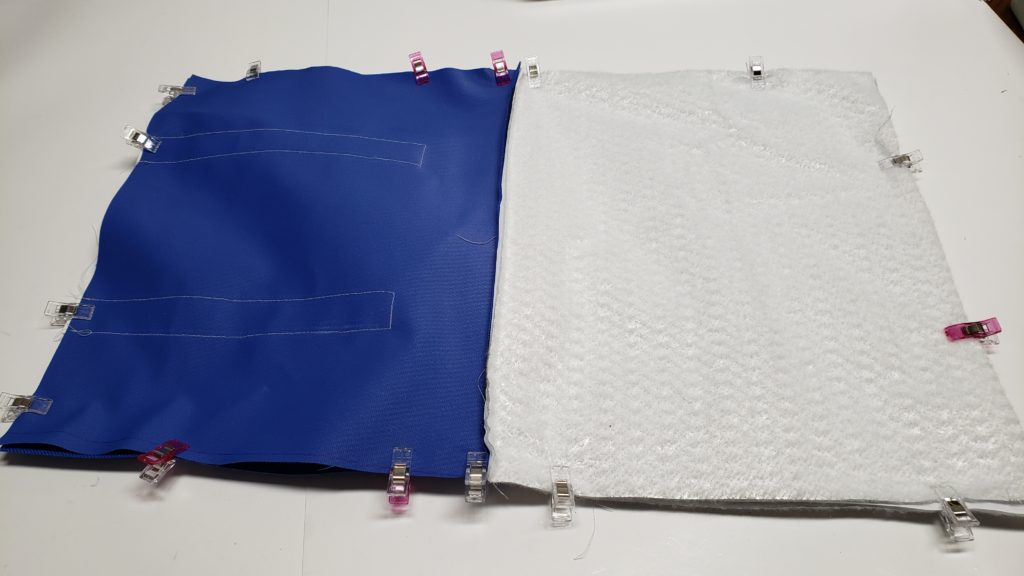
Sew all the way around leaving a 4″ gap in the centre of the lining.
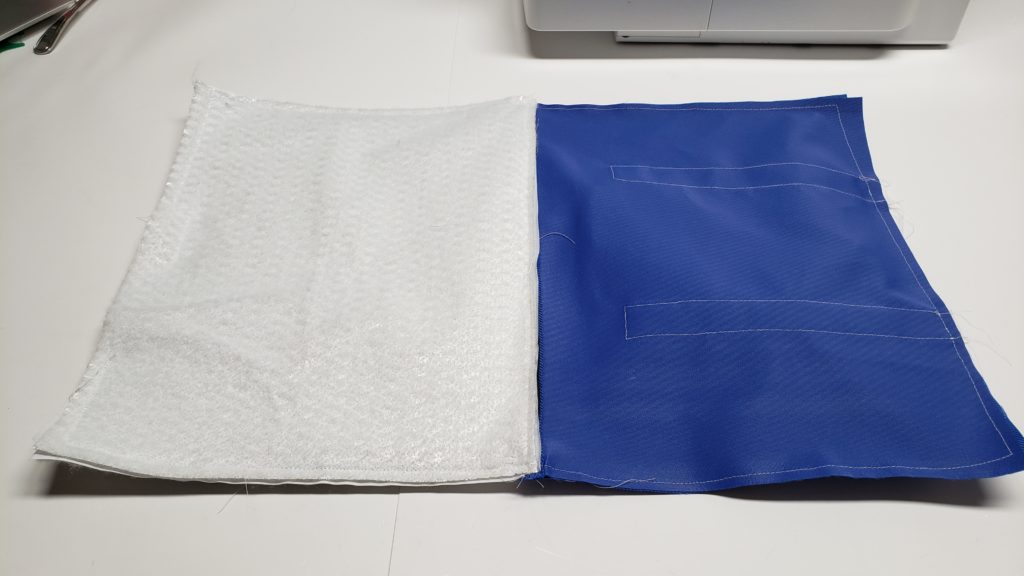
cut 2 ” x 2″ notches in all four corners and box the bottom of your bag. sew at 1/4″ seam allowance.
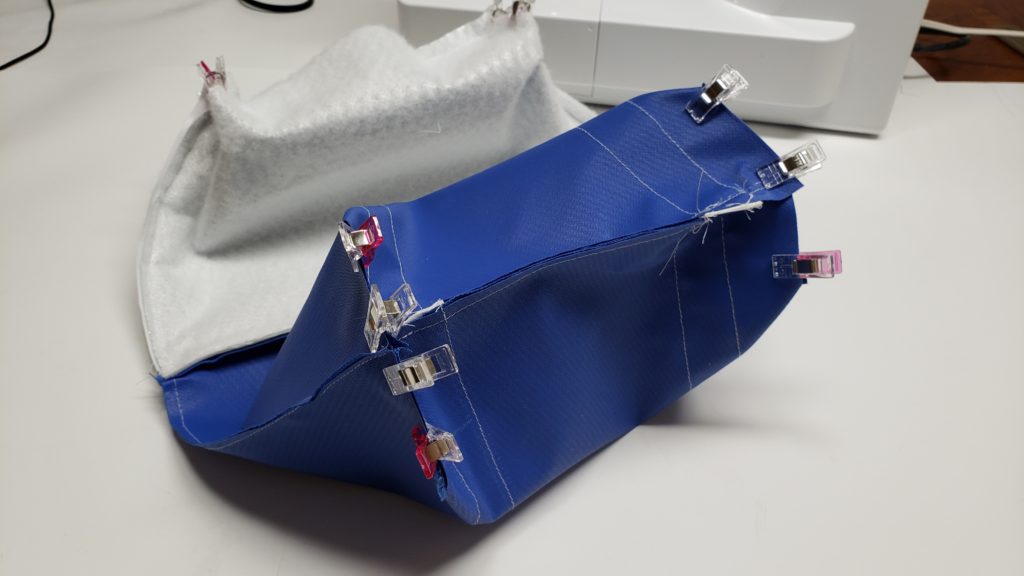
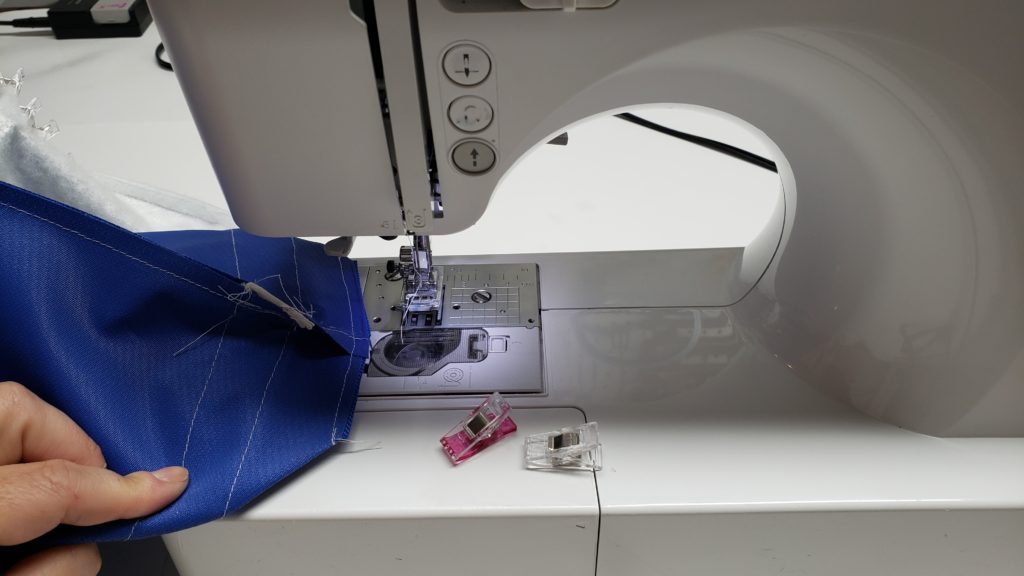
Flip bag tbrough lining hole.
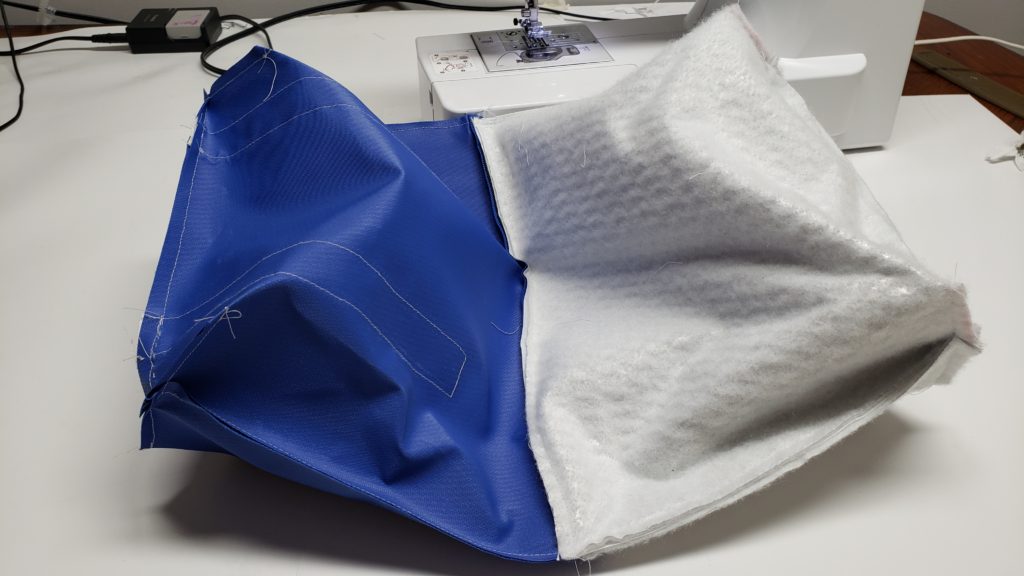
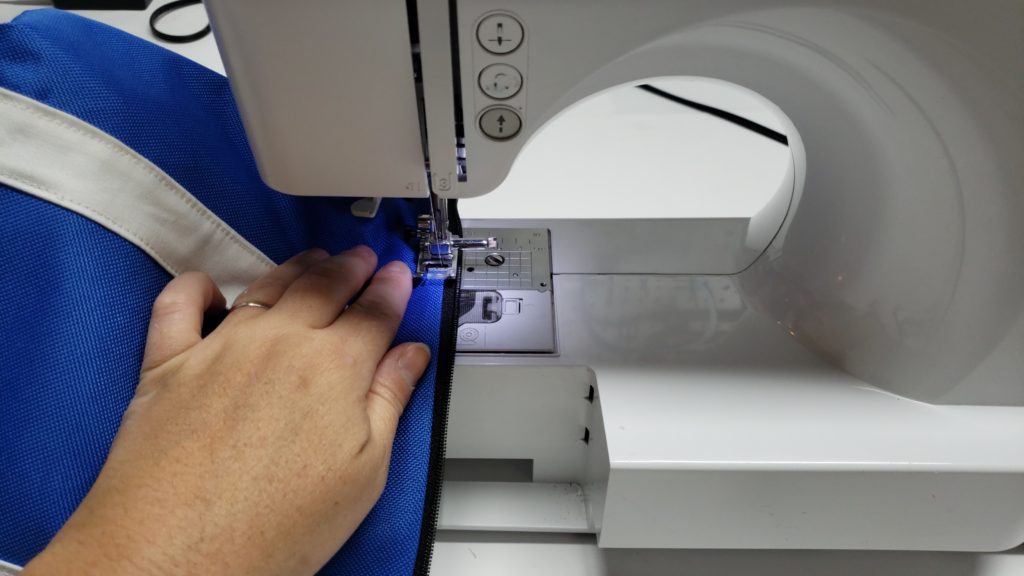
Sew a top stitch along the zipper.
using the frame to measure the spacing sew a seam 1/2″ down from the first top stitch to create casing for your frames.
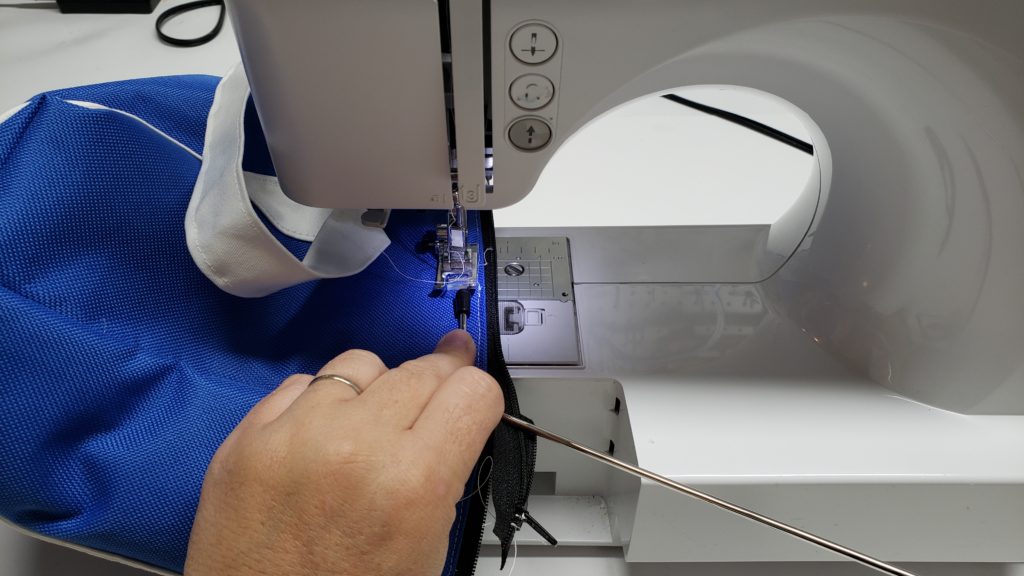
This is how it will look
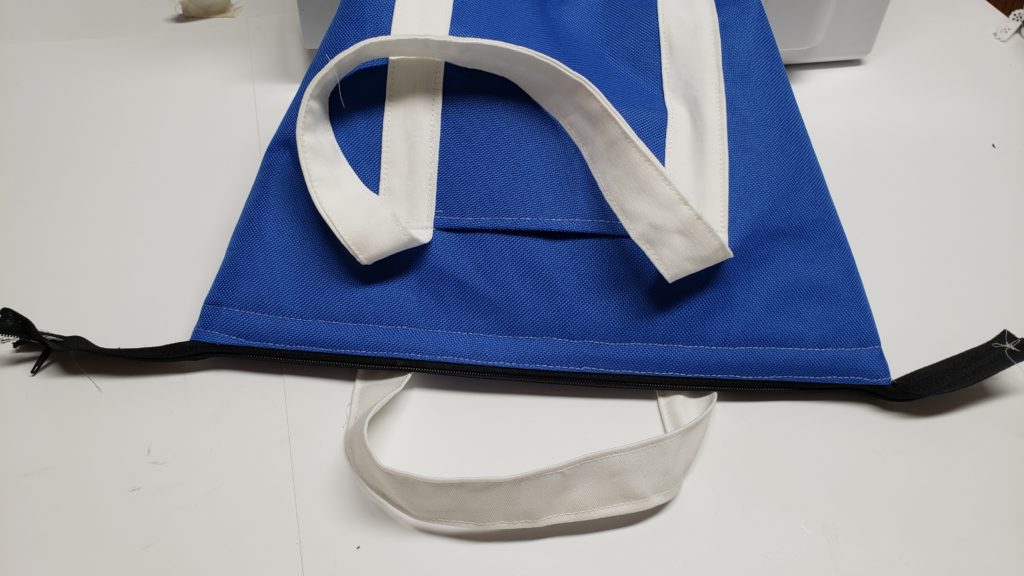
pop the stitches in the side seam between the top stitching to create a hole for your frames, stick your frames in on both side (this can be a pain but it will fit… just takes some perseverance)
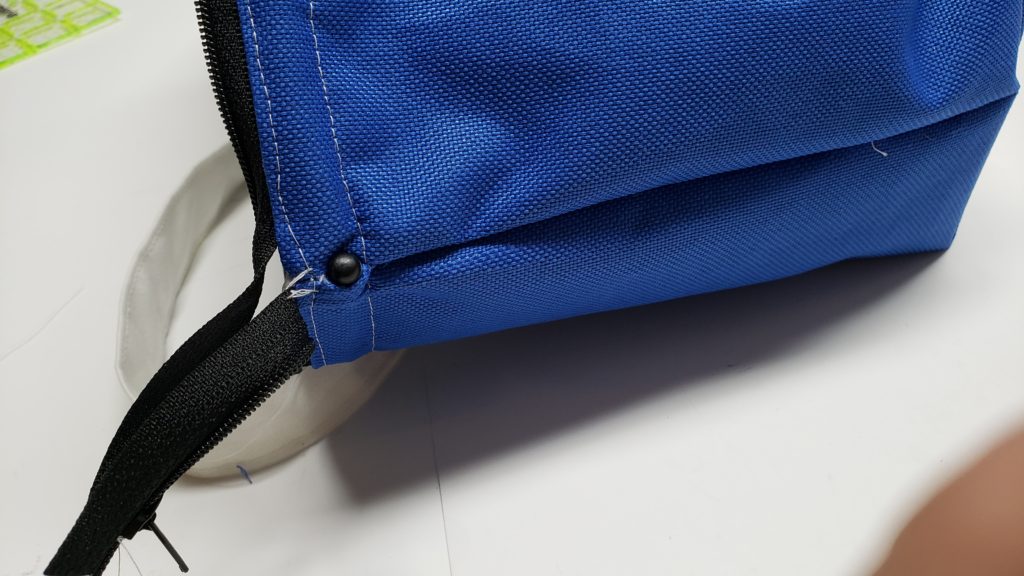
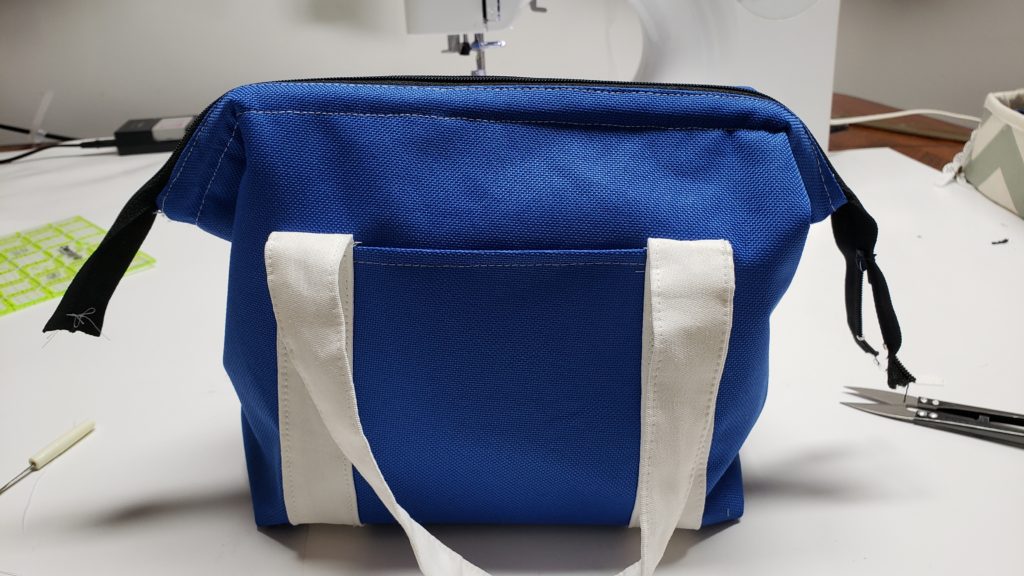
To finish the bag sew up the lining with a top stitch and put zipper tabs at the ends of your zippers. if you have a long zipper cut it to your desired length.

some links are affiliate links


0 Comments