[wpedon id=”3129″ align=”left”]
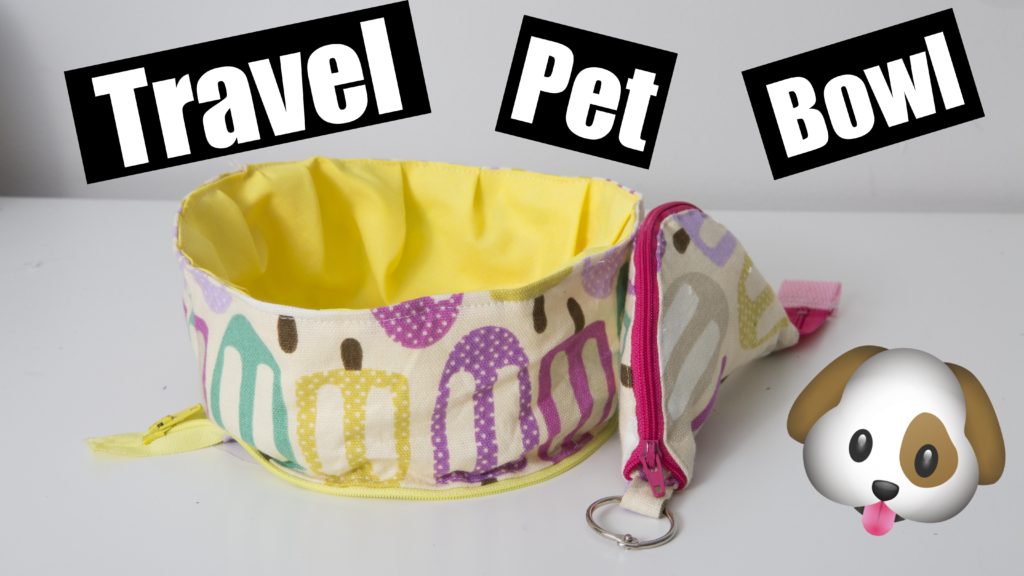
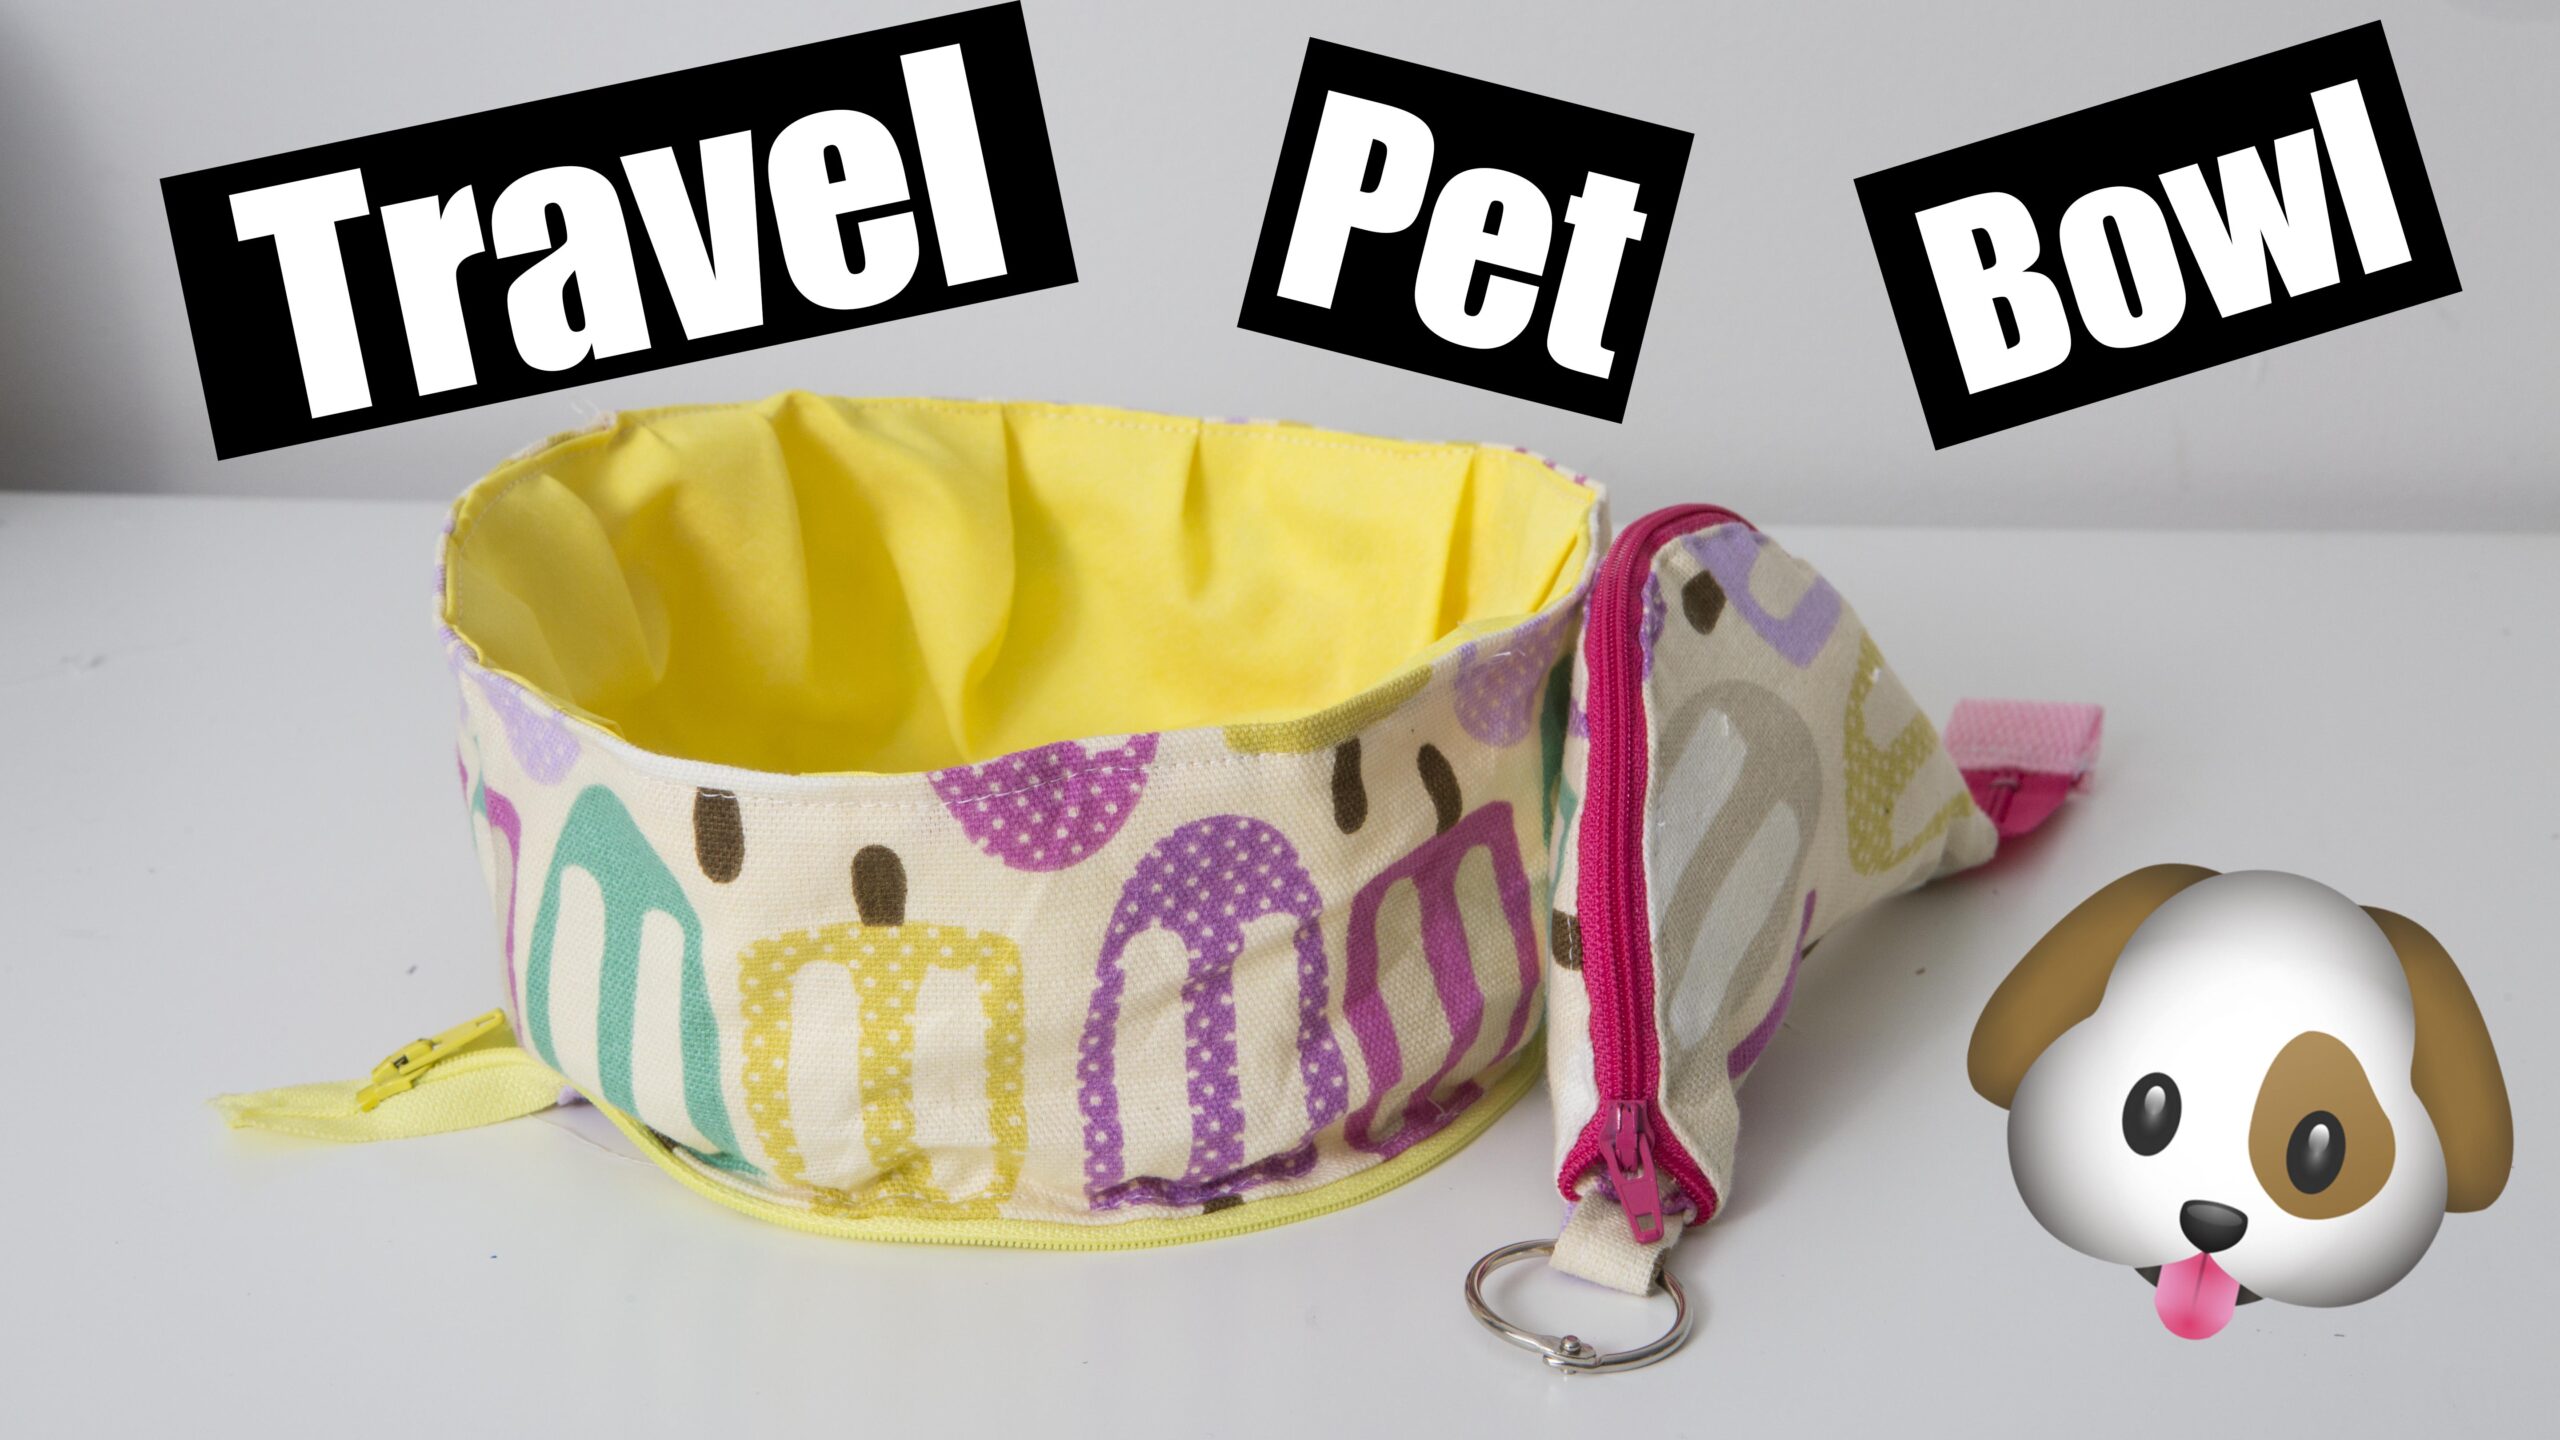
Welcome to the fold up travel pet bowl tutorial, here you will find the measurements, materials and links for any products used
Materials
Recommended Fabrics for outer fabrics – Canvas, Duck canvas, Cotton that is interfaced with Medium weight interfacing.
Recommended fabrics for Lining – PUL, Vinyl, or any other waterproof apparel fabrics
nylon zipper – 12″ +
Split ring
Measurements
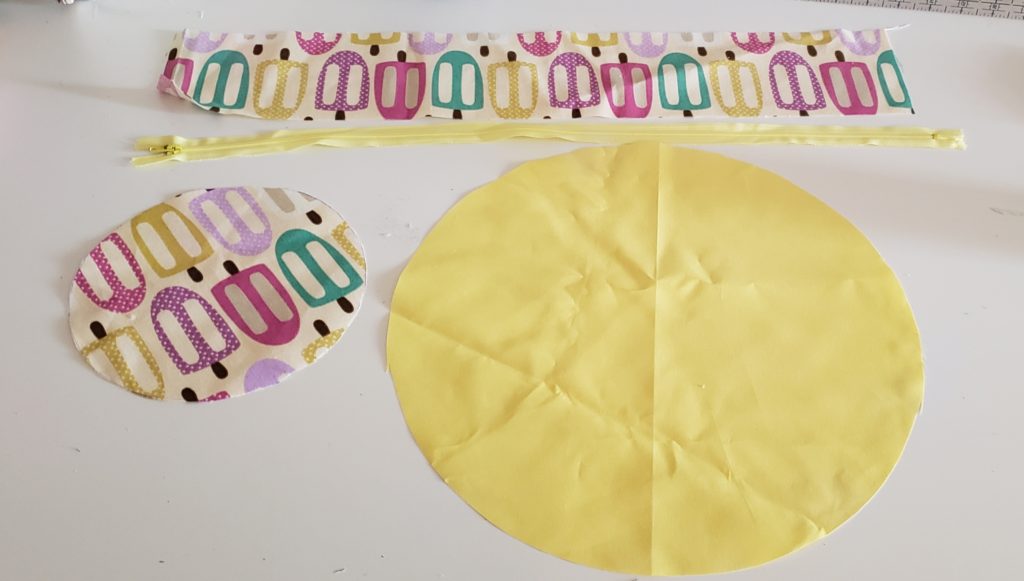
Outer fabric circle – 7″ in diametre
Outer fabric side of bowl – 22″ x 4″
Lining of bowl – 13″ in diametre
Tab piece – 2″ x 3″

WATCH THE TUTORIAL FOR FURTHUR INSTRUCTION
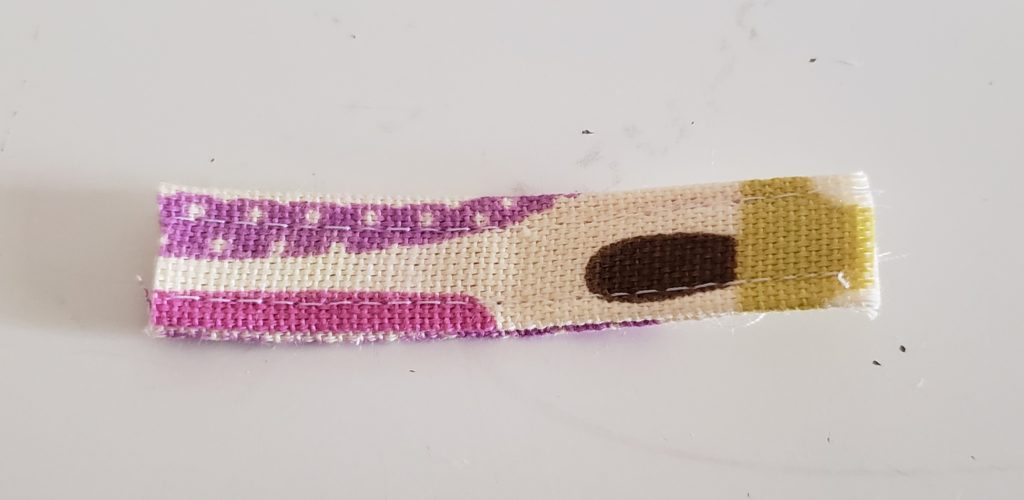
Create the tab piee by folding the sides in 1/4″ and then fold in half again.
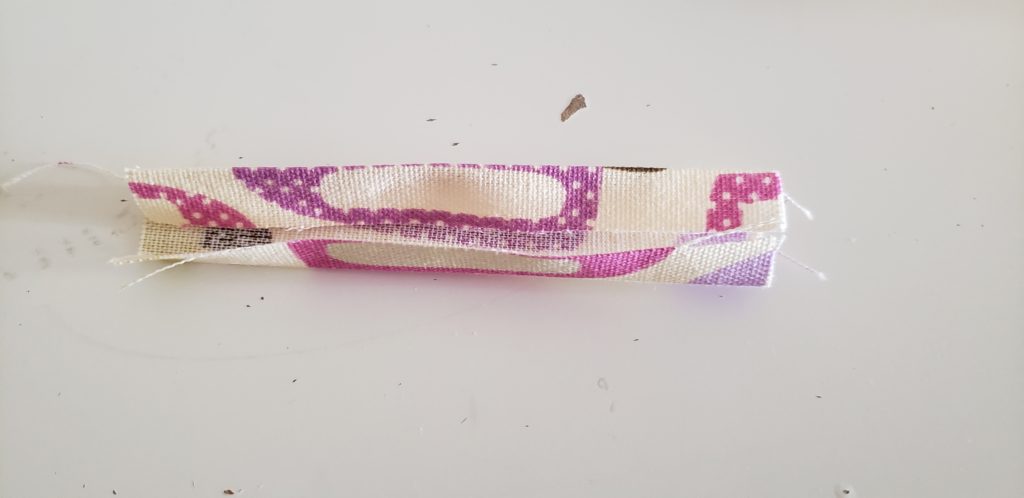
sew down both sides to create a little strap.
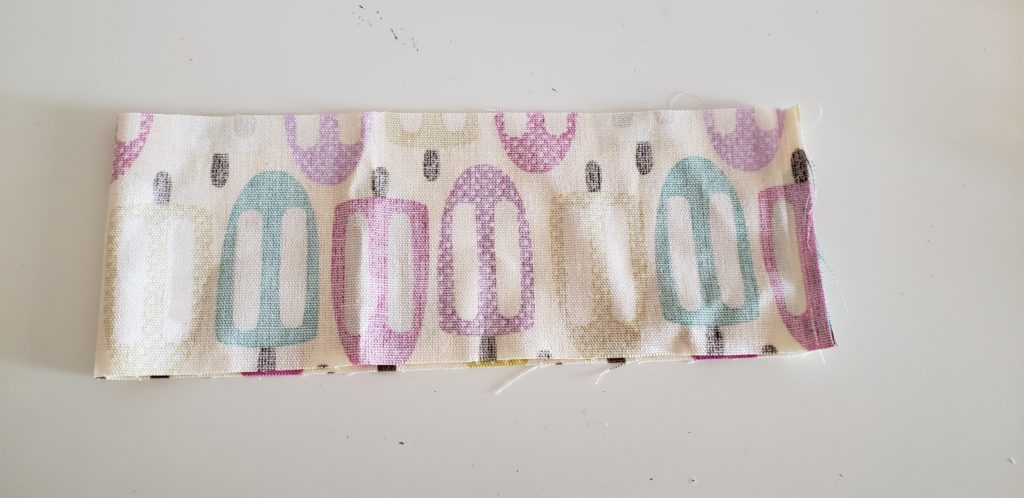
Step 1 – Fold retangle in half with the right sides together, sew down the short side to create a loop of fabric.
Step 2 – open up zipper all the way. place the stopper end with the zipper pull with the zipper pull down on the circle fabric, place the seam of the loop of fabric ontop
sandwich the zipper with the fabric. have the zipper sticking out as shown and pin so the teeth of the zipper are close together.
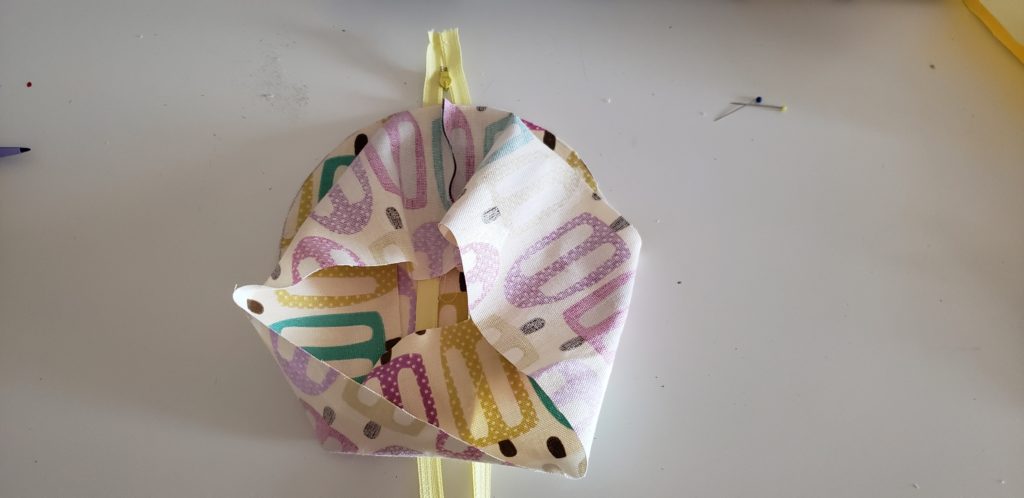
split the zipper so that each side lines up with the edge of the fabrics, being pinning each half of the zipper around the circle so they line up with the edge of the fabric
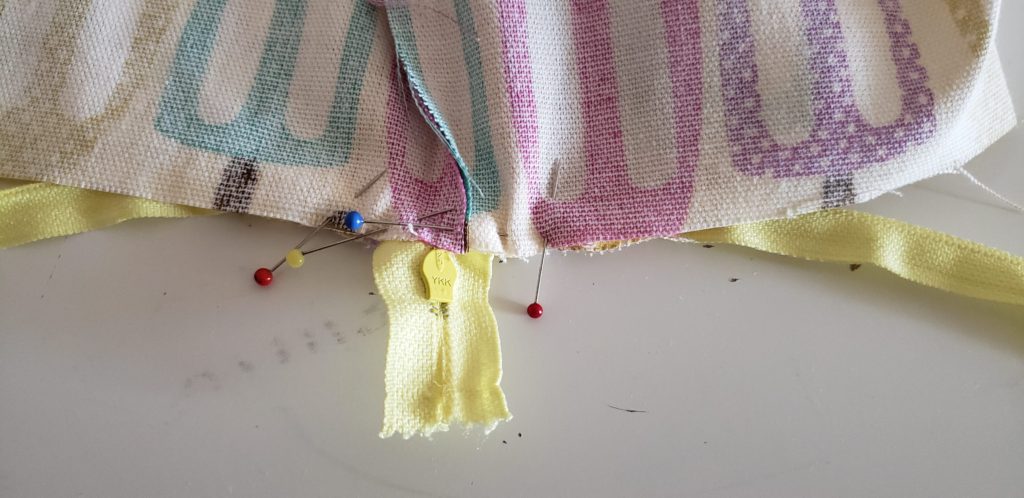
This is a photo of the other side
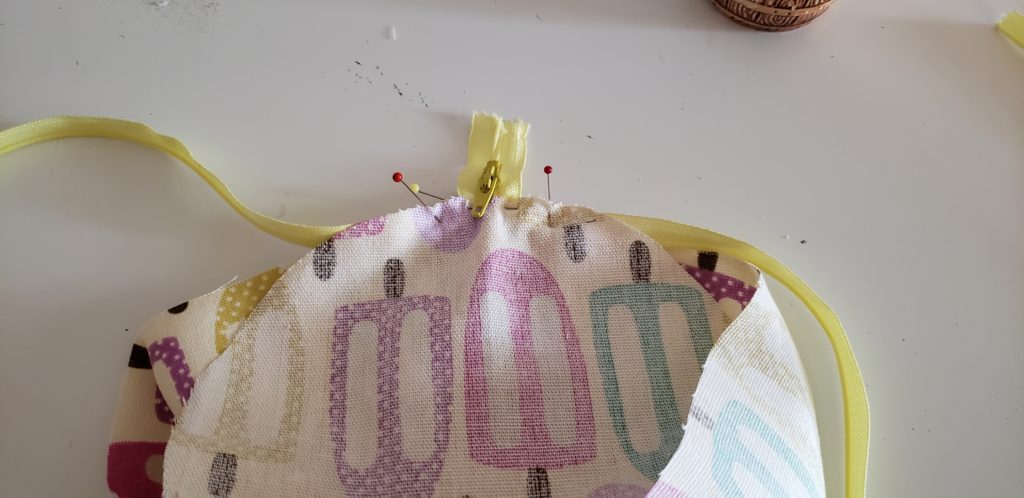
Begin sewing on side of the circle 1/4″ away from the zipper, sew along the zipper lining up the zipper with the edge of the rectangle loop and the circle, top 1/4″ away from the second notch created on the opposite side of the circle, do the same thing with the other half of the zipper till you reach the other side leaving it 1/4″ away from the half way notch
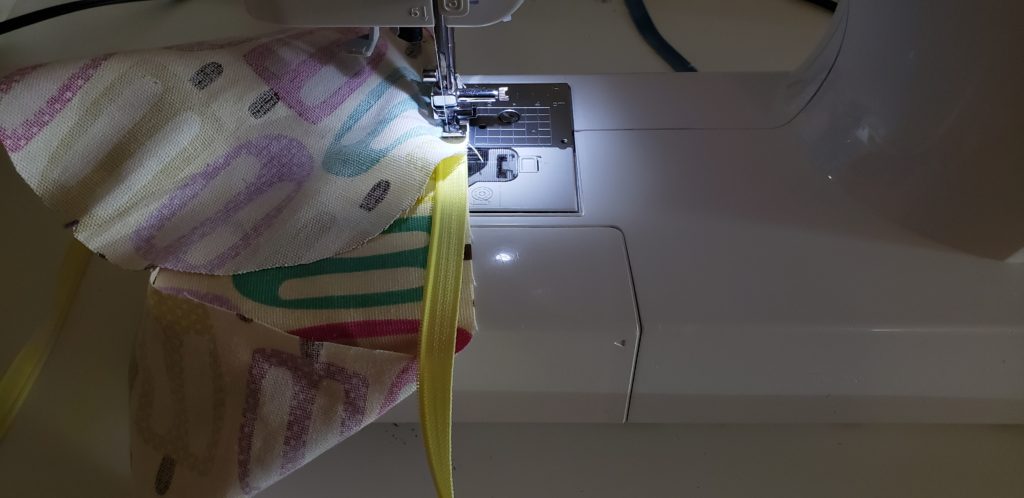
Note the little notch and where i stopped sewing.
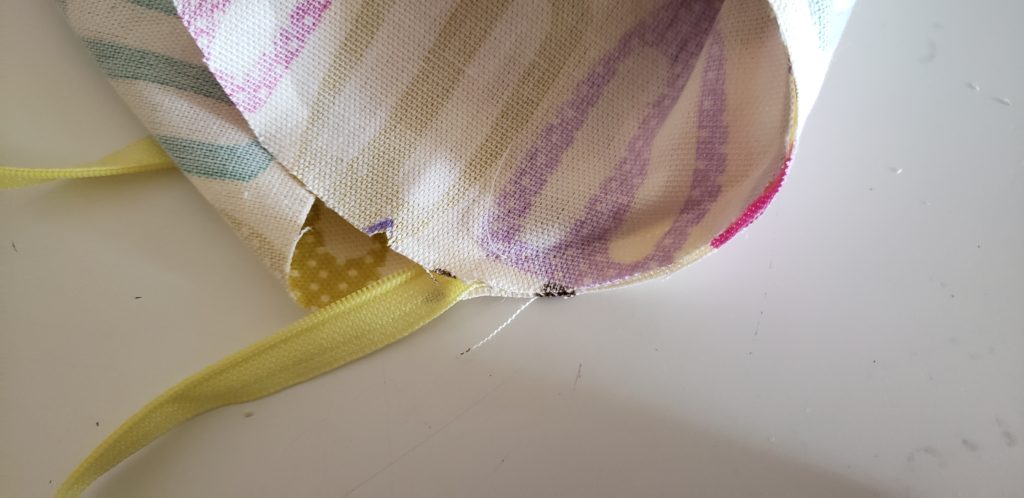
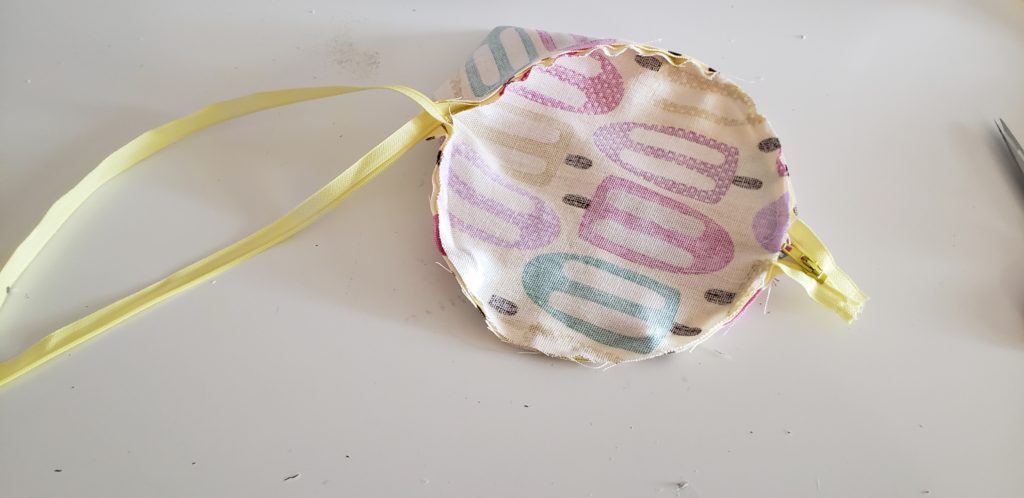
between the ends of the zipper place your little strap fabric to add a loop to your project, take a 2″ piece and fold in half, slip inbetween the zipper with the raw ends sticking out.
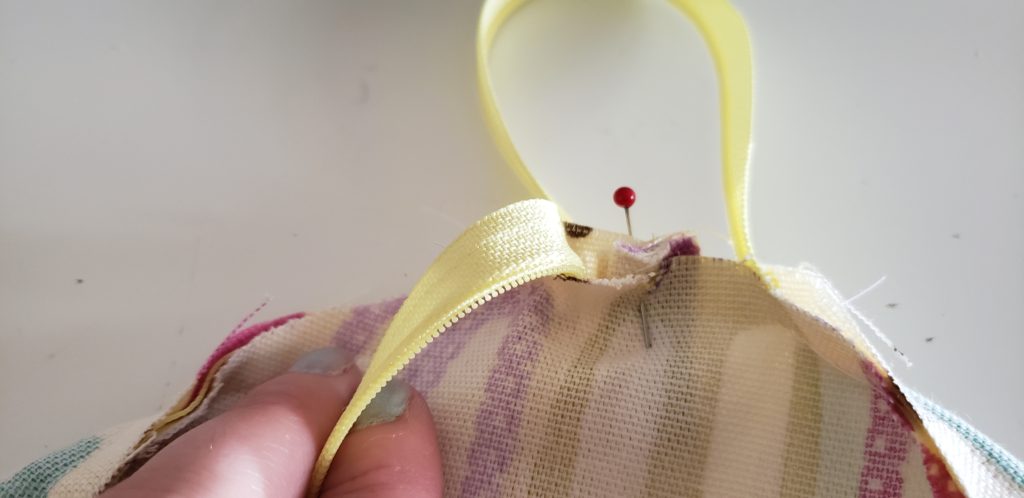
bring the zippers close to that little strap and then sew up that hole completely
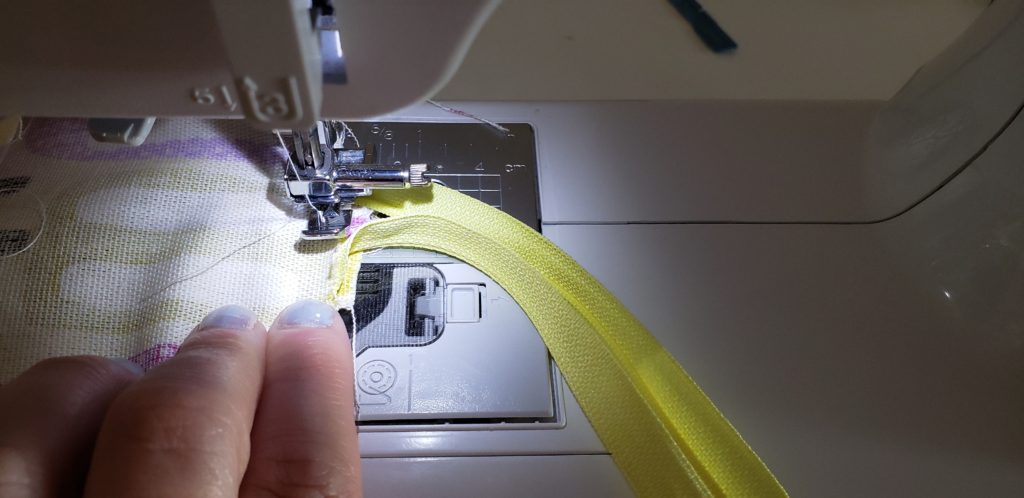
snip off the excess zipper
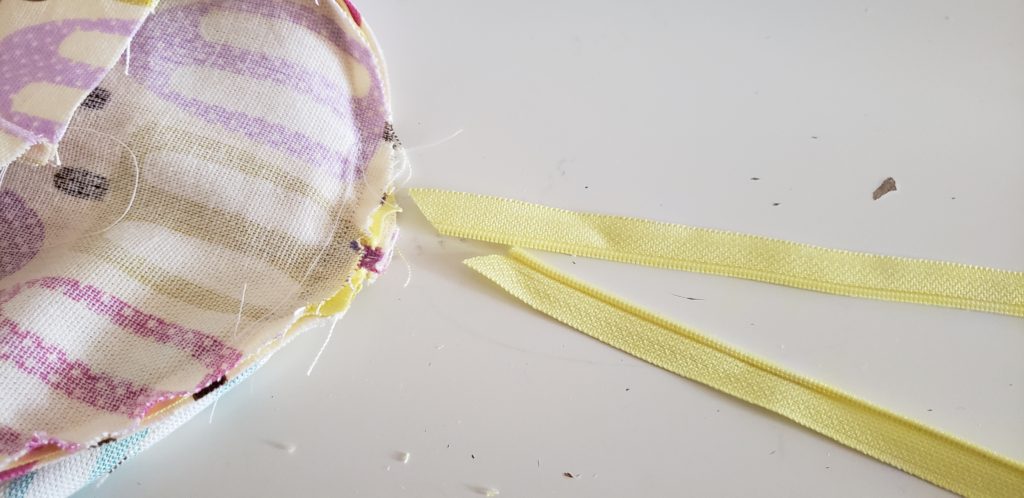
this is how it will look on the other side
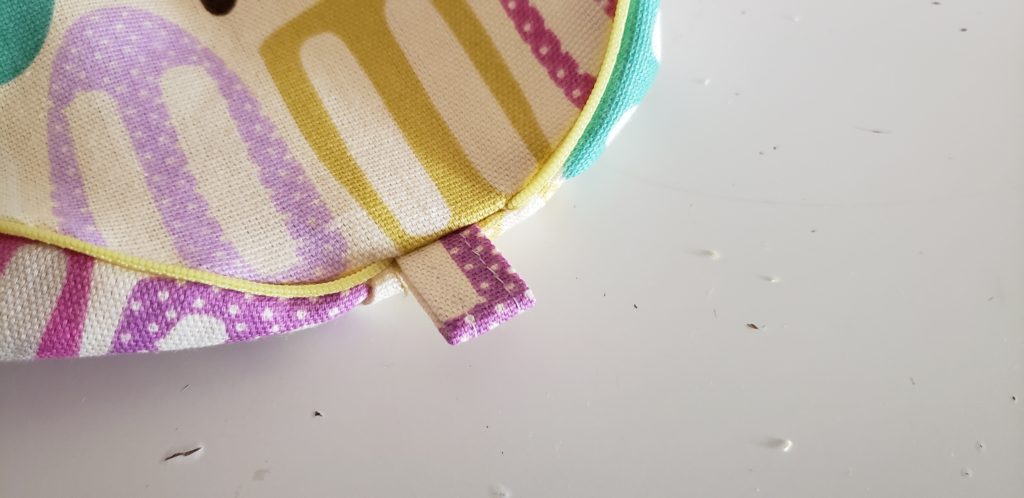
now top stitch around the edge of the zipper to flatten the fabric around the edge
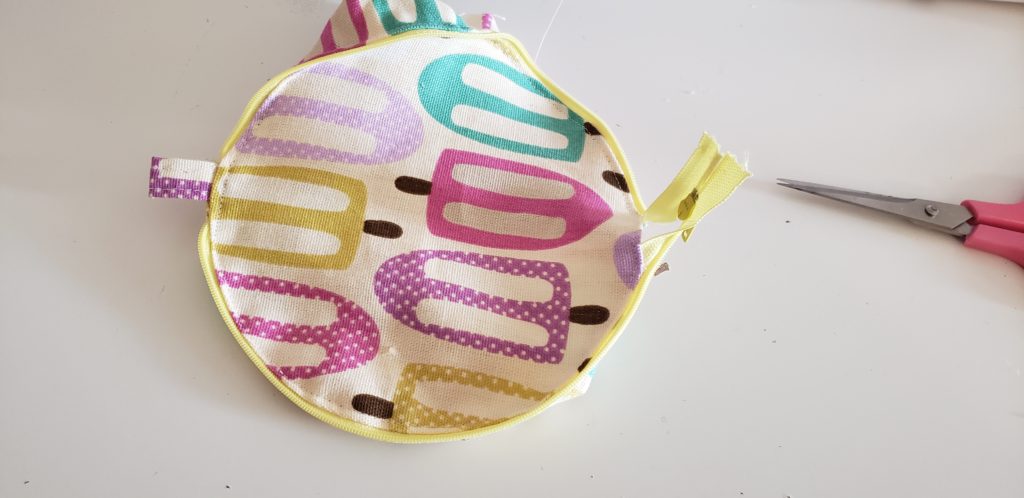
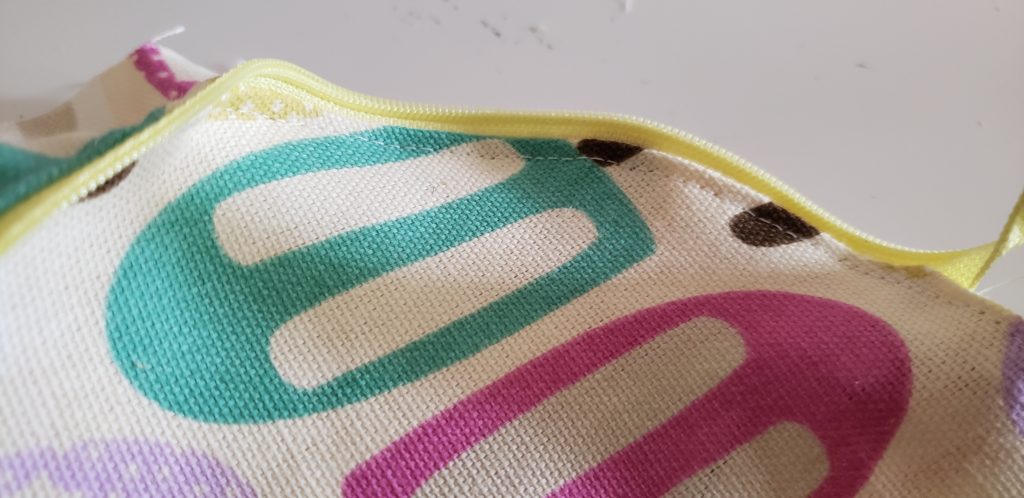
now take your PUL waterproof circle and make at the quarter points. we will be sewing this inside out and flipping it.
Mark the corner points of the sides of the bowl
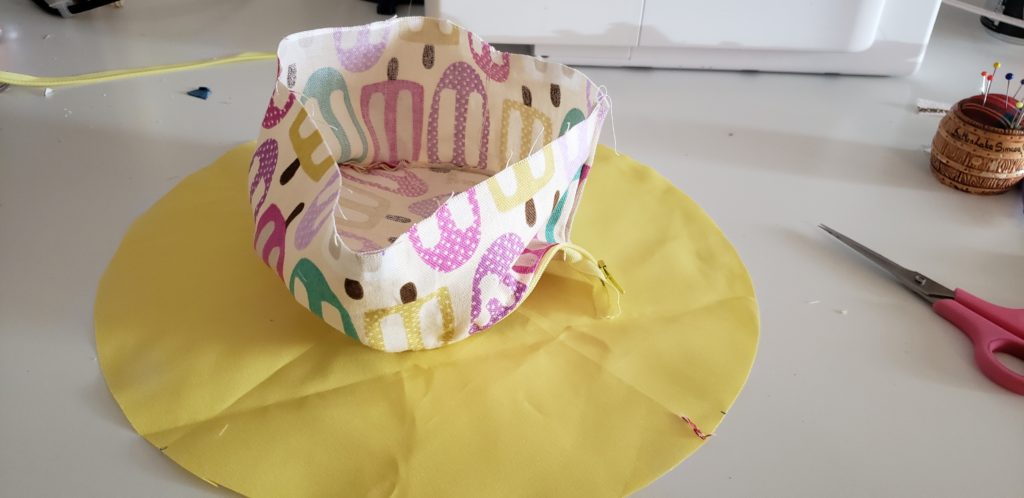
line up the quarter points of the bowl with the circle and clip into place
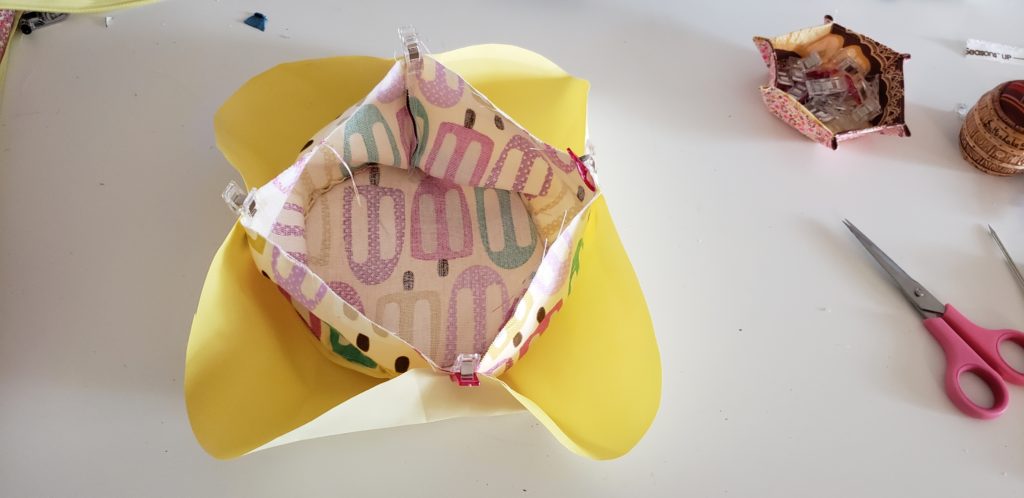
now we will pleat the fabric until it fits around the edge of the bowl, i did about 2 or 3 pleats between each quarter point to keep it nice and even
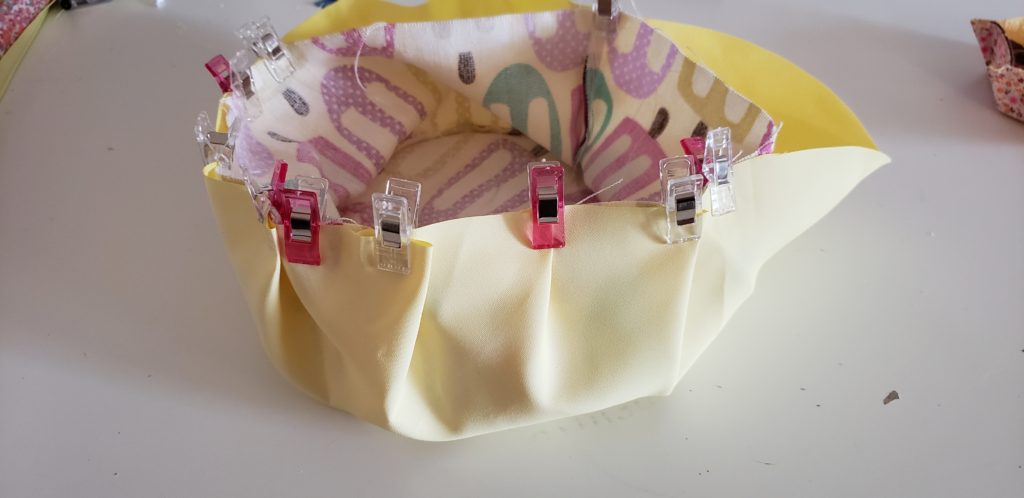
make sure its all nice and even, we will sew all the way around the edge of the bowl and leave a 2″ gap somewhere for turning.
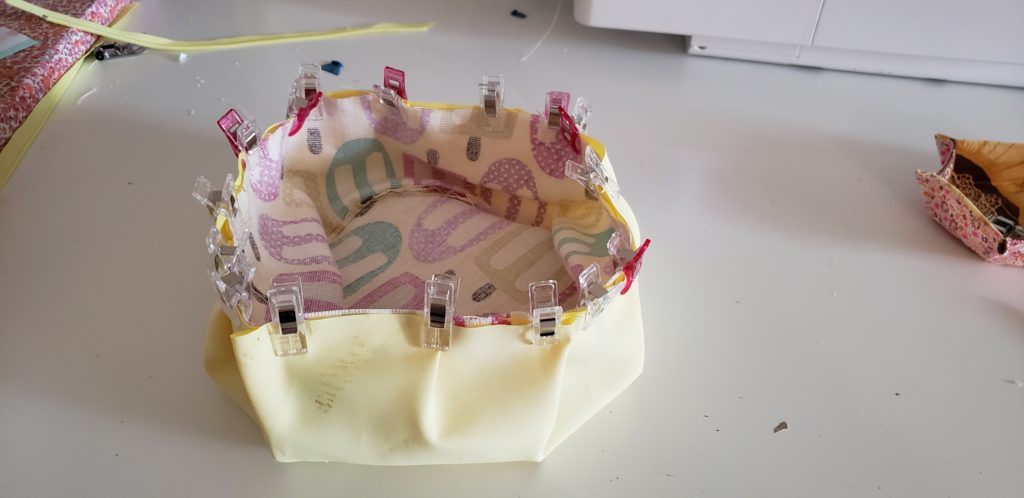
sew around with a quarter inch seam allowance.
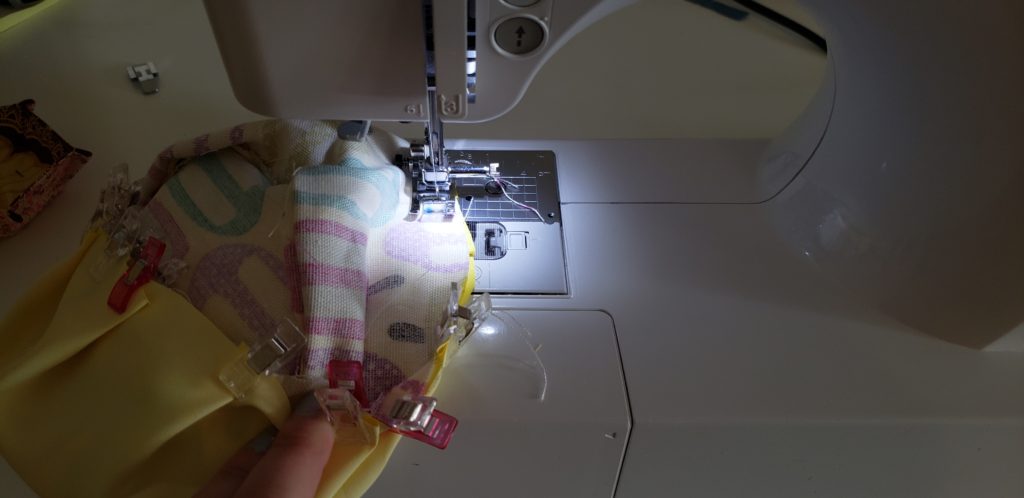
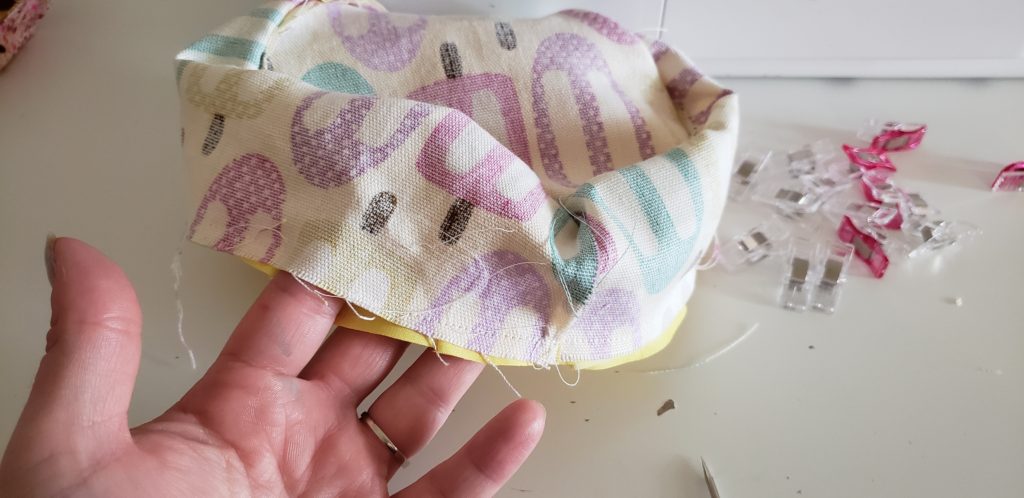
flip right side out.
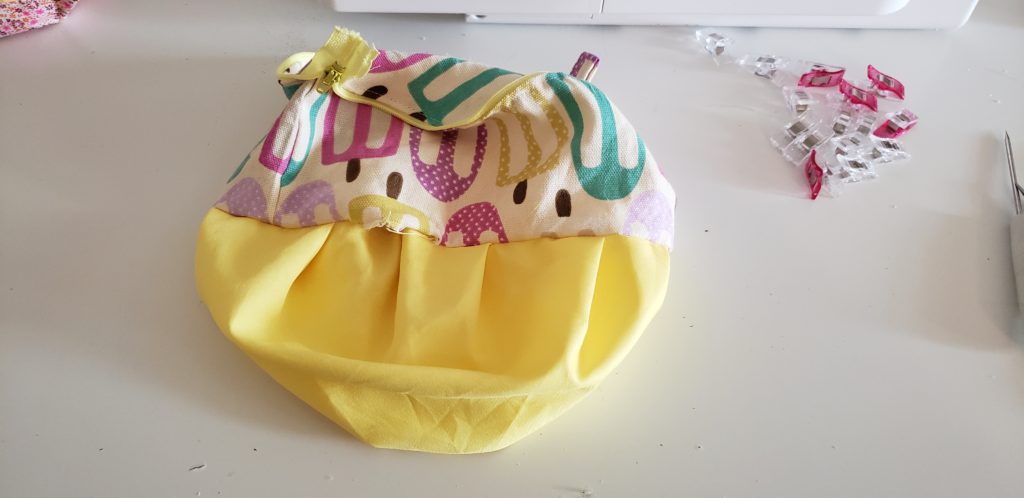
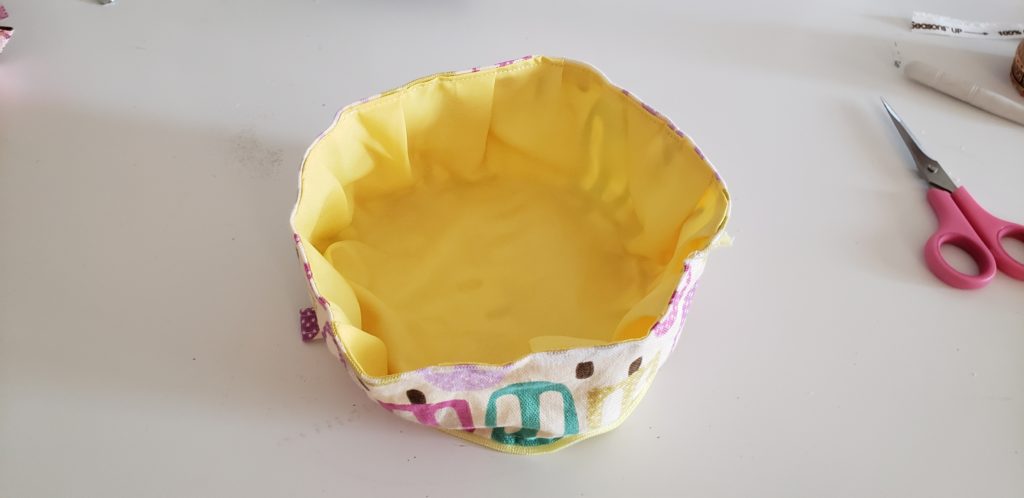
push the lining into the bowl and top stitch around the top of the bowl closing up the hole.
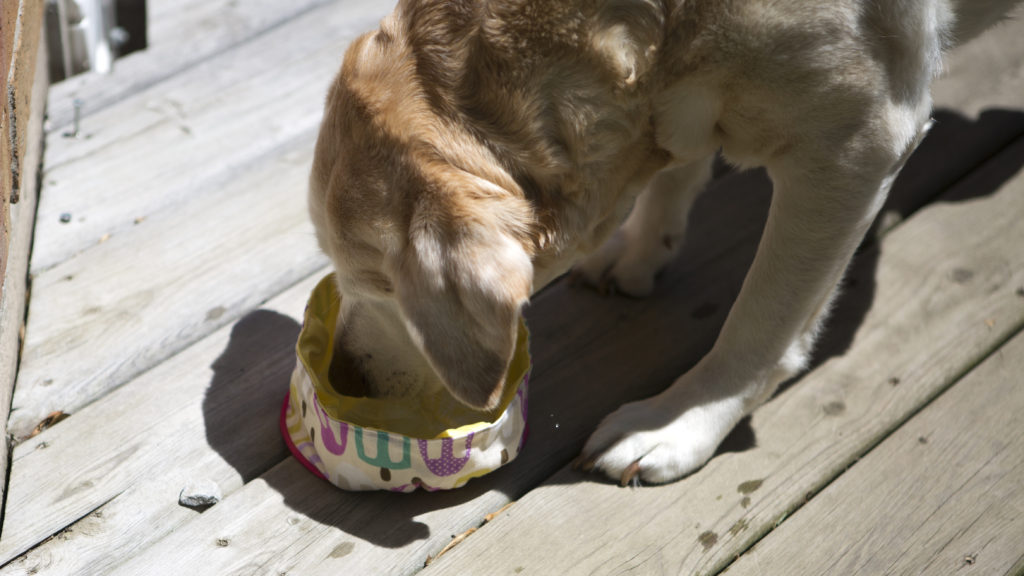
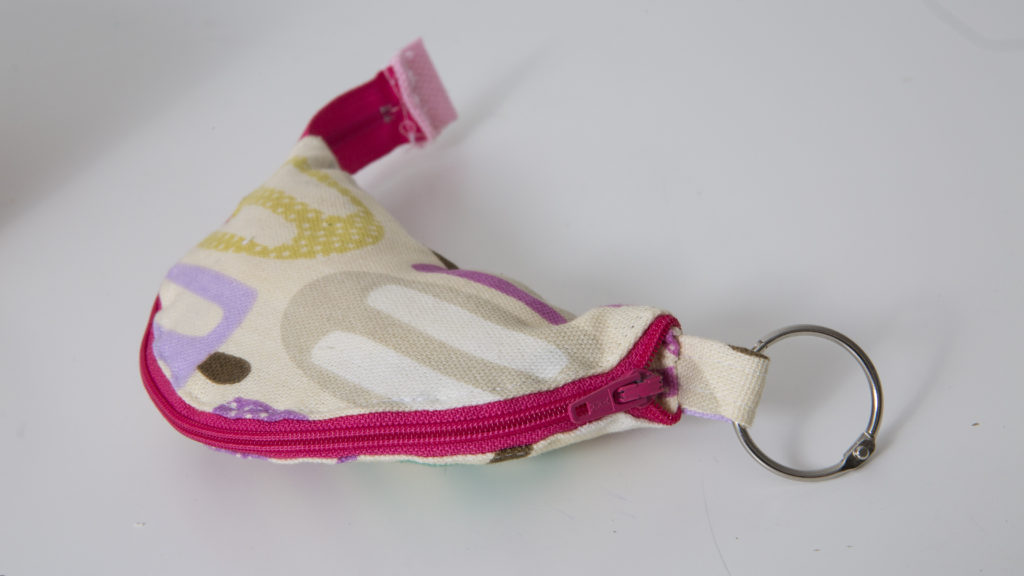
optional cover up the end of your zipper with a tab piece, put a slip ring onto the loop for easy taking on and off and your ready to go!
some links are affiliate links


0 Comments