[wpedon id=”24976″ align=”center”]
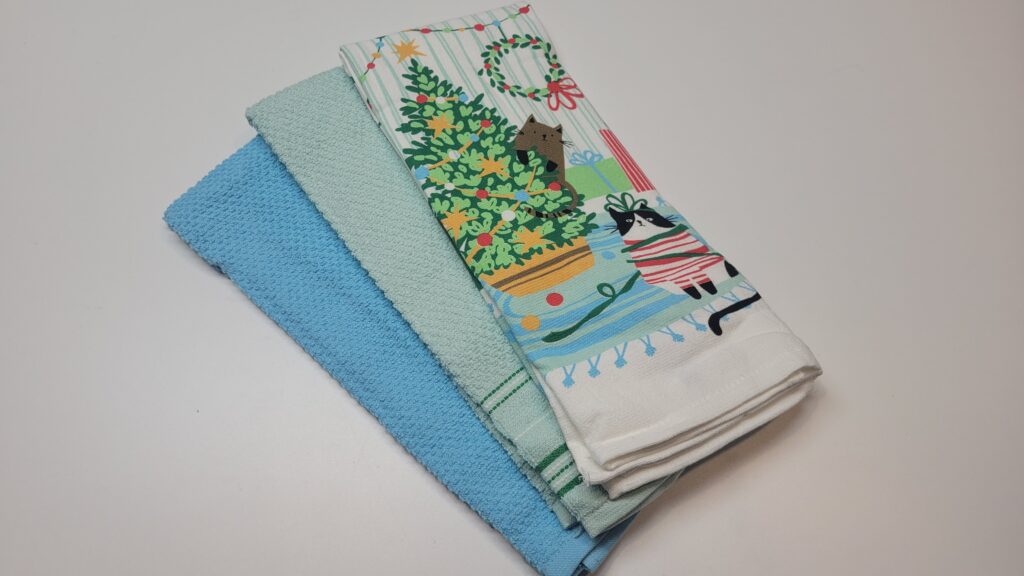
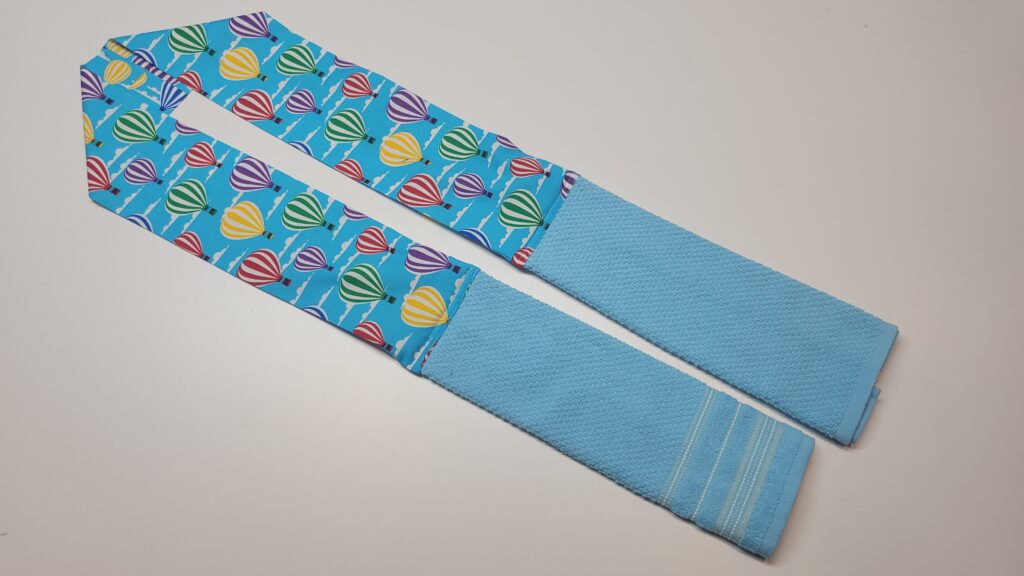
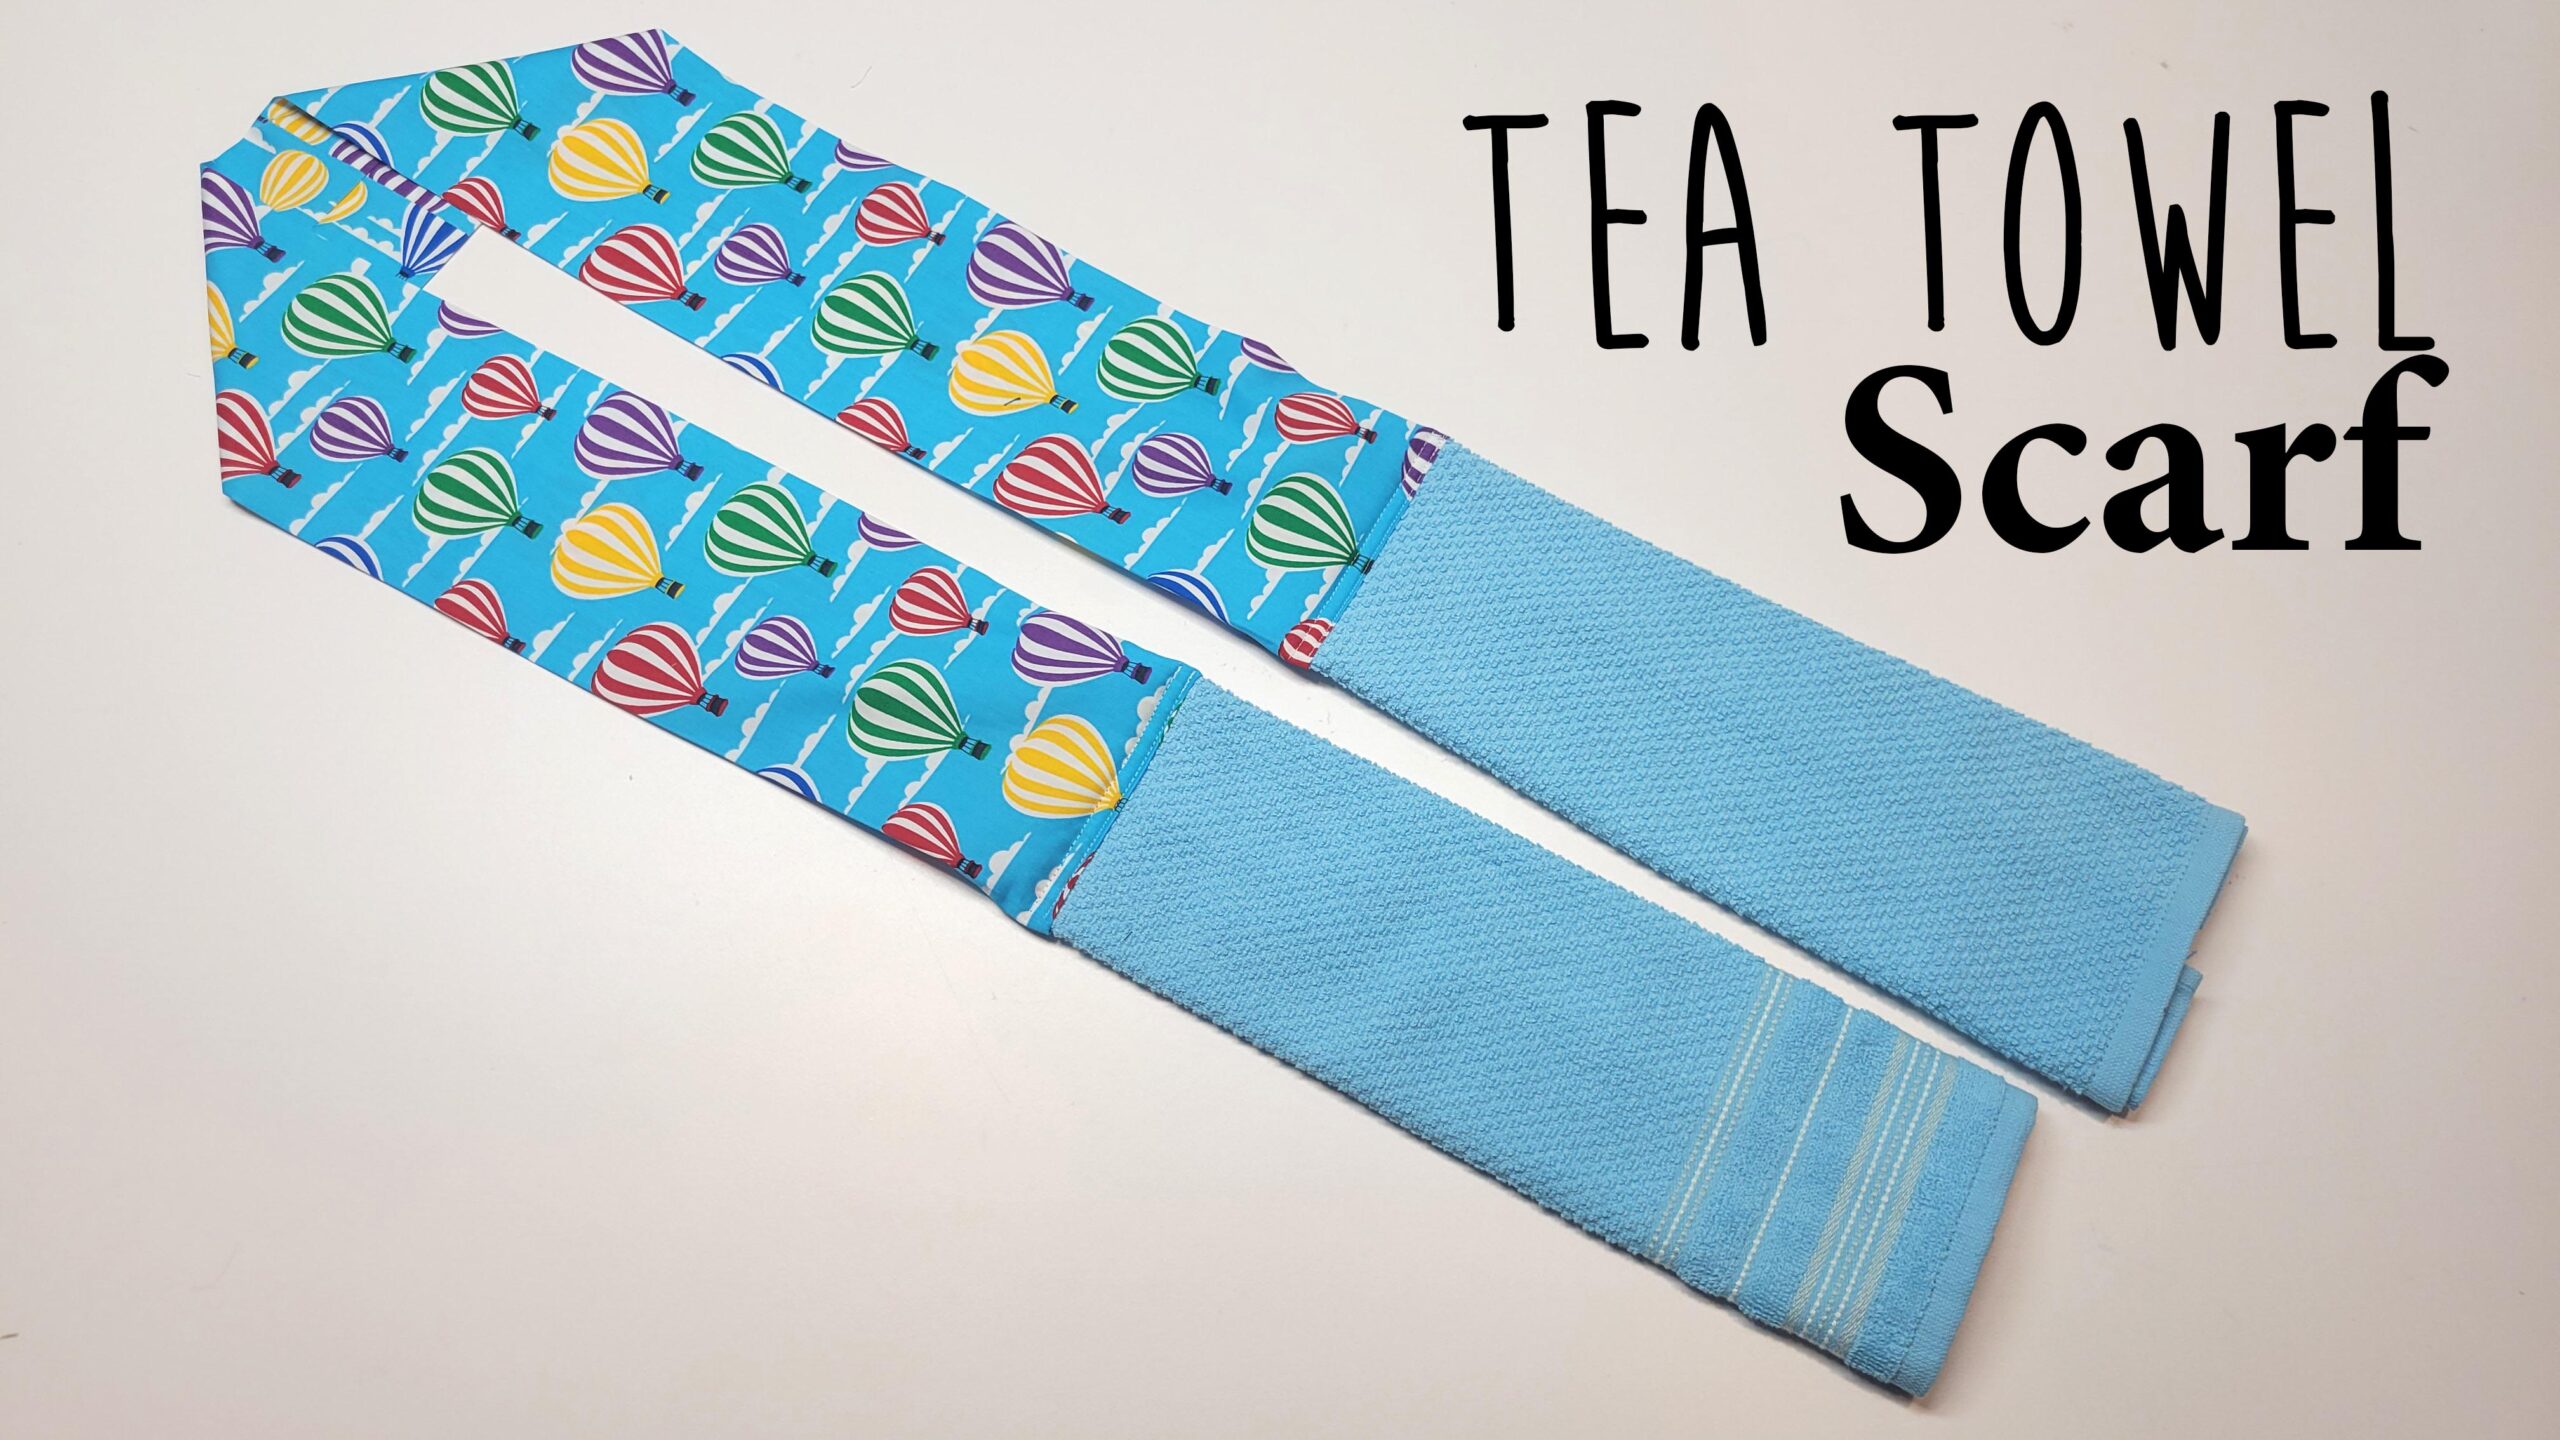
Tea towel Scarf or Tea towel boa is a fun tea towel designed to wrap around your neck like a scarf or shawl and hang off your body for easy access.
This simple easy project is a great gift idea.
I grabbed some super cute Tea towels from Costco that measure 17″ x 28″ this is a standard size and the measurements below will relate to this size tea towel, to learn how to create your own measurements refer to the video tutorial.
Support Charmed By Ashley!
Supplies
- Tea Towel
- Cotton fabric ( approx 1/2 yard of fabric)
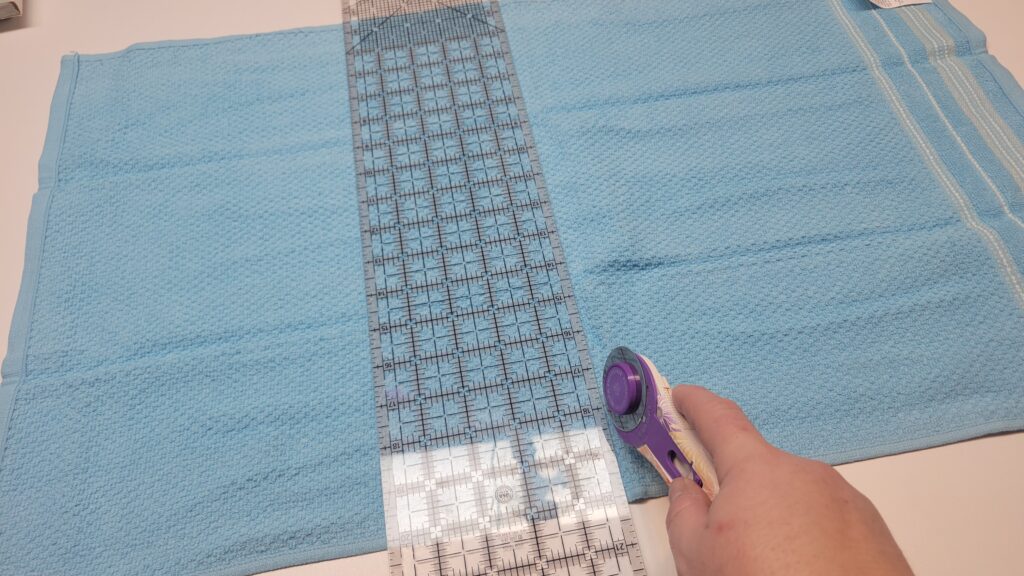
Step 1 – Cut tea towel in half
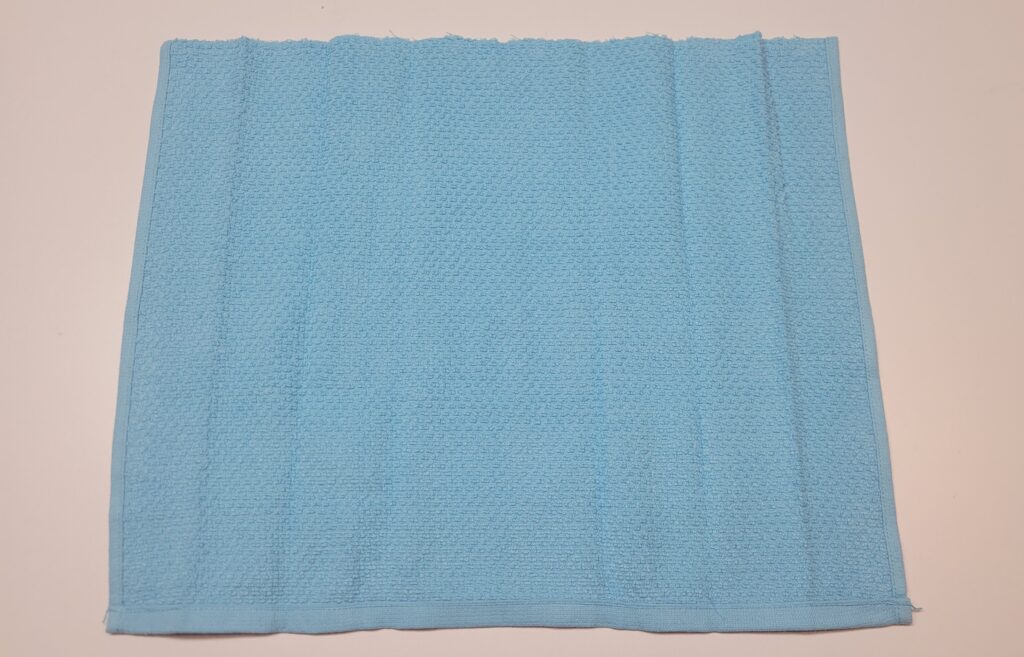
Step 2 – Now we will fold each piece of fabric, find the centre of the cut side. Fold the finished sides in to the centre mark.
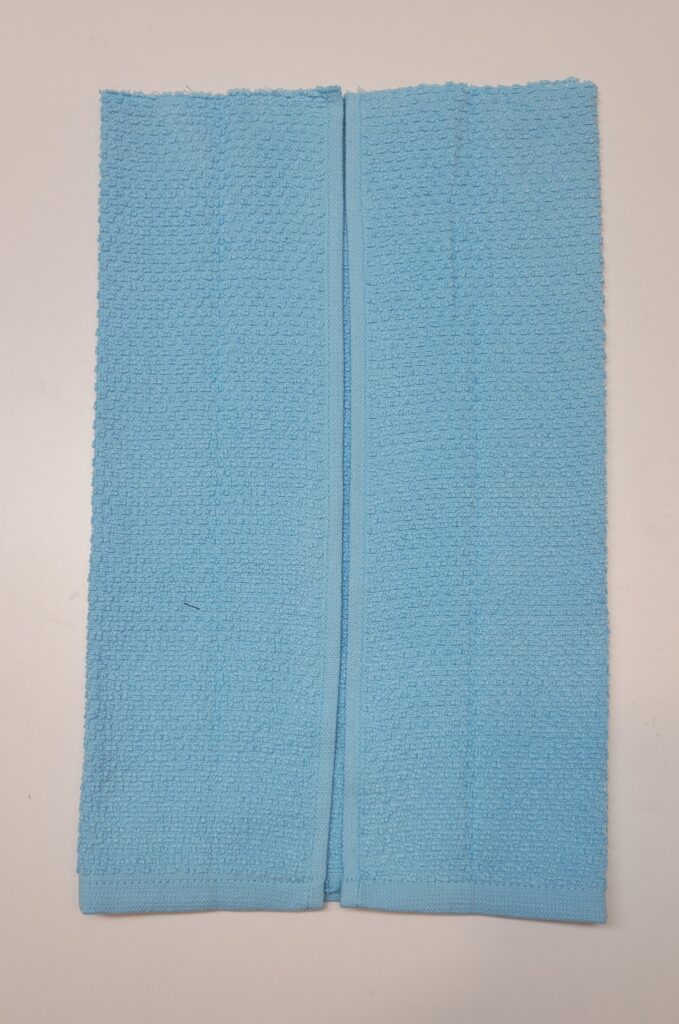
Step 3 – fold the finished sides open half way to line up with the side fold.
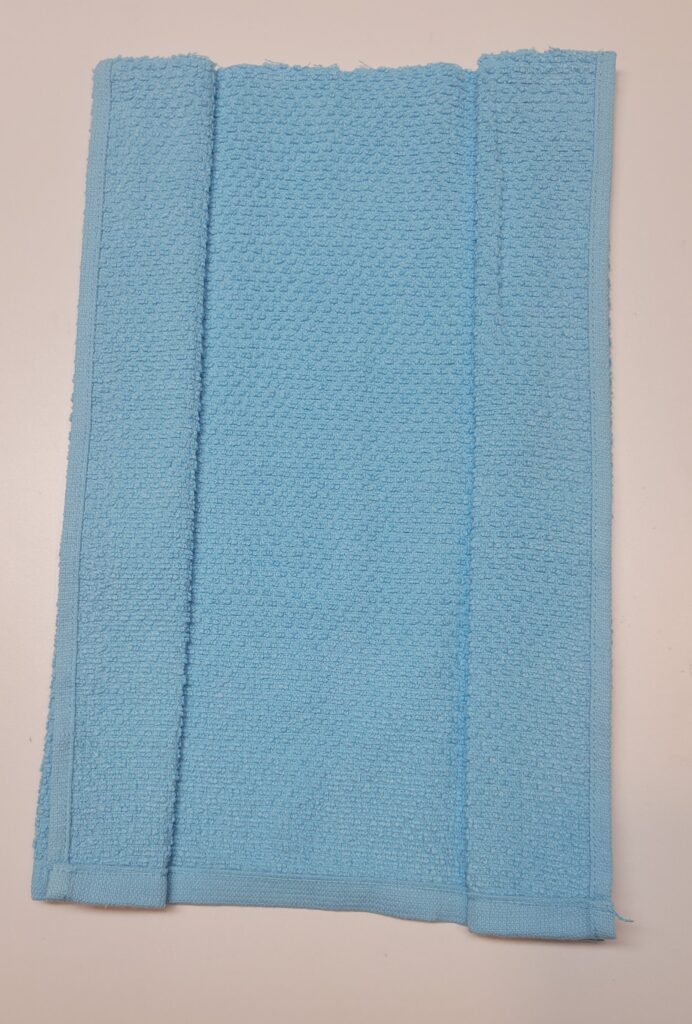
Step 4 – Fold the folds back towards the centre so they meet in the centre and line up with the mark.
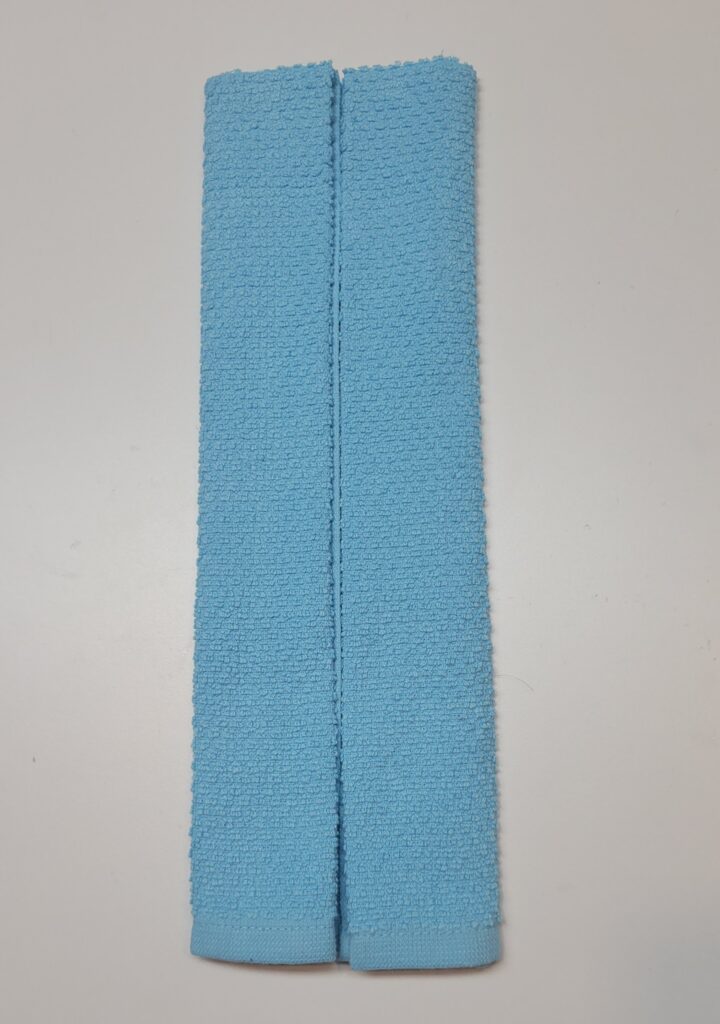
Step 5 – I placed clips at the top to secure the folds (you can also do a baste stitch across the top)
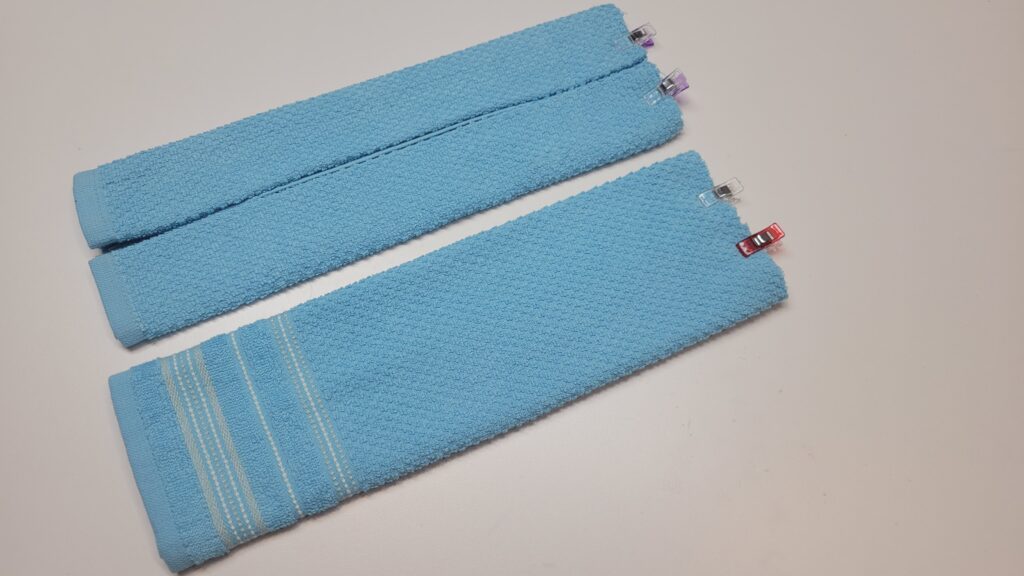
Repeat the fold onto the second piece of the tea towel.
Step 6 – Prepare the cotton fabric, I measured the width of the folded tea towels, the tea towels measure 4.5″ wide. To find the width of the cotton fabric multiply this measurement by 2 and then add 1″ for a 1/2″ seam allowance
Cut your fabric – 10″ x (42″ – 44″) if using a standard piece of fabric cut your fabric from salvage to salvage.
Because i’m using a directional fabric i am not able to cut from salvage to salvage as my print wont go in the direction i would like for my finished scarf, I then cut the fabric length ways 10″ x 44″ and because its directional i cut the fabric in half so i can flip the fabric so i can make sure the direction is the right way when drapped on the body.
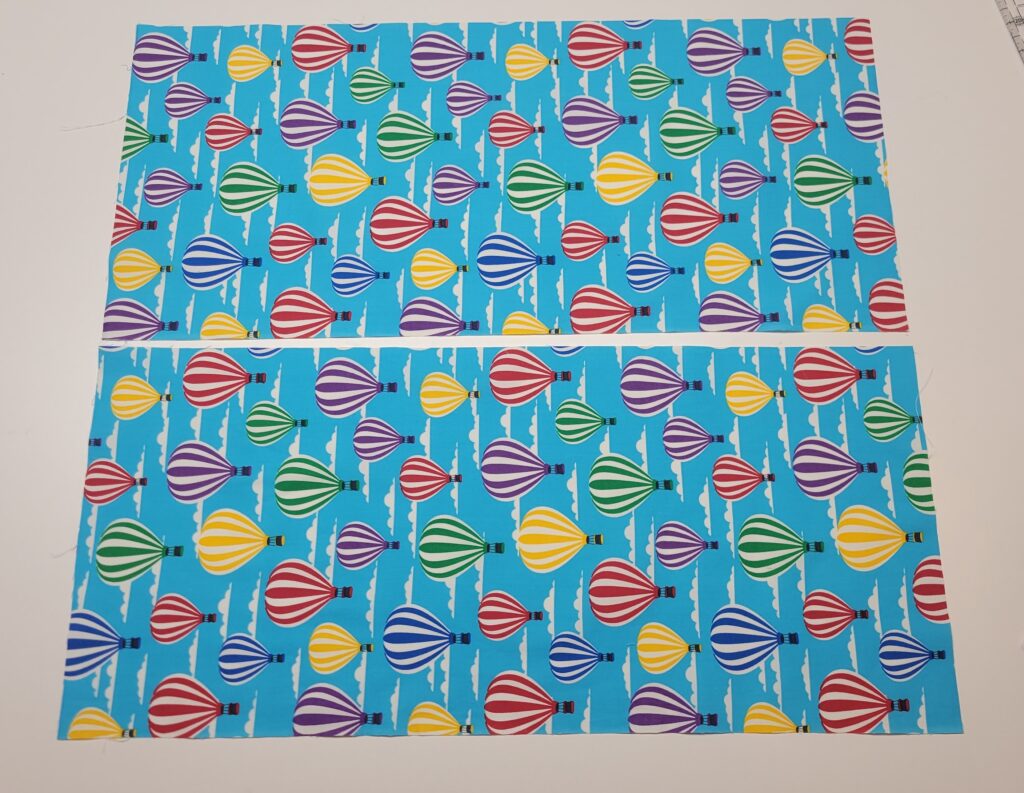
Place the fabric right sides together with the print going in the same direction.
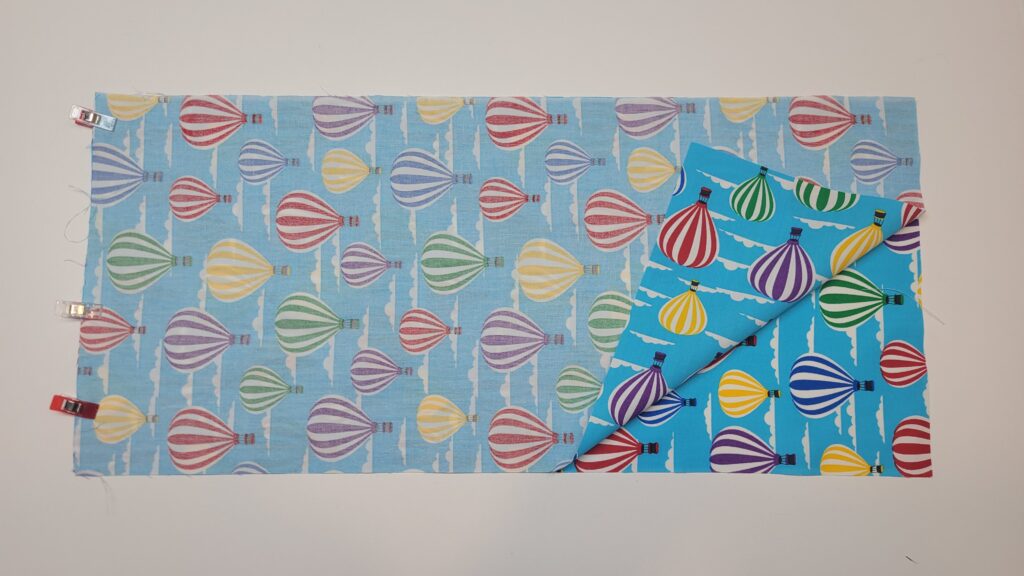
step 7 – sew a 1/4″ seam allowance at the top of the print.
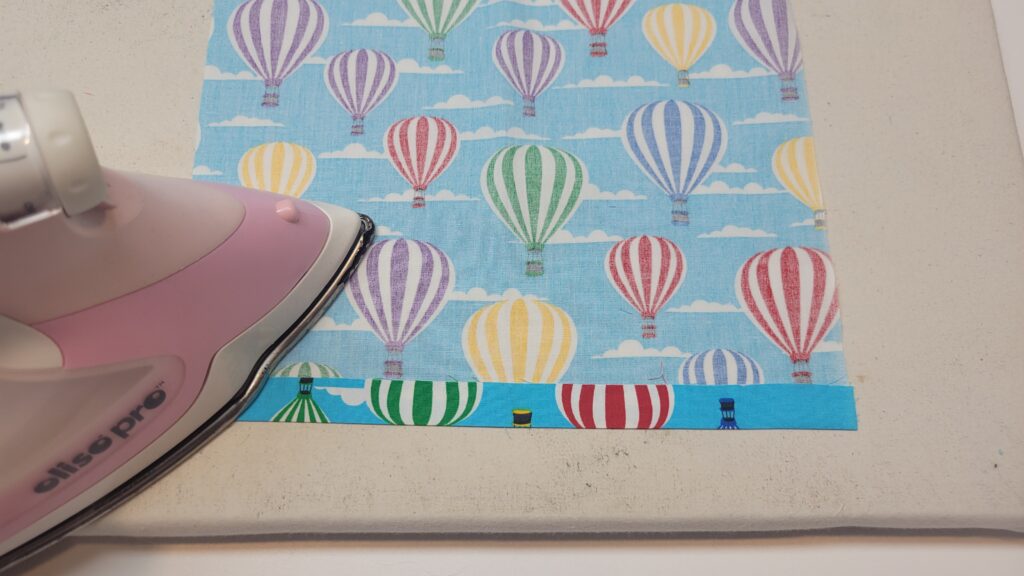
Step 8 – Now we will hem the end of each the scarf, fold up 1/2″ and press. Do this for both ends.
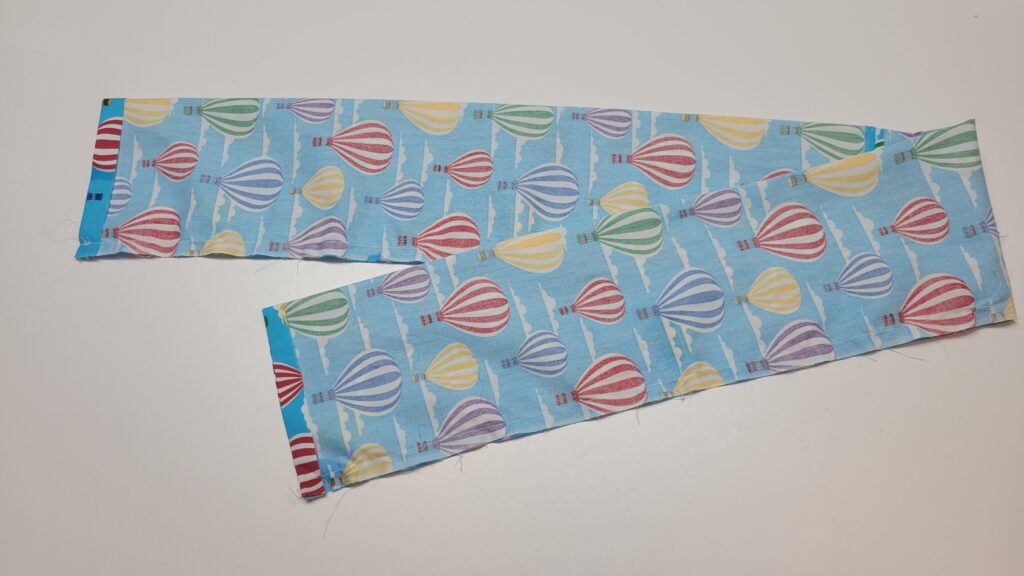
Step 9 – Fold the fabric right sides together lengthwise. we will then sew down the long side with a 1/2″ seam allowance.
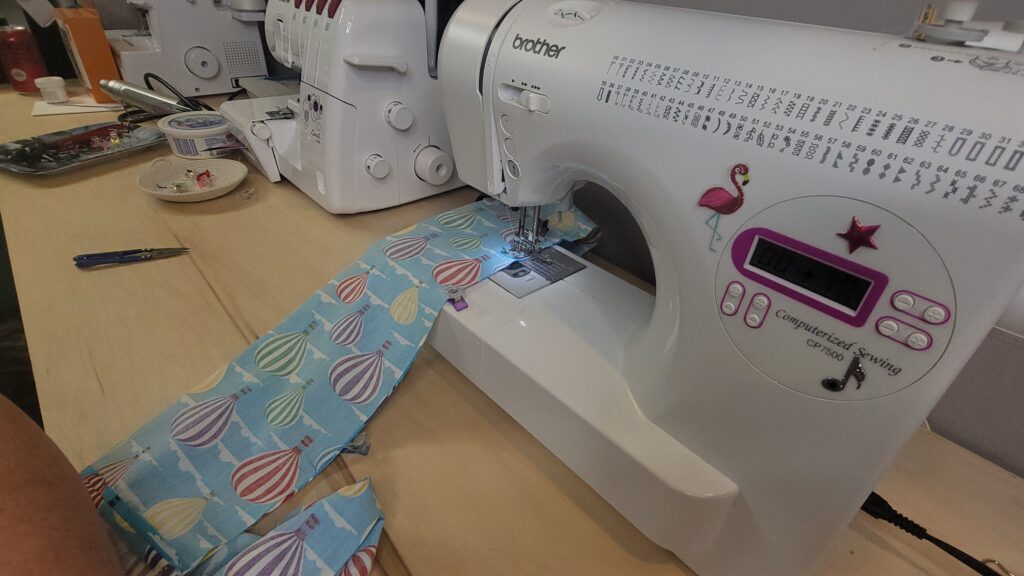
Step 10 – Flip the piece right sides out. we will now press but press with the seam centred on one side of the scarf.
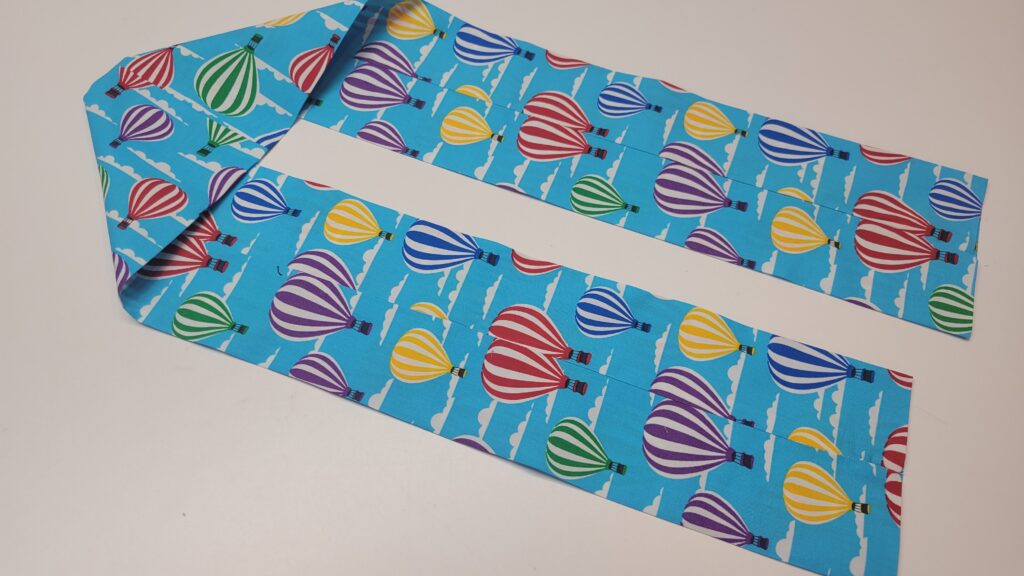
Step 11 – Now take your tea towels and tuck them into each end, i put the towel in about 3/4″ – 1″ inside the cotton fabric and clip on either end. repeat for the other side. *Make sure you put the raw edge inside the cotton fabric)
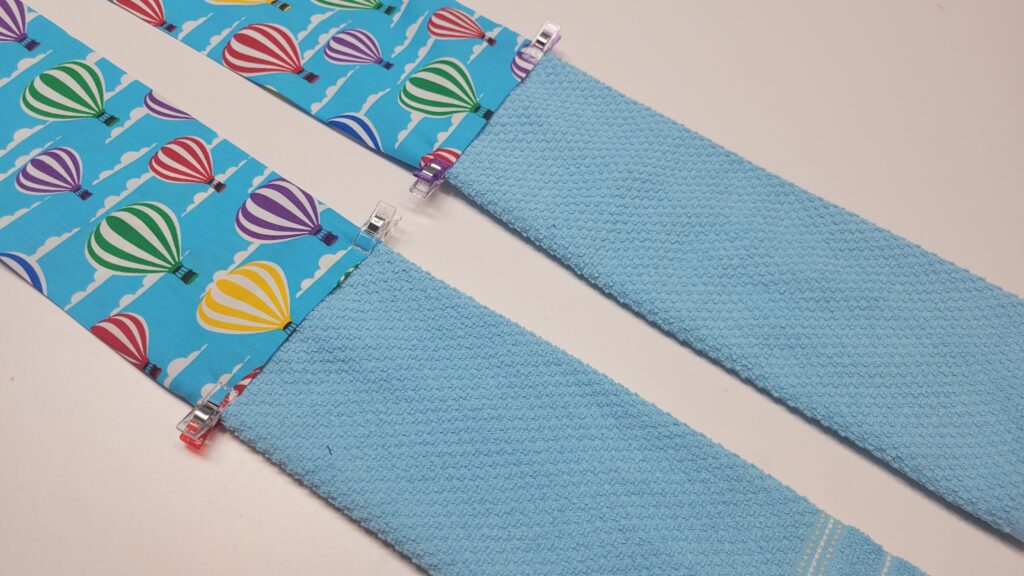
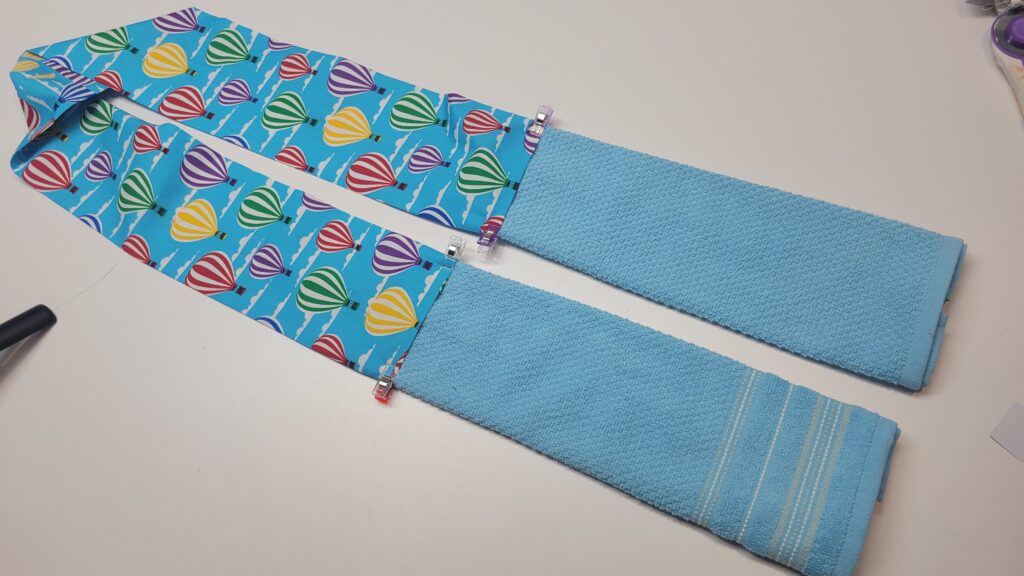
Step 12 – Sew a seam along the edge of the cotton fabric, you can sew a second row of stitches for extra security
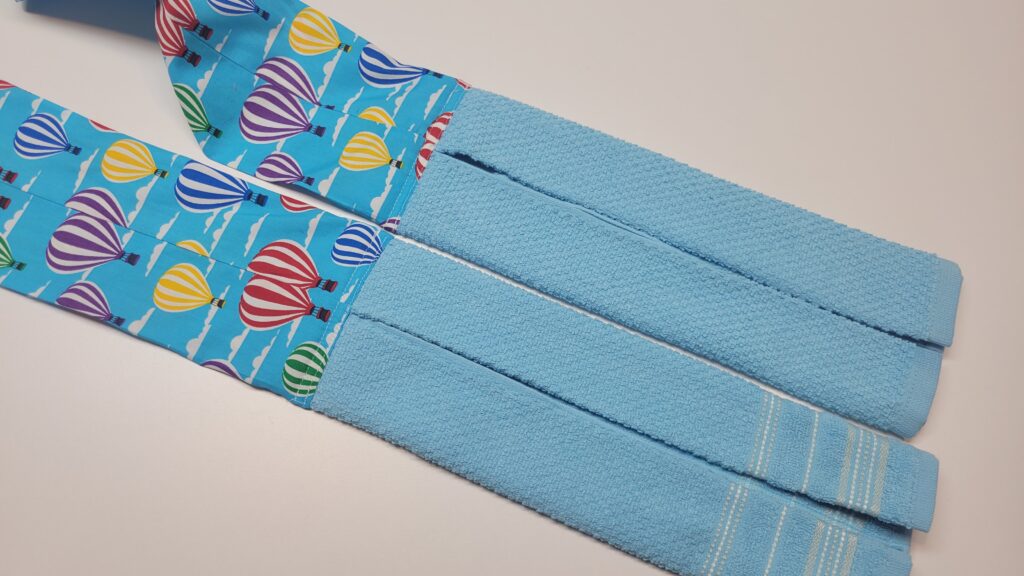
And your done!


0 Comments