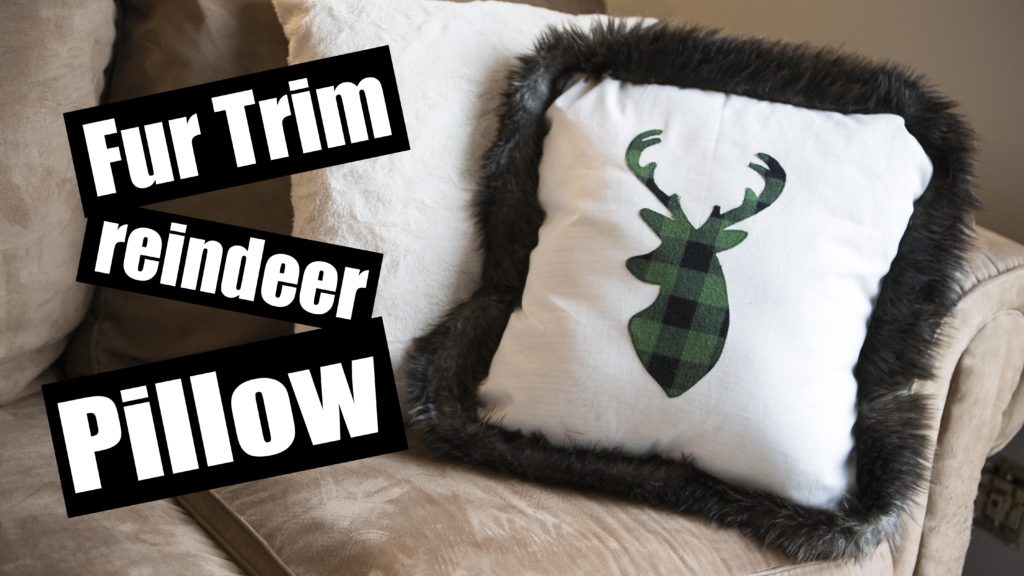
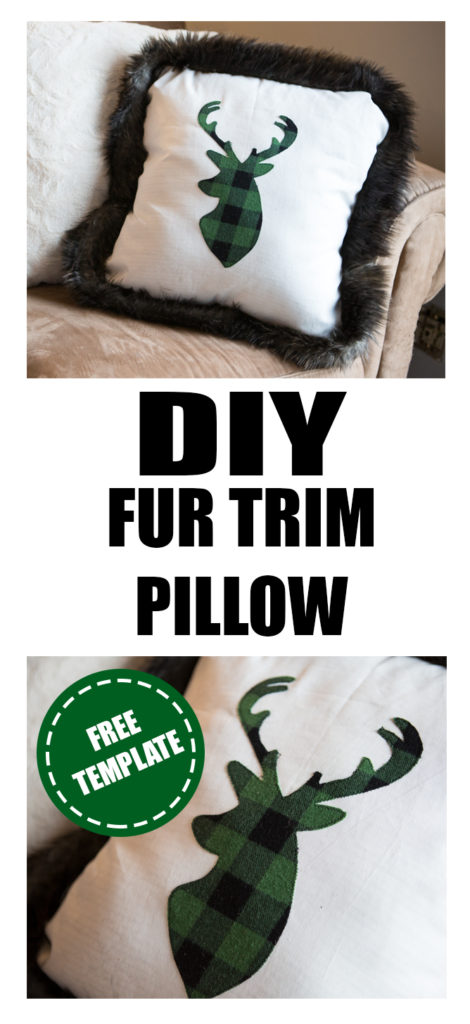
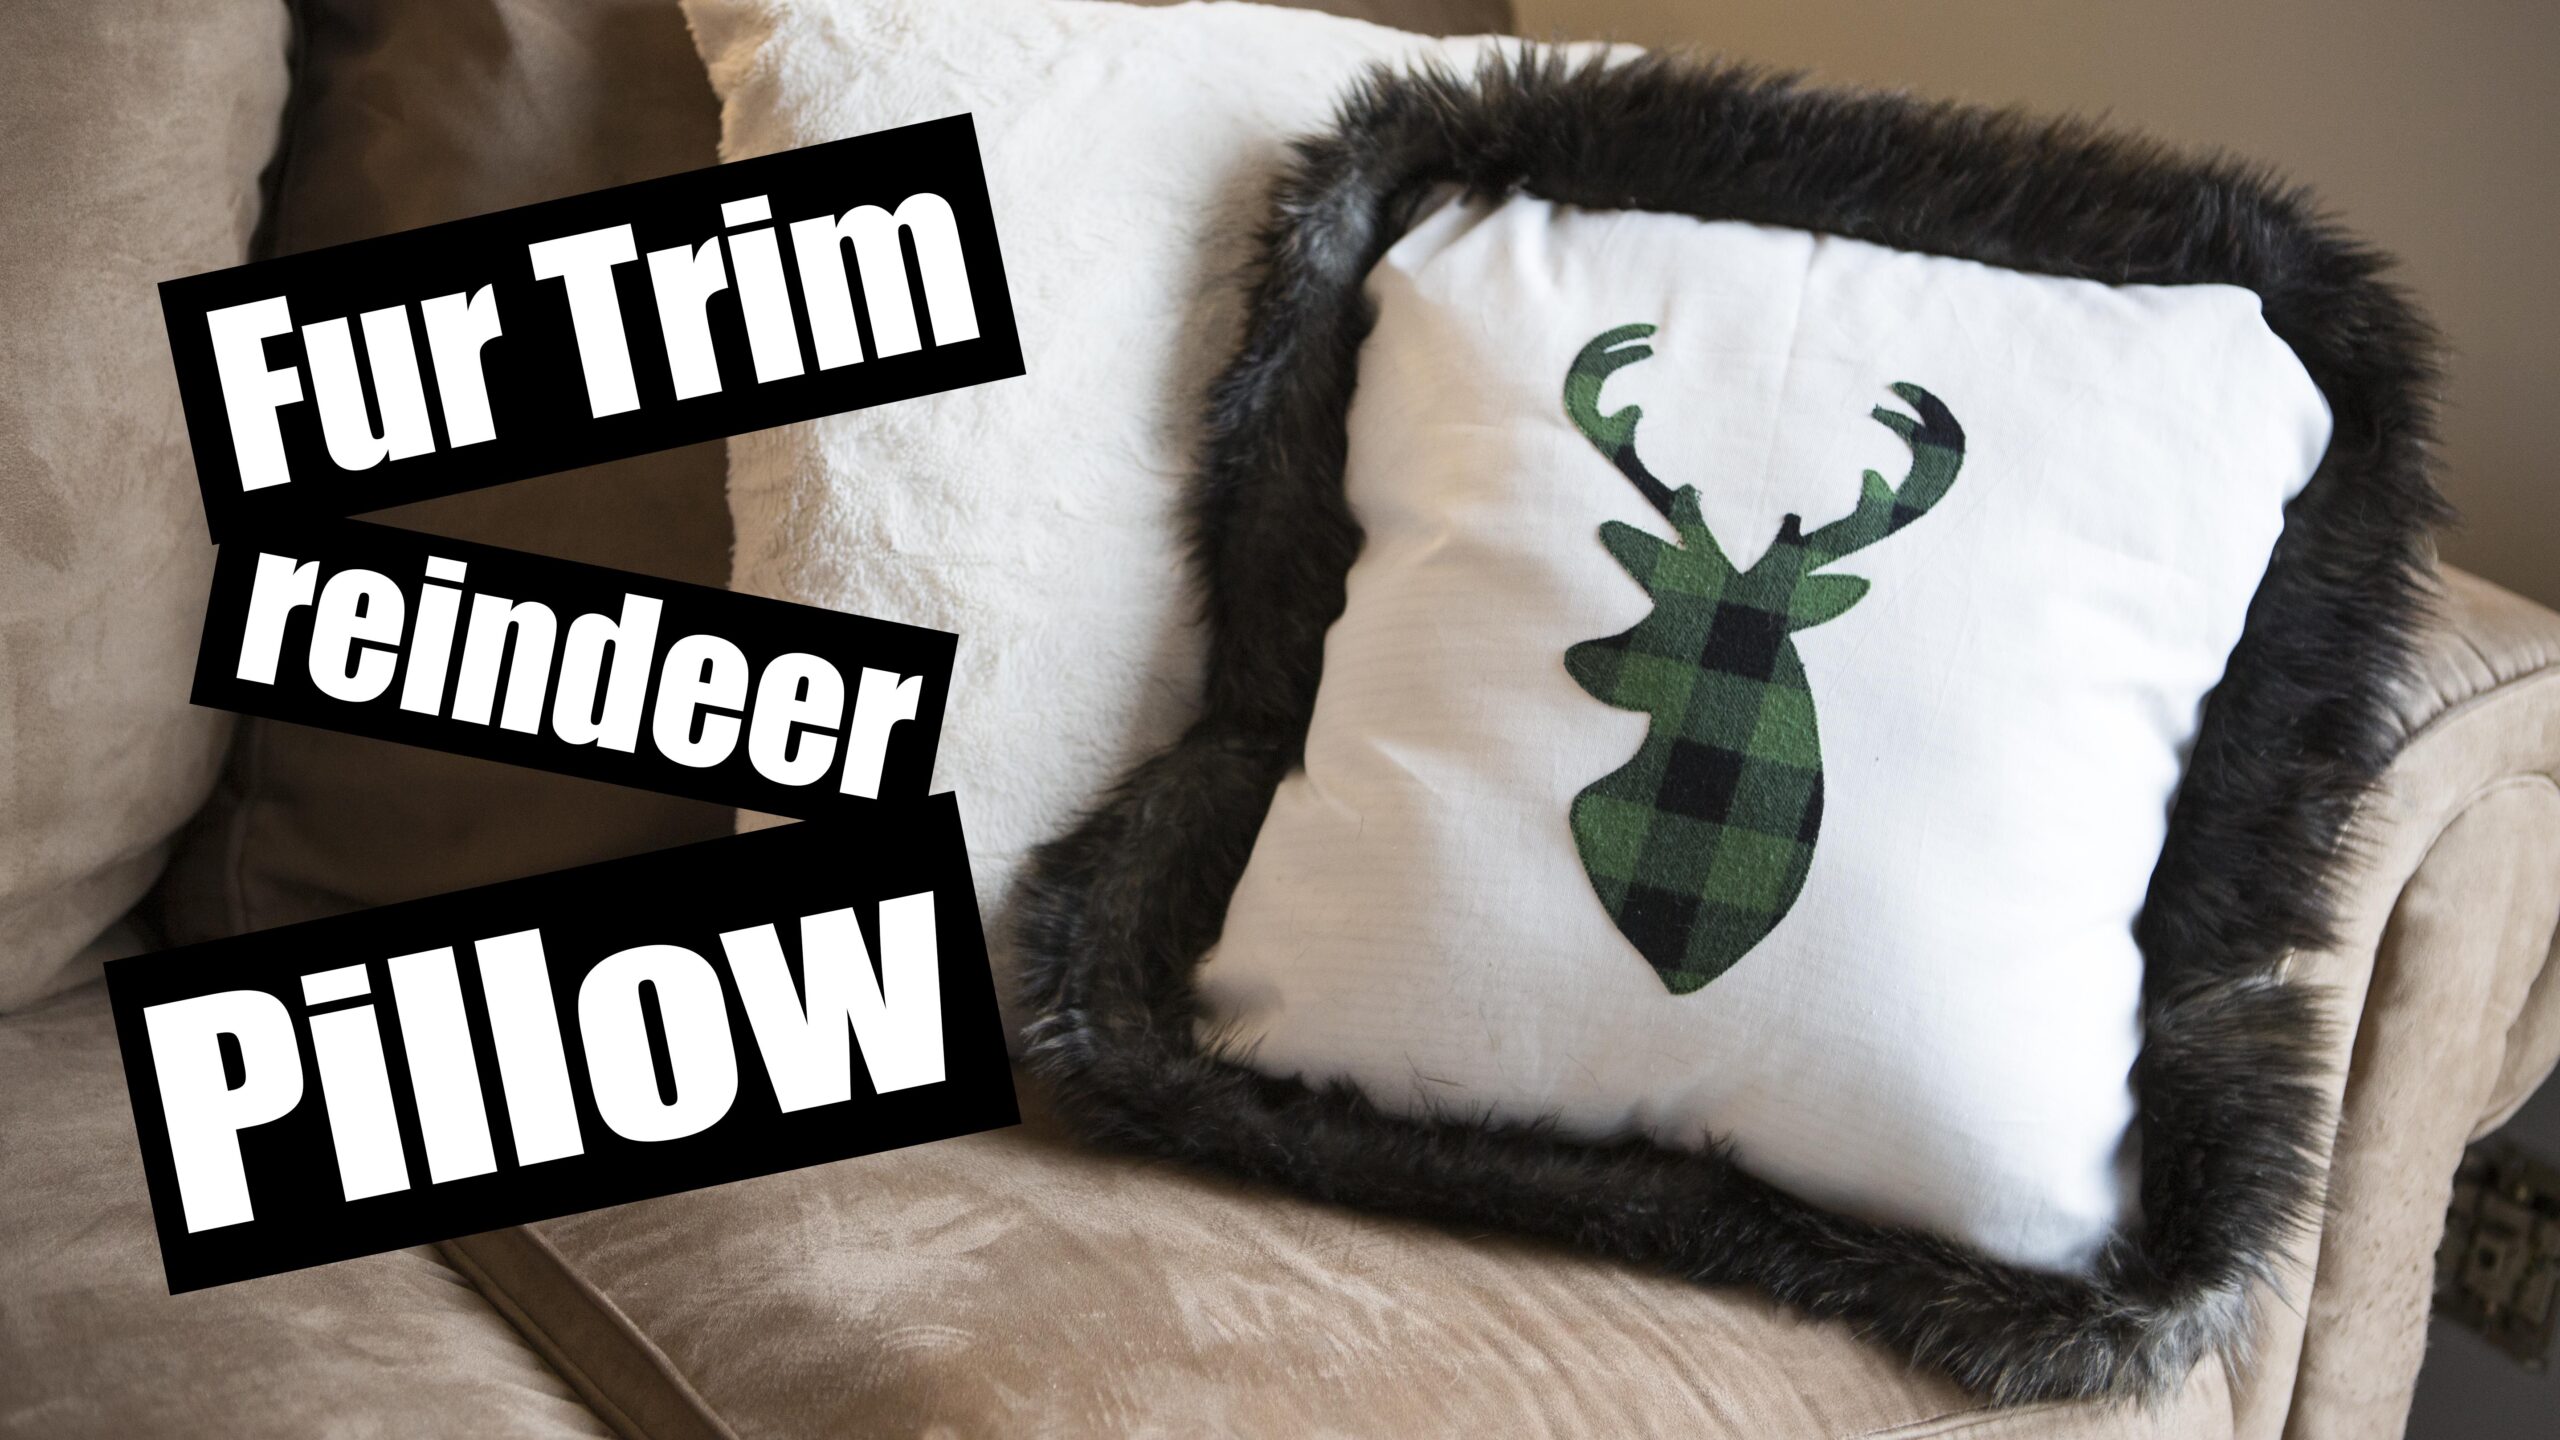
This tutorial will teach you how to make a fur trim pillow Cover with a reindeer applique, Video instructions will be provided below so please click the link so you can watch the full process!
Materials
Base Fabric – I used a canvas but a Cotton will work beautifully
Applique fabric – i used Flannel but you can also use Cotton
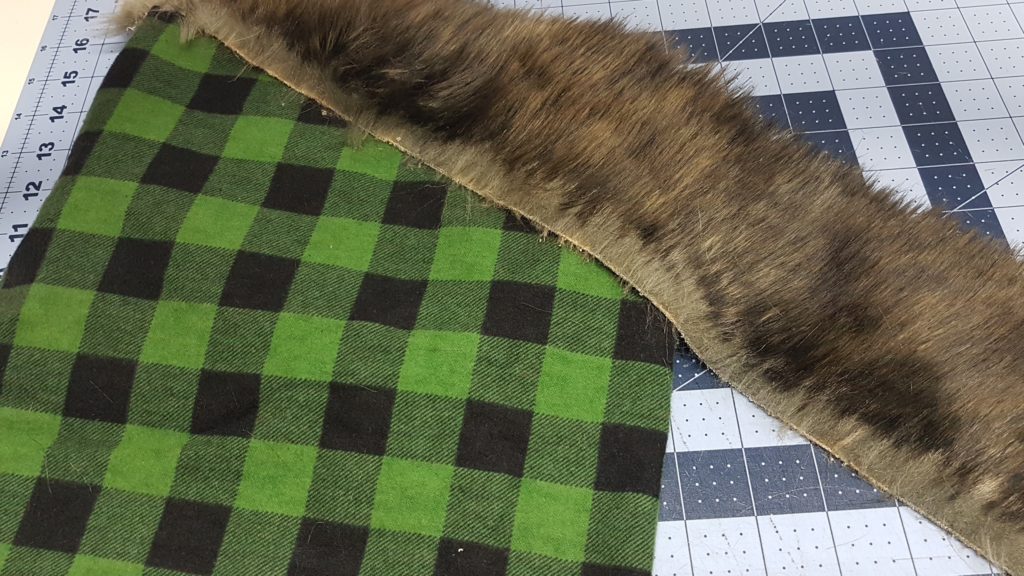
Trim – i used a piece of trim and cut it into 3.5″ strips
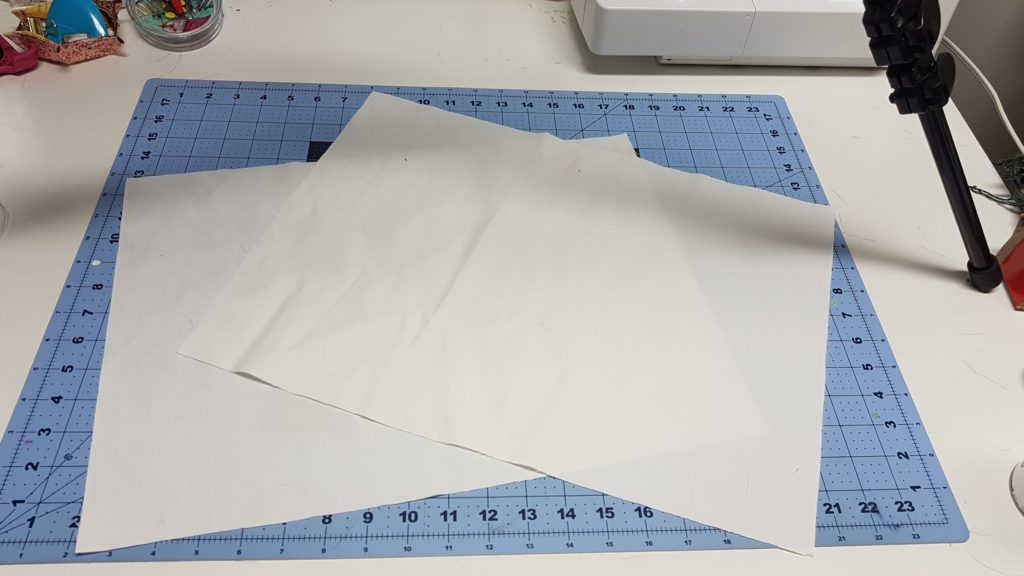
Fabric Measurements
Front fabric – 18″ x 18″
Back pieces Cut 2 – 18″ x 10 1/2″
Free deer pdf printable linked below
Cut out your reindeer, Iron the heat and bond onto the back of your applique fabric, use the deer to trace your image onto the back of your fabric and then cut out with sharp scissors
Peel off the back of the heat and bond and place onto your fabric
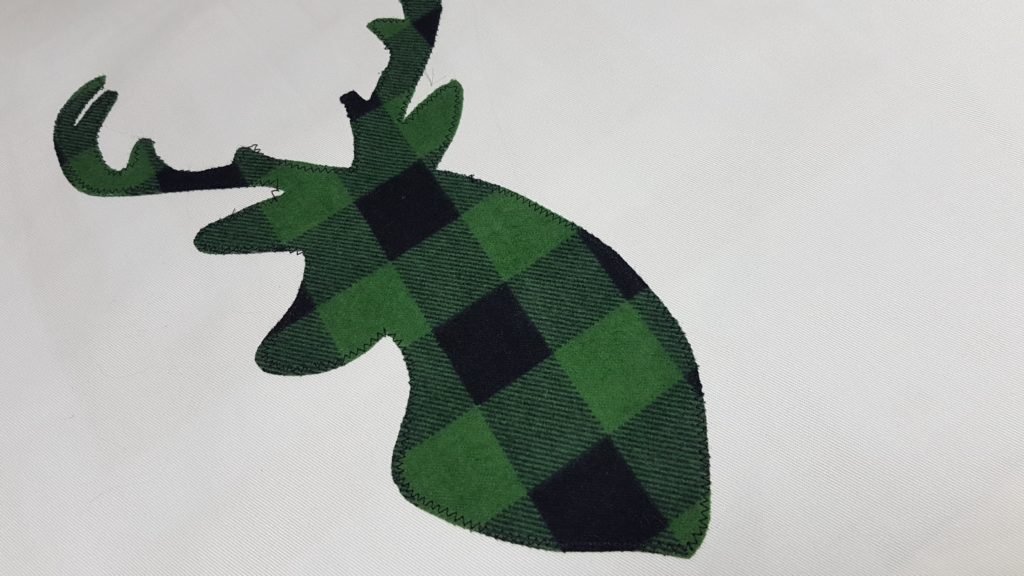
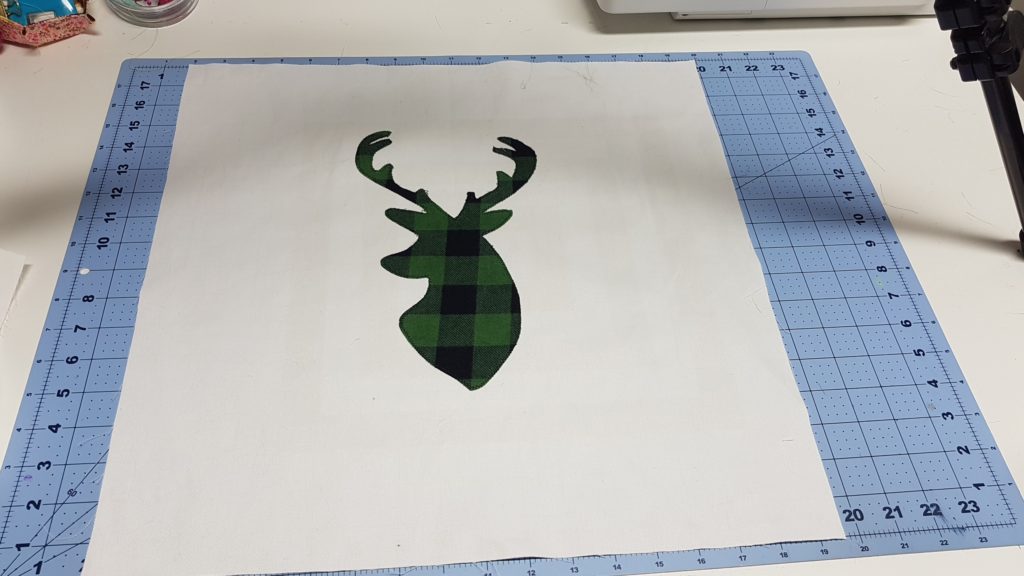
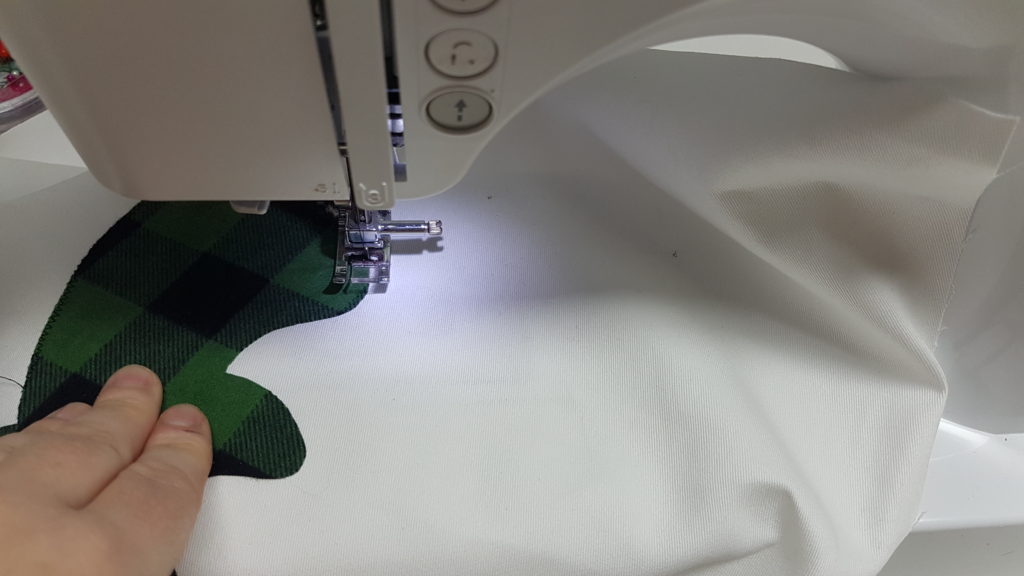
Iron it to your fabric to fuse the pieces together, you can leave it this way or you can do a zig zag stitch around your image to secure it more and it also adds visual interest if you can see your stitches
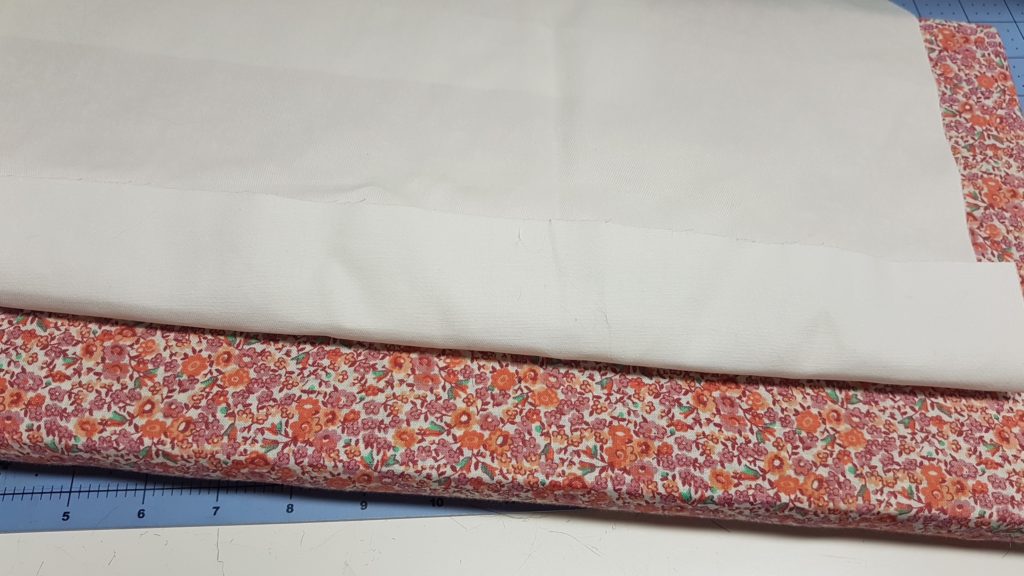
Take the two back pieces and fold down the long edge 1″ to create a hem, you can zip zag over this seam or double fold and do it a straight stitch to hide the raw edges
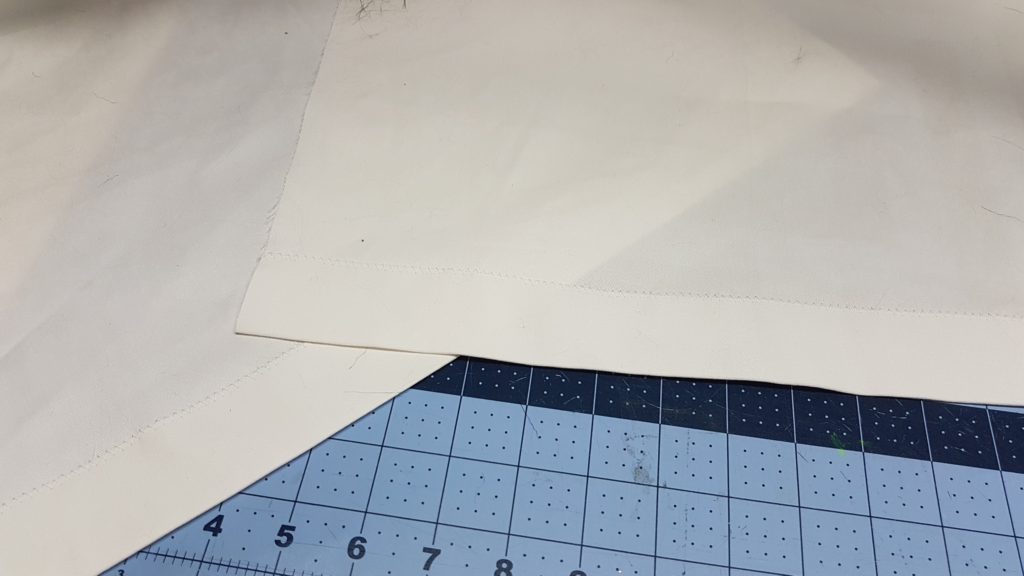
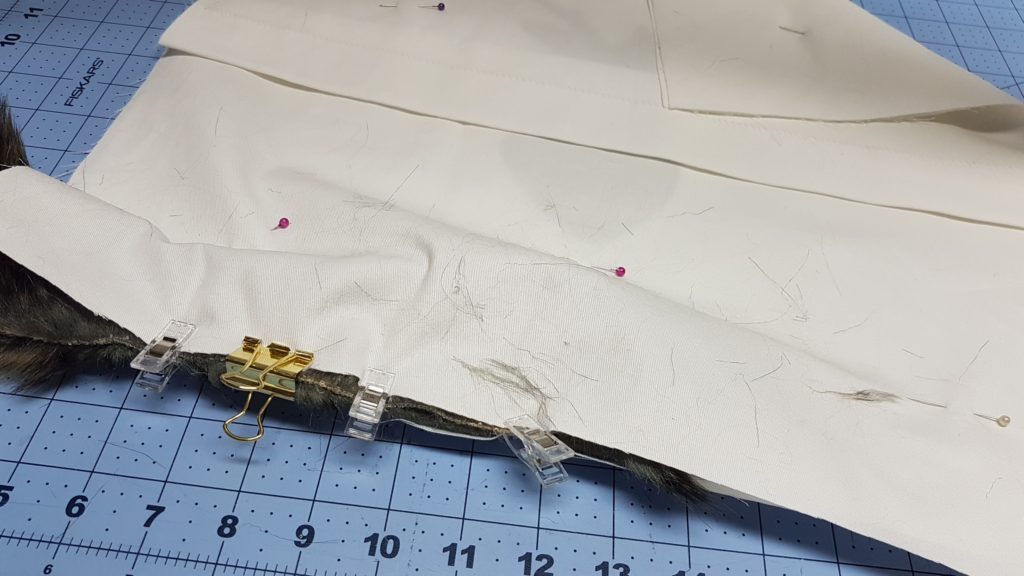
lay your front fabric right sides up, and the back two pieces ontop with the hem’s over lapping, and then you can place your trim between the layers on the edge, i fold my fur in half to line up all the raw edges
Sew all the way around, its not a fun process if you have a very thick fur lol but its worth it!


0 Comments