
Welcome to the Quick Trick or Treat bag tutorial! here you will find materials, measurements and Video/photo tutorial.
Help keep ashley’s patterns free!
[wpedon id=”3129″ align=”left”]
Materials
Cotton Fabric or Canvas fabric
Measurements
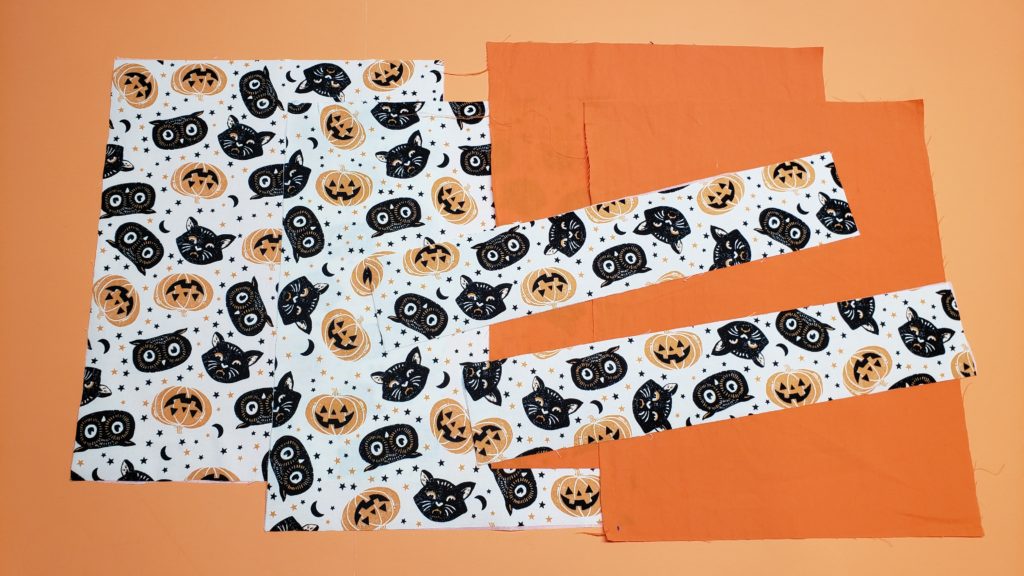
Outer fabric – 14″ x 12″ – Cut 2
Inner fabric – 14″ x 12″ – Cut 2
Straps – 16″ x 3″
if using a cotton fabric place medium weight interfacing on the back of the outer fabric and the strap pieces
Tools i use!
Iron – Oliso
Sewing machine – Brother
Ironing Board – Tutorial
Rotary Cutter – Olfa
Cricut –

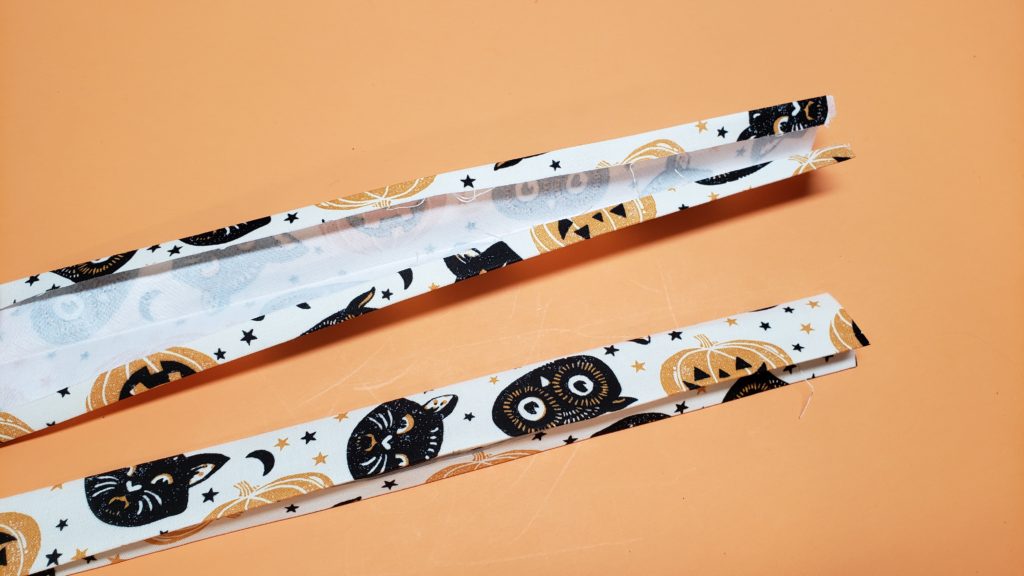
Step 1 – take strap piece, fold in sides 1/4″ and press, then fold in half and press. sew down both sides to create two straps.
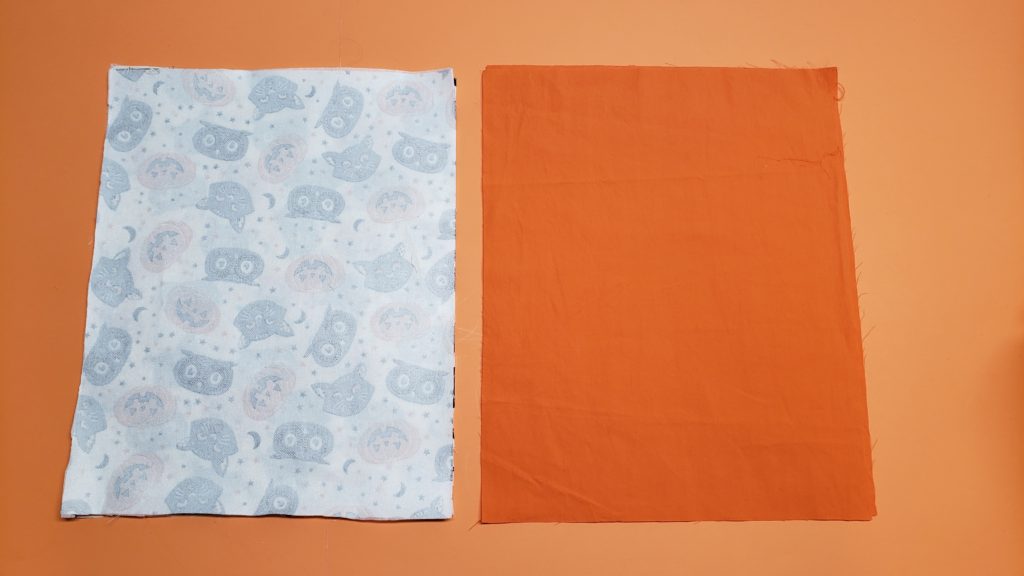
Step 2 : place the outer fabric right sides together and the lining right sides togehter.
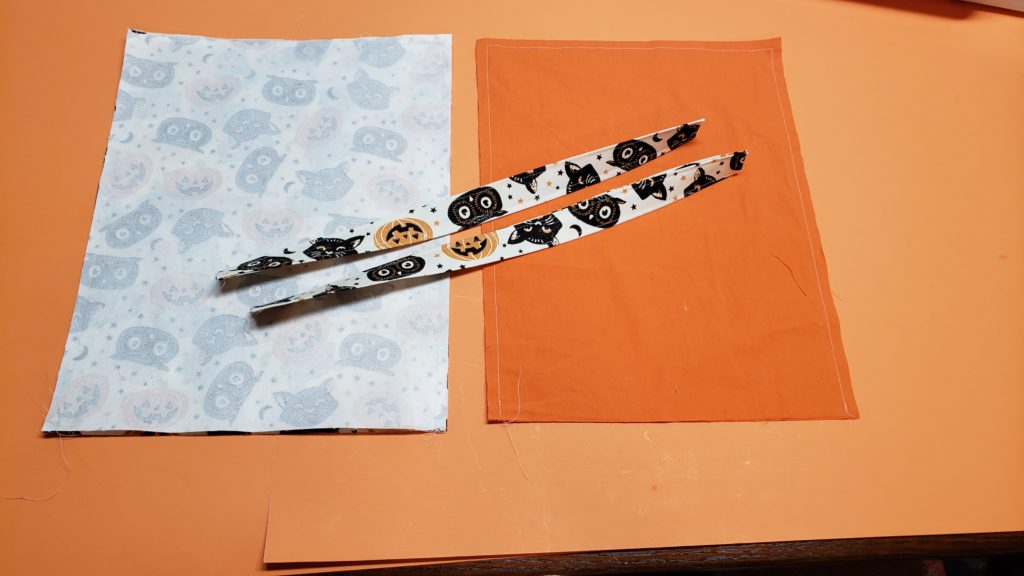
Step 3: sew down side buttom and other side. leave the top open.
Step 4: fold your corners in this way and measure 4″ across, make sure the bottom seam is lined up with the side seam. do this to all corners in the lining and outer fabric.
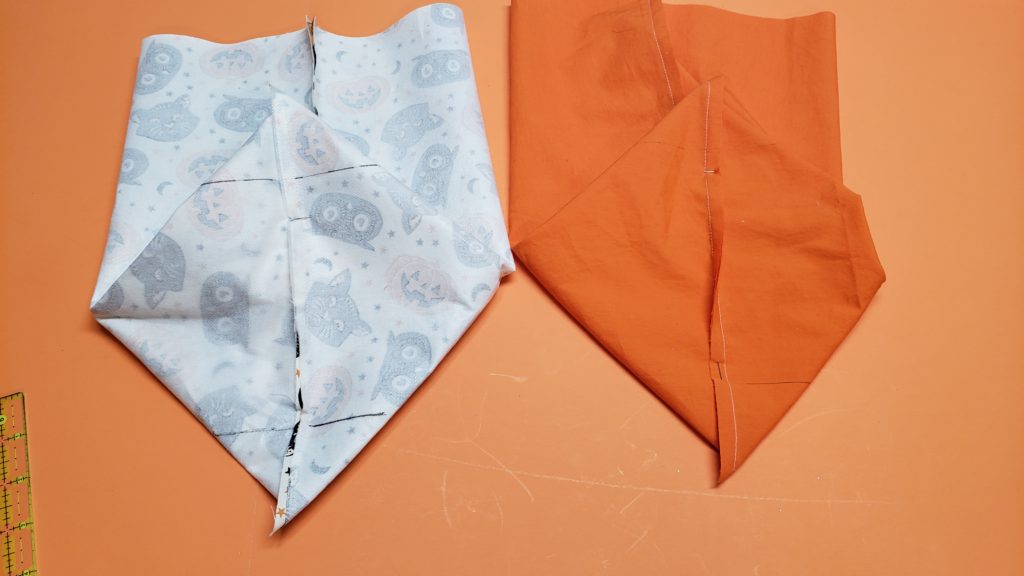
Step 5: snip off the excess fabric.
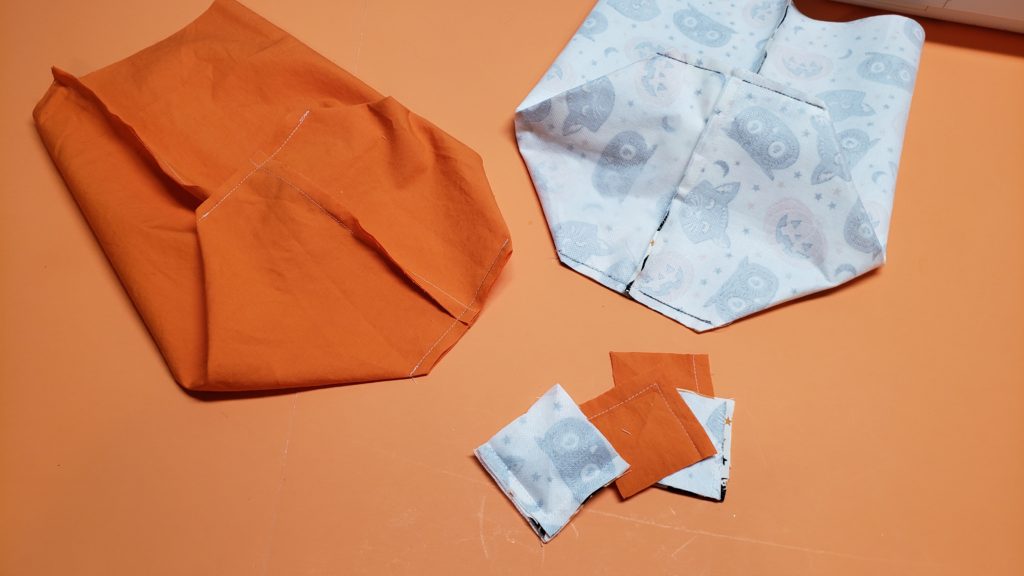
Step 6: flip the outer piece right sides out. fold the top of the lining and outer bag down 1/2″ and press
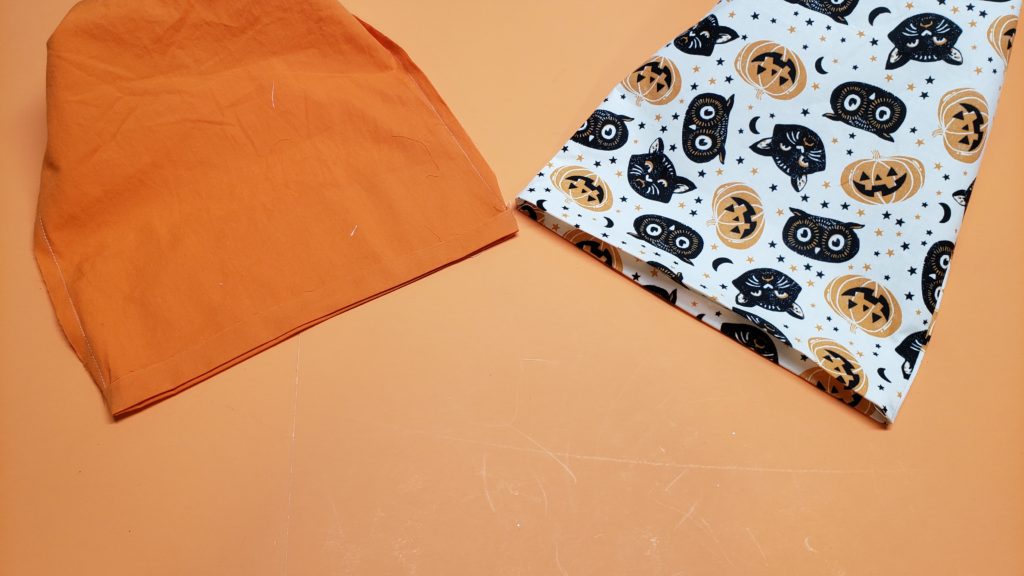
Step 7: Insert the lining into the outer bag and line up the side seams. pin the lining into place. place your straps between the layers of fabric on either side 2″ away from each side seam.
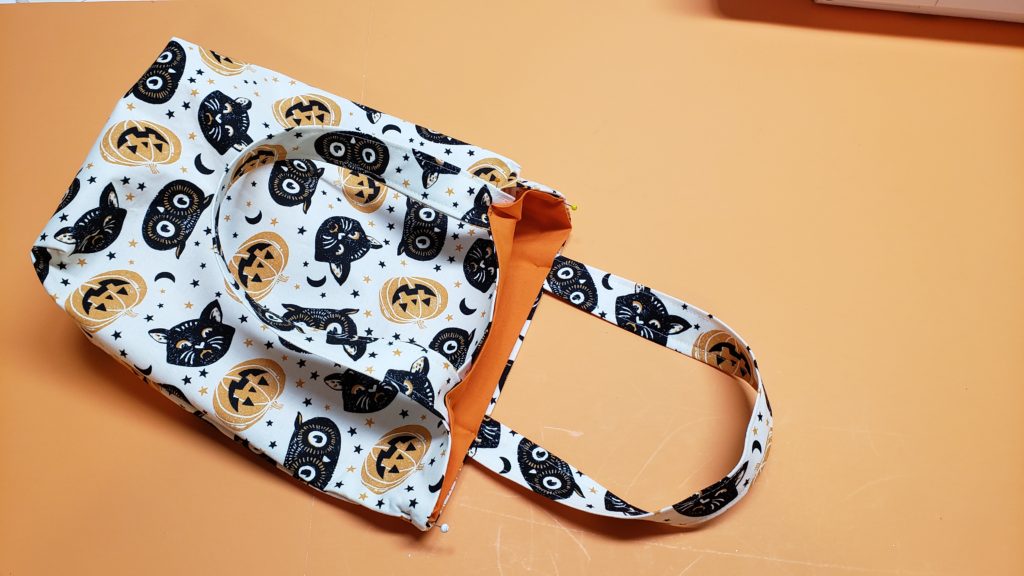
Step 8: Pin all the way around the top of the bag to secure the lining in and secure the straps into place.
Some links are affiliate links and help to support this site.


0 Comments