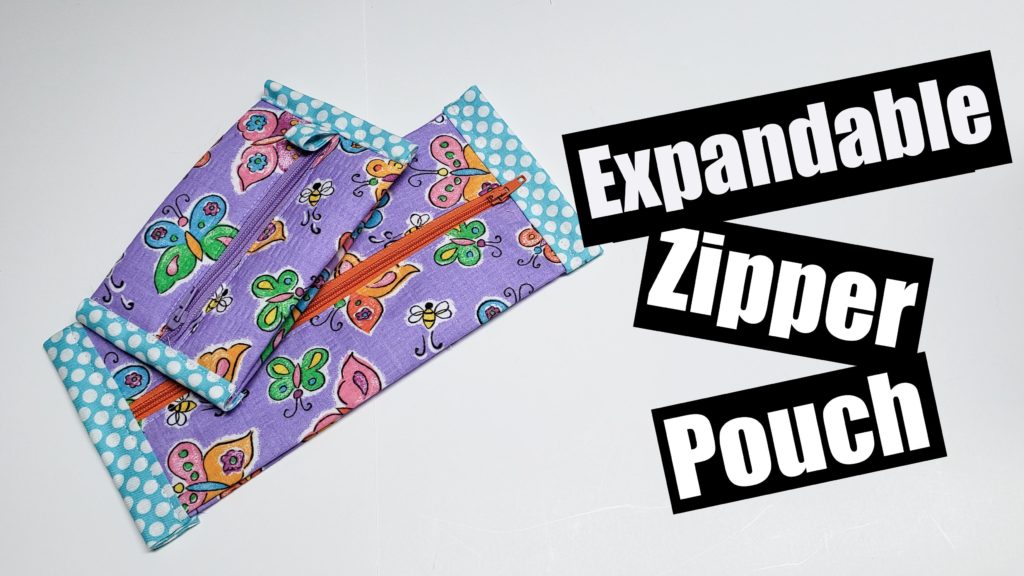
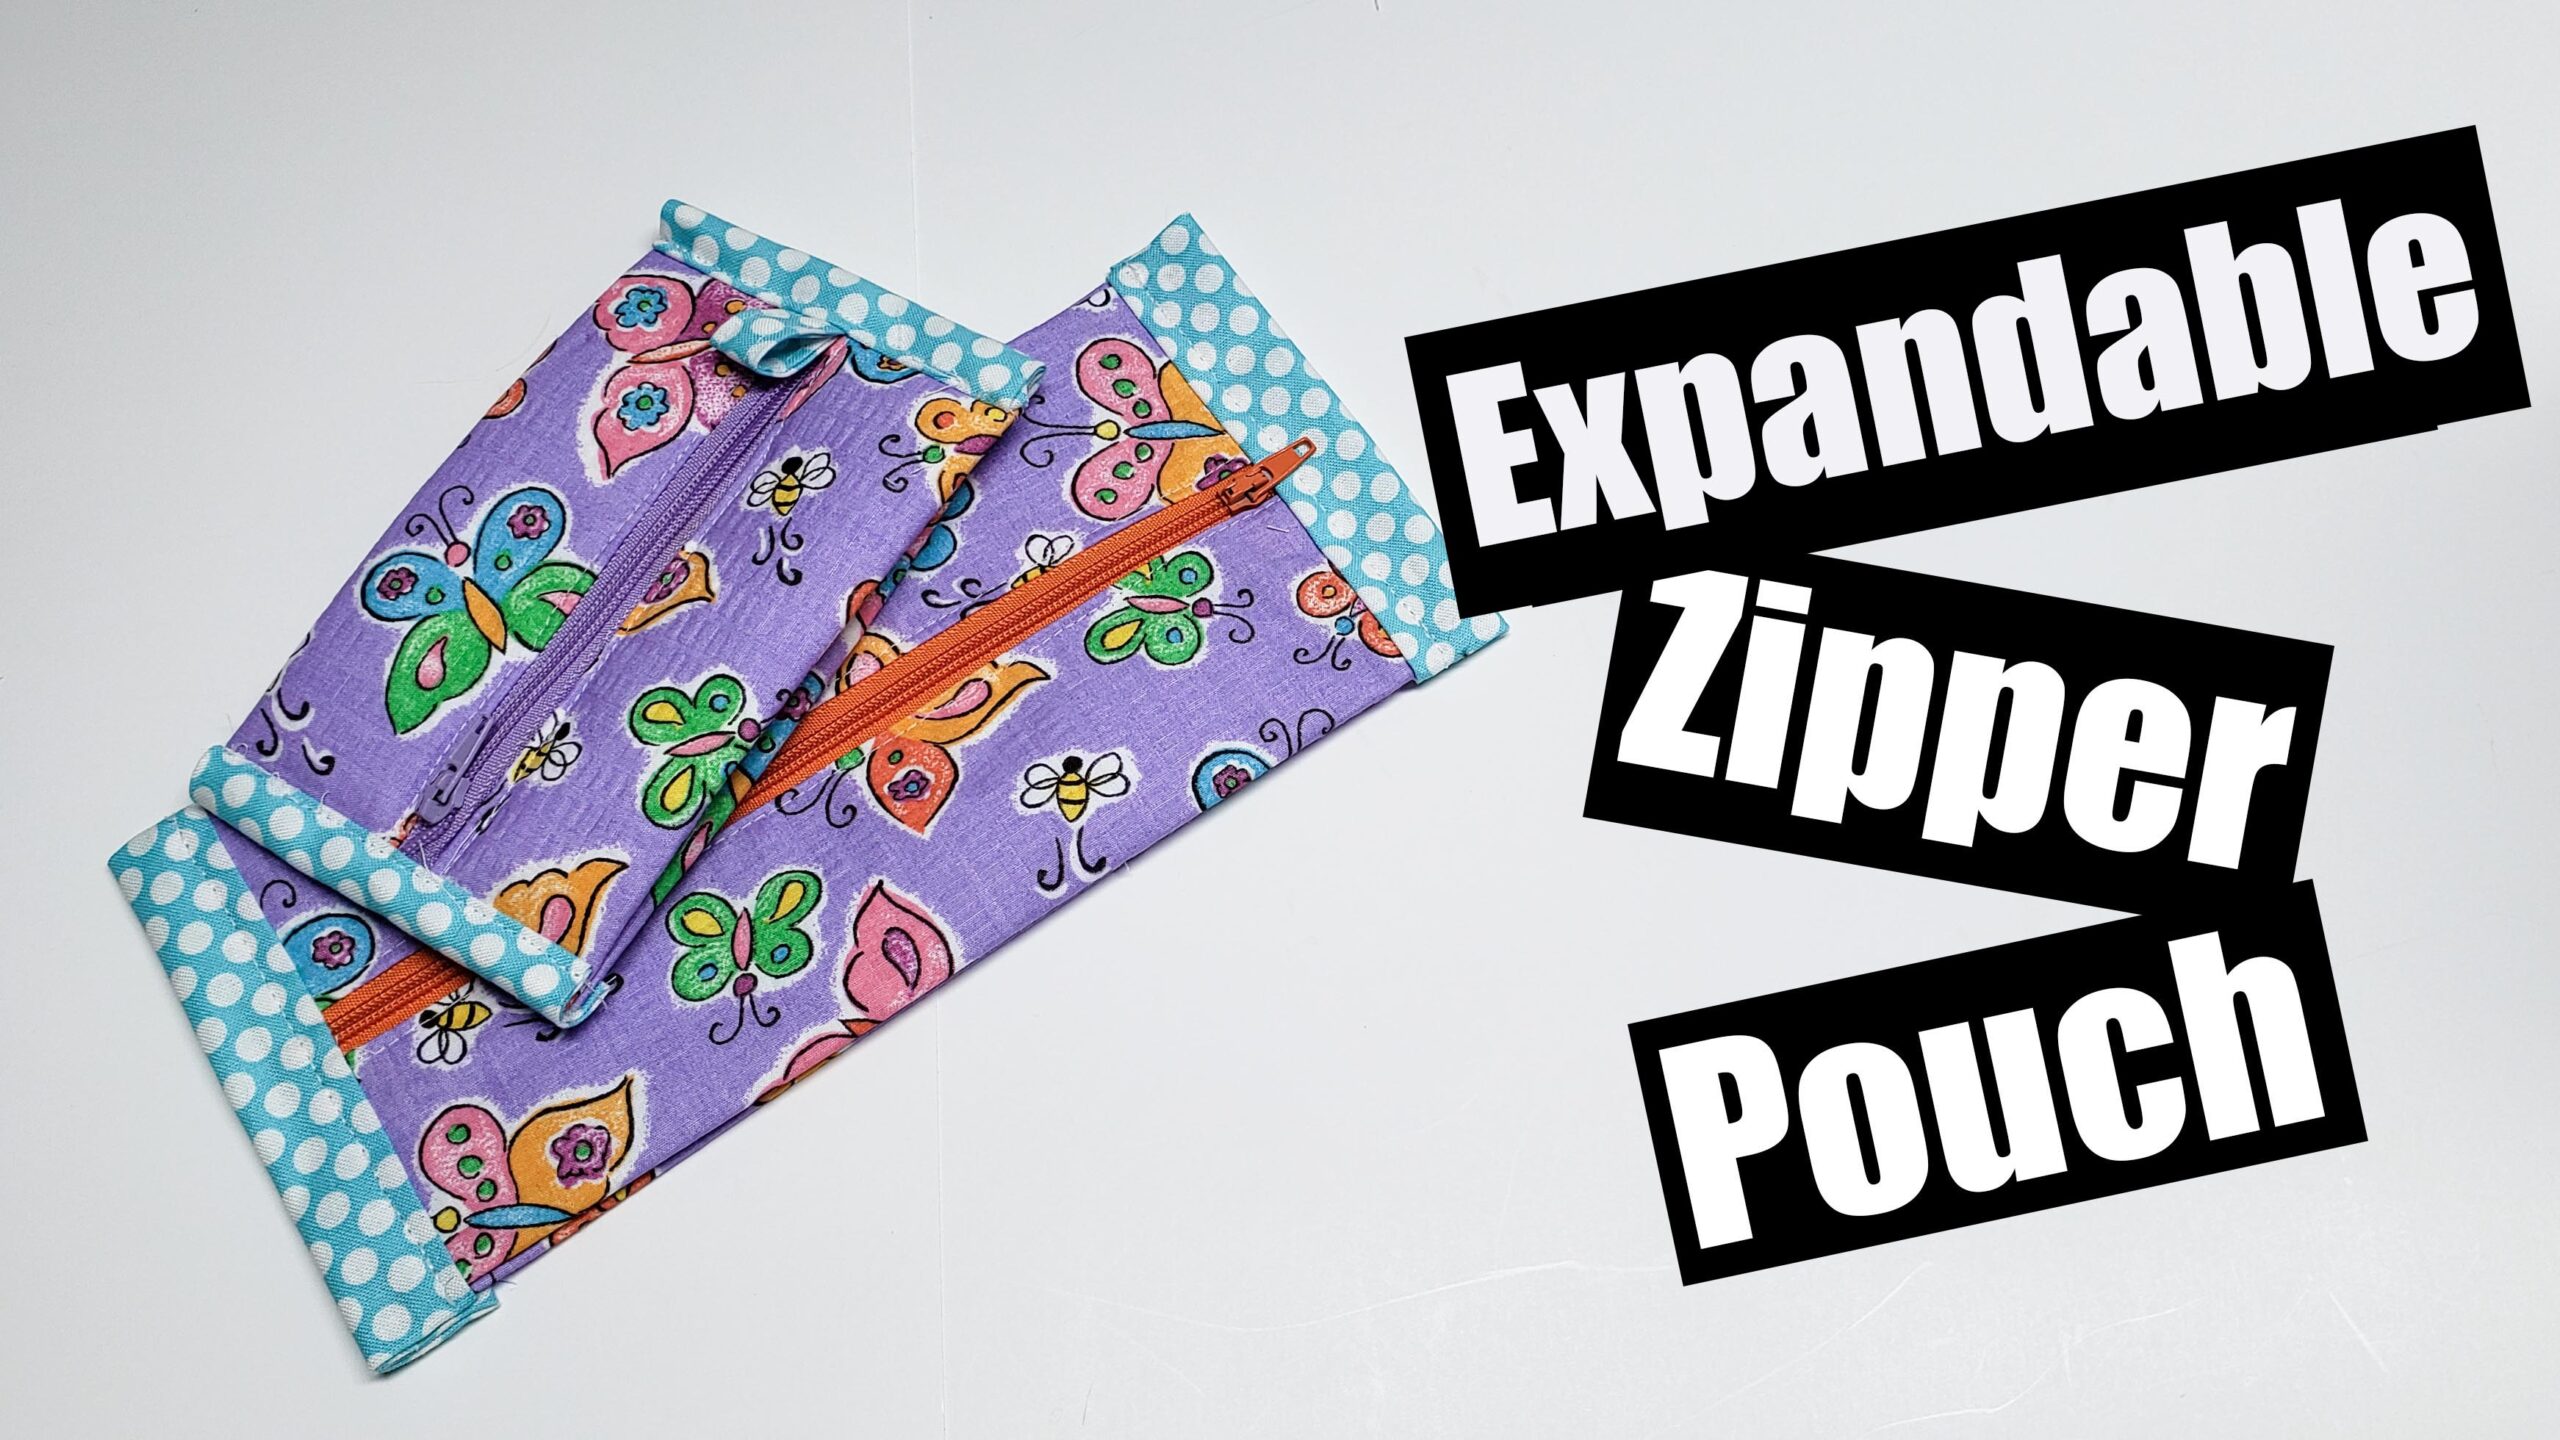
Welcome to the Expandable Zipper pouch tutorial on behalf of Hill Top Custom Designs
Things you will need
Cotton Fabric
Fusible interfacing (optional)
Measurements
for the Large Pouch – Cut 2 – 8″ x 12″
1 for the lining and one for the outer fabric
for the Small pouch – cut 2 – 5″ x 10″
1 for the lining and one for the outer fabric
For the little loop – cut 1 – 2″ x 2″
Bias binding – 3″ x 5″ (approx)
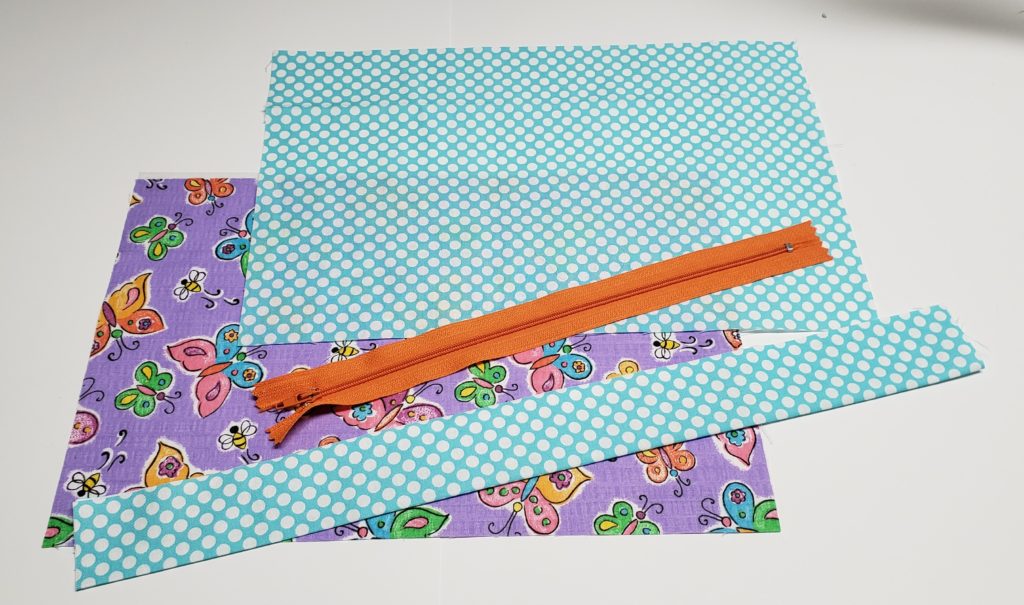

Step 1 – Install zipper onto short side of fabric
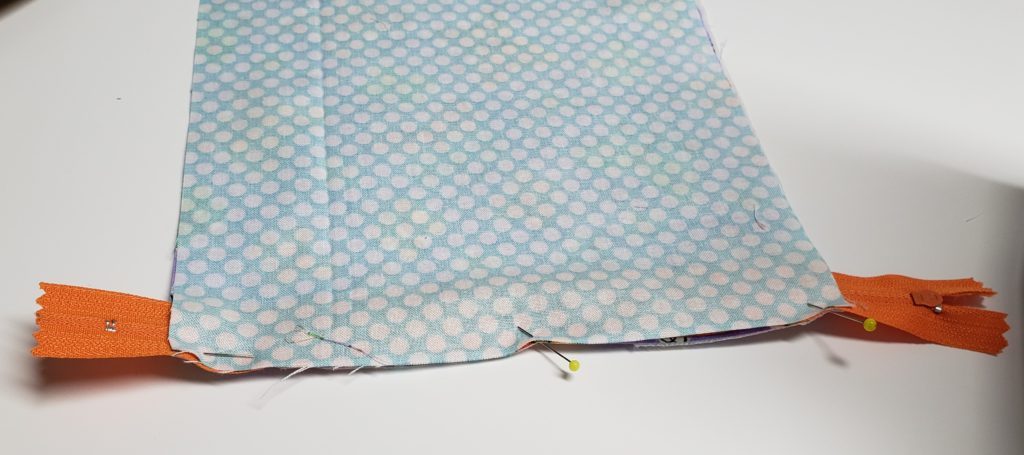
Step 2 – flip fabric and stop stitch along zipper teeth
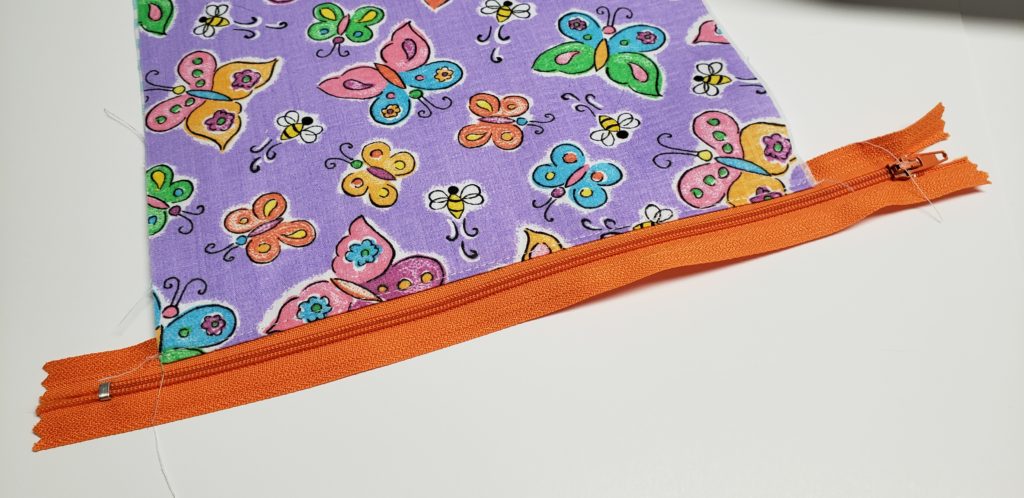
Step 3 – Flip outer fabric up to other side of fabric, flip lining up the back to the zipper, sew along the zipper
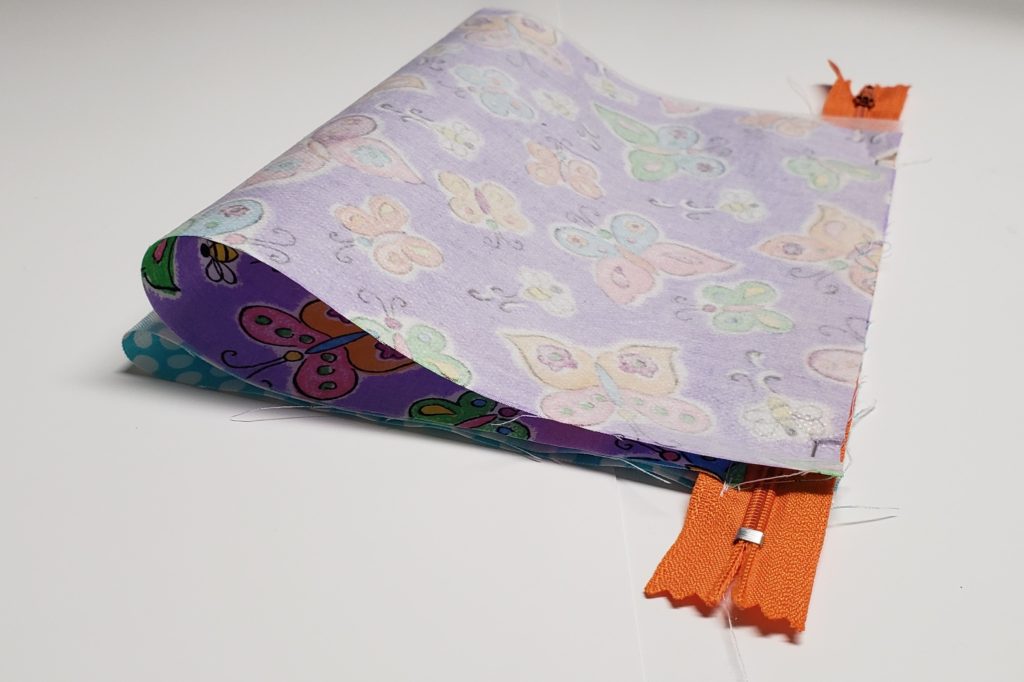
Step 4 – unzip and flip piece right sides out, top stitch along zipper
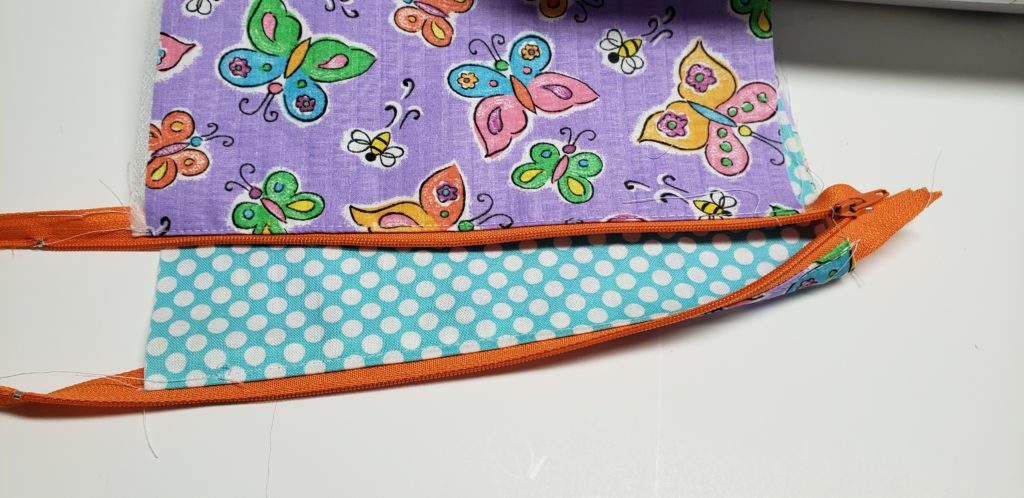
Step 5 – zip up zipper and flatten the bag with the zipper centred
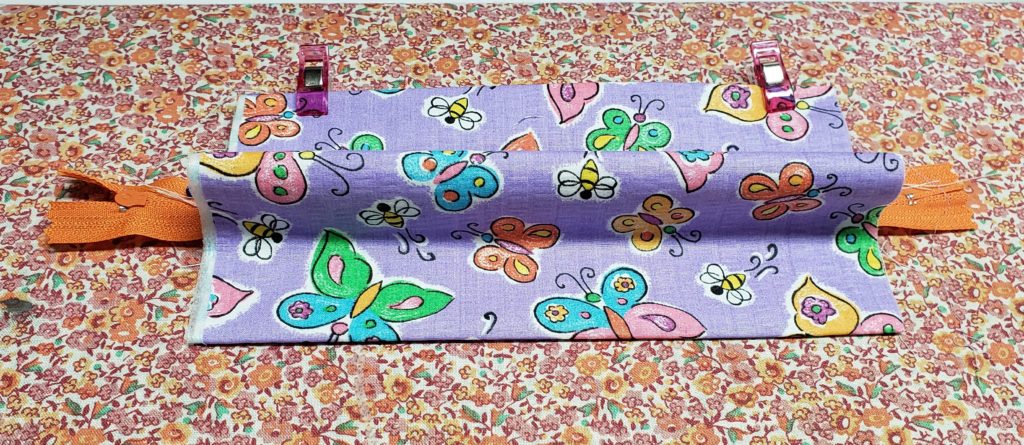
Step 6 – push in the sides of the bag 1 ” to create an accordian fold, do this on both sides of the bag
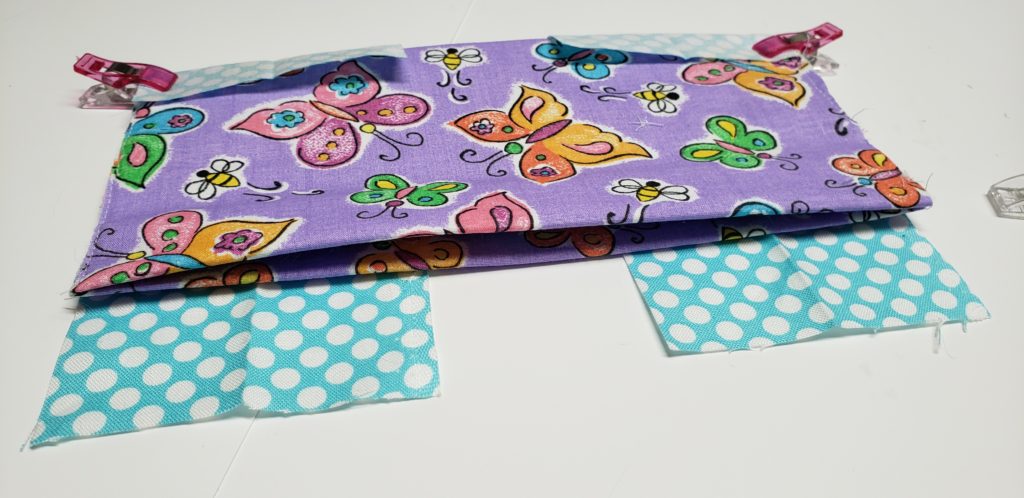
Step 7 – square up your bag and cut of excess zipper, make sure your zipper pull is out of the way, place binding fabric with the right sides down on the zipper lining up the raw edges, wrap the binding around the sides of the bag.
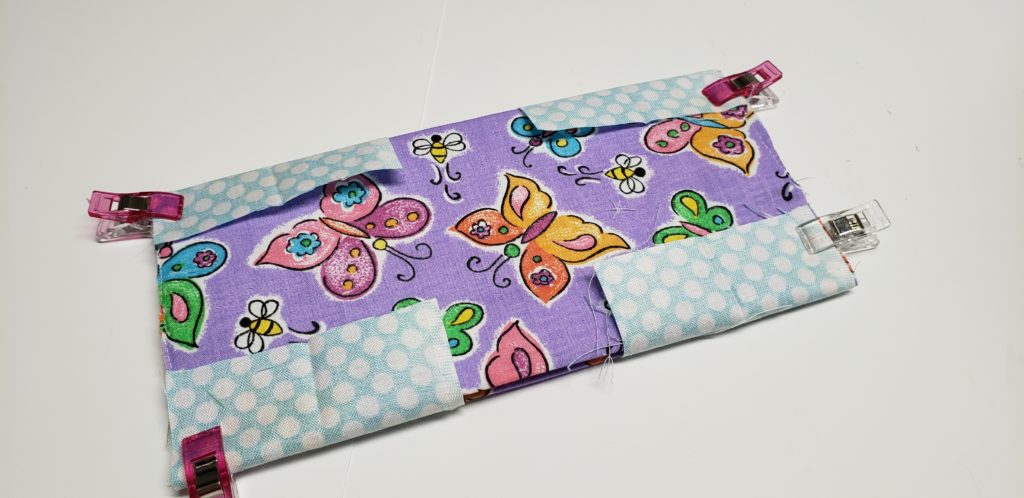
step 8 – Sew a quarter inch seam allowance on both sides of the bag.
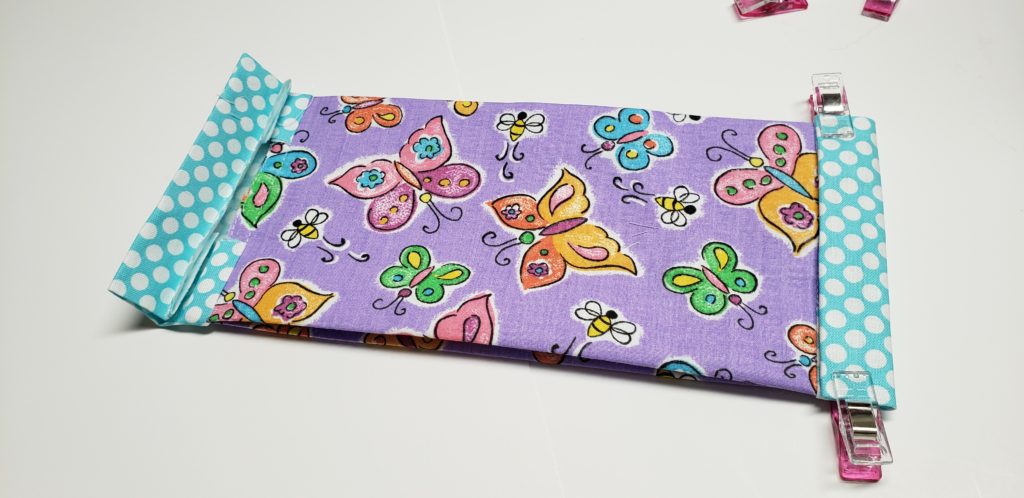
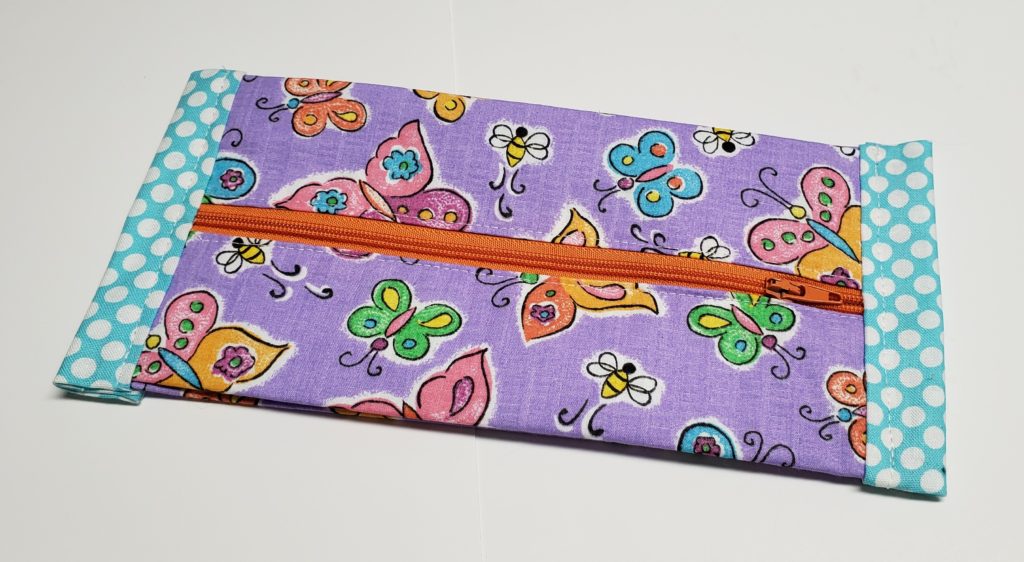
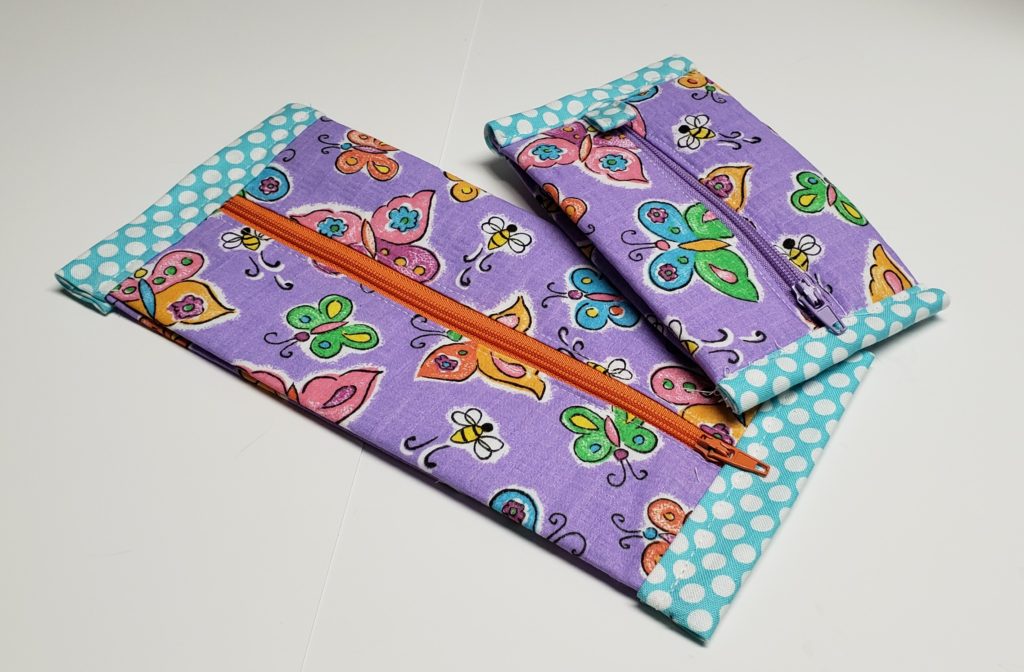
Step 9 – flip your binding out and fold down twice to hide all raw edges, top stitch 1/8″ away from the edge of the fabric to secure your binding down and finish off your popcorn bag!


0 Comments