Bags all over the place? need a place to store them so they arnt shoved in a drawer or in a closet
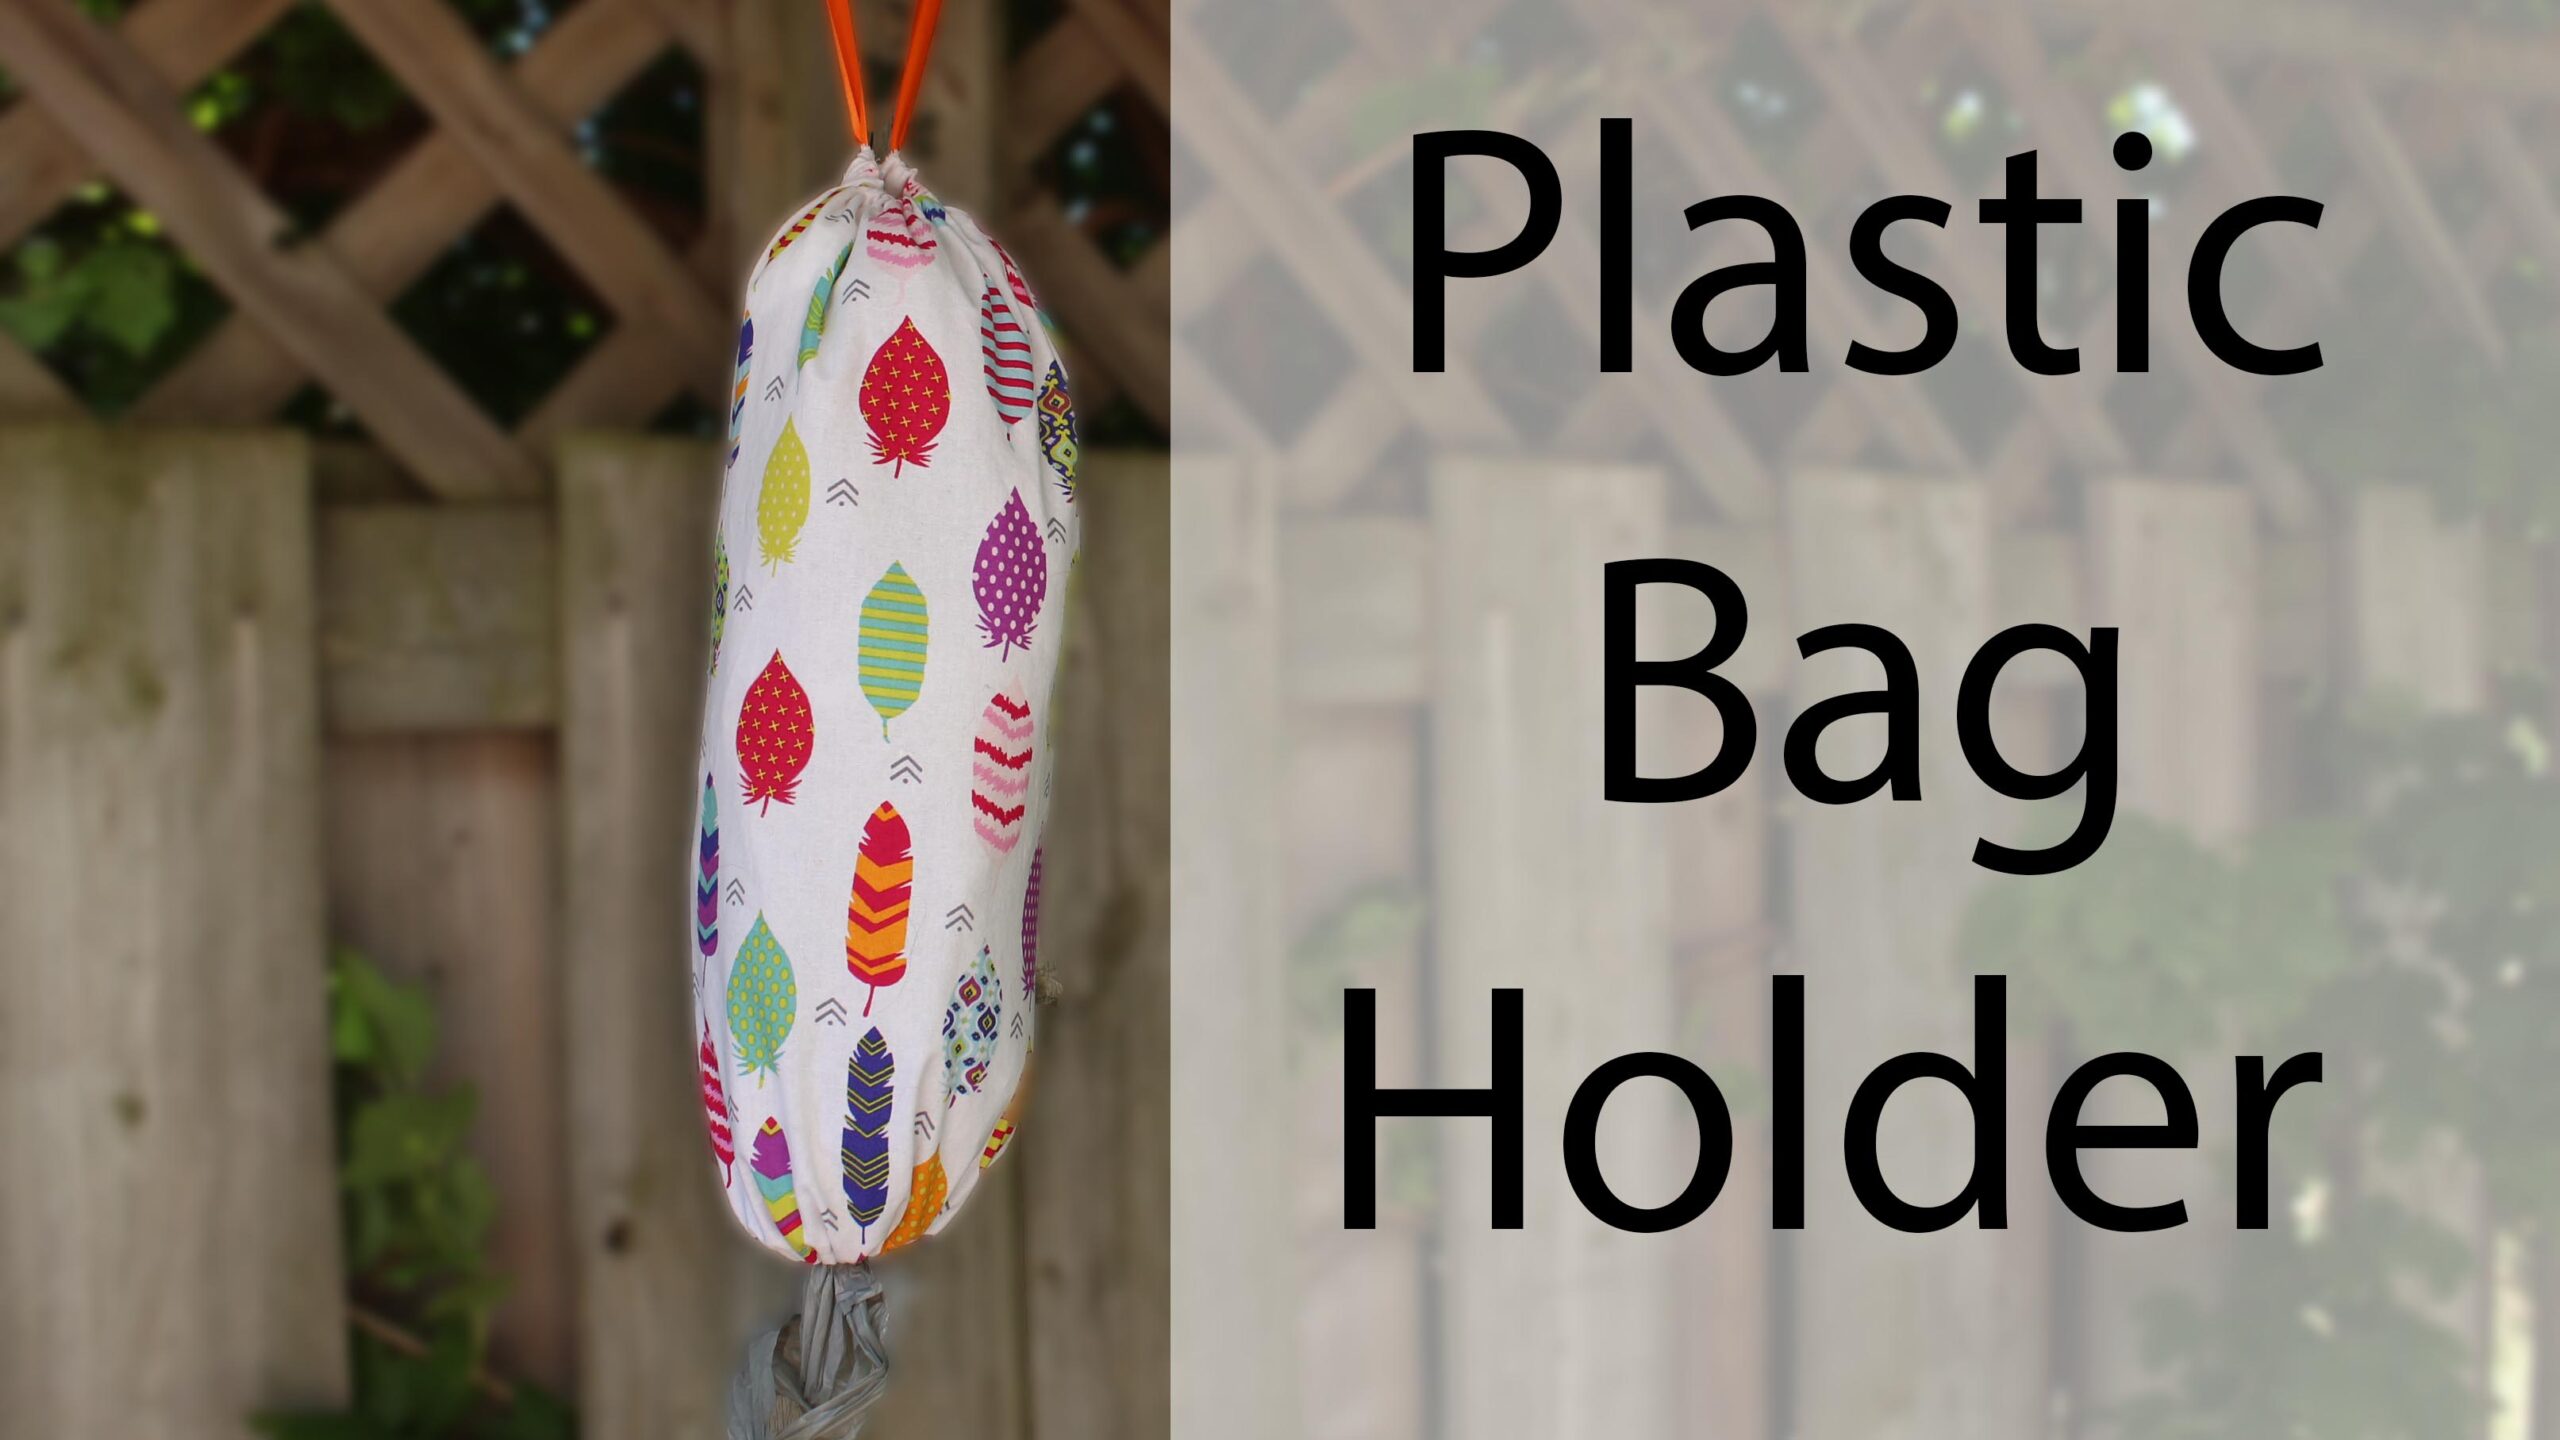
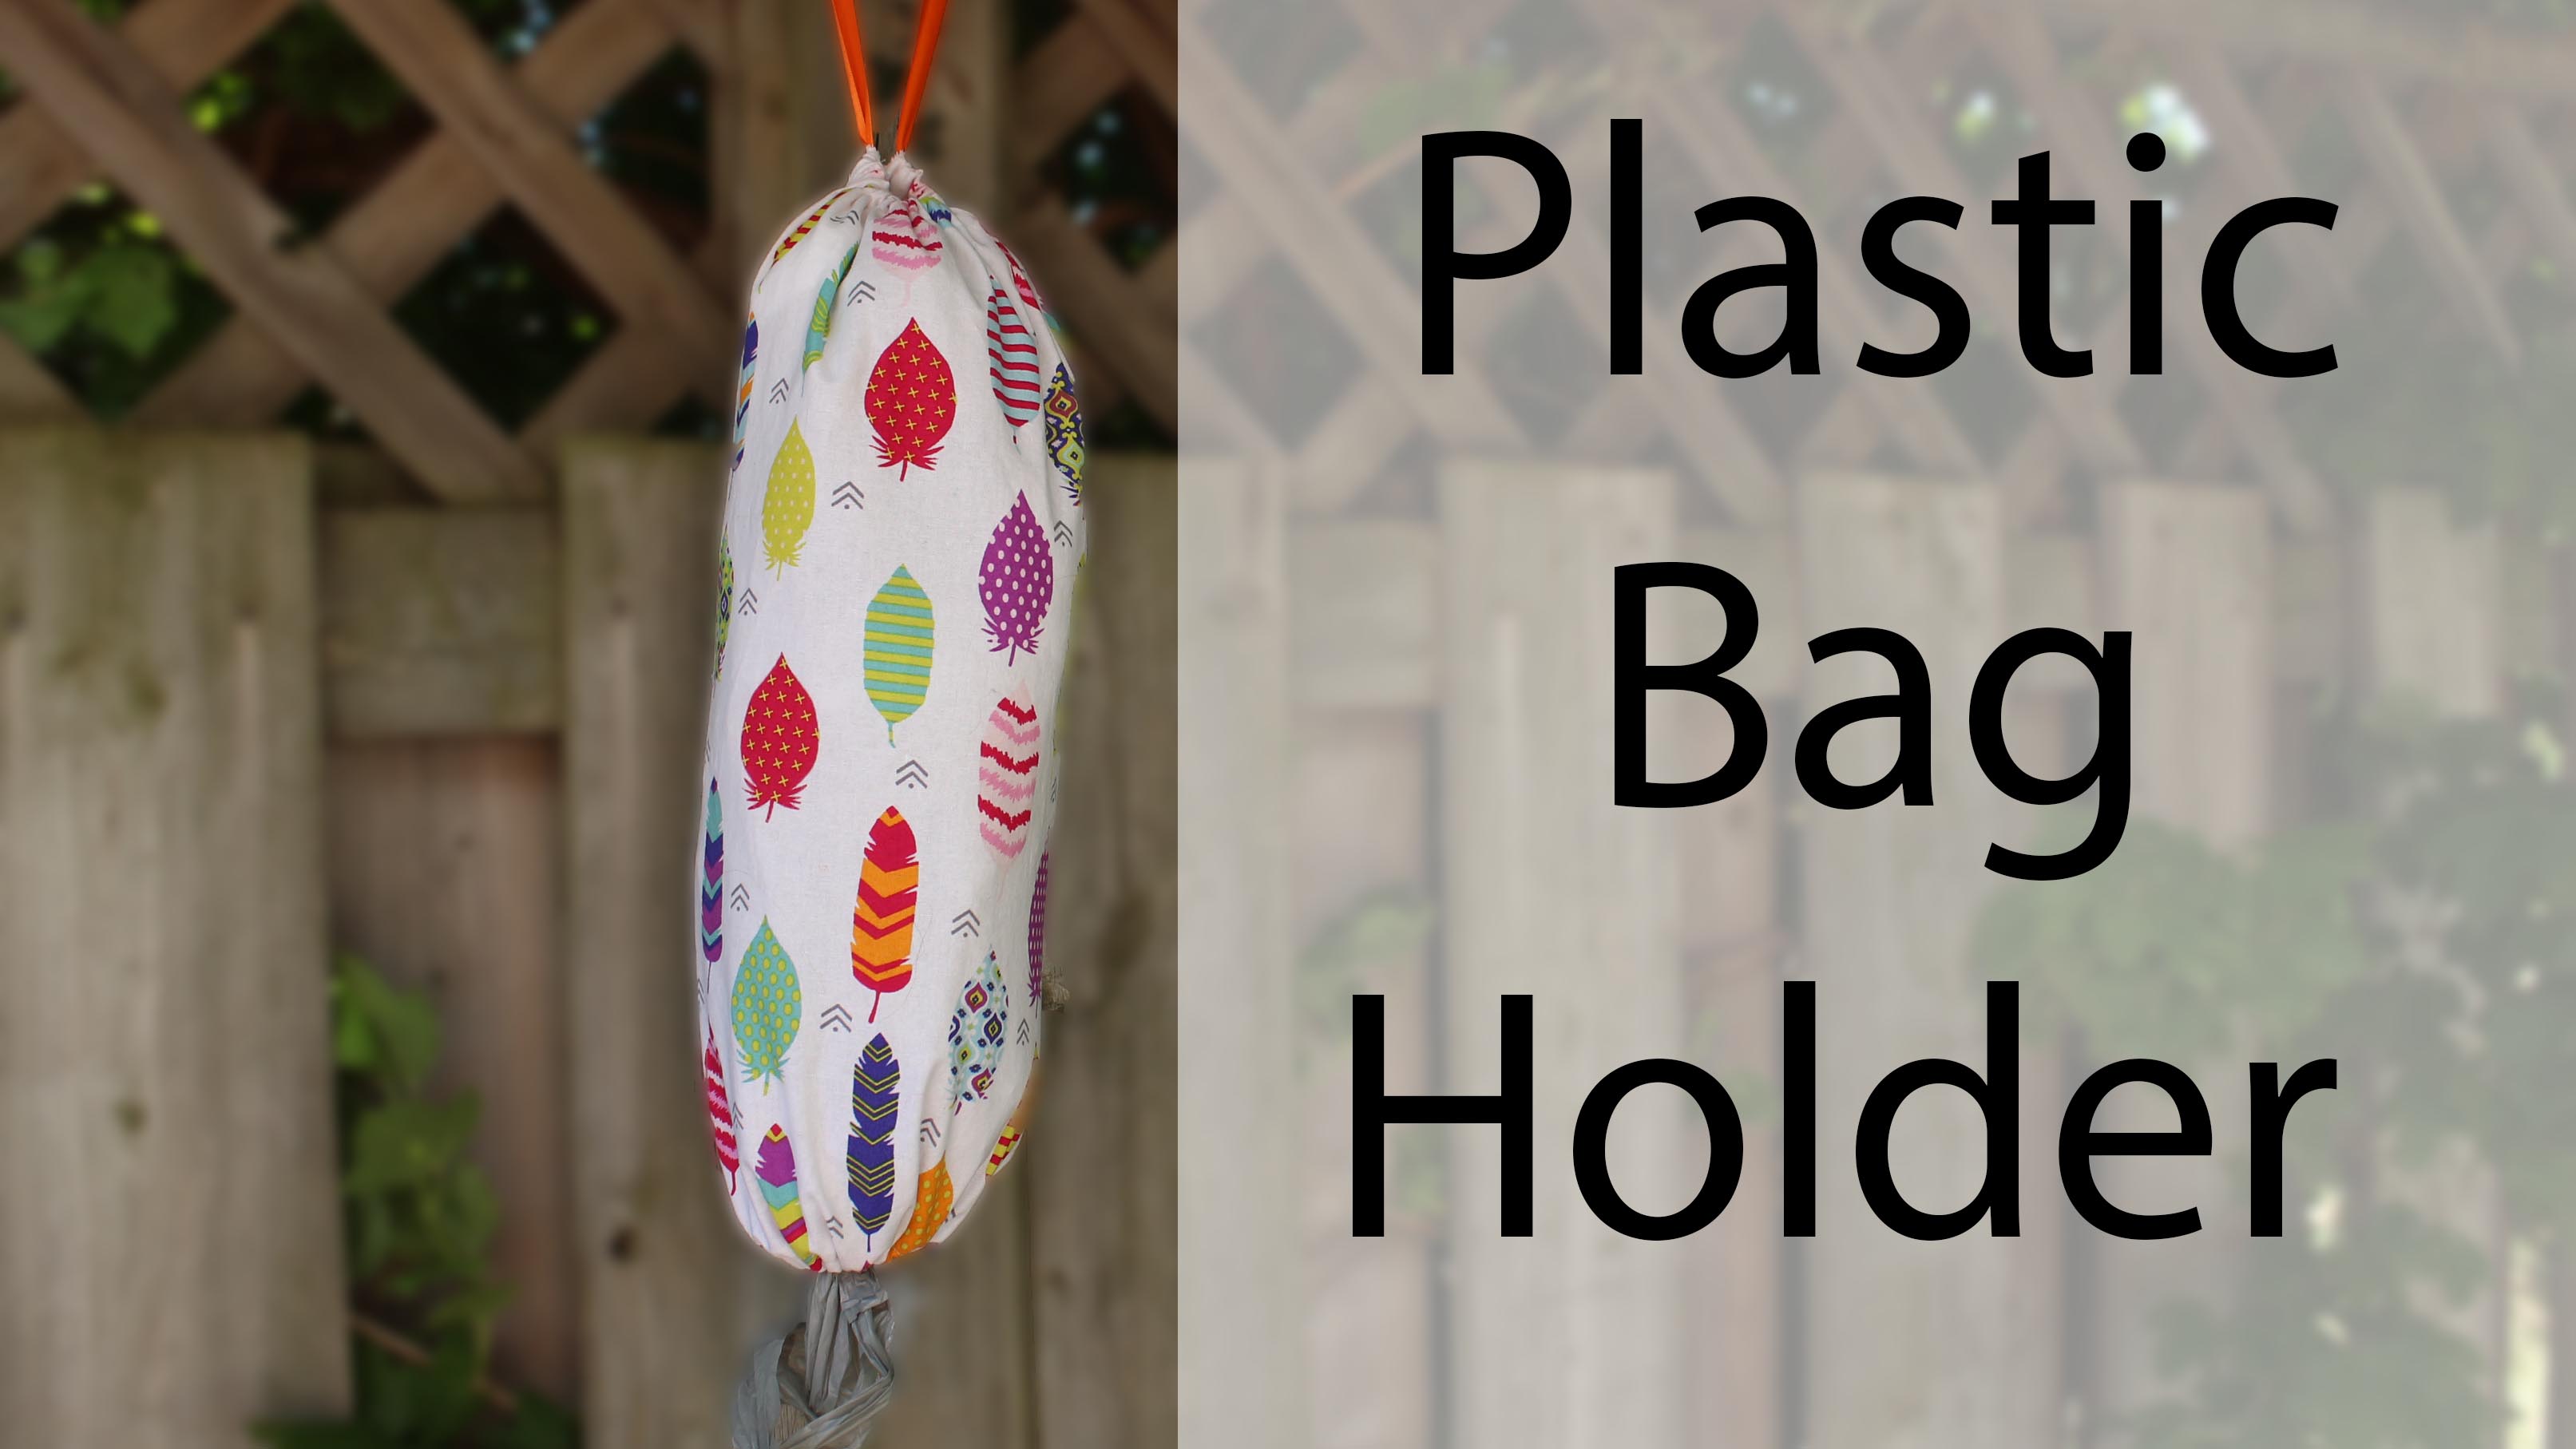
This free tutorial will teach you how to make a plastic bag holder!
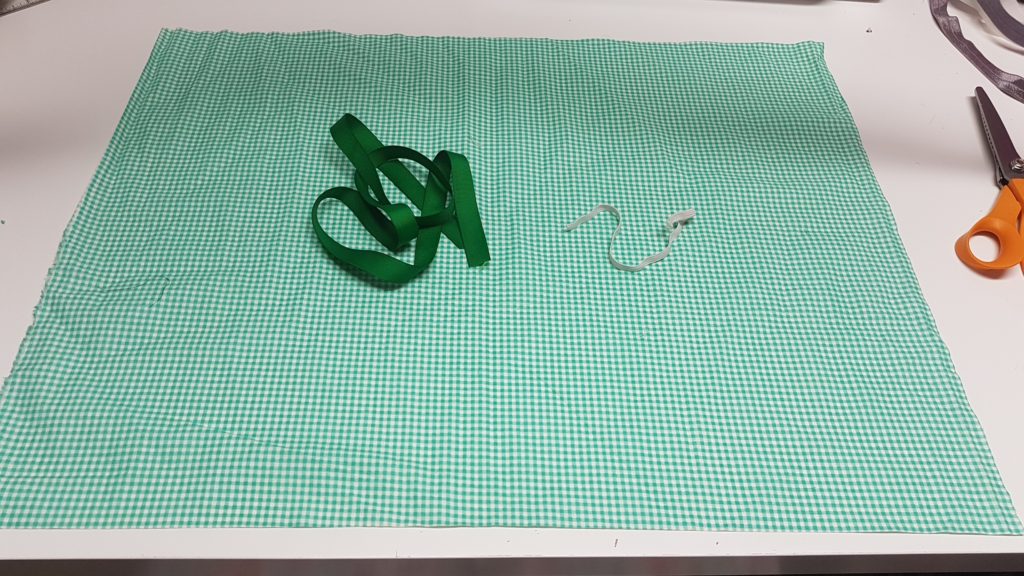
The things you will need for this project are
Elastic preferably 1/4″
Ribbon / Rope
Pretty Cotton Fabric
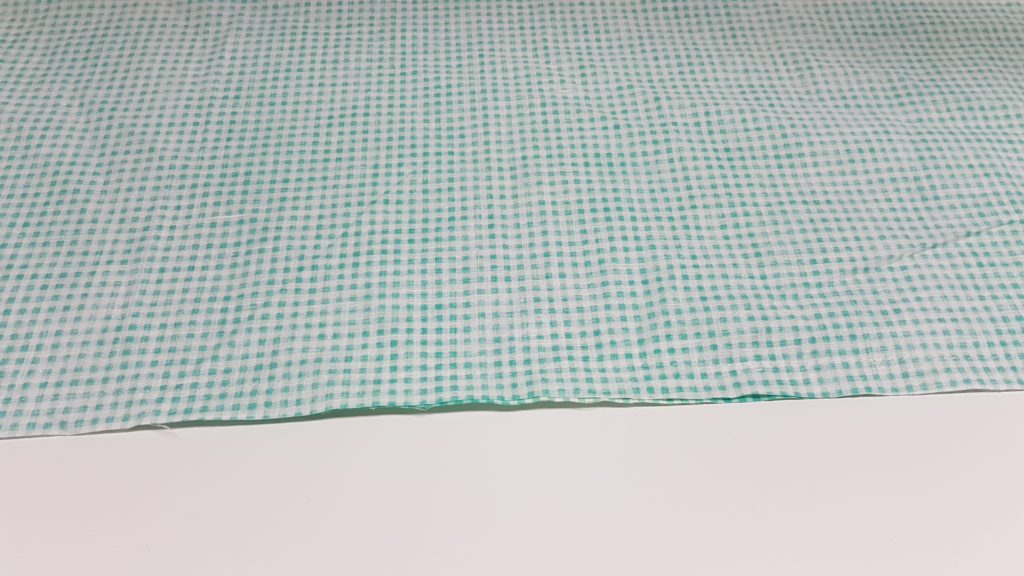
you will need 1 piece of 22″ x 18″ Cotton fabric
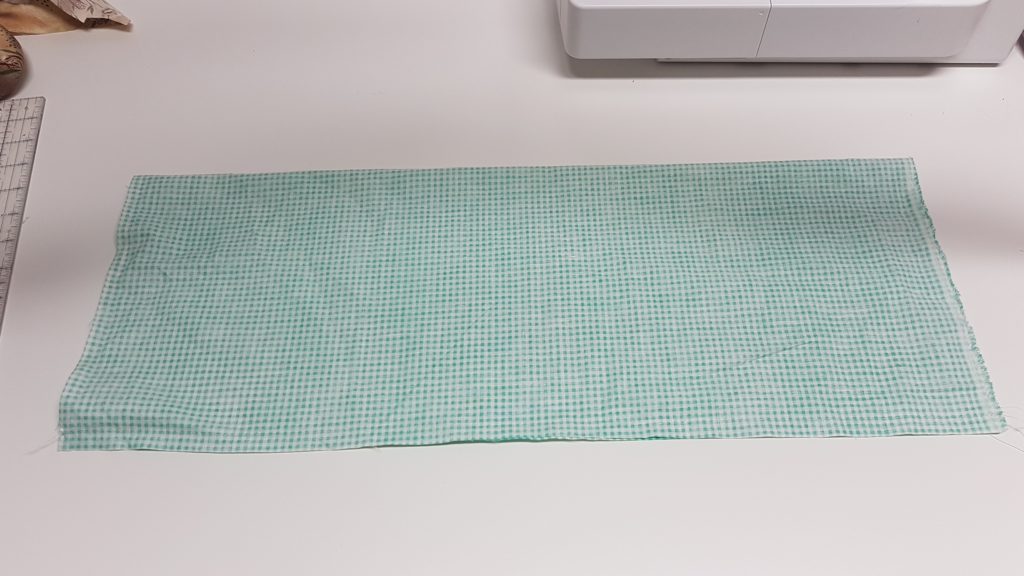
Fold it in half on the 18″ side
Sew down the long edge with a 1/2″ seam allowance
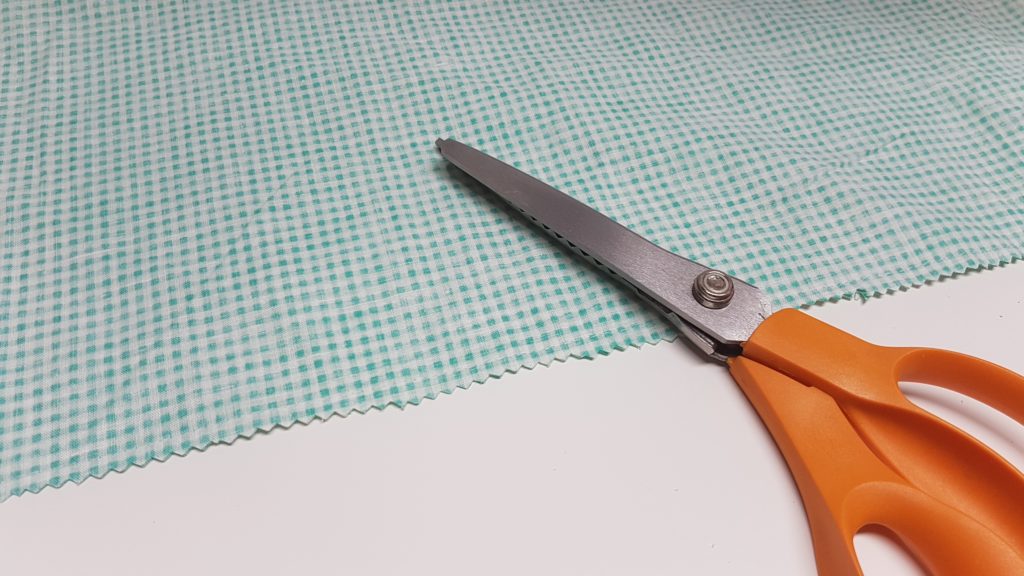
I use my pinking sheers to trim the edge to prevent fraying, if you dont have pinking sheers you can do a zigzag stitch down the raw edge or serge the edges. if your making this for yourself and you dont really care then you can leave it be since it will be inside the bag holder and you wont see it anyways
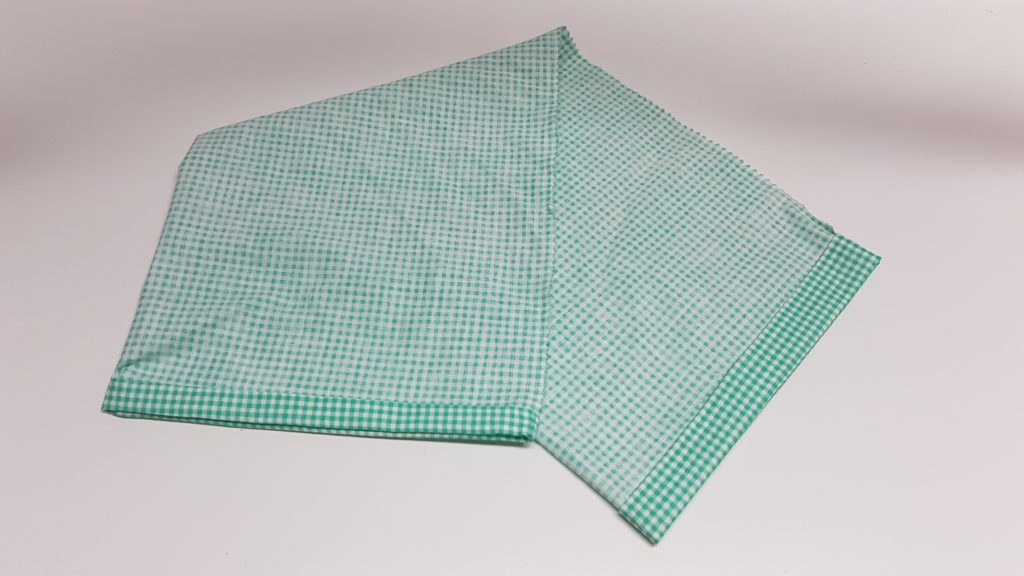
Now we will hem each end of the piece, Fold in 1/4″ and then again 3/4″
i’m making the hem a little larger so it will fit my elastic and ribbon
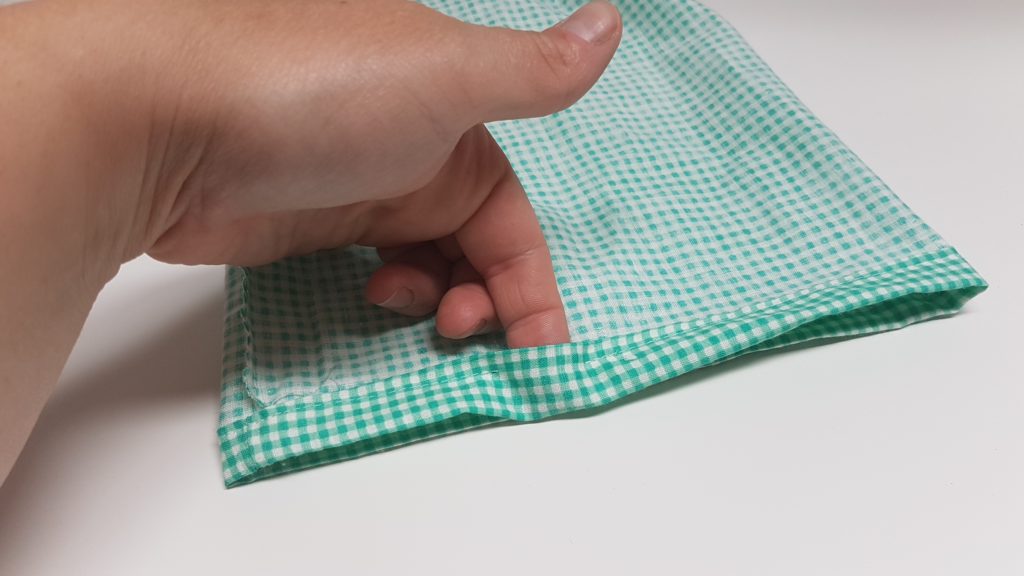
Sew the hem but leave a 1″ gap to insert your elastic
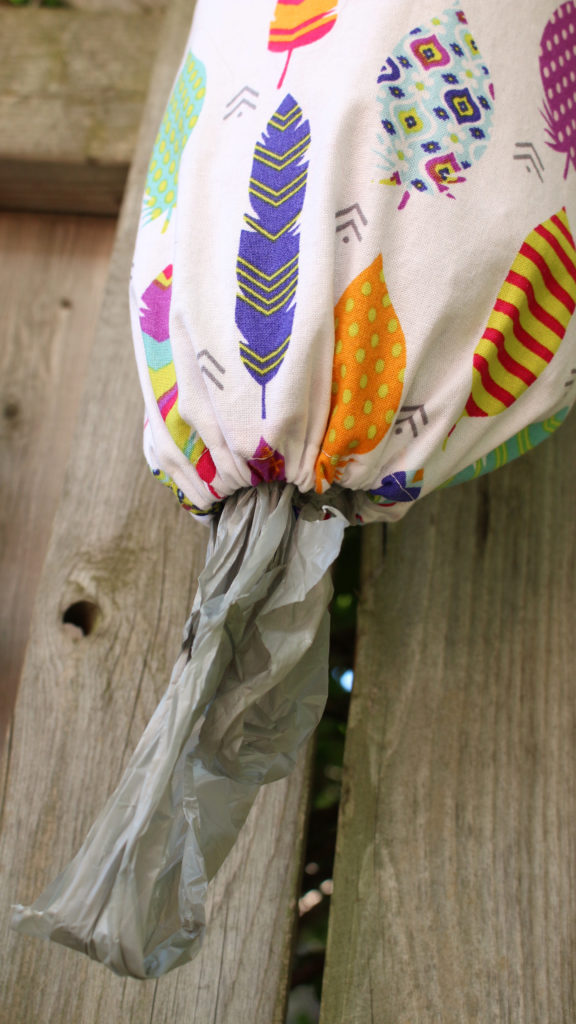
Elastic should measure about 3 or 4″ but you can gage it depending on how stretchy your elastic is. once elastic is inserted you want the opening to be about 1 or 2 inches wide.
large enough so you can grab a bag but small enough so the bags done fall out
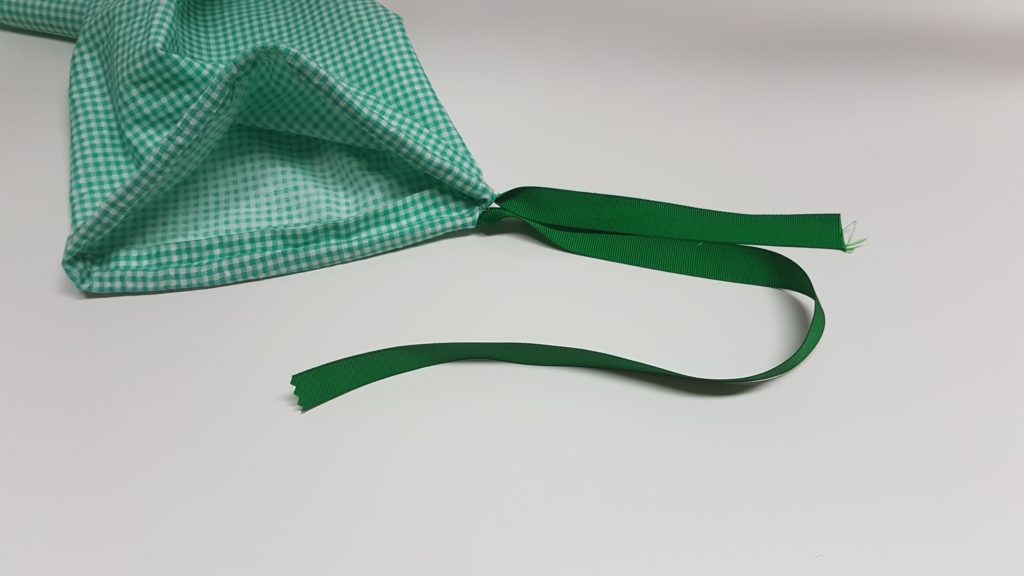
For the opposite side of the holder hem all the way around without leaving a gap. take your stitch ripper and cut out a few stitches from the side seam of the bag between the edge of the bag and the hem line of stitching to create a small hole. insert your ribbon or rope.
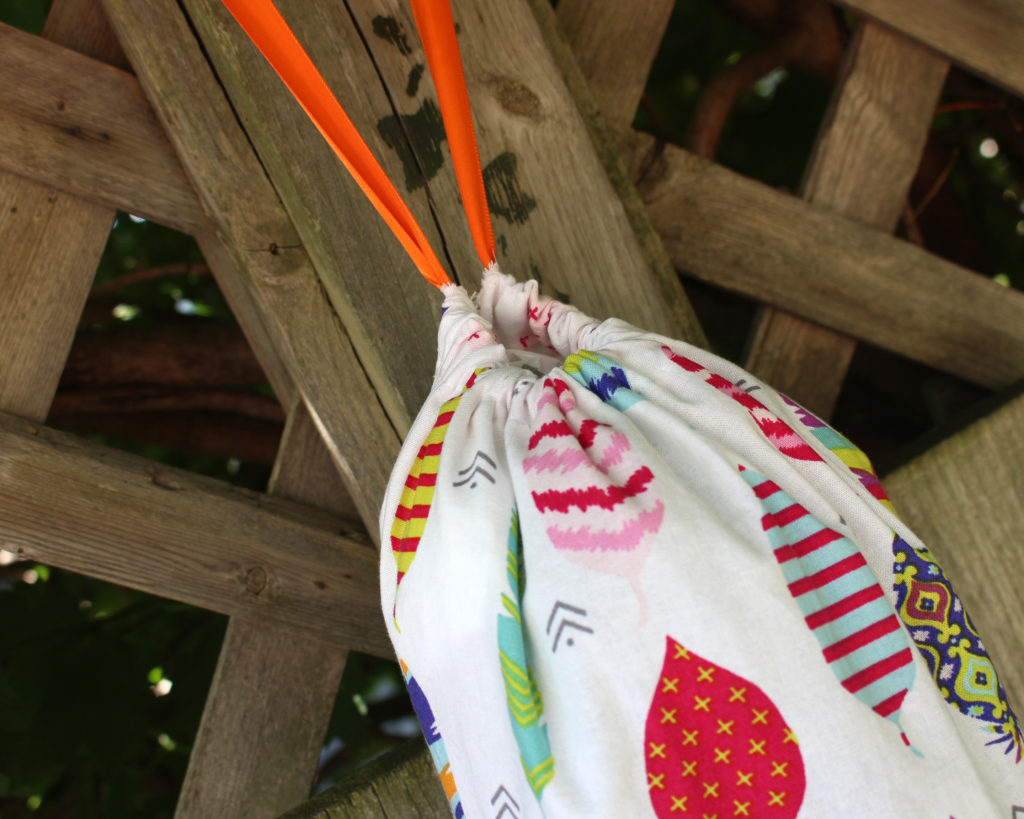
Tie it into a knot for hanging and then your done!






0 Comments