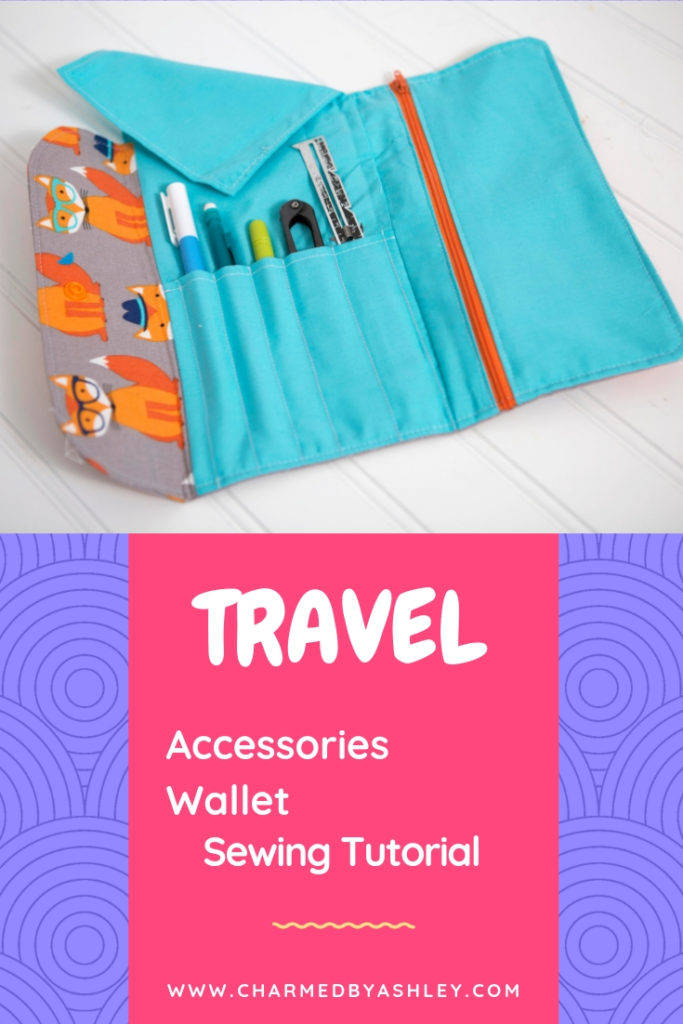

Hey guys! welcom to the Travel Acessories Wallet tutorial, here you will find the PDF for one of the pattern pieces, a list of all the measurements, links to the products i used, step by step instructions and also a link to the Video tutorial so you can have Maximum success when making one of my projects!
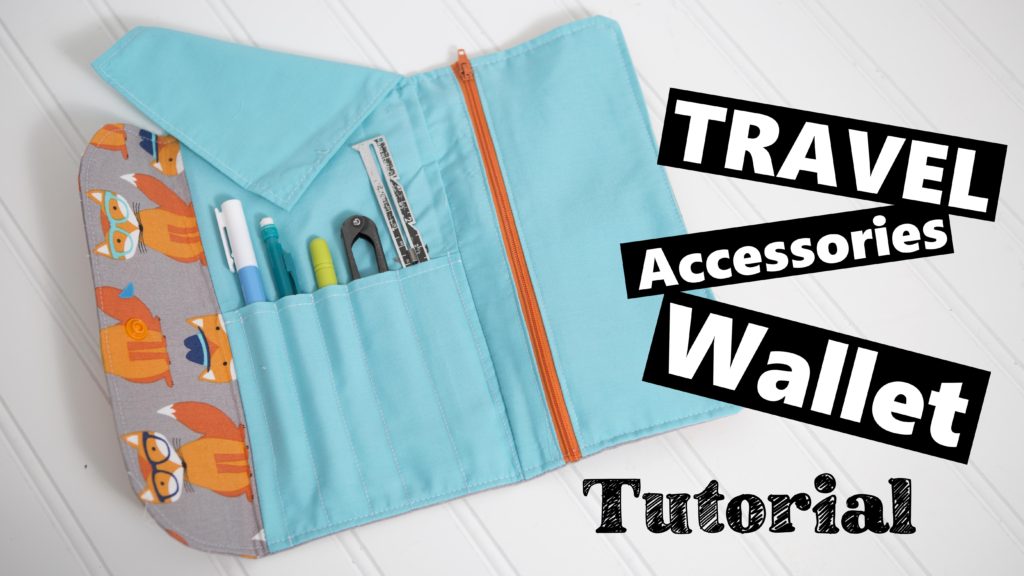
This is a Great travel wallet for Crafting tools, stationary or Makeup brushes


This Trifold wallet design features slots for your tools and brushes and as well as a zipper pockets for smaller loose items
Materials i used
Measurements
Check out the PDF pattern for a printable version of all the measurements and also a piece to cut out and help you create your pattern
Download here – Charmedbyashley-AccessoriesWalletpatternpiece
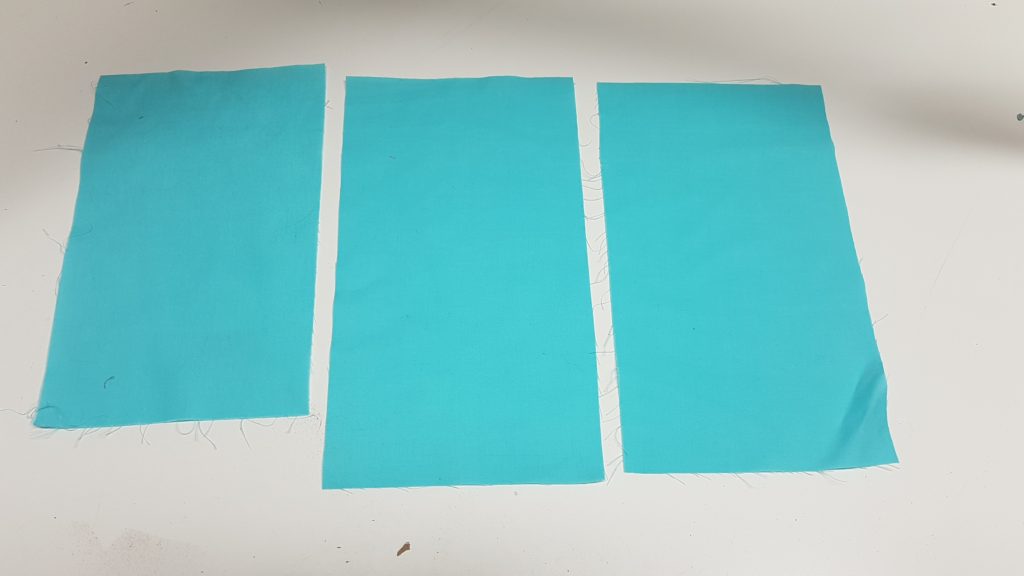
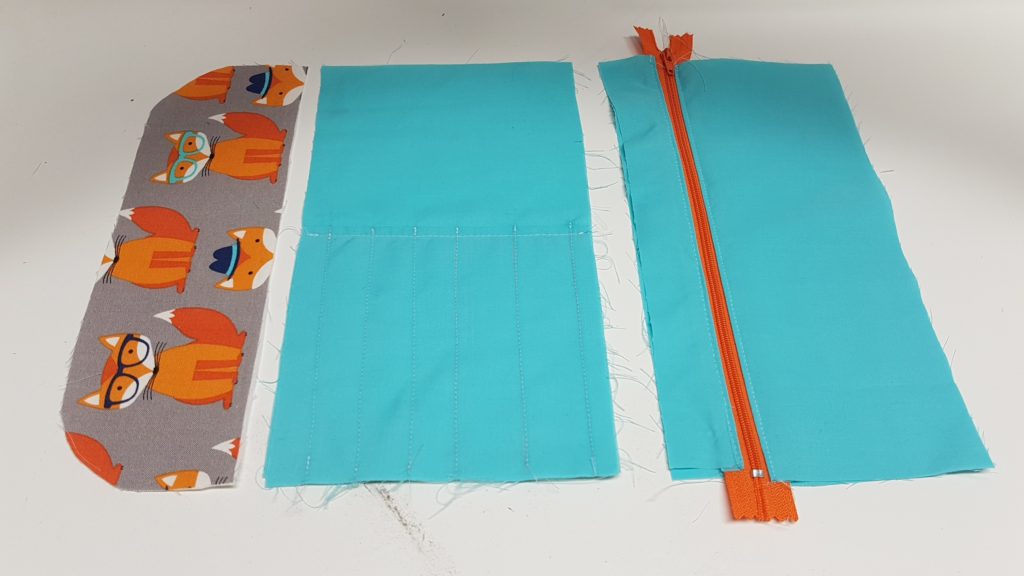
All pieces are photographed below so make sure you have the following
- Zipper panel – 1 1/2″ x 9 1/2″ – Cut 2
- Zipper panel – 4″ x 9 1/4″ – Cut 2
- Zipper pocket lining – 5 1/2″ x 9 1/2″ Cut 1
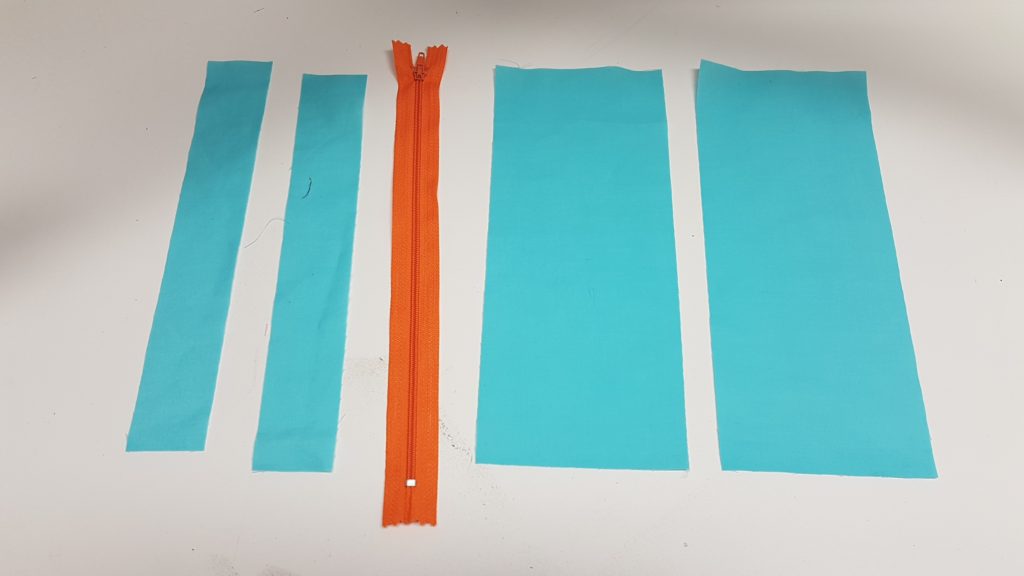
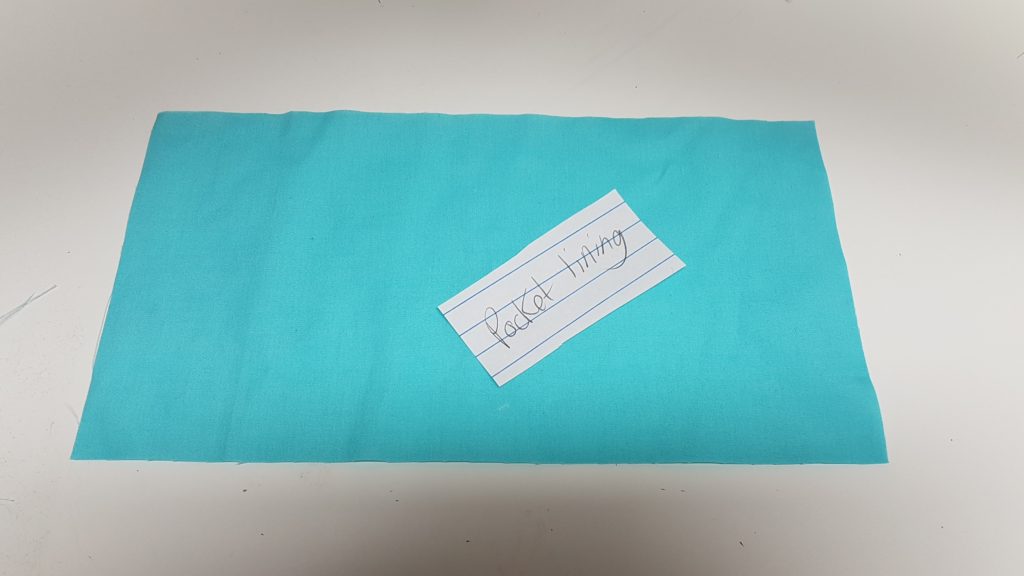
- Centre panel (pocket slots) – lining piece – 5 1/2″ x 9 1/2″
- Pocket slot piece – 10″ x 5 1/2″ (to be folded in half length ways)
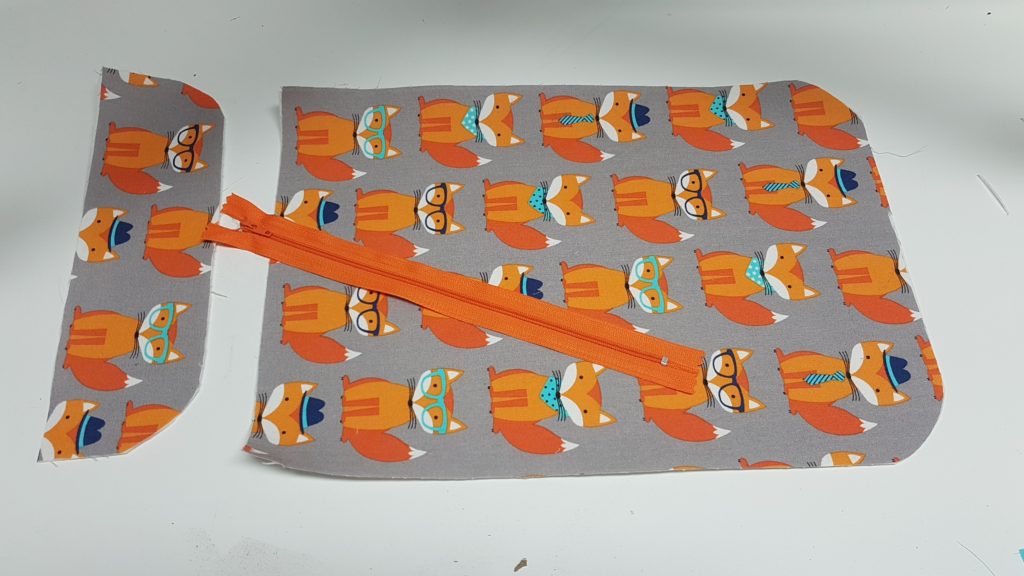
- Flap piece – 9 1/2″ x 5 1/2″ (to be folded in half length ways
- Outer piece – 12 3/4″ x 9 1/2″
- Small piece – Flap Closure – 3″ x 9 1/2″ (Print out PDF for this pattern piece) (piece can be easily recreated by using something circular to round the corners
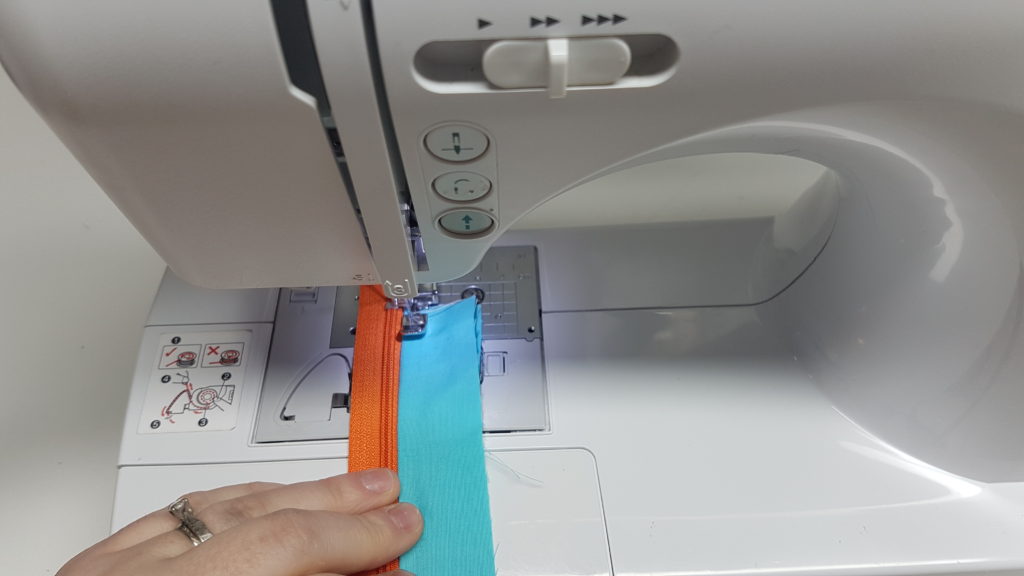
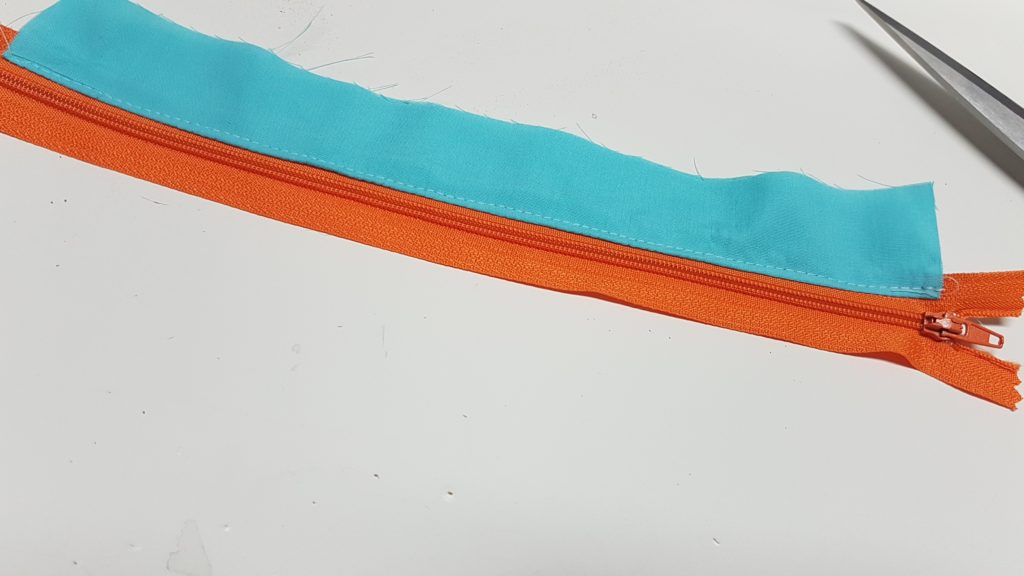
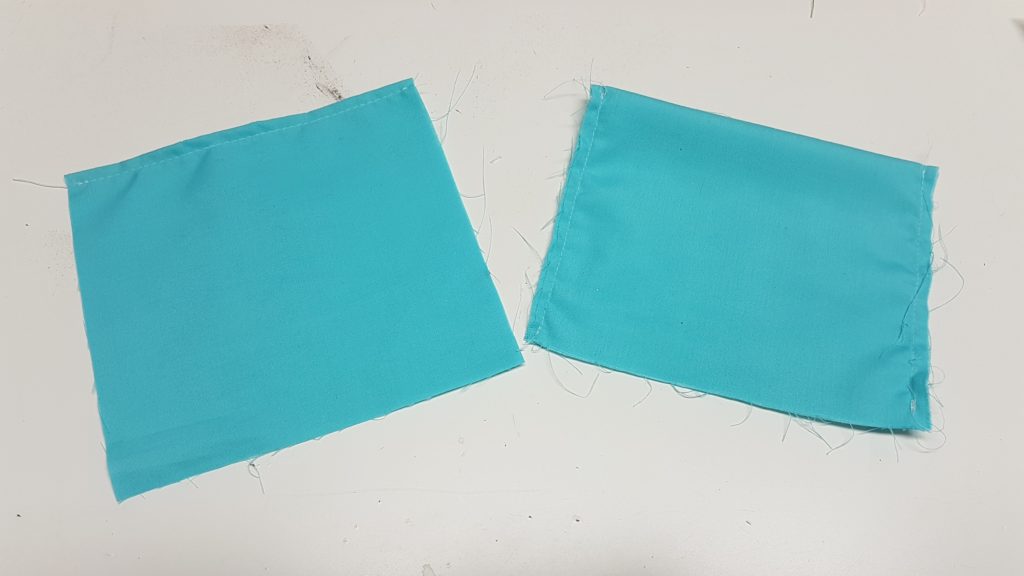
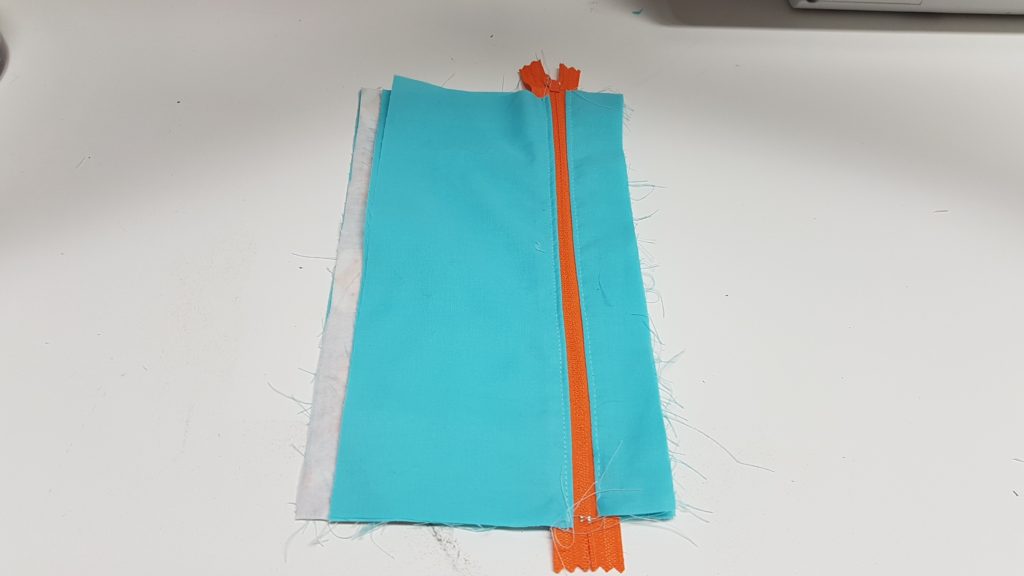
Step 1 Assemble the Zipper panel
Sandwich the two small pieces with one side of your zipper, sew , flip the fabric right sides out and sew a top stitch.
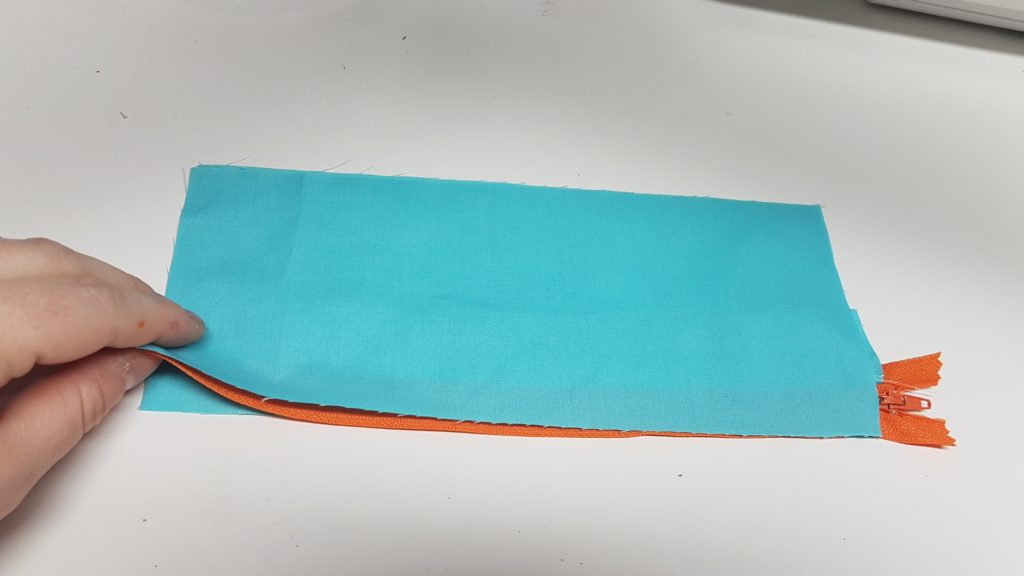
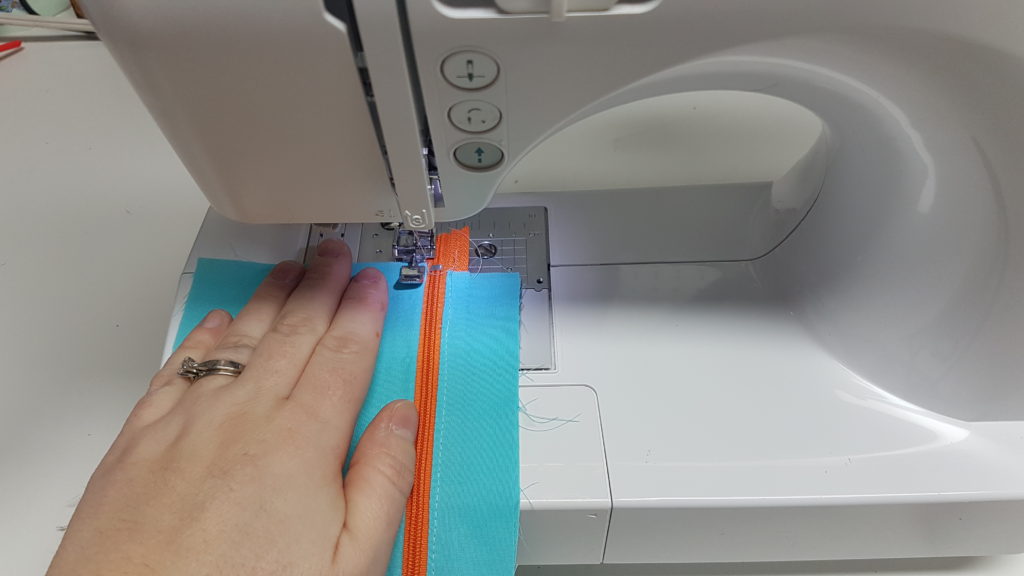
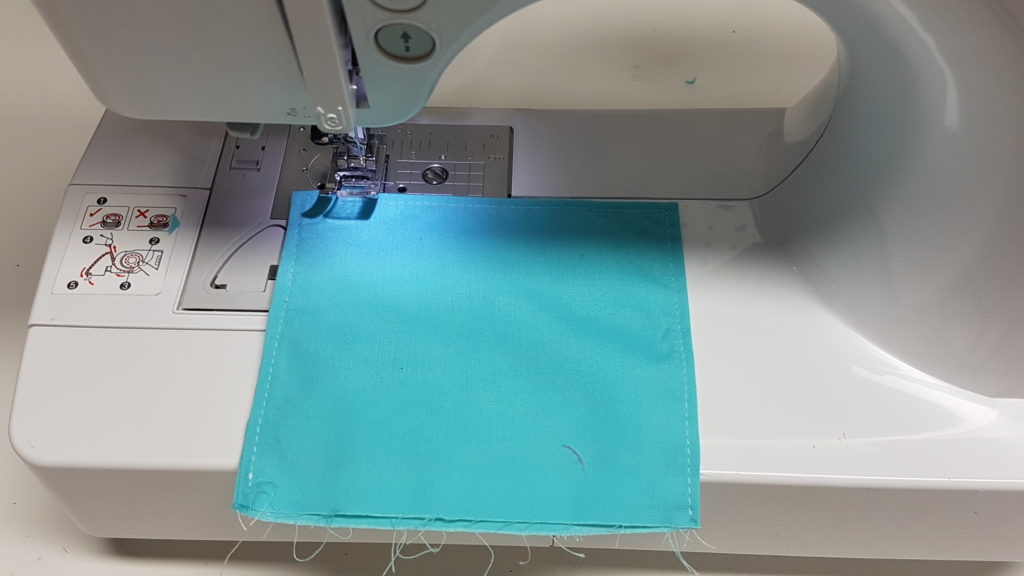
Step 2 – place the two zipper pieces on the other side of the zipper with right sides together, Sew, and then flip right sides out and sew a top stitch
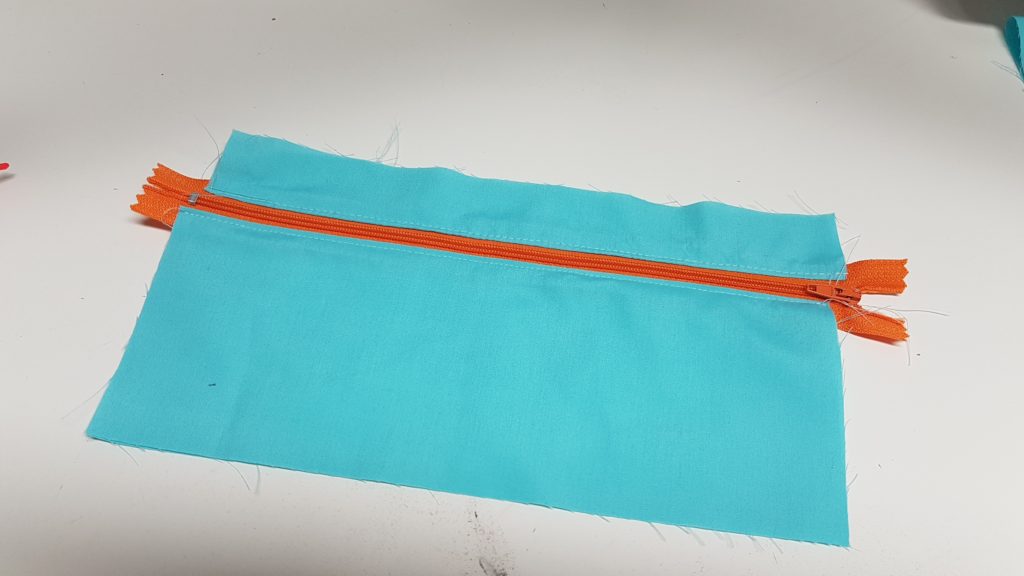
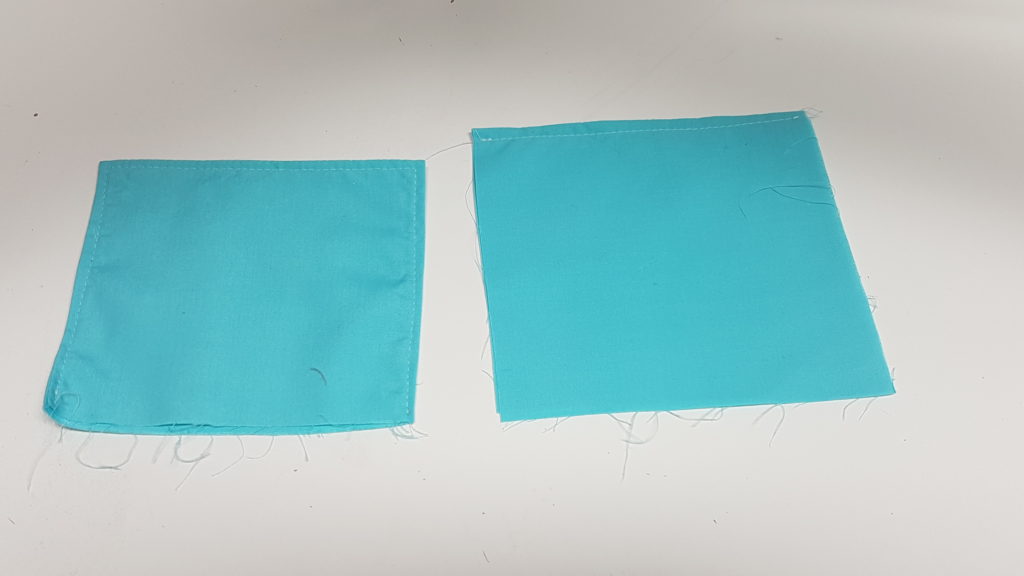
This is how it should look
Step 3: Fold Flap piece in half with the right sides together, Sew down the two sides, Fold the “pocket slot piece” wrong sides together, sew a top stitch along the folded edge
Flip the flap piece right sides out and top stitch along the three sides to finish it off.
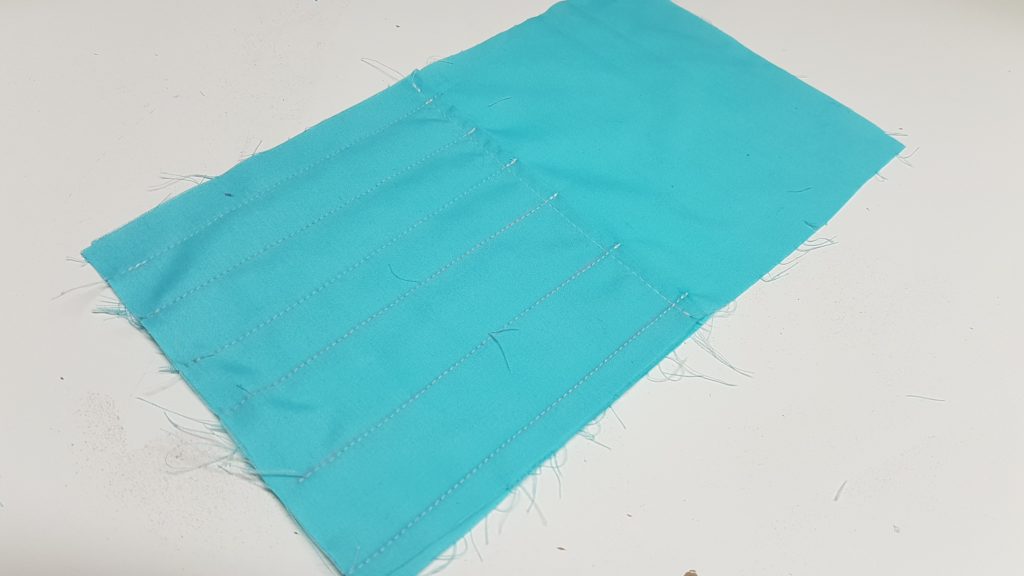
Step 4: Place the pocket slot piece ontop of the centre panel back piece, mark out your measurements for your slots, if you would like to do exactly what i did mark out from the left to the right
1/2″, 3/4″, 3/4″, 3/4″, 1″, 1″
Sew all the markings and backstitch at the top of the pocket
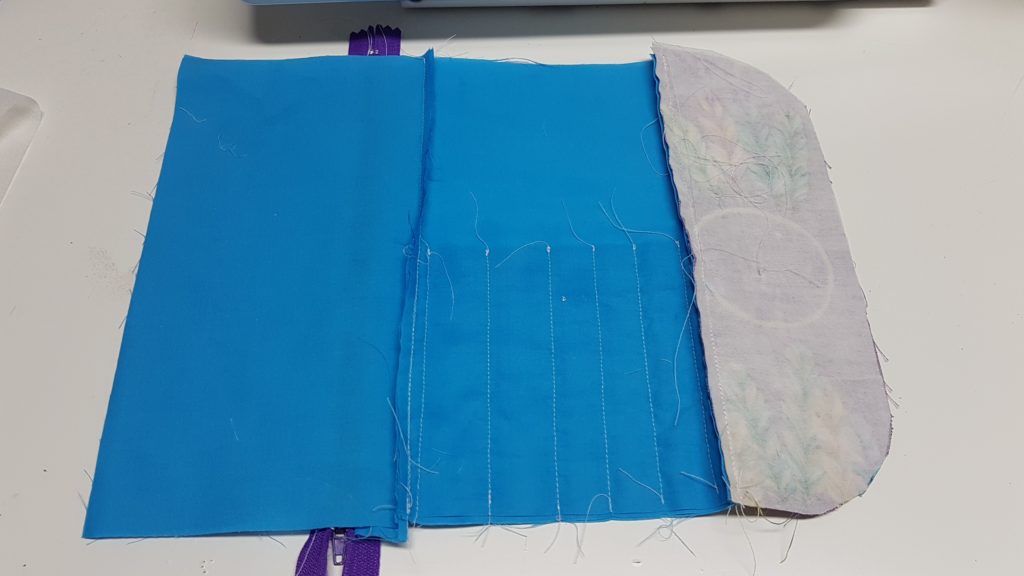
Step 5: Assemble the interior of the wallet
Place closure flap on top of centre panel with right sides together, sew

Place zipper panel on centre panel lining up the right edge, place zipper pocket lining ontop (**not photographed refer to photo of another wallet i made with different fabric next)
** Not the zipper lining
To see the rest of the tutorial please Click the video link below!