A very simple solution to wrap those hard to wrap gifts, and save a tree and not buy boxes of every single odd shaped item!
ensure the wrapping paper overlaps over the item, there is 5″ extra on the bottom where the base of the bag will be and 4″ extra above the item where the bag will fold over to close
remove the item, crease the paper and tape down the seam, fold over one edge of the paper about a half an inch to give a nice clean finish
place a few pieces of tape to secure
Fold up the paper, 4 – 5 inches, or depending on the side of the gift fold accordingly
I’m placing two t-shirts inside this bag so i folded up 5″
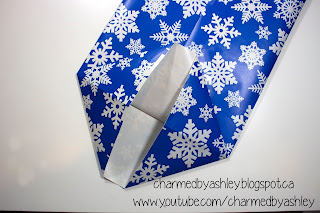
lay the fold down to create two triangles on either side
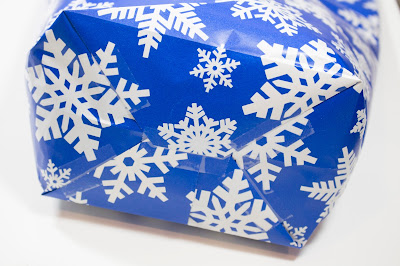
fold the tips of the triangles over lapping a 1/4″ and secure with lots of tape
This is how the inside of the bag will appear, to add more structure to the bag you can place a cardboard square that fits over the seams but it isn’t necessary for light items which is really what i would recommend this for as wrapping paper isnt very strong.
Standing up the bag with the gift inside folder over the top by 2″, from here you can tape it down or choose to place two holes and a ribbon through the holes to add a little sparkle
THE VIDEO TUTORIAL!
FOLLOW ME ON INSTAGRAM, TWITTER, FACEBOOK!
@CHARMEDBYASHLEY


0 Comments