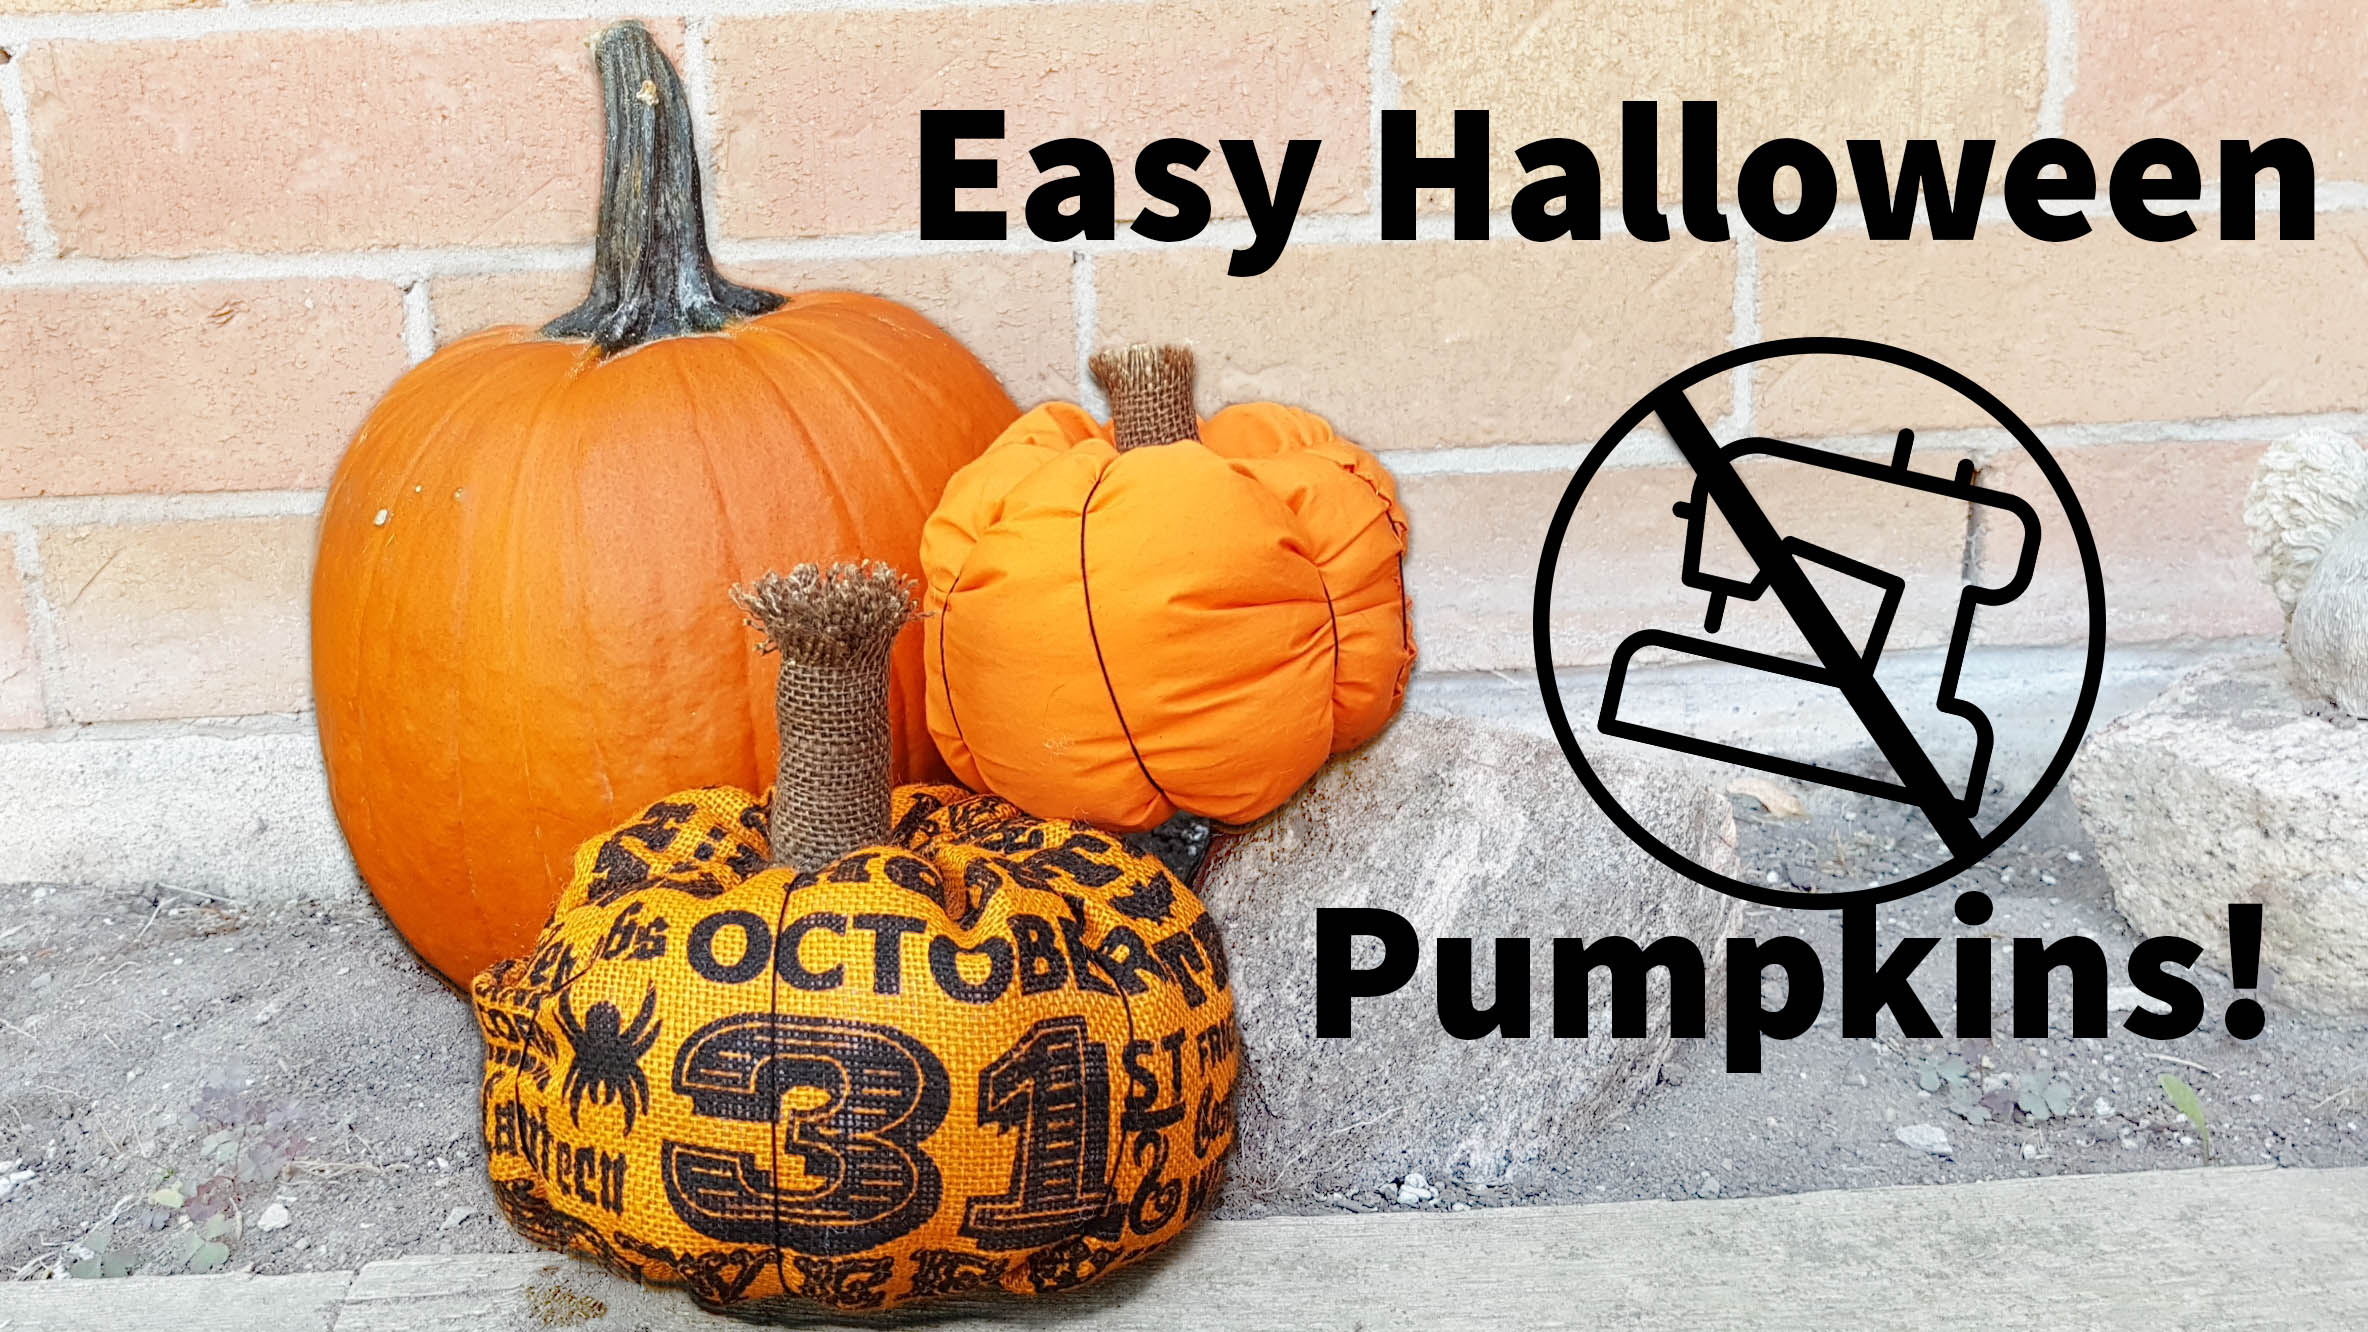
This super easy tutorial only requires a rectangle piece of fabric (of any kind), some (yarn, embroidery floss, twine,string), glue, and needle and thread
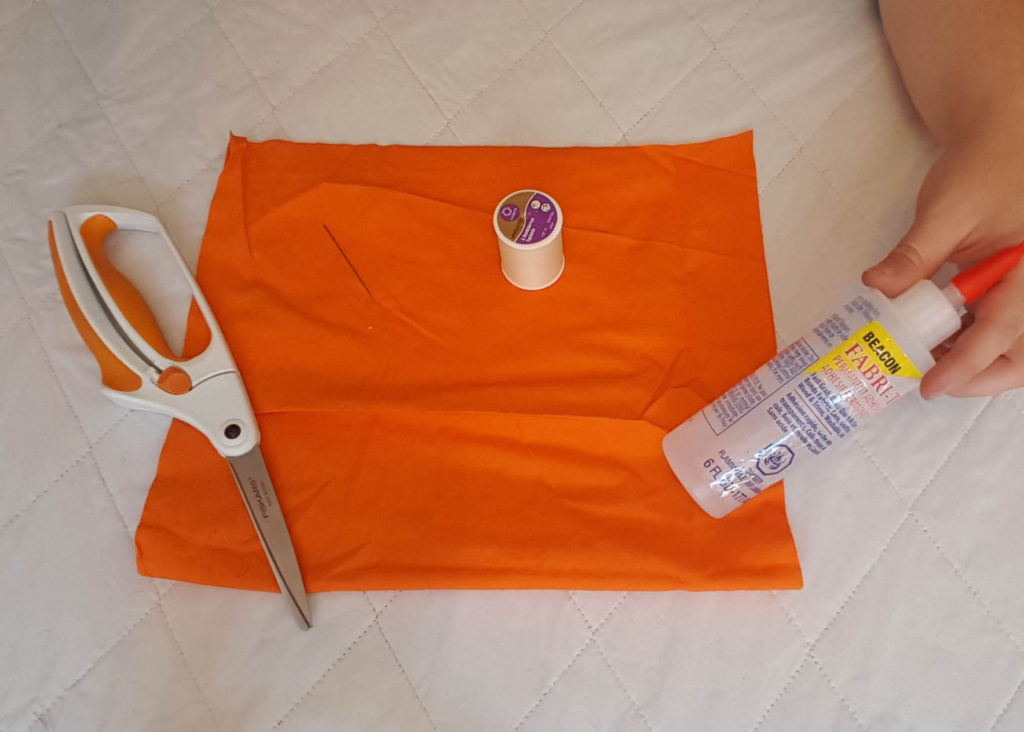
I used FabriTac and some upholstery thread for my project, the upholstery thread is very strong and since i will be tugging on it alot i dont want my thread to break
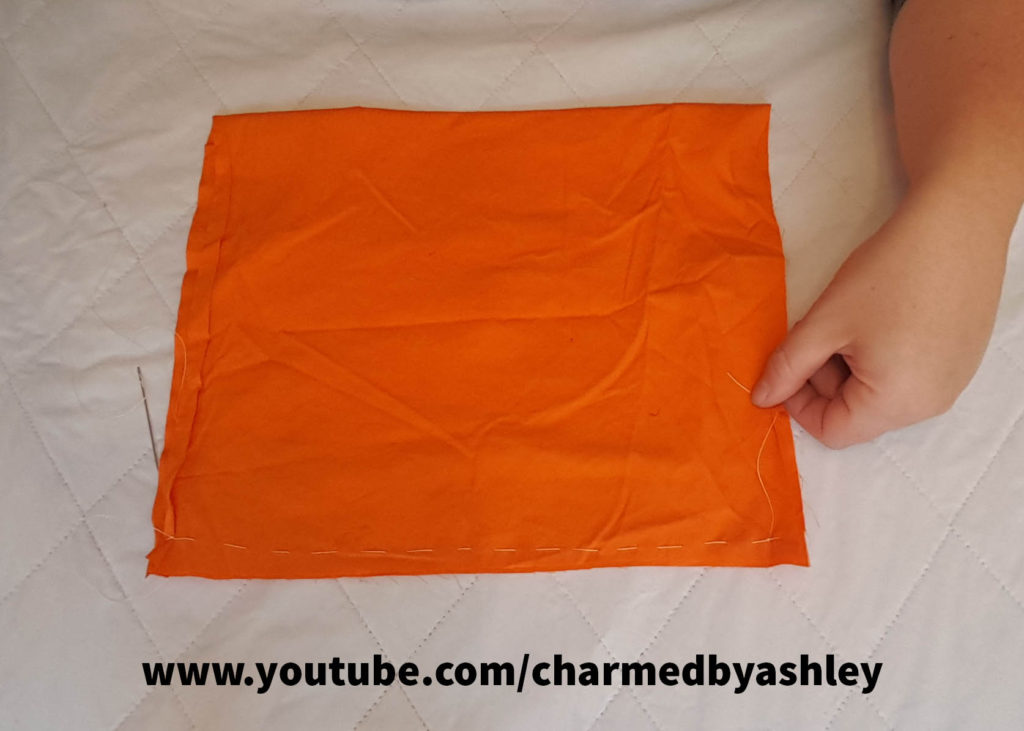
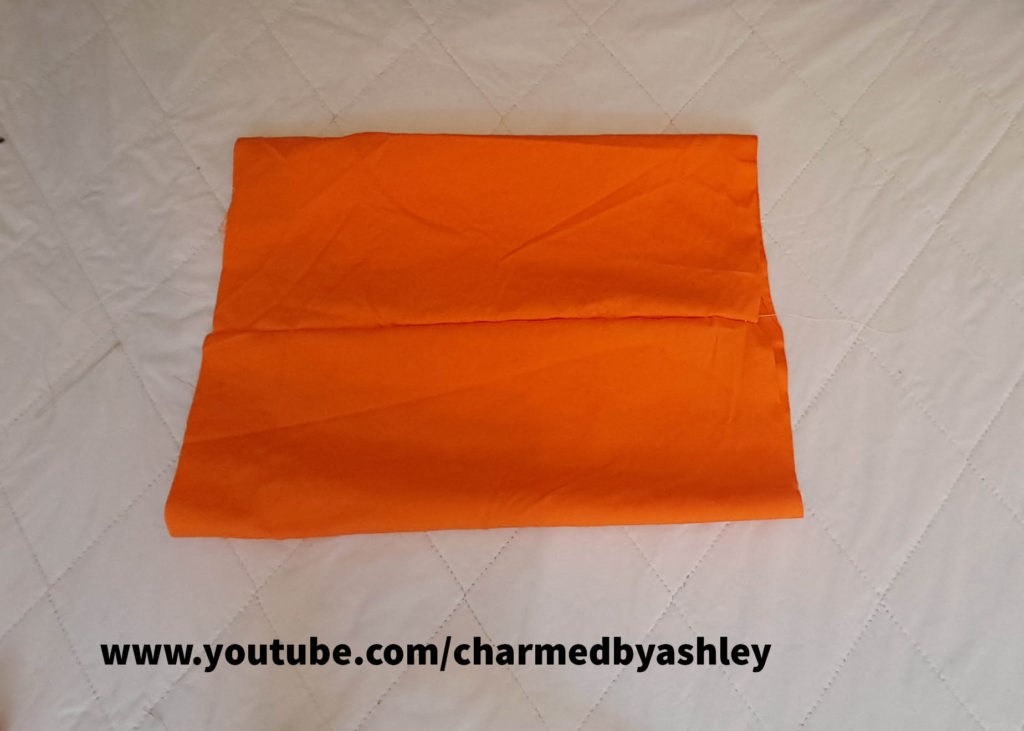
Cut a rectangle 20″ x 10″, Fold it in half and sew down the side opposite of the fold, this can done either by sewing machine or by hand like so
turn it right side out
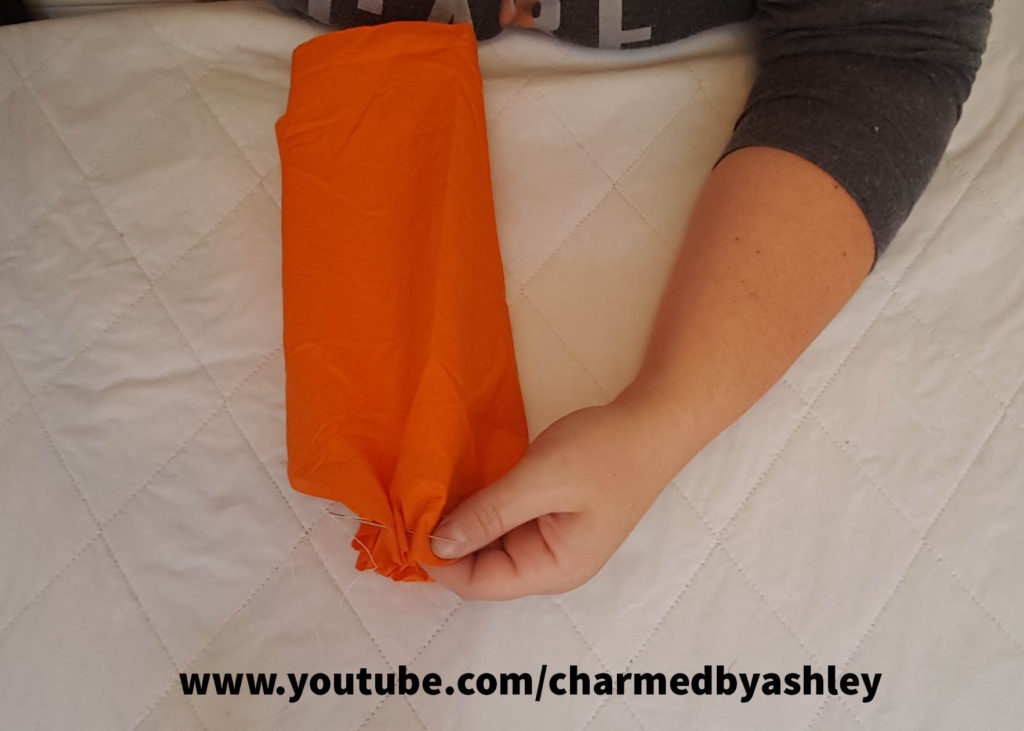
take so me more thread and quickly sew around the raw edges, this doesnt need to be neat as we are just going to gather the fabric by pulling onto the thread. you wont see your stitches in the end so dont even worry about it not looking beautiful at this point.
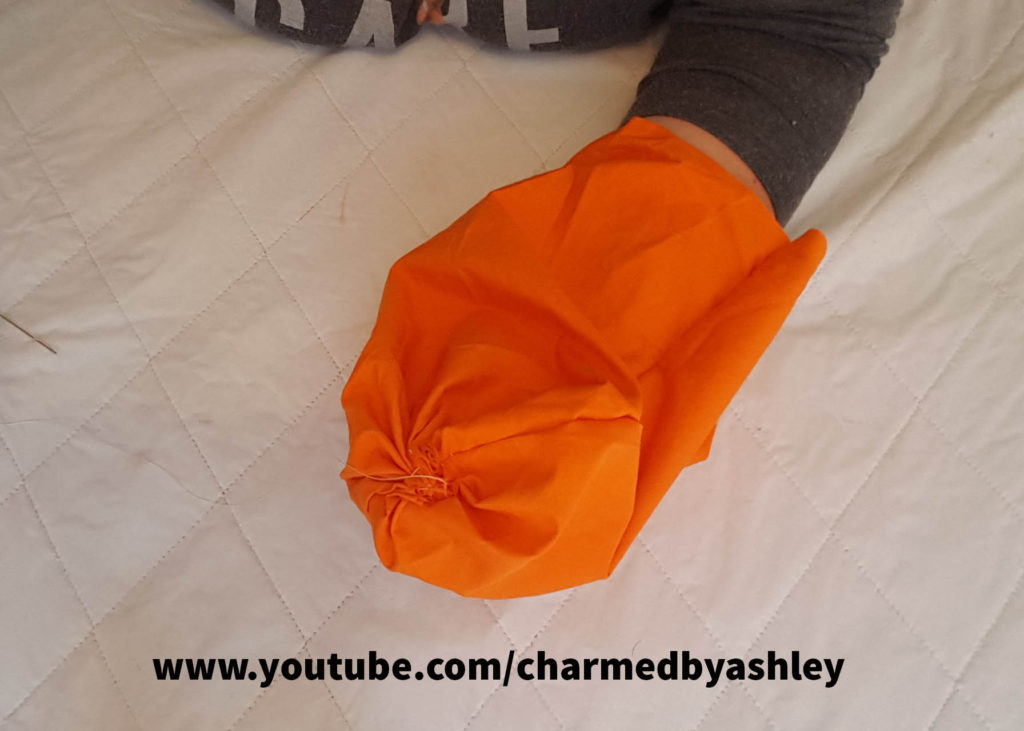
This is how it will look once its gathered.
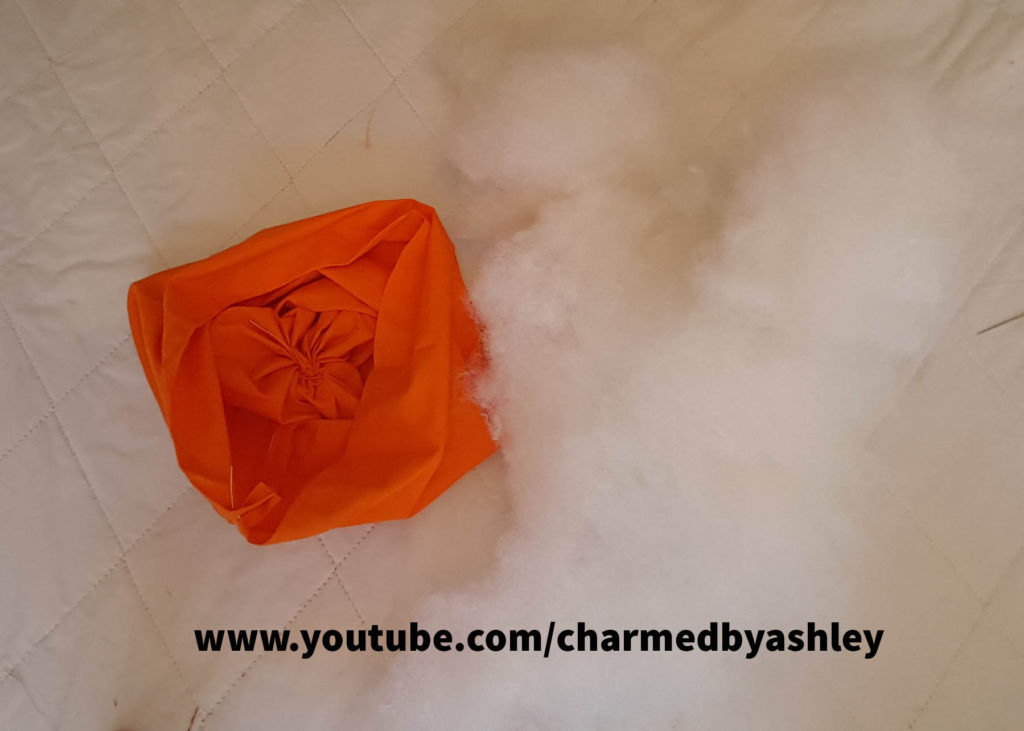
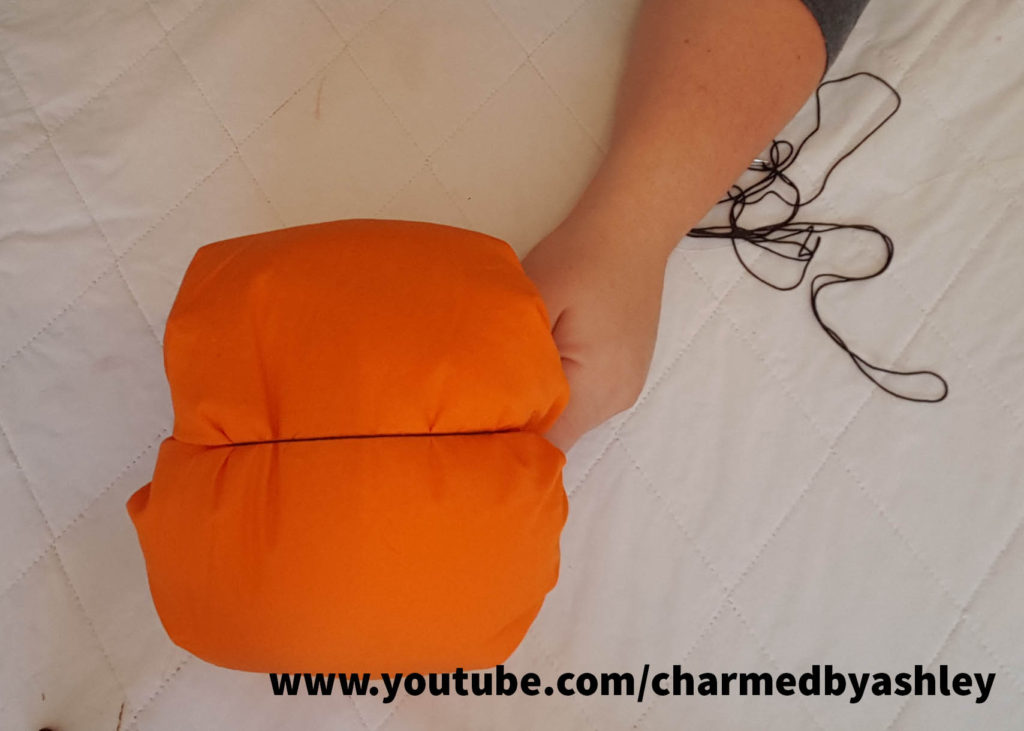
Grab some pillow stuffing and stuff the pumpkin, you may have to add more stuffing after you start to sew the pumpkin shut
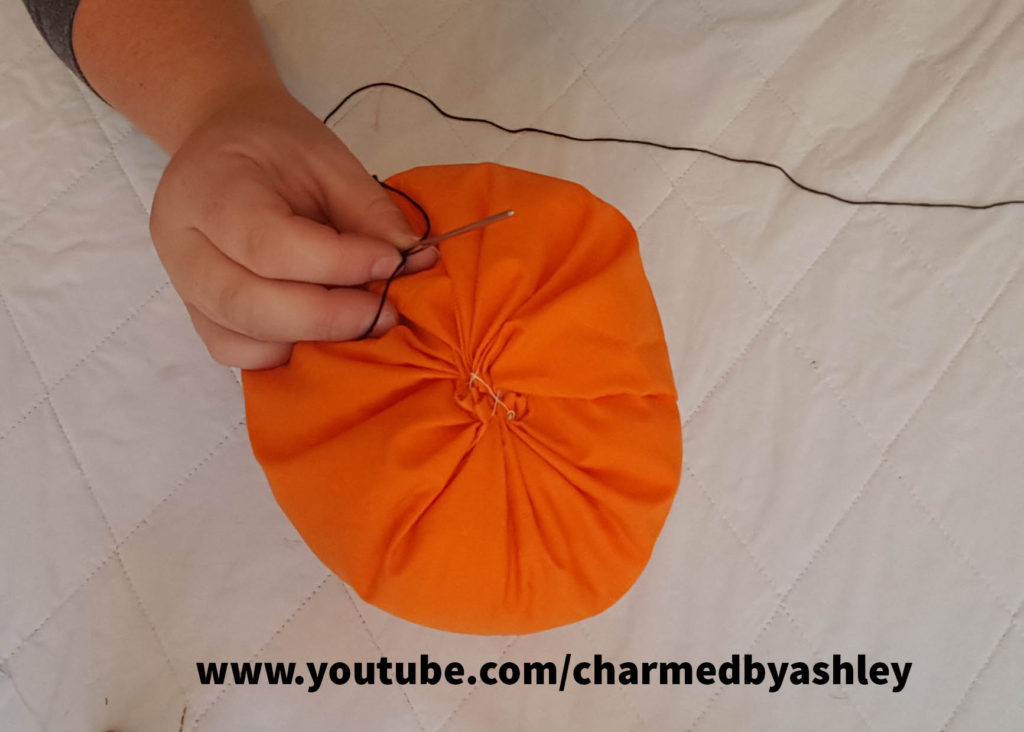
Again sew around the edge and then gather all the fabric into the centre. Now i am switching to my darning needle and embroidery floss
I will be putting my needle throw the centre of the pumpkin to create the lines on the sides
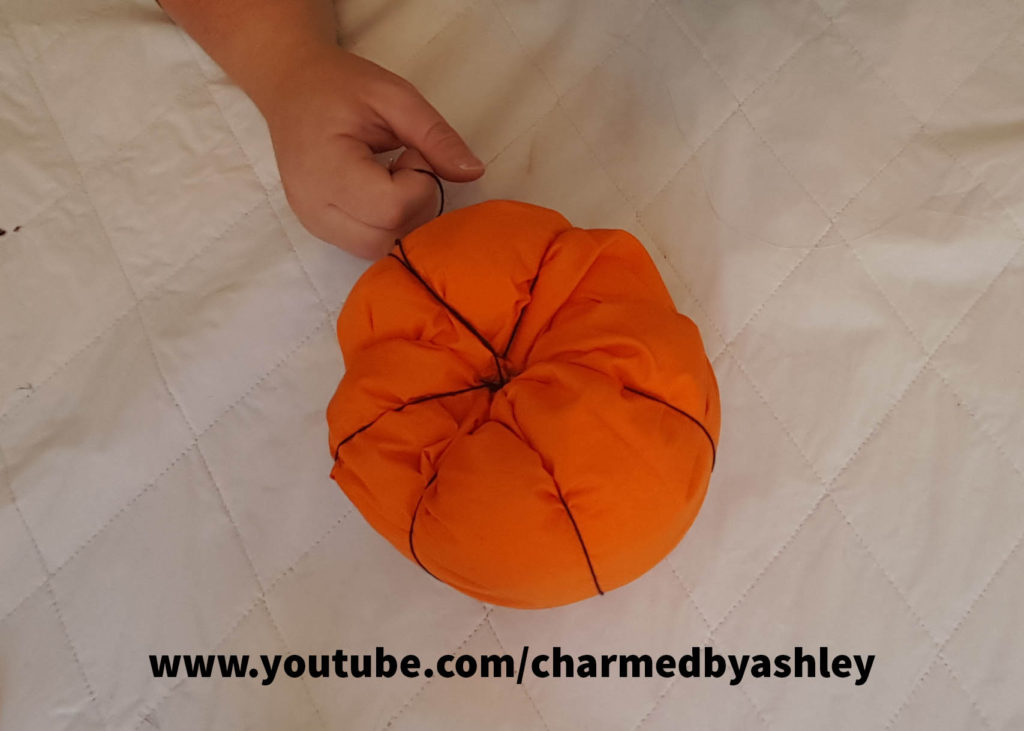
put the needle through the centre and around the pumpkin 8 times so it looks like the pumpkin has 8 different sections, pull it a little tight so it indents the side of the pumpkin giving it a more pumpkin form
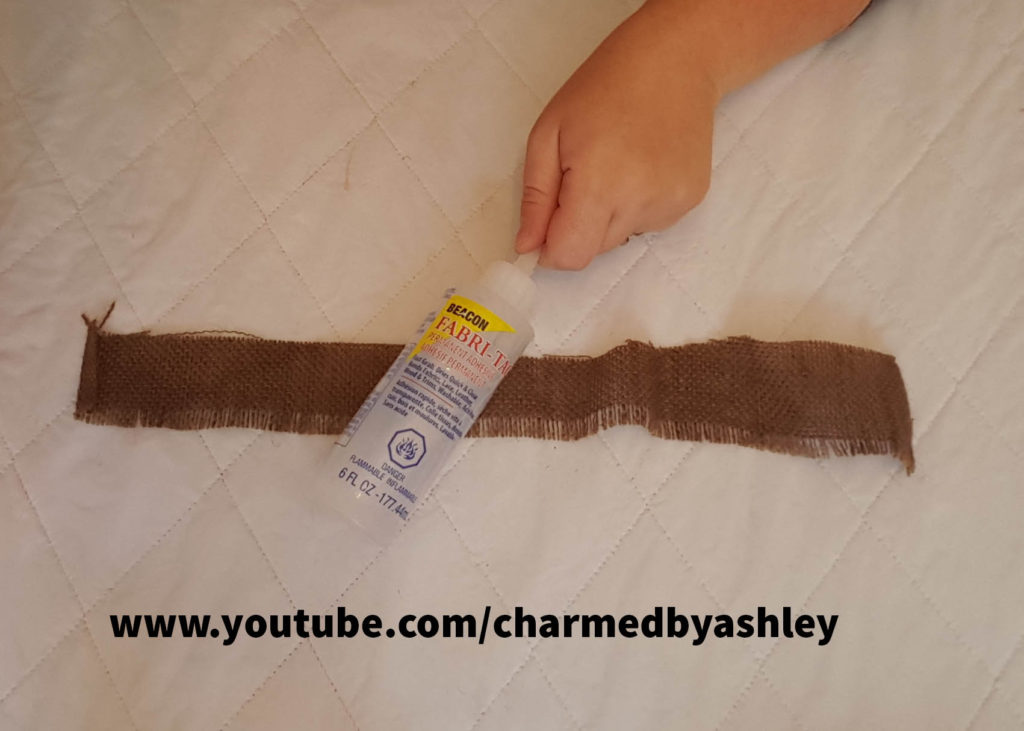
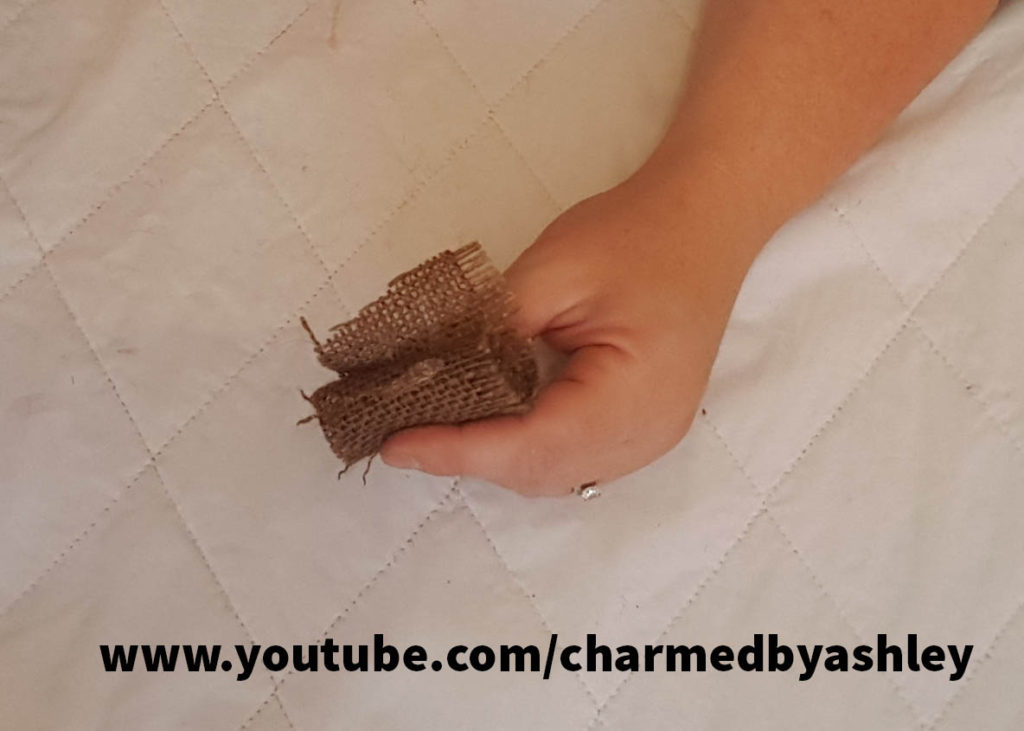
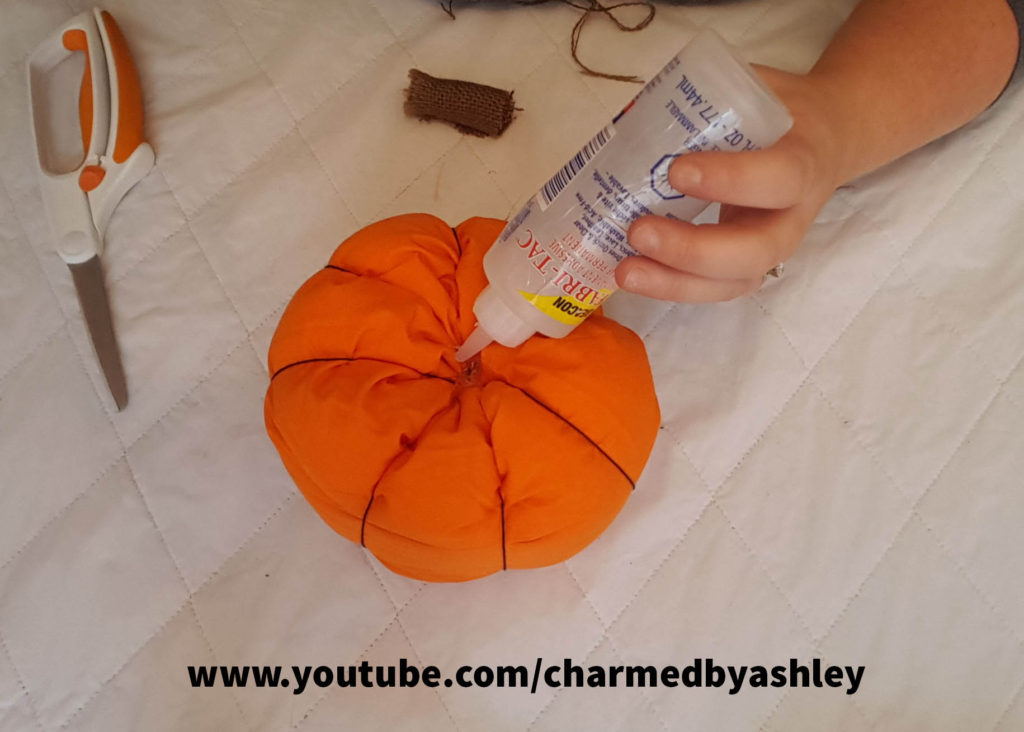
I’m going to be using a scrap of burlap for my stem and im using fabritac and then i will roll up the burlap
using my glue i will glue on the stem of my pumpkin, if you dont feel comfortable using glue you can of course sew it on for extra security



0 Comments