
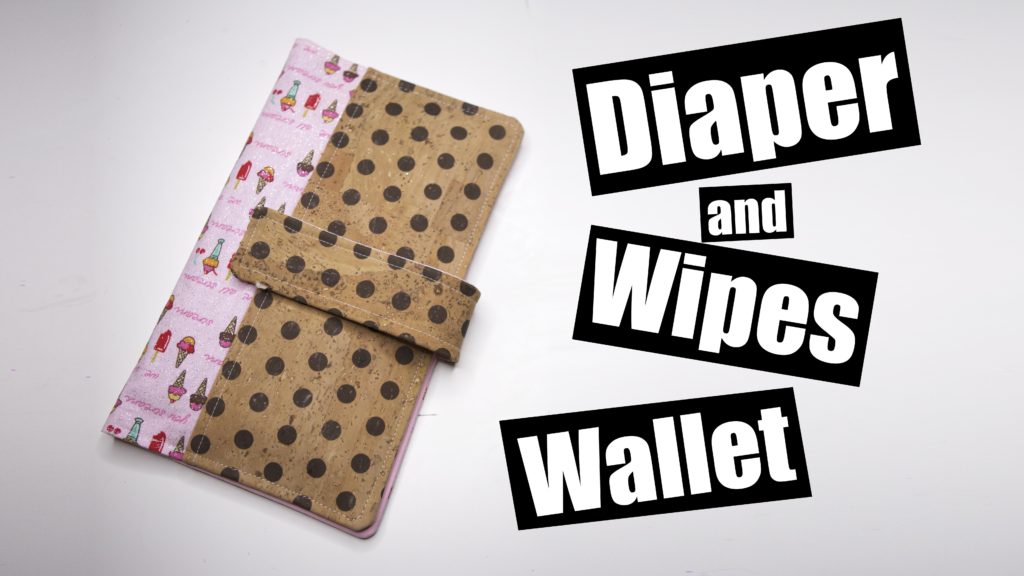
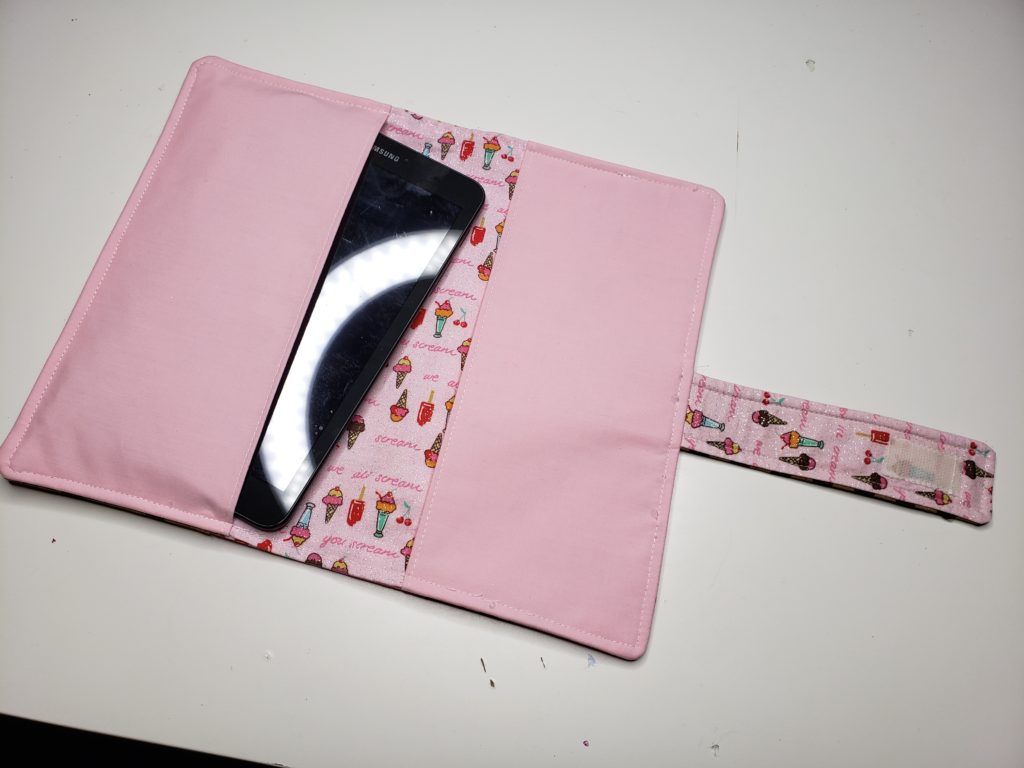
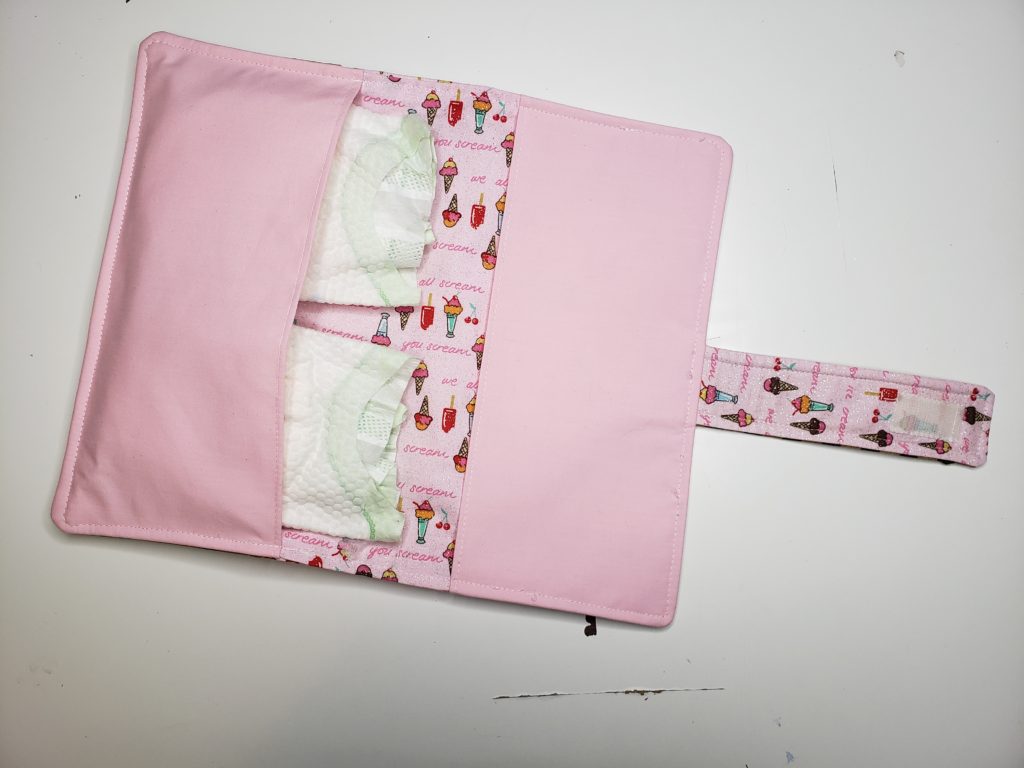
hey! welcome to the Diaper and wipes wallet tutorial! or…. tablet wallet! this is a dual purpose little wallet thing.
here you will find the measurements, tutorial, photos and links to products and tools i use in all my Videos!!
[wpedon id=”3129″ align=”left”]
Please Pin and Share!
Helps keep my patterns free!
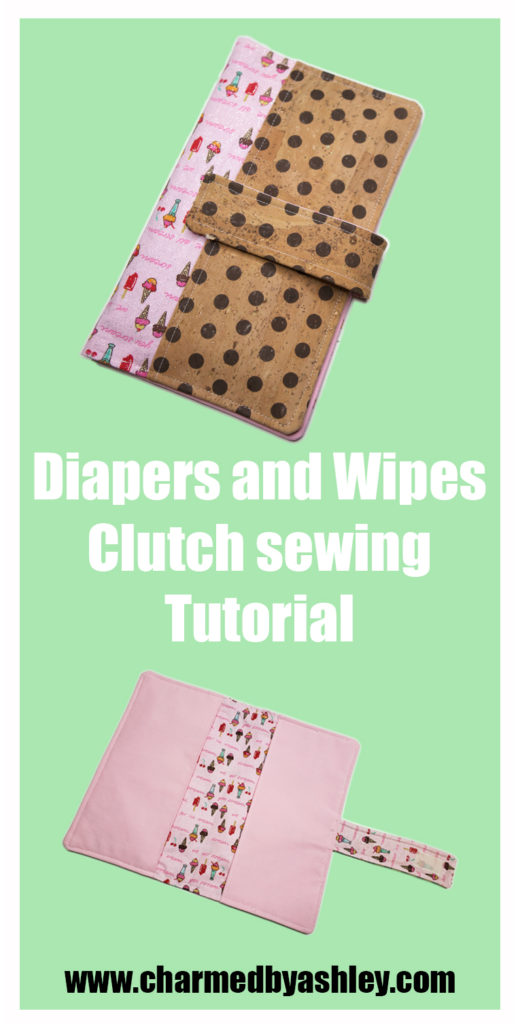
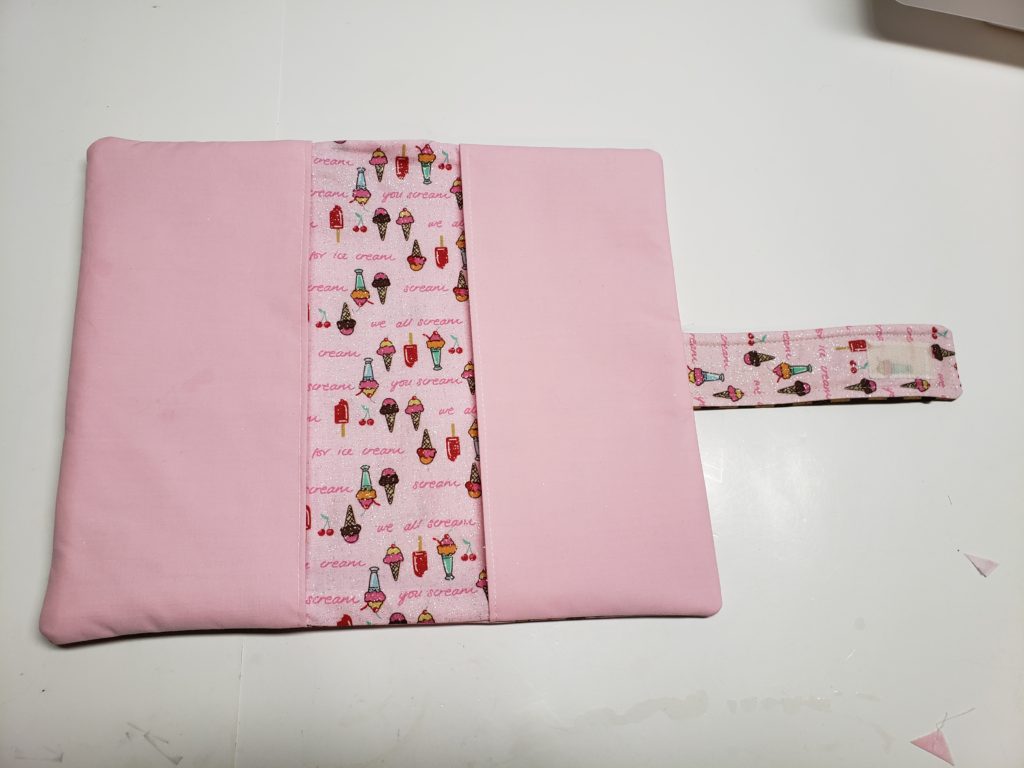
This Wallet would totally work for a medium size tablet and a notepad… haha!
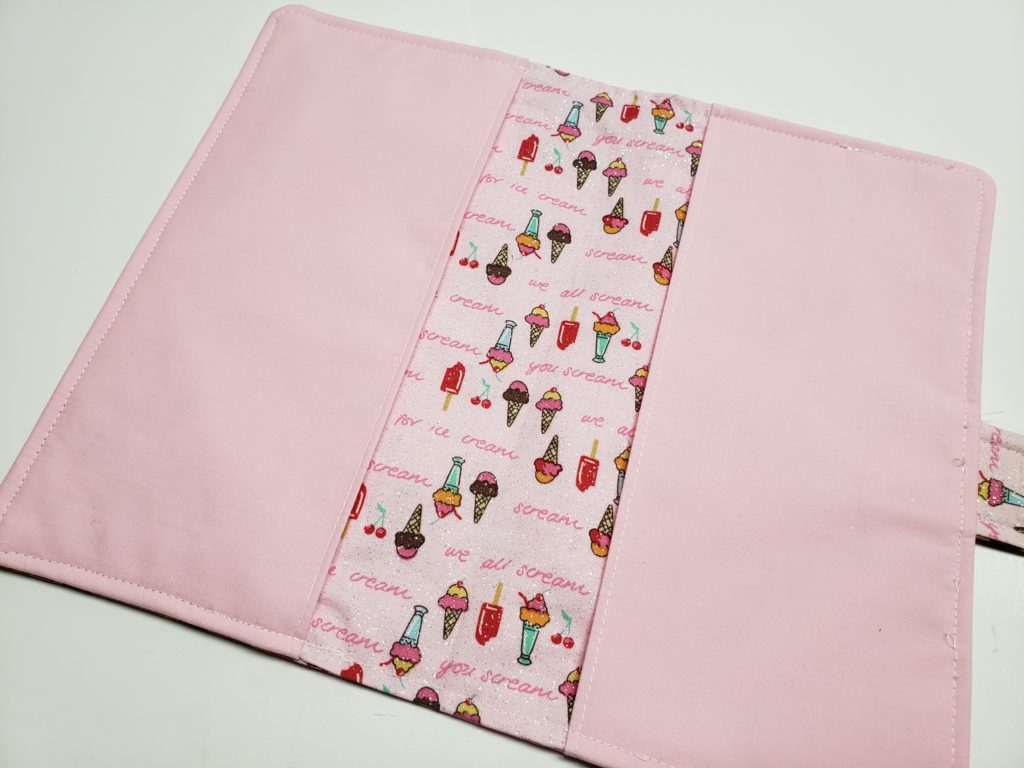
for diapers you can fit newborns side ways and then the larger diapers length ways. and Wipes in the other slip pocket.
The measurements!
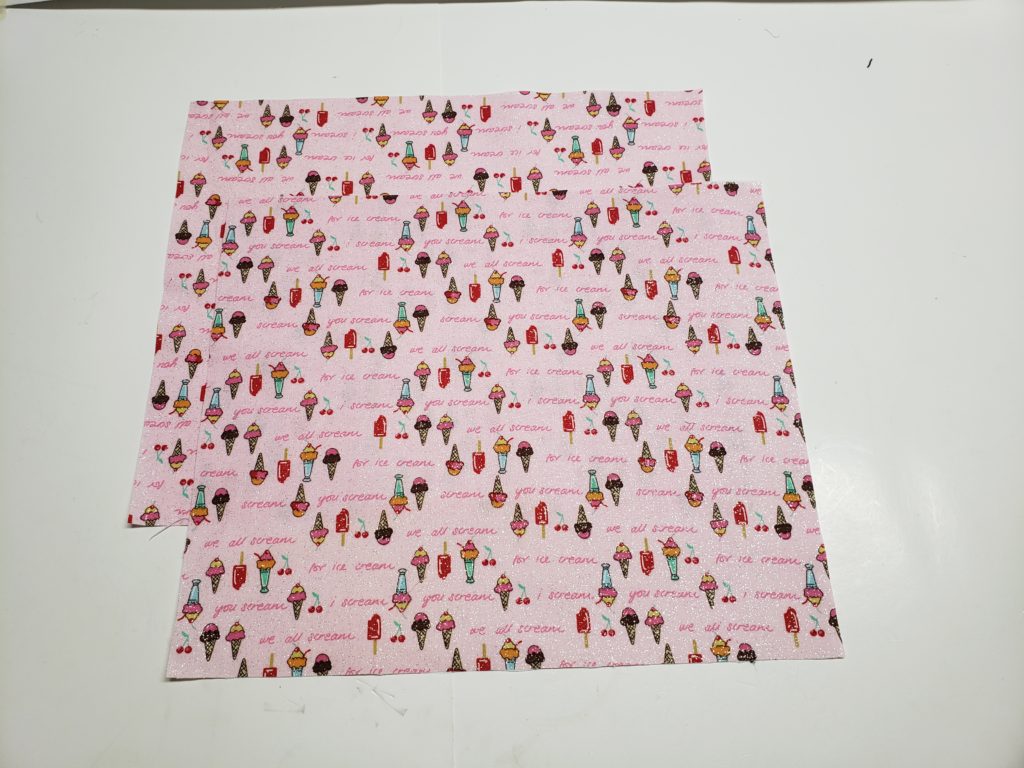
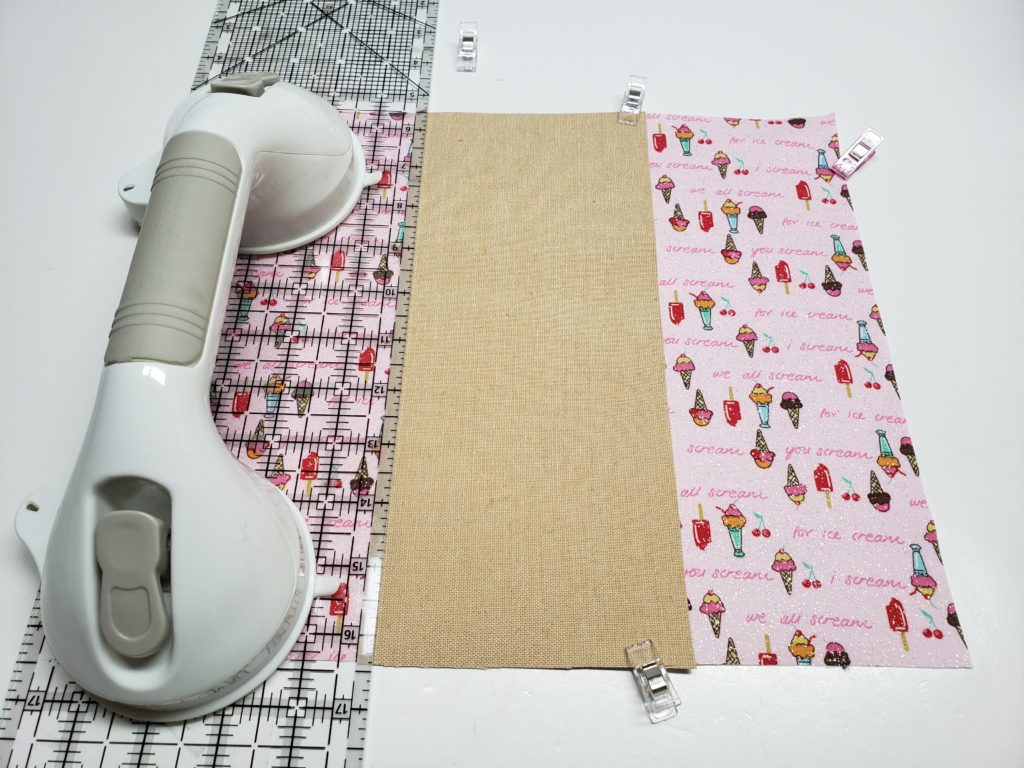
Outer and lining piece – Cut 2 x 11″ x 13″
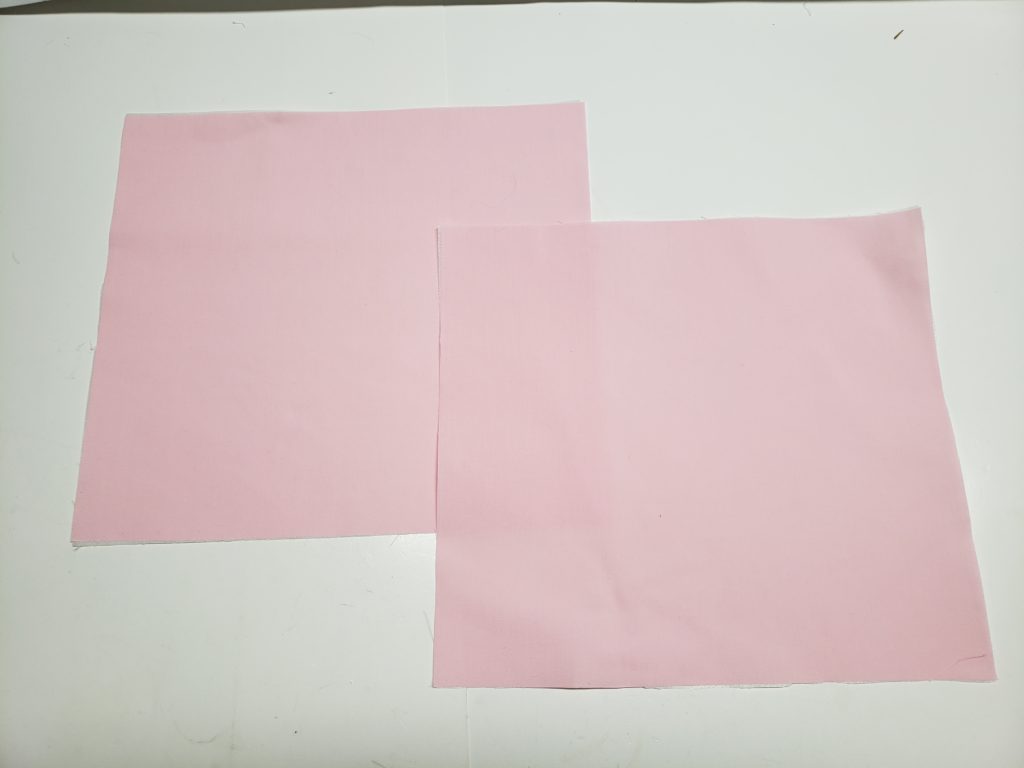
Slip pocket – Cut 2 – 10″ x 11″ folded to a 5″ x 11″
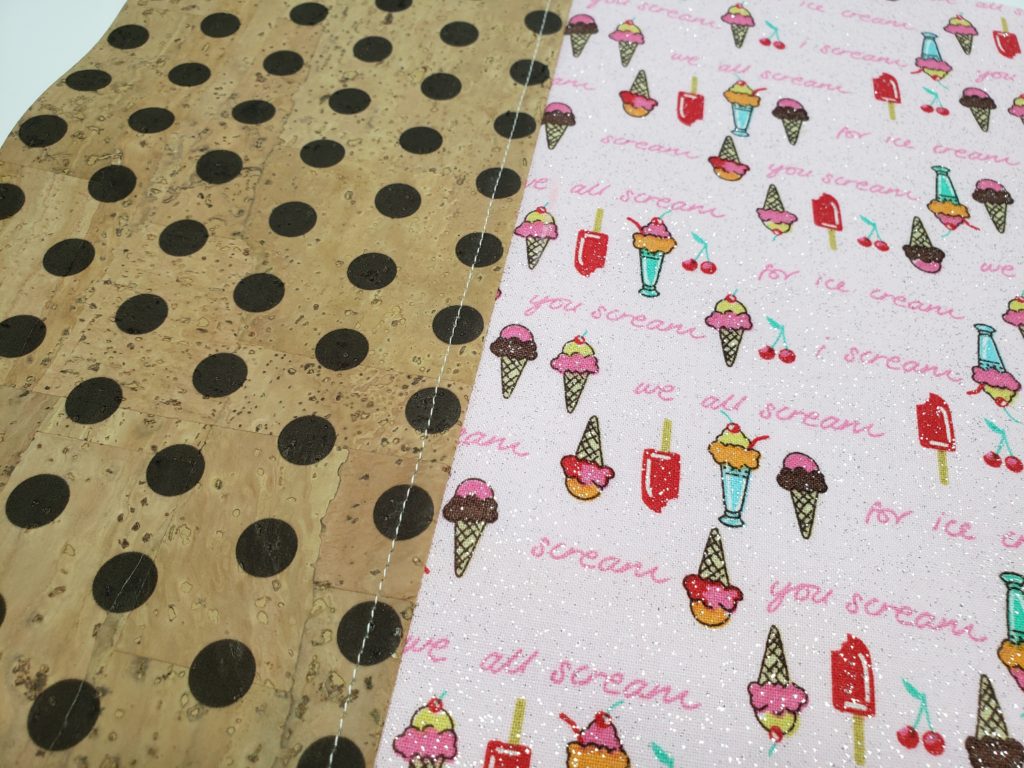
Optional Cork piece – 4 3/4″
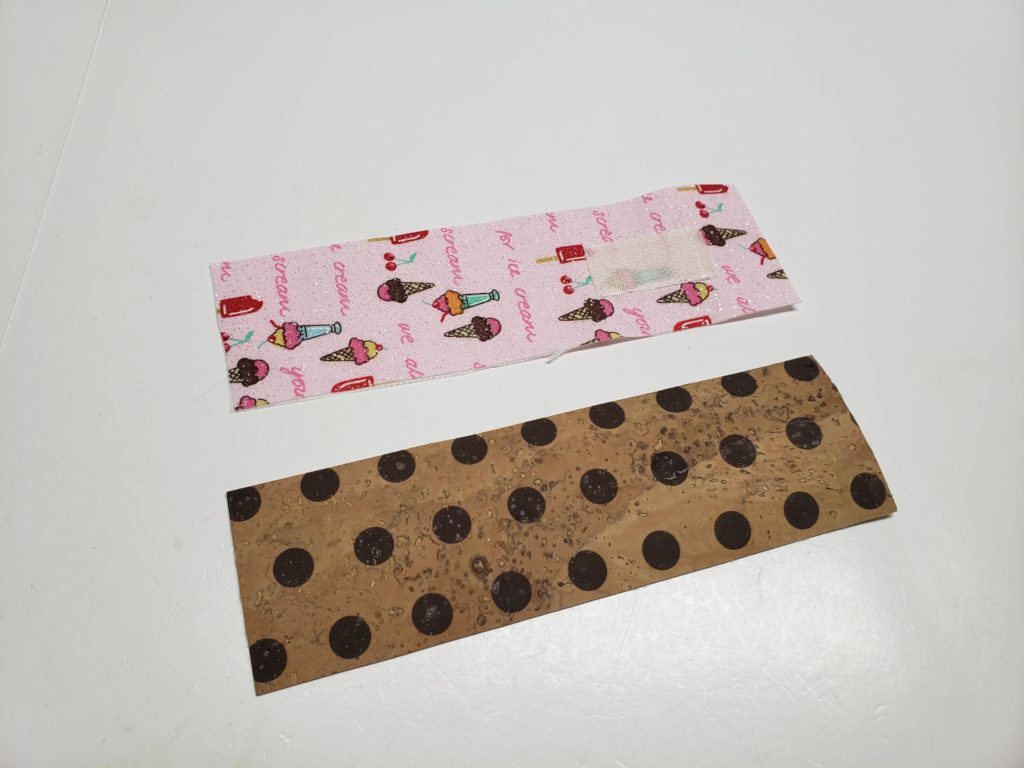
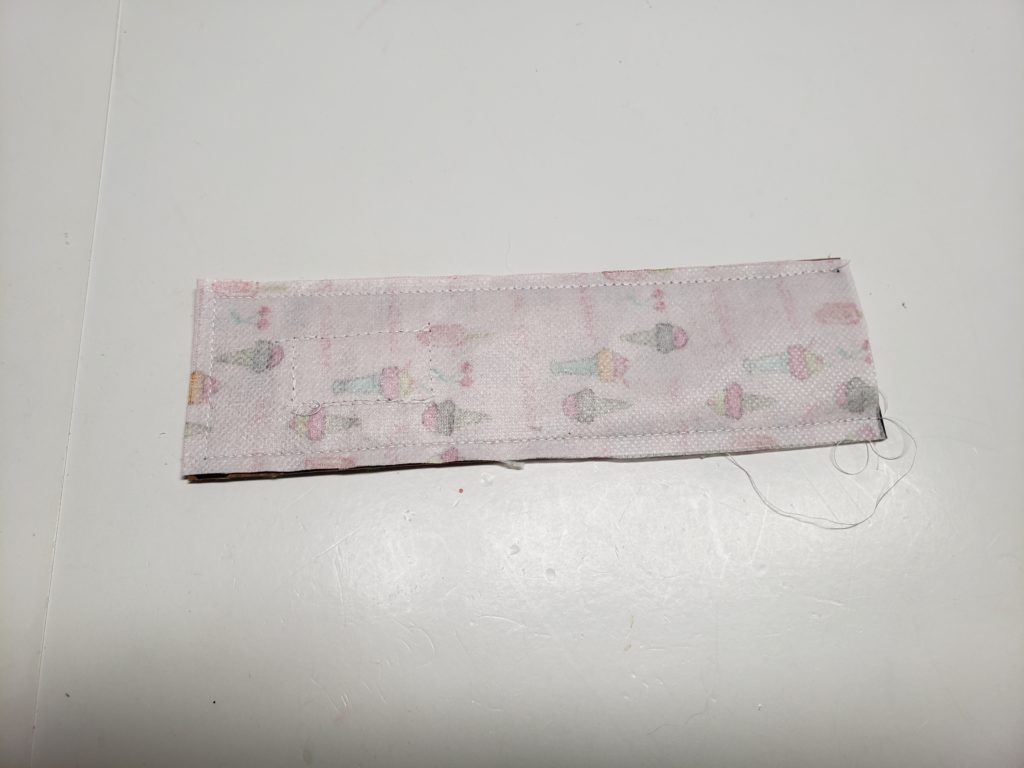
Tab piece – 2 1/2″ x 8″
Hook piece – 1″
Loop piece – 2 1/2″
Medium weight interacing on all pieces if using Cotton
** Some links are affiliate links and help to support this Blog and Channel to help bring free, fun tutorials!
Tools i use!
Iron – Oliso
Sewing machine – Brother
Ironing Board – Tutorial
Rotary Cutter – Olfa
Cricut –
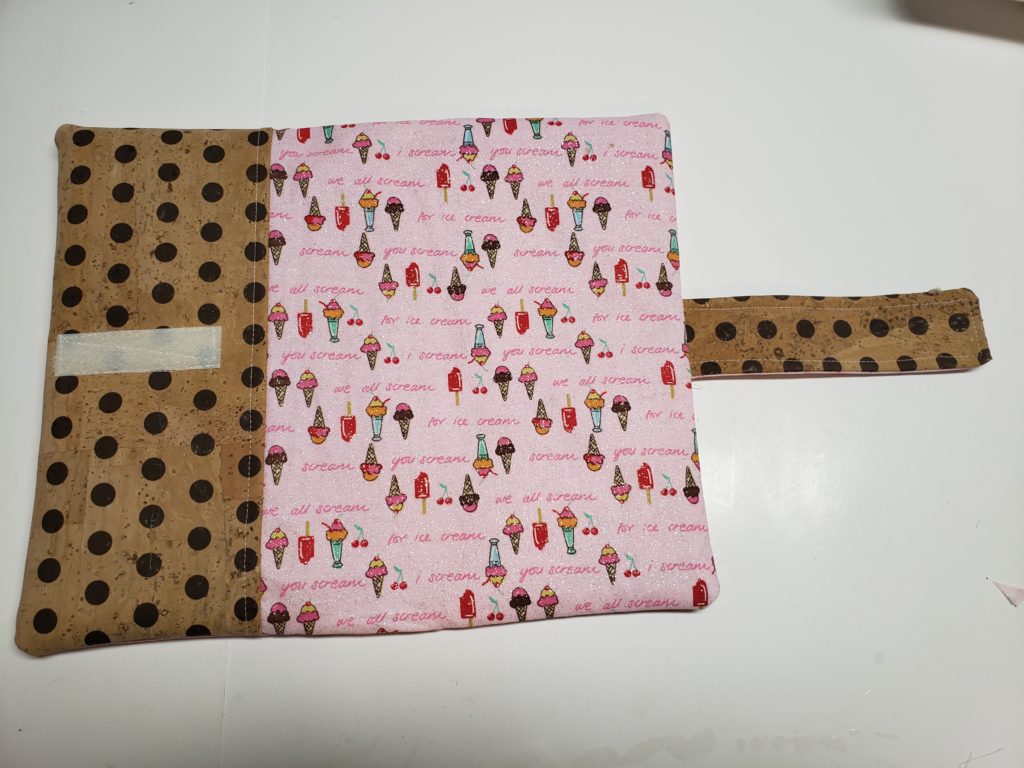
the large piece of cork is not pictured.
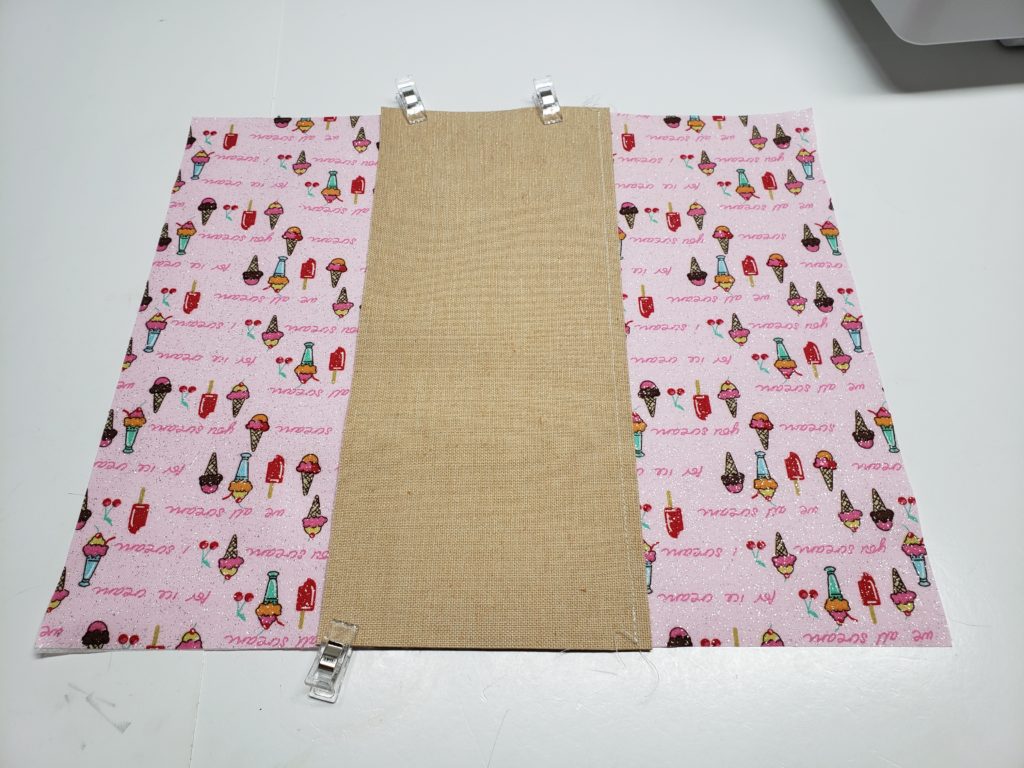
Step 1: Fold slip pocket pieces in half so it measures 5″ x 11″, Press and top stitch along the folded edge.
Step 2: optional to place the decorative cork piece place 4 3/4″ away from one edge. sew with a 1/4″ seam allowance.
Fold it over.
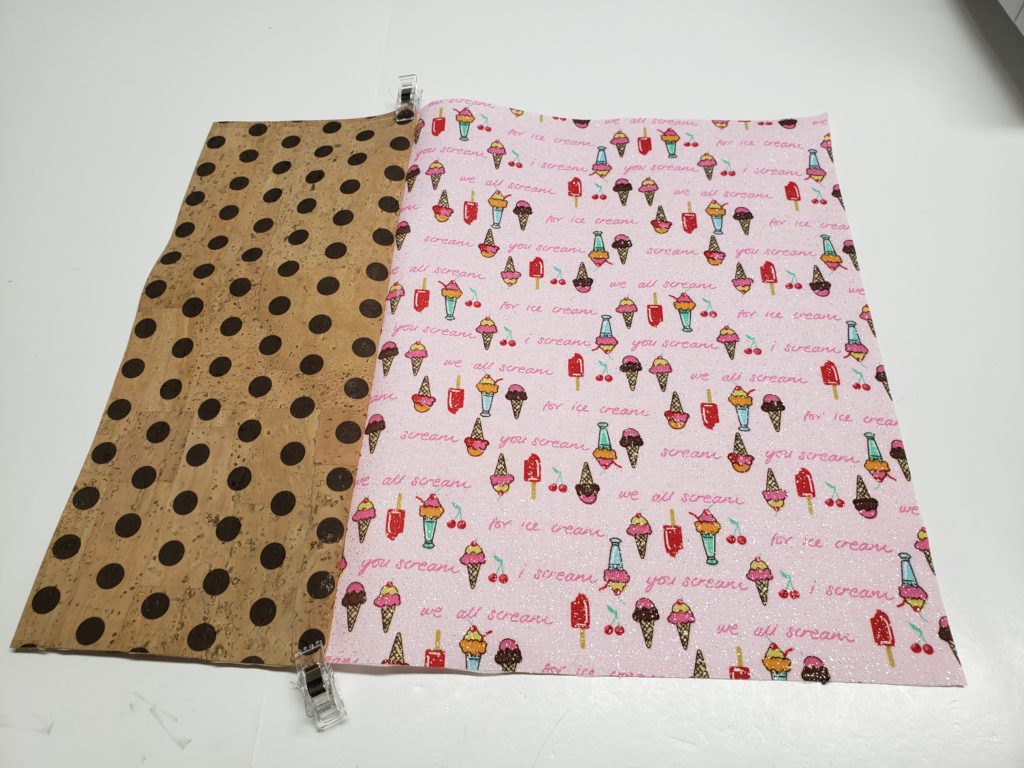
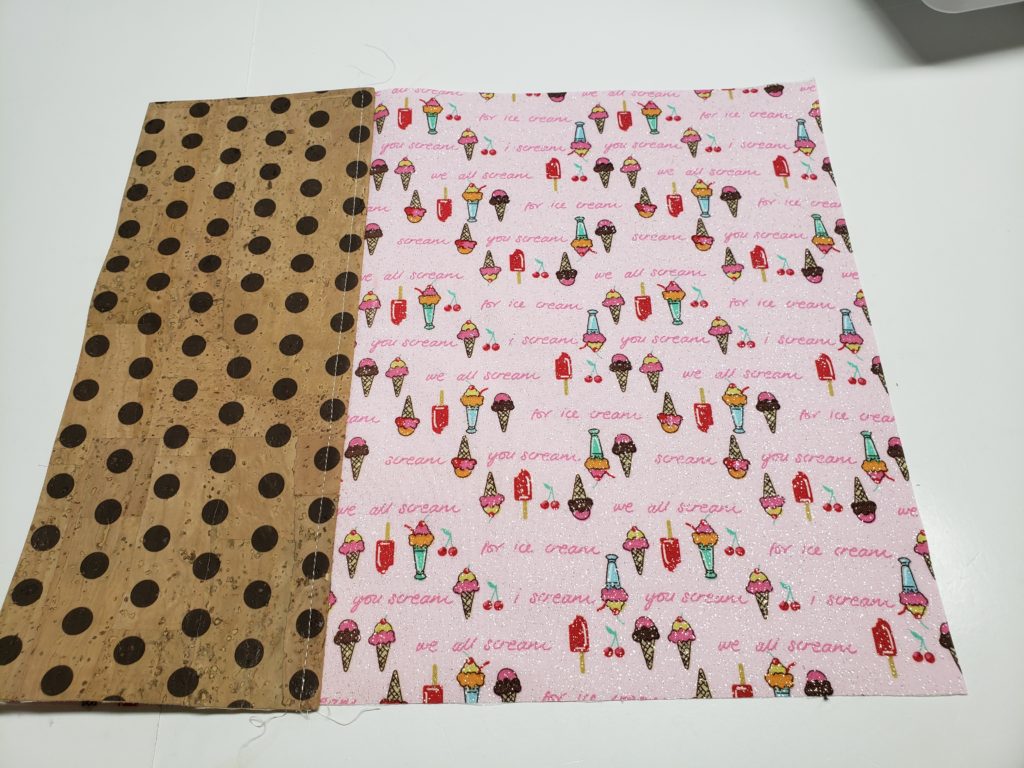
top stitch 1/8th away from edge of cork piece.
Step3: place the hook piece on the tab piece. 3/4″ away from one end and centred.
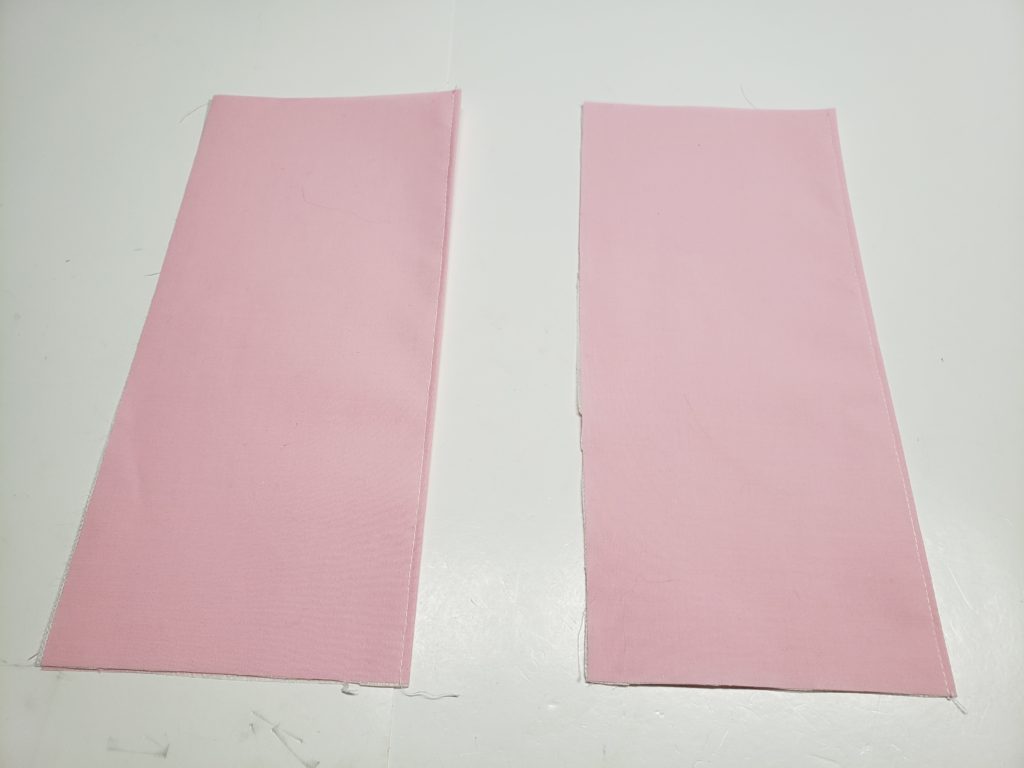
Step 4: place right sides together and sew down 3 sides, flip right sides out and press, top stitch 1/8″ away from edge.
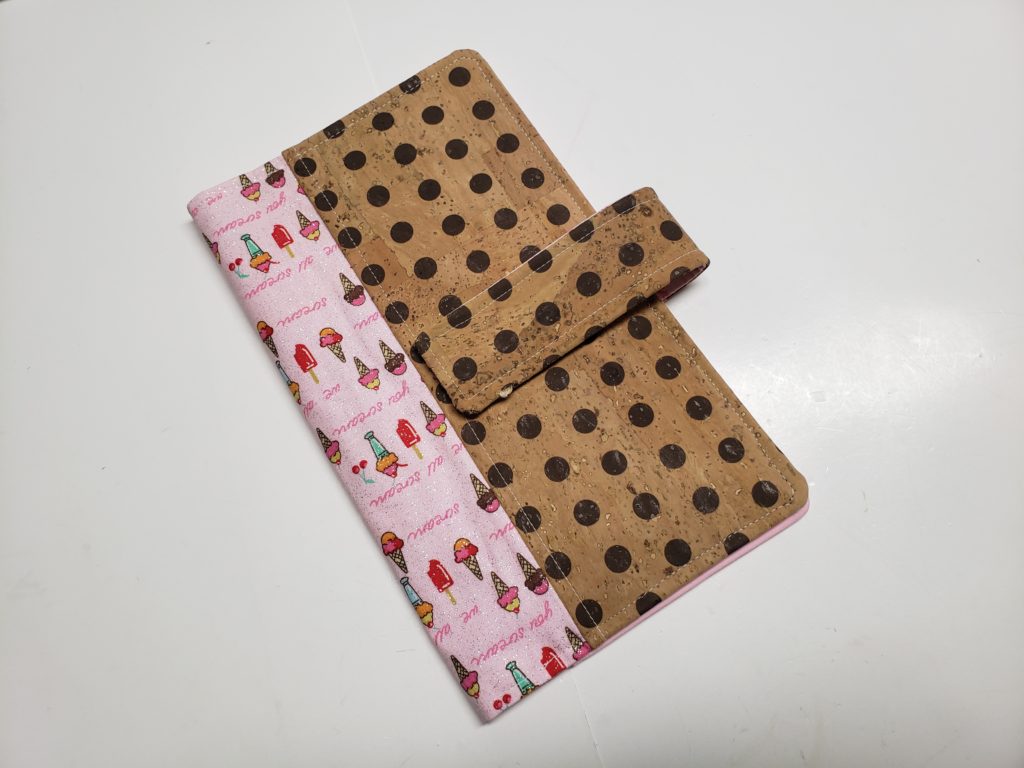
place llop piece centred on the cork panel 3/4″ away from edge. line up the tab piece on the opposite side with the velcro facing up.
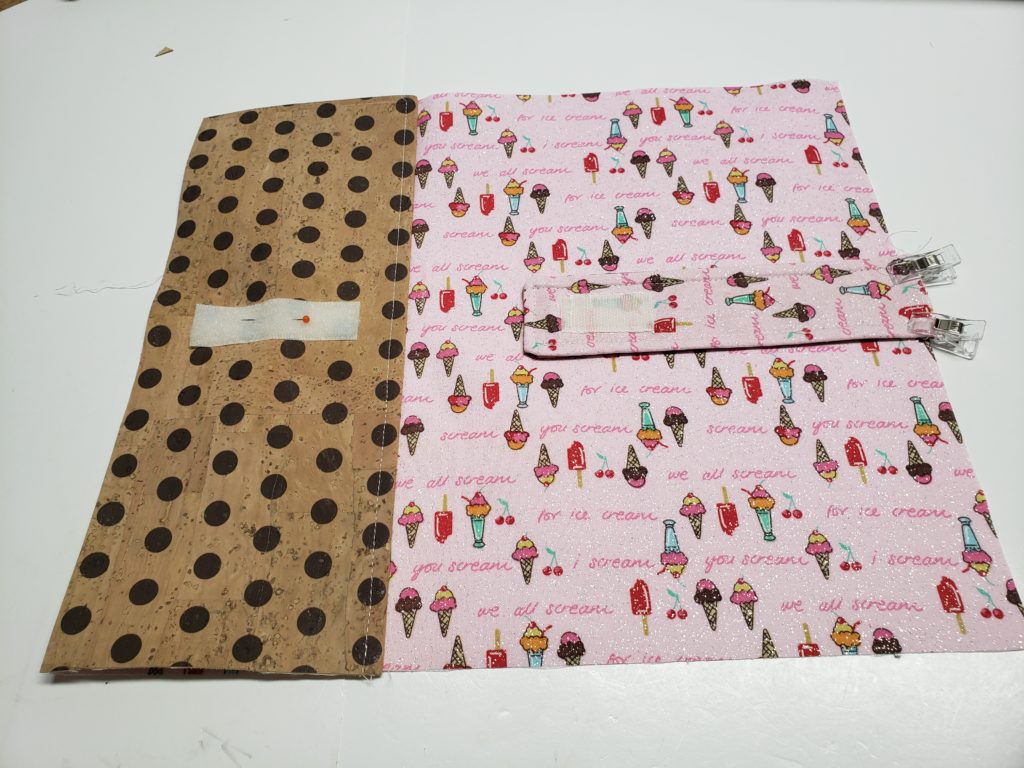
this is not the correct photo… sorry i suck haha but place the slip pockets on the lining piece in this way.
right sides together and sew all the way around leaving a gap between the slip pockets for turning. 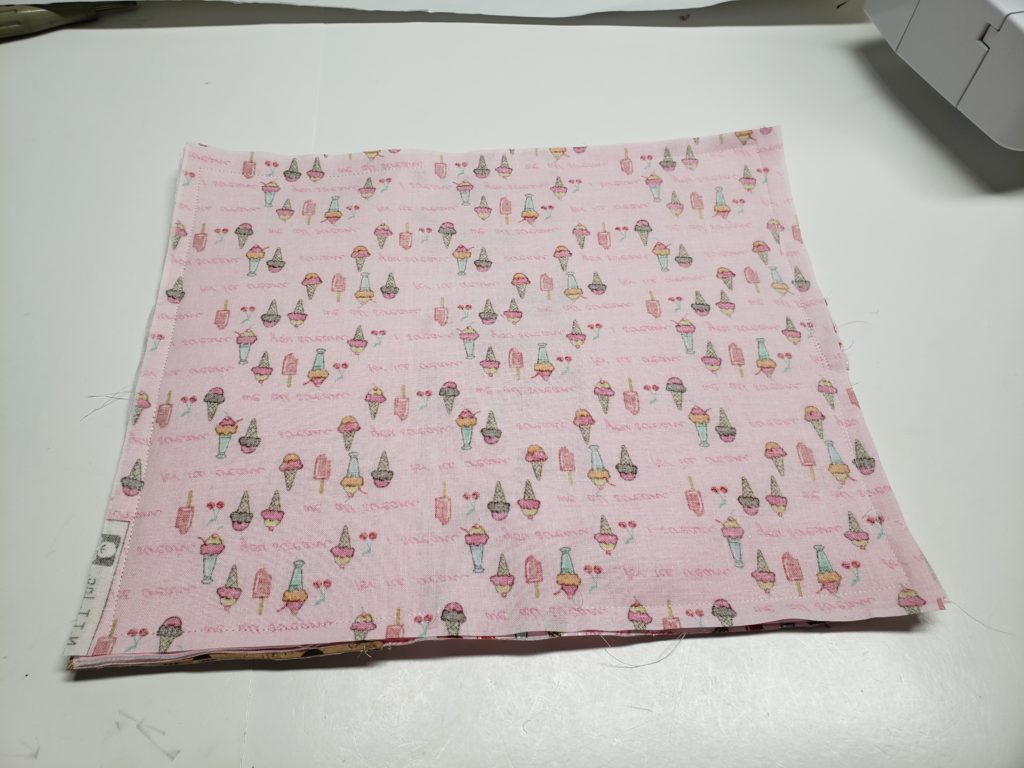
Snip the corners, flip and press. now for the top stitch around the entire thing closing up that hole. and your done!


0 Comments