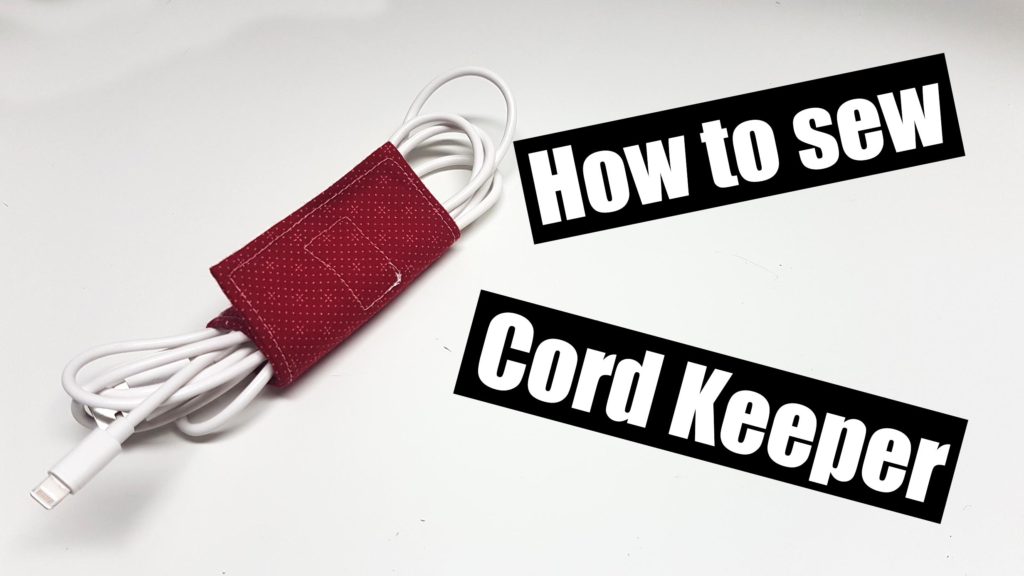
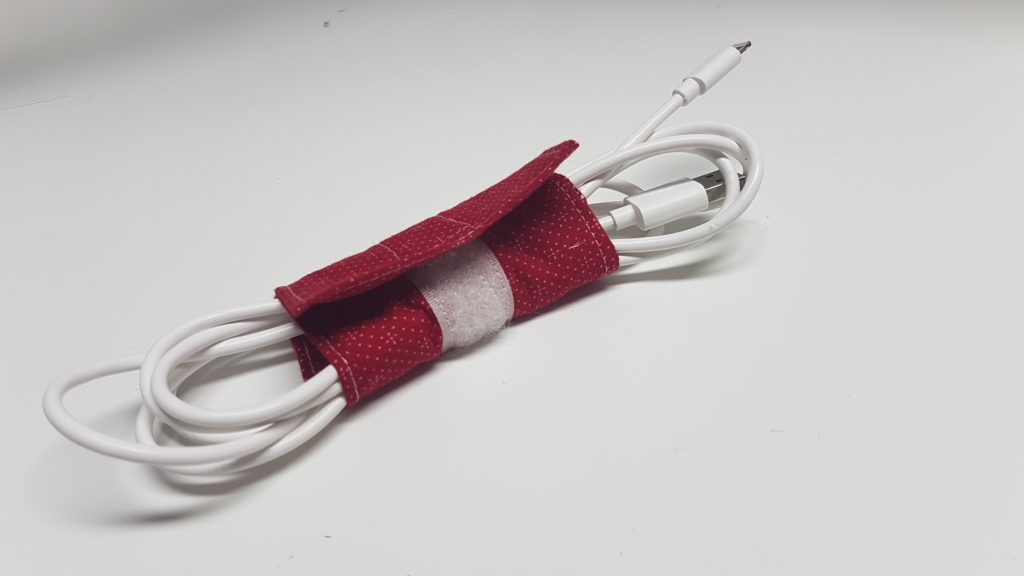
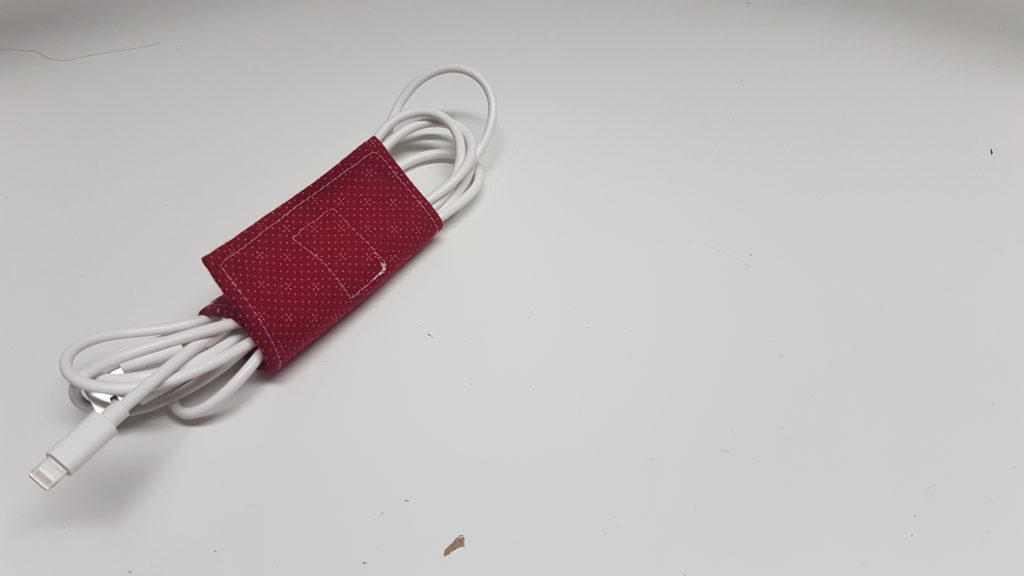
This tutorial will show you how to make a simple Cord Keeper! the measurements from this tutorial will be perfect for a small extension cord or charger for a device such as phone or ipad
In the video tutorial i will show you how to make your measurements for your own cords! This is a great idea to keep all of those cords organized especially all those Christmas decorations!
Materials
Cotton Fabric
Hook and Loop tape (aka Velcro)
Fusible fleece (this isnt 100% necessary)
Iron
Sewing Machine
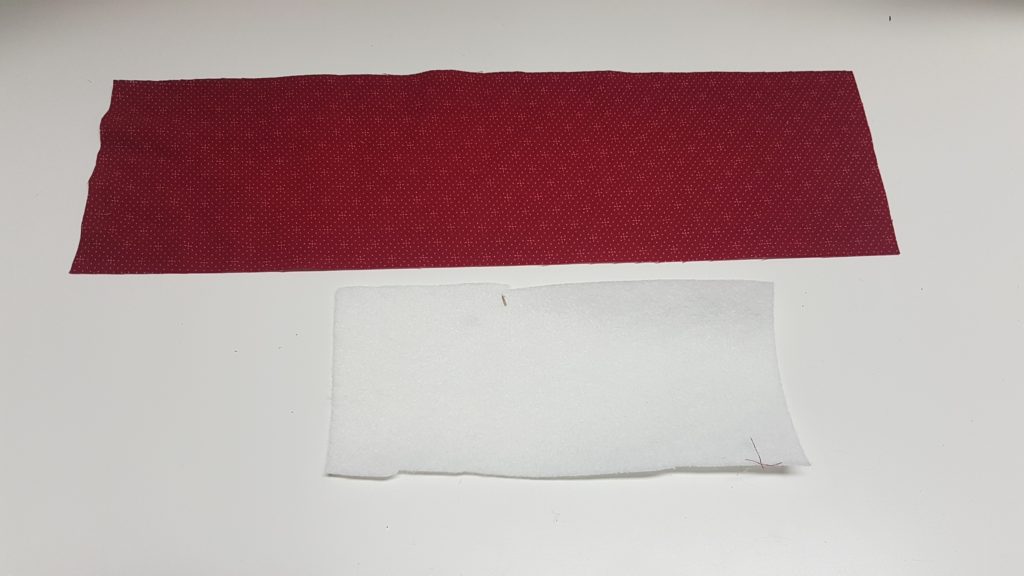
Step 1: Cut 1 piece of cotton fabric measuring 14″ x 3″, interfacing measures 6″ x 2.5″
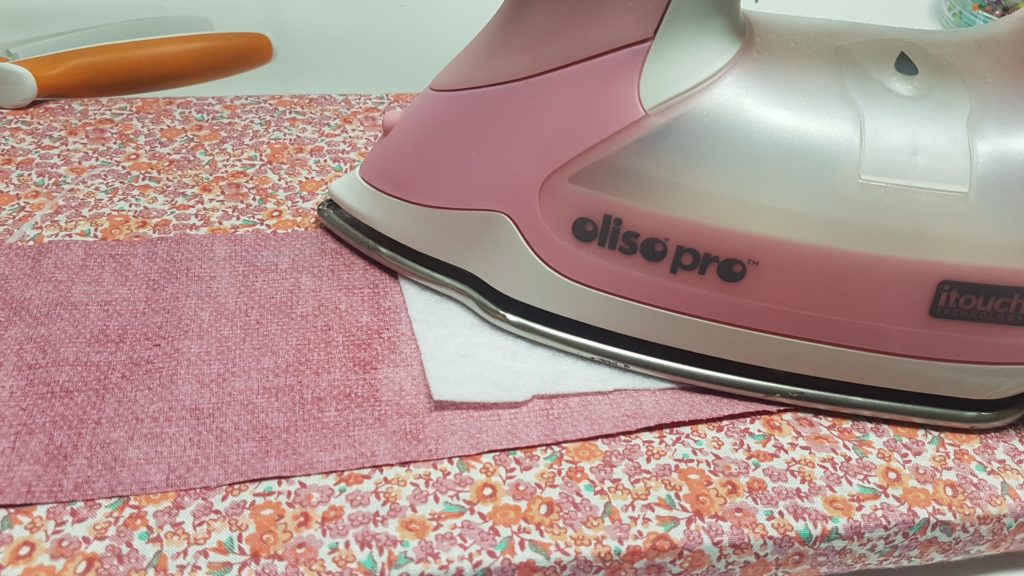
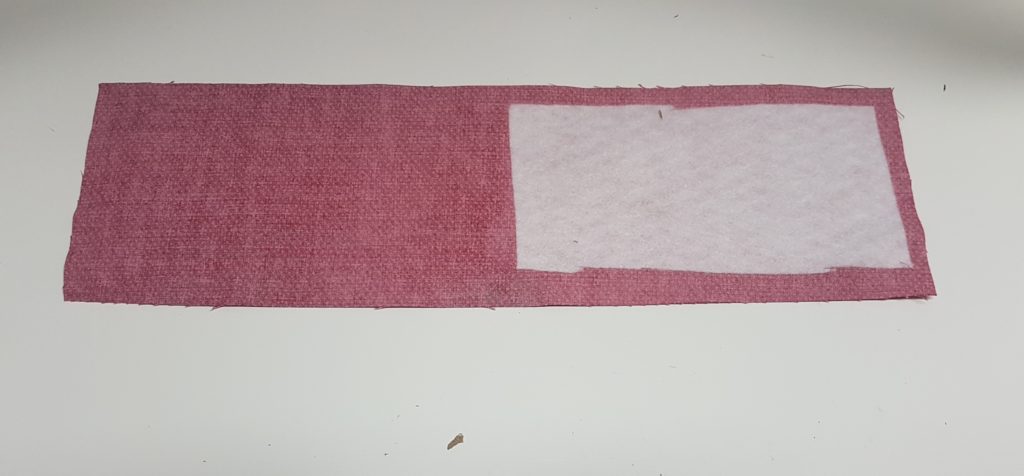
Step 2: Iron on the interfacing to one half of the cotton fabric
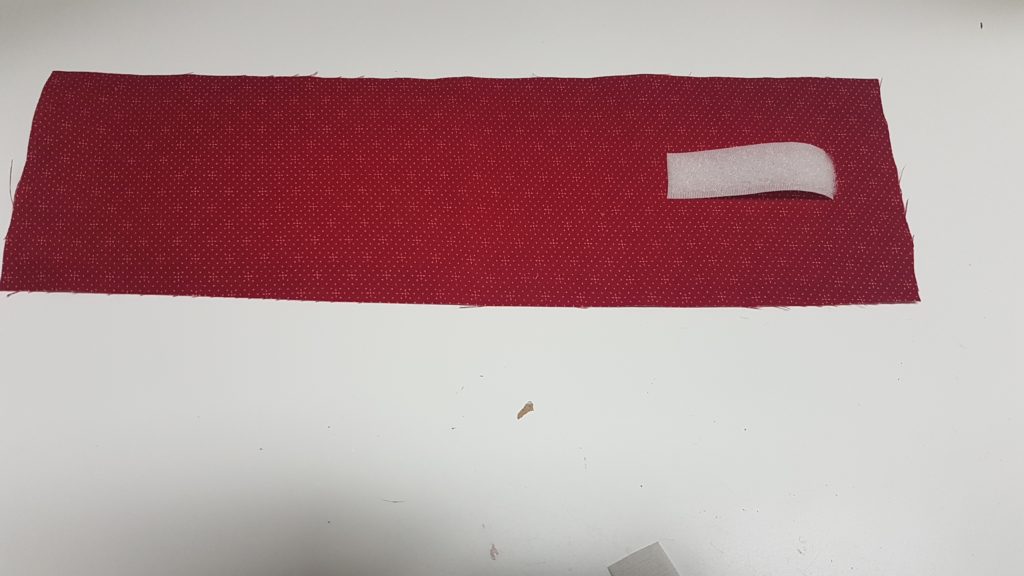
Step 3: place a 2″ piece of the loop tape onto the fabric as shown
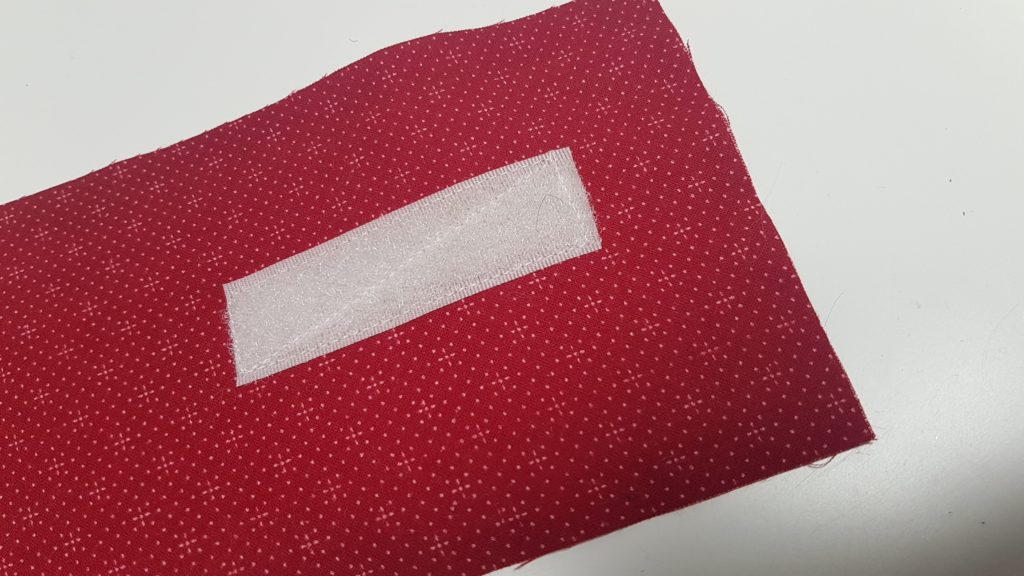
Step 4: sew into place
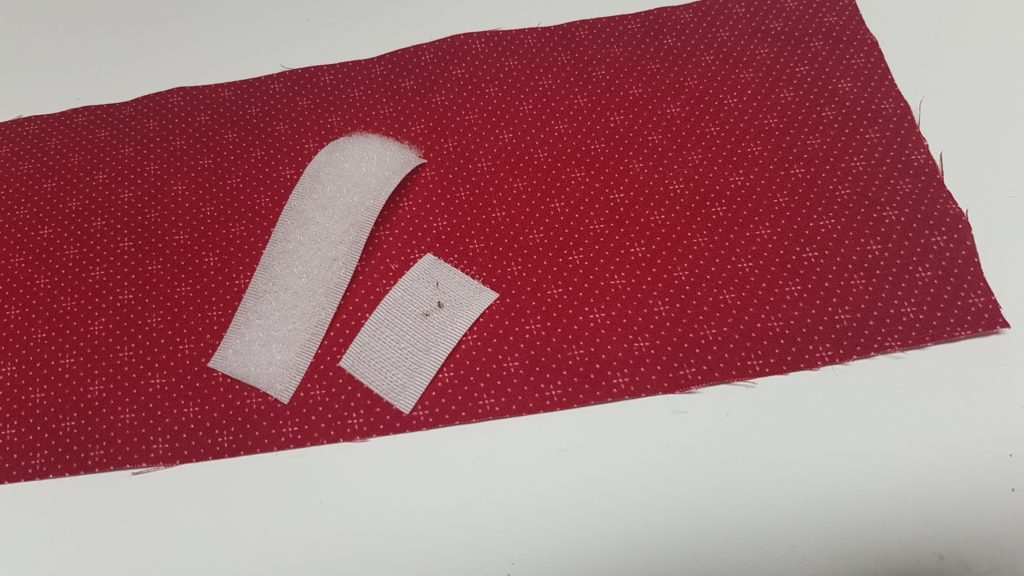
To make your cord keeper more adjustable cut a longer piece of the loop so you can have more sizes within your cord keeper
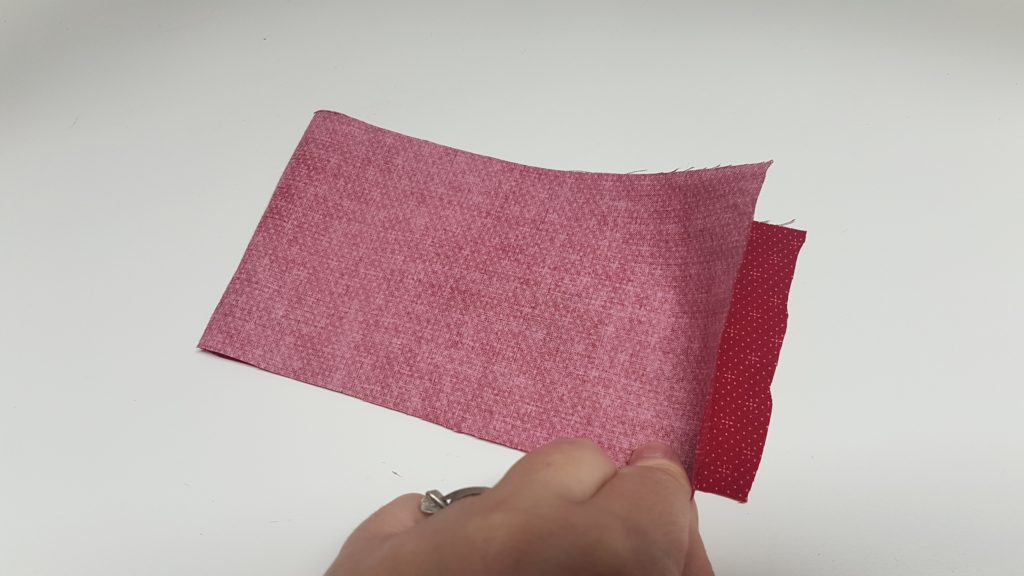
Step 5: Fold the fabric in half length ways
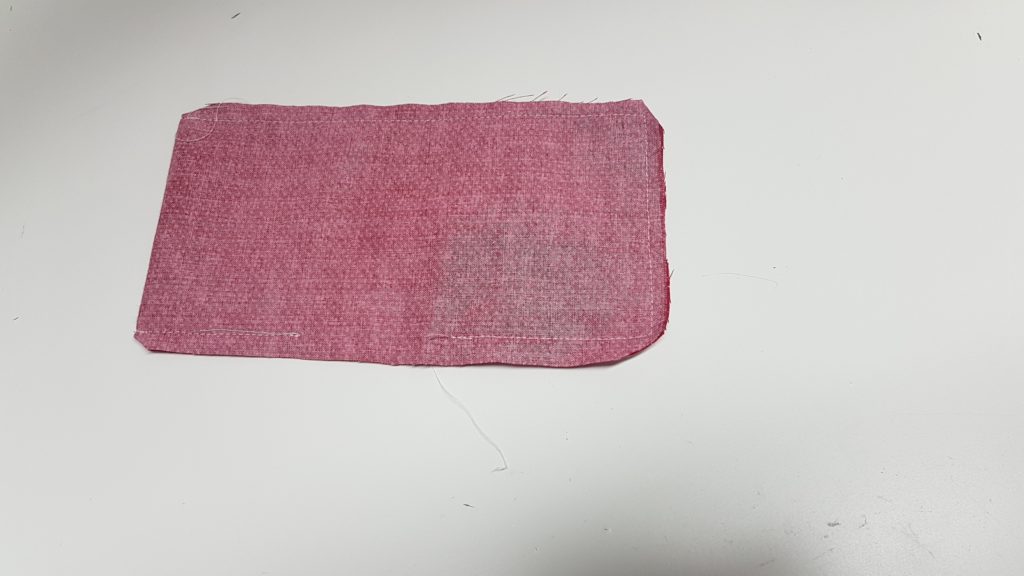
Step 6: sew all the way around leaving a 1″ gap
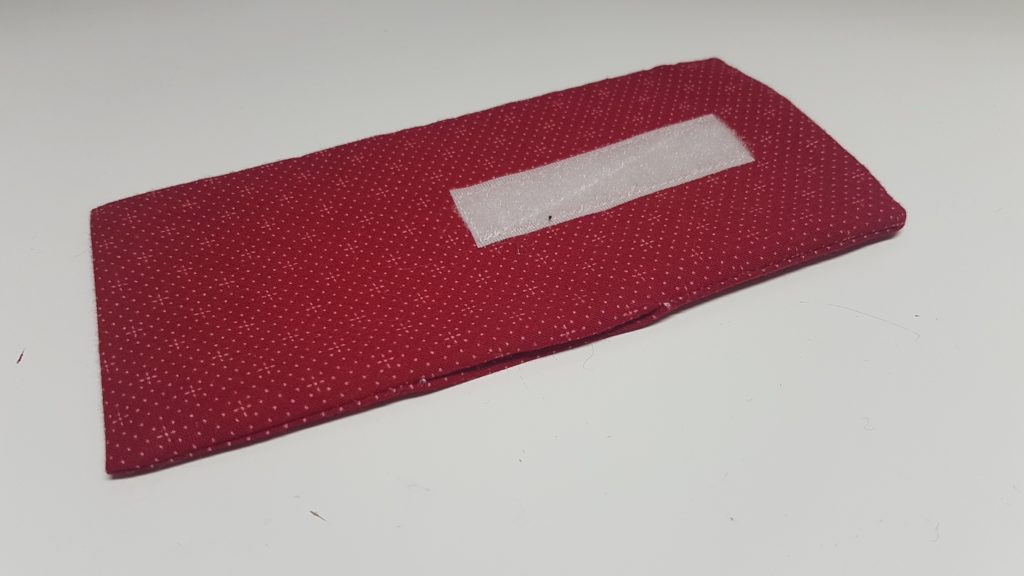
Step 7: flip the piece right sides out and press
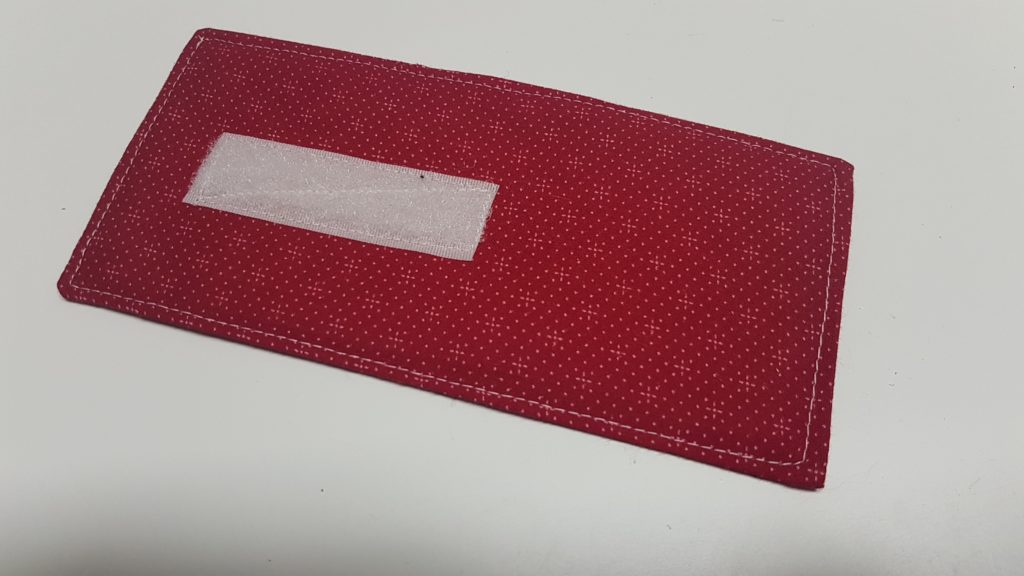
Step 8: sew all the way around with a top stitch this will also close up the hole that was used for turning
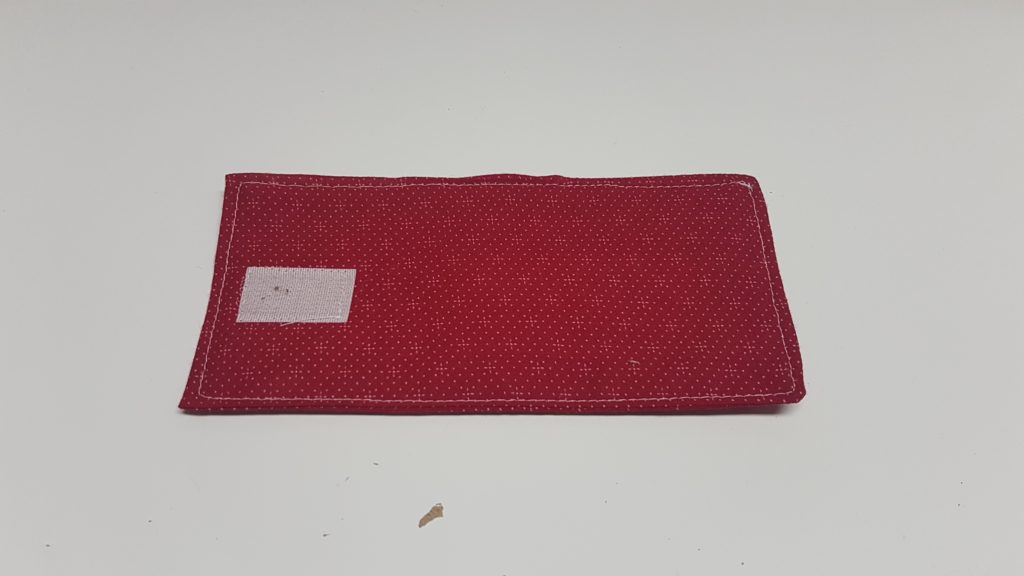
Step 9: Now place the hook portion on the other side on the opposite end of the fabric, Sew into place and your Done!


0 Comments