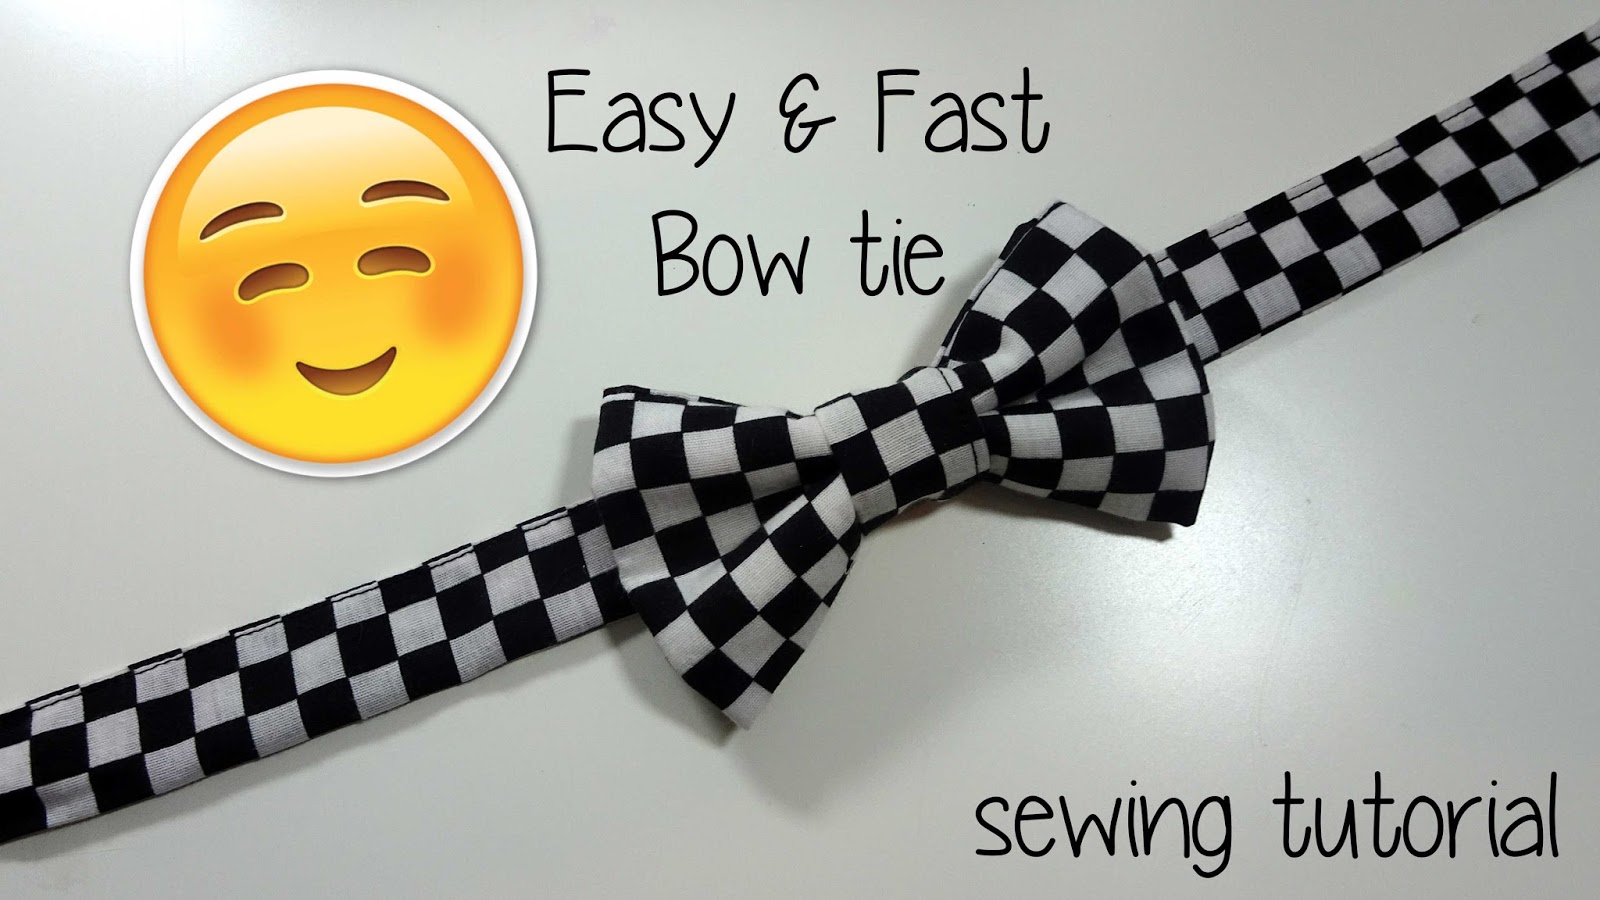
Child Size Bow Tie
Welcome to the Child’s Bow tie Tutorial!
This is where you will find links for materials, photos and the step by step video tutorial to successfully make a custom bow tie for your child
Materials for this project
your choice of Cotton Fabric
Fusible interfacing – either Light weight or fusible Fleece
Elastic or velcro (If your choosing elastic for the smaller kids i would use 1/4” wide and 1/2” for the bigger sizes)
This tie is a size size Small – ideal for a child wearing size 4
Bow tie measurements
XS – 6″ x 7″
Small – 6 1/2 x 10″
Medium – 6 1/2″ x 11″
Large – 6 1/2″ x 12″
Start ironing the neck band the same way bias tape is created, fold in both sides 1/4″ and press
Fold again and press, you will be sewing along the open edge
Fold the ends in to finish off the ends and then sew down the long ends and short ends as close to the edge as possible
Set aside
cut a piece of fleece, stiff fabric or interfacing, iron on if its fusible
Fold right sides together and sew along the long edge making sure you secure the fleece within that stitch
Flip this piece right side out and sew the two short edges together with a zigzag strip
(im sorry this is where i lapse in photographs! but i do have the full video on how i made this on my youtube channel and this link will be provided below) Watch the tutorial
After Folding the bow pinch the centre and tac it with a few stitches, use the small 4″ piece and wrap it around the front of the bow and place the neck strap against the back of the bow placing the 4″ piece around the neck strap and then hand sew everything in place.
you can use buttons or clasps to secure it or sew on some velcro making the soft part a little longer so it can be adjustable for a few years
Check out the links below to watch the tutorial and also check out my neck tie tutorial!


0 Comments