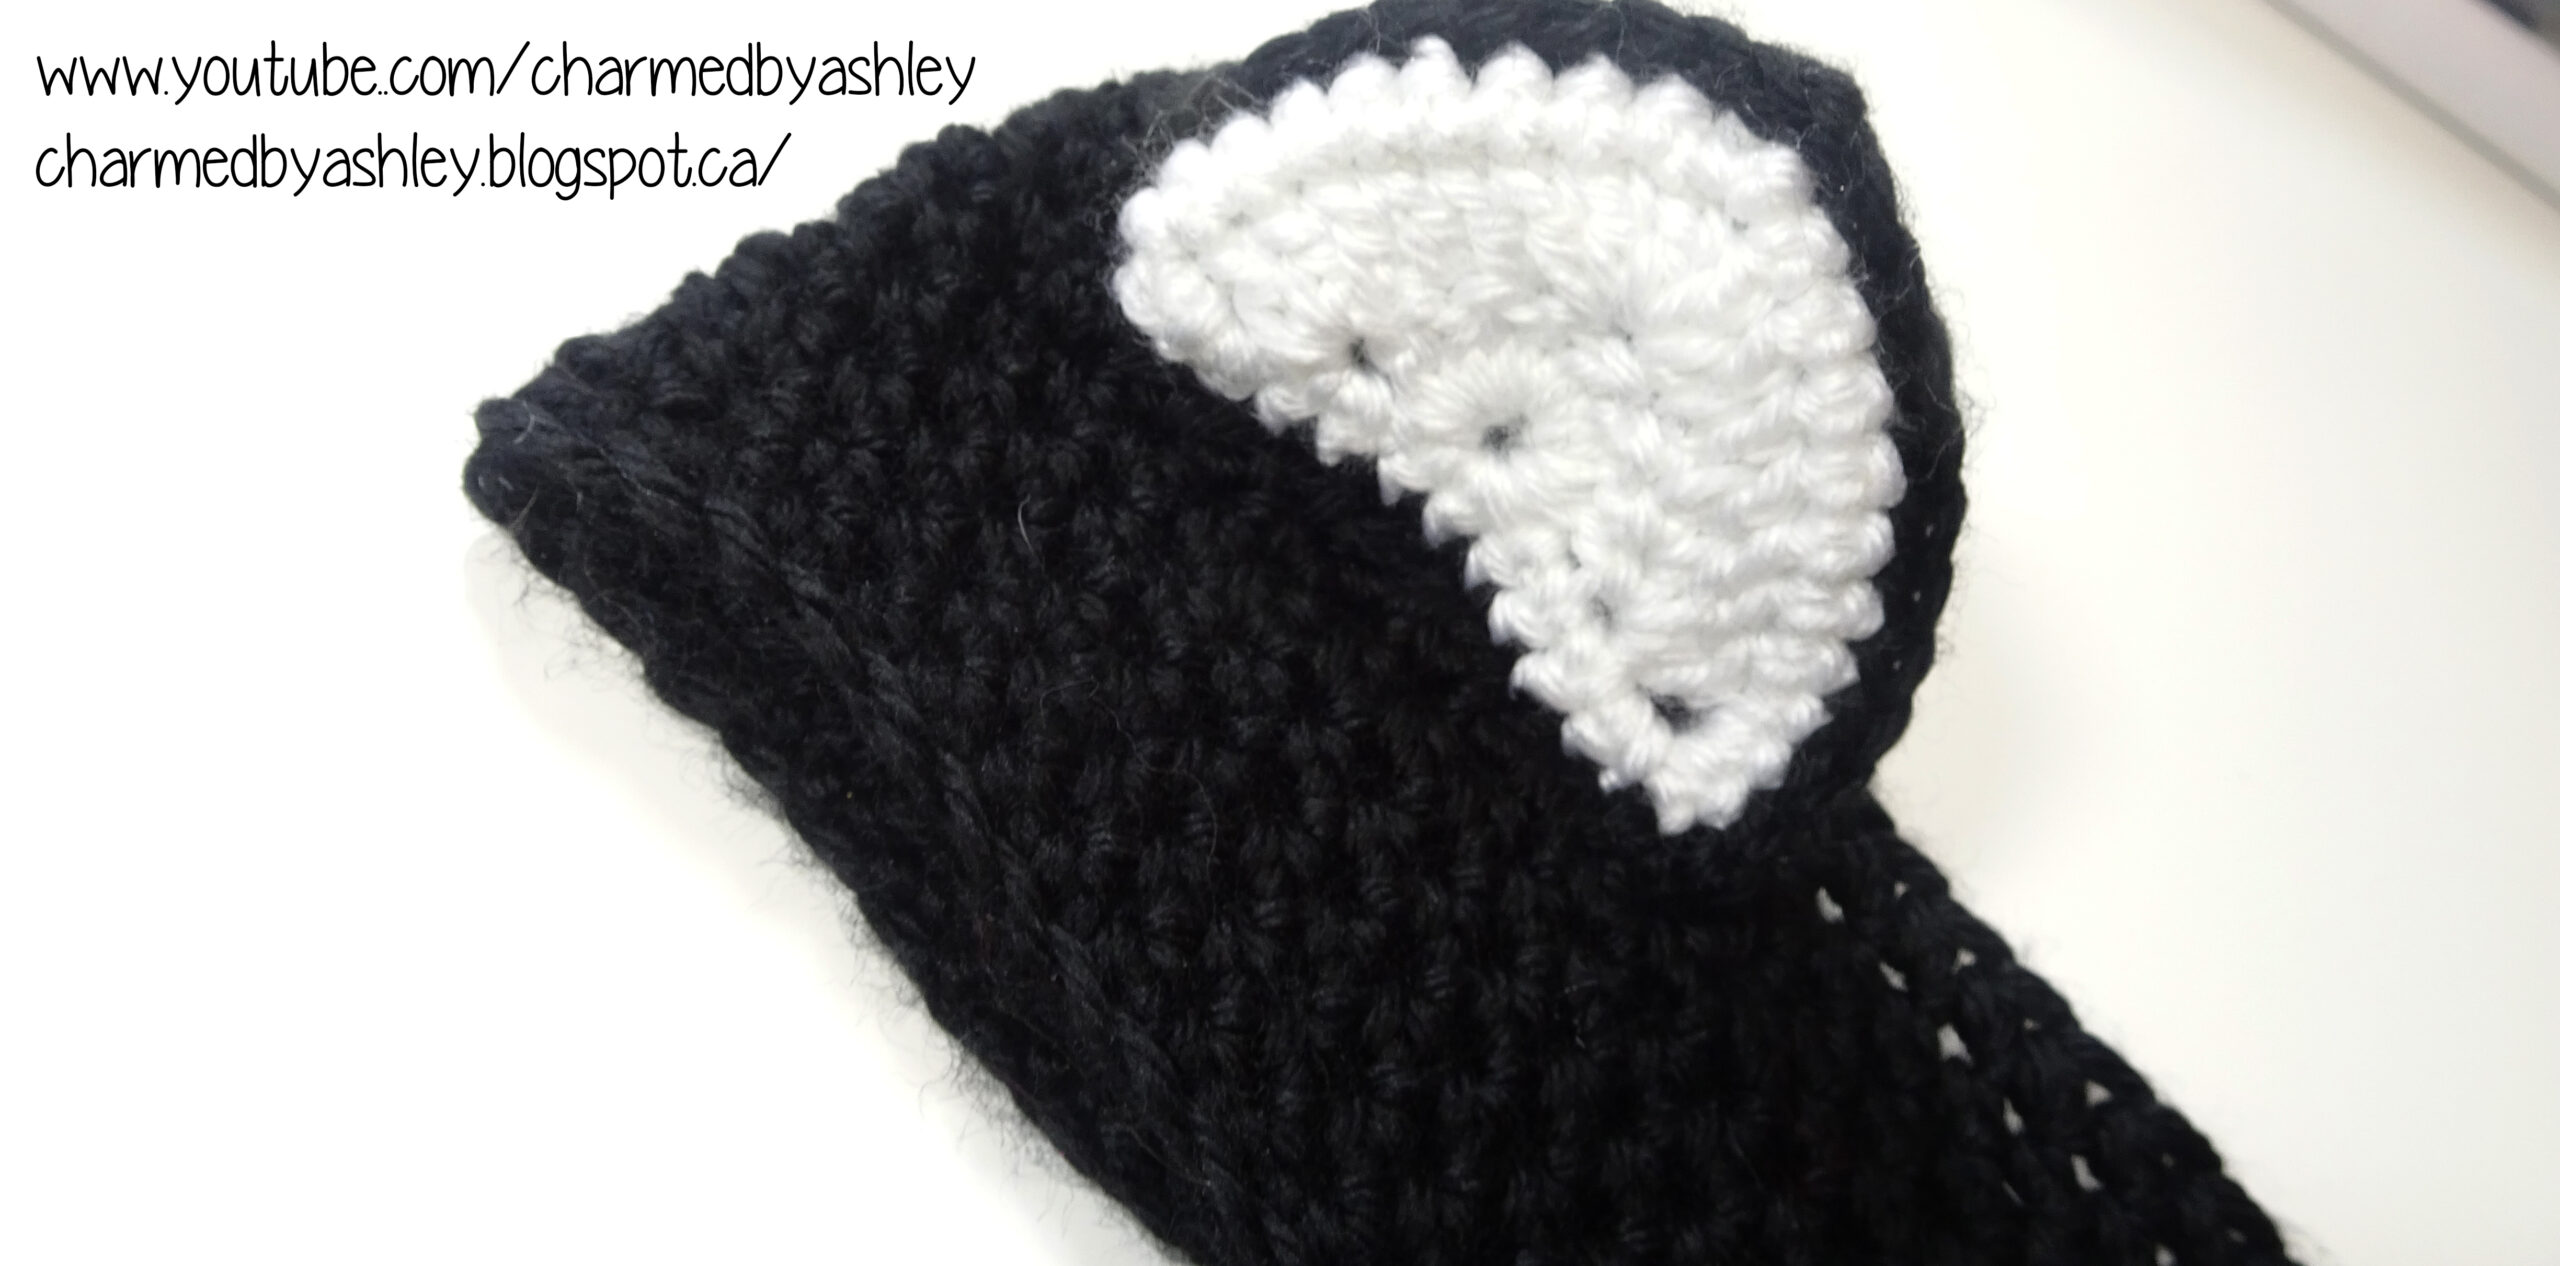
Cozy Cat Ear Warmer just in time for the cold weather!

Click here for! Youtube Channel for Video Tutorials
This post is more to show you how to make the ears because the headband is very straight forward but i will tell you how i made the headband at the end of the post
I used 5mm Hook
Red Heart Soft in Black and White

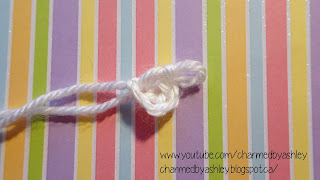
Ch4, slip stitch into first chain to create a loop, Ch3 (counts as one DC) 8 DC in the centre of that ring Youtube Channel for Video Tutorials

This is what it should look like, from here Ch3 (counts as first stitch) and turn your work


2DC in the same stitch, 1DC in the next 3 stitches, 5DC in the next stitch (this should be the middle stitch) 1DC in the next 3 stitches, 3DC in the last stitch, Ch1 and turn your work (counts as first stitch)
2SC in the same stitch, 1sc in the next 7 stitches, 1sc 1hdc 1sc in the next stitch (should be the centre stitch) 1sc in the next 7 stitches, 3sc in the last stitch

To finish the bottom off
Create a space on the SC row and SC 2 in that space, create space and the base of the DC row, put 2 SC in that hole, 2sc into the centre of the ring, 2sc in the DC space and 2sc in the sc row, sl st into the corner and fasten off.

The bottom row should have 10 stitches this is important if you plan to do the next step of the ear and that is to create 2 ears and sandwich together to create an inner ear and outer ear. Refer below for diagram of specifics where to place those SC stitches


0 Comments