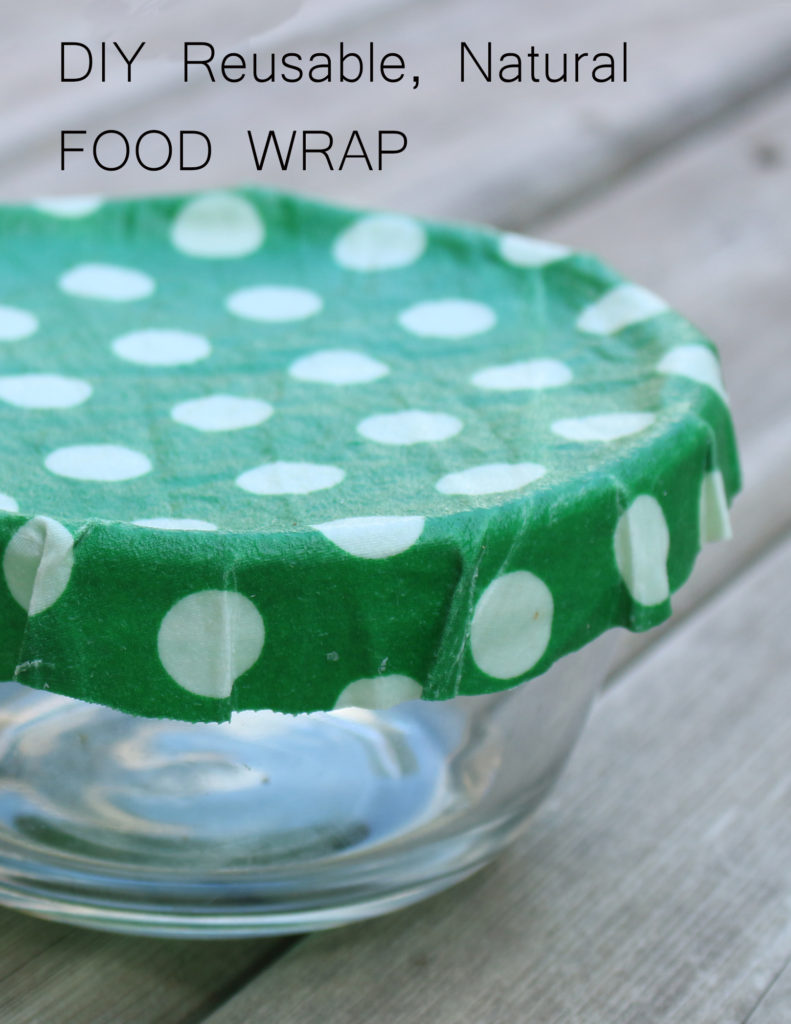
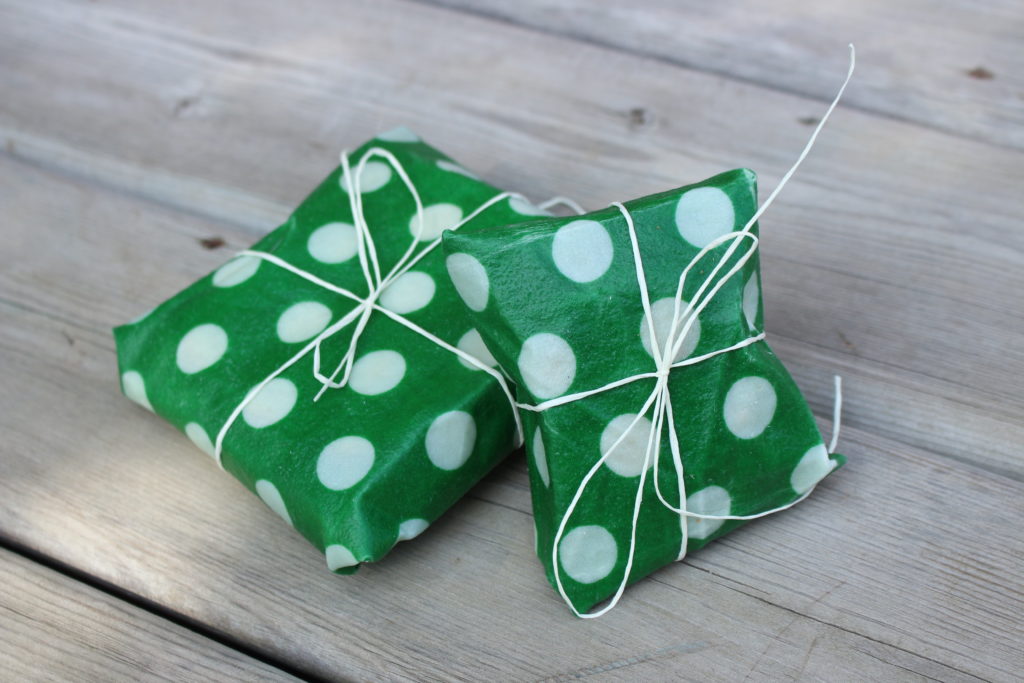
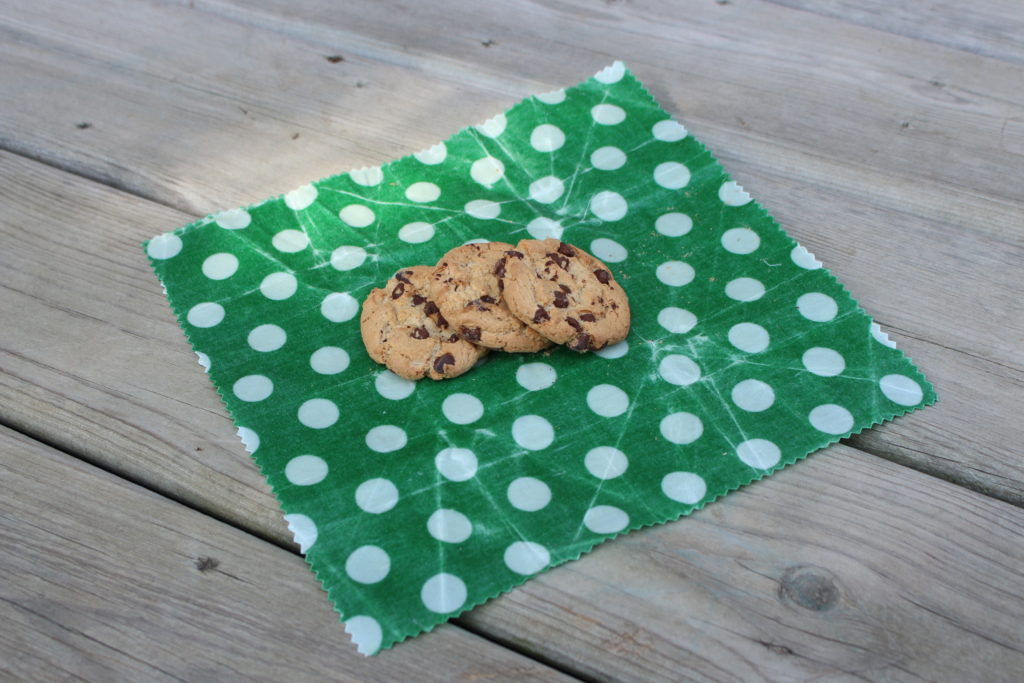
These awesome Natural food wraps are a great way to have less impact on our environment
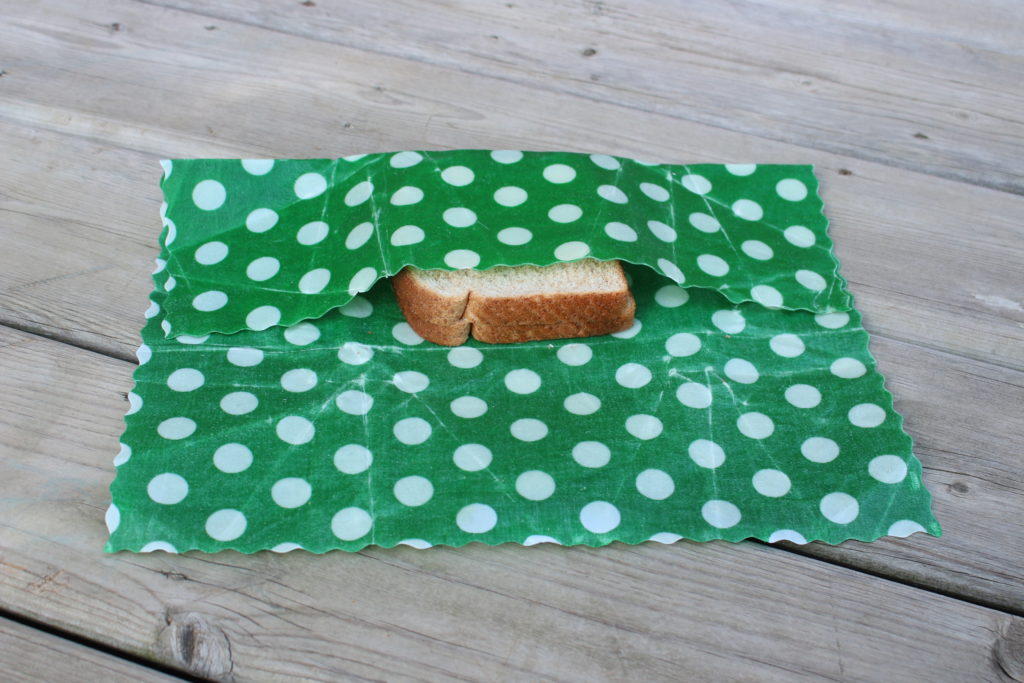
Ideal for uses in lunch boxes and fridge stored items! the wax helps to seal items as well as makes the wraps bendy and moldable
They can be made with any natural fibers such as cotton or linen fabric and can be reused many many times and also replenished after prolong use
For this tutorial you will need
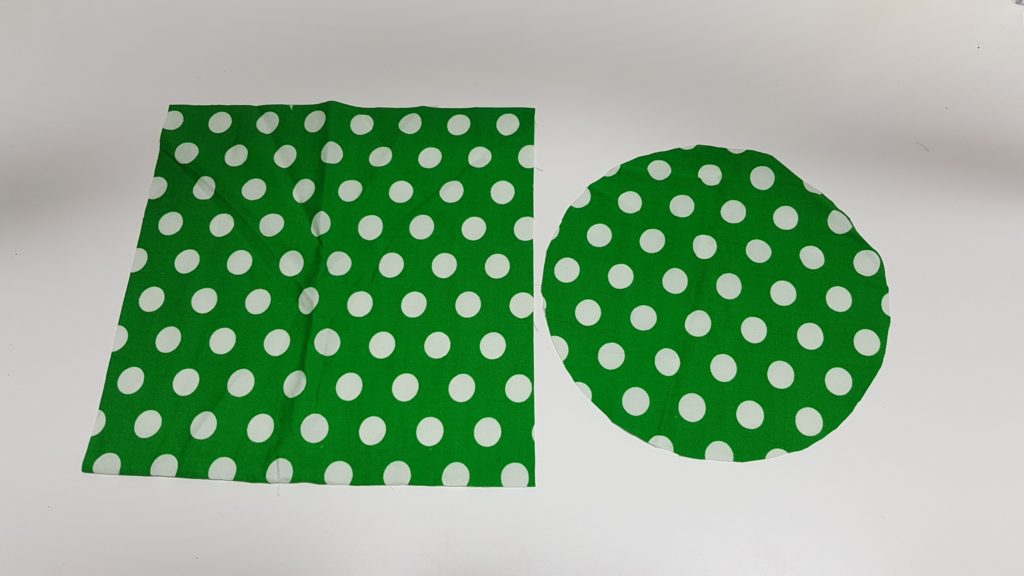
a Natural fabric such as linen or cotton
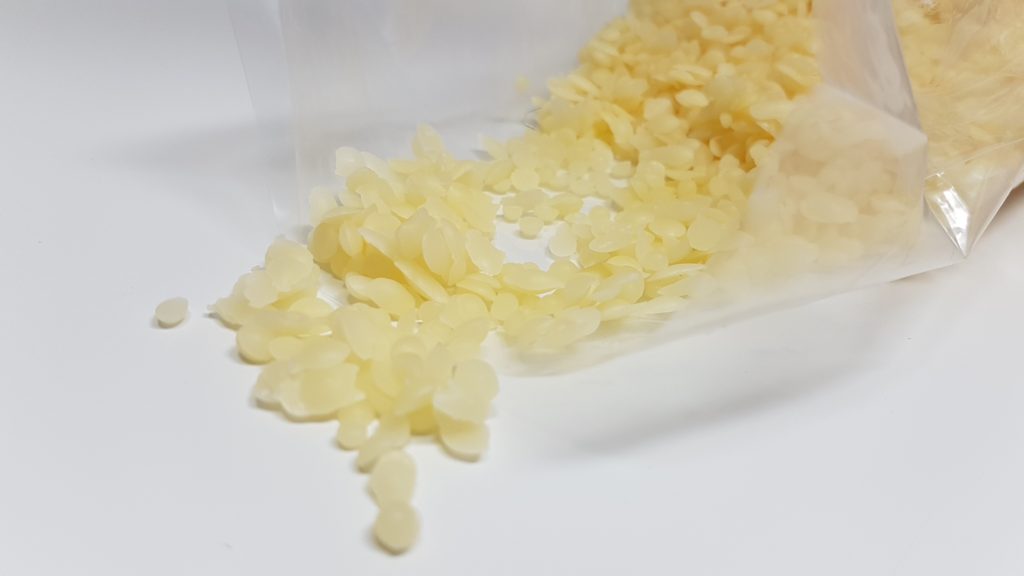
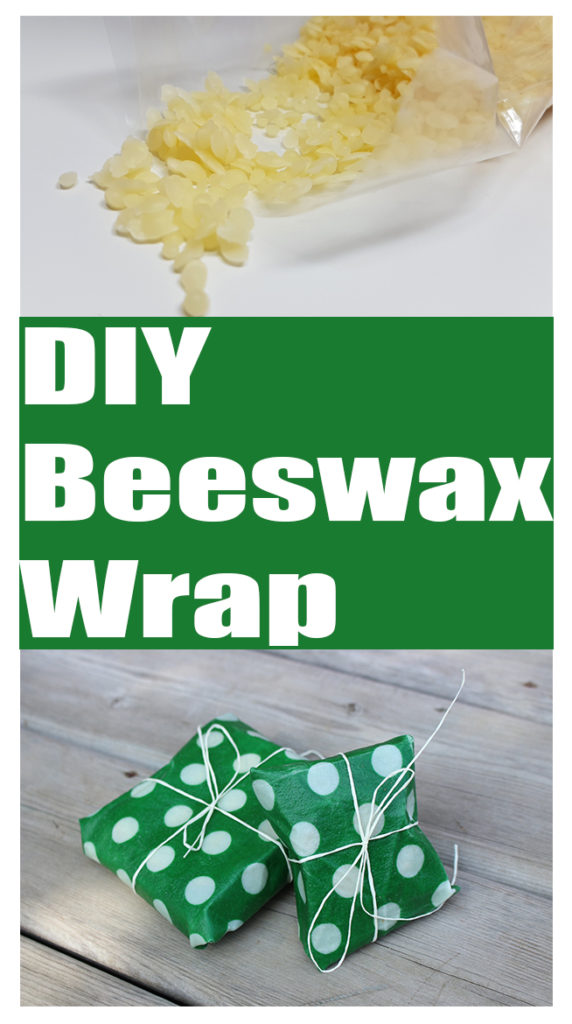
Bees Wax Pellets
and optional Jojoba oil(this will make the wax soft and more flexible)
Supplies for this tutorial
Cookie Sheet
Aluminum Foil (to protect your cookie sheet)
Decorative scissors or blades
This tutorial is simple as you get to choose which ever size you want to create, if you have specific bowls you want to cover you can measure the bowl and then add another 2 inches to that measurement so it will fold over the edges of it or you can use my measurements which are standard measurements for these food wraps
Square
Snack size – 10″ x 10″
Sandwich size 14″ x 14″
Small bowl – 8″ in diameter
Medium bowl 10″
Larger Bowl 12″
Step 1 – Cut your fabric, cut it 1/2″ larger then your desired measurements if you wish to trim off the edges or create a decorative edge.
Step 2 – Line a cookie sheet (you will thank me in the end, the wax will ruin your cookie sheet and after your done you can remove the foil and toss it in the garbage
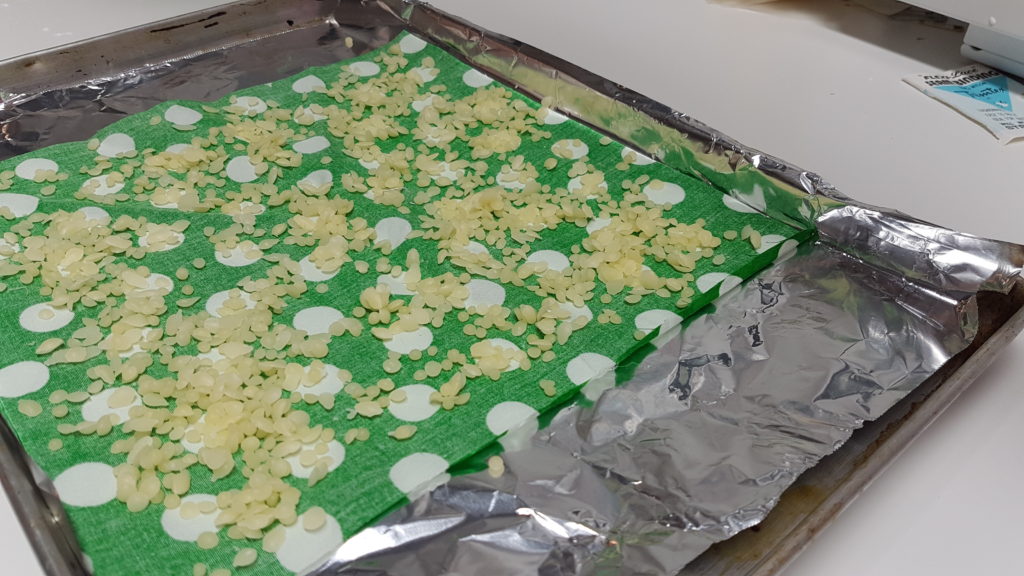
Step 3 – Place your fabric with the right side facing down and poor some pellets onto the back of the fabric, if you dont have access to pellets you can use a block of beeswax and grate it with a cheese grater. drip some jojoba oil onto the pellets before baking
Jojoba Oil is an anti microbial also
this is about how much you will need to put down, once it melts it will submerge the fabric so as long as you have enough so when it melts it coats the fabric your good!
Step 4 – Place this in a preheated oven about 300 Degrees F, just enough for it to melt the pellets
Please refer to the video at this point if you would like to see me actually make these and what it looks like once pulled out of the oven
Step 5 – once the pellets have melted take it out of the oven.
step 6 – you will need to take it off the aluminum fold straight away, if you can handle the heat of the fabric put some gloves on if not grab the corners of the fabric and lift it off the pan, let the excess drip off the fabric and make sure its completely coated, if its not then flip it over and lay it back into the excess wax until its covered.
step 7 – wave it slowly while your holding the corners of the fabric till its dried fully, to make this process go by faster having a small fan close by will help speed this process up but in the end it only takes 2 or 3 minutes for it to dry fully
Step 8 – Once dried you can choose to create a decorative edge with pinking sheers or a wavy blade, i like to trim off the edges if there is excess wax build up to give it a nice clean edge
and if you cant do this tutorial you can always grab there on Amazon! haha






0 Comments