Applique T-shirt withut a cricut
[wpedon id=”24976″ align=”center”]
As a mom i see all the kiddos in school wearing all these fun customized T-shirts and sometimes its just not in the budget to go out and buy 30 dollar shirts for each of my children furthur more maybe its not in the budget to invest in a cricut, laptop, vinyl and all the other costs associated with these expensive machines! Well there is some good news! you can easily achieve the same look as a custom T-shirt for far less money. Heat and Bond is a product that has been around for years! Its what all the cool kids used back in the old days to do fun applique on things such as clothing and quilt projects.
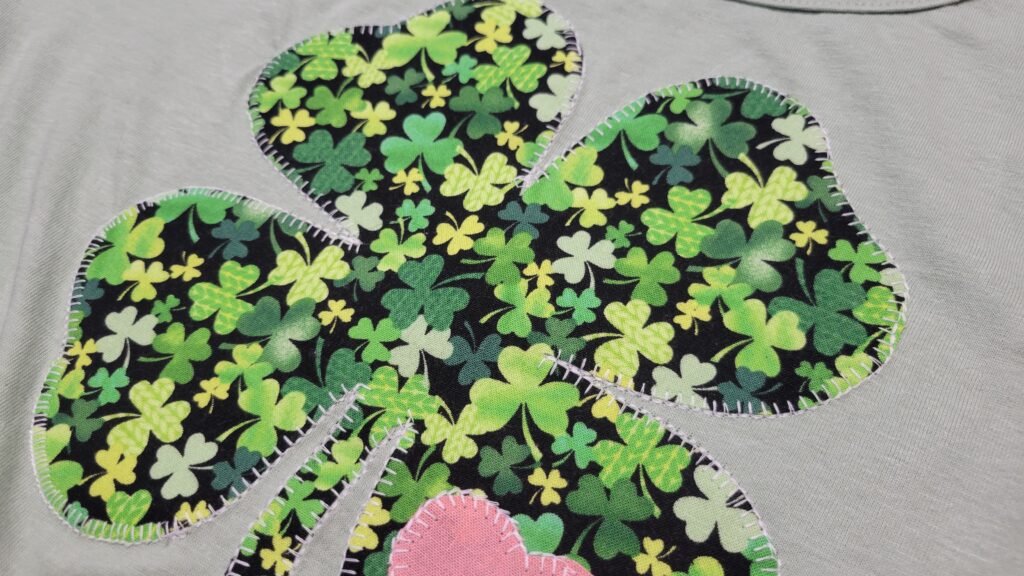
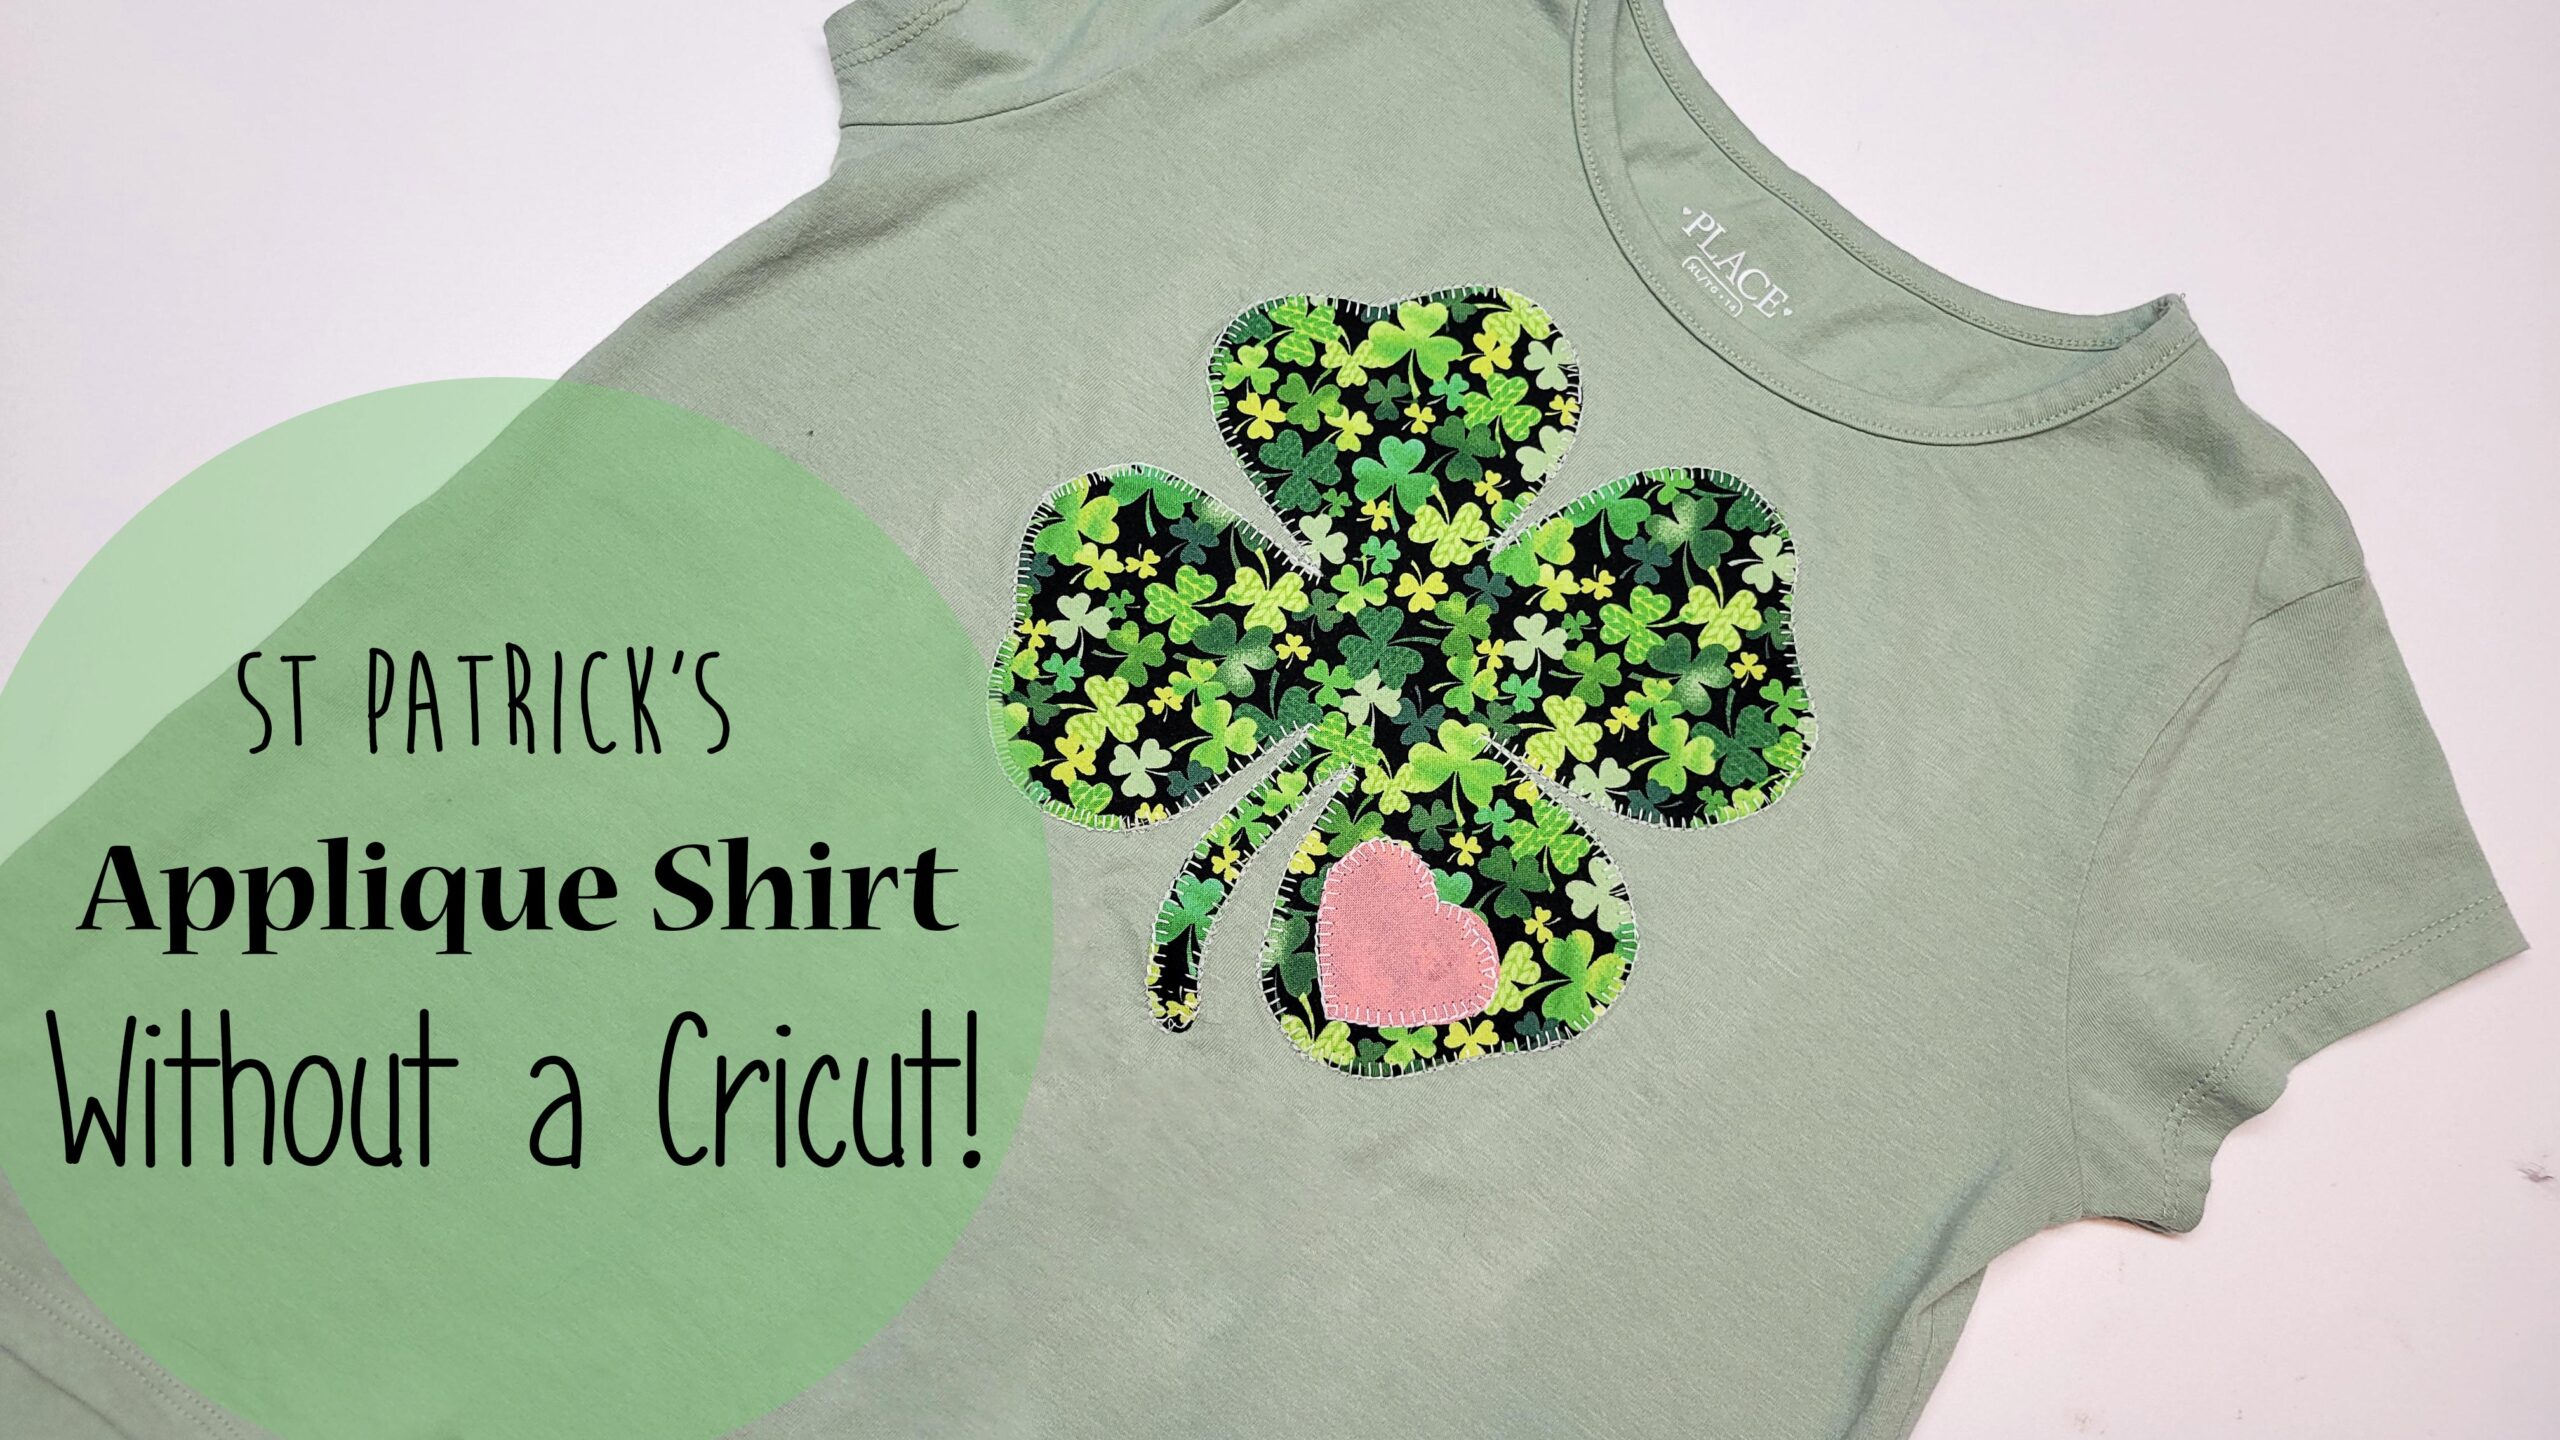
In this tutorial i will show you how to make this adorable St Patrick’s day T shirt just in time for the fun school activities! This technique can be of course used for so many other designs and i hope you give it a try and get your kids involved its a fun project they can definitely help with.
Tools and Notions
- Sewing machine (sewing is optional)
- Scissors
- Heat and Bond
- matching thread
- ball point needle (if using knit fabrics)
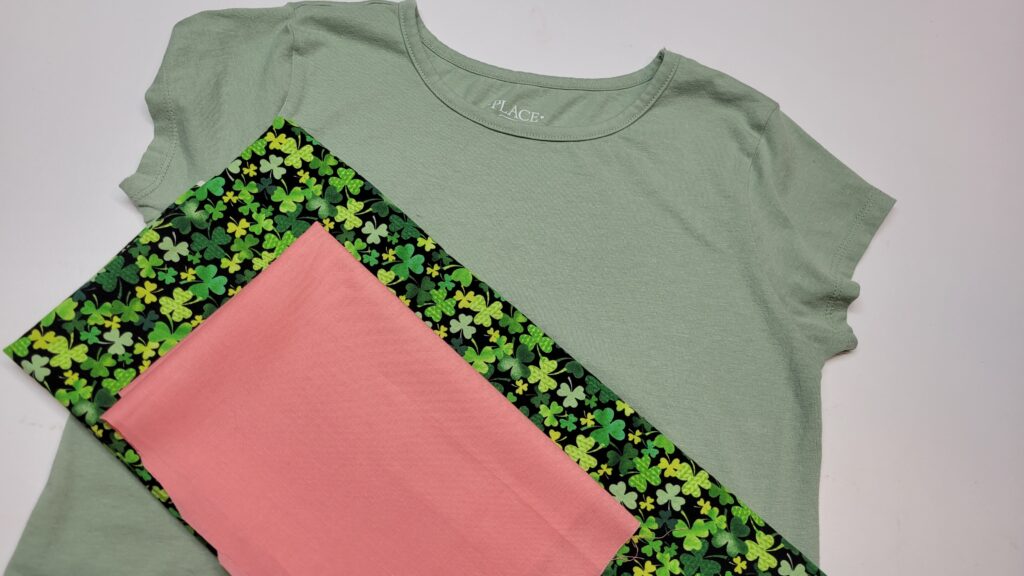
In this project i’m using a cute basic T and i found this adorable clover cotton fabric and a peach colour fat quarter, you dont need very much fabric so even if you pick up a few fat quarters from walmart or michaels that will be plenty to make up a few tshirts.
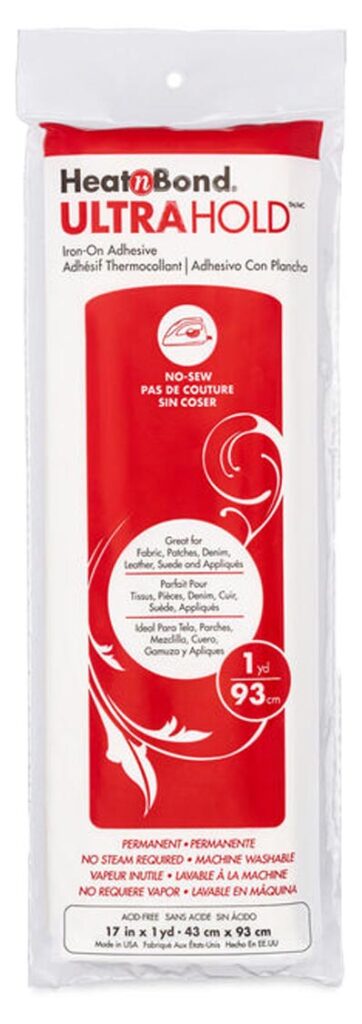
Where to buy – https://amzn.to/3viIb5v
Heat and Bond is a permanent, double sided adhesive stabilizer designed to basically glue your fabrics together.
Step 1
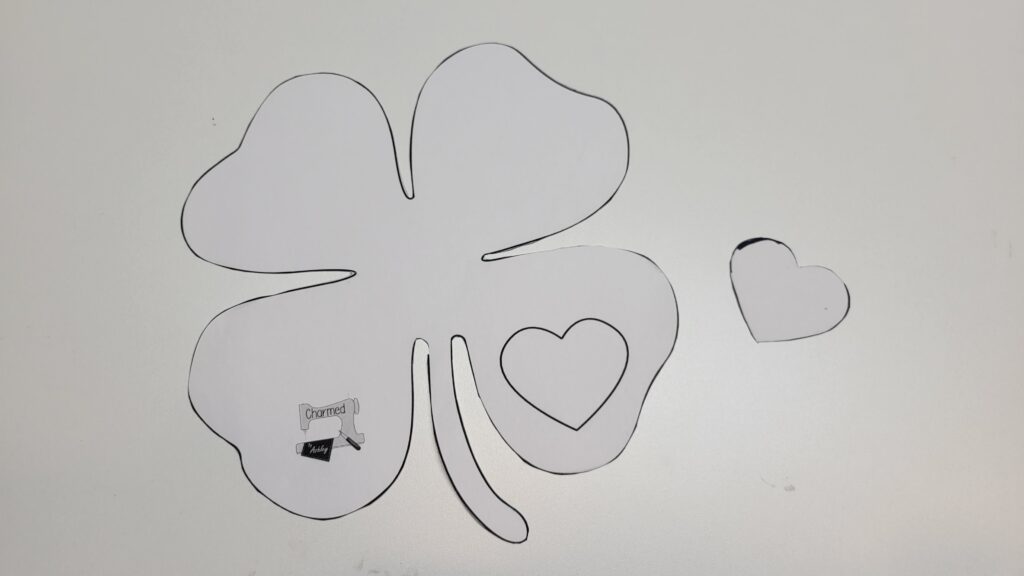
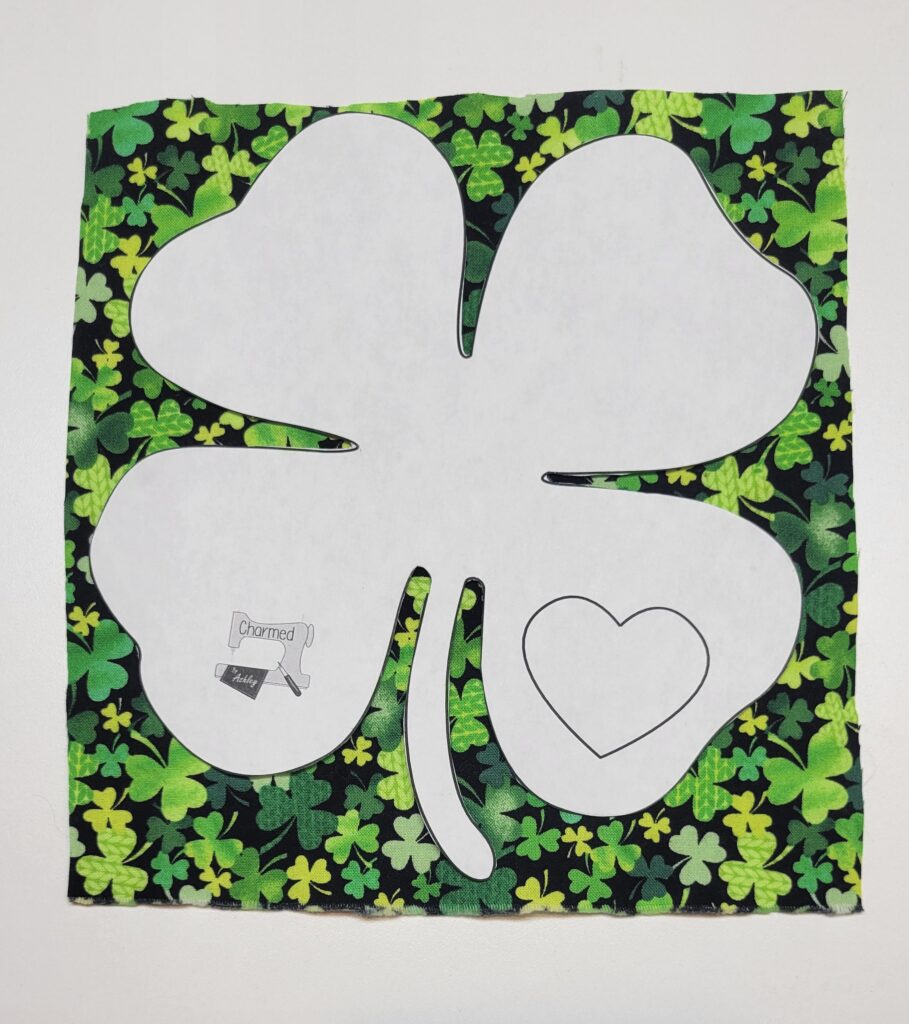
Download the pattern at the bottom of this post and cut out the design.
Step 2
Cut out square piece of fabric that is slightly larger then the template piece.
Step 3
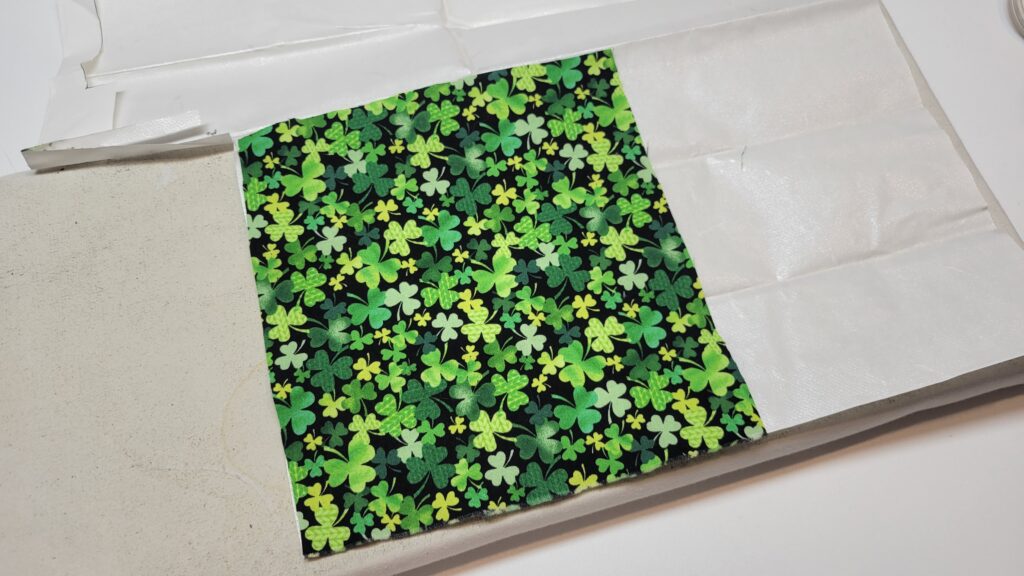
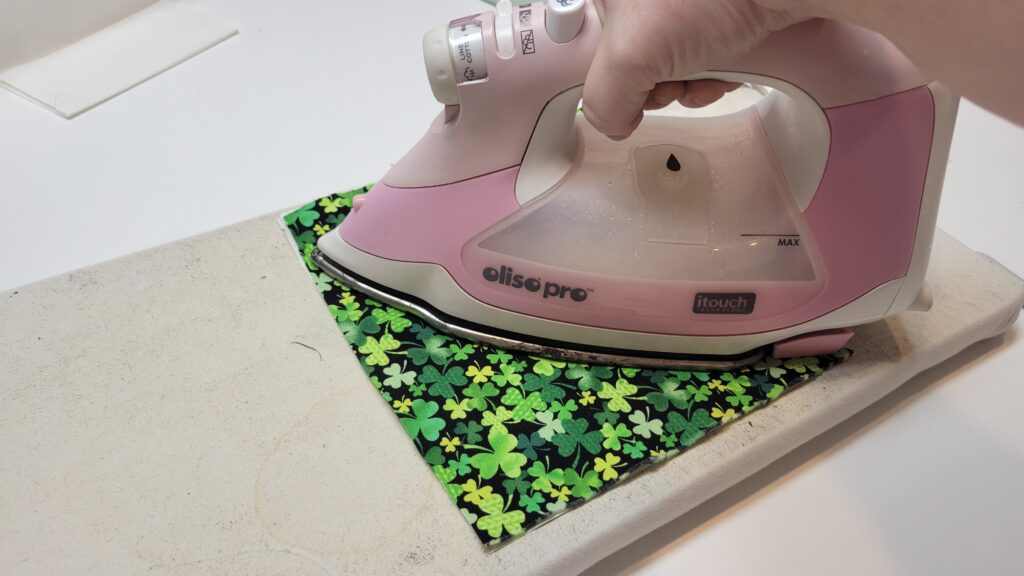
Iron the heat and bond onto the back of the fabric
Step 4
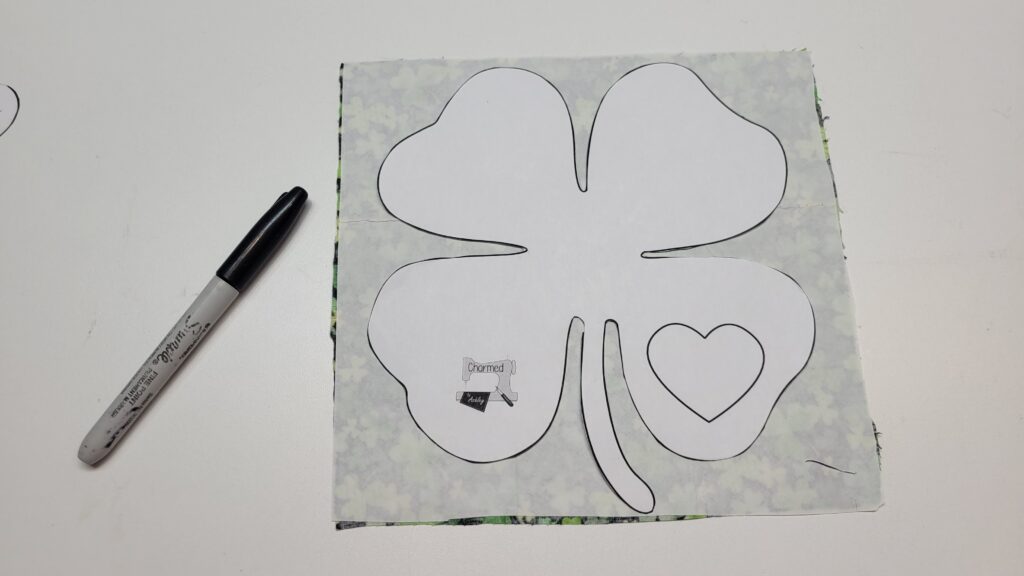
Place your template onto the back of the fabric with the heat and bond cooled to the touch, Trave out your pattern with a marker.
You can use something permanent such as a sharpy as this paper will be peeled off soon.
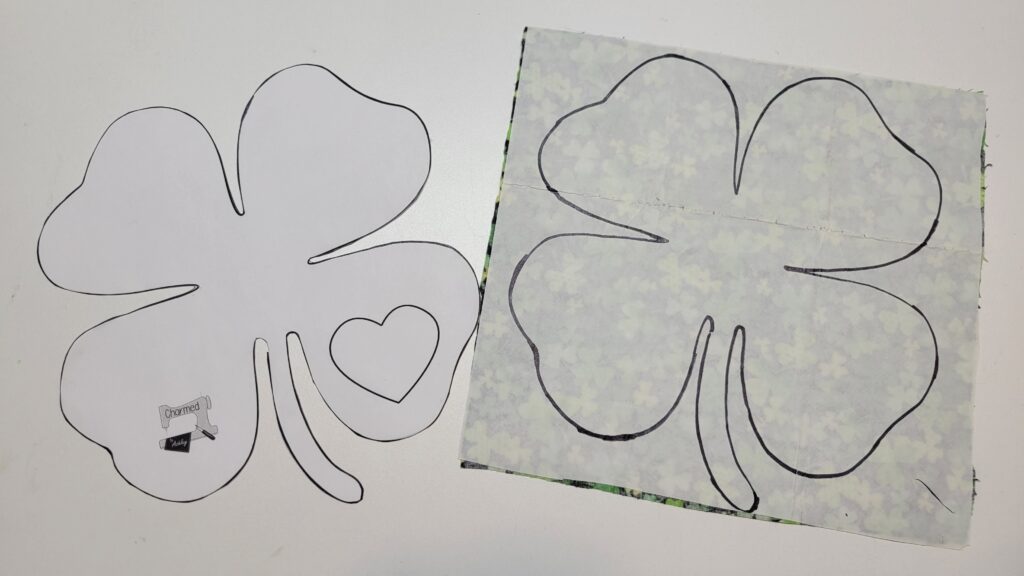
Step 5
Cut out the traced image out of the fabric.
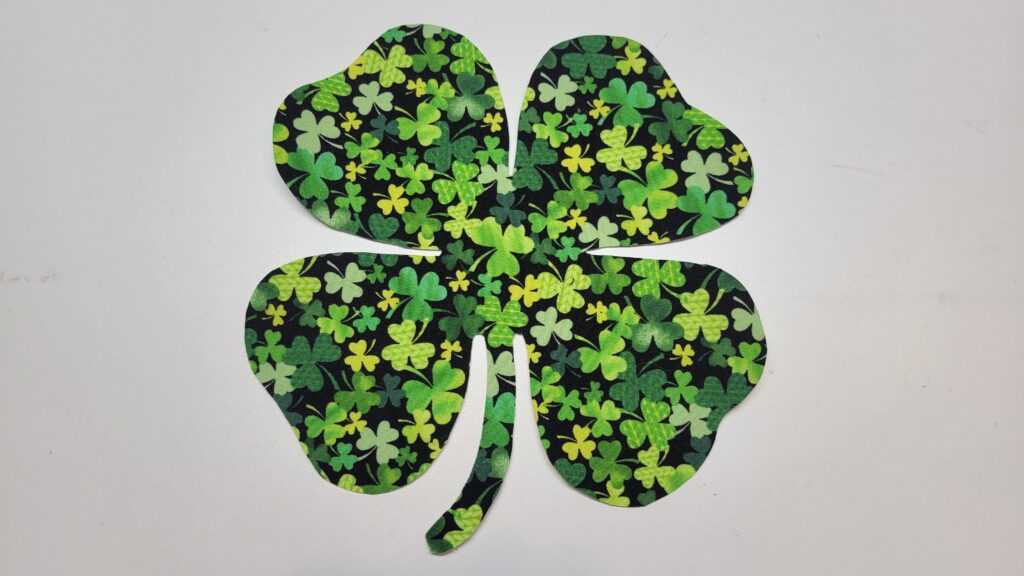
Step 6
Peel off the back of the heat and bond paper, the back of the fabric should have an adhesive left on from the heat and bond, it will be tacky but not sticky.
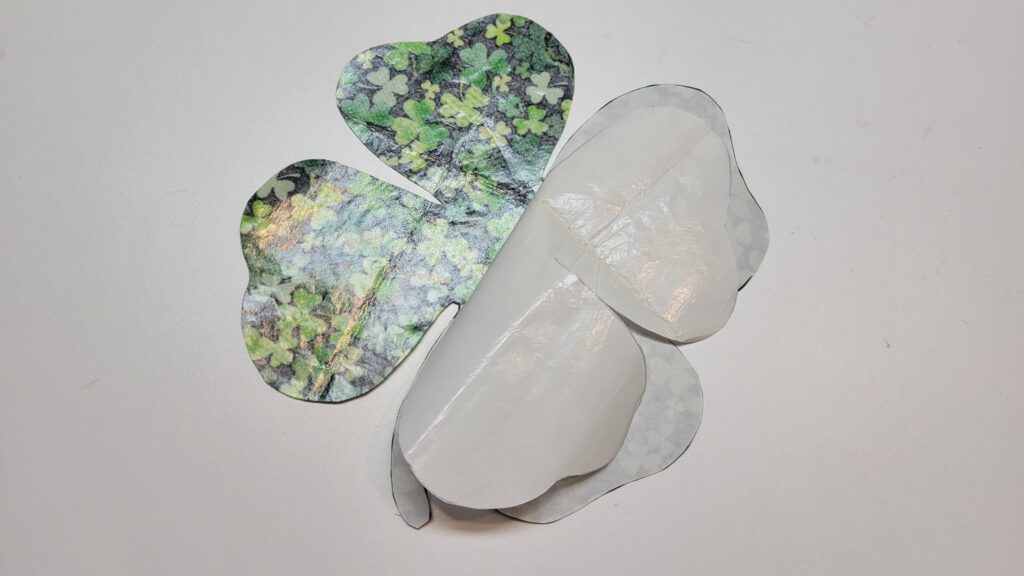
Step 7
Place onto your t shirt.
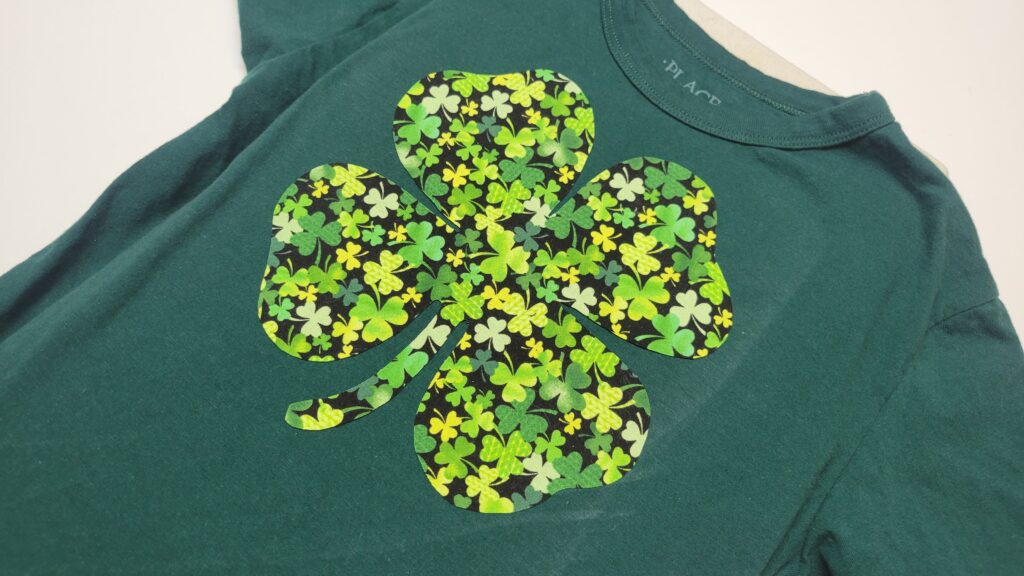
Step 8
Press with a hot dry iron to secure the image to the t shirt and your done!!
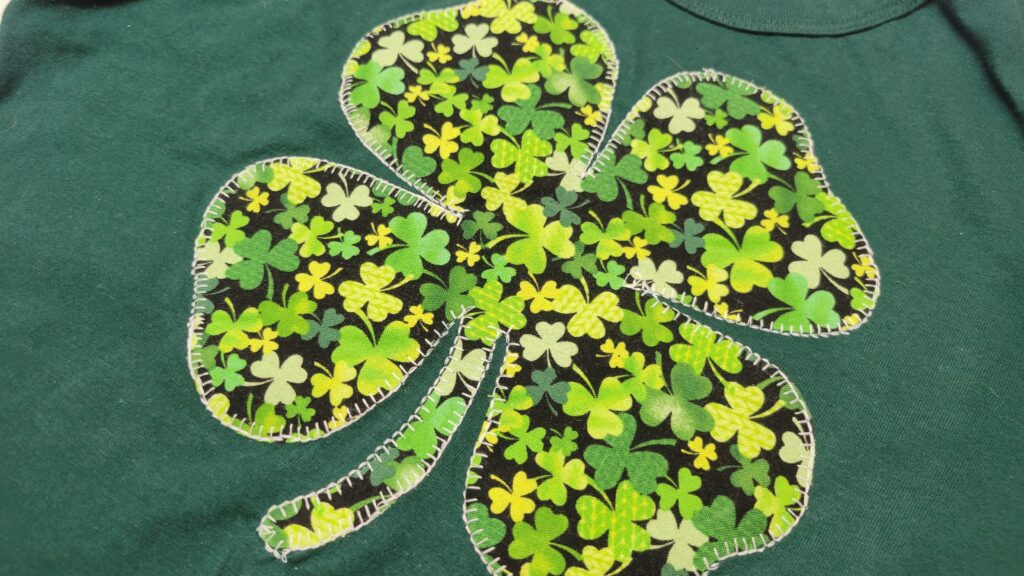
Step 9 is optional
Your t shirt is done! now i will go a step furthur and sew around my imagine, this is entirely option as it will add a fun texture and extend the life of the t shirt, but this is a permanent product and should be fine without sewing around it.
Download “Charmedbyashley-Shamrocktemplate.pdf” Charmedbyashley-Shamrocktemplate.pdf – Downloaded 3241 times – 69.02 KB


0 Comments