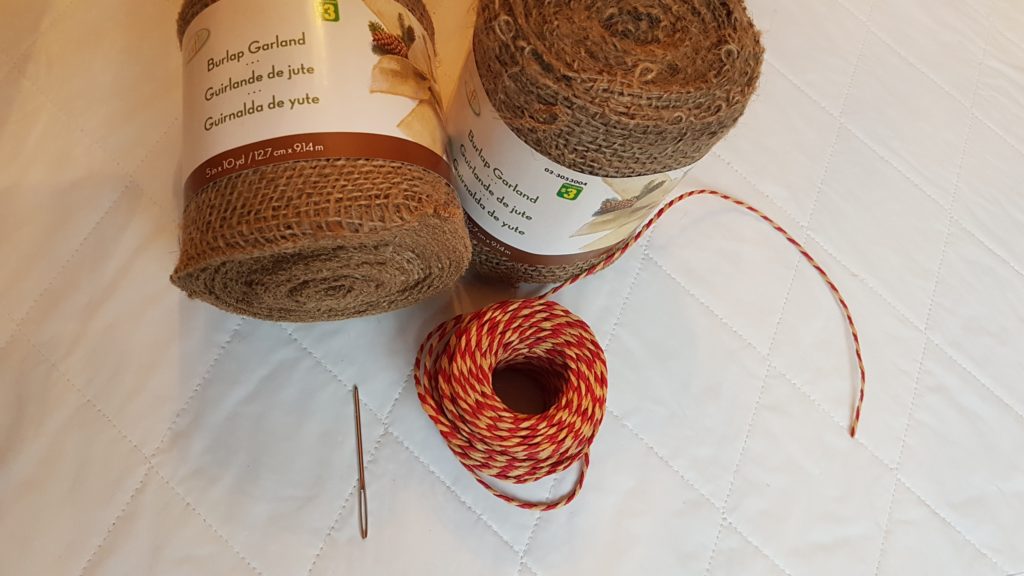
For this tutorial you will need burlap ribbon, you can find these at joann fabrics, michaels or hobby lobby and if your lucky enough maybe in your dollar tree or dollarama
check out this fun festive burlap
use some twine or yarn as your garland base and a darning needle just to make things easier
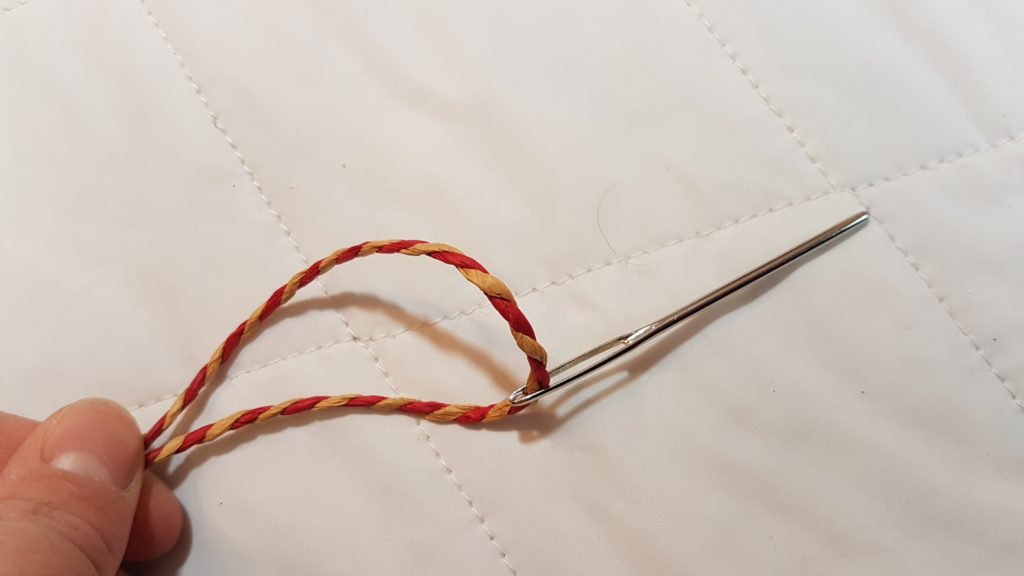
Thread your needle, i kept my twine attached to the main ball but you can of course cut your twine to the length you wish your burlap garland to be
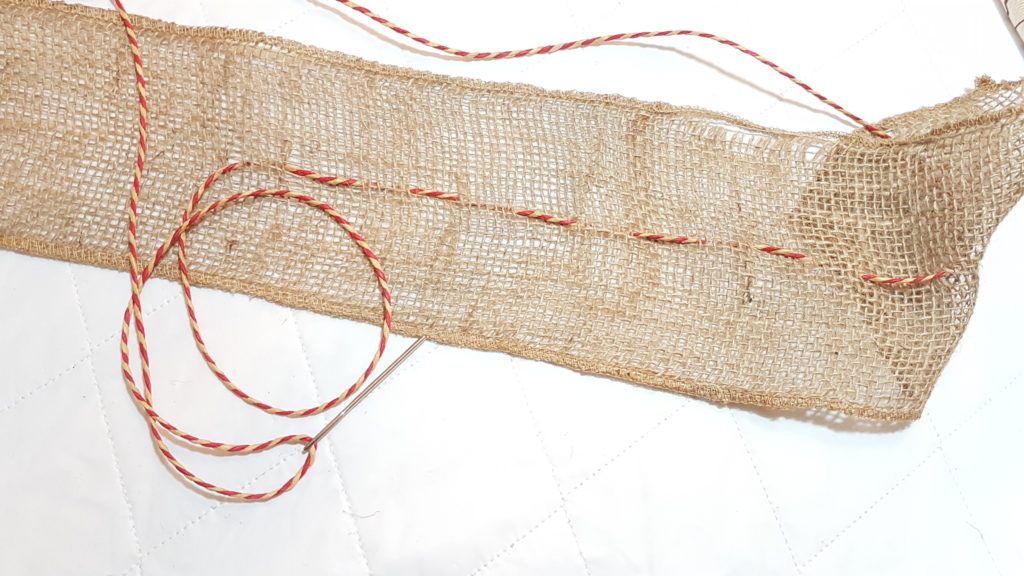
pull the needle through one of the burlap wreath and tie your twine at that end so you dont end up pulling it through when your threading your needle
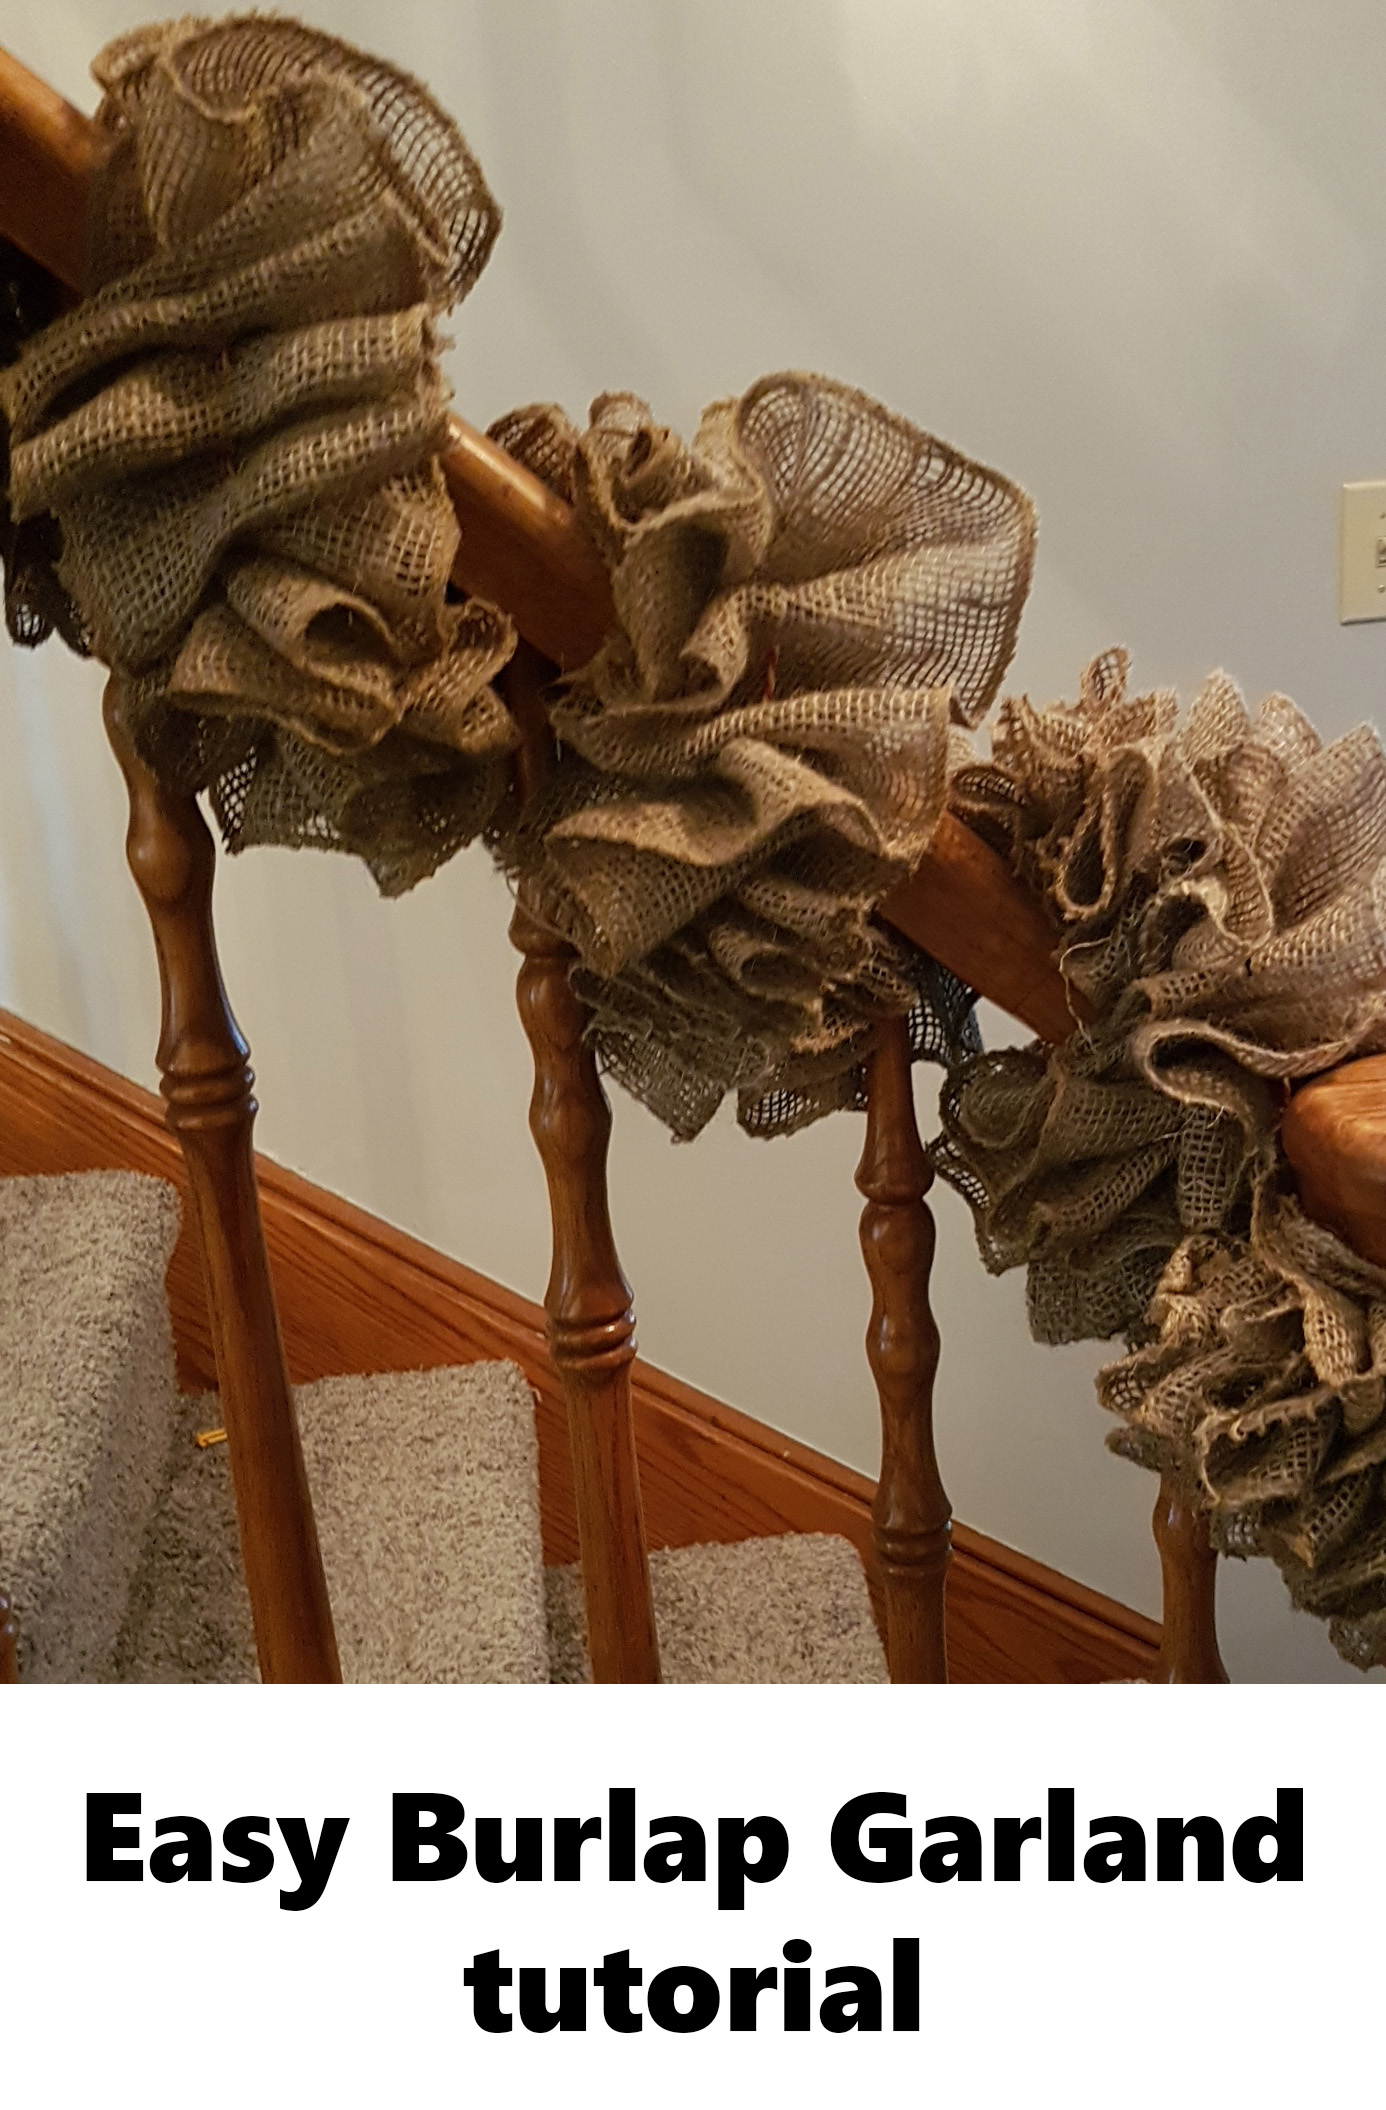
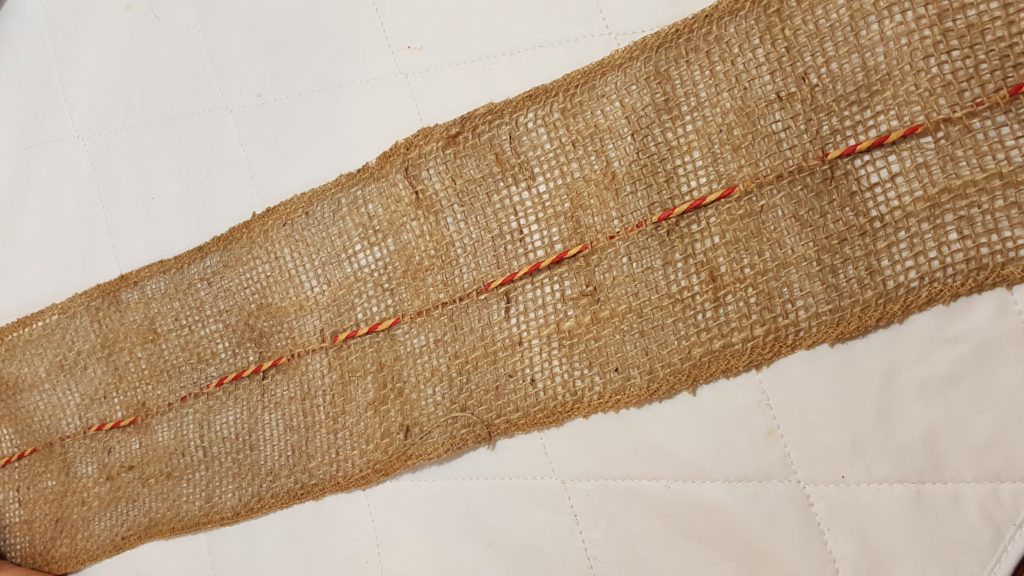
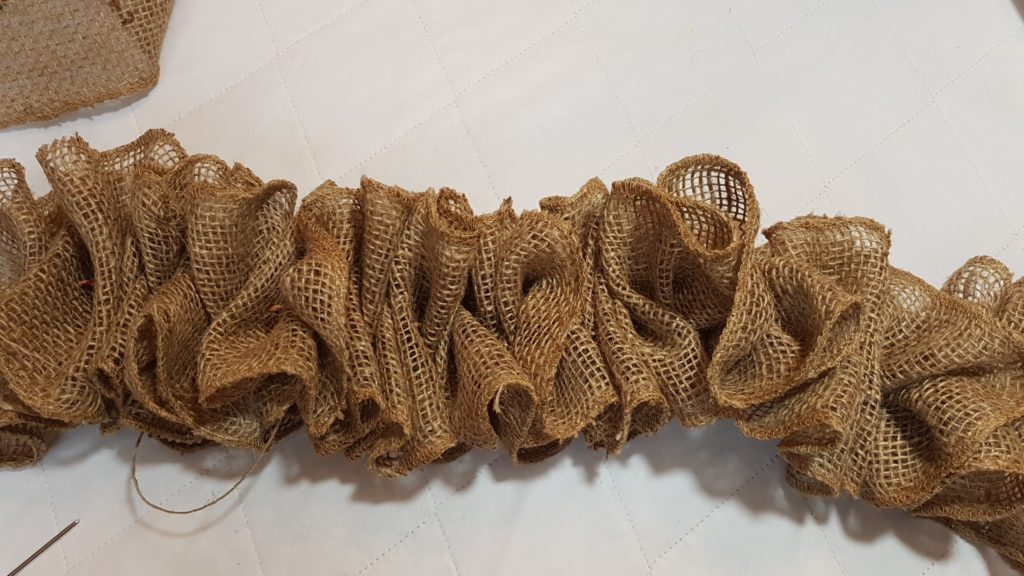
continue doing a straight stitch down the centre of your burlap till you get to the end of your roll, pull your strand as you go bunching up the burlap
depending on your preference keep it tight or spread out the folds to have a looser garland, keep adding rolls of burlap to your strand until you get the desired length of your garland
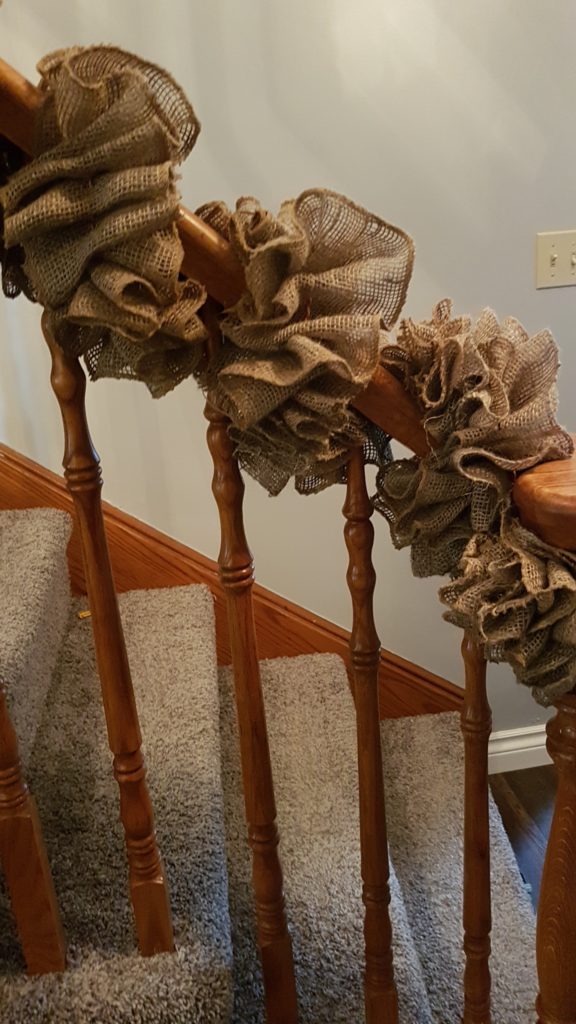
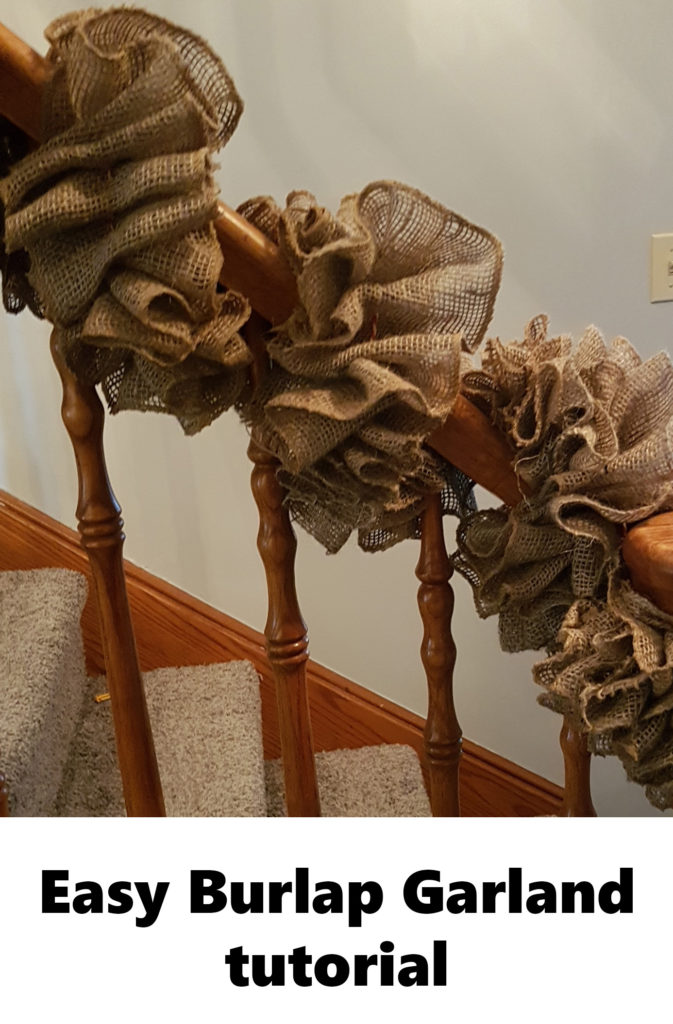
Two story house with a banister do 40-50 yards of burlap
for a mantel or above the doorway do 30 yards of burlap
This is another way of doing it which will give you a different look to your burlap and equally as beautiful
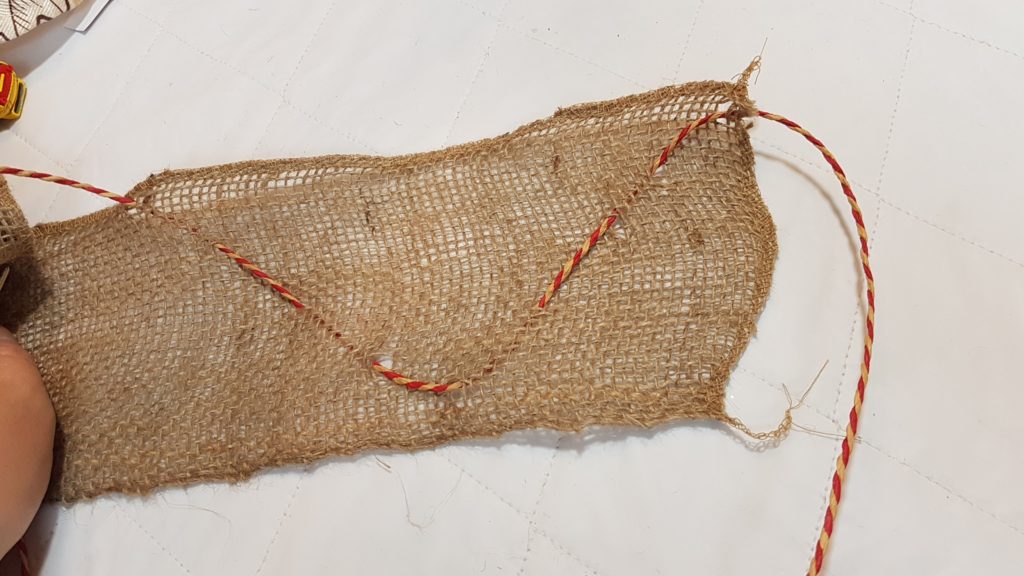
do a zig zag stitch with your needle the entire length of your burlap
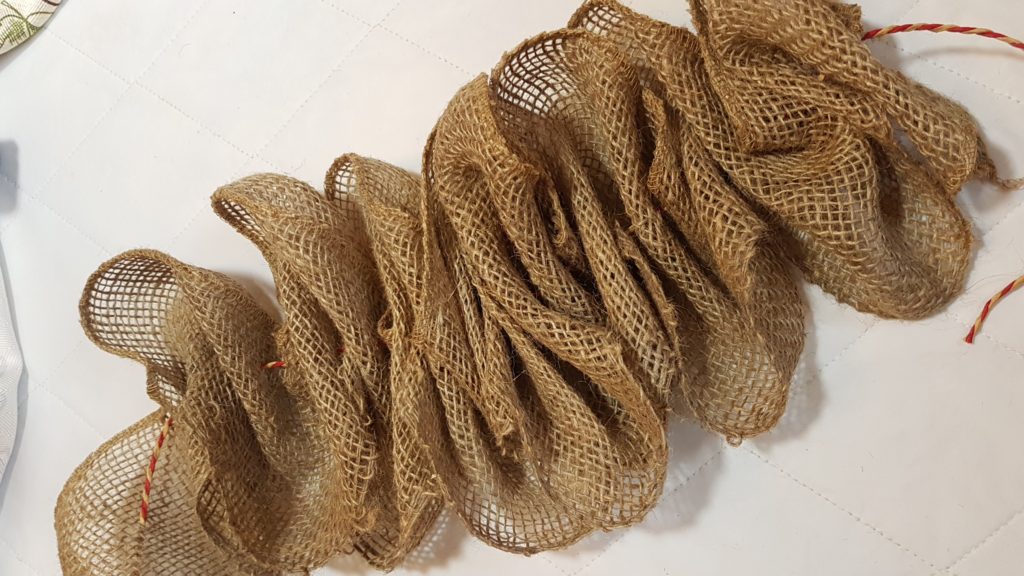
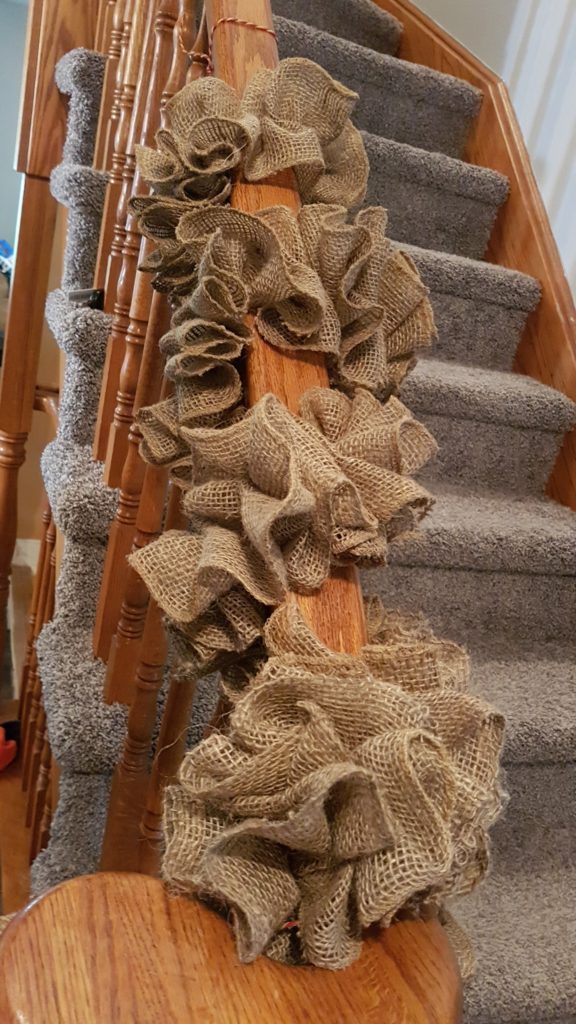
This is how it will look with a zig zag stitch, appears fuller and once your are done you can twist your garland and it wont appear as flat as it does in this photo



0 Comments