
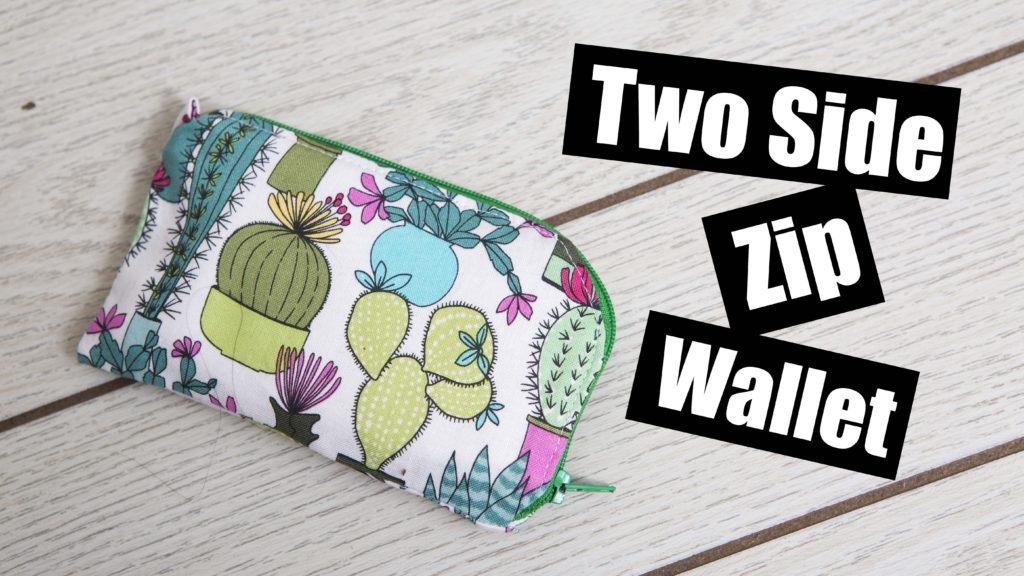
Welcome to the two zipper wallet tutorial!
This is a fun and easy project that can be made in all sizes
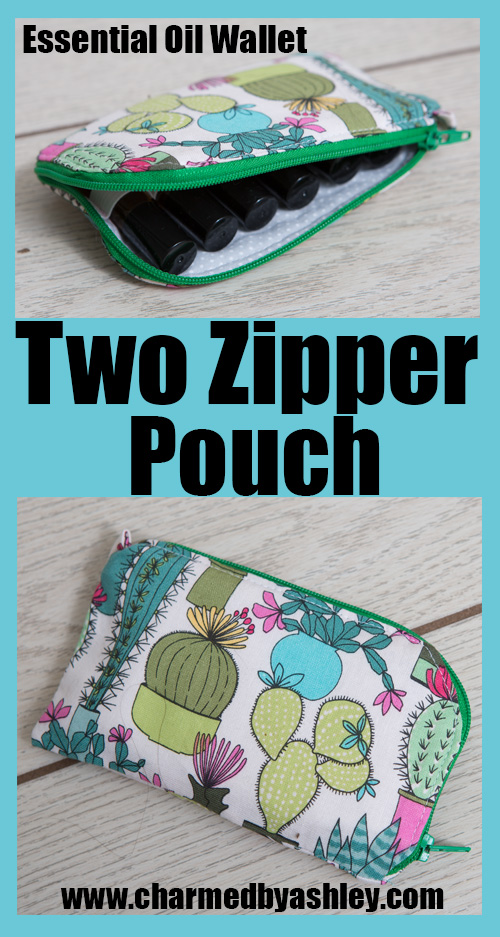
The measurements in this tutorial are for the essential oil wallet version with 1 slip pocket, you can of course take out the slip pocket or the essential oil slots if you wish to make it just a pouch or you can make it with two slip pockets on either side.
Measurements
Outer fabric – 4″ x 6″ Cut 2
Lining fabric – 4″ x 6″ Cut 2
Zipper – 10″
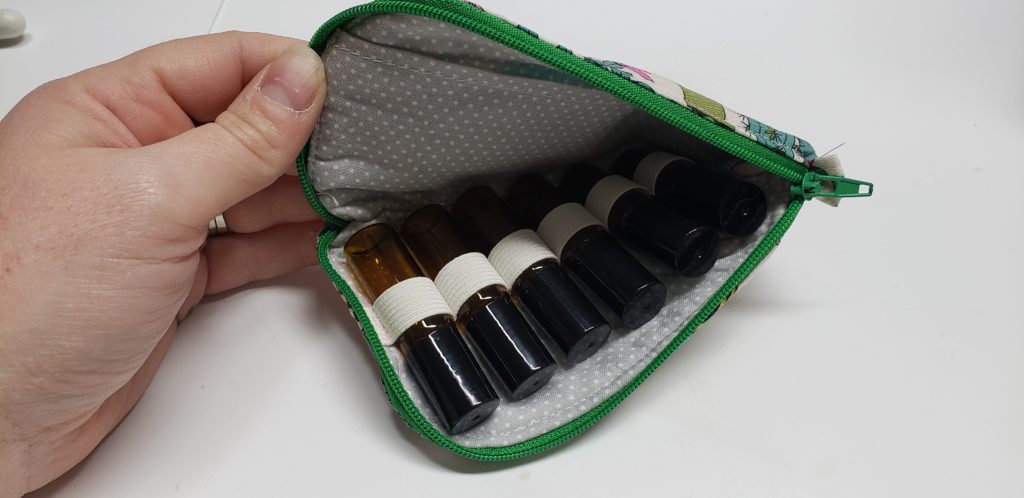
1/2″ Elastic 8″ long
Slip pocket piece – 5″ x 6″ (fold in half so it measures 2 1/2″ x 6″)
Materials
Cotton Fabric
Fusible interfacing (to add padding to protect the things inside)
The Roller Ball Bottles at 10Ml
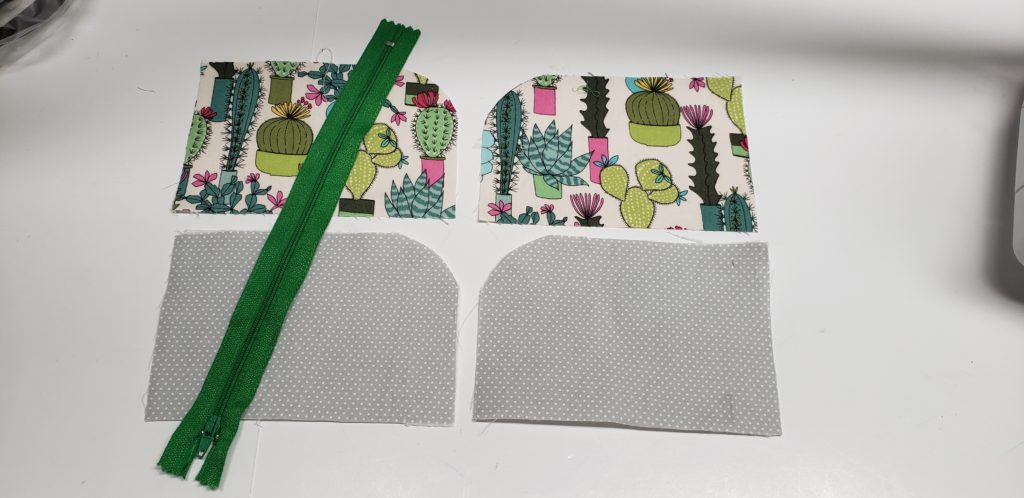
for this tutorial i round off one of the corners with a round option such as a ribbon spool, make sure you mirror your pieces as shown
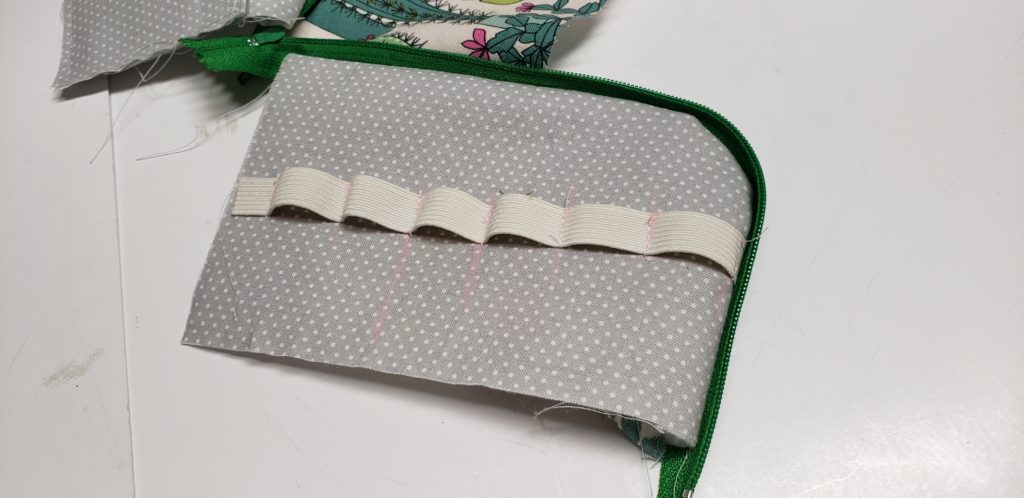
draw a guide line 1 1/2″ up from the botton. (this will help keep your elastic straight.
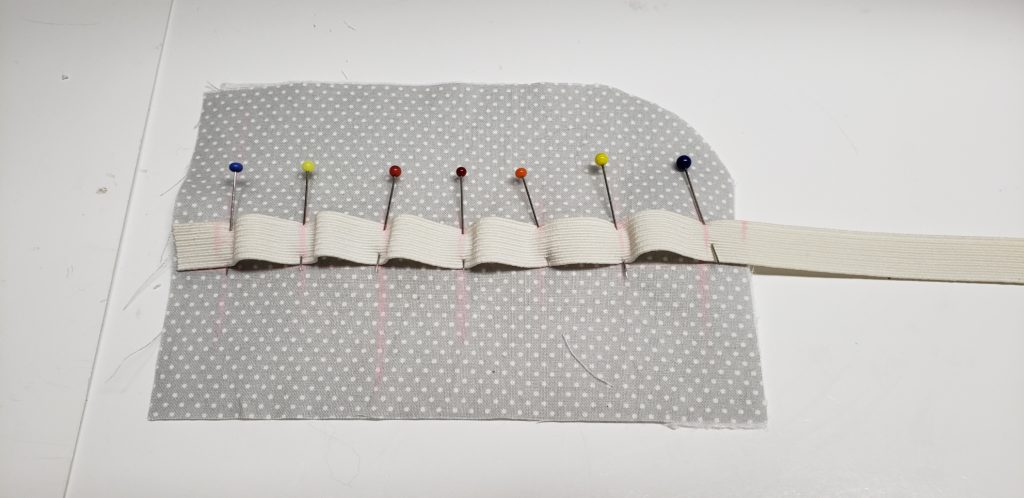
On the fabric measure 1/2″ away from the left edge, and then 3/4″ from there.
With the Elastic measure 1/2″ away from the cut end and 1″ space for 6 spaces and then another 1/2″ at the end.
Line up the markings on the fabric with the markings on the elastic, the elastic should pucker as show in the photo.
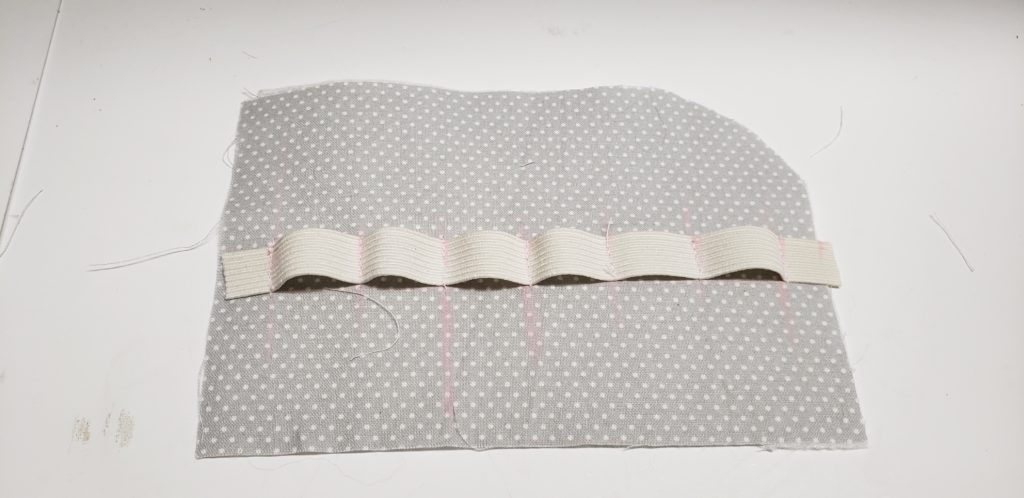
Sew all the little markings to create your slots.
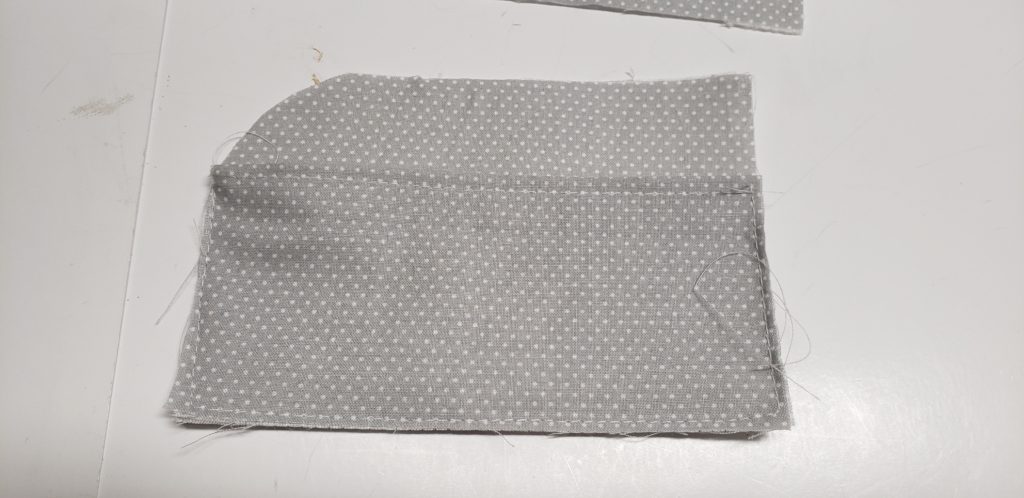
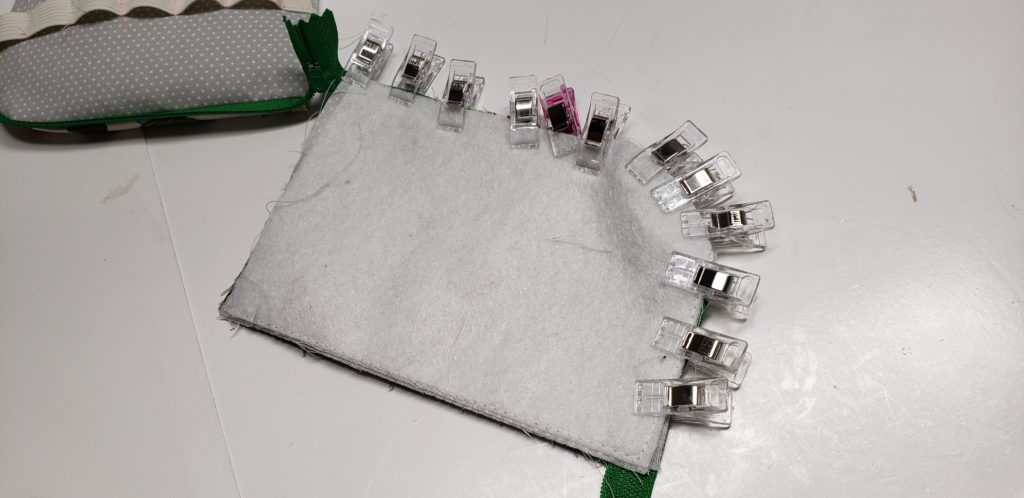
For the slip pocket, place the slip pocket piece on the other lining piece, line up with the bottom. I like to baste this piece into place by sewing the three sides, this will help when you go to install your zippers so things dont move around on you.
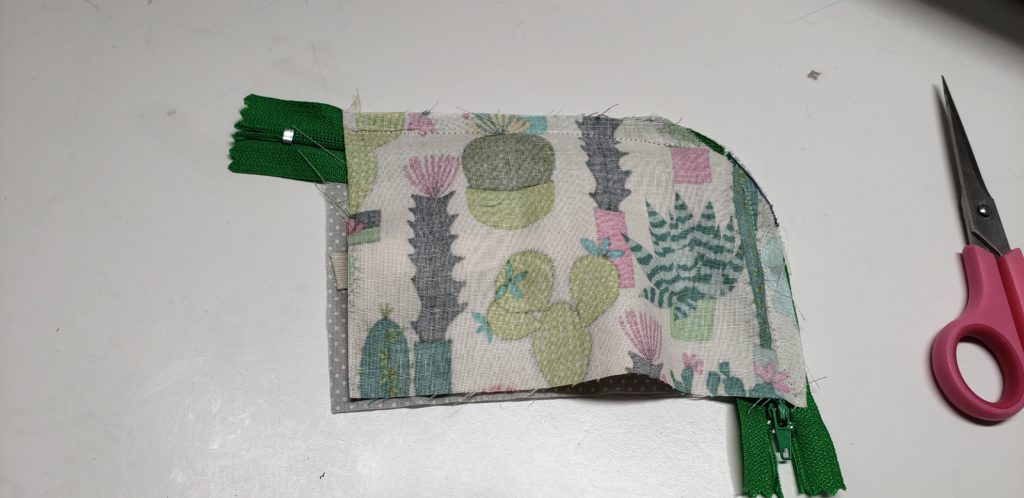
line up your zipper with the edge with the curve with the zipper pull at the bottom of the short side, make sure your zipper pull is facing the outer fabric
Flip the pieec right side out.
Unzip the zipper and install into the other two pieces. snipping into the zipper about a 1/4″ will help the zipper curve around the corner if your having difficulties
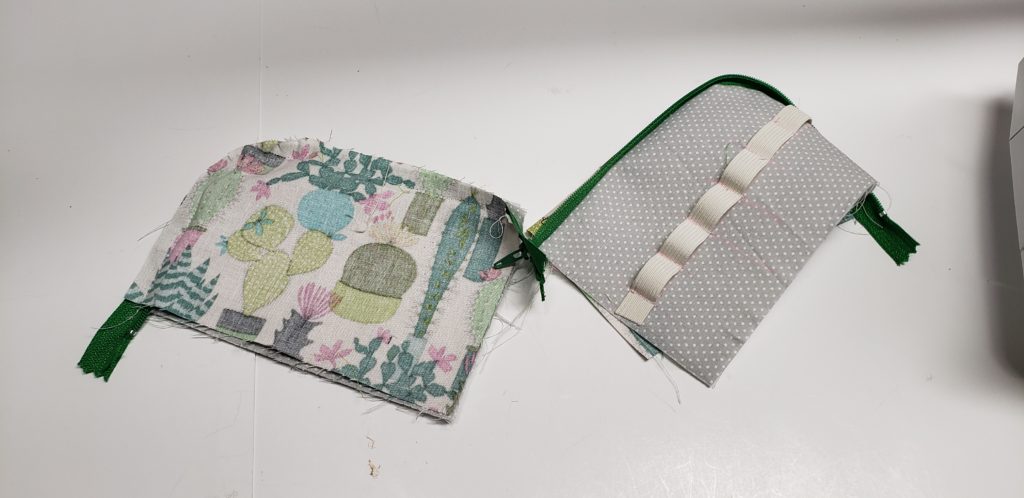
Flip it right sides out and zip it up to make sure its even and looks good!
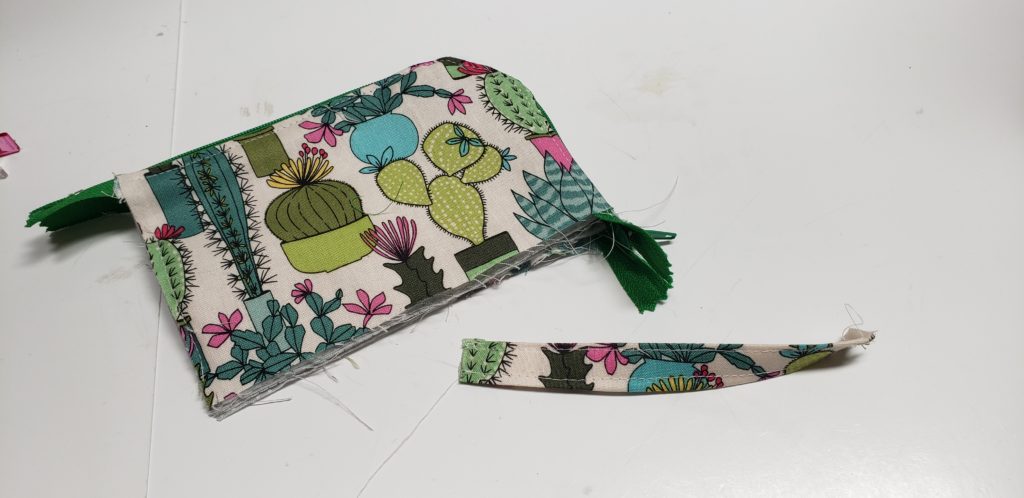
If you want to add a zipper tab you can do that but it isnt necessary for this project.
now to finish off the pouch flip it inside out, place the right sides of the outer fabric together and the right sides of the lining together. it will be in a weird shape sort of like a Taco. you will sew down all the sides leaving a 3″ hole in the lining, make sure to open the zipper when you go over it so you dont end up cuttong off the zipper pull.
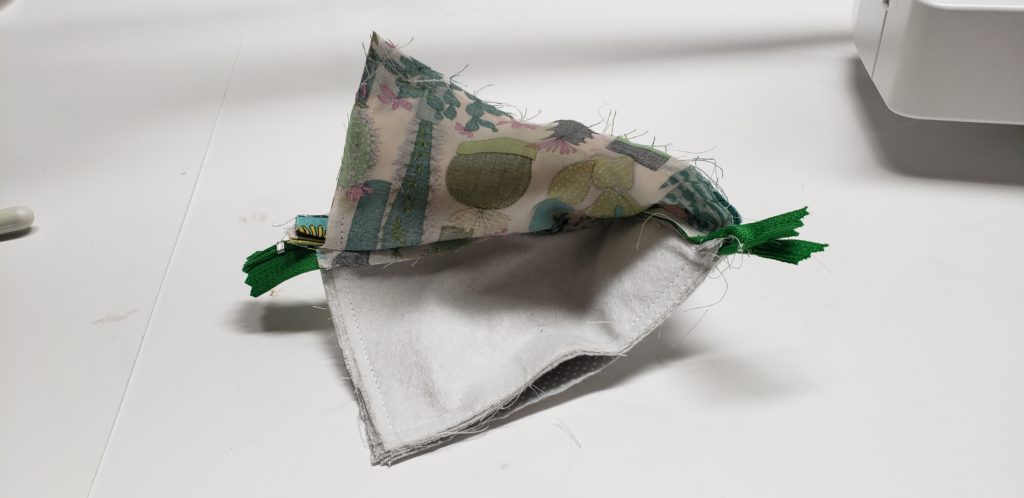
use the hole you left to turn the bag right sides out.
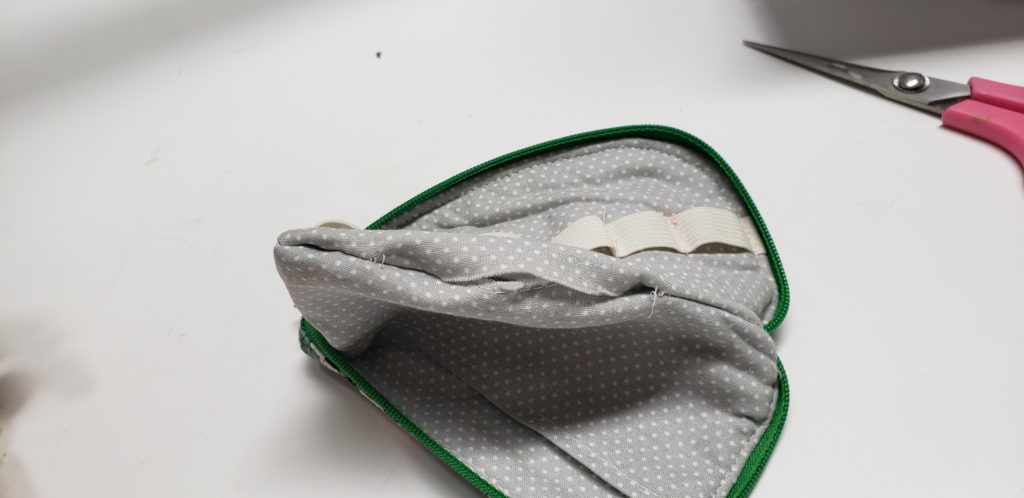
pull out the lining and sew up the hole in the lining by pushing the raw edges in and do a top stitch to just close it up.


0 Comments