
Welcome to the Tissue Box tutorial
This Tissue Box cover measurements are based on a Kleenex Brand

The box measures 5″ Tall by 4.5″ Wide and the top measures 4.5″ x 4.5″
You will need 2 top pieces and 4 side pieces
The measurements are for the top portion 5″ x 5″ and the side portions measure 5″ x 5 1/2″

 </a
</aFollow along with the Video Tutorials if you wish or if you have any difficulty following the written instructions
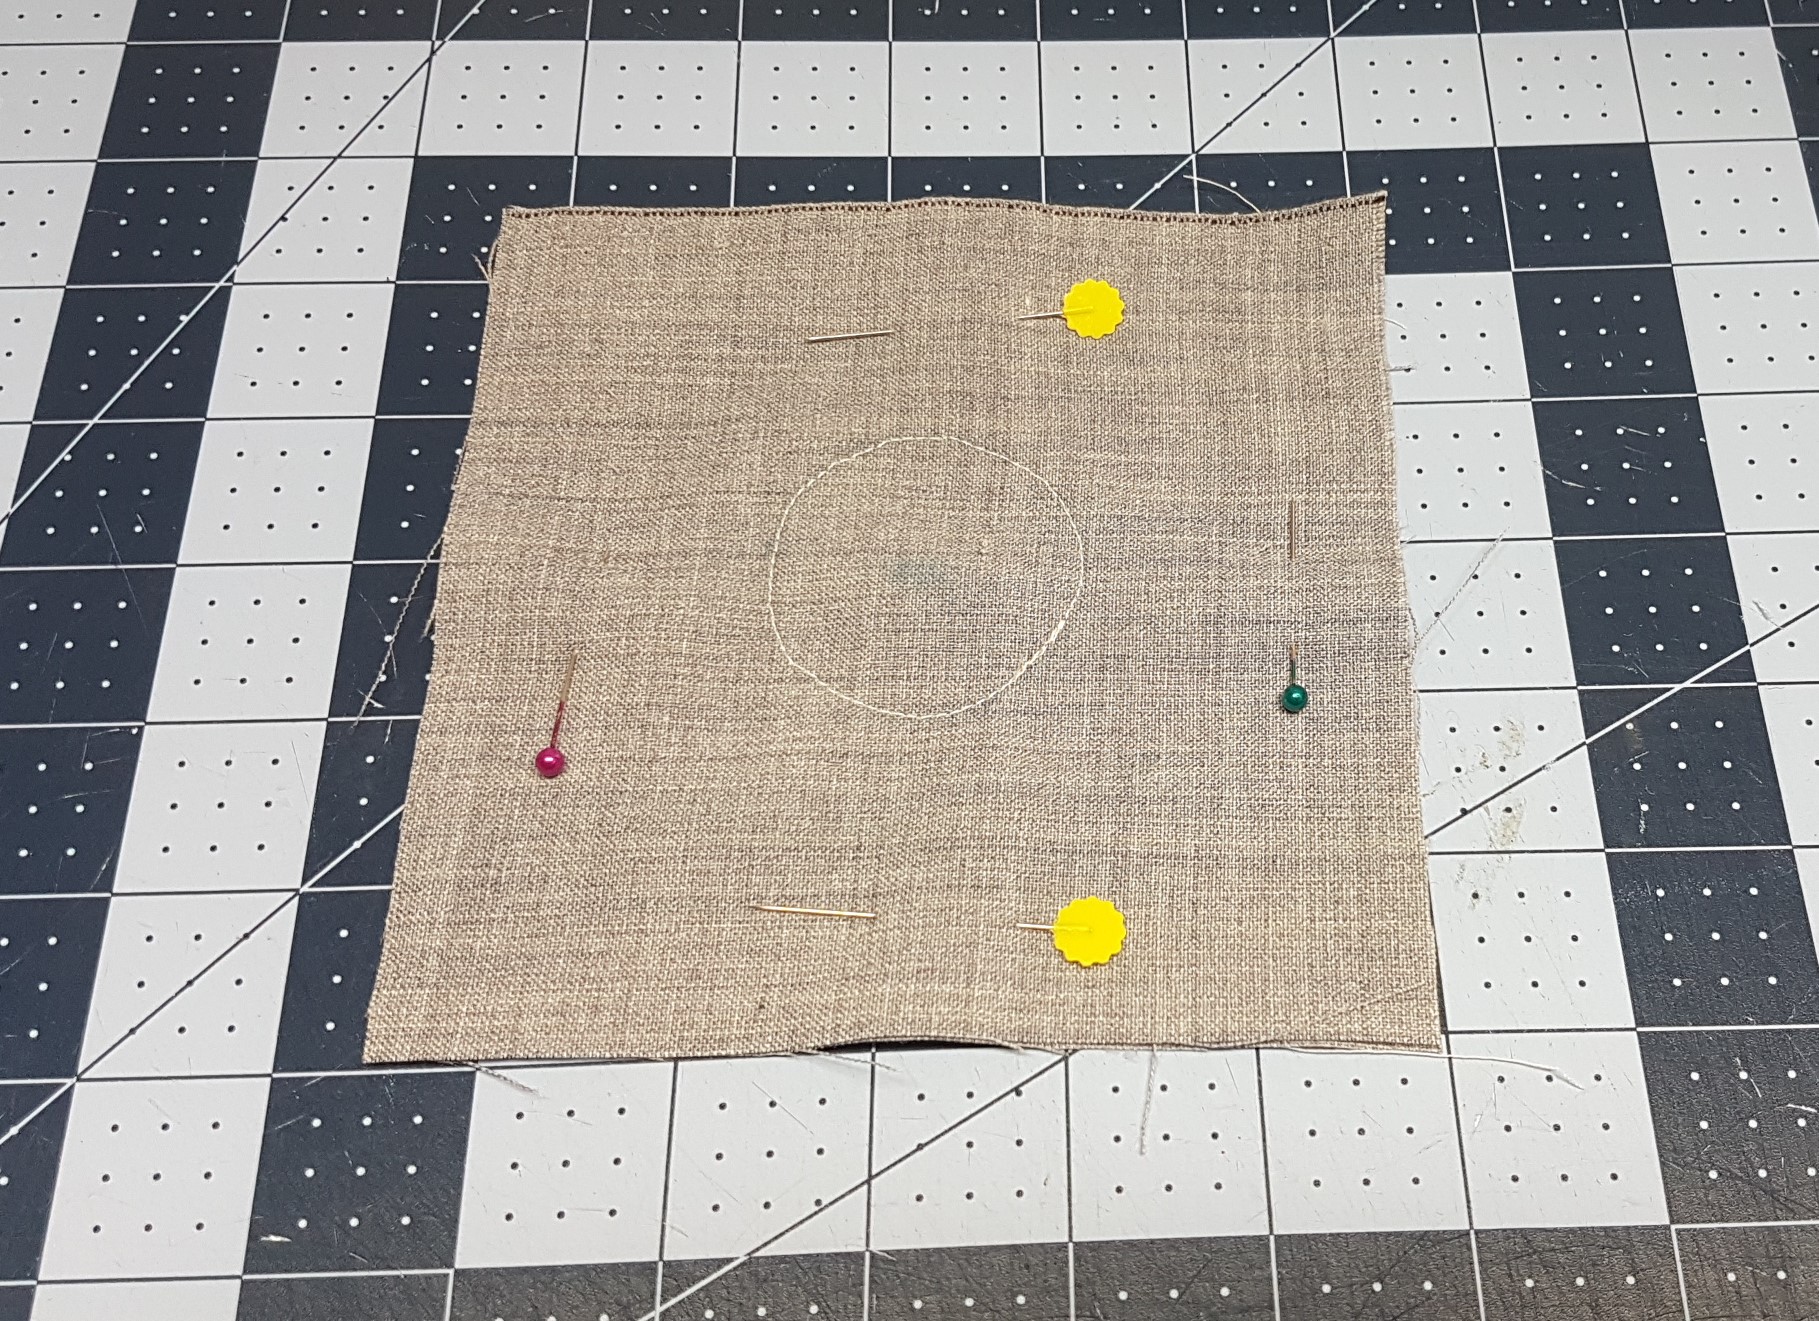
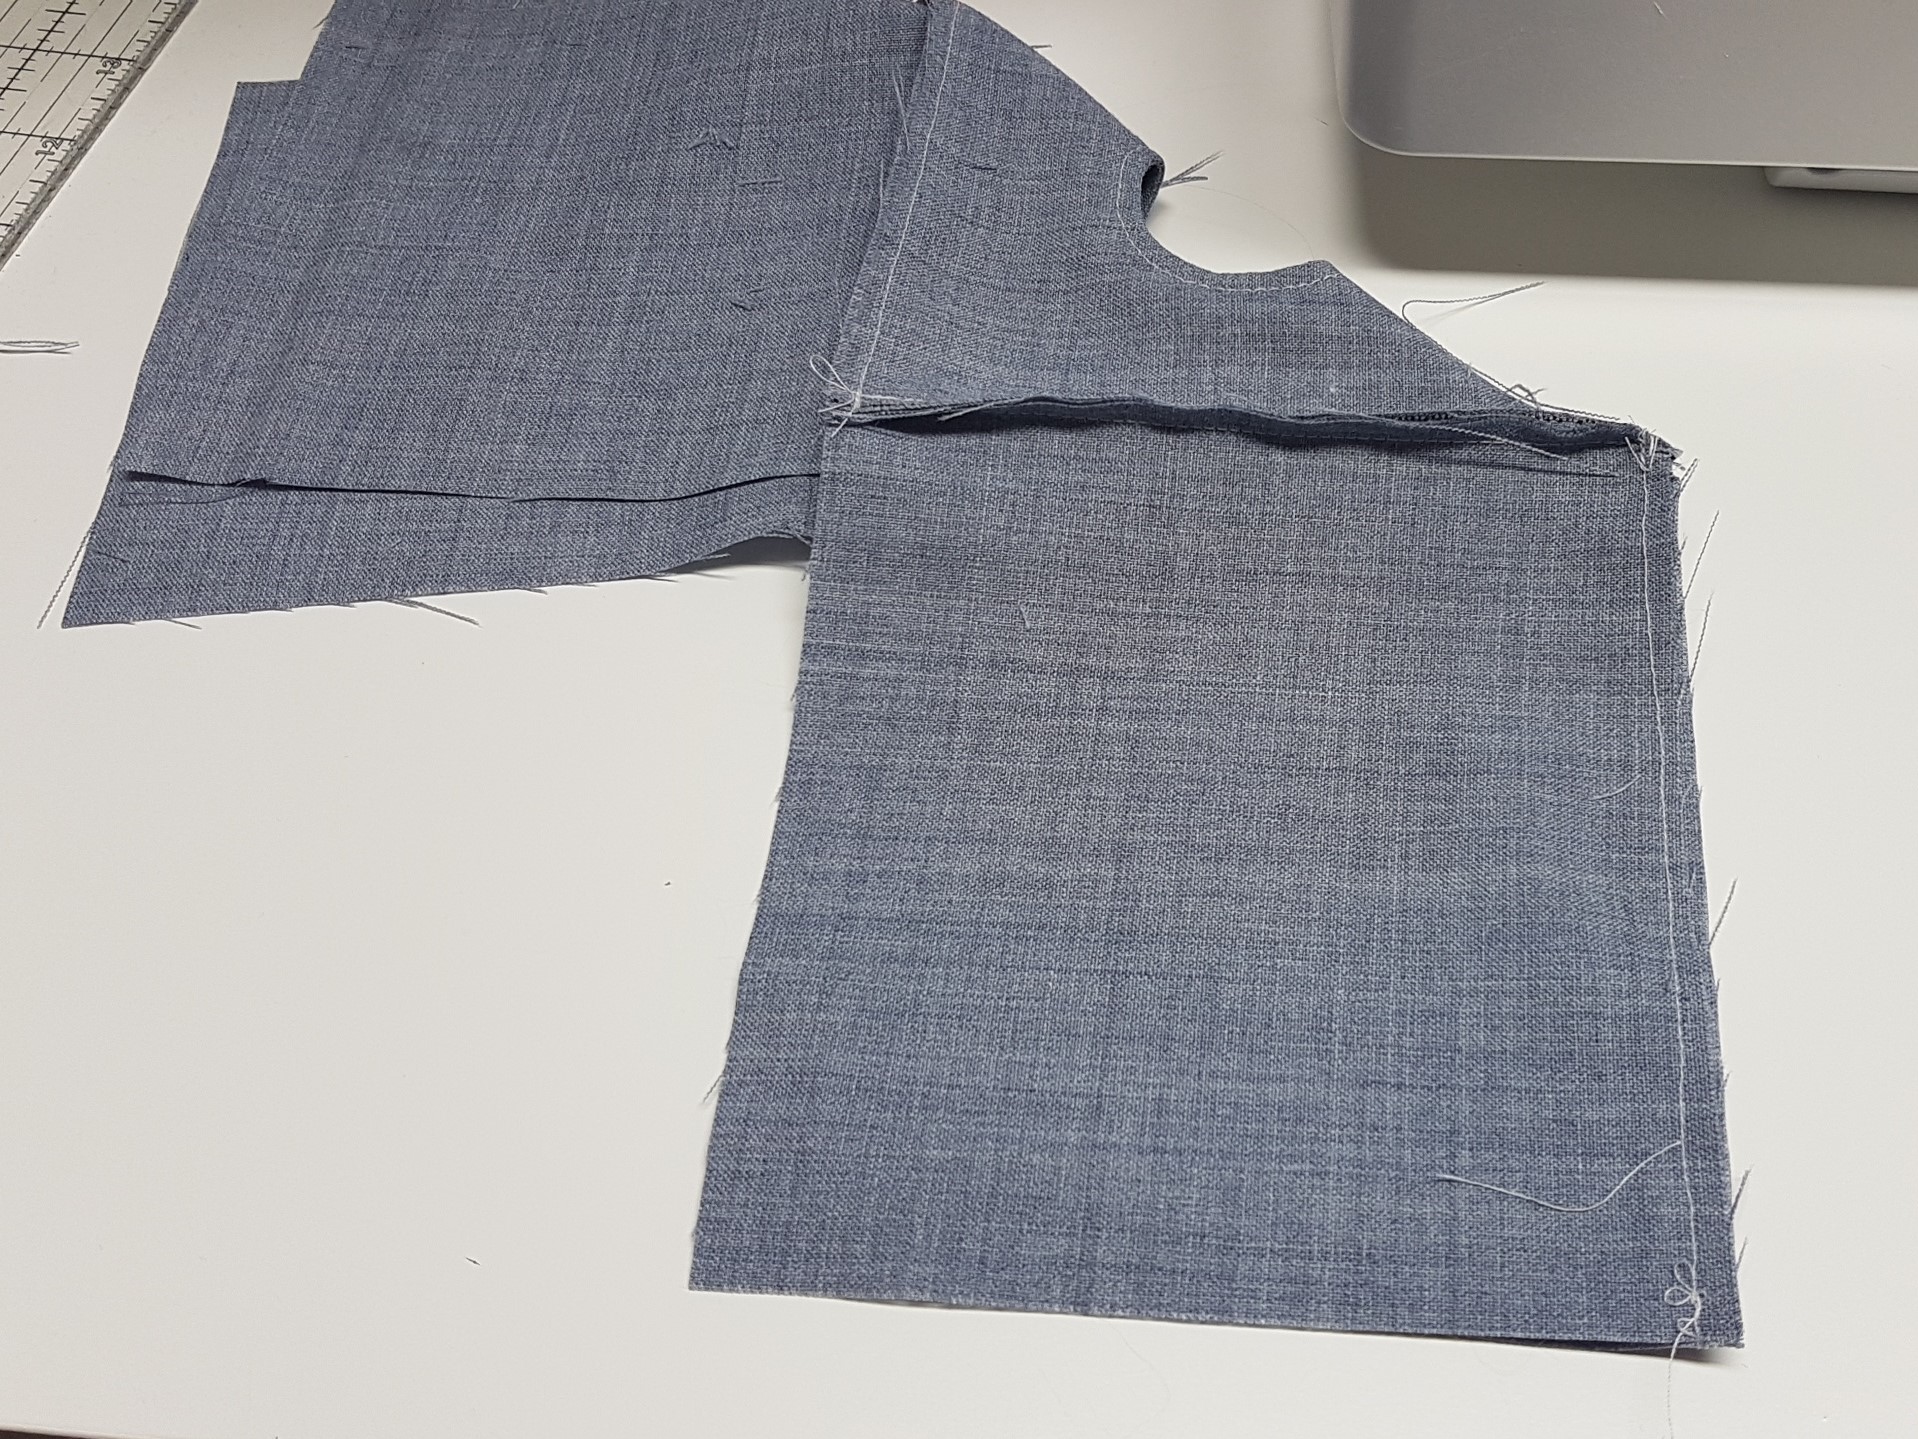
First thing we will do is work on the top two pieces
Place them right sides together and draw a circle or shape for your tissue opening, i used a 1 1/2″ circle but you can use the box cup out if you wish to have the opening the size of the box hole
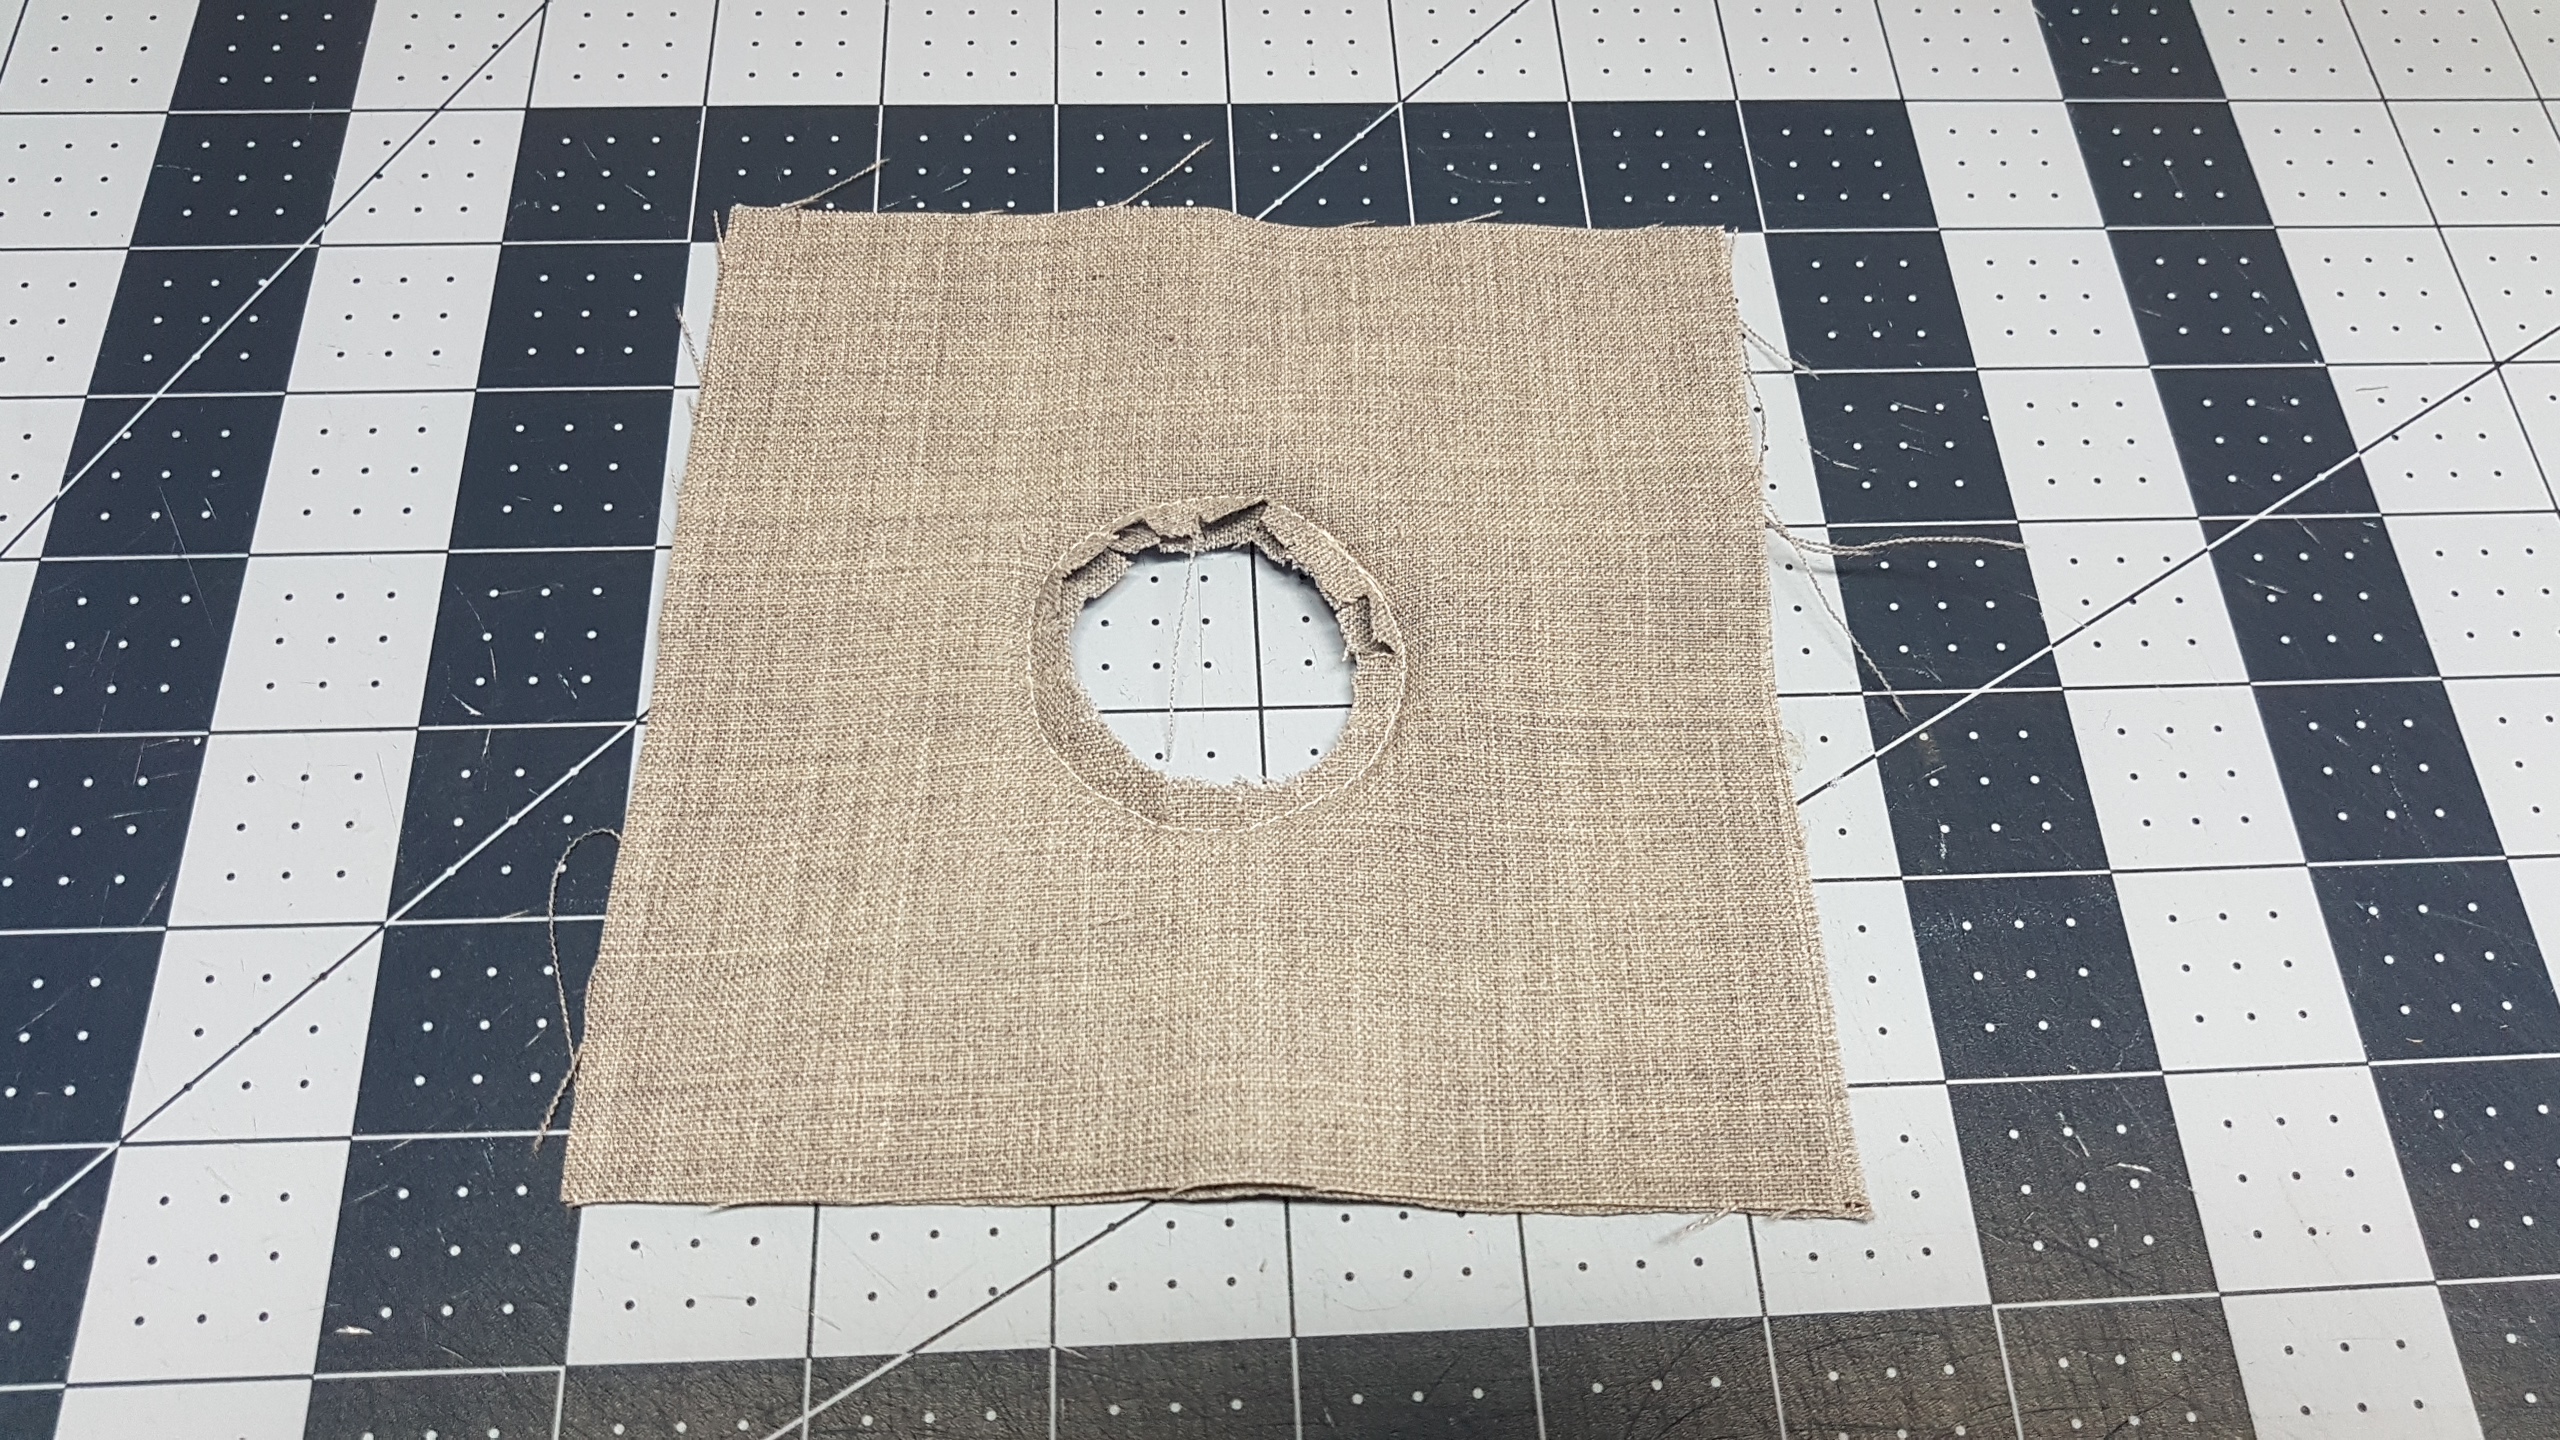
Sew along the line of that drawn shape, after your done that you will cut out the centre of that hole, cut up to about 1/4″ away from the line of stitching
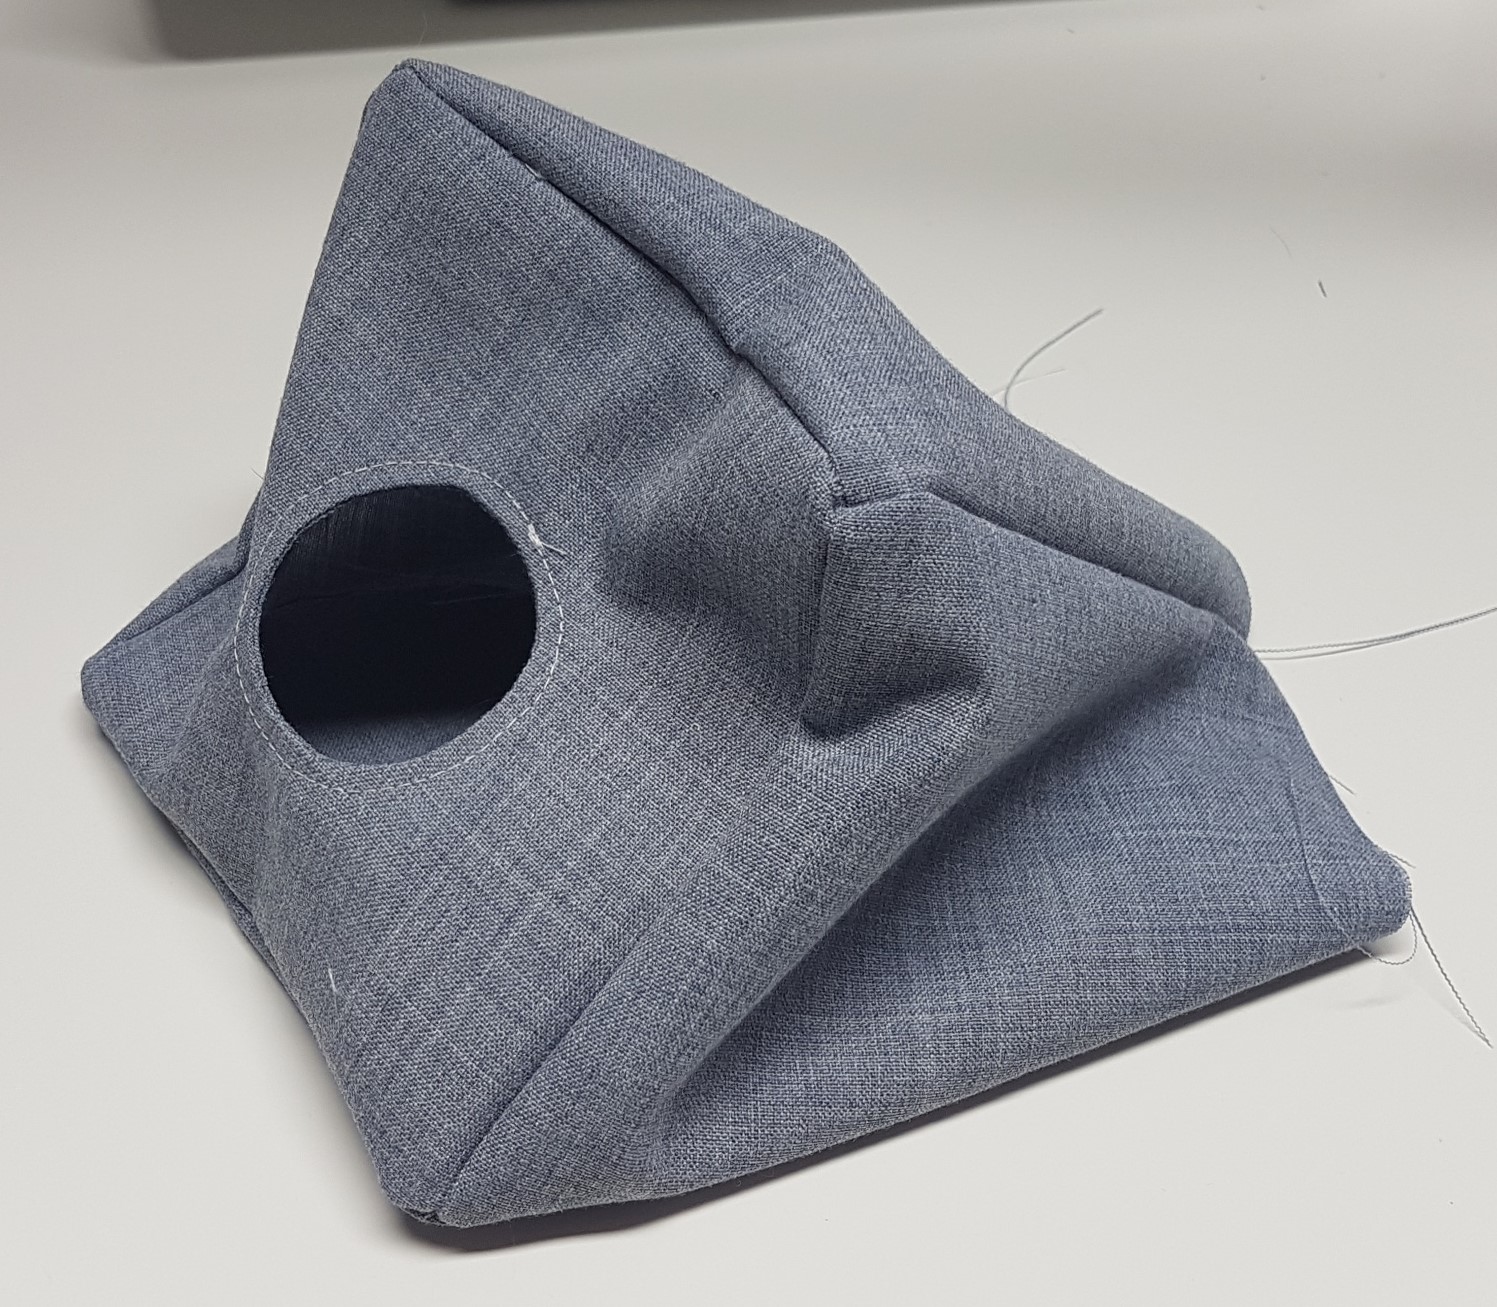
Turn the piece right sides out, if you like you can do a top stitch around this opening, iron it nice and flat before you go on to the next step

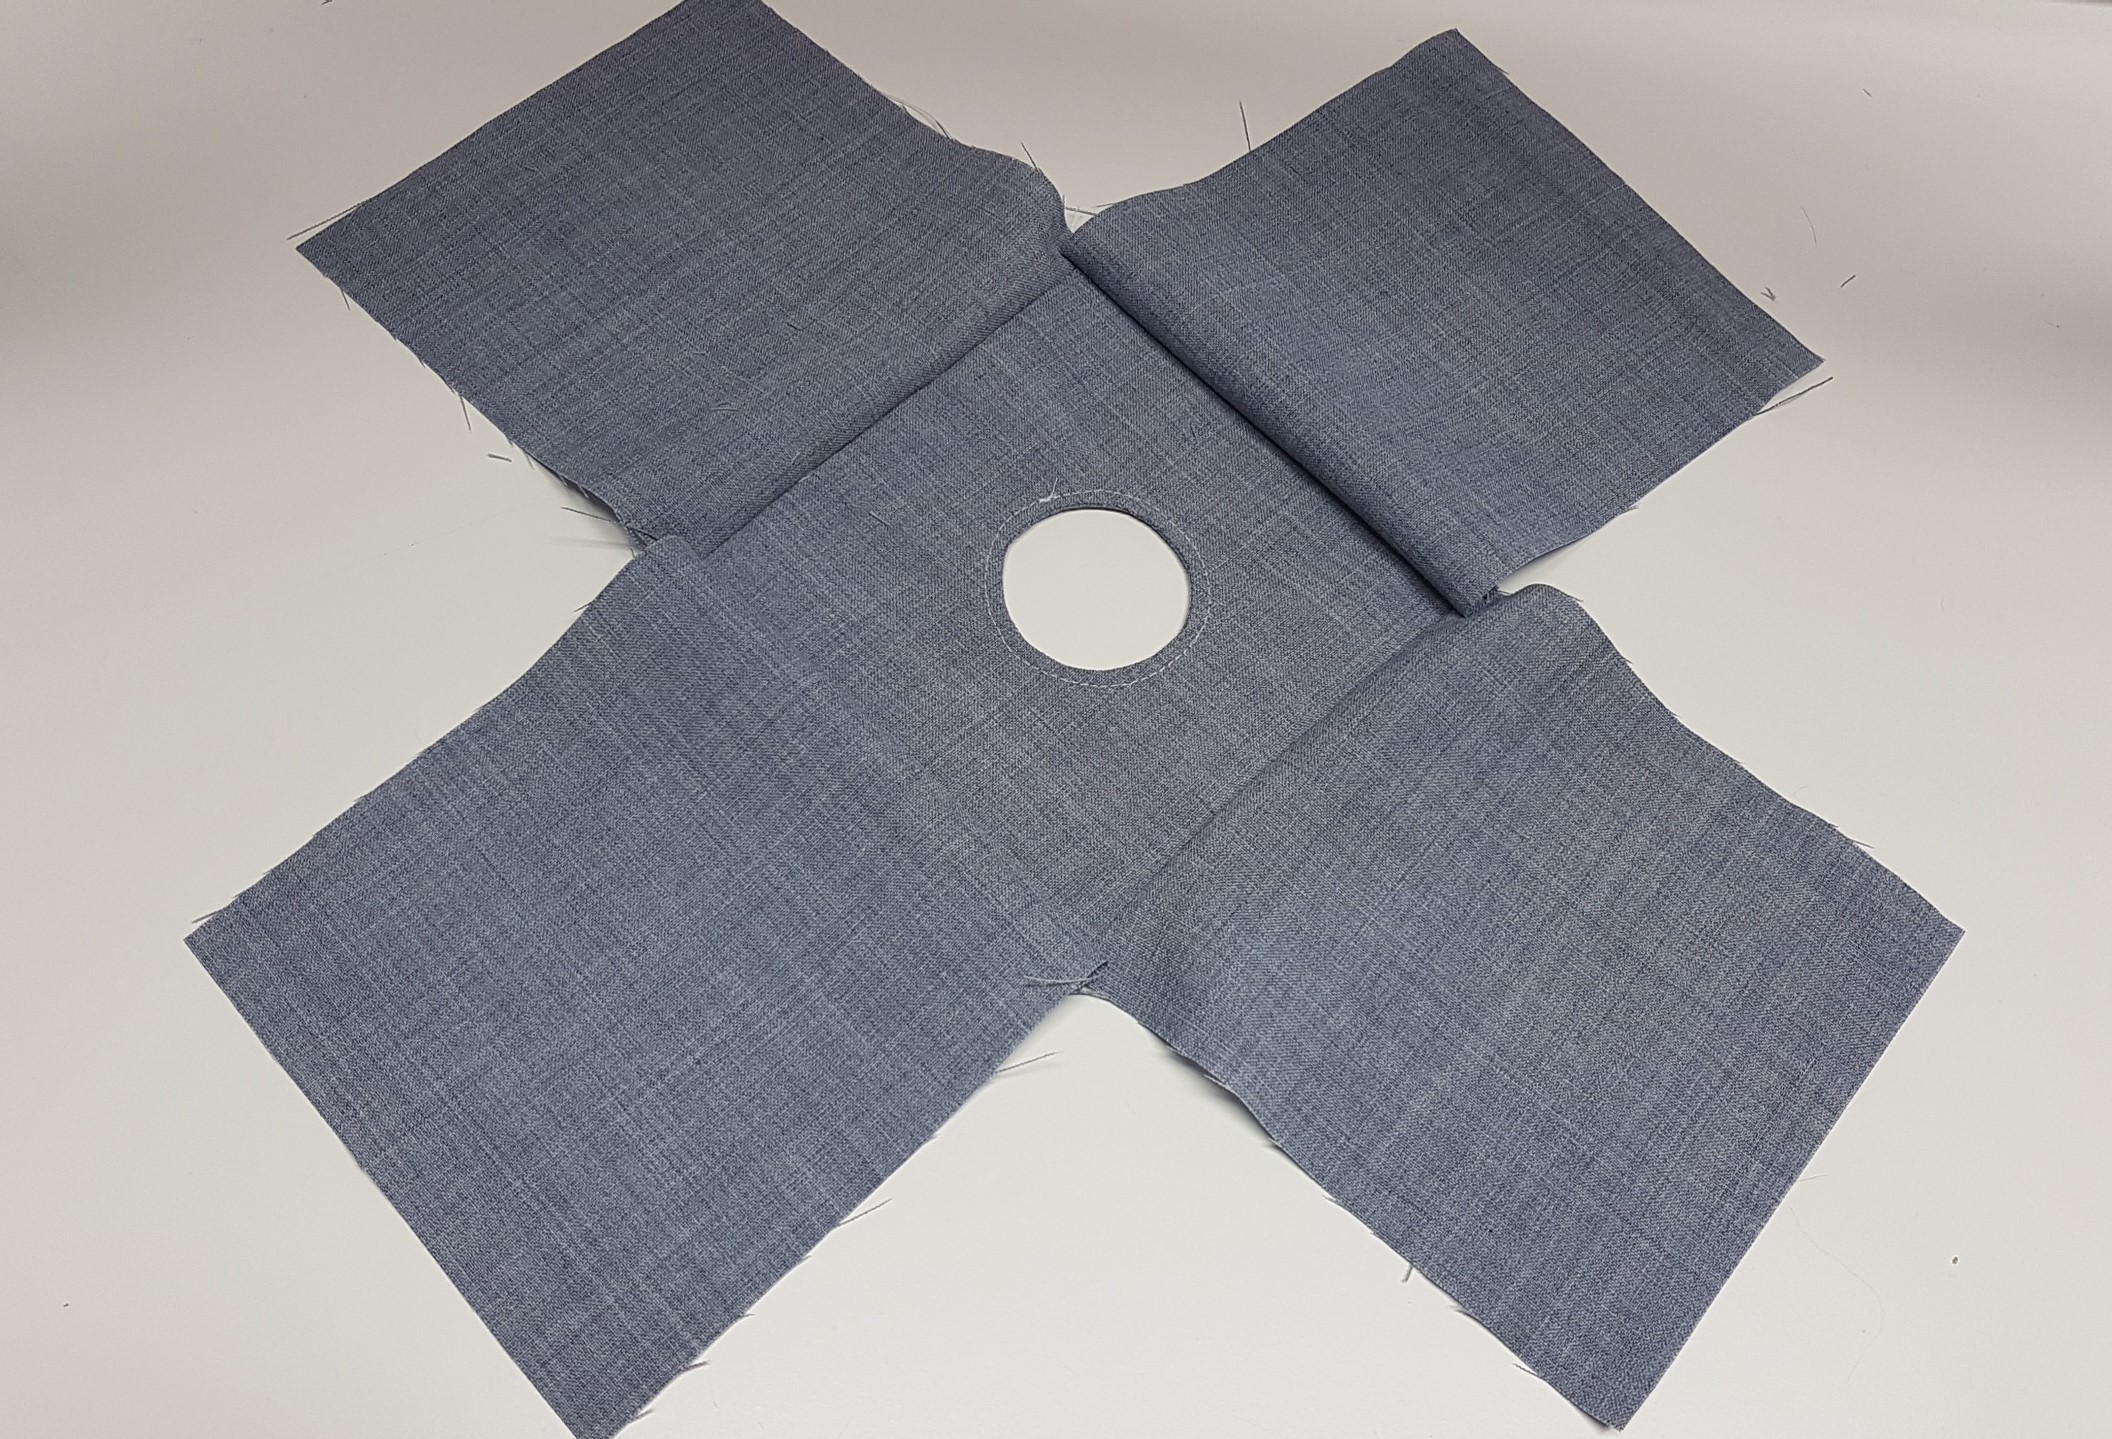
Now you will take the side panels and sew them onto all four sides of the top piece
Now you will take the side panels and place each corner right sides together and sew down the edge on all four corners
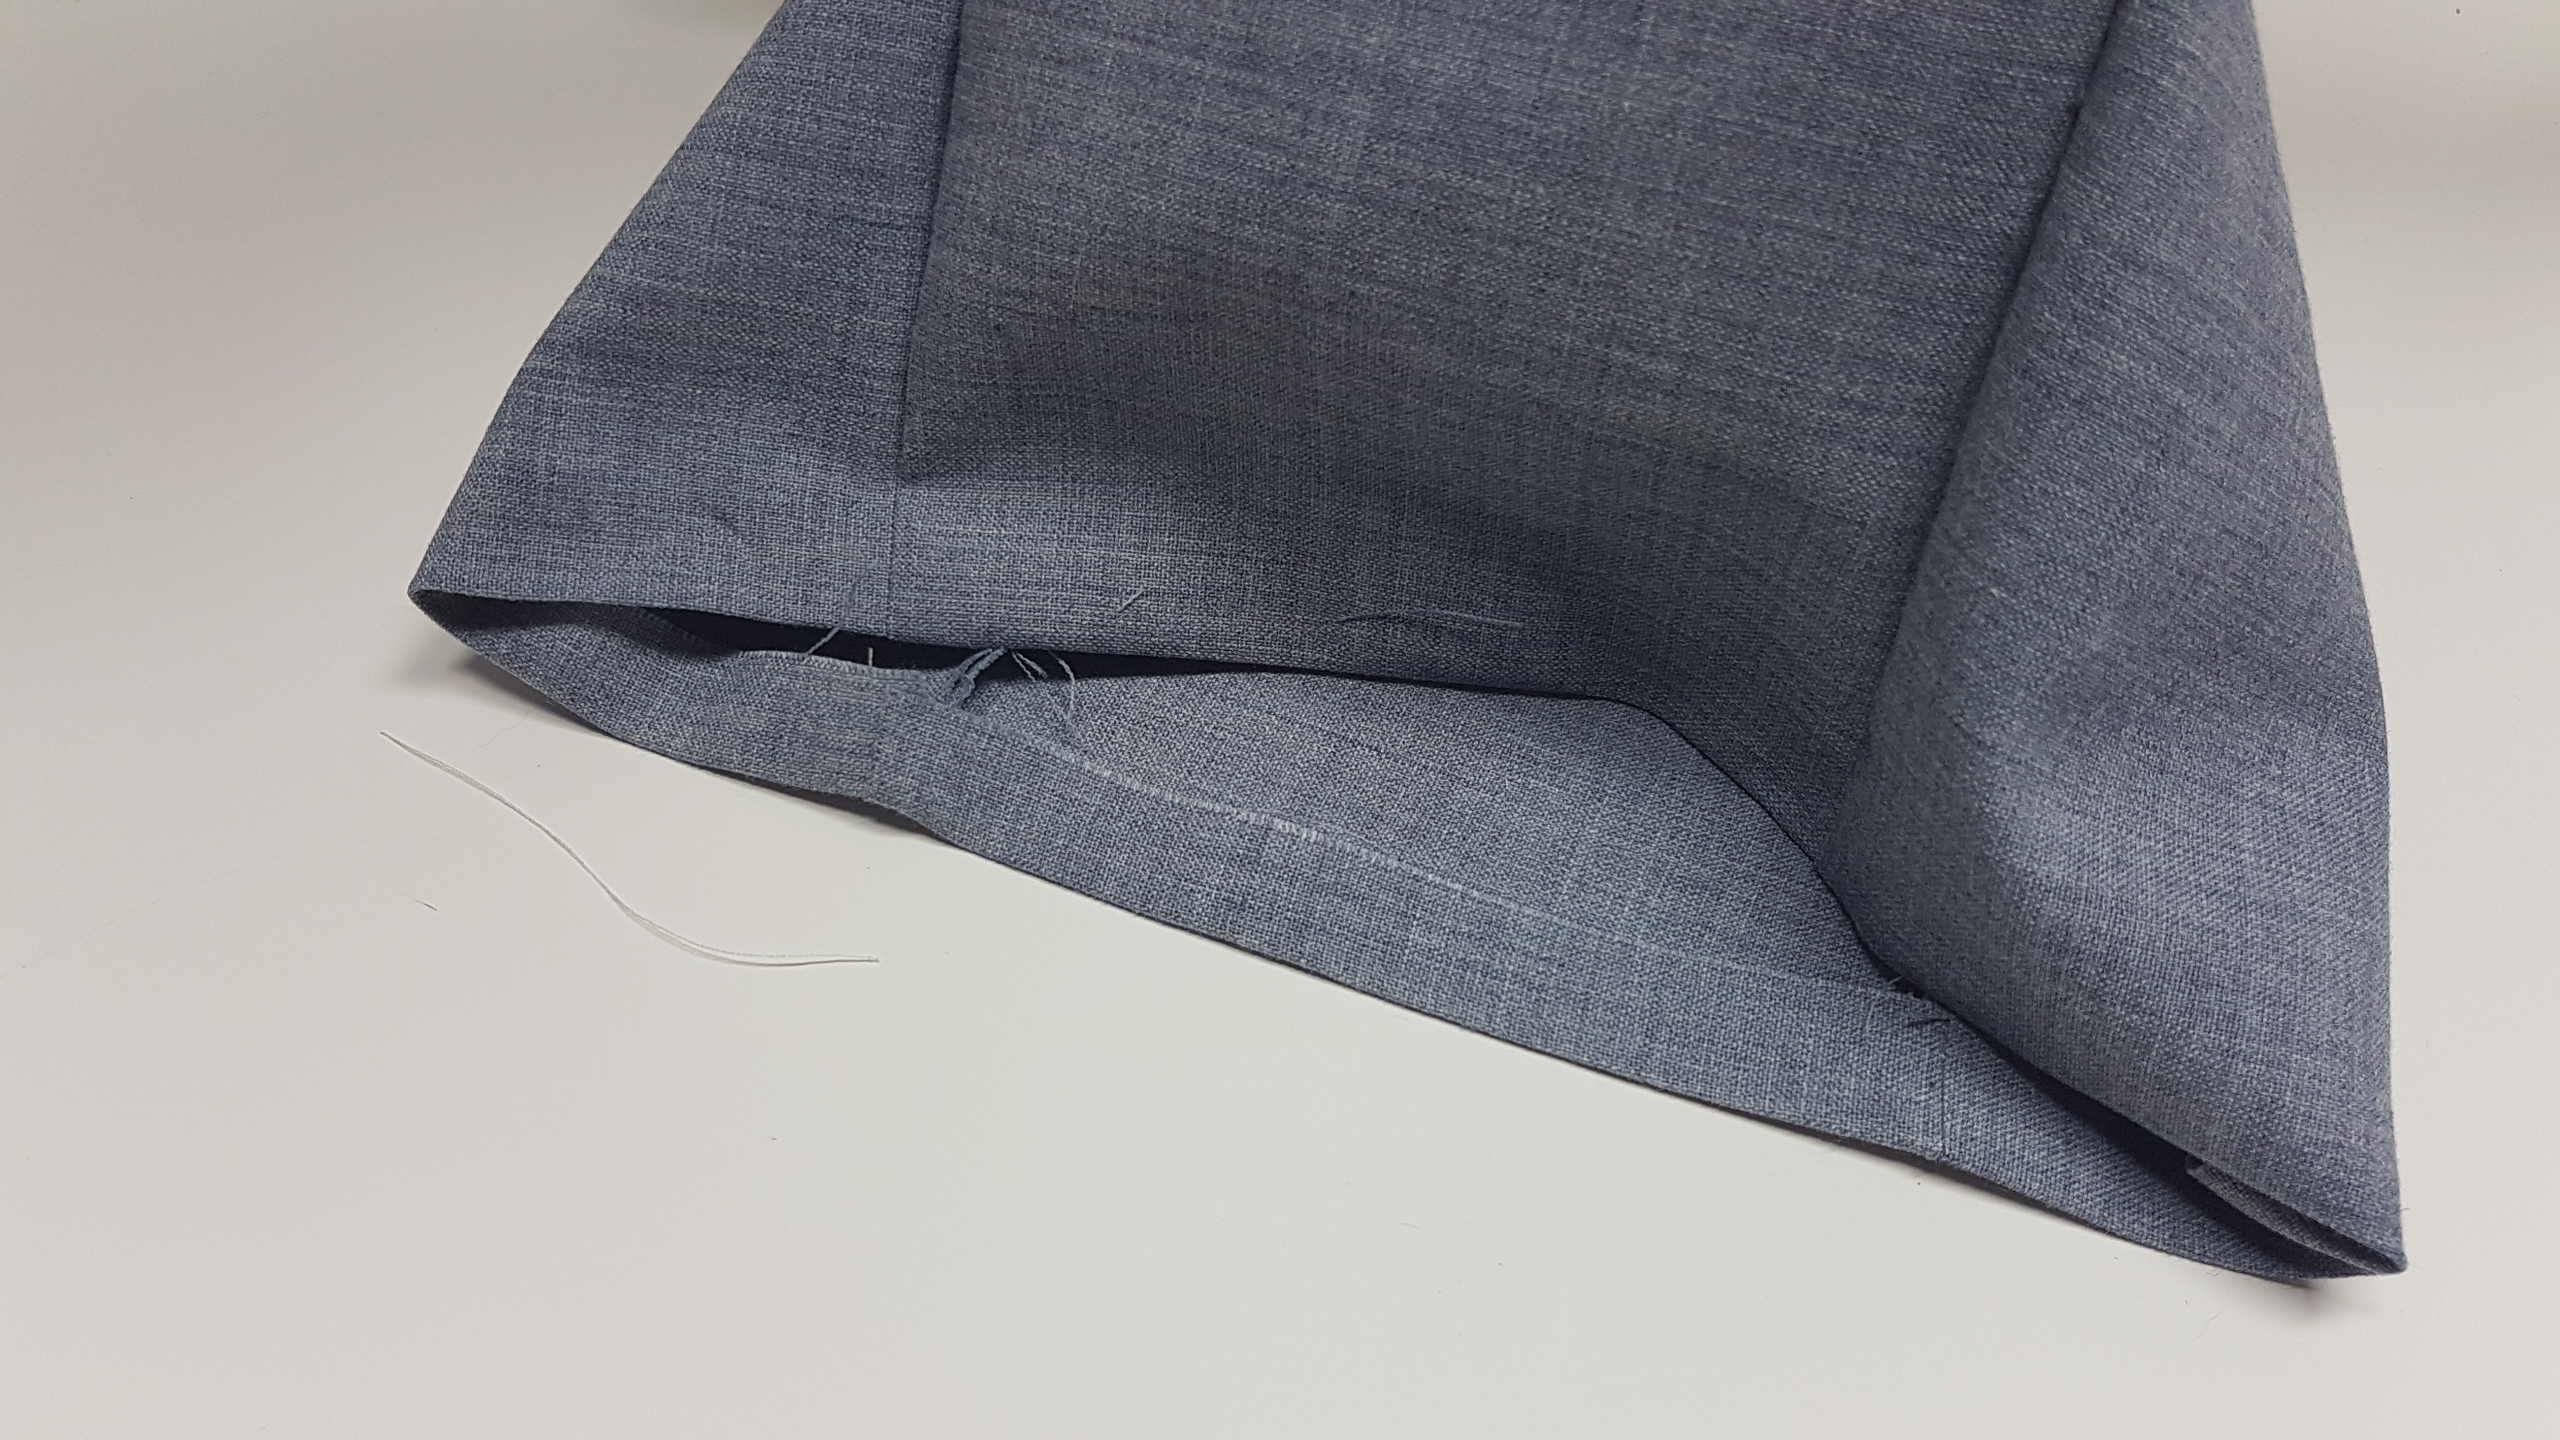
To finish off the bottom edge i fold up the bottom 1/2″ and do a zipzag stitch, i do this to cover up the raw edge and i also think it looks pretty especially on a solid fabric


0 Comments