
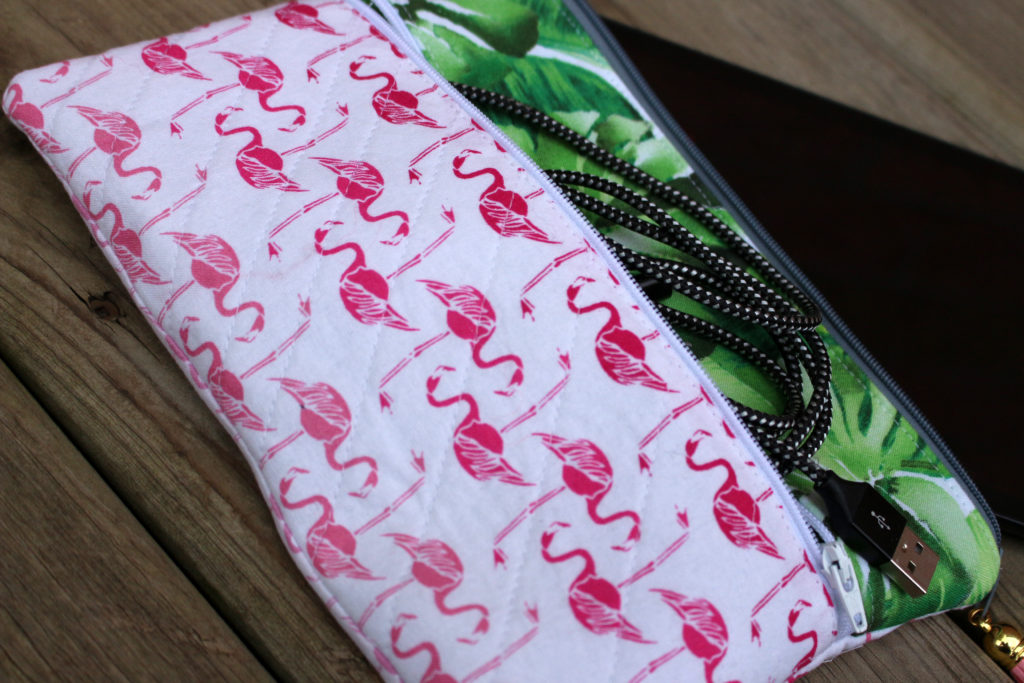
This is a double zipper pocket Tablet protector case tutorial, designed for the small size tablet approx 8″ tall x 5″ wide
For this tutorial you will need
Cotton fabric
Fleece / Flannel Fabric
Fusible fleece or quilt batting
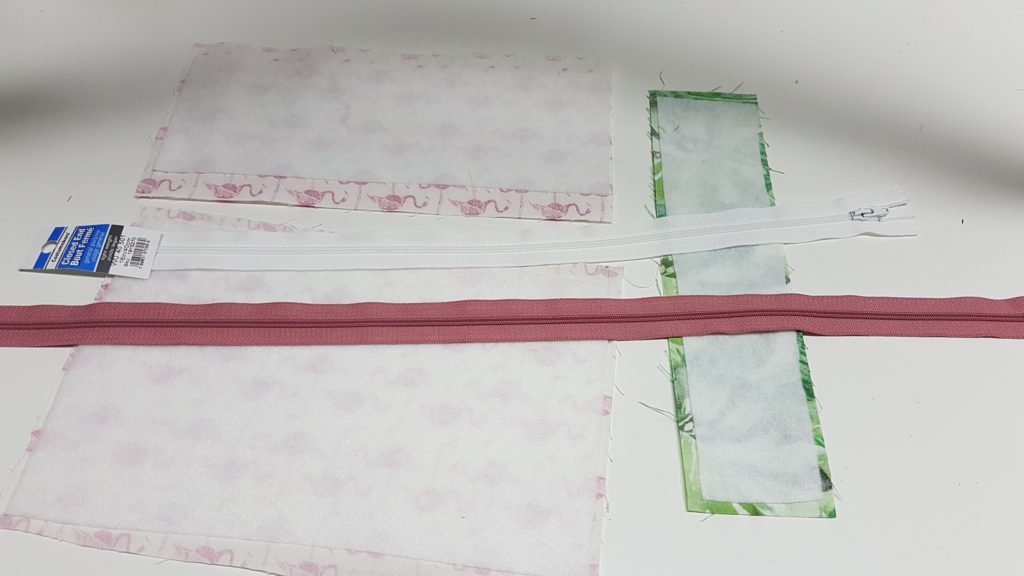
2 nylon zippers 10+ inches long
I used two contrasting prints in a Cotton fabric and Flannel for the lining of the large pocket
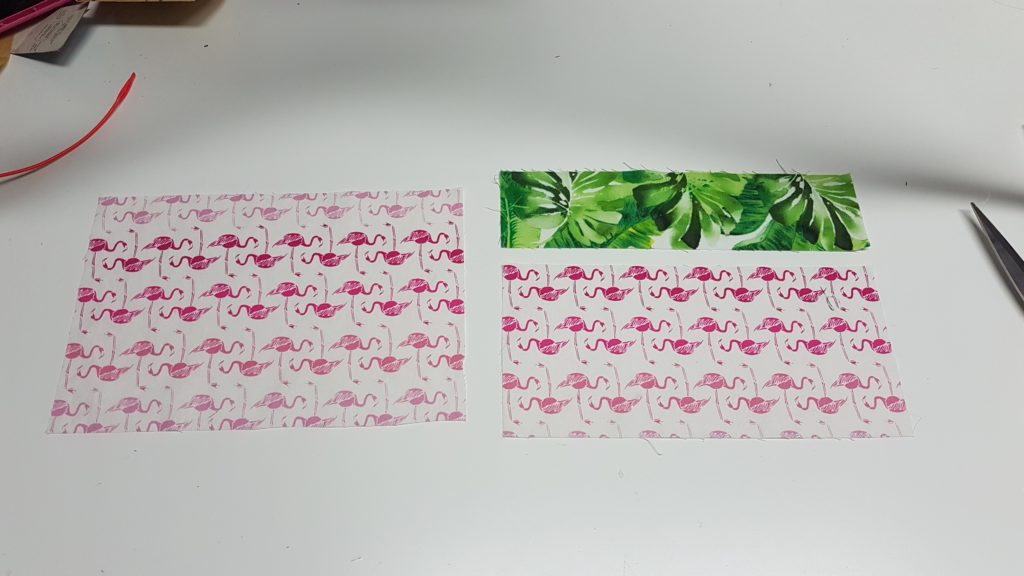
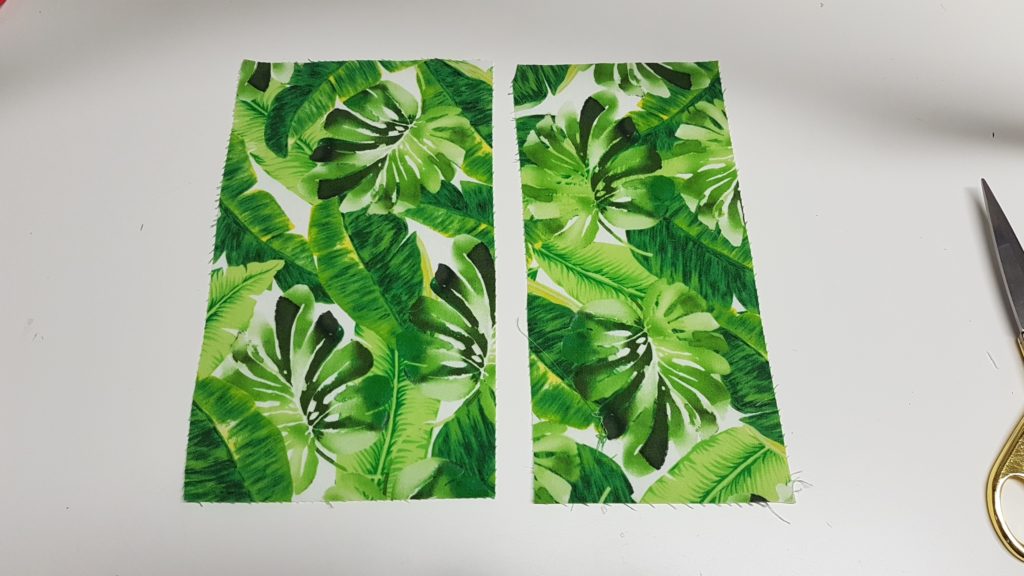
Outer pieces
1 x 11 x 7 3/4″
1 x 11 x 5 3/4″
1 x 11″ x 2 1/2″
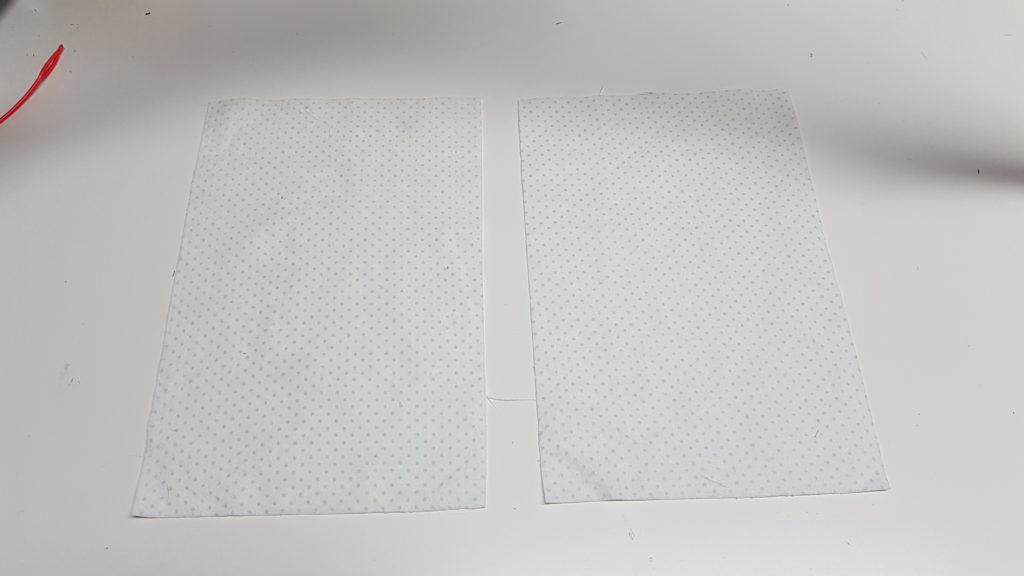
two lining pieces, i used Flannel for the large pocket 11″ x 7 3/4″
two lining pieces for the front pocket
1 – 11″ x 5 3/4
1 – x 11″ x 6 3/4″
Iron on fusible fleece onto the back of the outer pieces
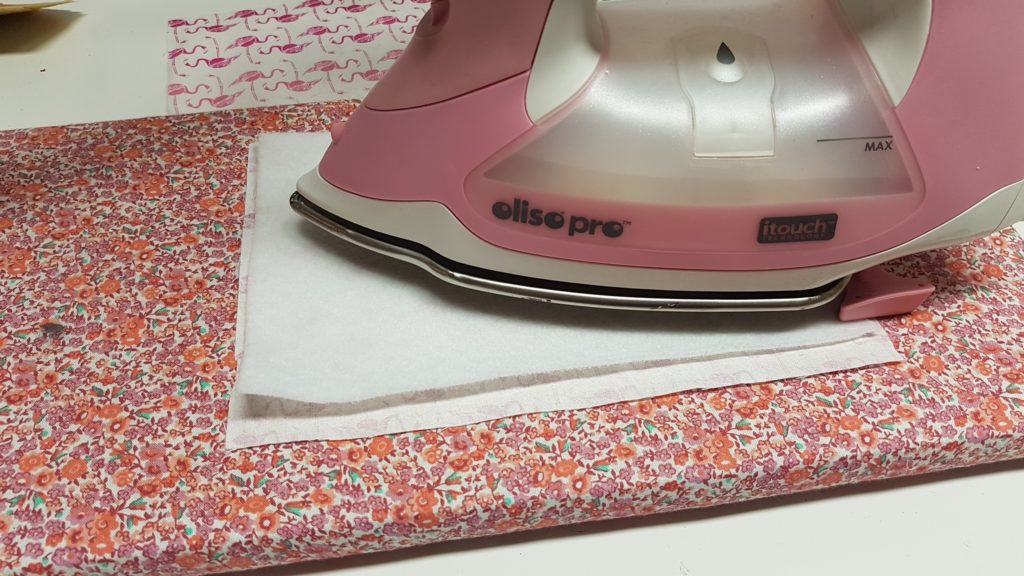
use a hot dry iron to apply the fusible fleece
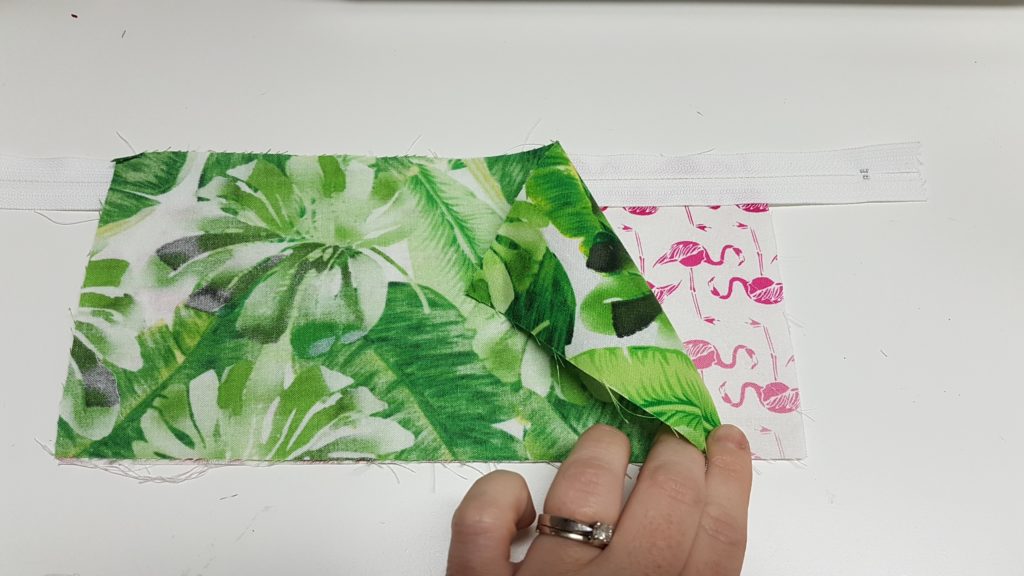
first take the front bottom piece and the lining piece from the front pocket and sandwich with zipper, both pieces should measure the same, make sure zipper pull is facing the outer fabric
Sew the zipper into the two pieces, Flip right sides out
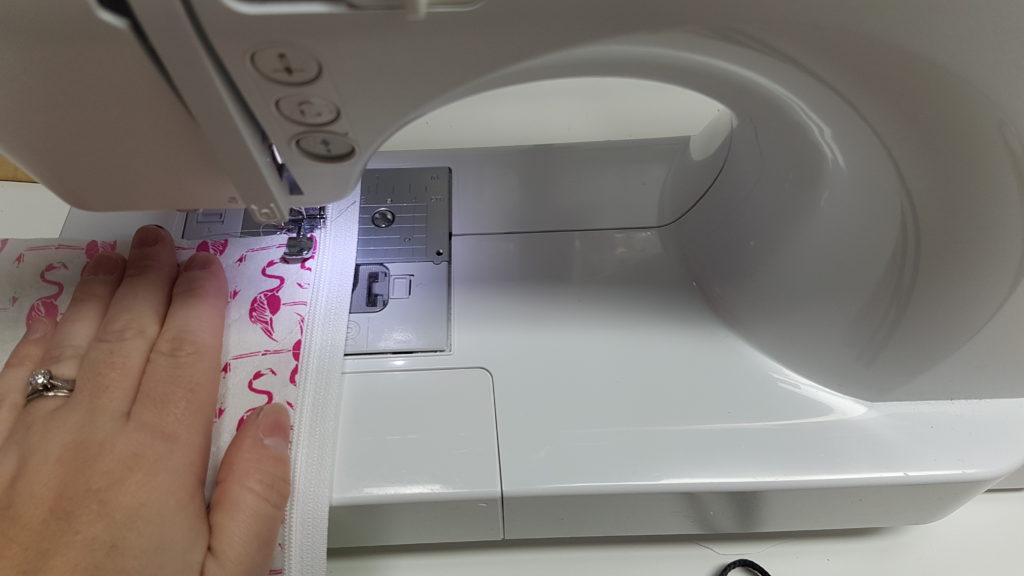
once you sew the first seam flip the piece and top stitch close to the zipper teeth
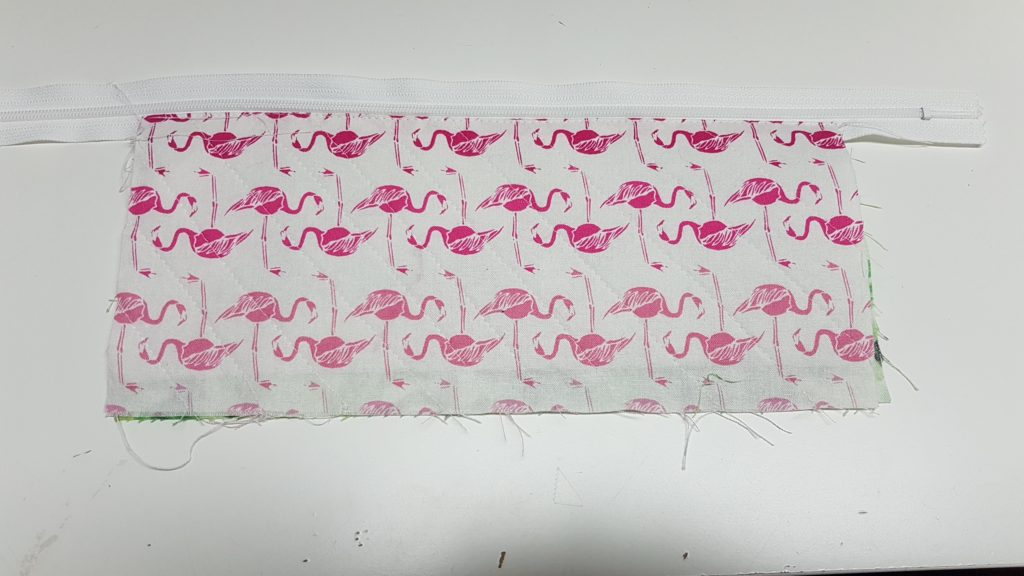
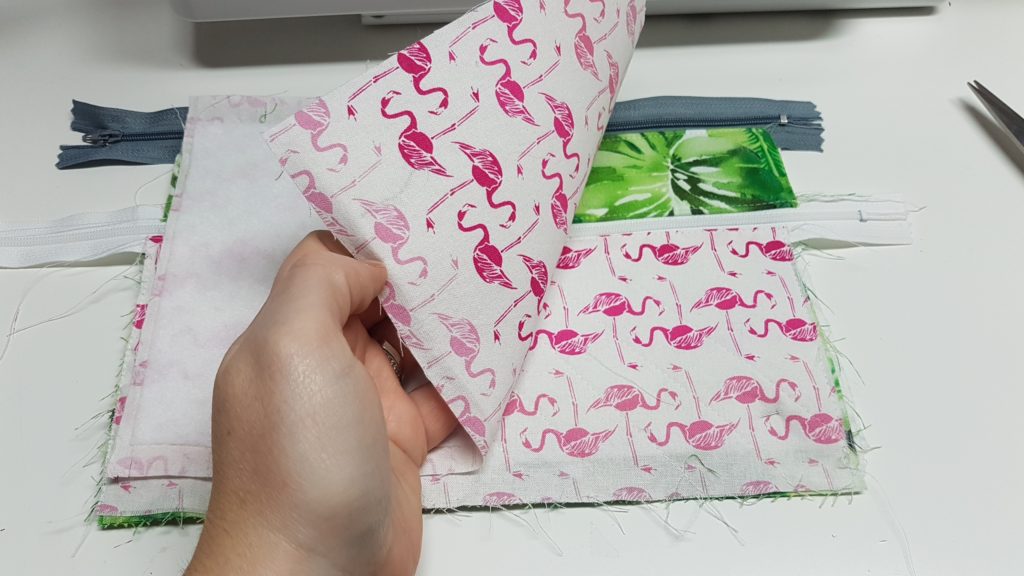
This is how it will look, do the same thing with the last two remaining front pieces, the shorht front piece and the larger lining piece.
Once sewn the lining will come down to create the inside of the front pouch.
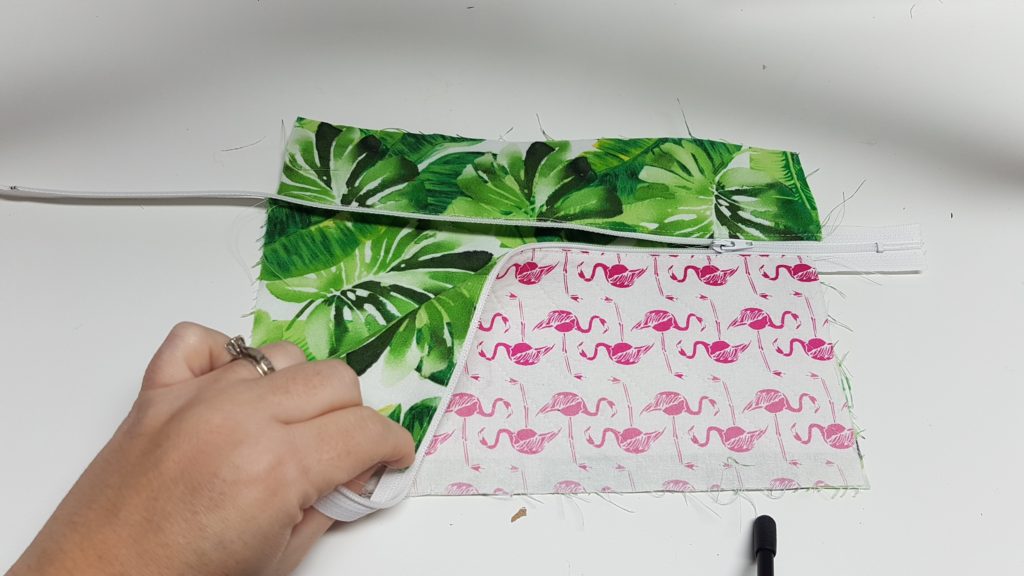
Laying the piece flat, and then fold down the larger lining piece
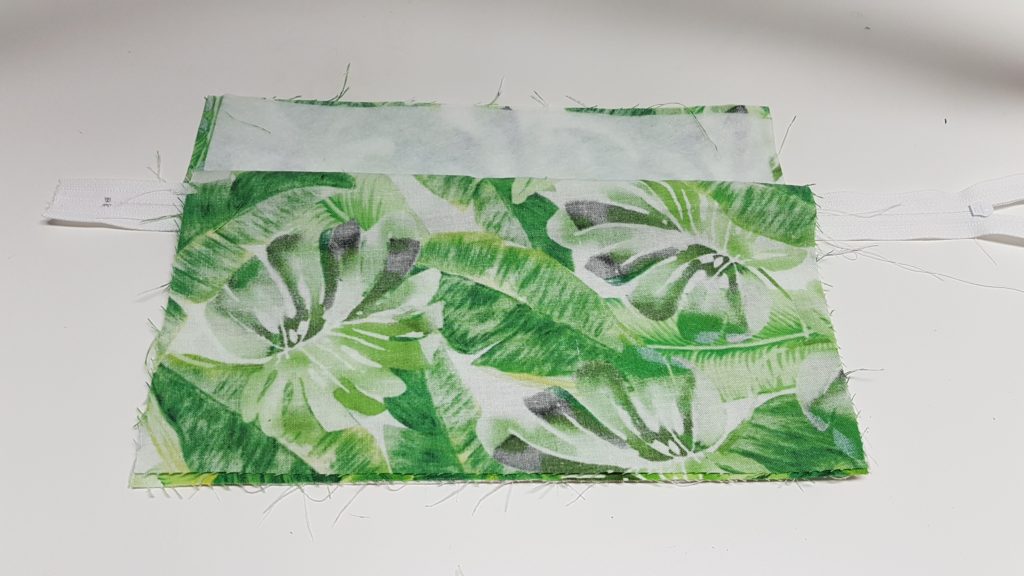
this is how it will look once you fold down the fabric, you can now sew along the bottom edge to tack it into place during the rest of the construction.
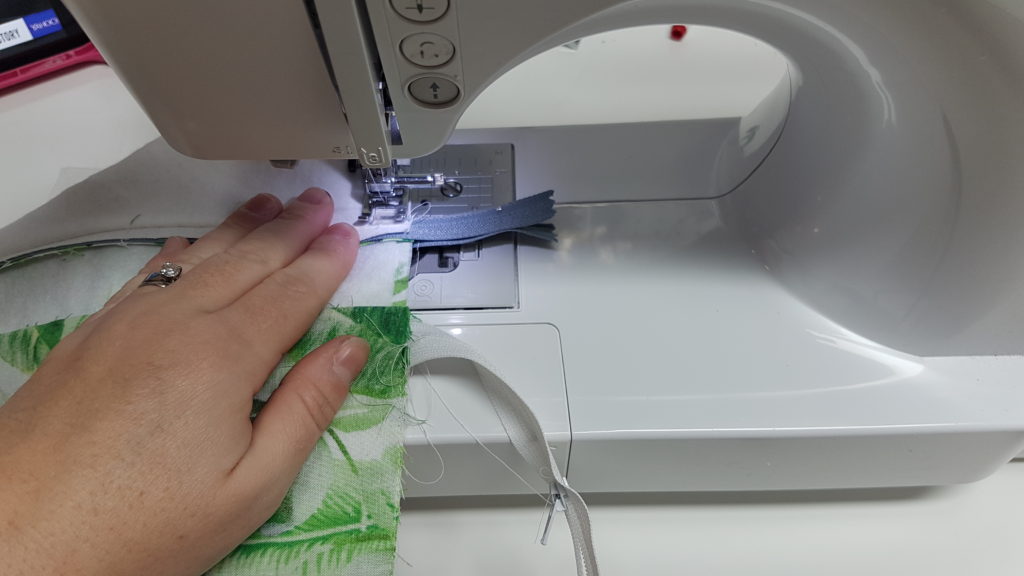
Now we will install the second zipper, sandwich between the soft lining piece and the front outer piece. make sure the zipper pull faces the outer fabric
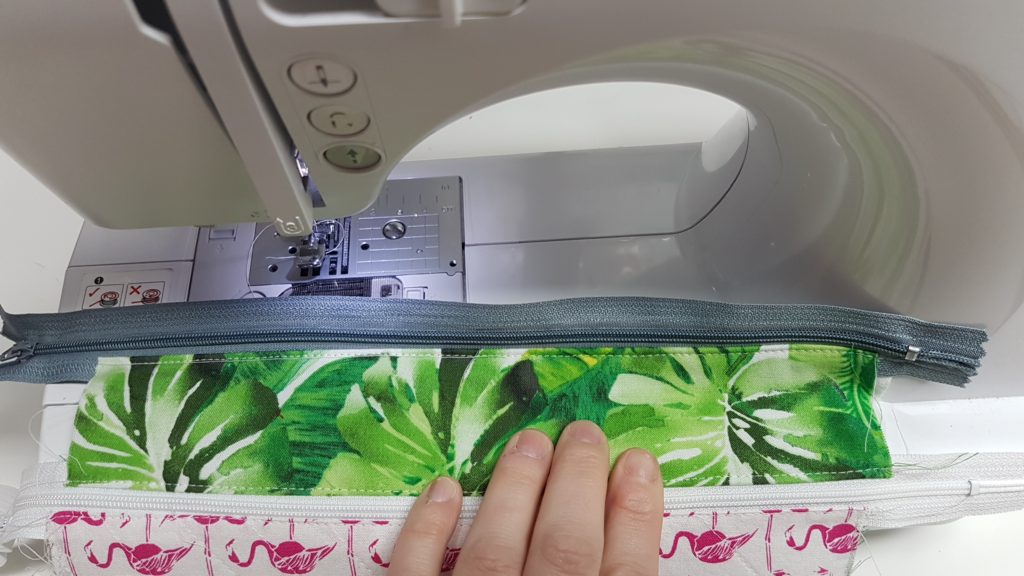
Flip the piece and top stitch along the zipper
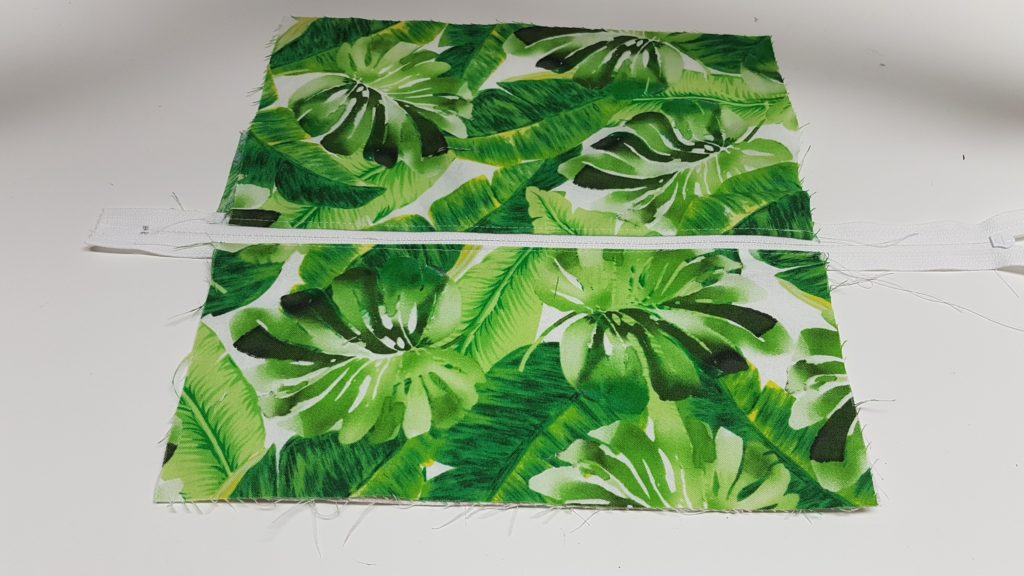
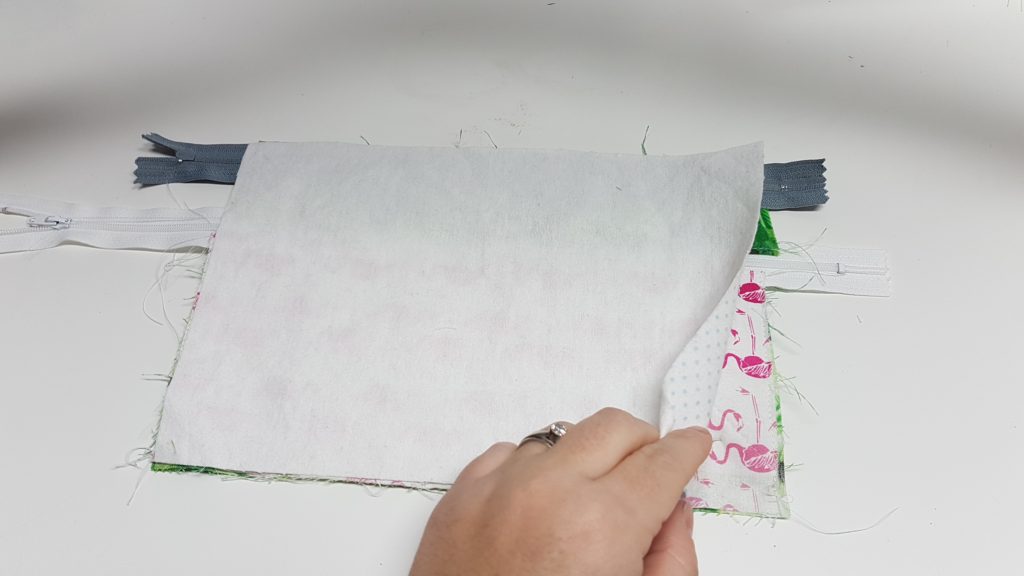
Now we will finish with the large outer piece and the last soft lining piece, sandwich the zipper with the zipper pull facing the cotton fabric
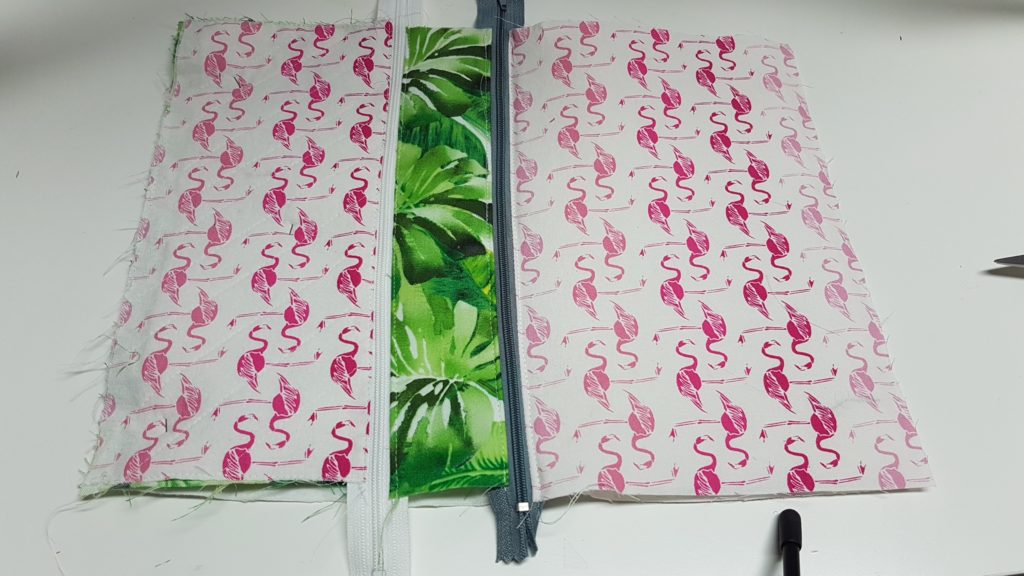
This is how it will look, now you will place right sides of the lining together and the right sides of the outer fabric together, sew all the way around the piece making sure you unzip the zipper when you sew over top of the teeth, leave a 3″ gap at the bottom of the lining.
Flip the piece from the hole in the lining
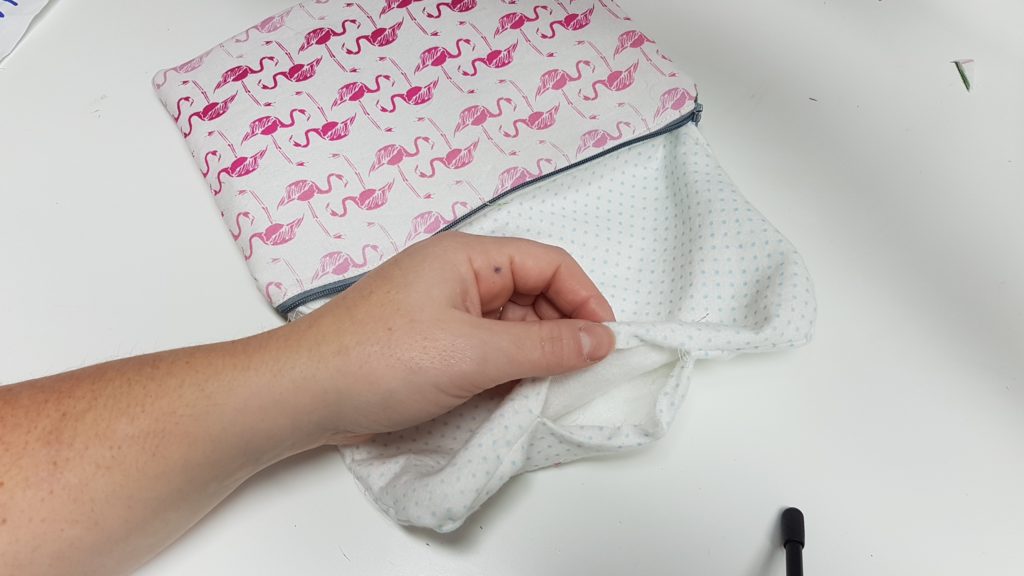
Top stitch the lining to close up the hole


0 Comments