
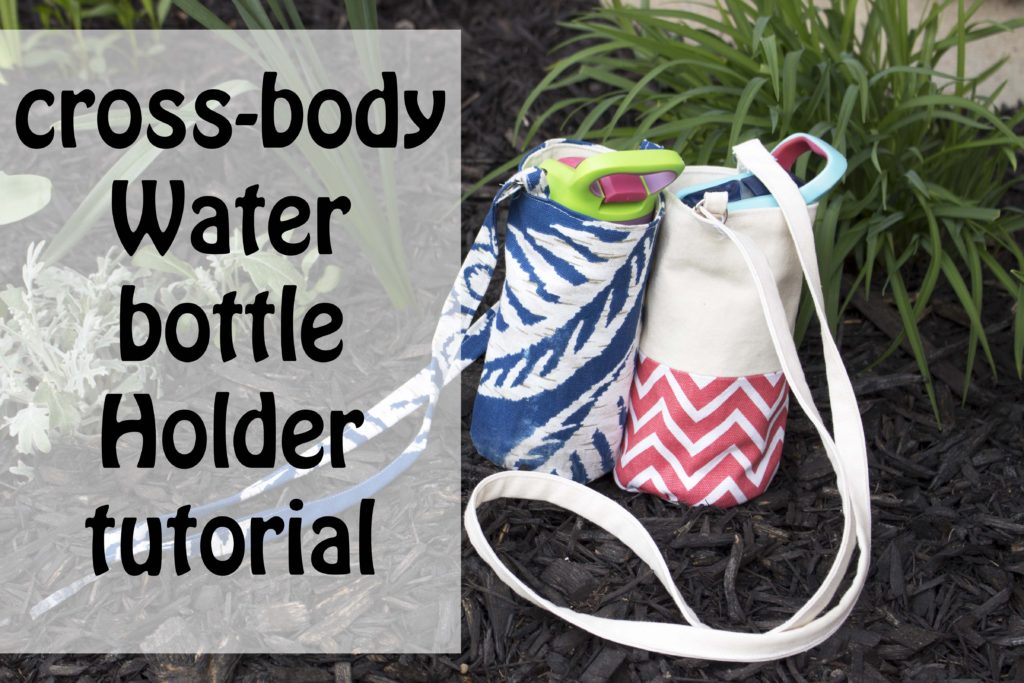
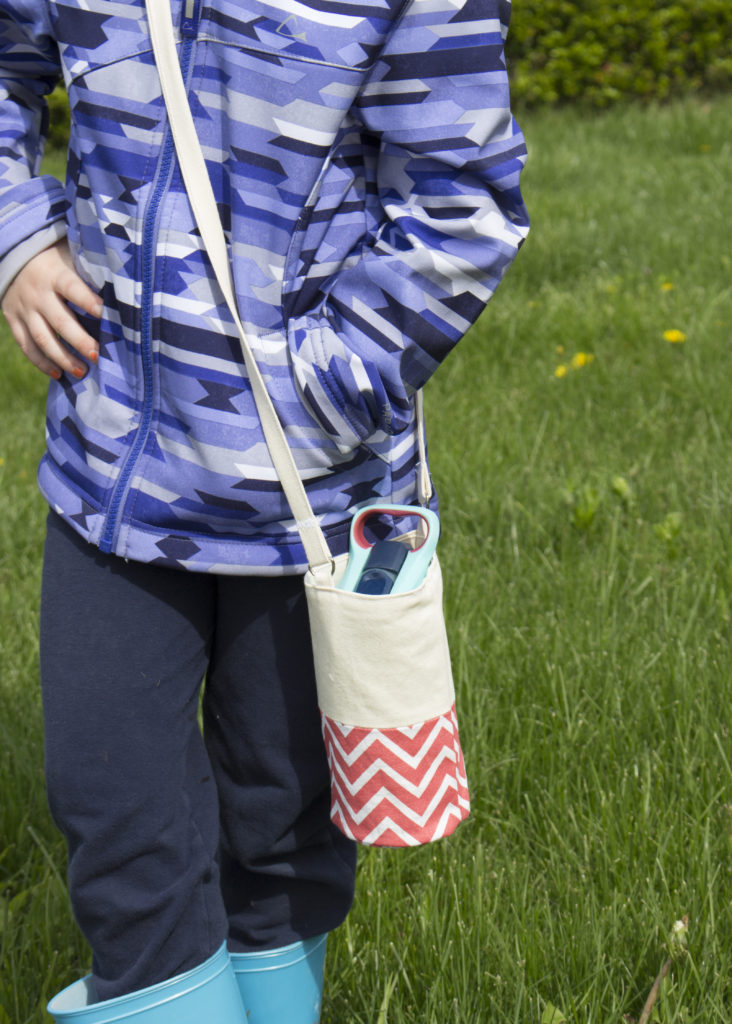
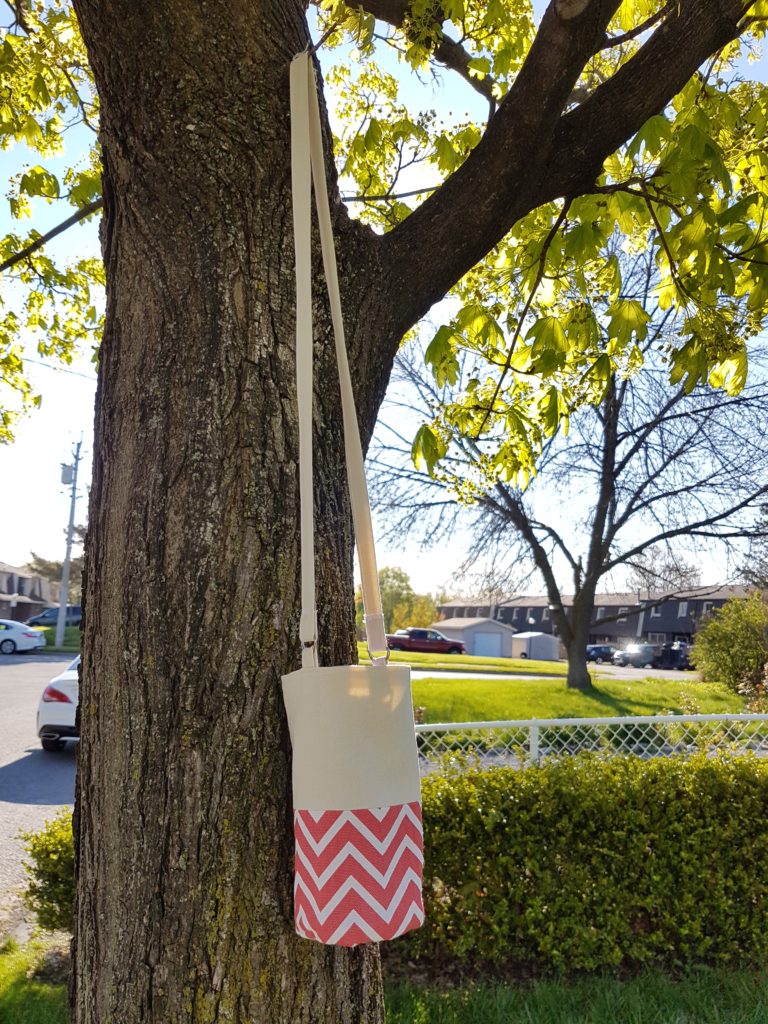
Hey guys! its almost summer where i am from and we will be frequenting the local zoo’s, theme parks and going on hikes! Its always my goal to make sure my kids get an obseen amount of water haha if you have kids you know kids just LOVE holding things… haha 😐 so without having them hold it whats the next best thing!? Strap it too them!
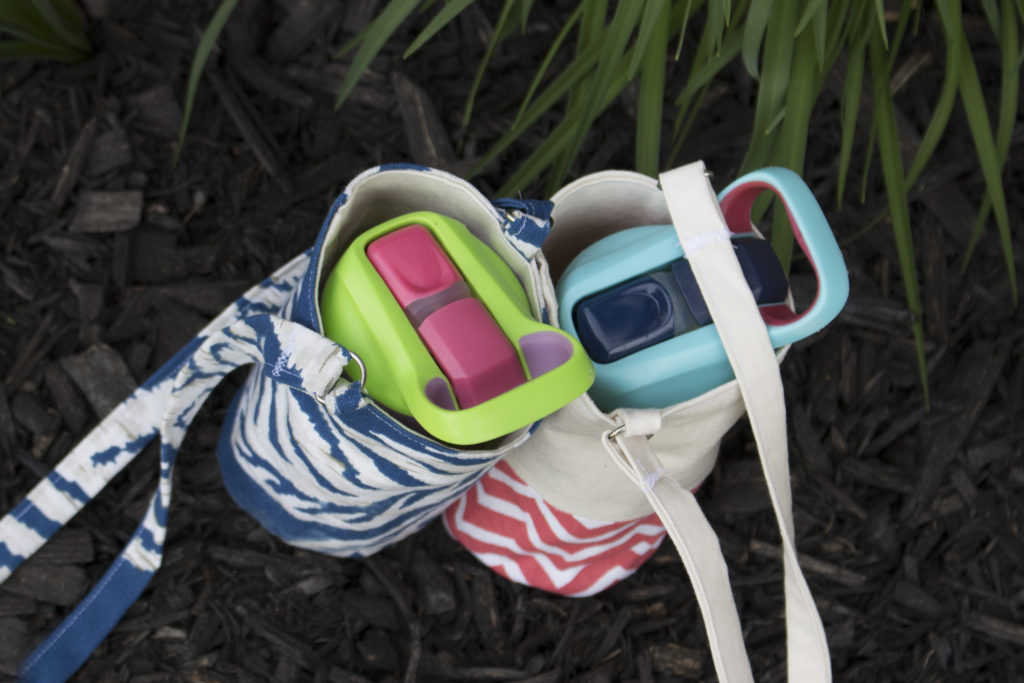
So i decided to make my own cross body holders for my kids cups, the cups i have for my kids are the Thermos brand which can be found walmart, toys r us and the contigo brand which can be found walmart or costco
This tutorial will have measurements for these particular cups but i will show you how to measure your cup to make a cross body water bottle holder for any size bottle
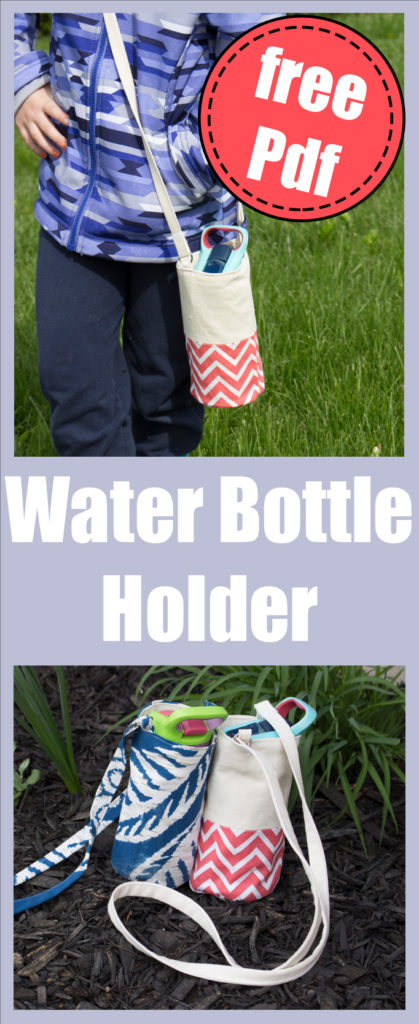
Download the PDF to view the pattern measurements and if you would like to print it out you can do that but it is fairly easy to replicate
Materials – Canvas Fabric
Optional D- Rings
Support my Channel and purchase it here!
Or Download Now – bottleholder2
you will need a Main fabric, a lining fabric (if using canvas do not stabalize, if using cotton stabalize)
cut 2 rectangles, cut 2 circles, for strapping cut 2 – 2 1/2″ strip of fabric, measure from the front of your waist over your shoulder to the back of your waist, add 6″ more for the D rings if you choose to add those)
Note* If you are doing a two tone bag split the measurement in half and add 1/2″ to each piece
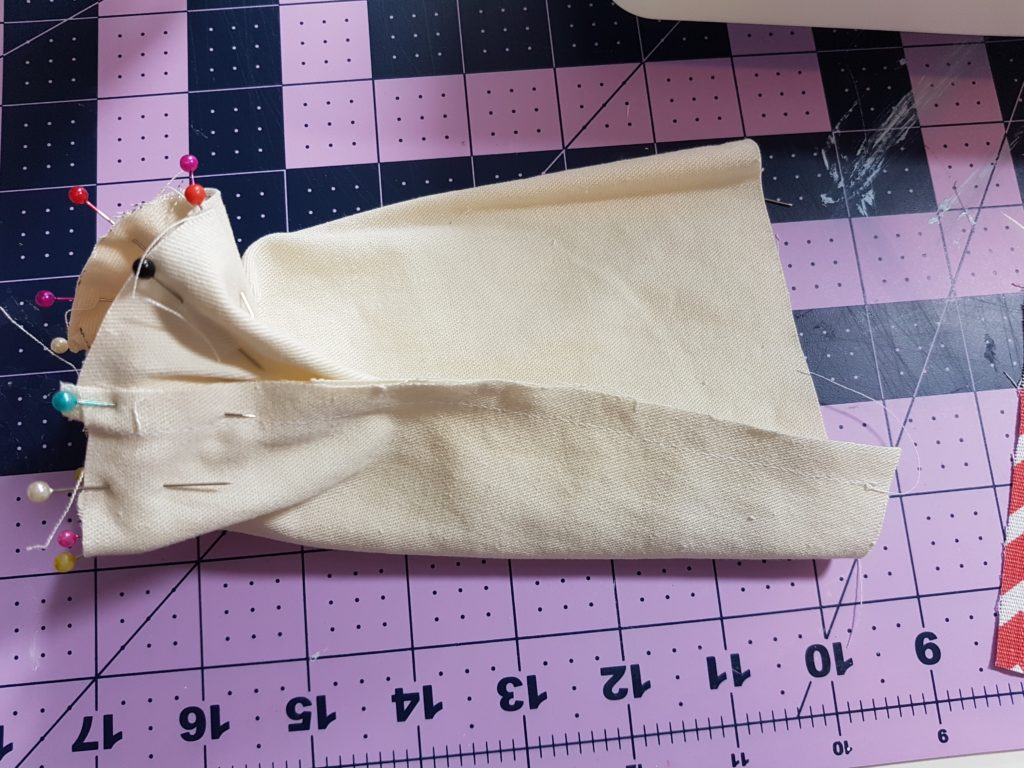
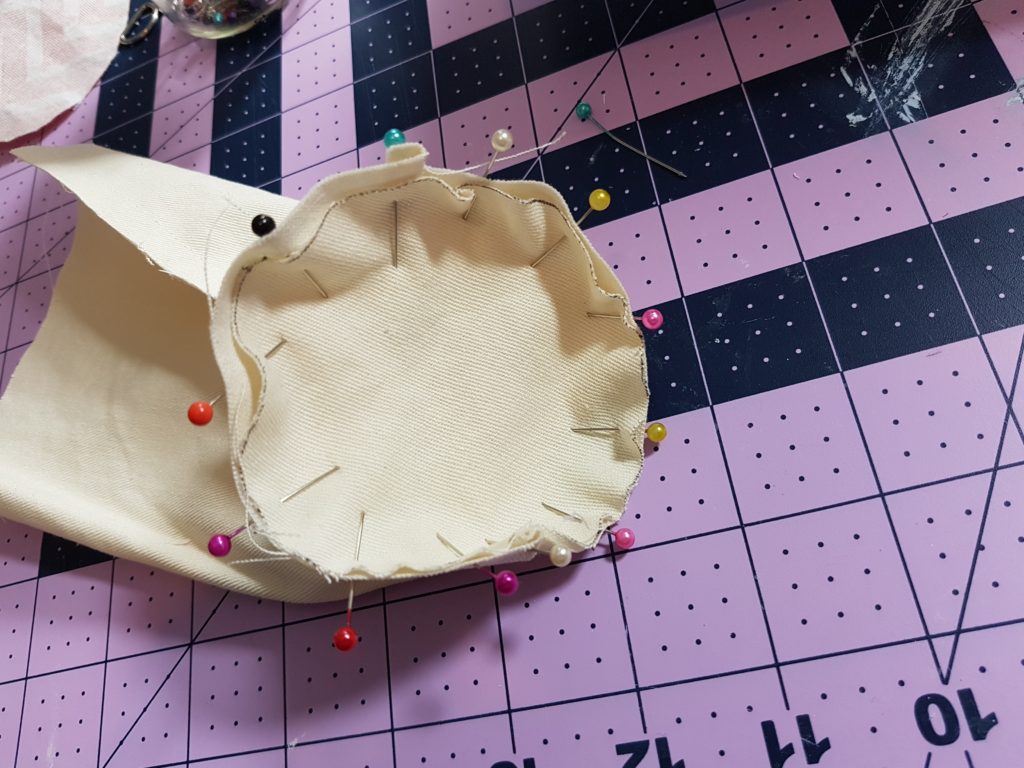
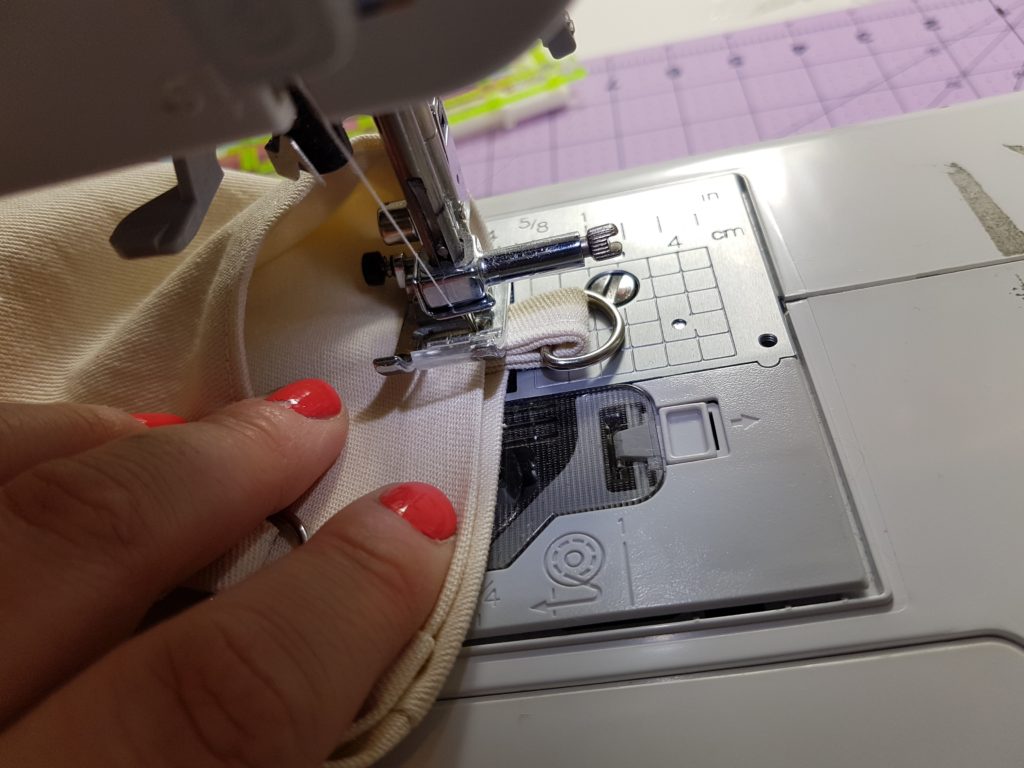
Fold the fabrics length wise, sew down the raw edge to create a tube, attach the circle to the one end of the tube with a ton of pins, take your time and carefully line up the edges of the tube with the edges of your circle
When sewing the Main fabric of the bag use a 1/4″ seem allowance, when sewing the lining of the bag use a 1/2″ seam allowance this will allow your lining to fit nicely inside the outer piece.
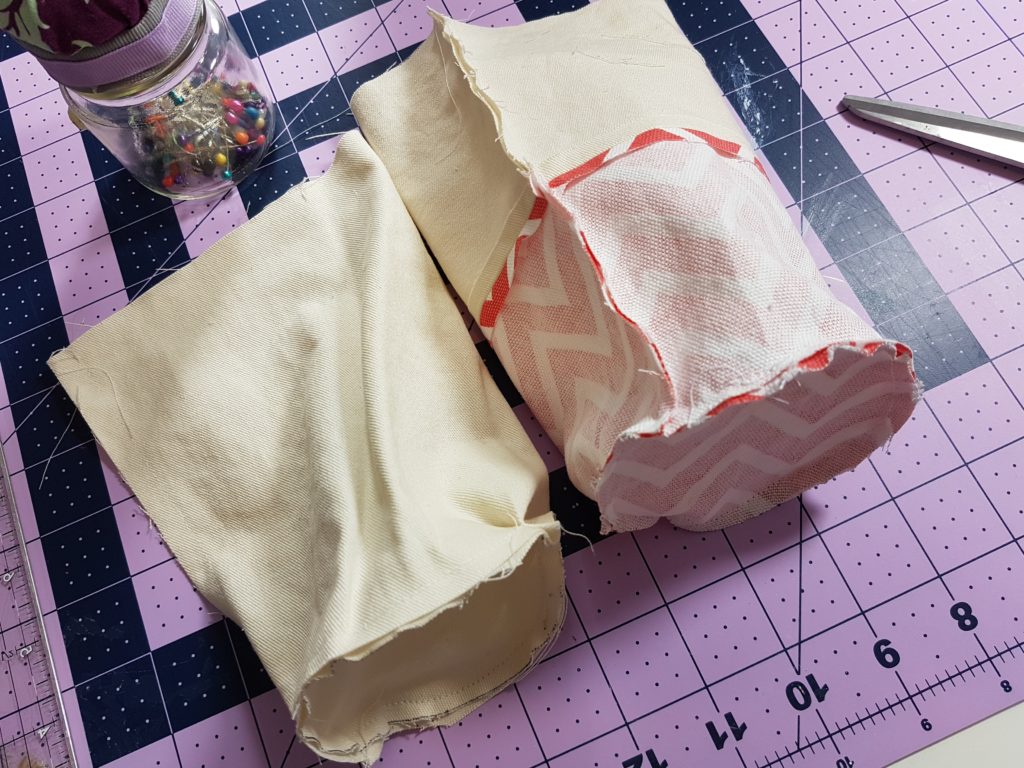
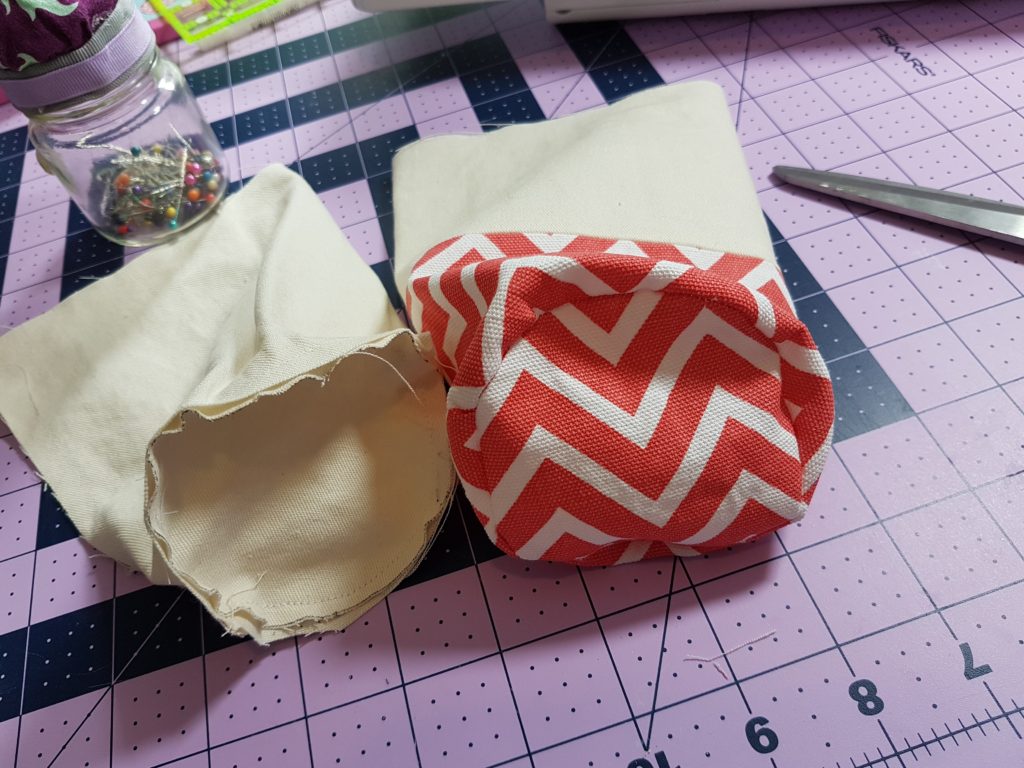
This is how they should look, turn the outside piece right sides out and leave the lining inside out.
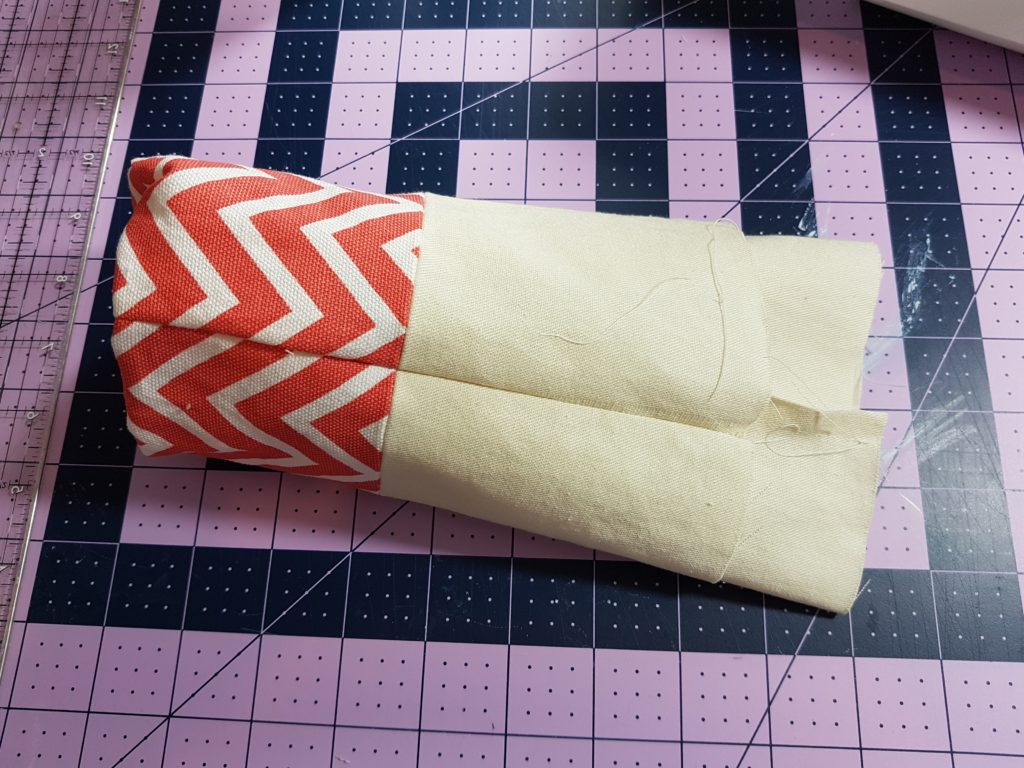
place the lining inside the outer bag, fold in the edges of the lining and the outer bag, if your adding D rings place 3″ piece of strap through the ring and sandwich it in between the two layers of fabric, if your not using a D ring then evenly space your straps inbetween the two layers of fabric
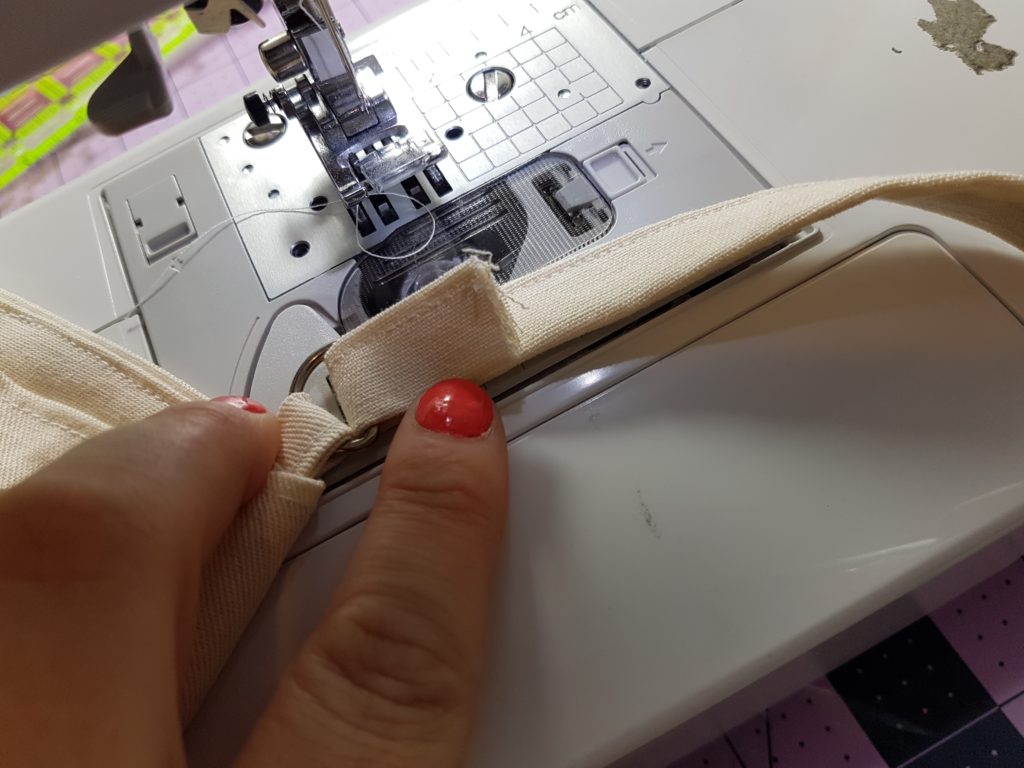
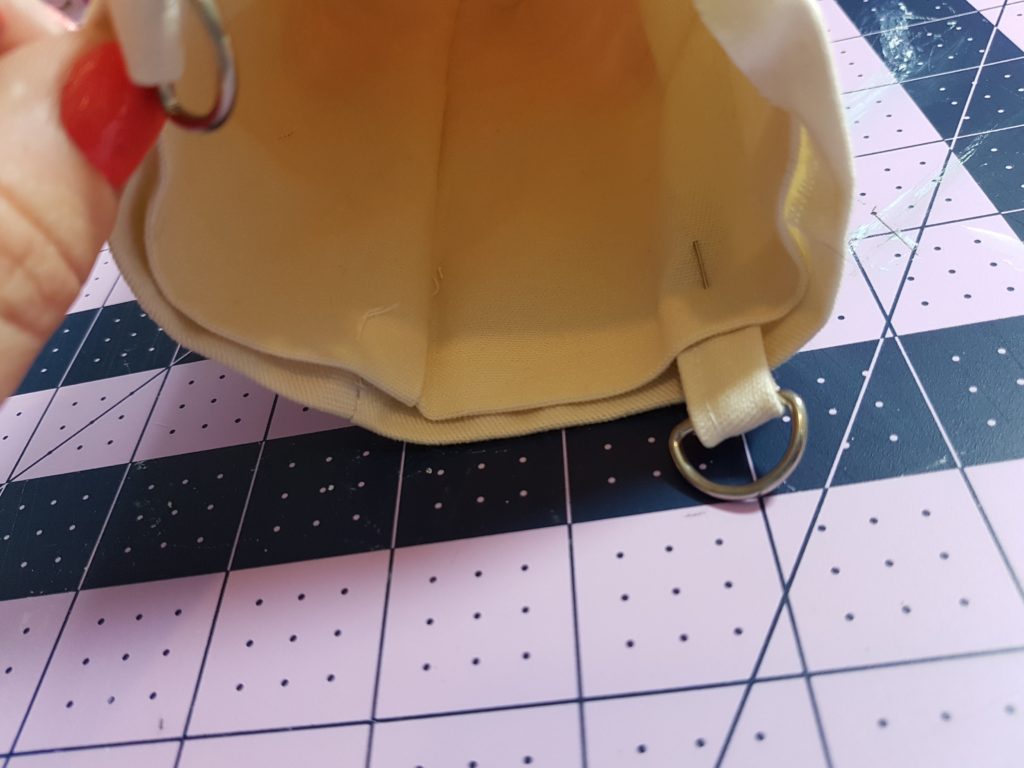
Top stitch along the edge of the bag aas close to the edge as possible securing the straps, if using a D ring slip the strap through folding it back on itself 1″ and sew to secure the strap to the bag
![]()


0 Comments