Help keep my patterns free!
[wpedon id=24976]
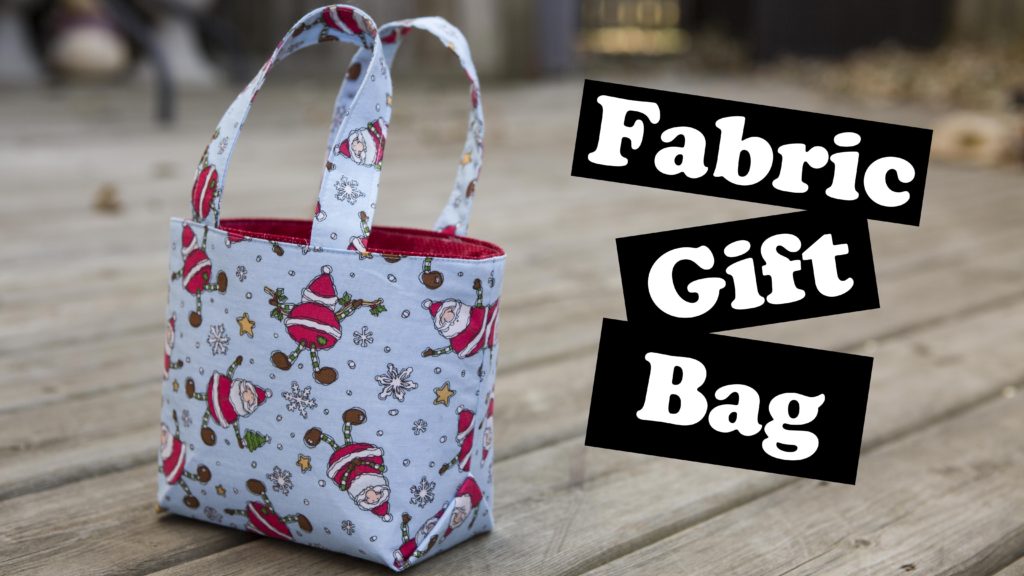
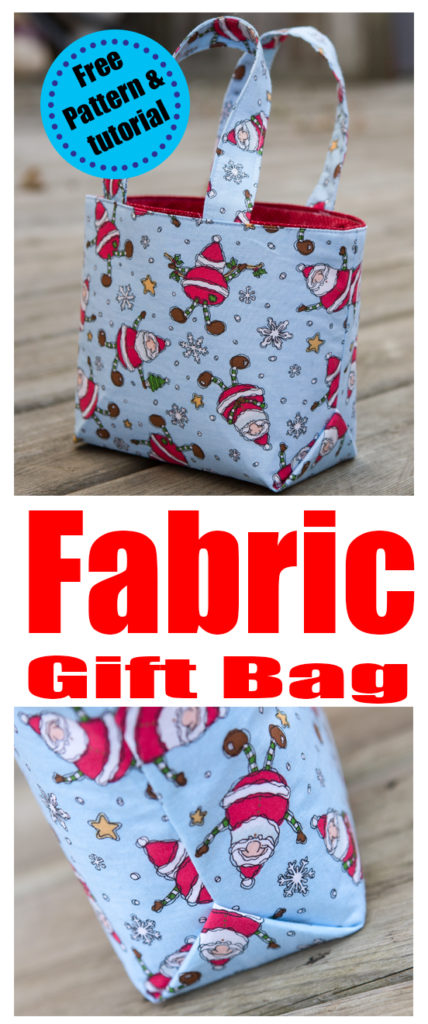
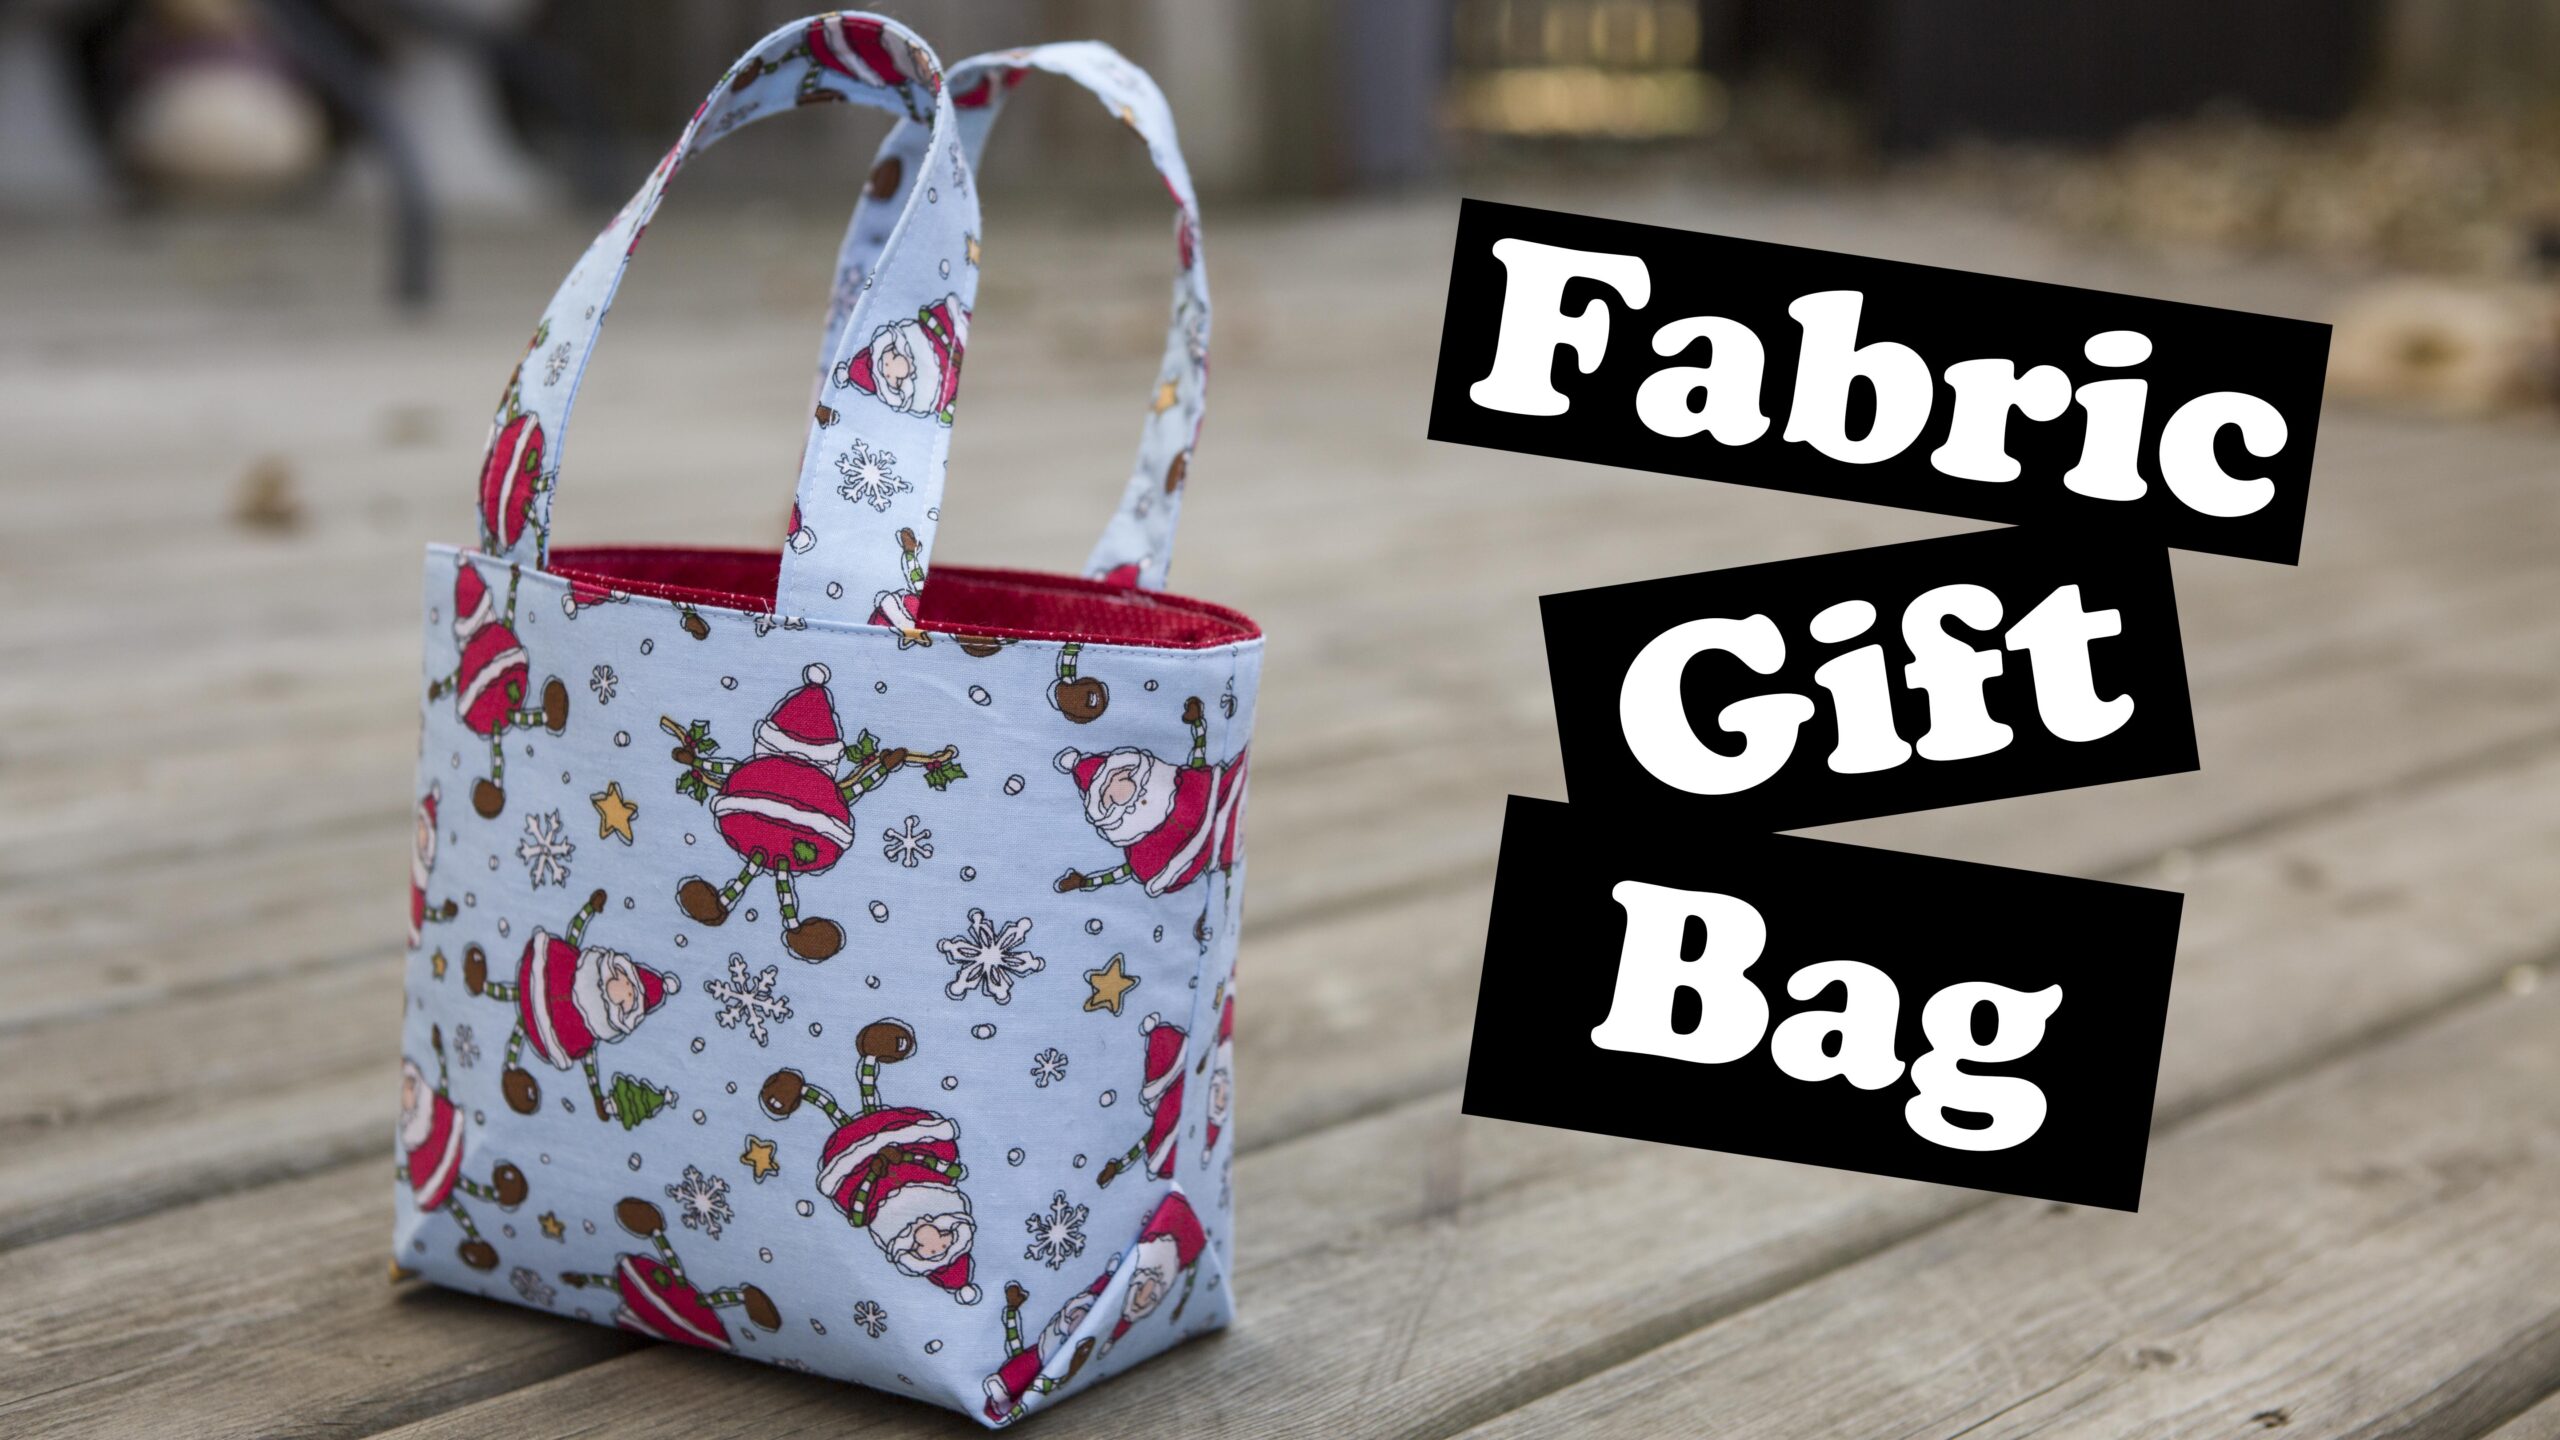
This reusable Gift bag is perfect for all occasions and its the gift that keeps on giving!
Great stash buster and the receiver can use it for themselves or pass it along to the next gift
I have a few different sizes in this tutorial i am making a 6″ x 6″ x 3″ gift bag perfect for small items
Measurements for other sizes will be listed below the post as to not confuse you during this tutorial
Materials
Contrasting cotton fabrics
Medium weight interfacing (to help you bag stand up)
Sewing Machine
Measurements
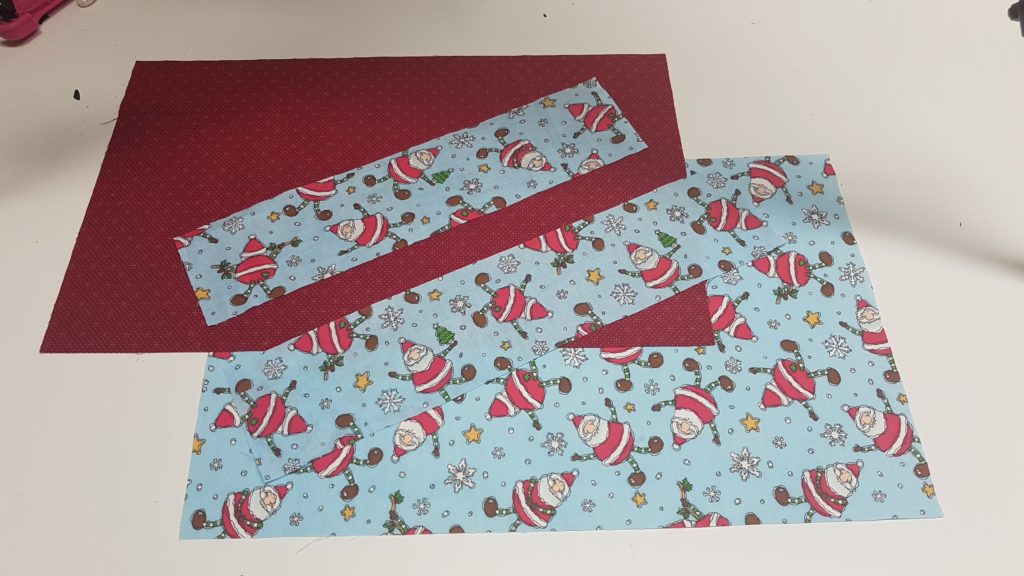
Cut 2 – 10″ x 16″ pieces of Cotton fabric
Cut 2 – 3″ x 10″ pieces for the handles
Cut 2 – 2″ x 10″ piece of medium weight interfacing
Cut 2 – 10″ x 16″ piece of medium weight interfacing
More Sizes at the bottom of this post!
Help keep Ashley’s Patterns and tutorials free! Donate today to say Thanks!
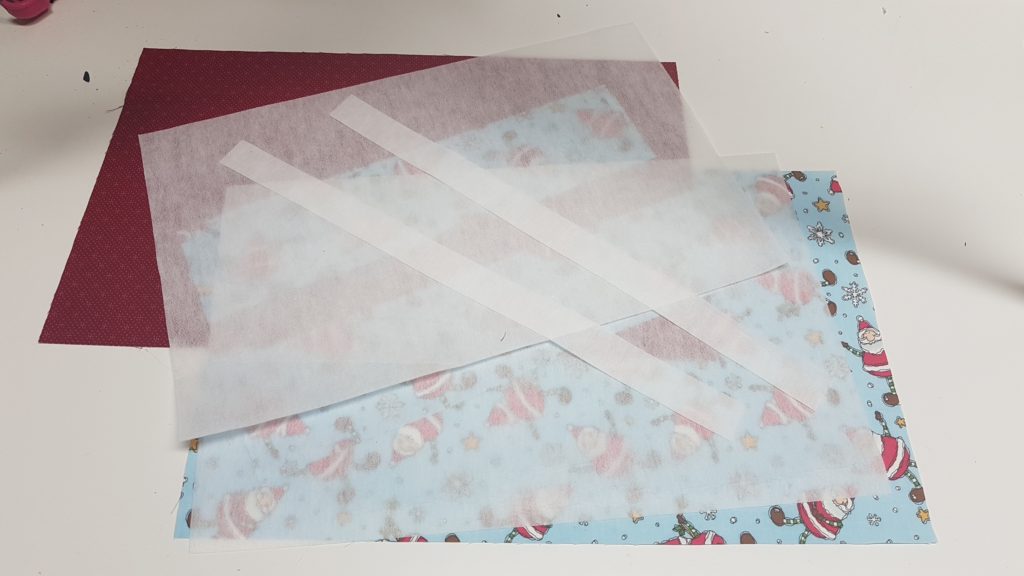
Step 1
Iron on interfacing onto all pieces, for handles place the 2″ piece centered on the fabric
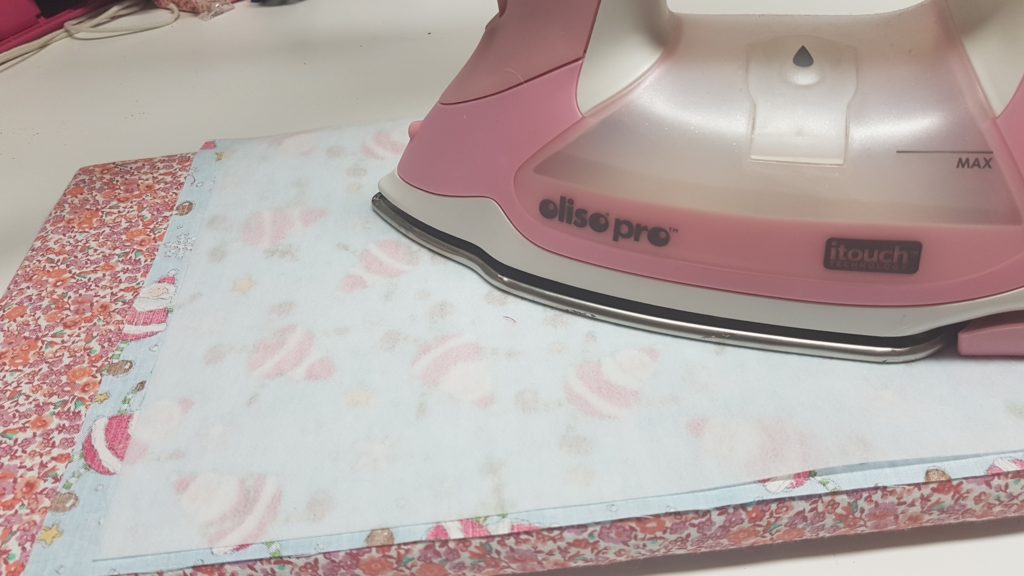
Make sure you are using a Hot Dry iron
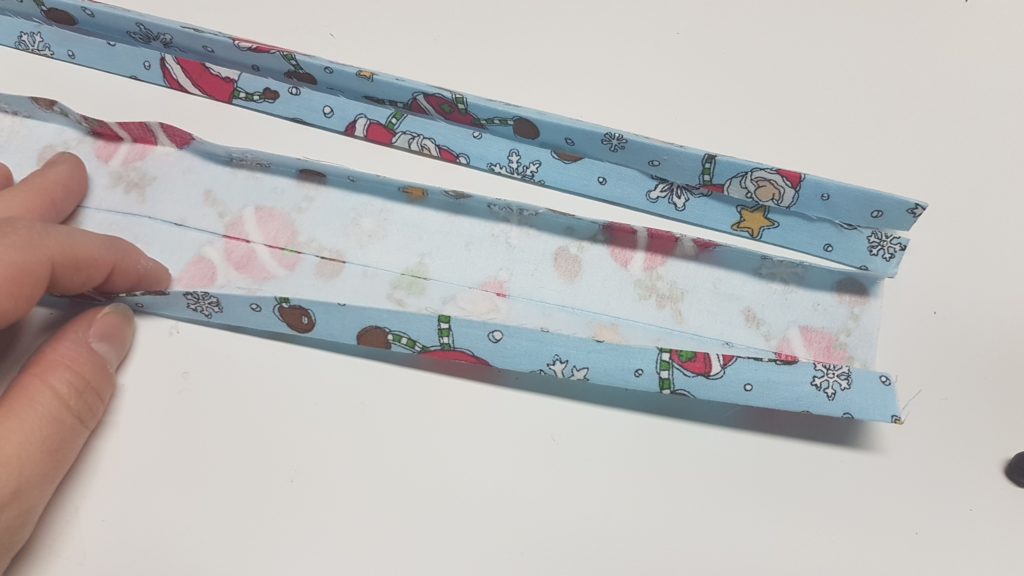
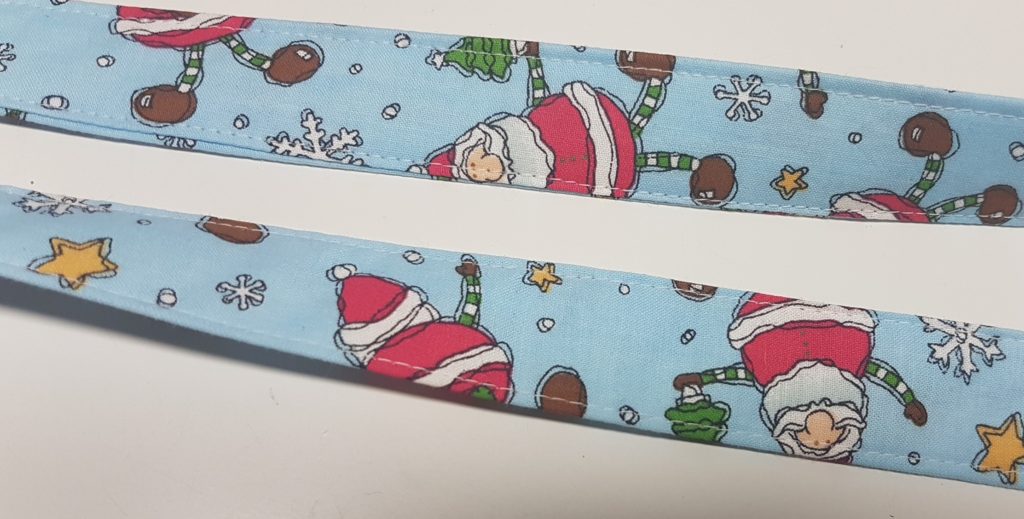
Step 2: Create the straps by folding in each raw edge a 1/2″ and then fold in half again *Press
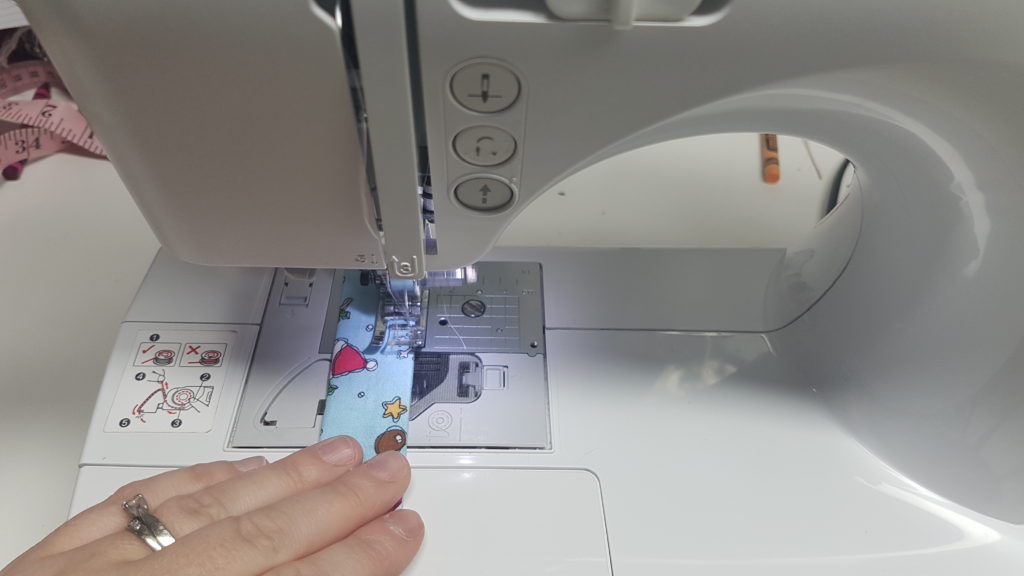
Sew down both sides with a top stitch
Step 3: Take the outer fabric and fold length ways in half with the right sides out.
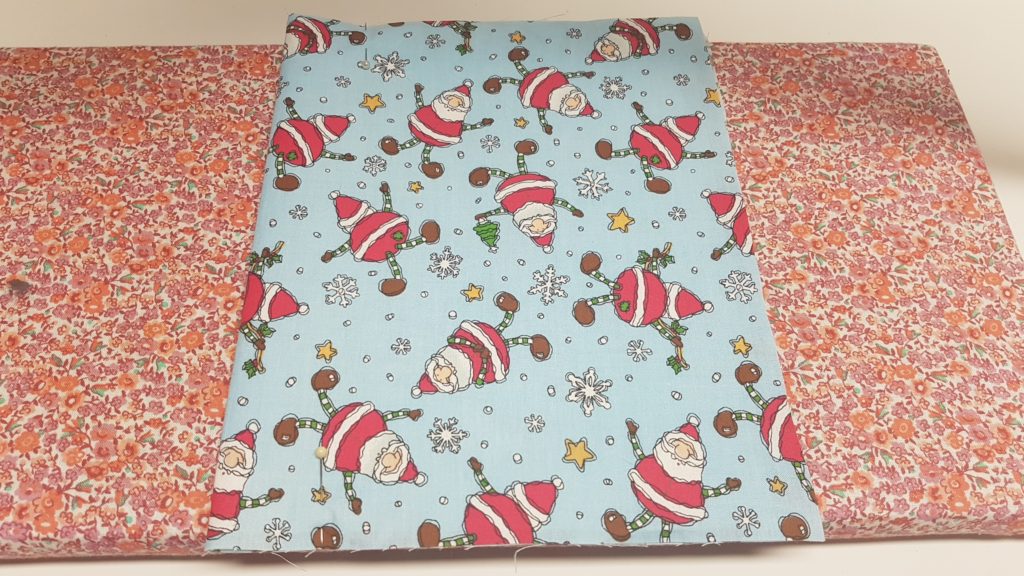
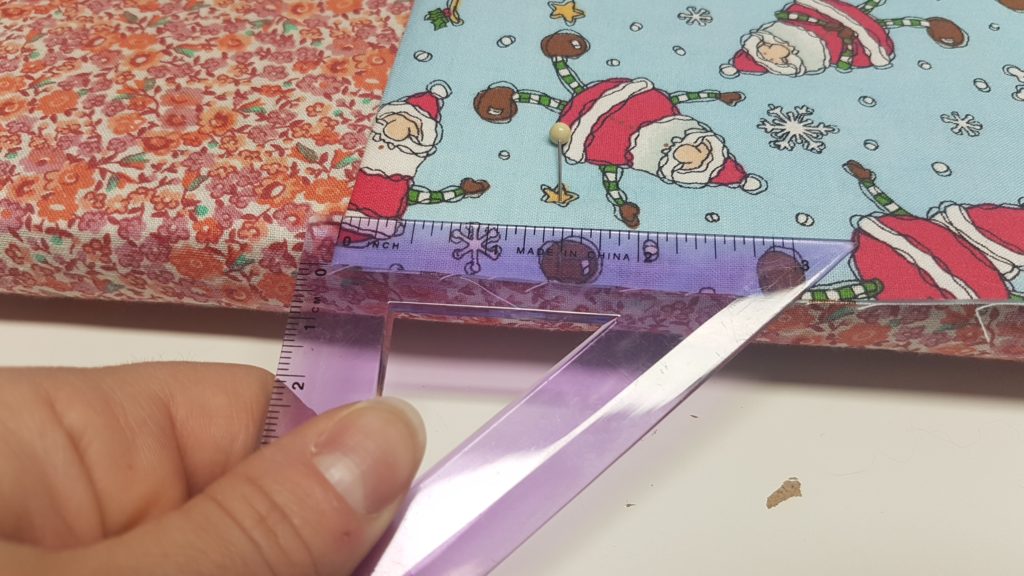
Step 4: Measure in from the folded edge 1.5″ and place a pin through both layers of fabric, do this on both sides of the fabric, *note the pins (hard to see.. sorry!)
Step 5: Place the fabric right sides together folding it on the pin marks (it will resemble an accordion fold)
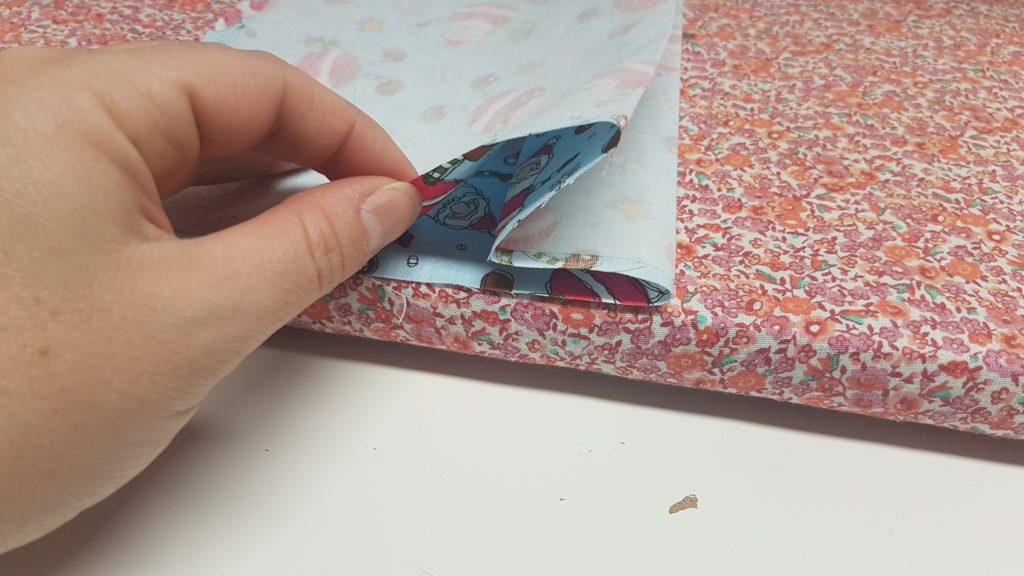
Once it has been folded you can remove the pins, i recommend giving it a press so it all stays folded nicely, place pins again to secure during sewing if you wish
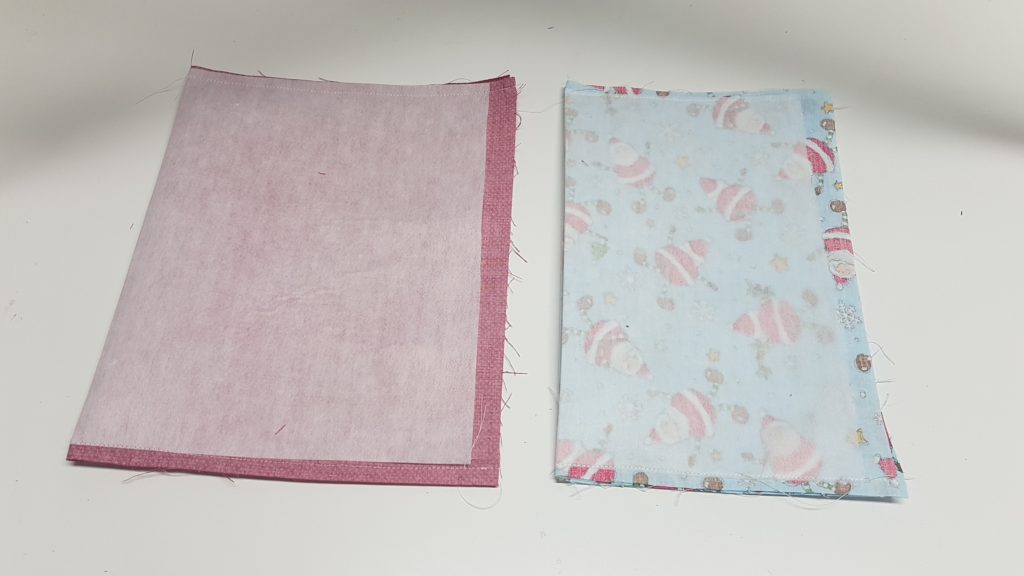
Step 6: With the lining piece fold it in half with the right sides together length ways, from here we will sew down the sides of the fabric leaving the side opposite of the fold open, Note the outer piece appears shorter but that is how it is suppose to be at this time.
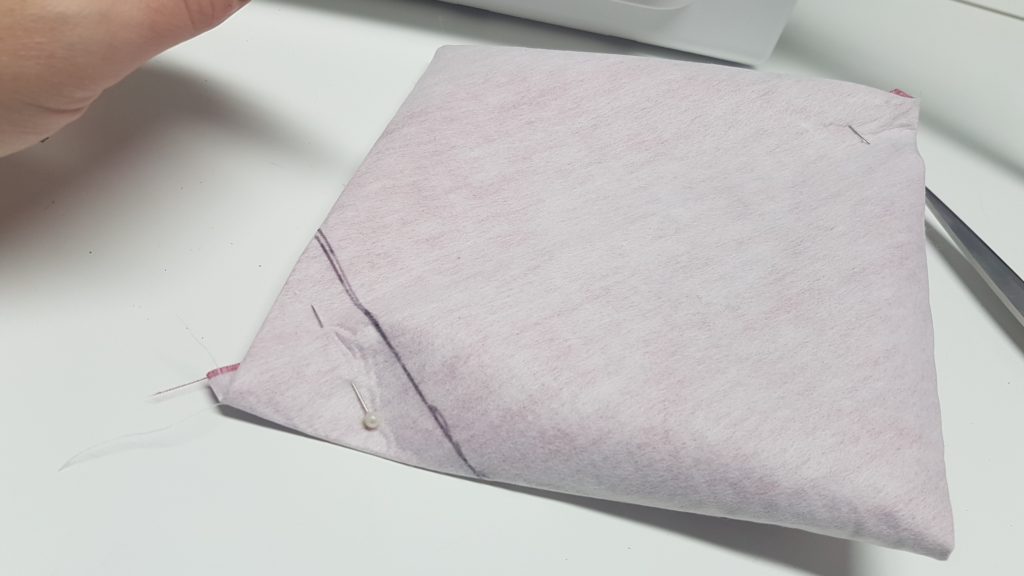
Step 7: Take the lining piece and press the side piece down to the base of the bag to create a triangle at the corner. measure 3″ from side to side and mark with a pen or marker
Sew along the drawn line, Do this for both corners of the bag, If you have difficulty please refer to the video tutorial linked in this Blog post
Step 8: Snip off the excess corners
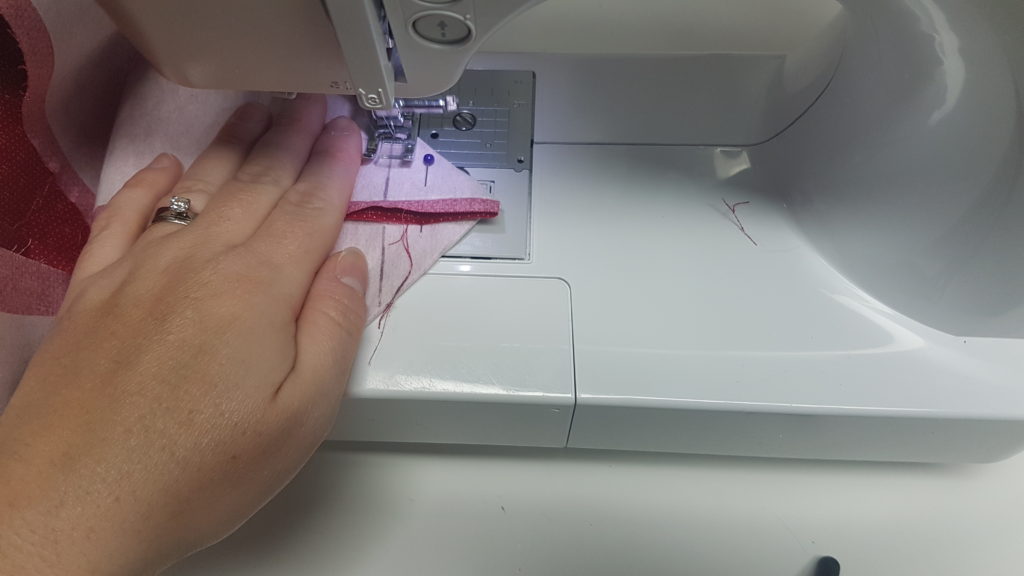
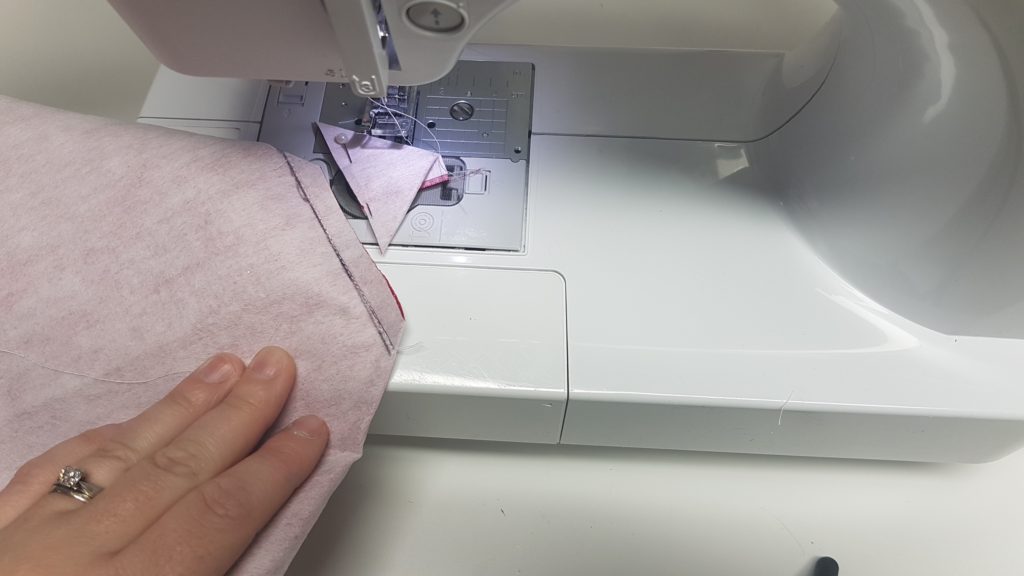
Step 8: now we will flip the outer fabric right sides out

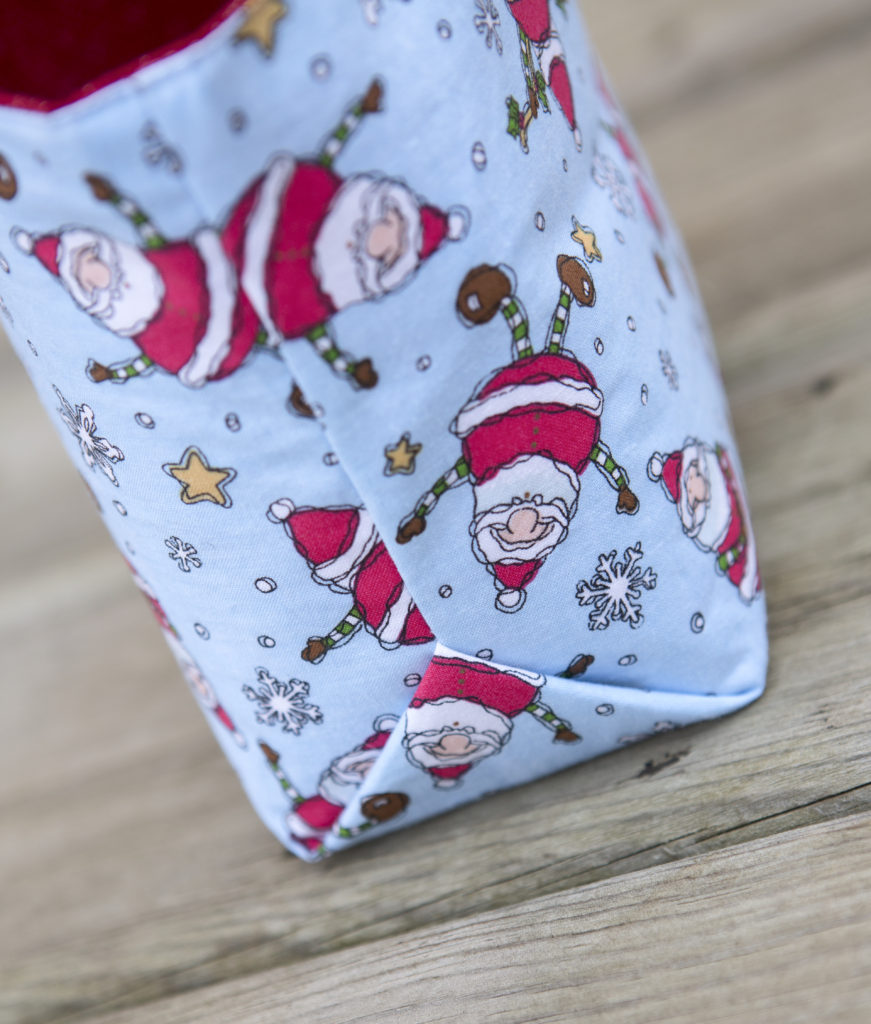
This is how the base of the bag should look, it may take some finessing and pressing to make the triangle look perfect
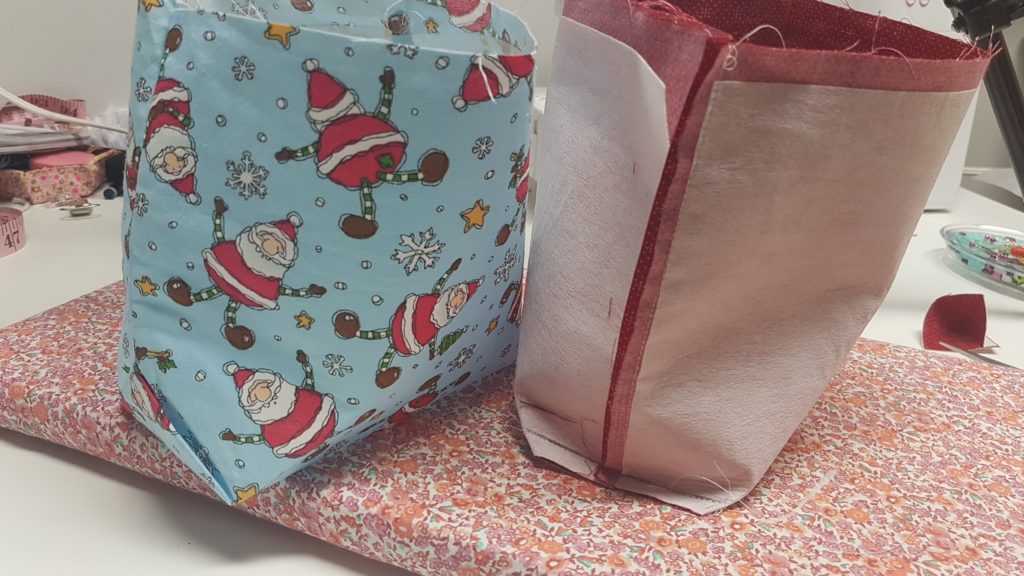
Step 9: now we will insert the lining of the bag into the outer fabric lining up the side seams
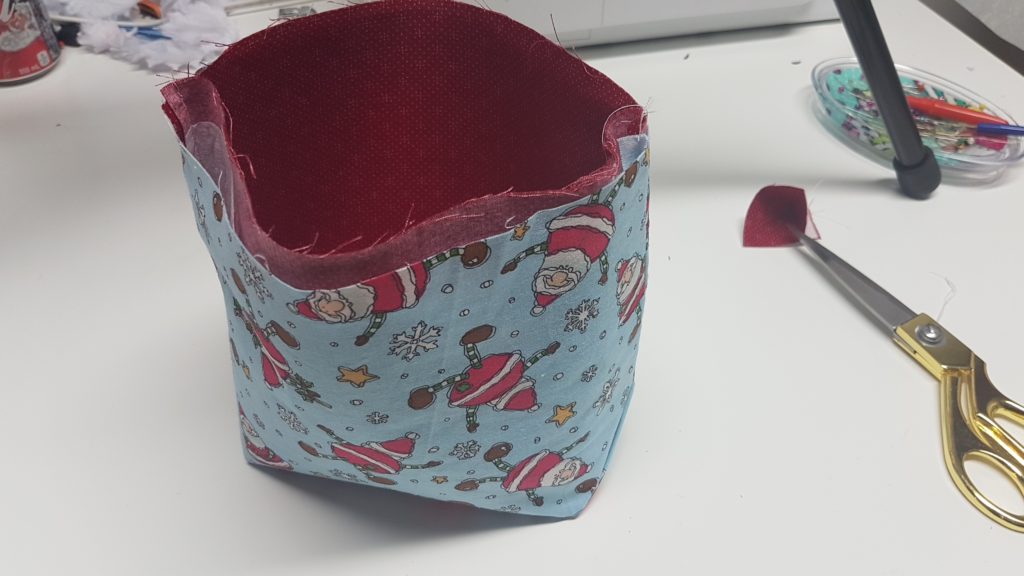
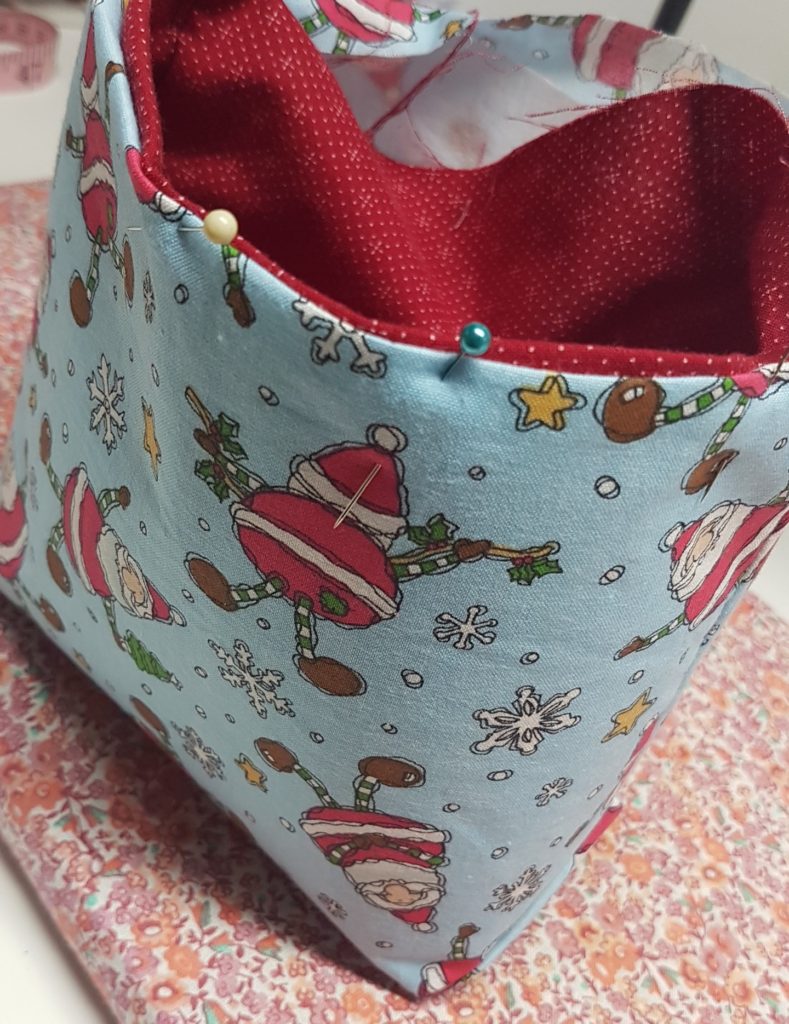
Step 10: Fold in the raw edges towards each other and pin into place, i find it helps to press as well
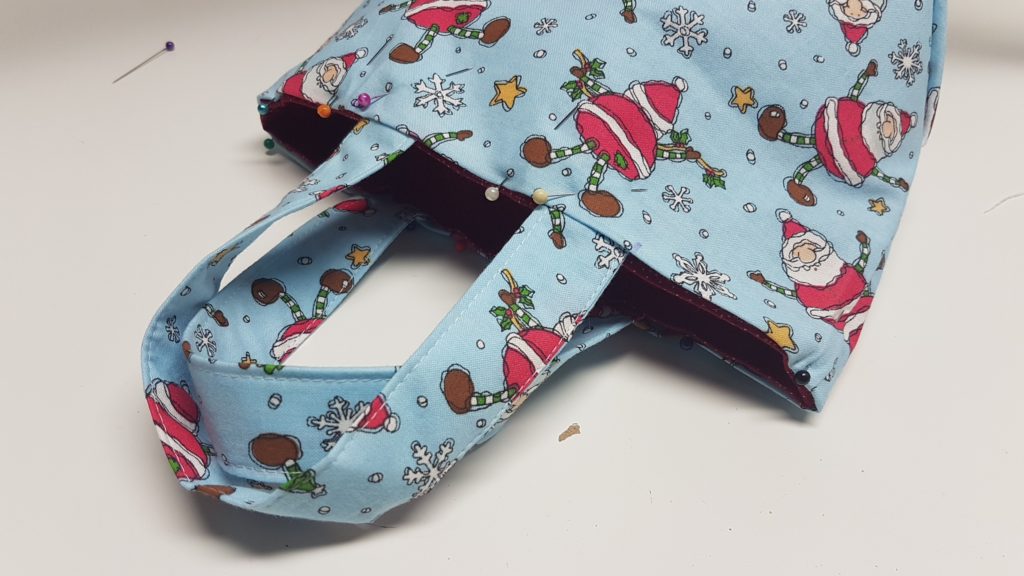
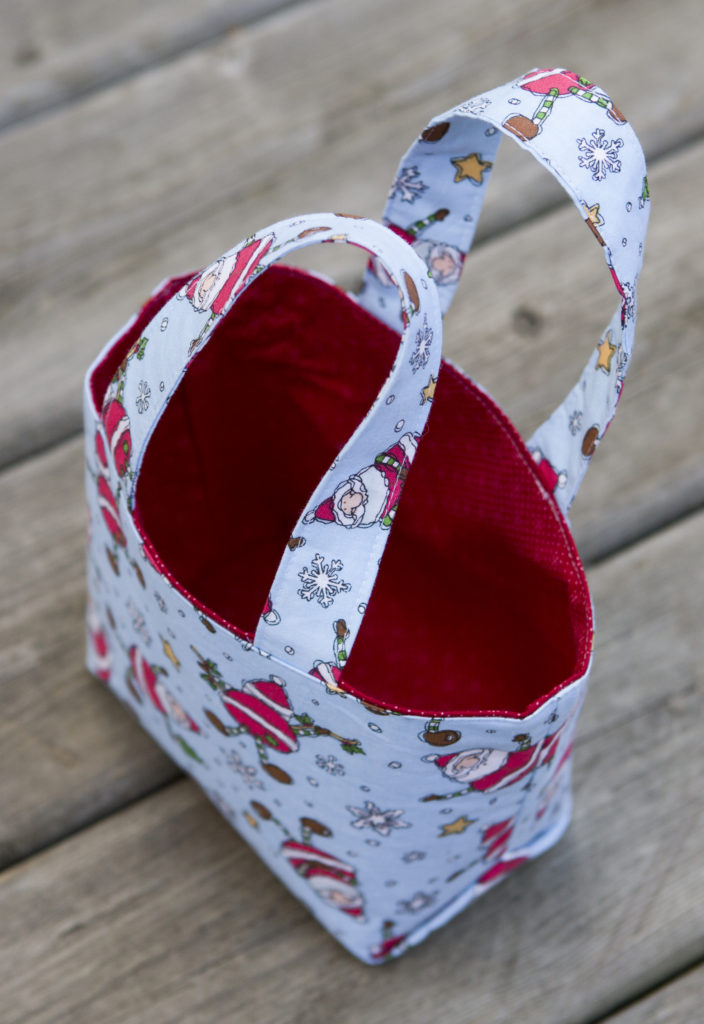
Step 11: Slip in the handles on either sides, i measured 2.5″ away from the side seams so they were even on both sides, the straps are a little long so if you wish to make them shorter you may do that or make them longer
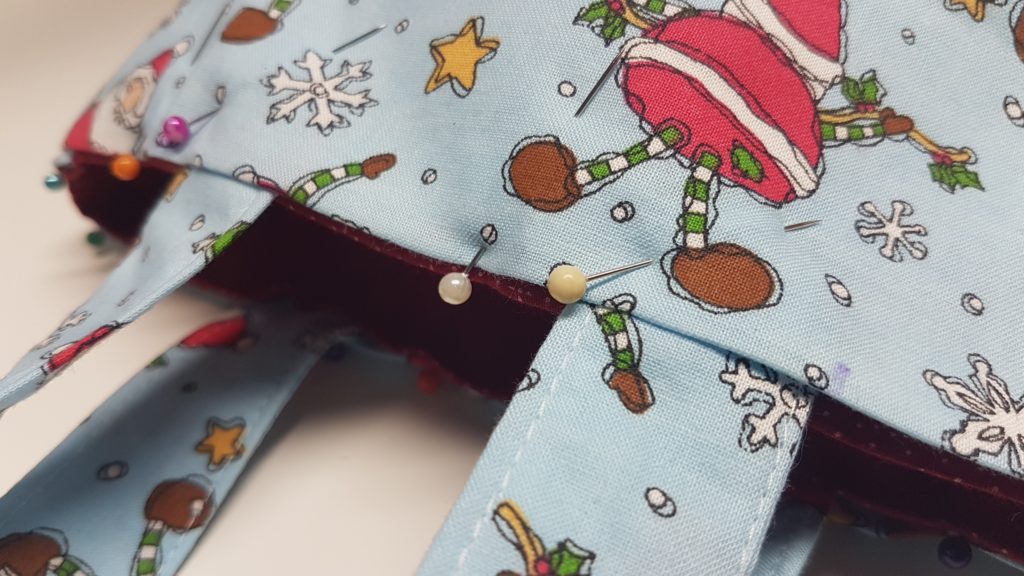
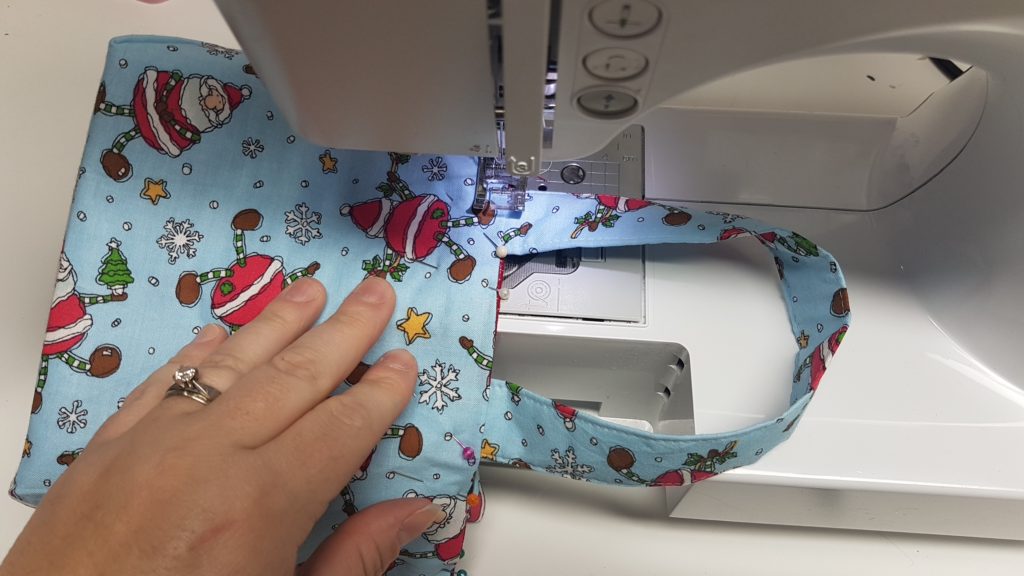
Step 12: To finish off the bag you will top stitch all the way around the rim of the bag
Step 13: give your bag one last press and your done!
Different Sizes
Tall – Small – 10″ x 22″ Cotton Fabric (finished measurements 6″ x 9″tall x 3″
Tall – Large – 14″ x 30″ Fabric (finished measurements 10″ x 13″ x 3″)
Wide – Small – 12″ x 16″ Fabric (finished measurements 9″ x 6″ x 3″
Large Wide – 17″ x 24″ Fabric (finished measurements 13″ x 10″ x 3″)
Square Small – Refer to above tutorial for measurements
Square – Large – 14 x 24″ Fabric (finished measurements 10″ x 10″ x 3″)
Donate to say Thanks!


0 Comments