
Purchase pattern here —> https://charmedbyashley.com/product/sun-glasses-case-pattern/
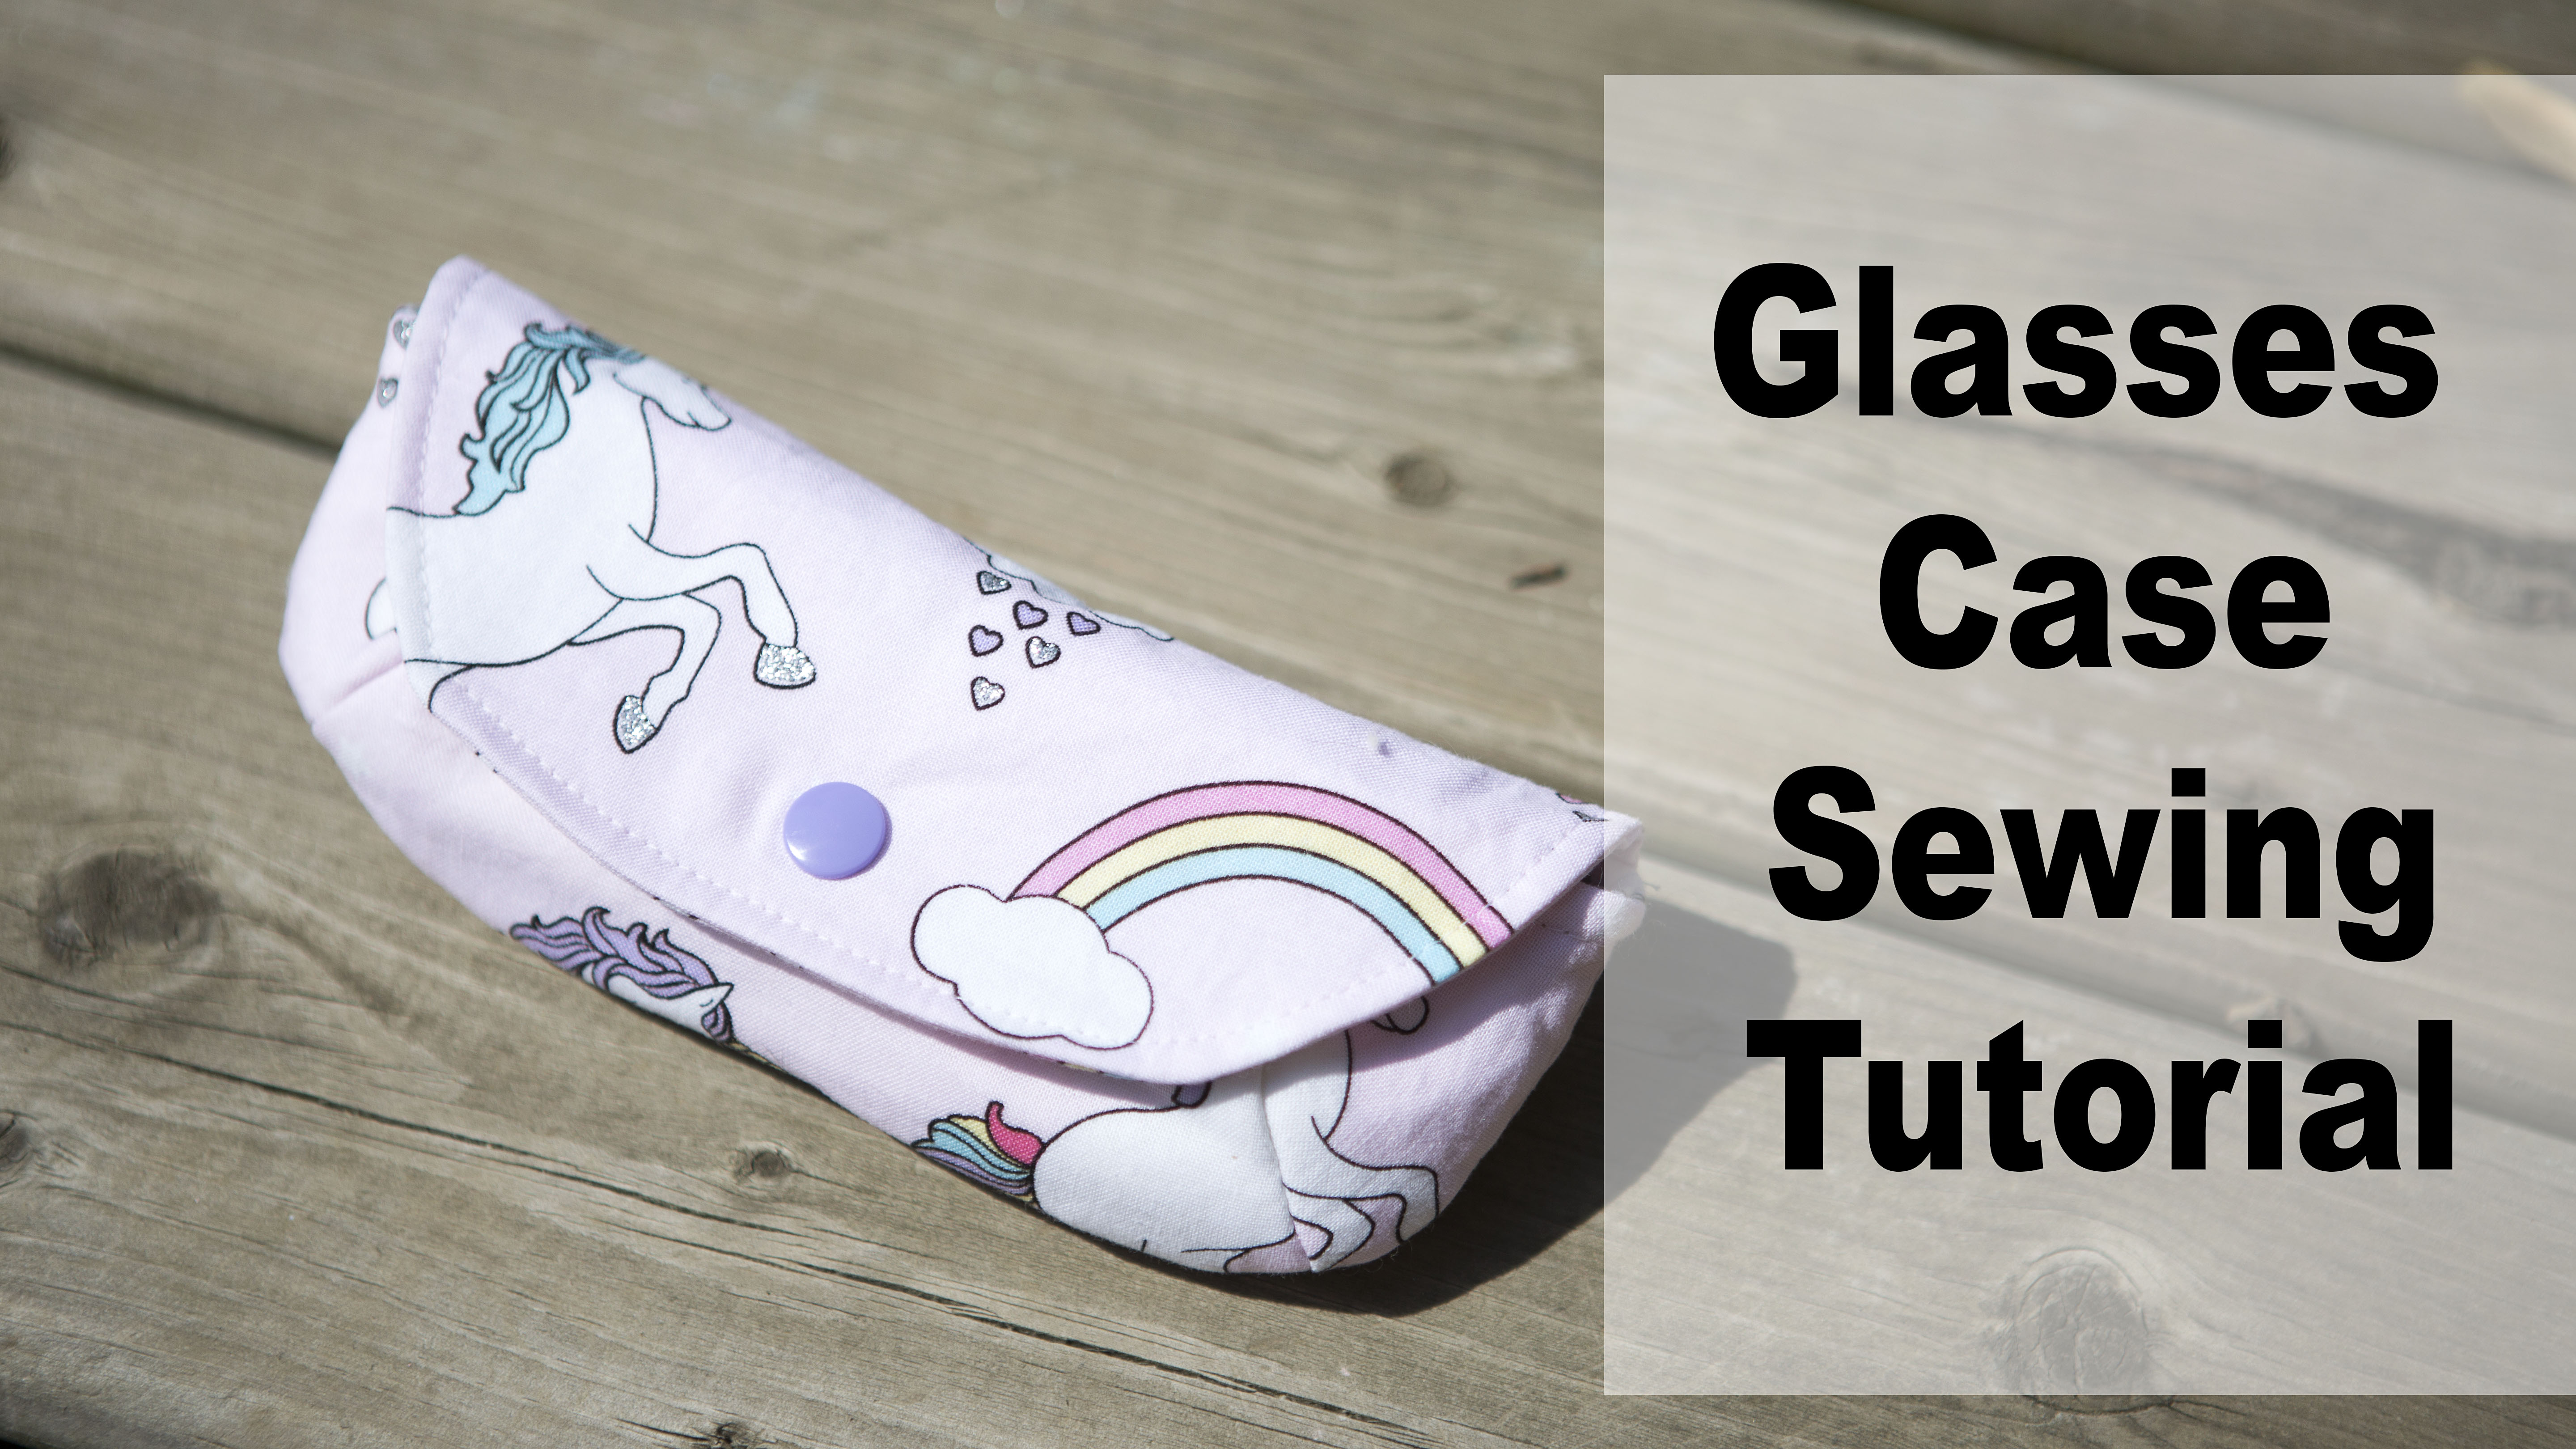
welcome to charmedbyashley on youtube glasses tutorial!
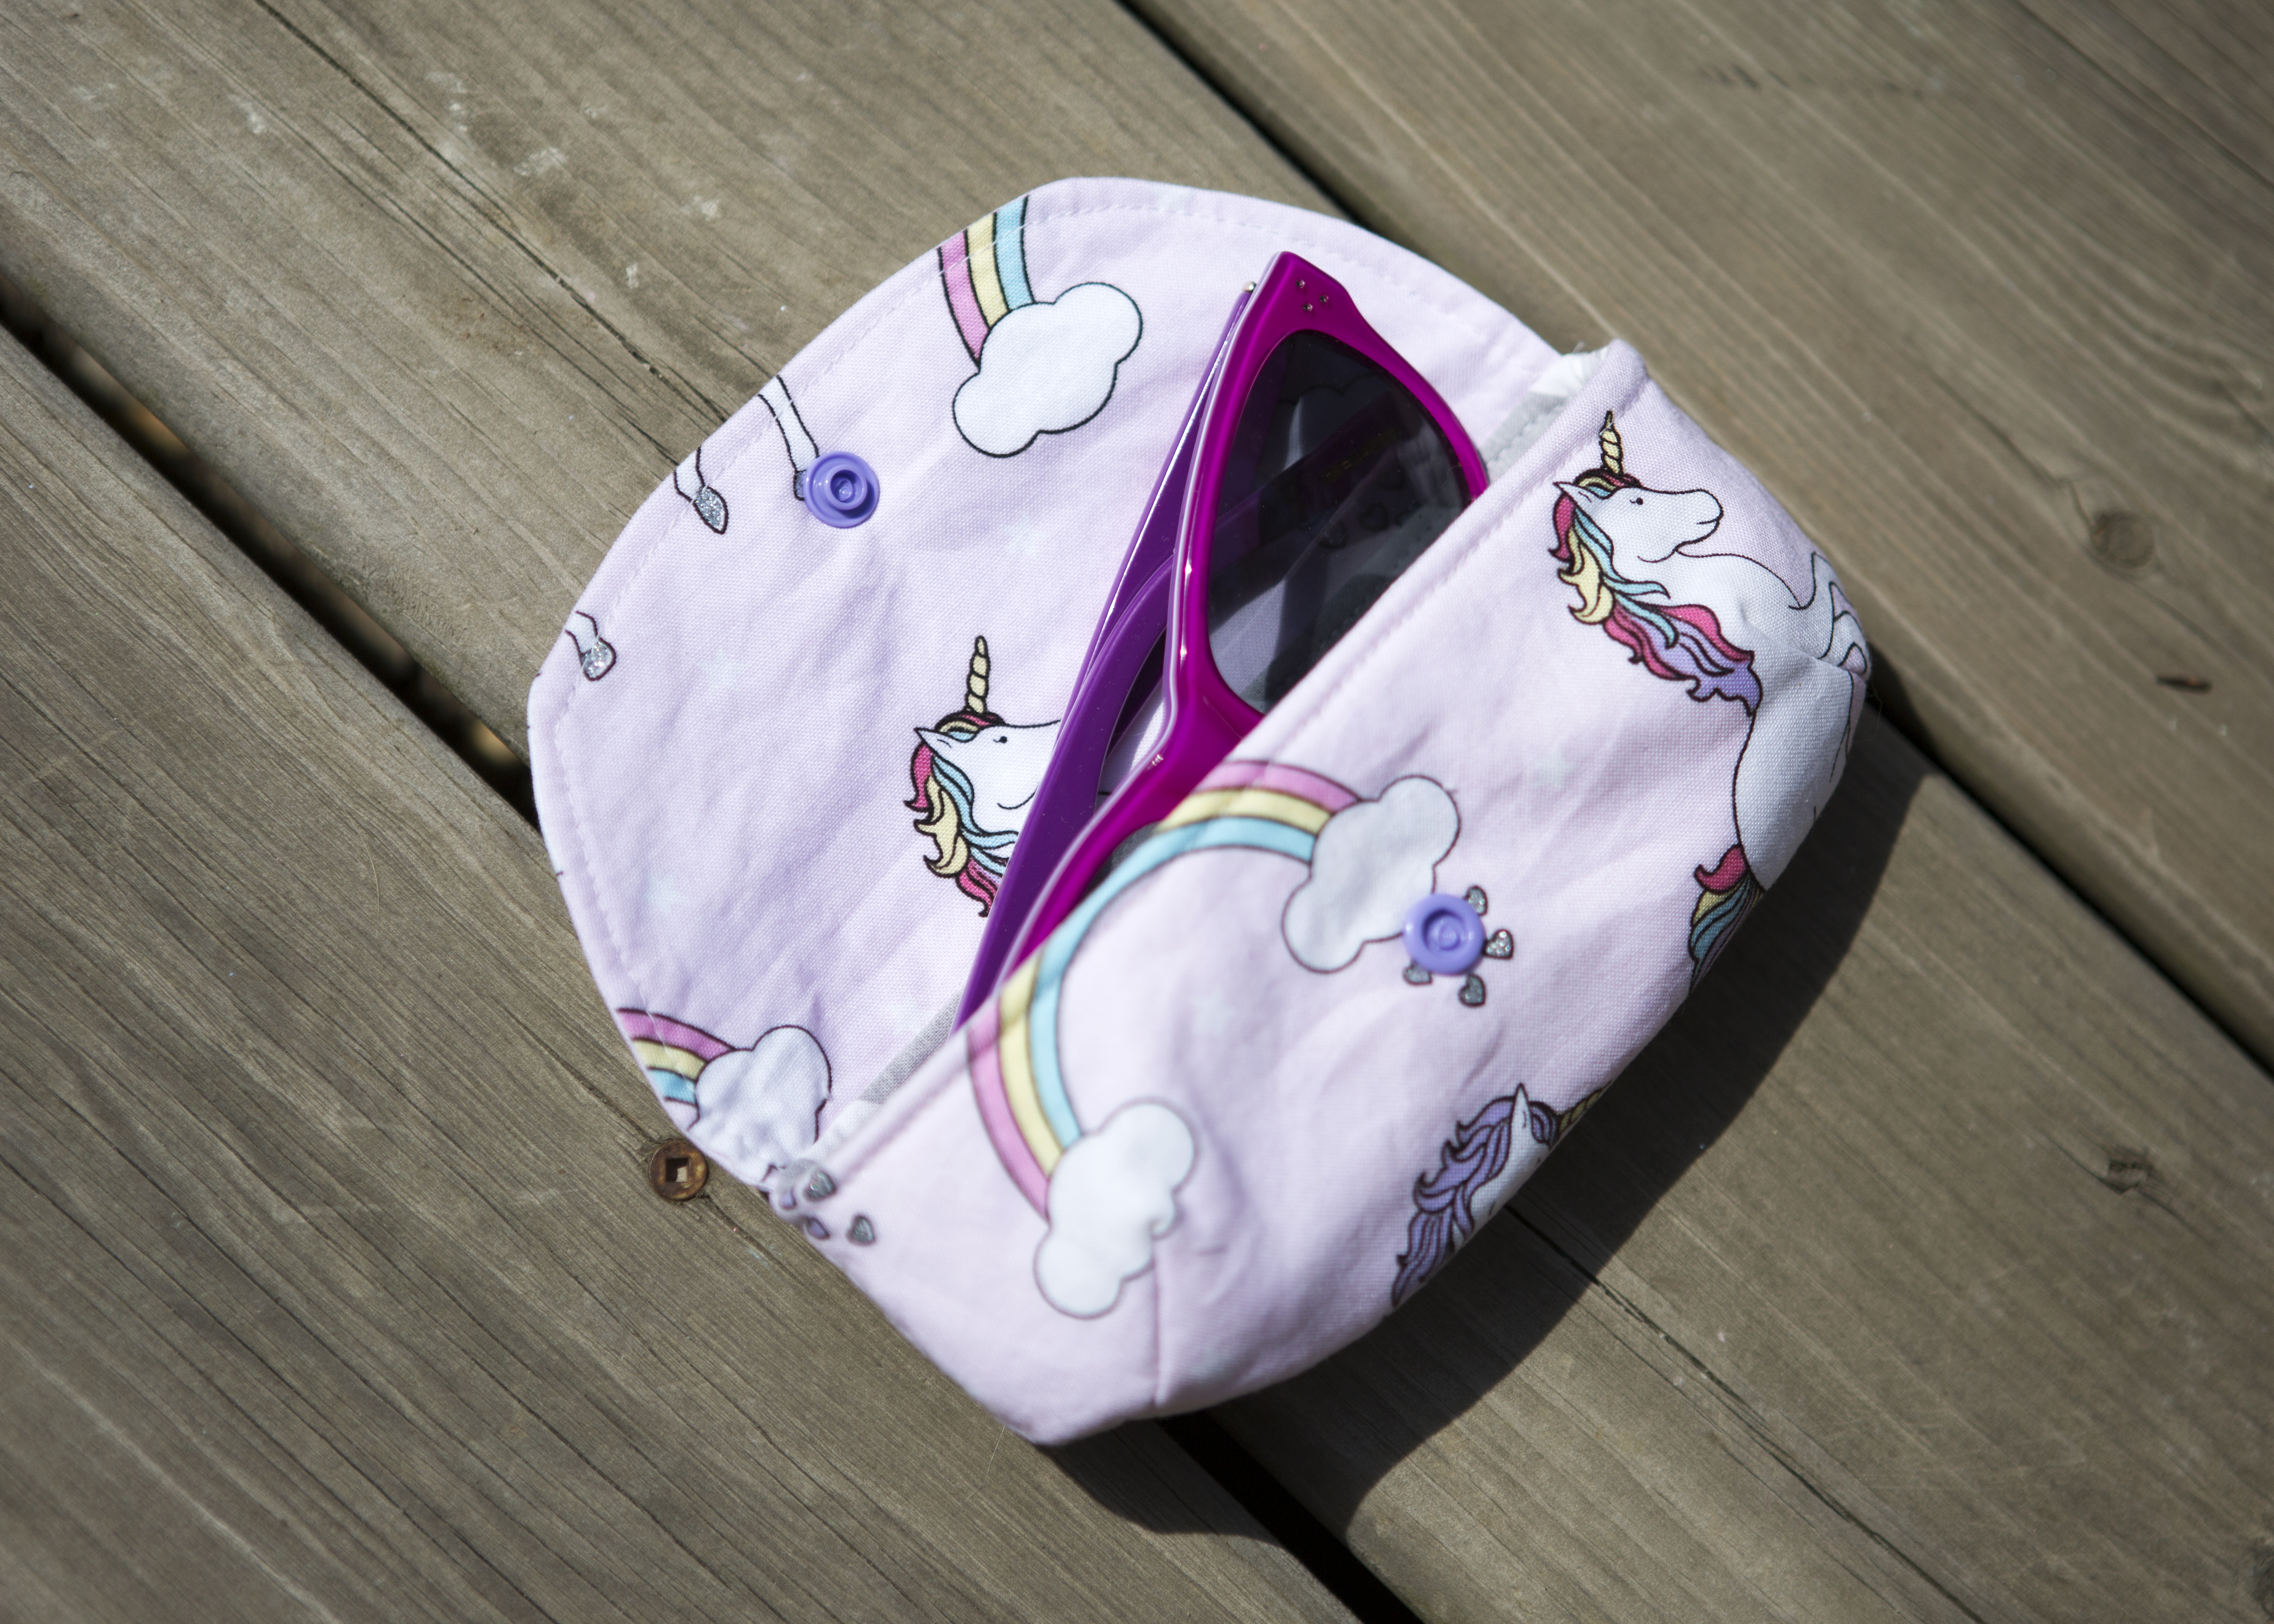
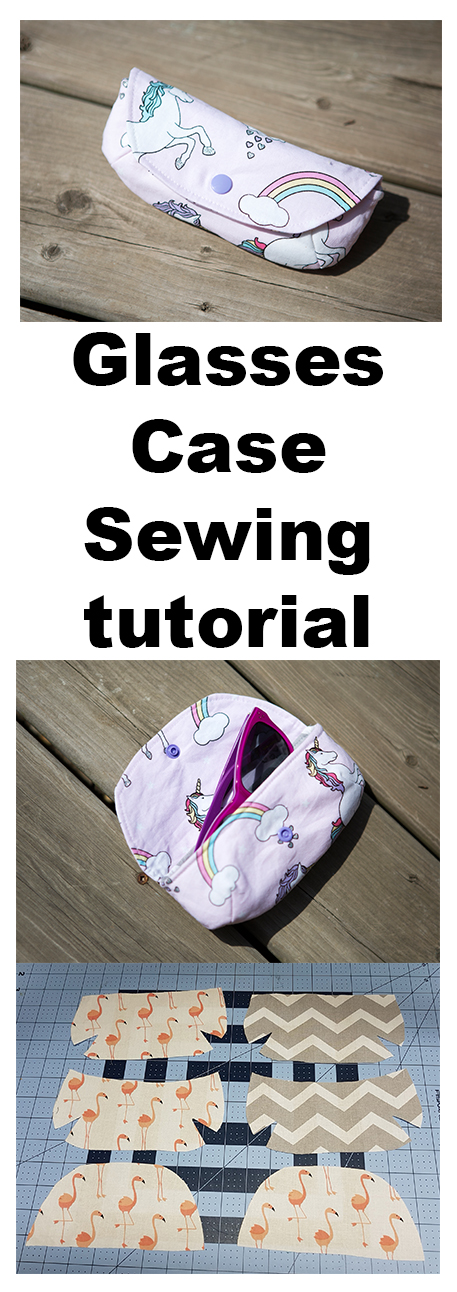
This glasses Case finished measures approx 7″ x 3.5″ and can hold a fairly large pair of adult sunglasses, depending on your button placement you can add more room to the pouch or less
Materials for this project
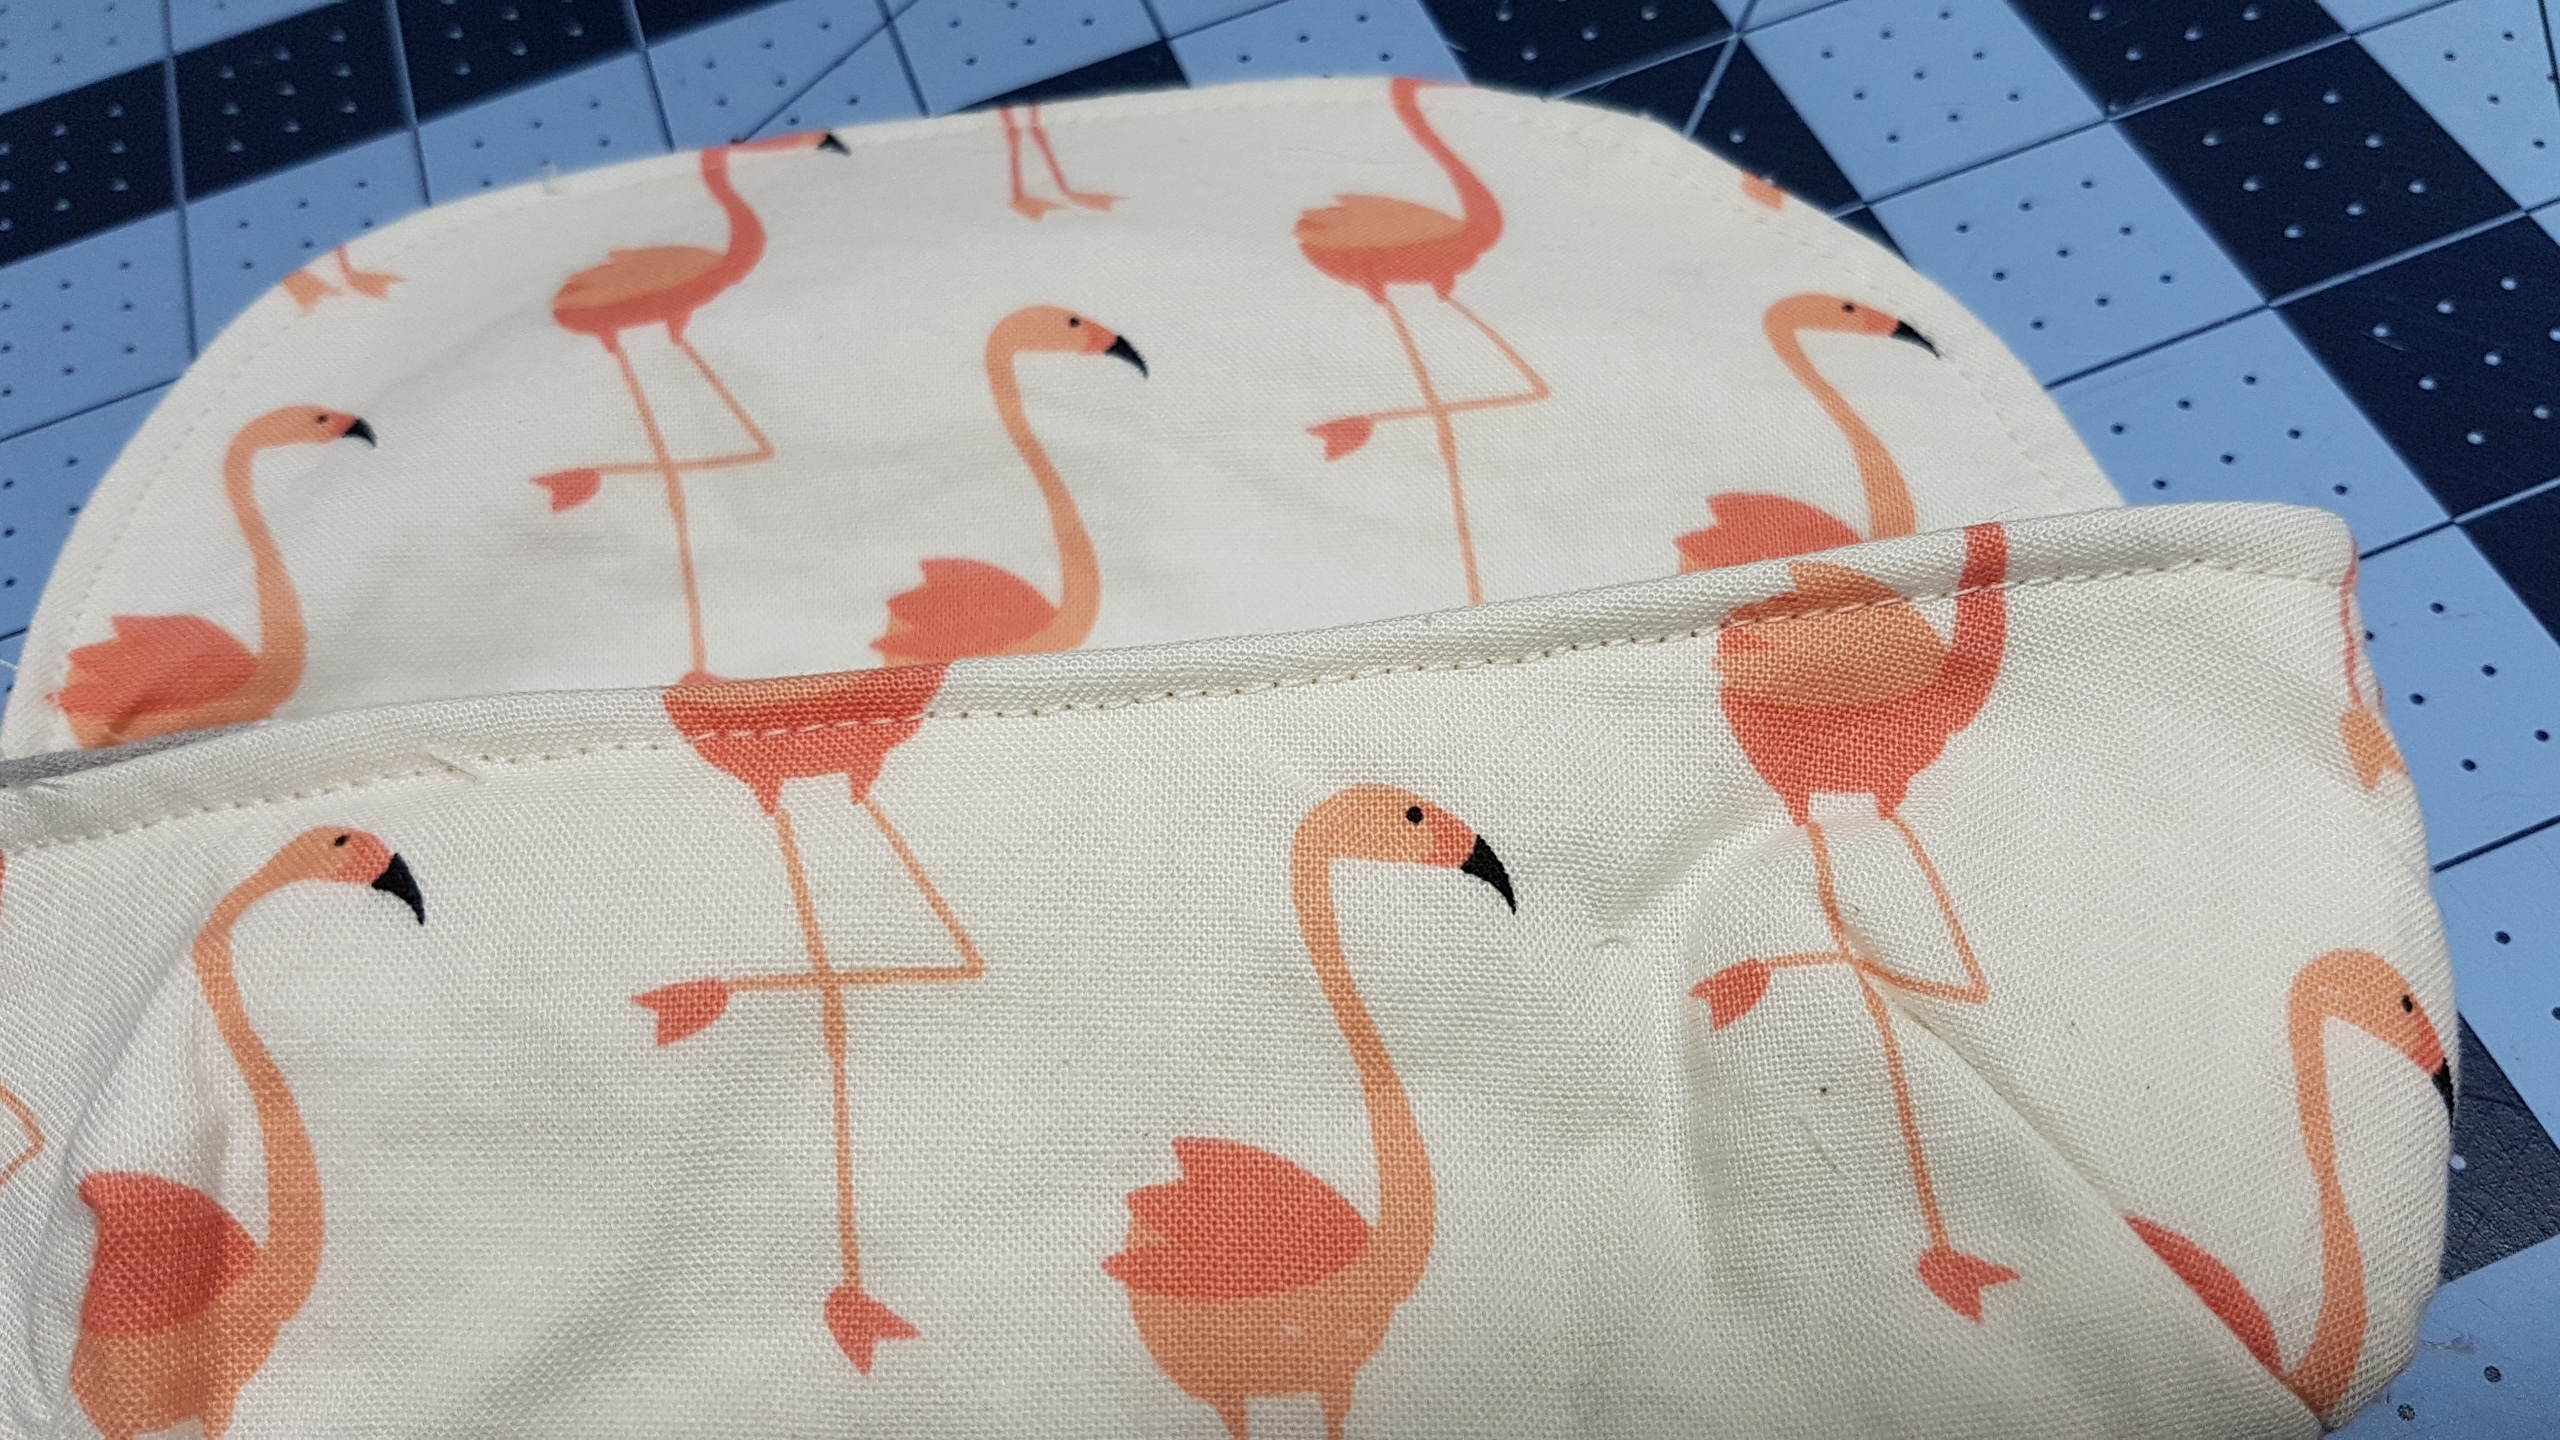
Cotton Fabric (Choose 2 different fabrics if you would like the lining to be different) – If you like this unicorn fabric or flamingo fabric i grabbed it at joann fabrics
Light / Medium weight interfacing
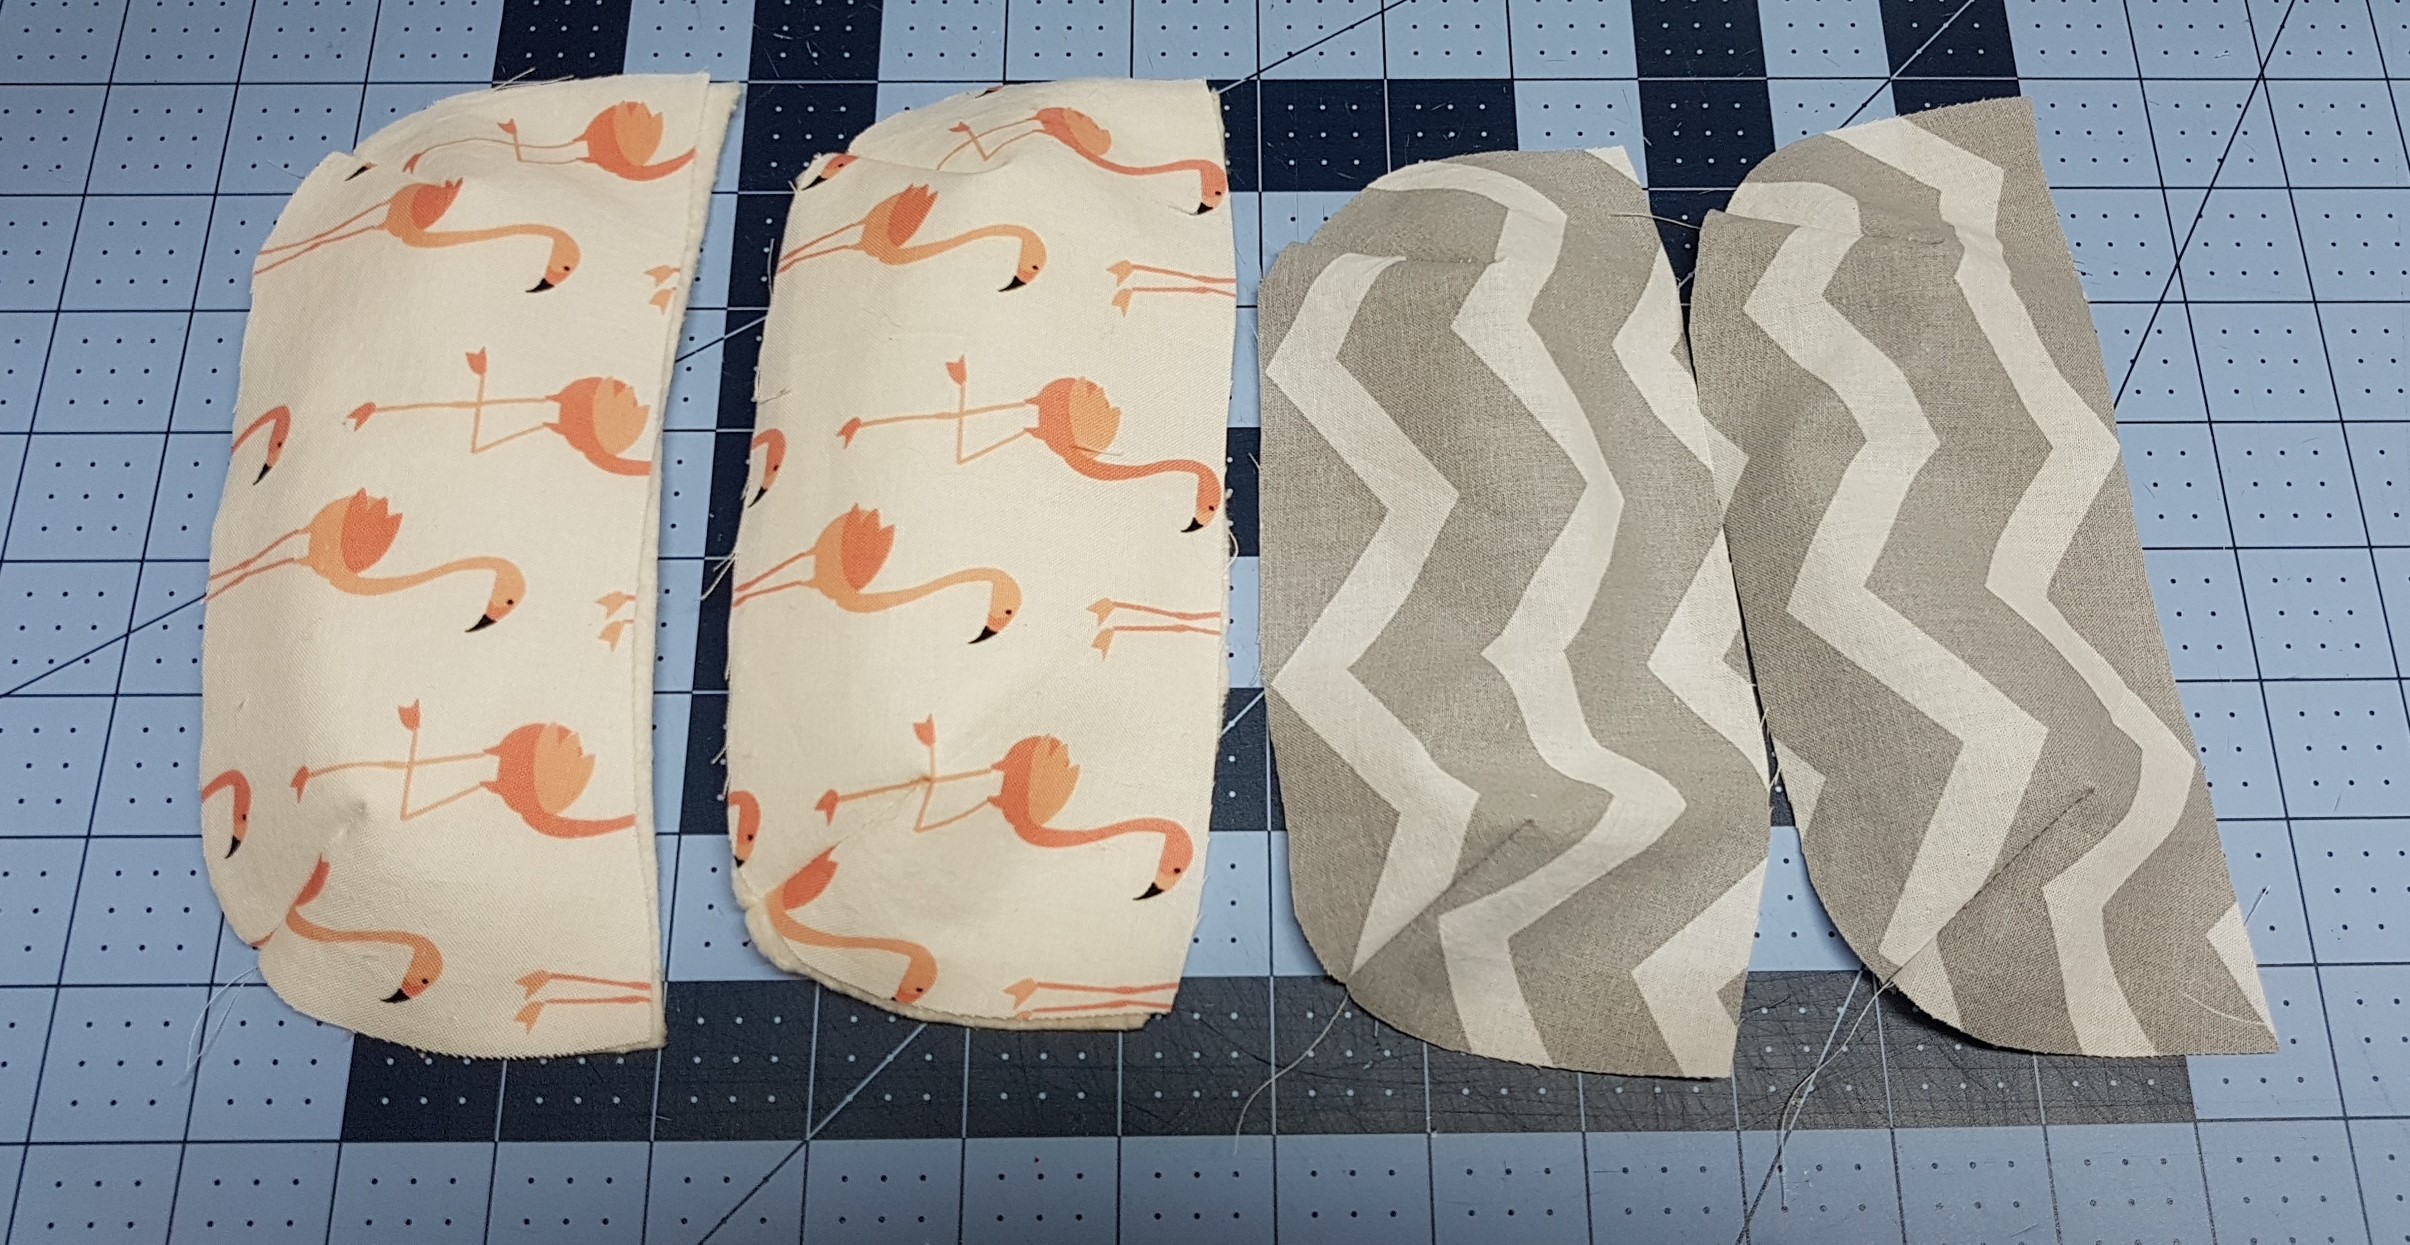
Print out your pattern pieces and cut them out
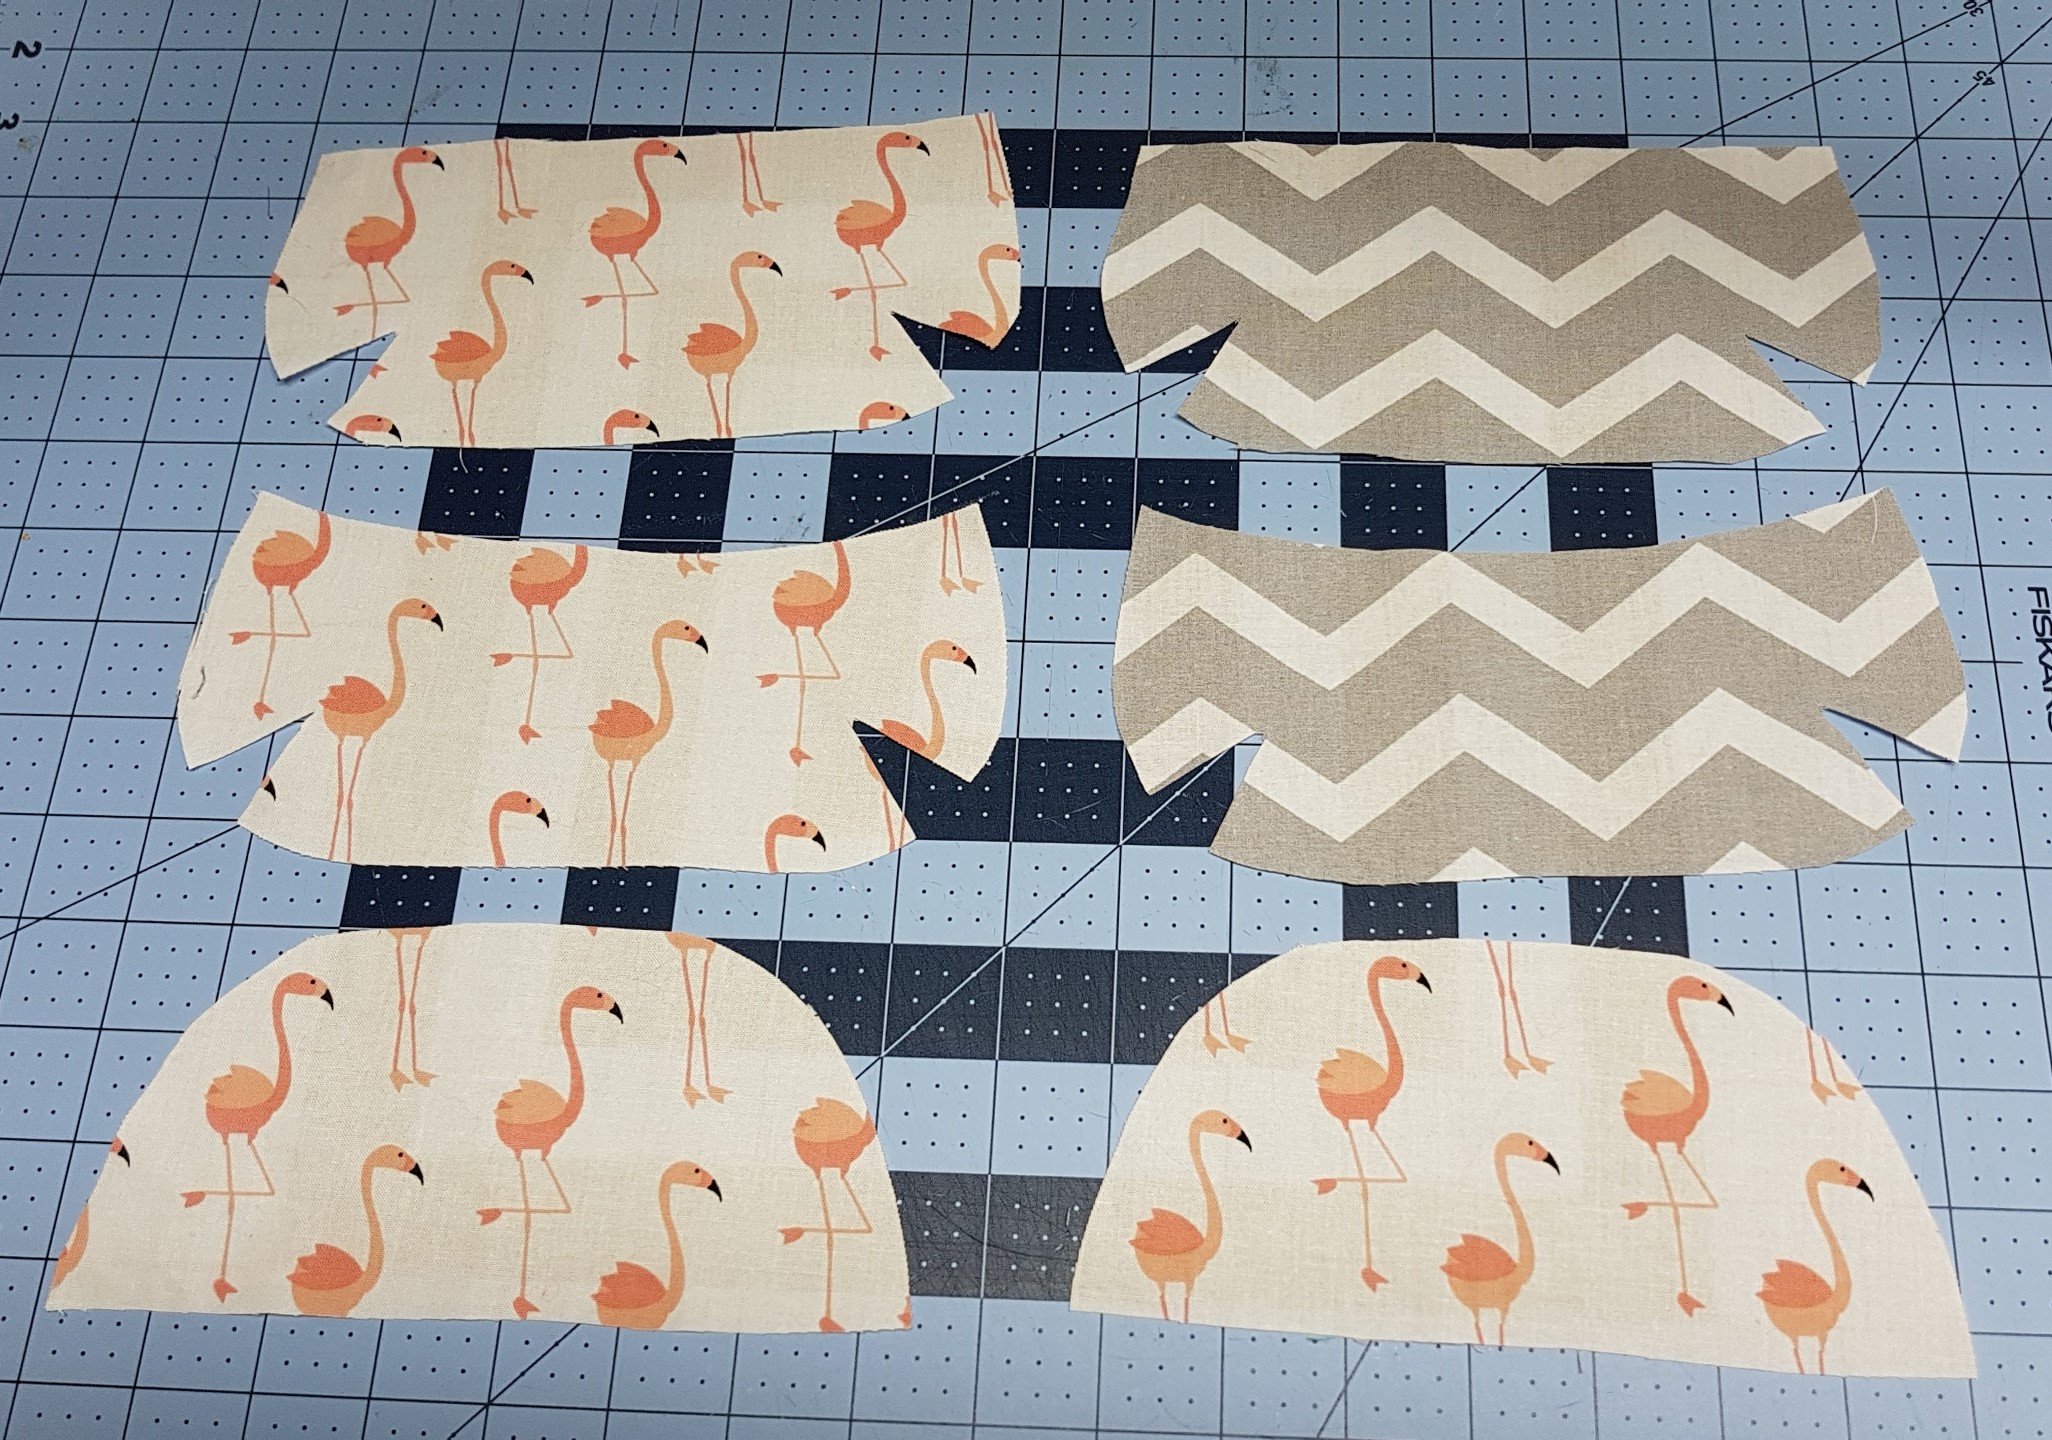
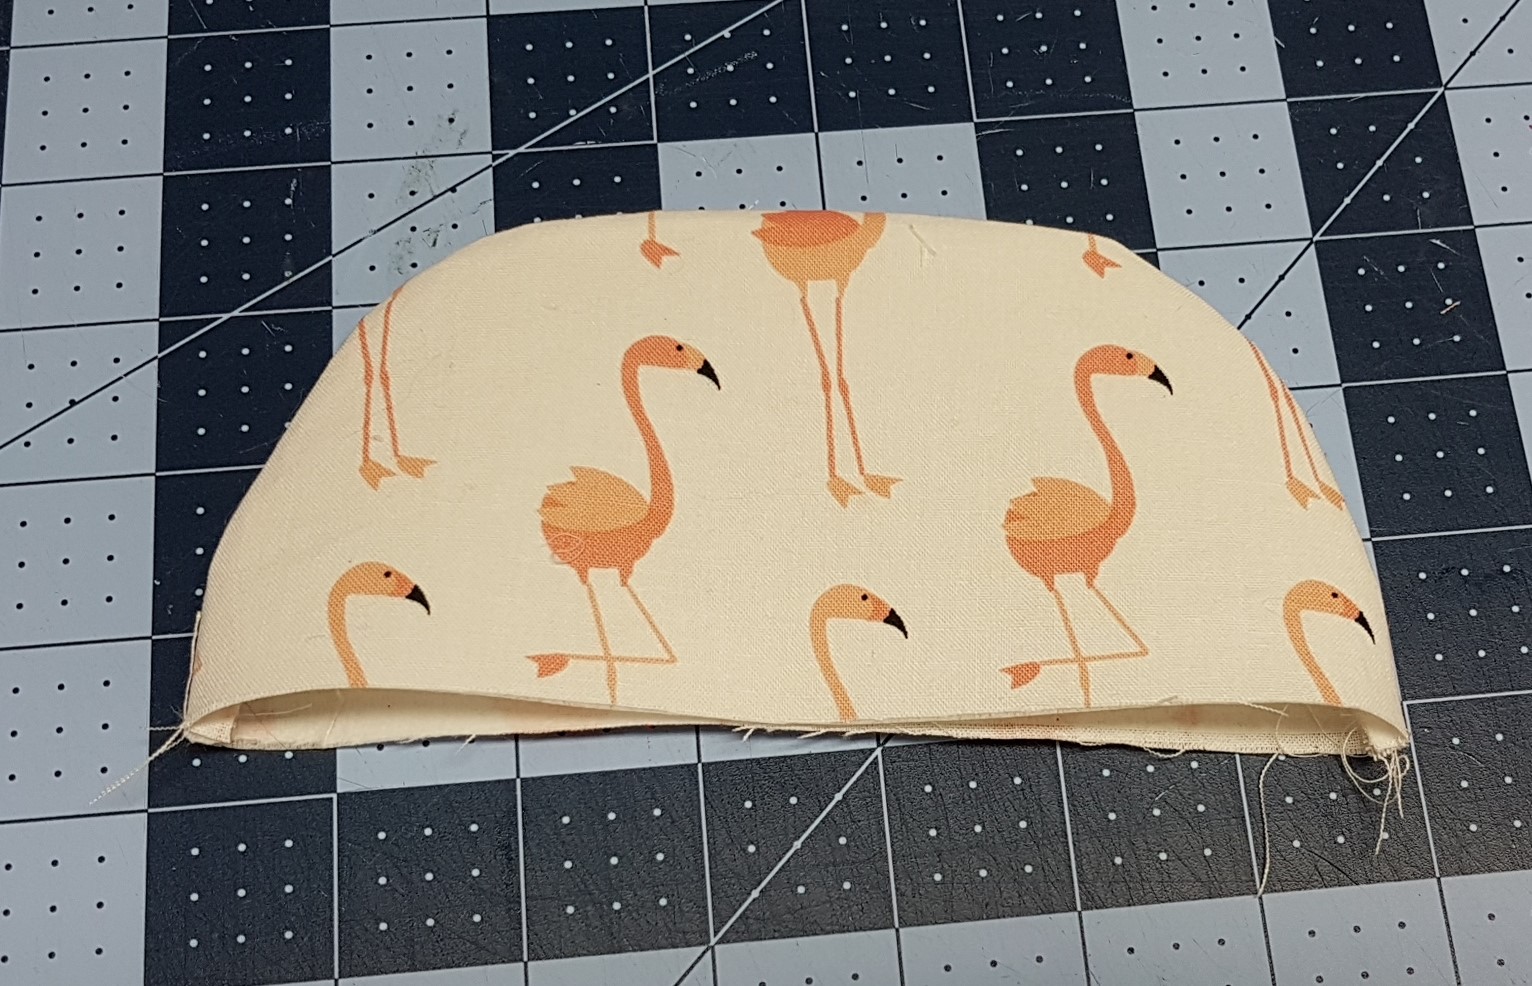
Cut out two of each pattern piece, when cutting out the flap piece if chose to do both pieces with my main fabric
Note the deep curve on piece B, that is the front of the pocket
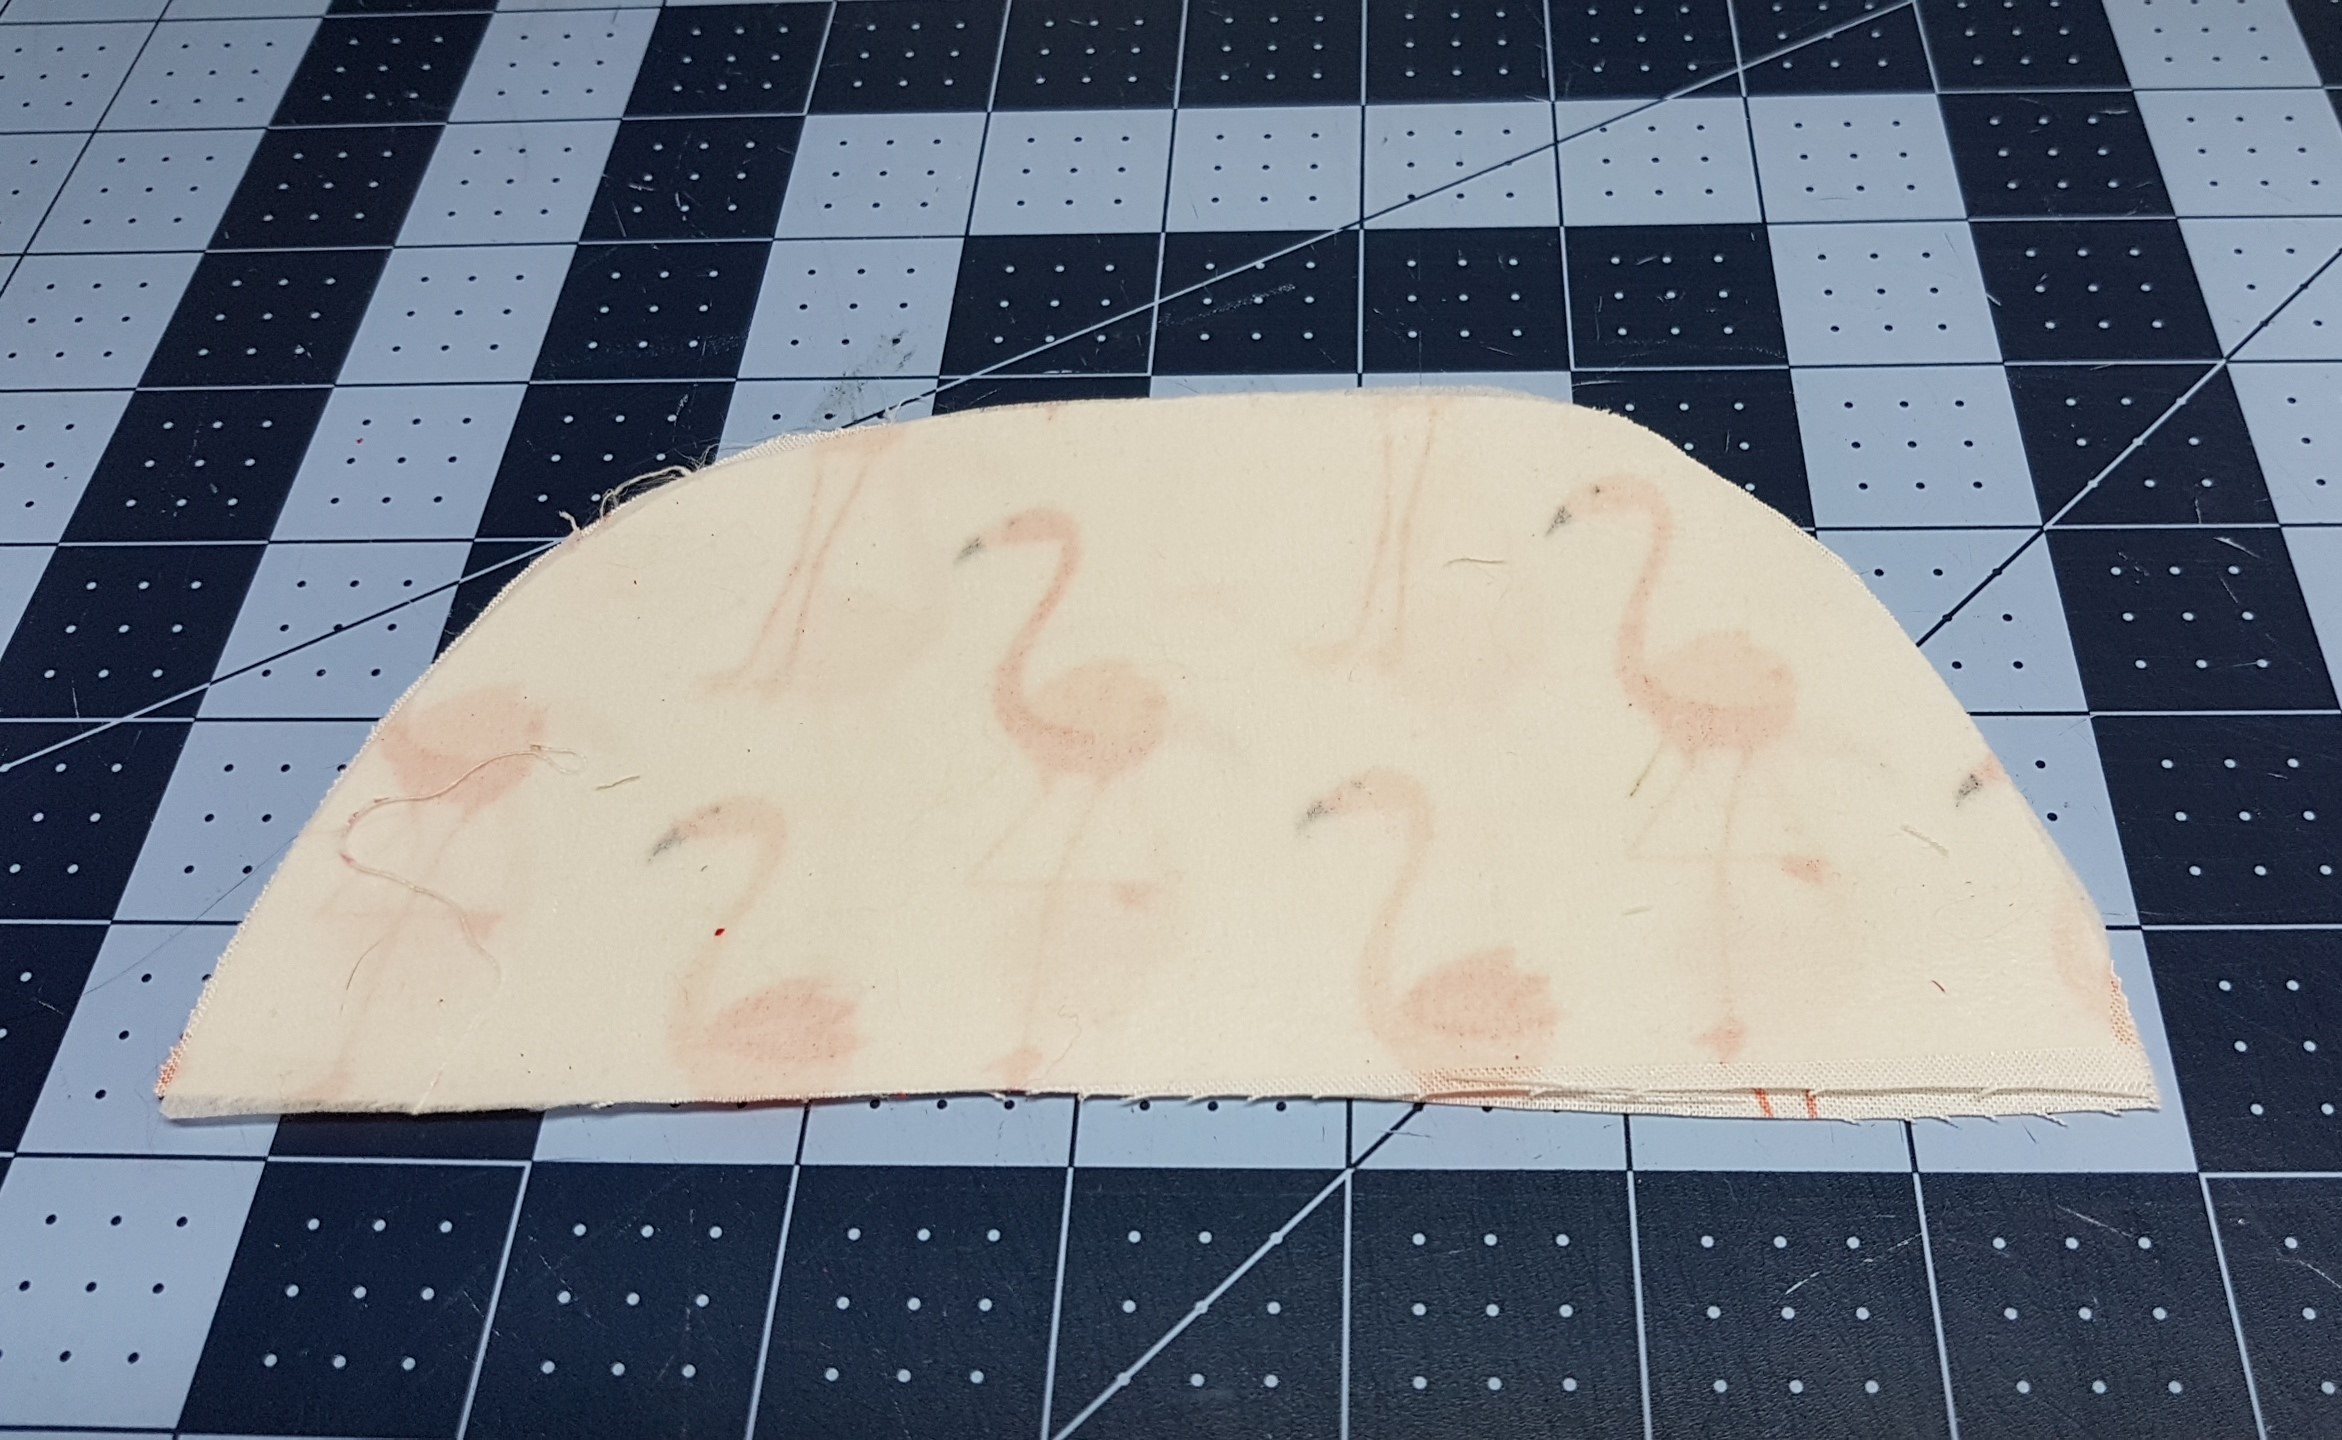
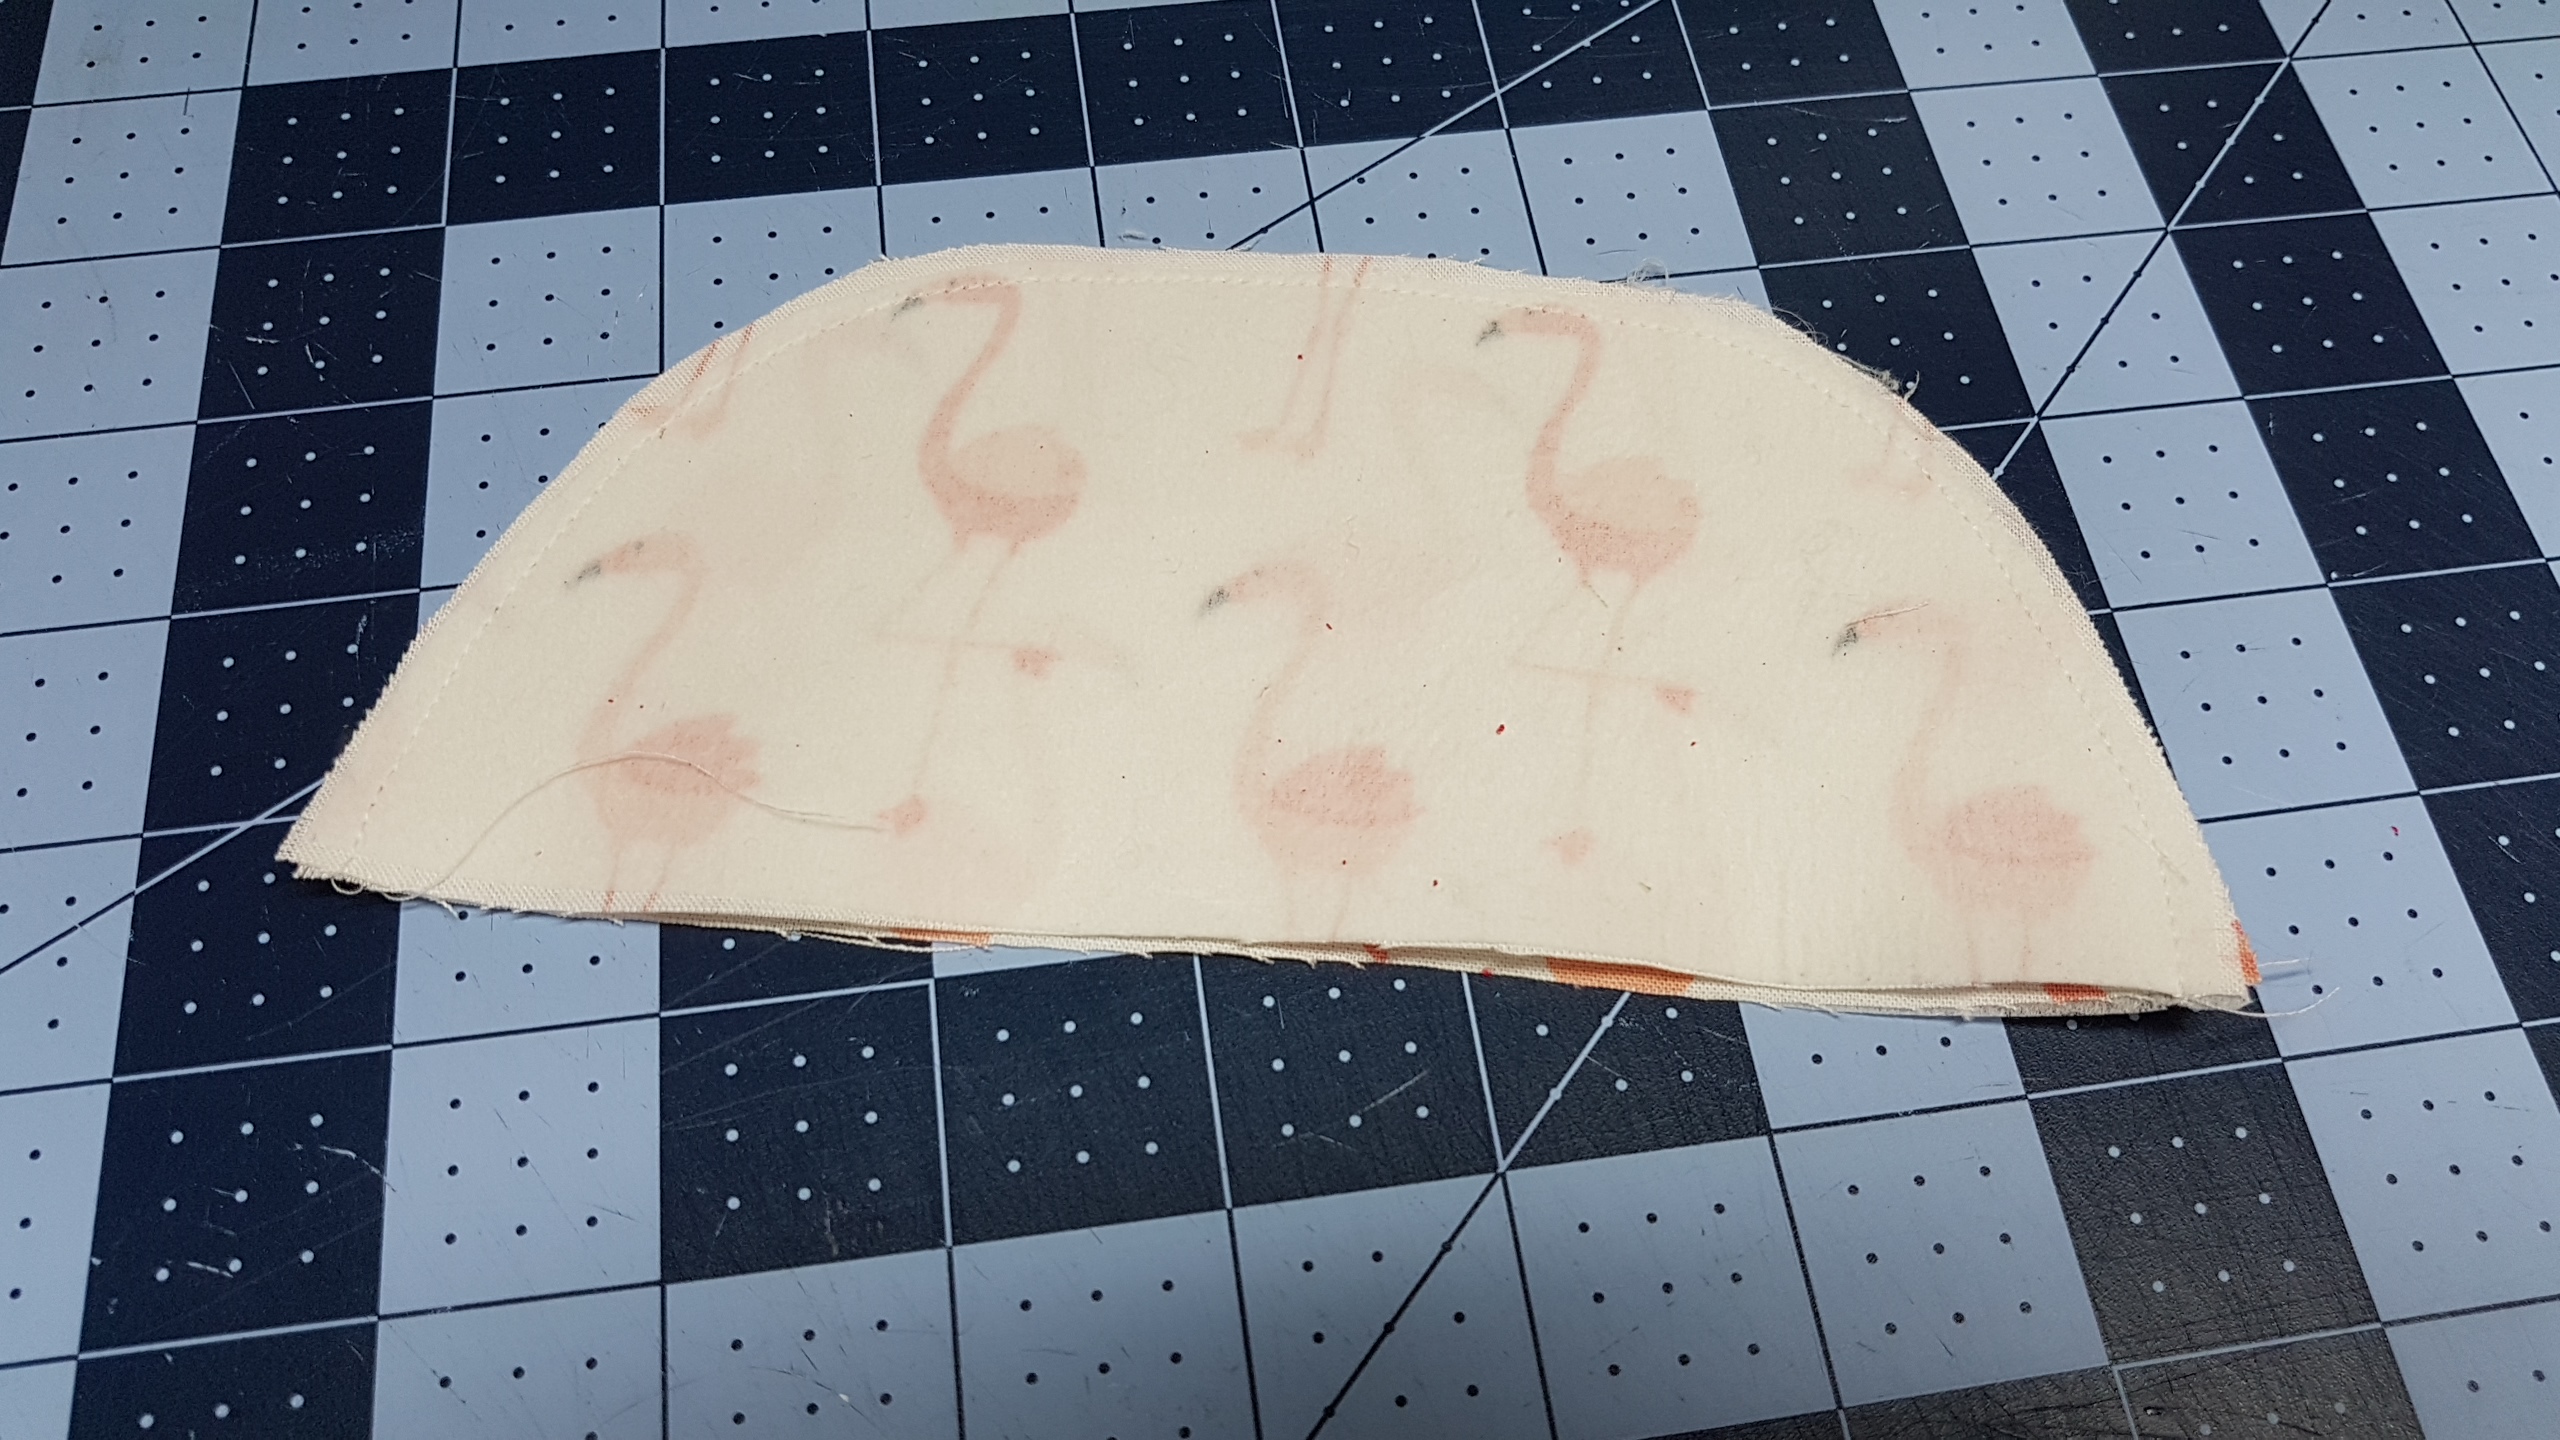
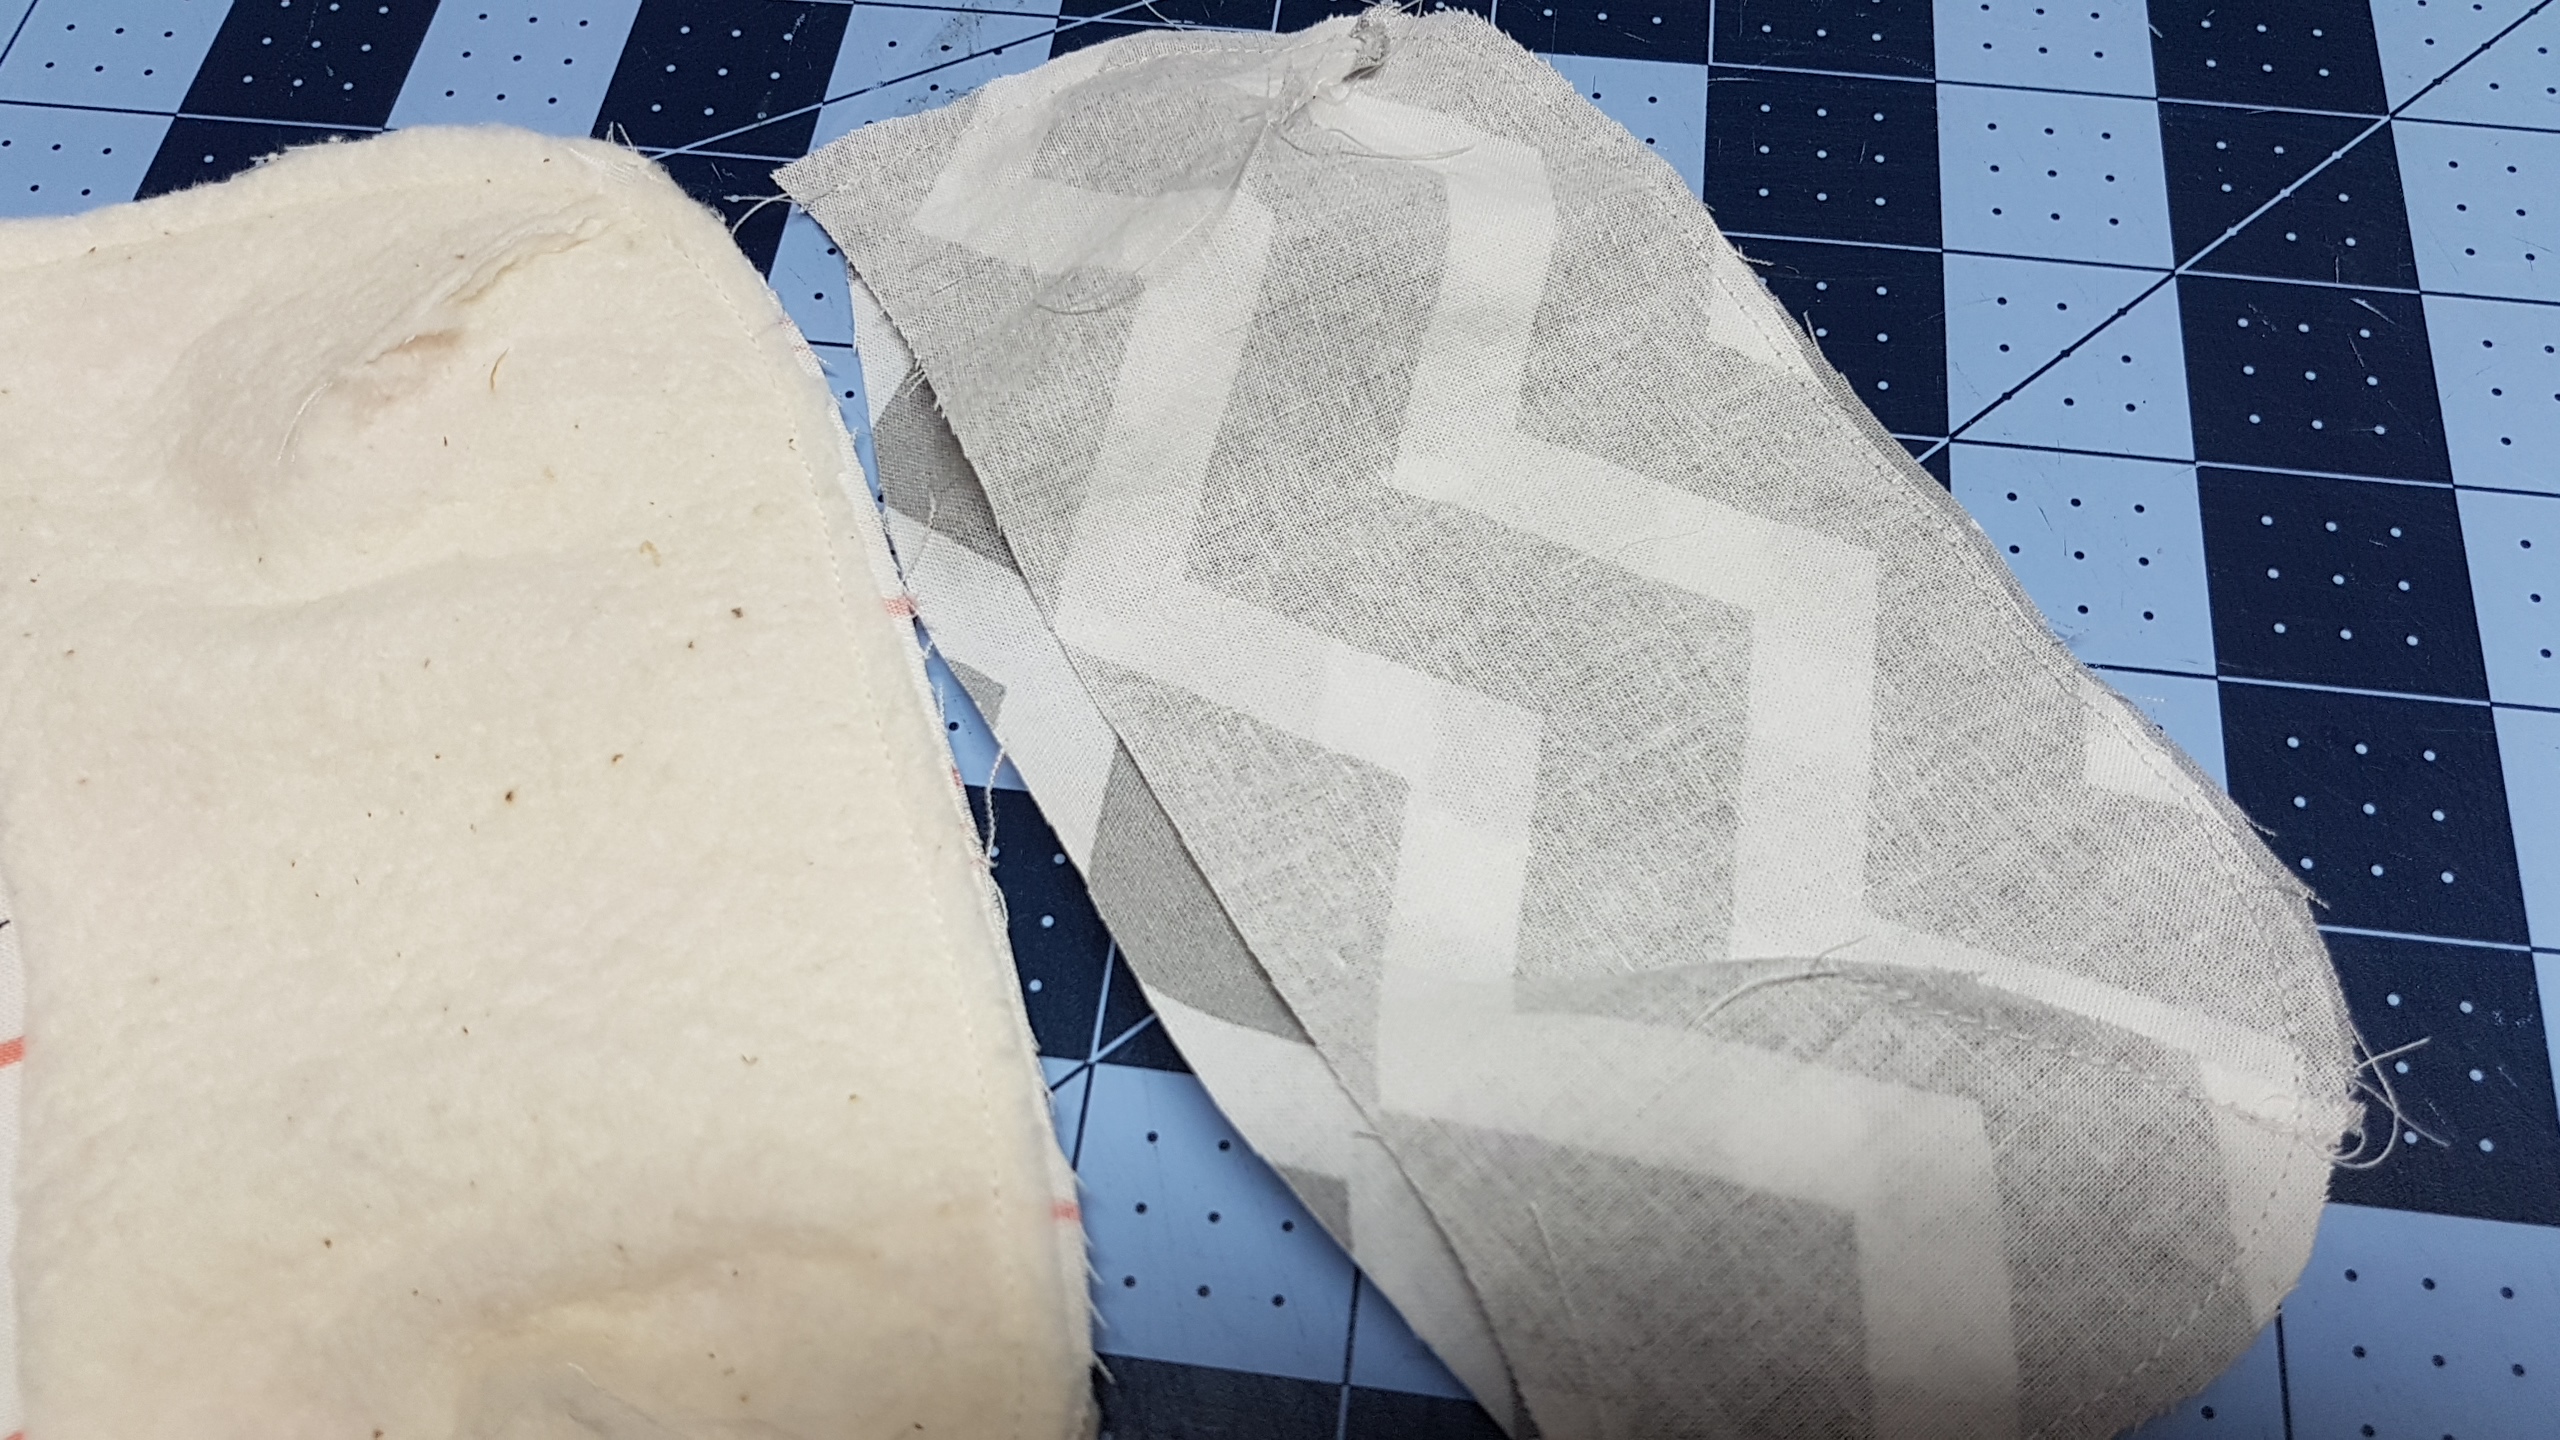
Iron on Fusible interfacing to the flap pieces, if you are using light weight iron onto both piece, if you are using medium iron on to one piece
iron on fusible fleece onto the outside of the pouch (the two main fabrics) i like to use this as it will add some padding and protect your lens from getting scratched or broken if shoved in a purse or beach bag

Next we will work on the flap, place these two pieces right sides together and sew along the curved edge, do not sew along the flat edge
This is how it will look, turn right sides out and press
do a top stitch along the curved edge to finish it off
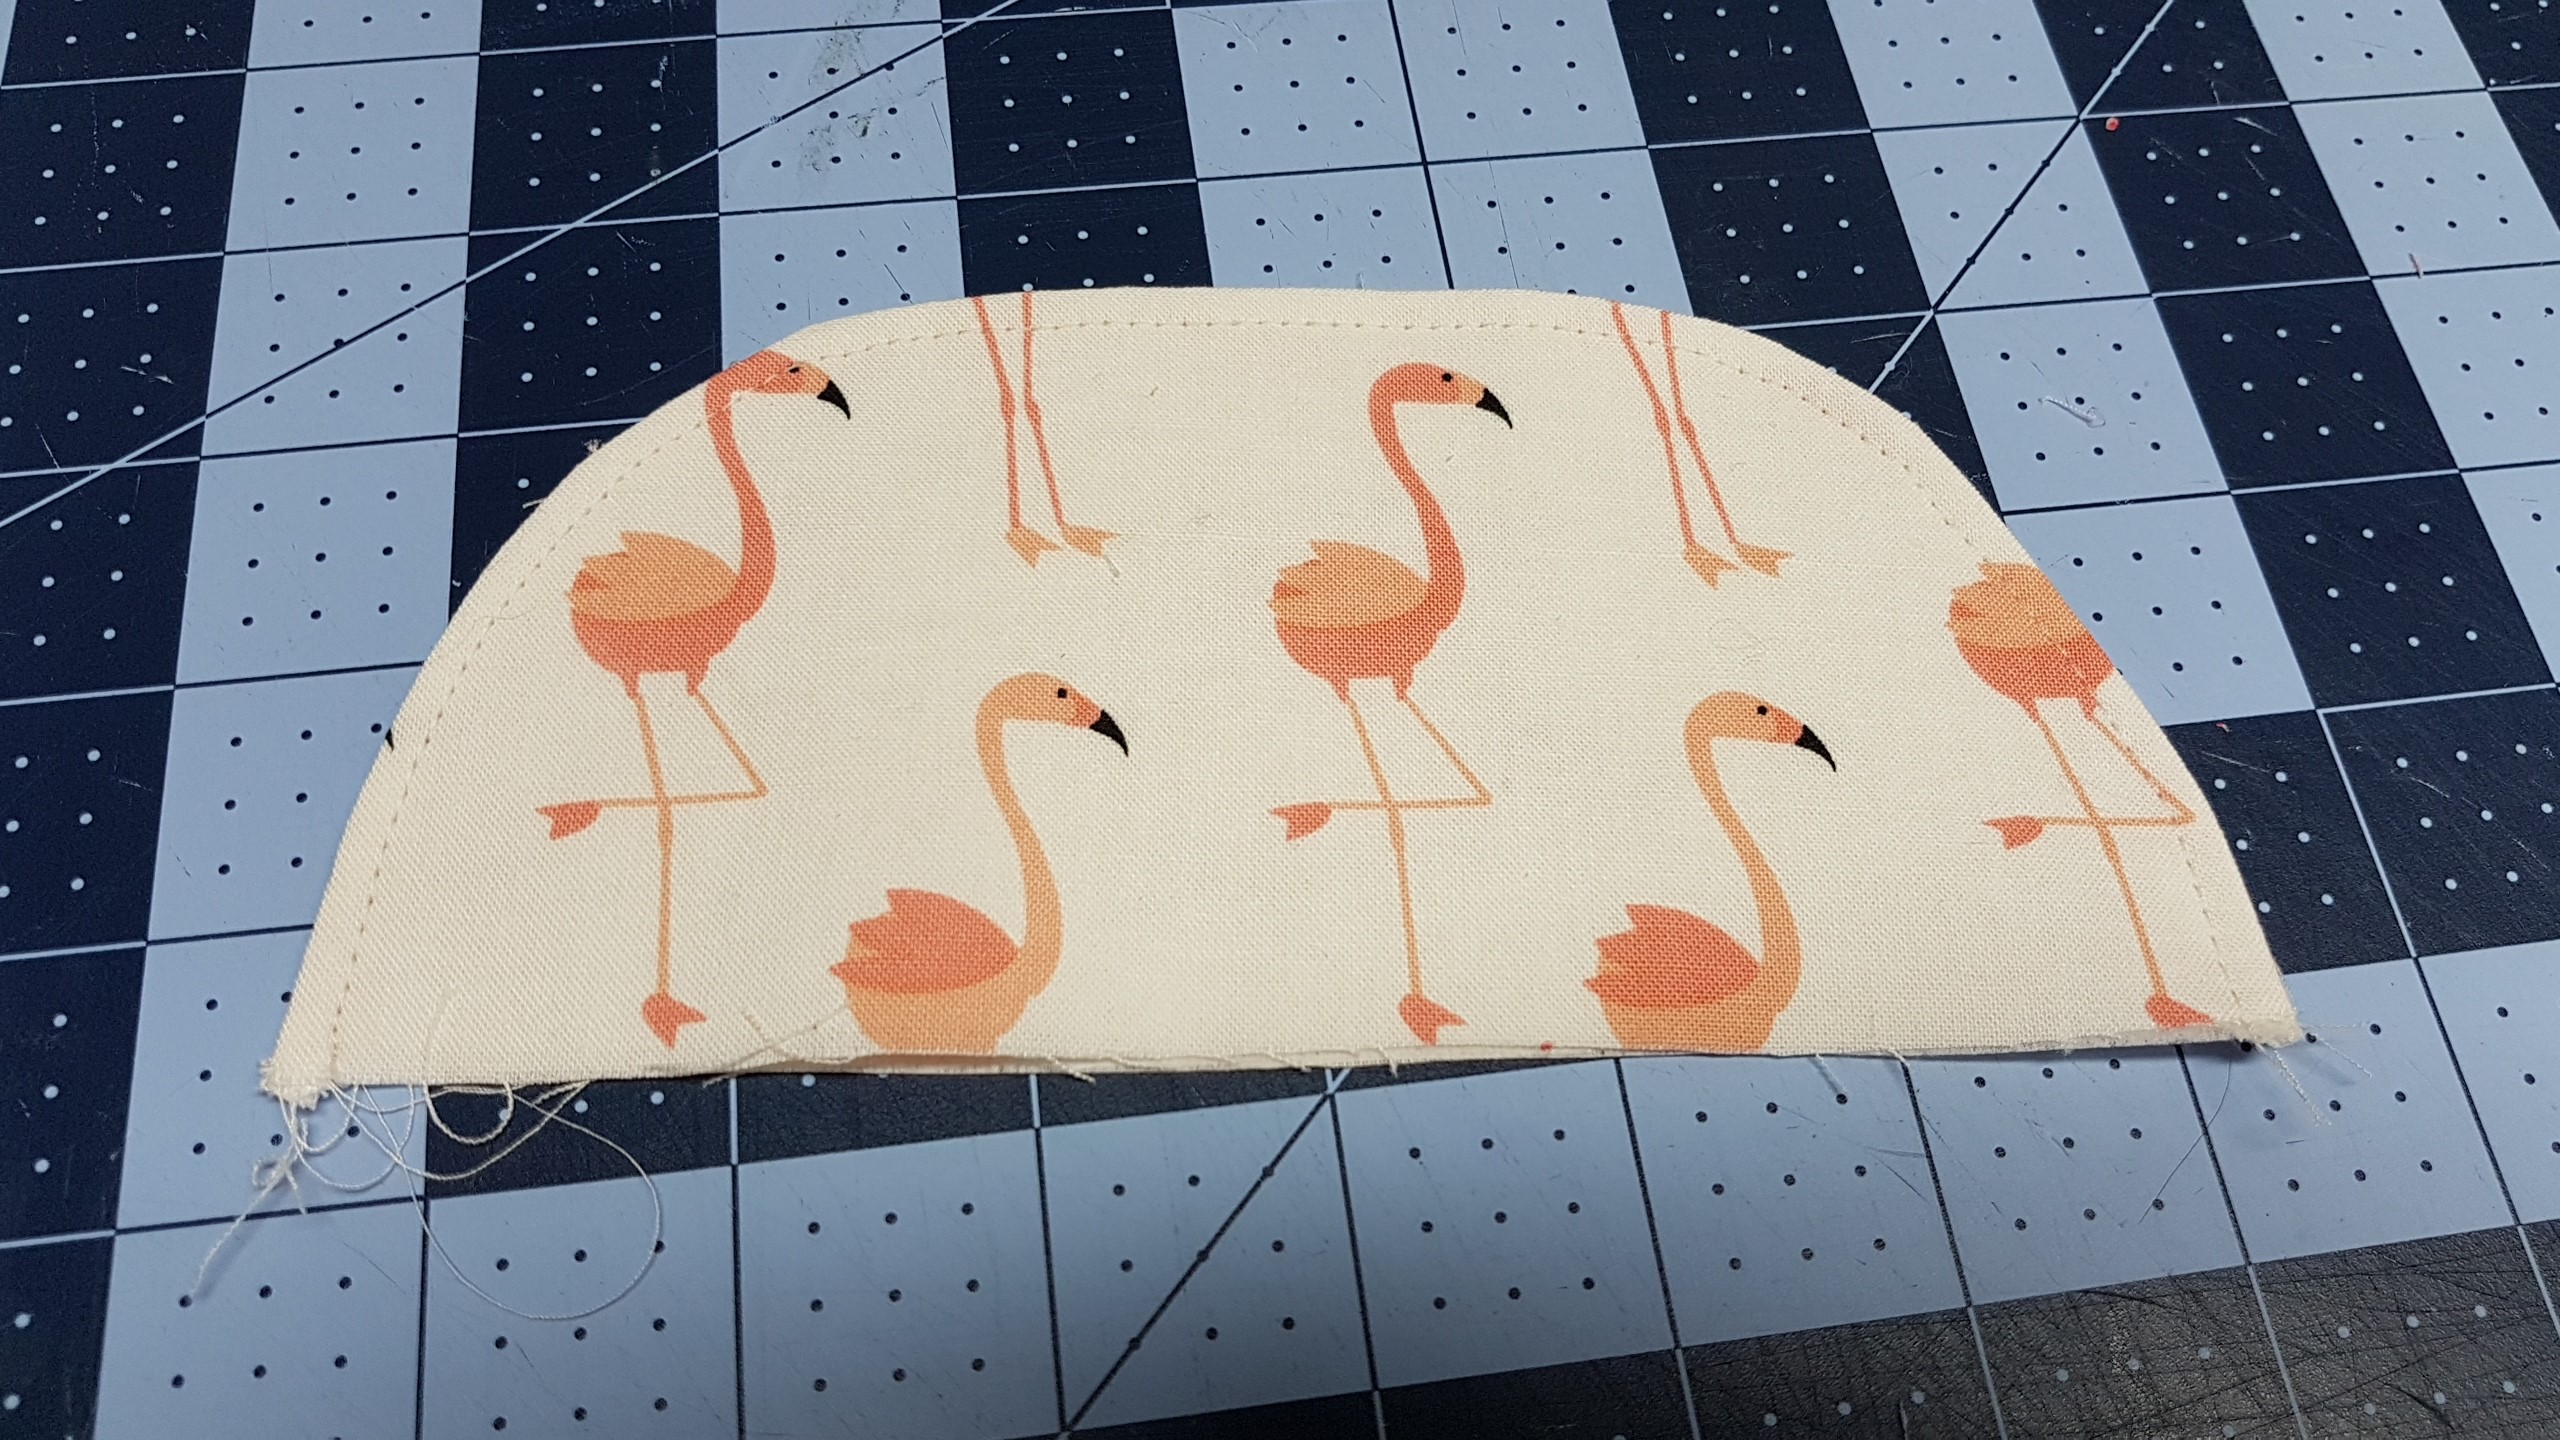
This is how your finished flap will look, now place it to one side and start working on the main pouch
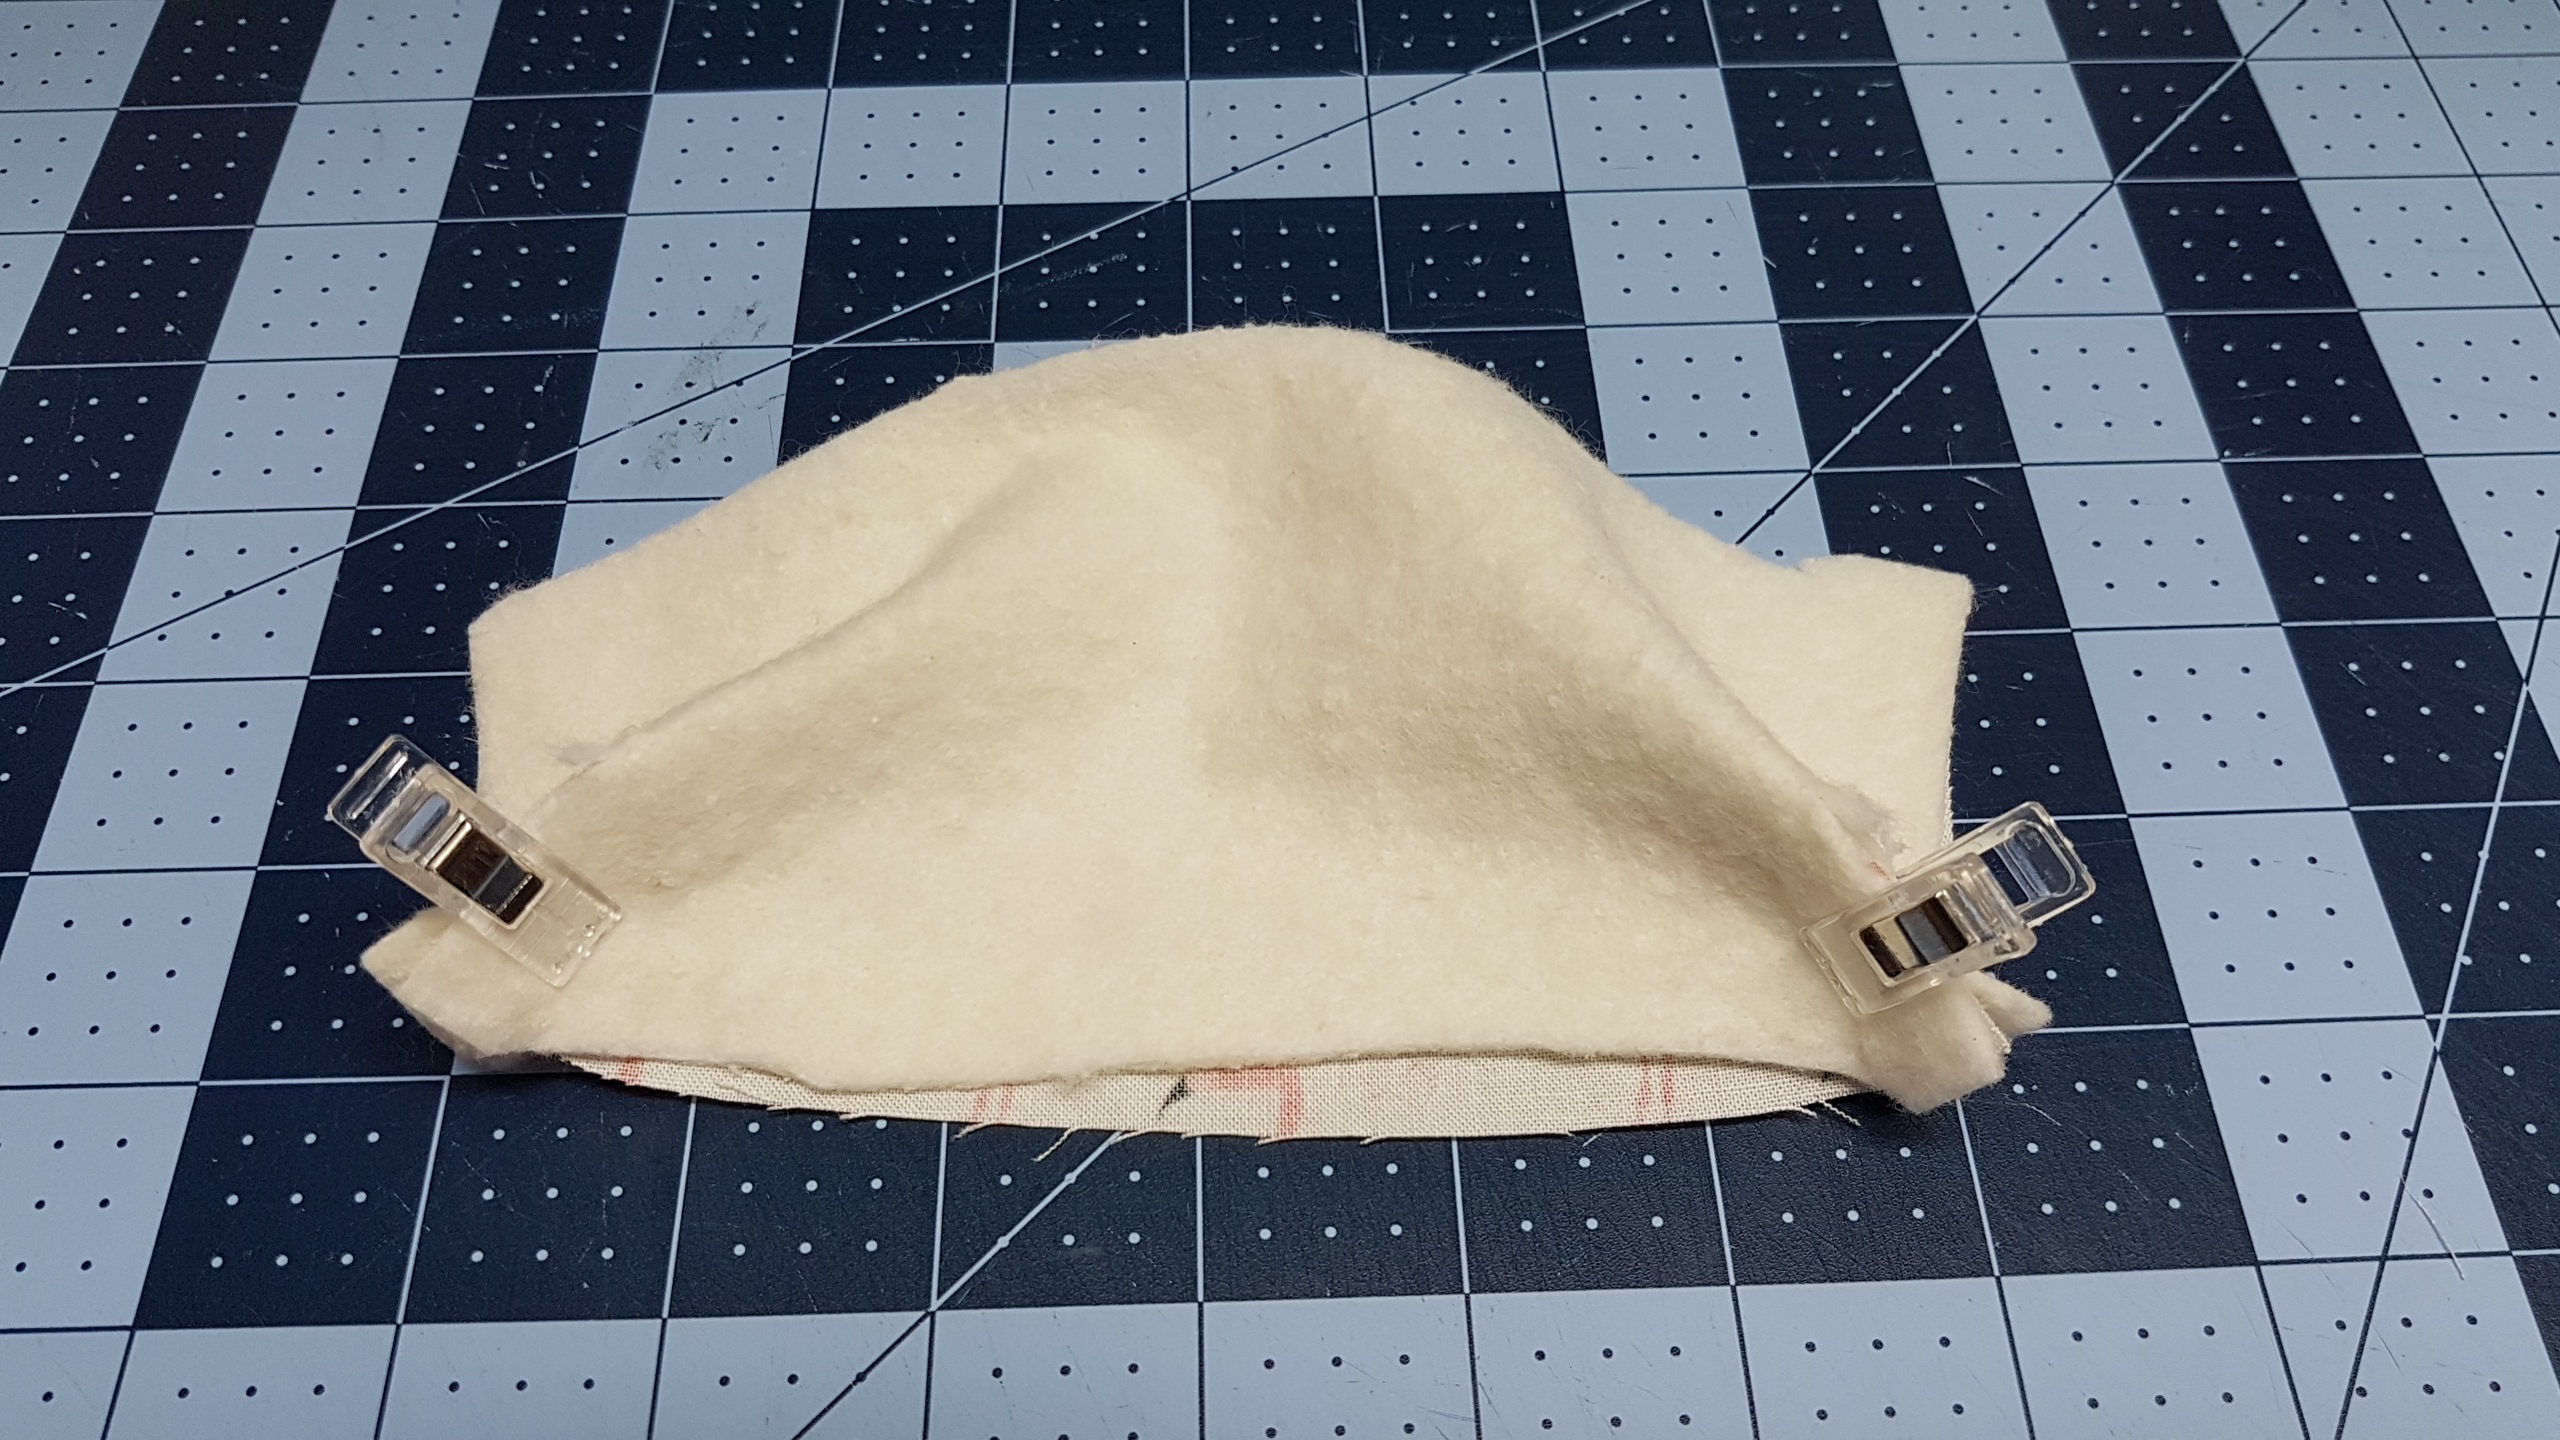
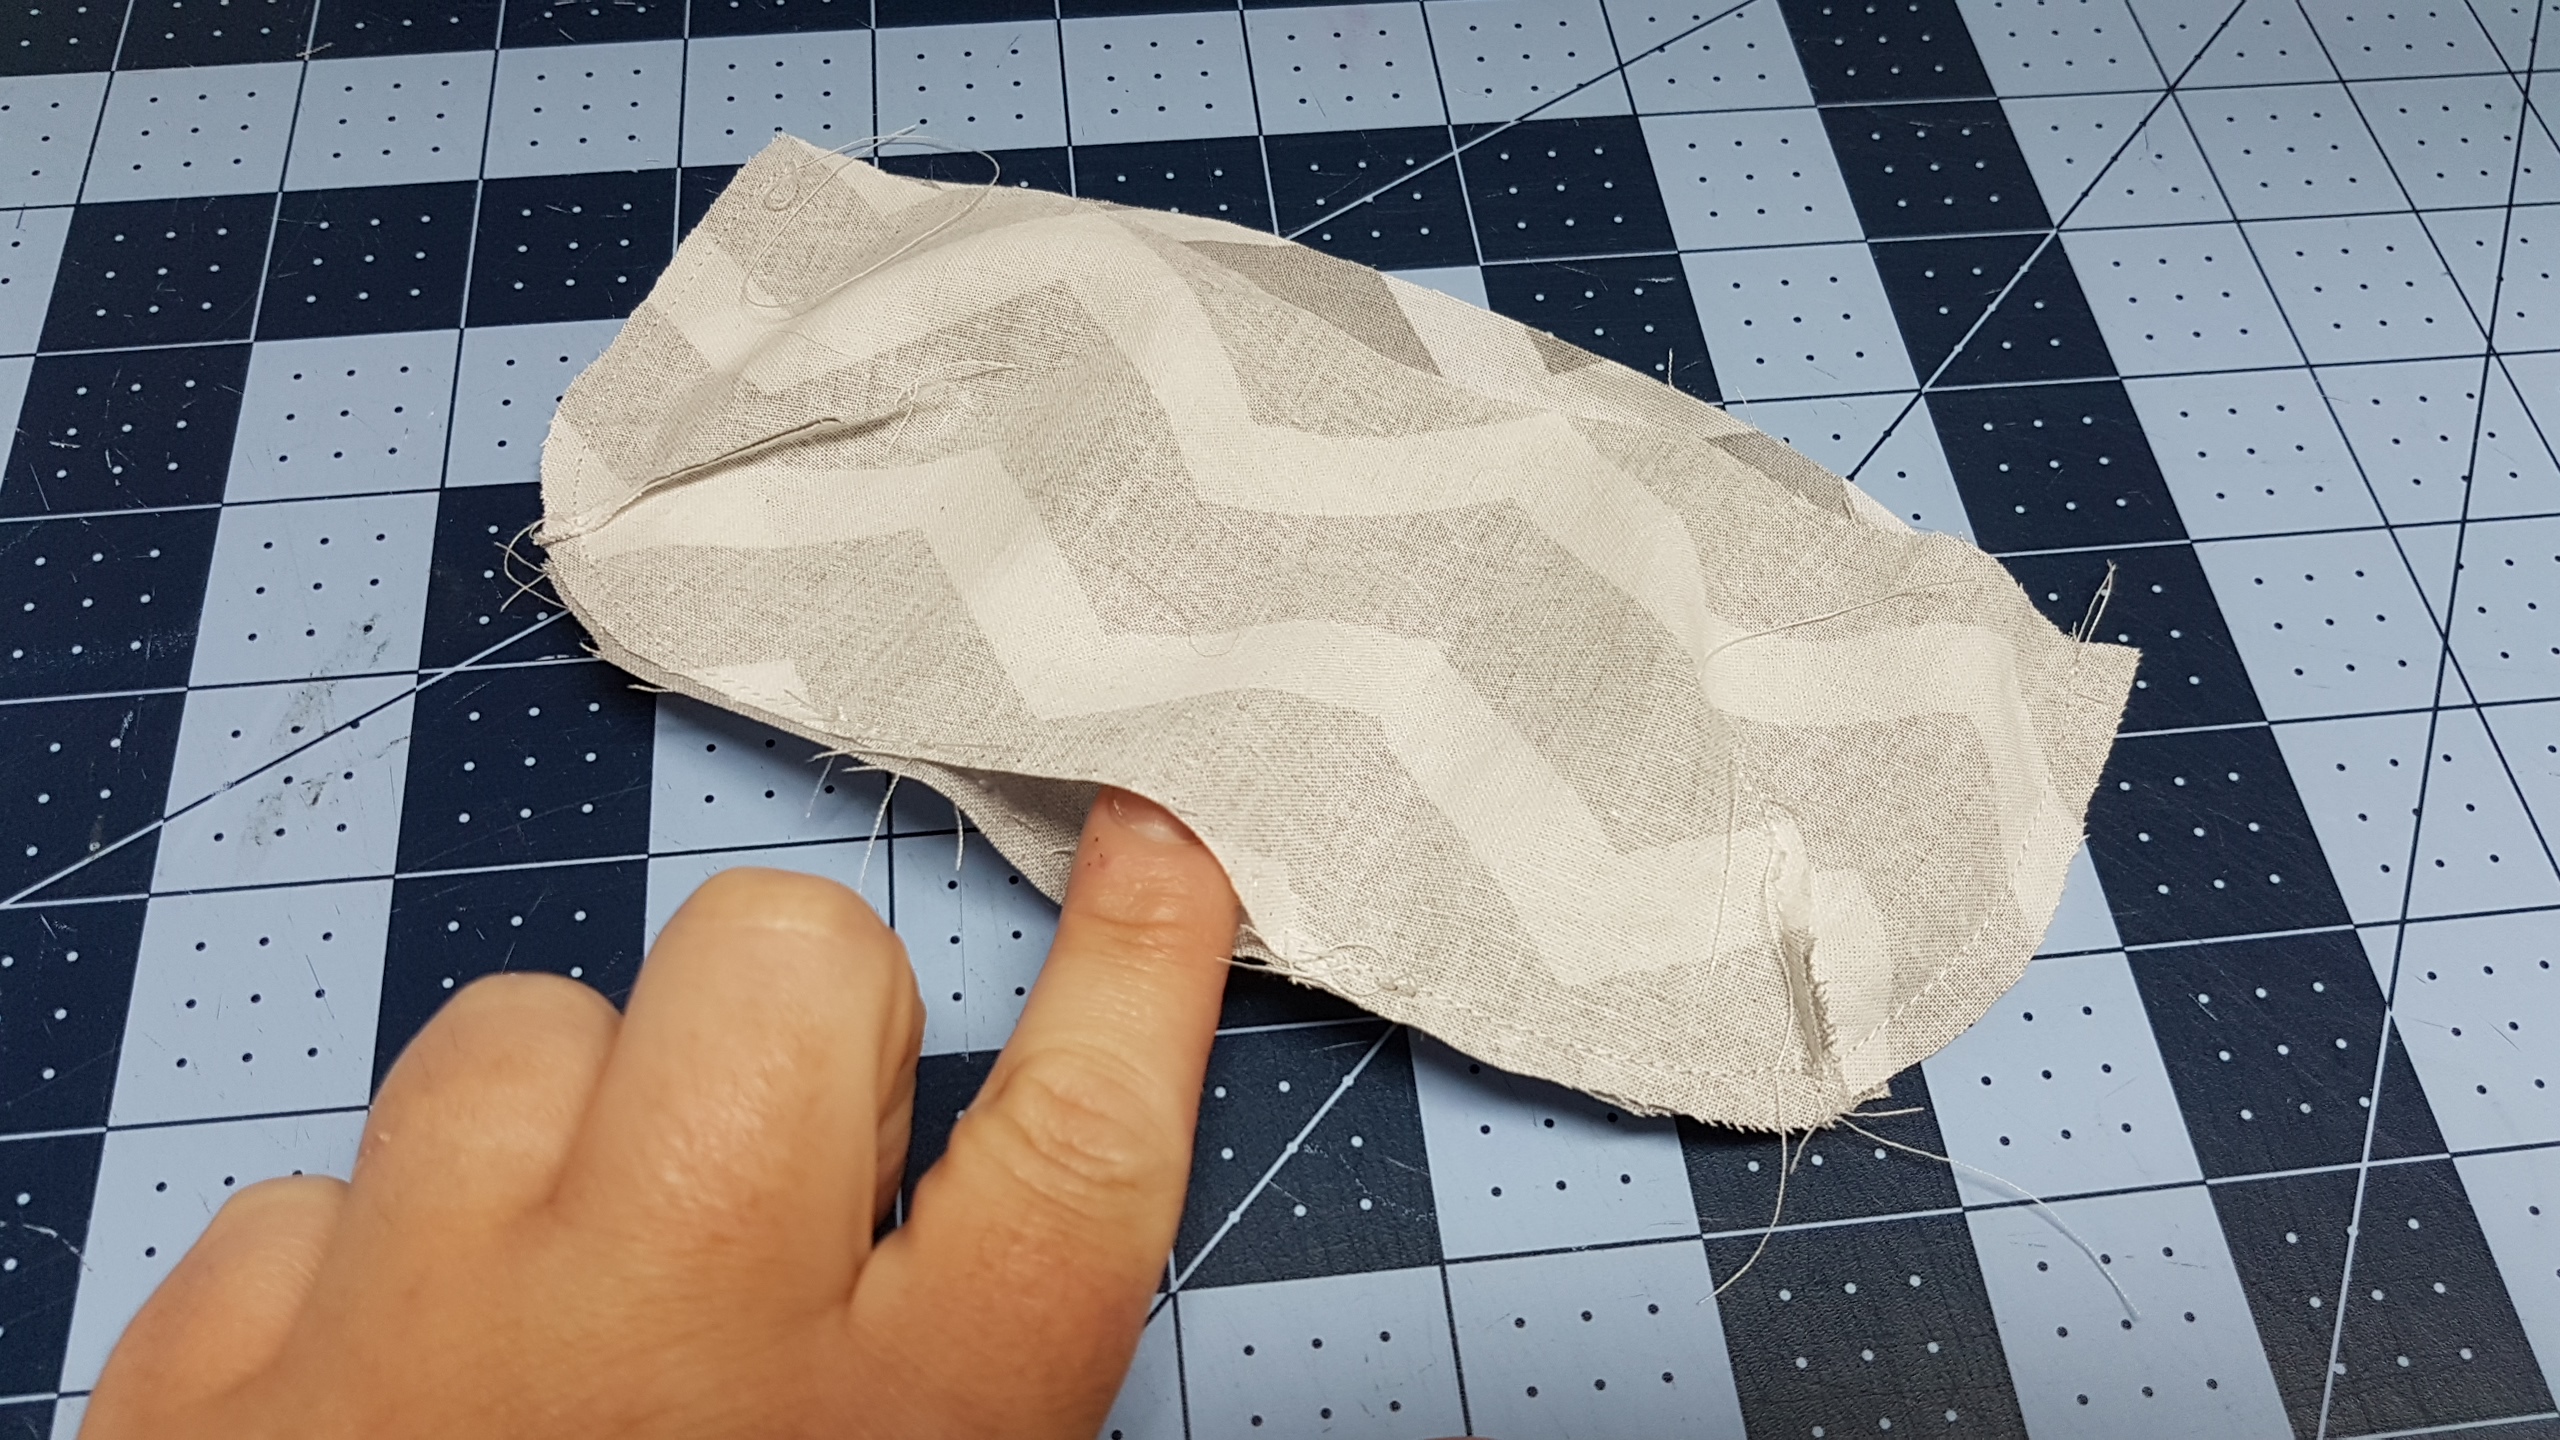
Now you will take the 4 main pieces and link up the edges of the cut out triangles (darts)
you will sew along the edge to create the dart and you will do this on all 4 pieces for a total of 8 darts, use a `/4″ seam allowance
This is how it will look when the darts are sewn from the outside
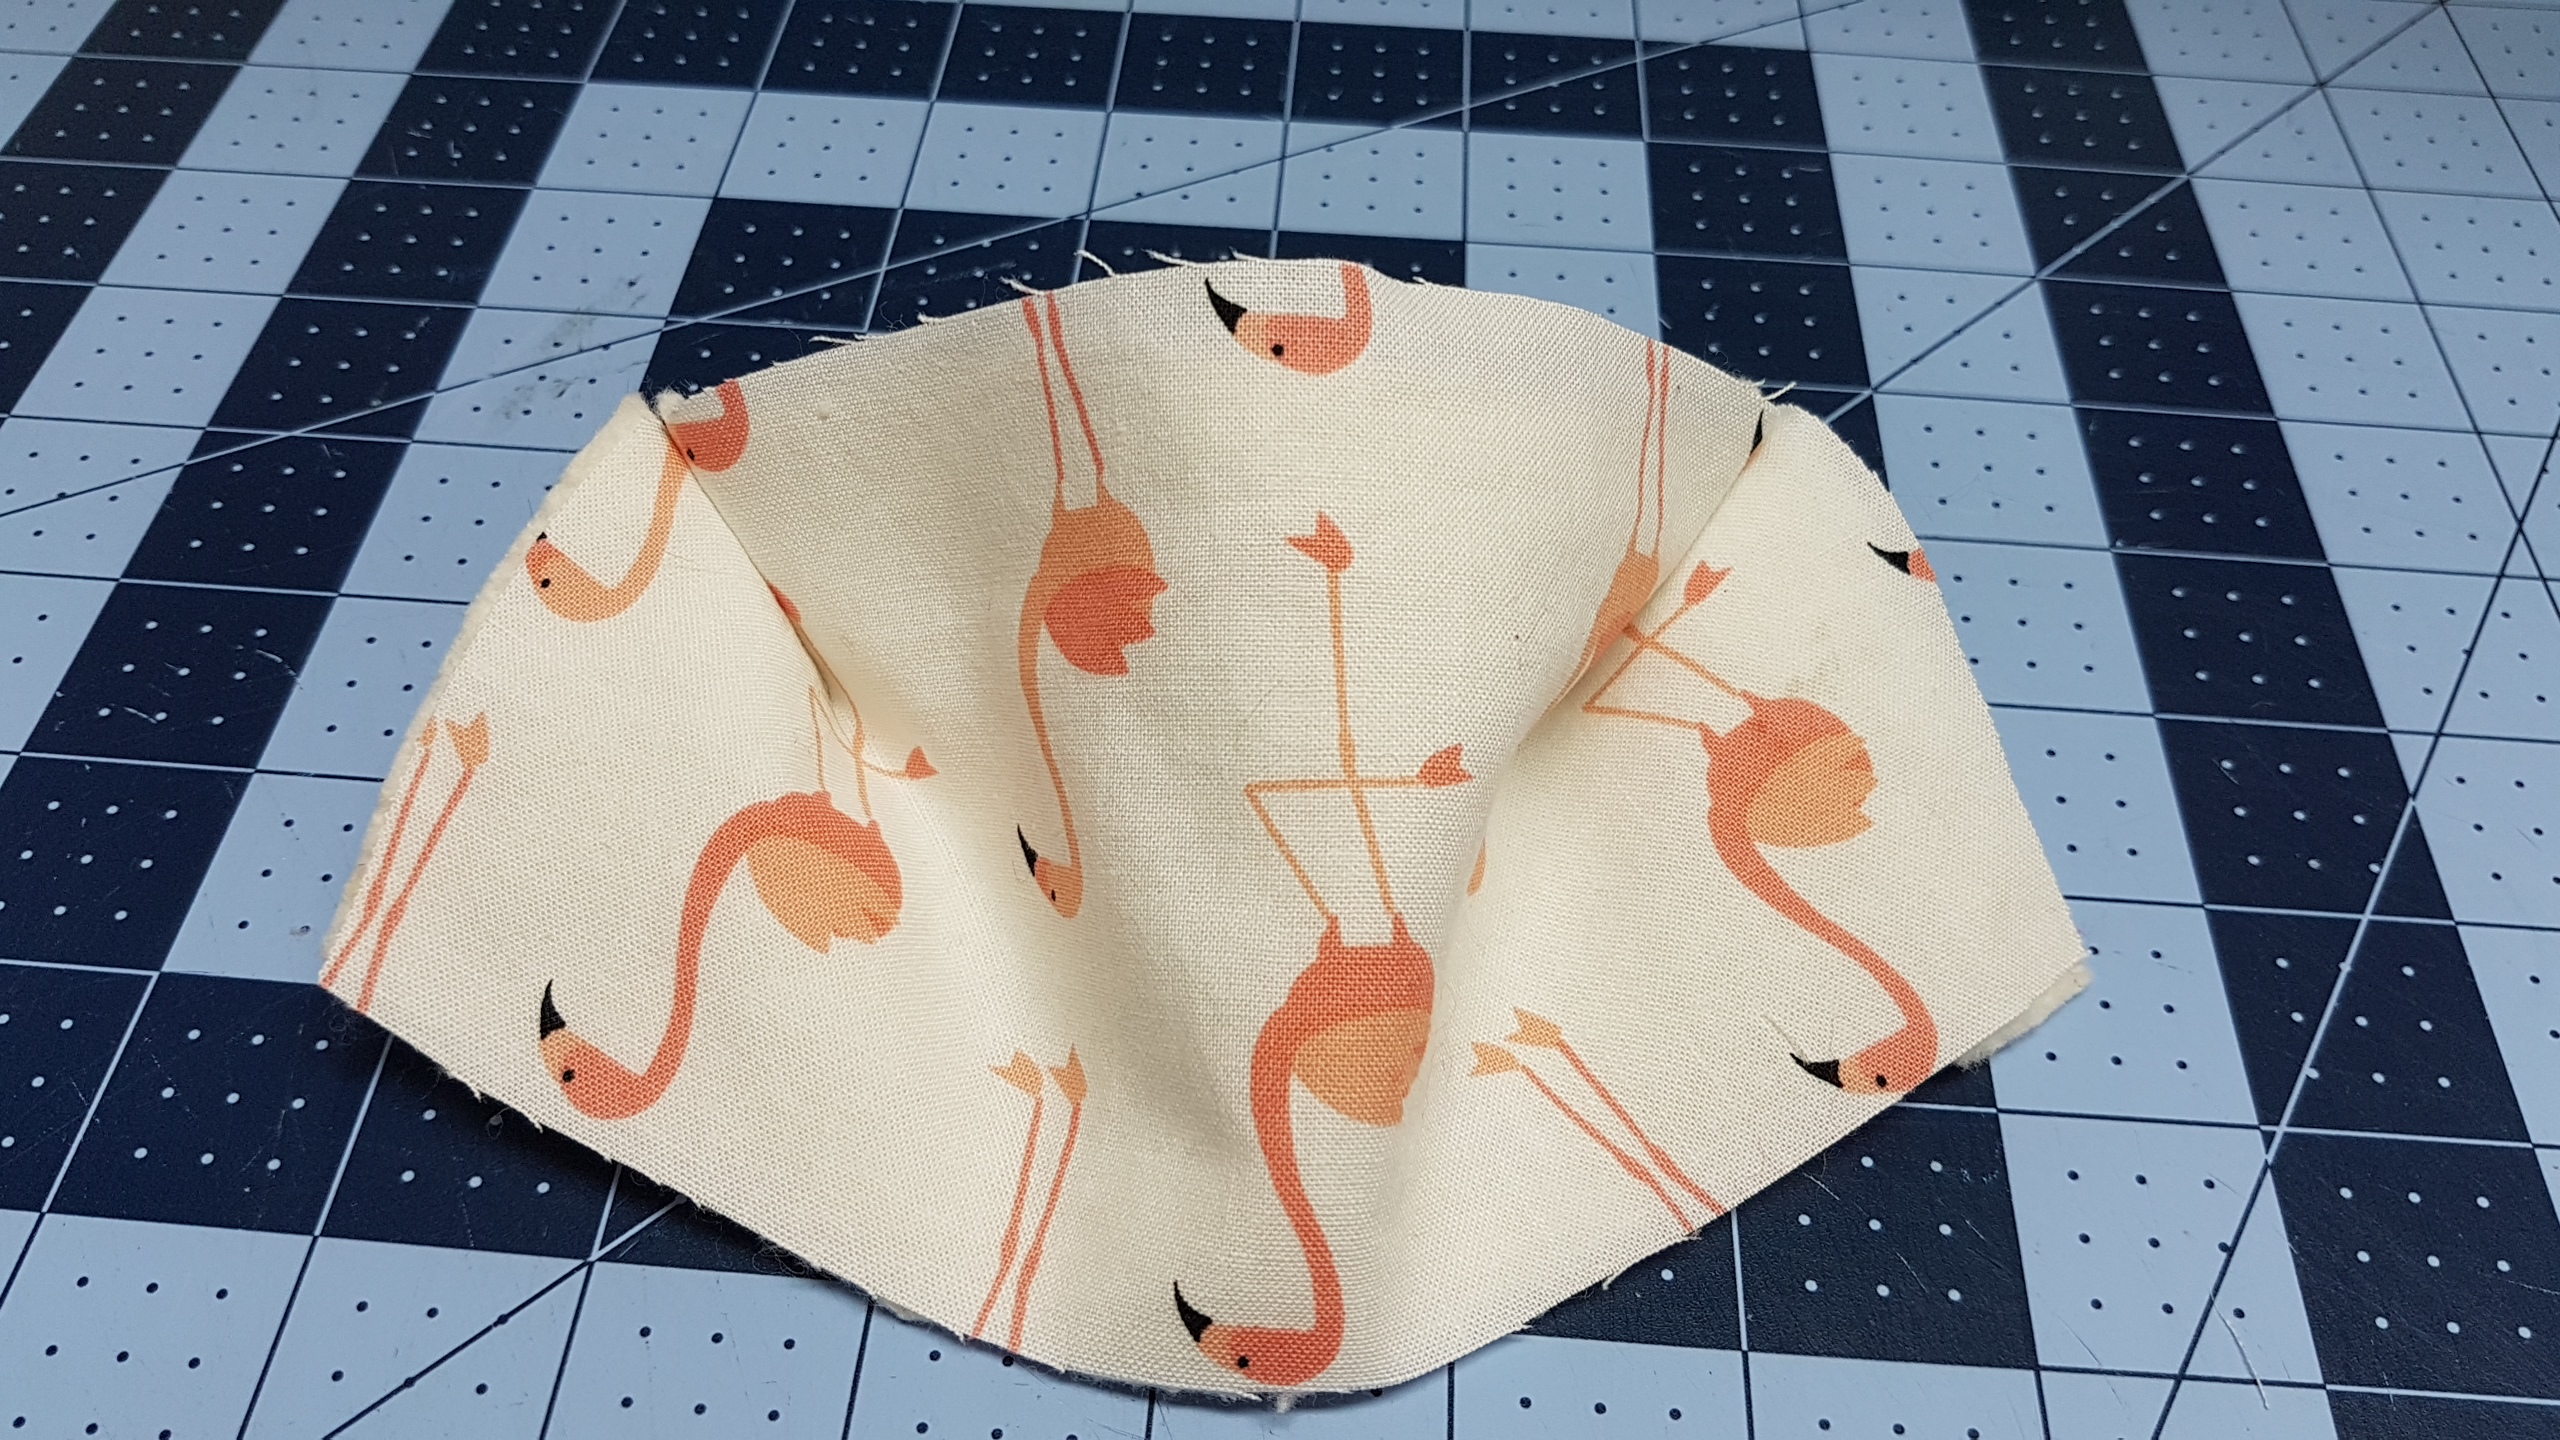
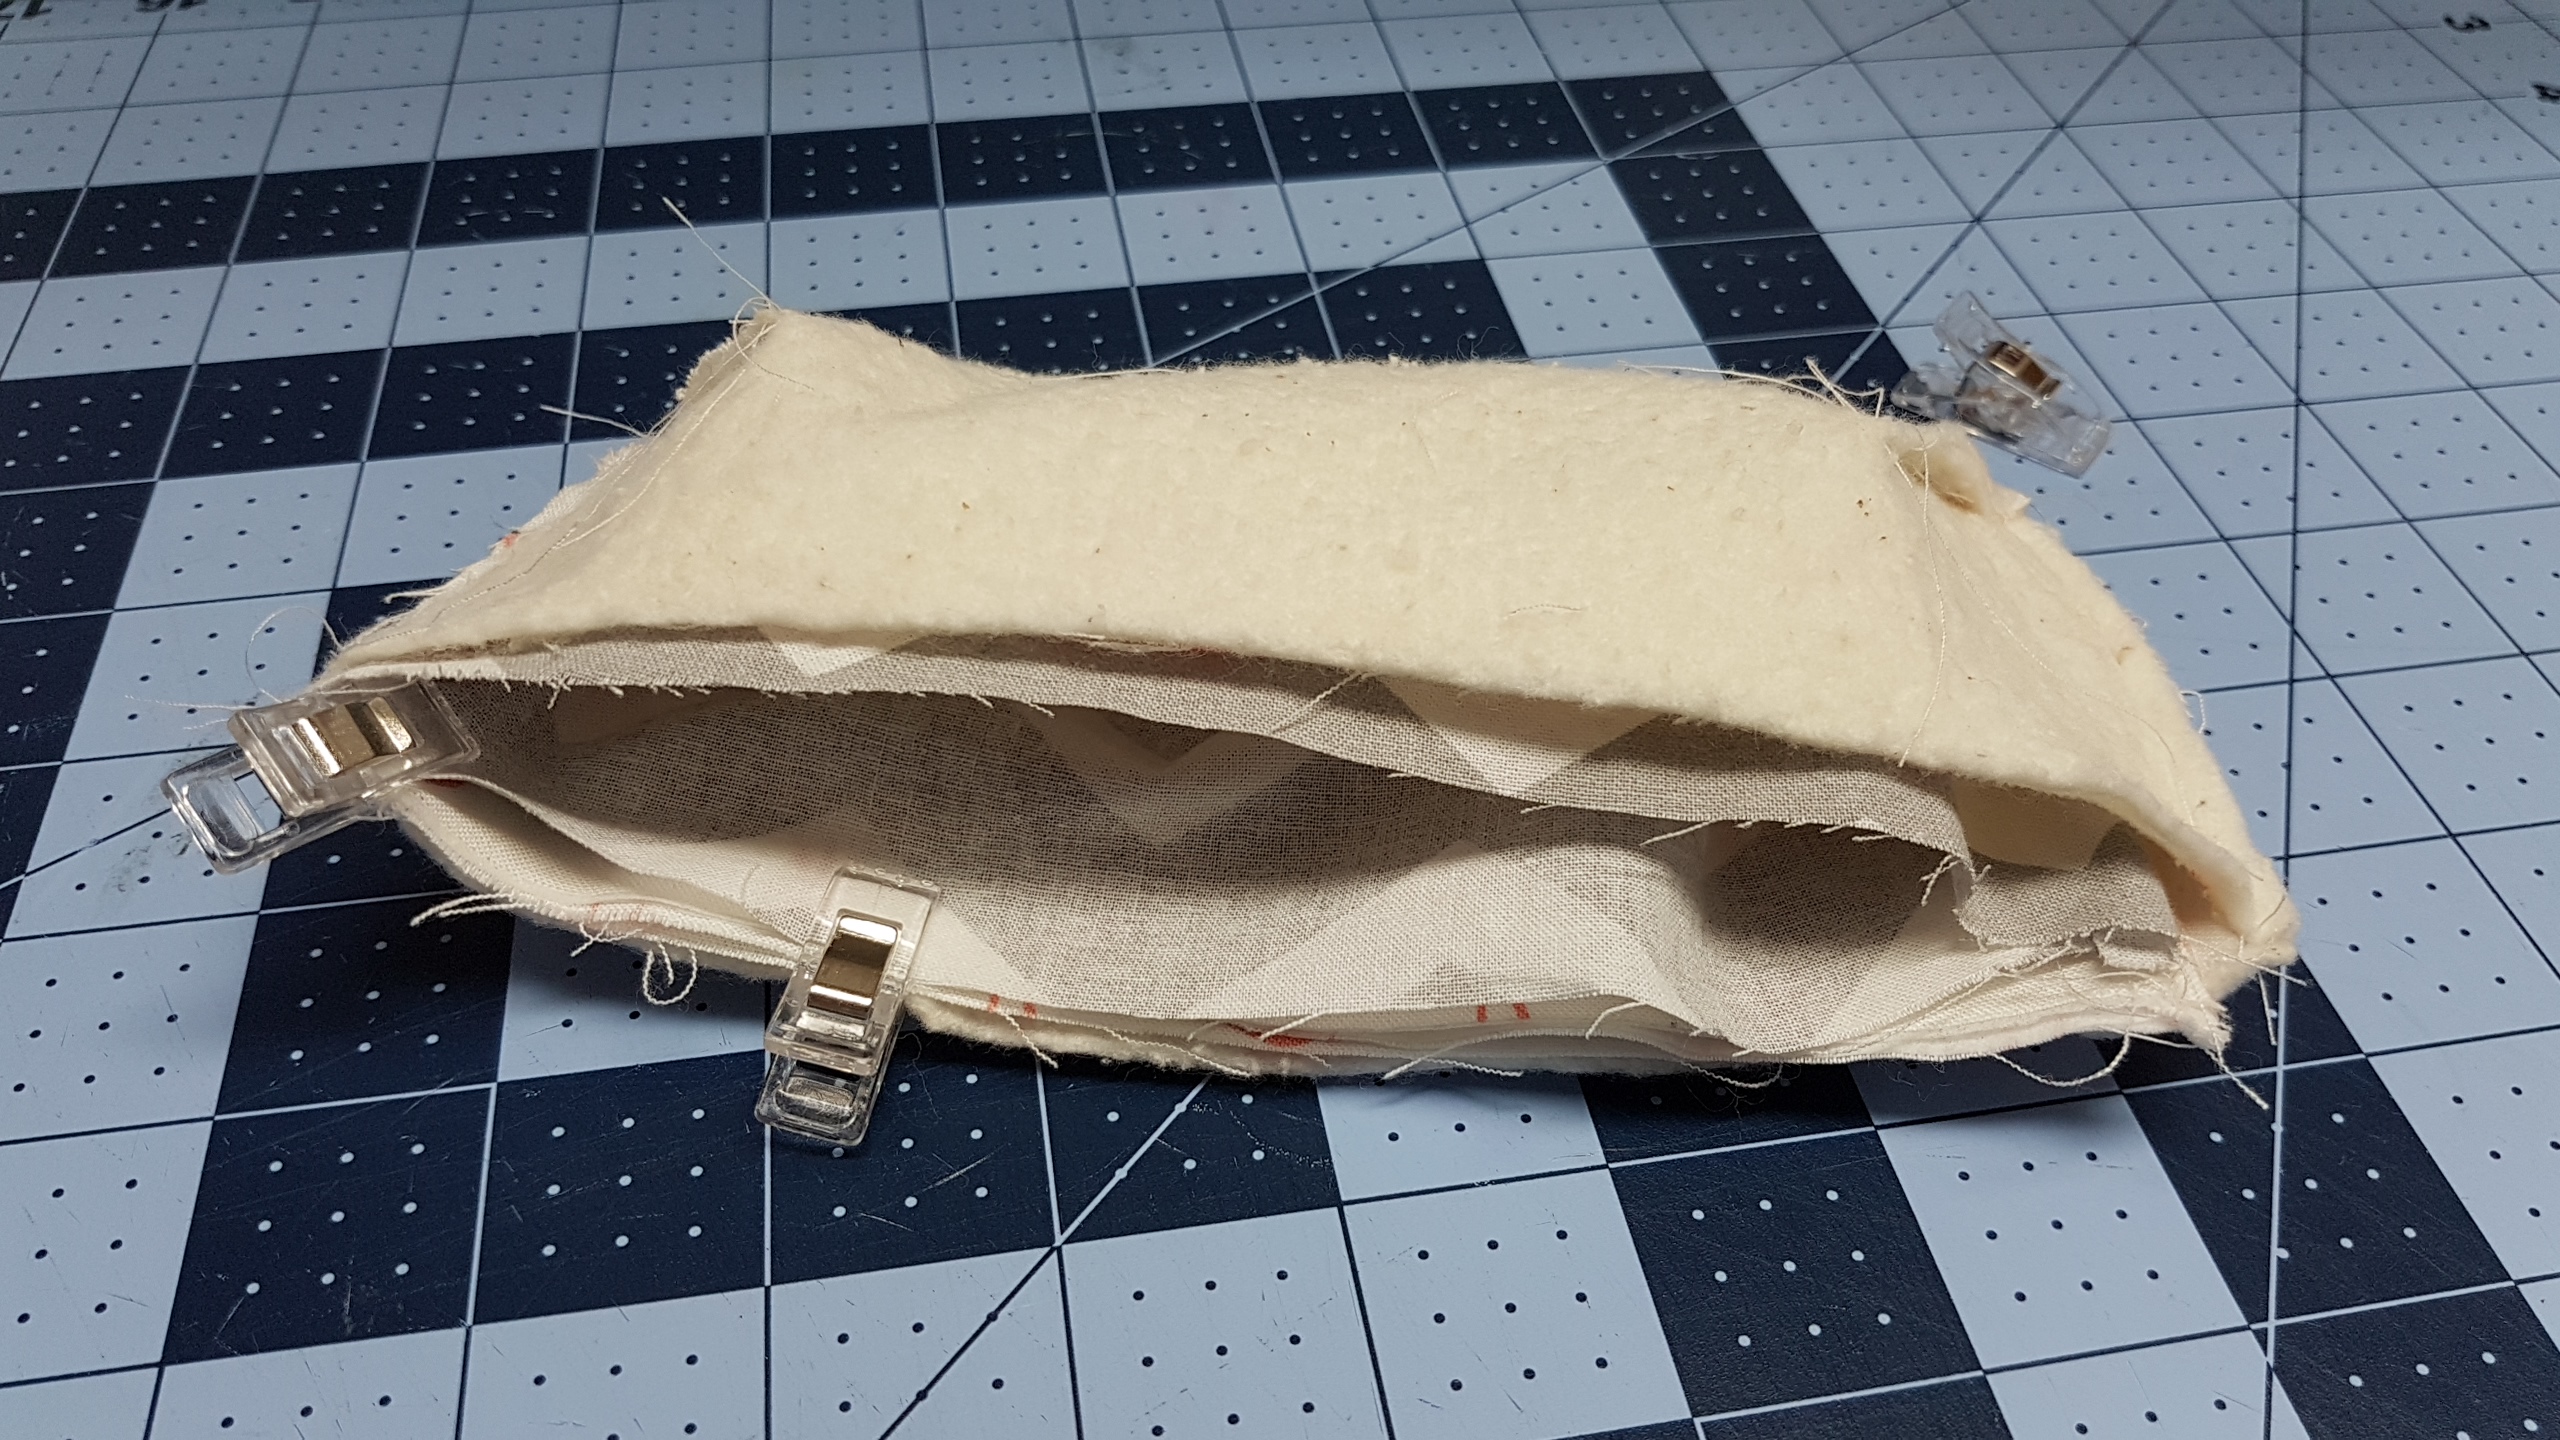
Now that you have all your darts sewn you can take your lining pieces and put them right sides together lining up the curved edge and the outter fabric pieces and line up the curved edges, we will be sewing along the curved edges for both

Try to make sure the dart seams are lined up
Note they do not mach up perfectly but the sides of each piece should be the same height
When you sew along the curved edge of the lining piece leave a 2″ gap at the bottom in the middle, this will be for turning
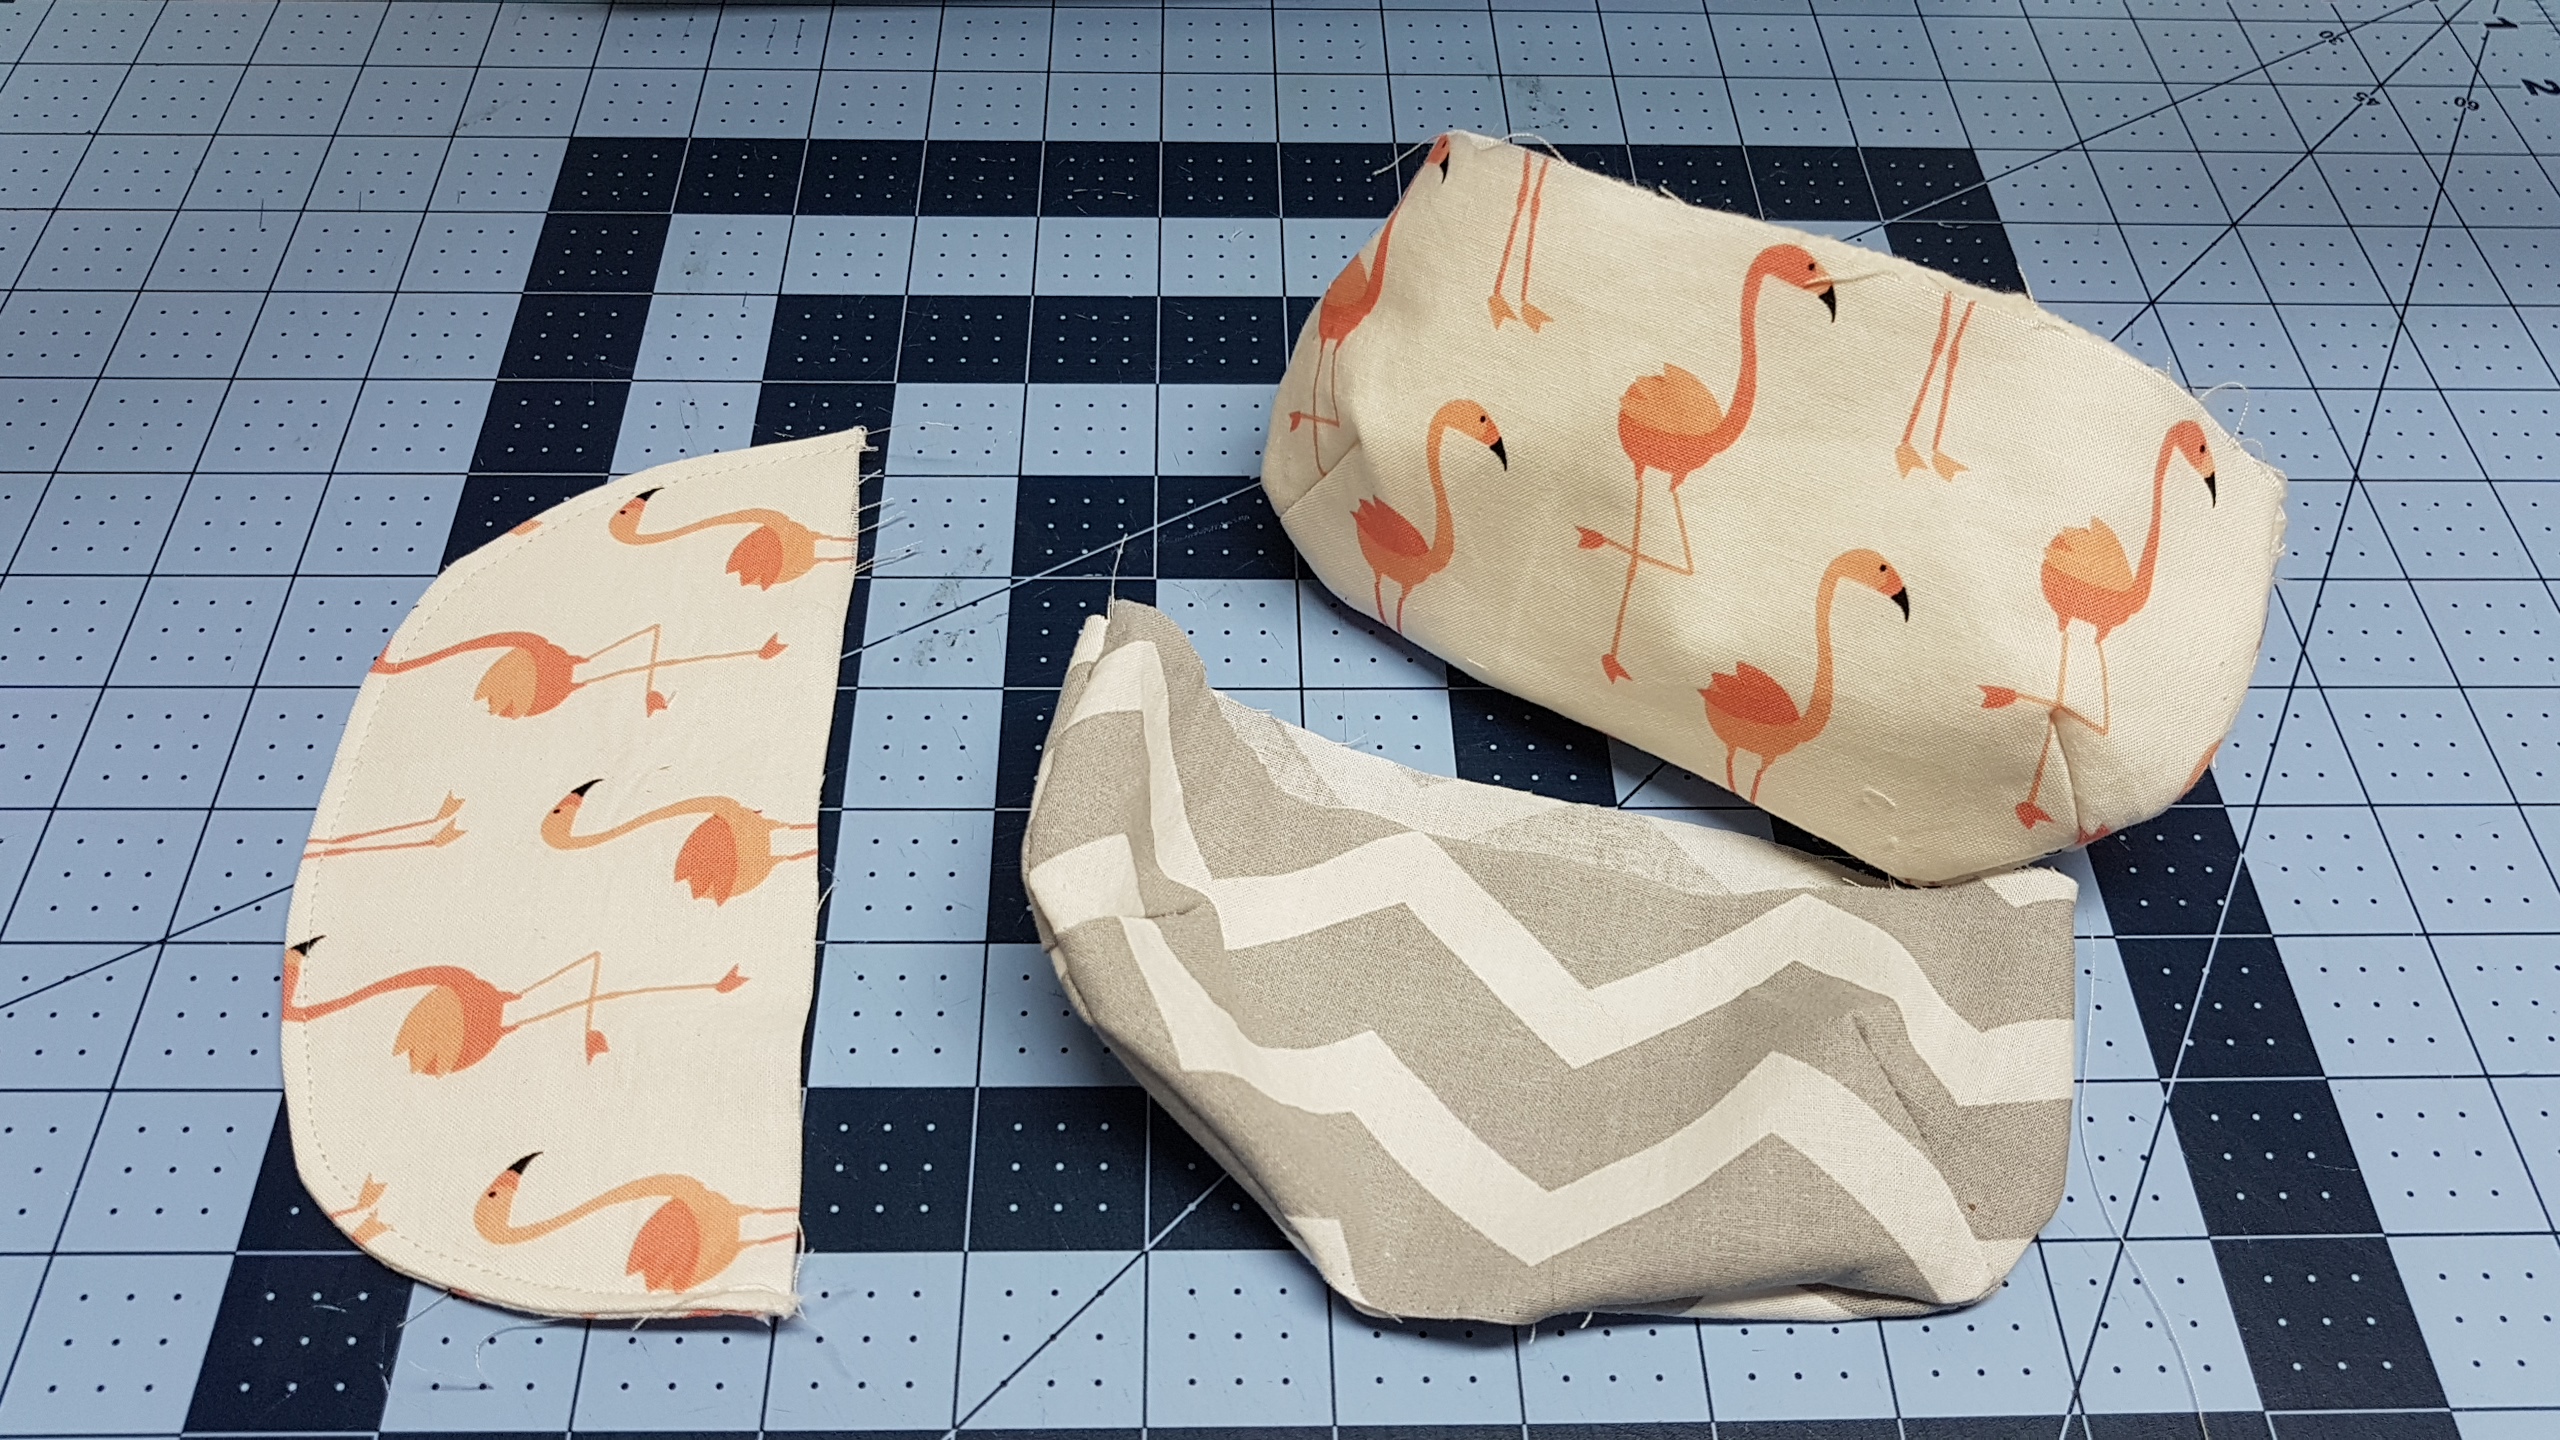
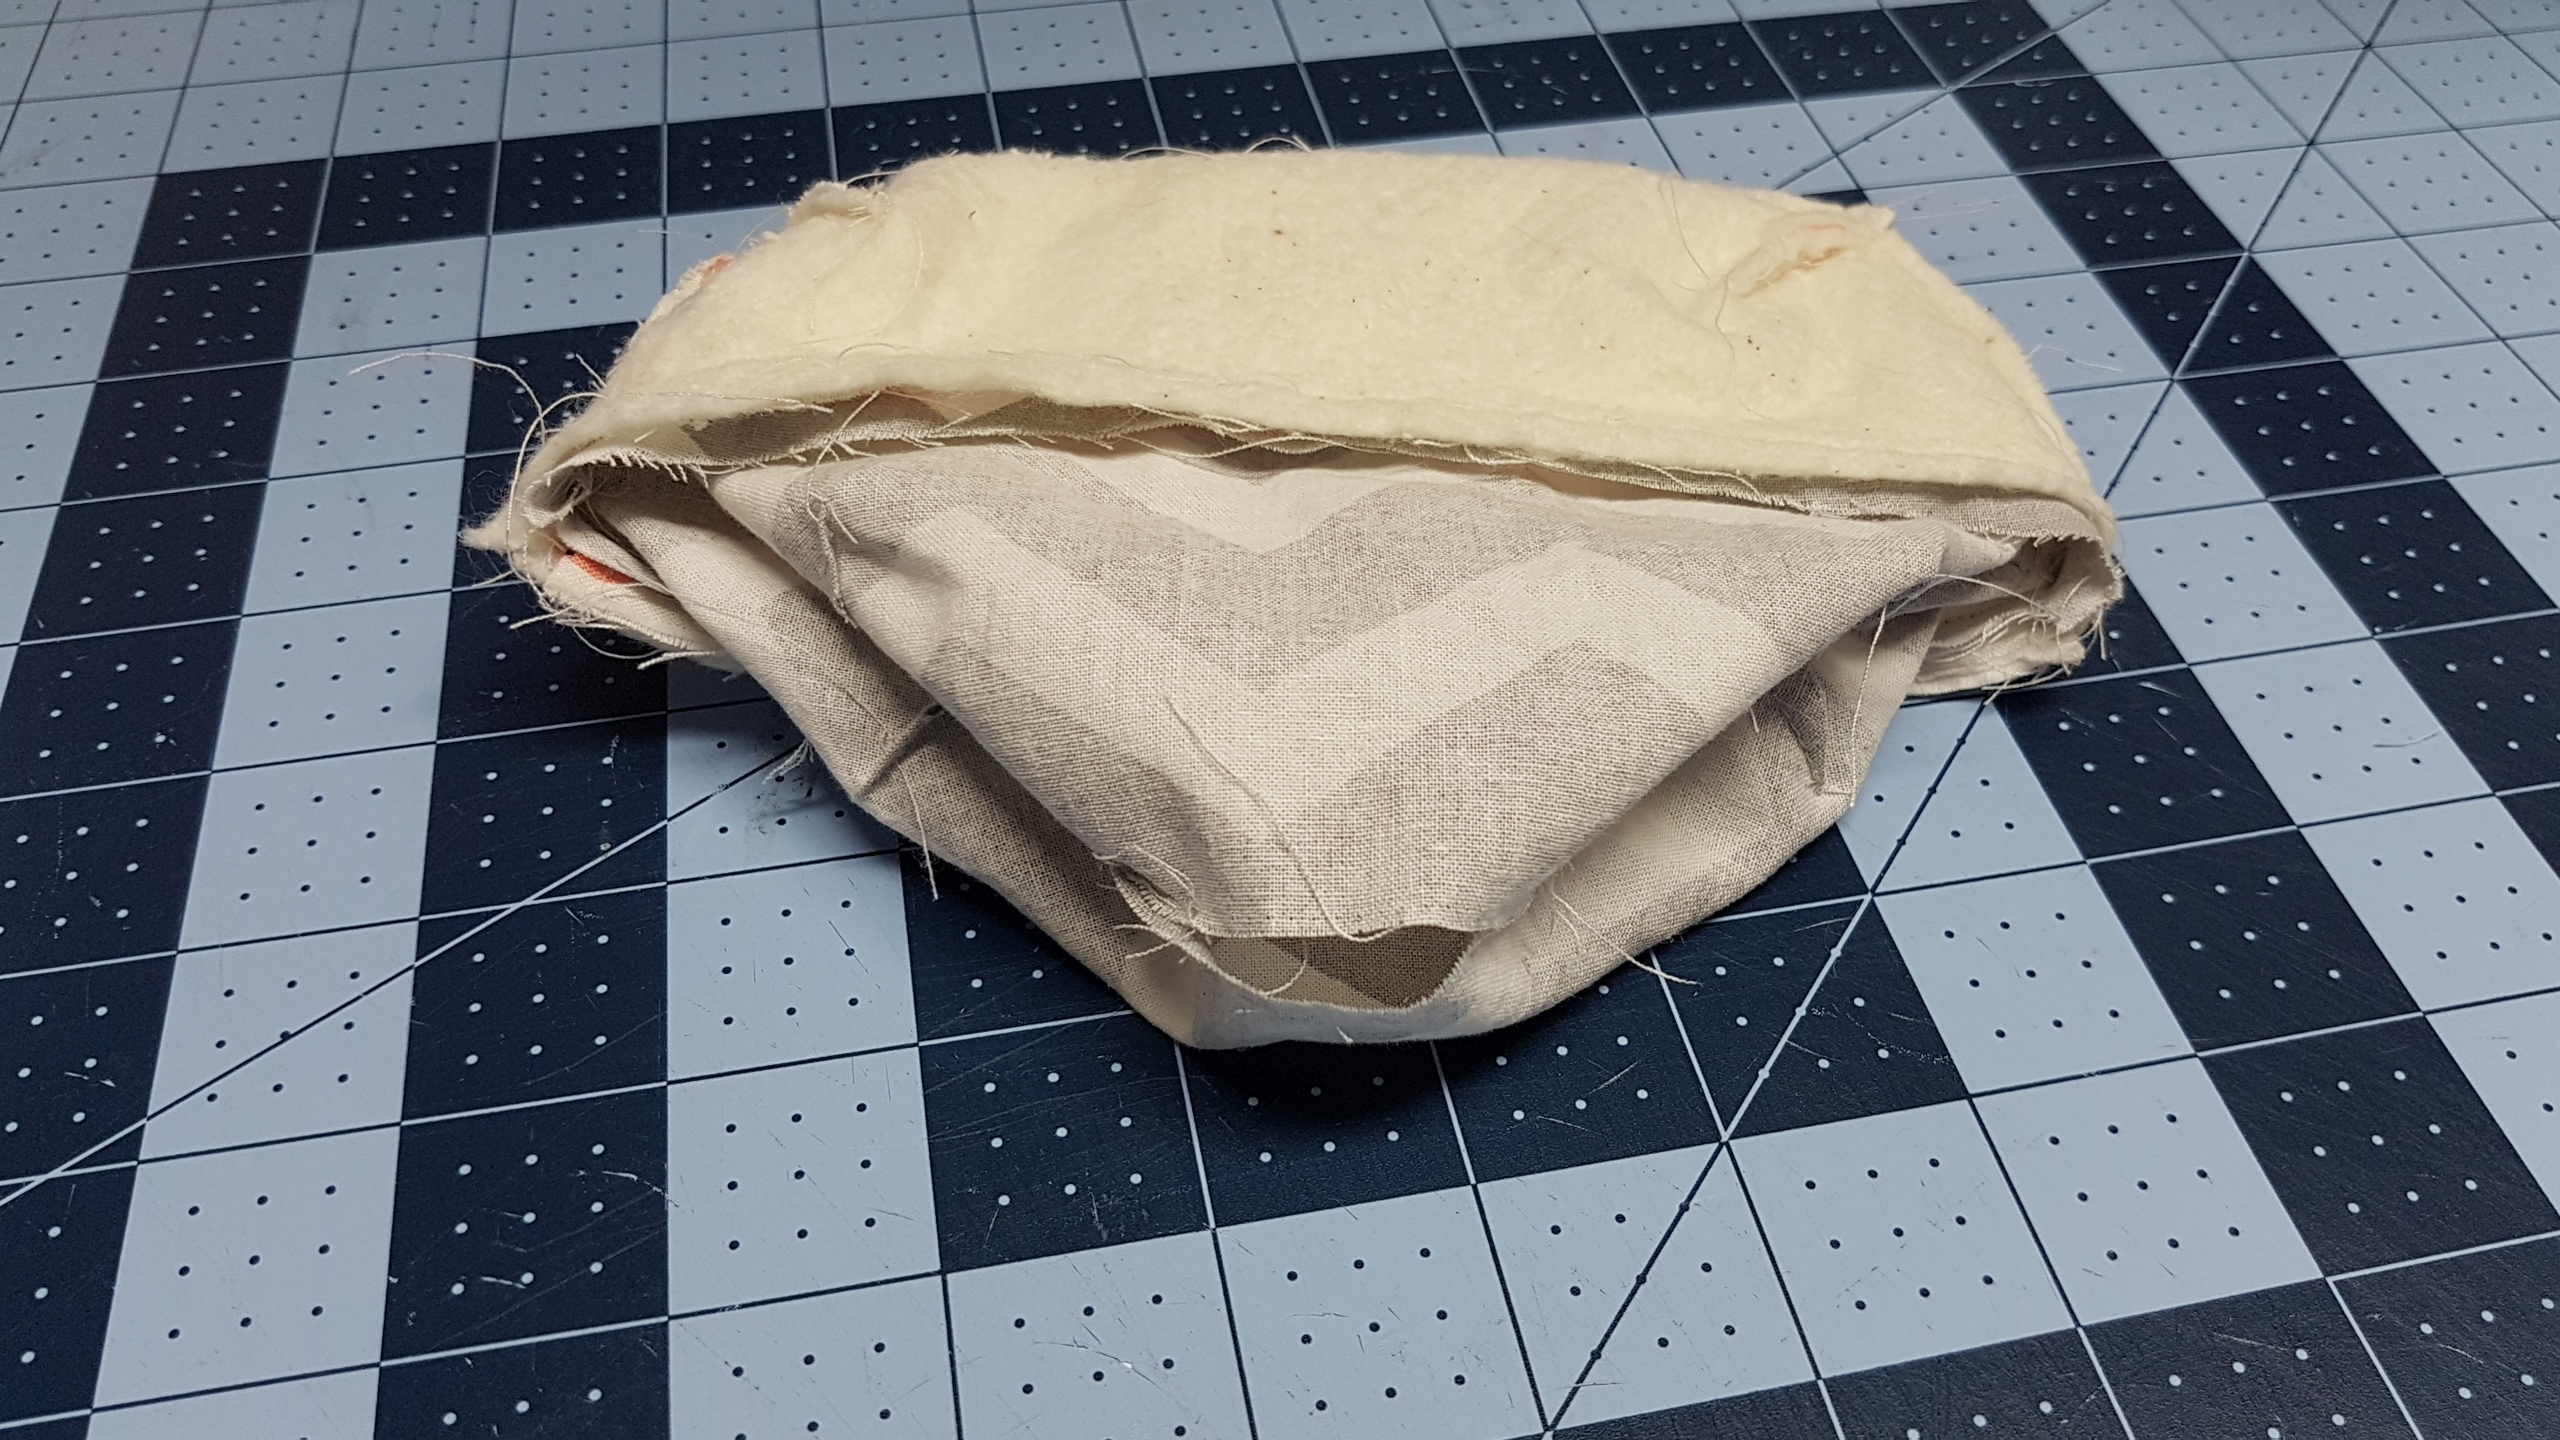
now that you have all 3 pieces done now you can assemble the case
Keeping the outter piece inside out, and the lining piece right sides out, slip the lining into the outter fabric, these two should be right sides together when place inside each other. then along the flat edge of the pouch you will slide the flap in making sure its centred along that flat edge and the raw edge of that flap is lined up with the raw edge of the lining and outter fabric’s raw edges, make sure your lining and outter fabrics side seams area lso lined up, you will do a 1/4″ seam allowance around the entire edge making sure you catch all the layers of fabric.
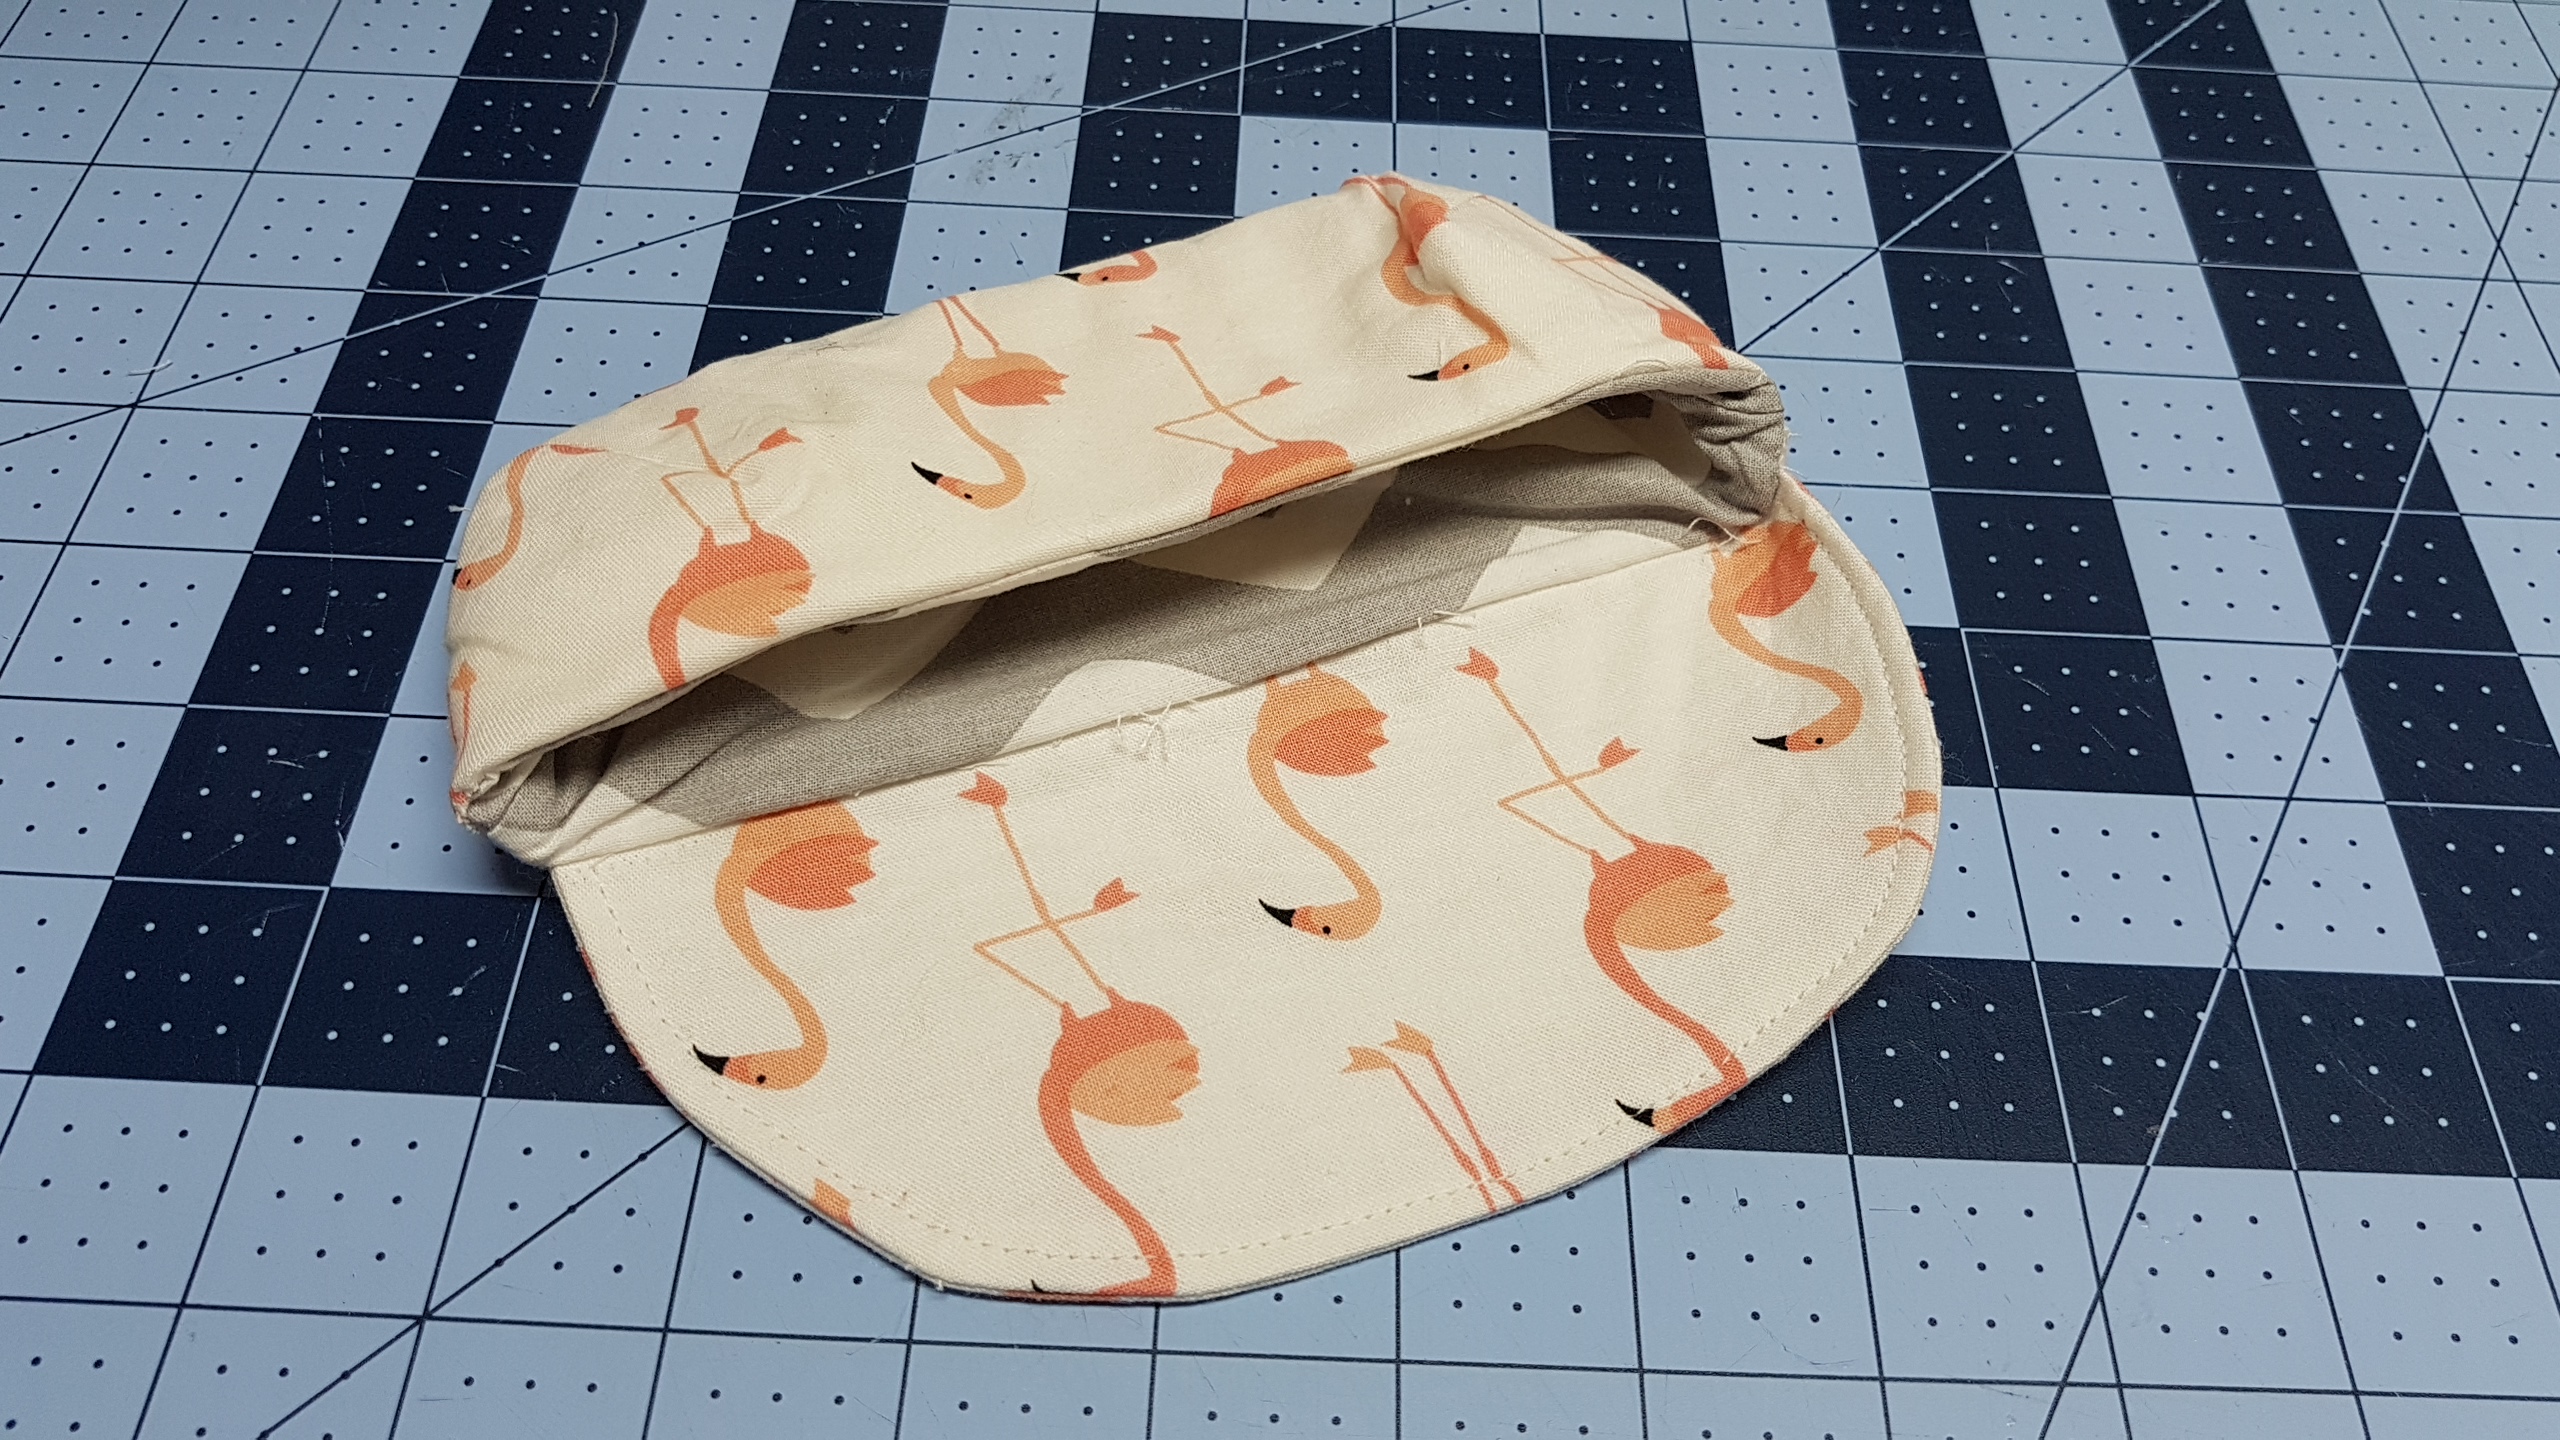
Note* remember the hole you left in the lining this will be used now!
Now pull the entire thing right sides out using that hole, you can then top stitch the hole closed and tuck it into the pouch
From here you can press your flap if its a little wrinkled and press the rest of it as best you can
we will now do a top stitch along the edge of the pouch
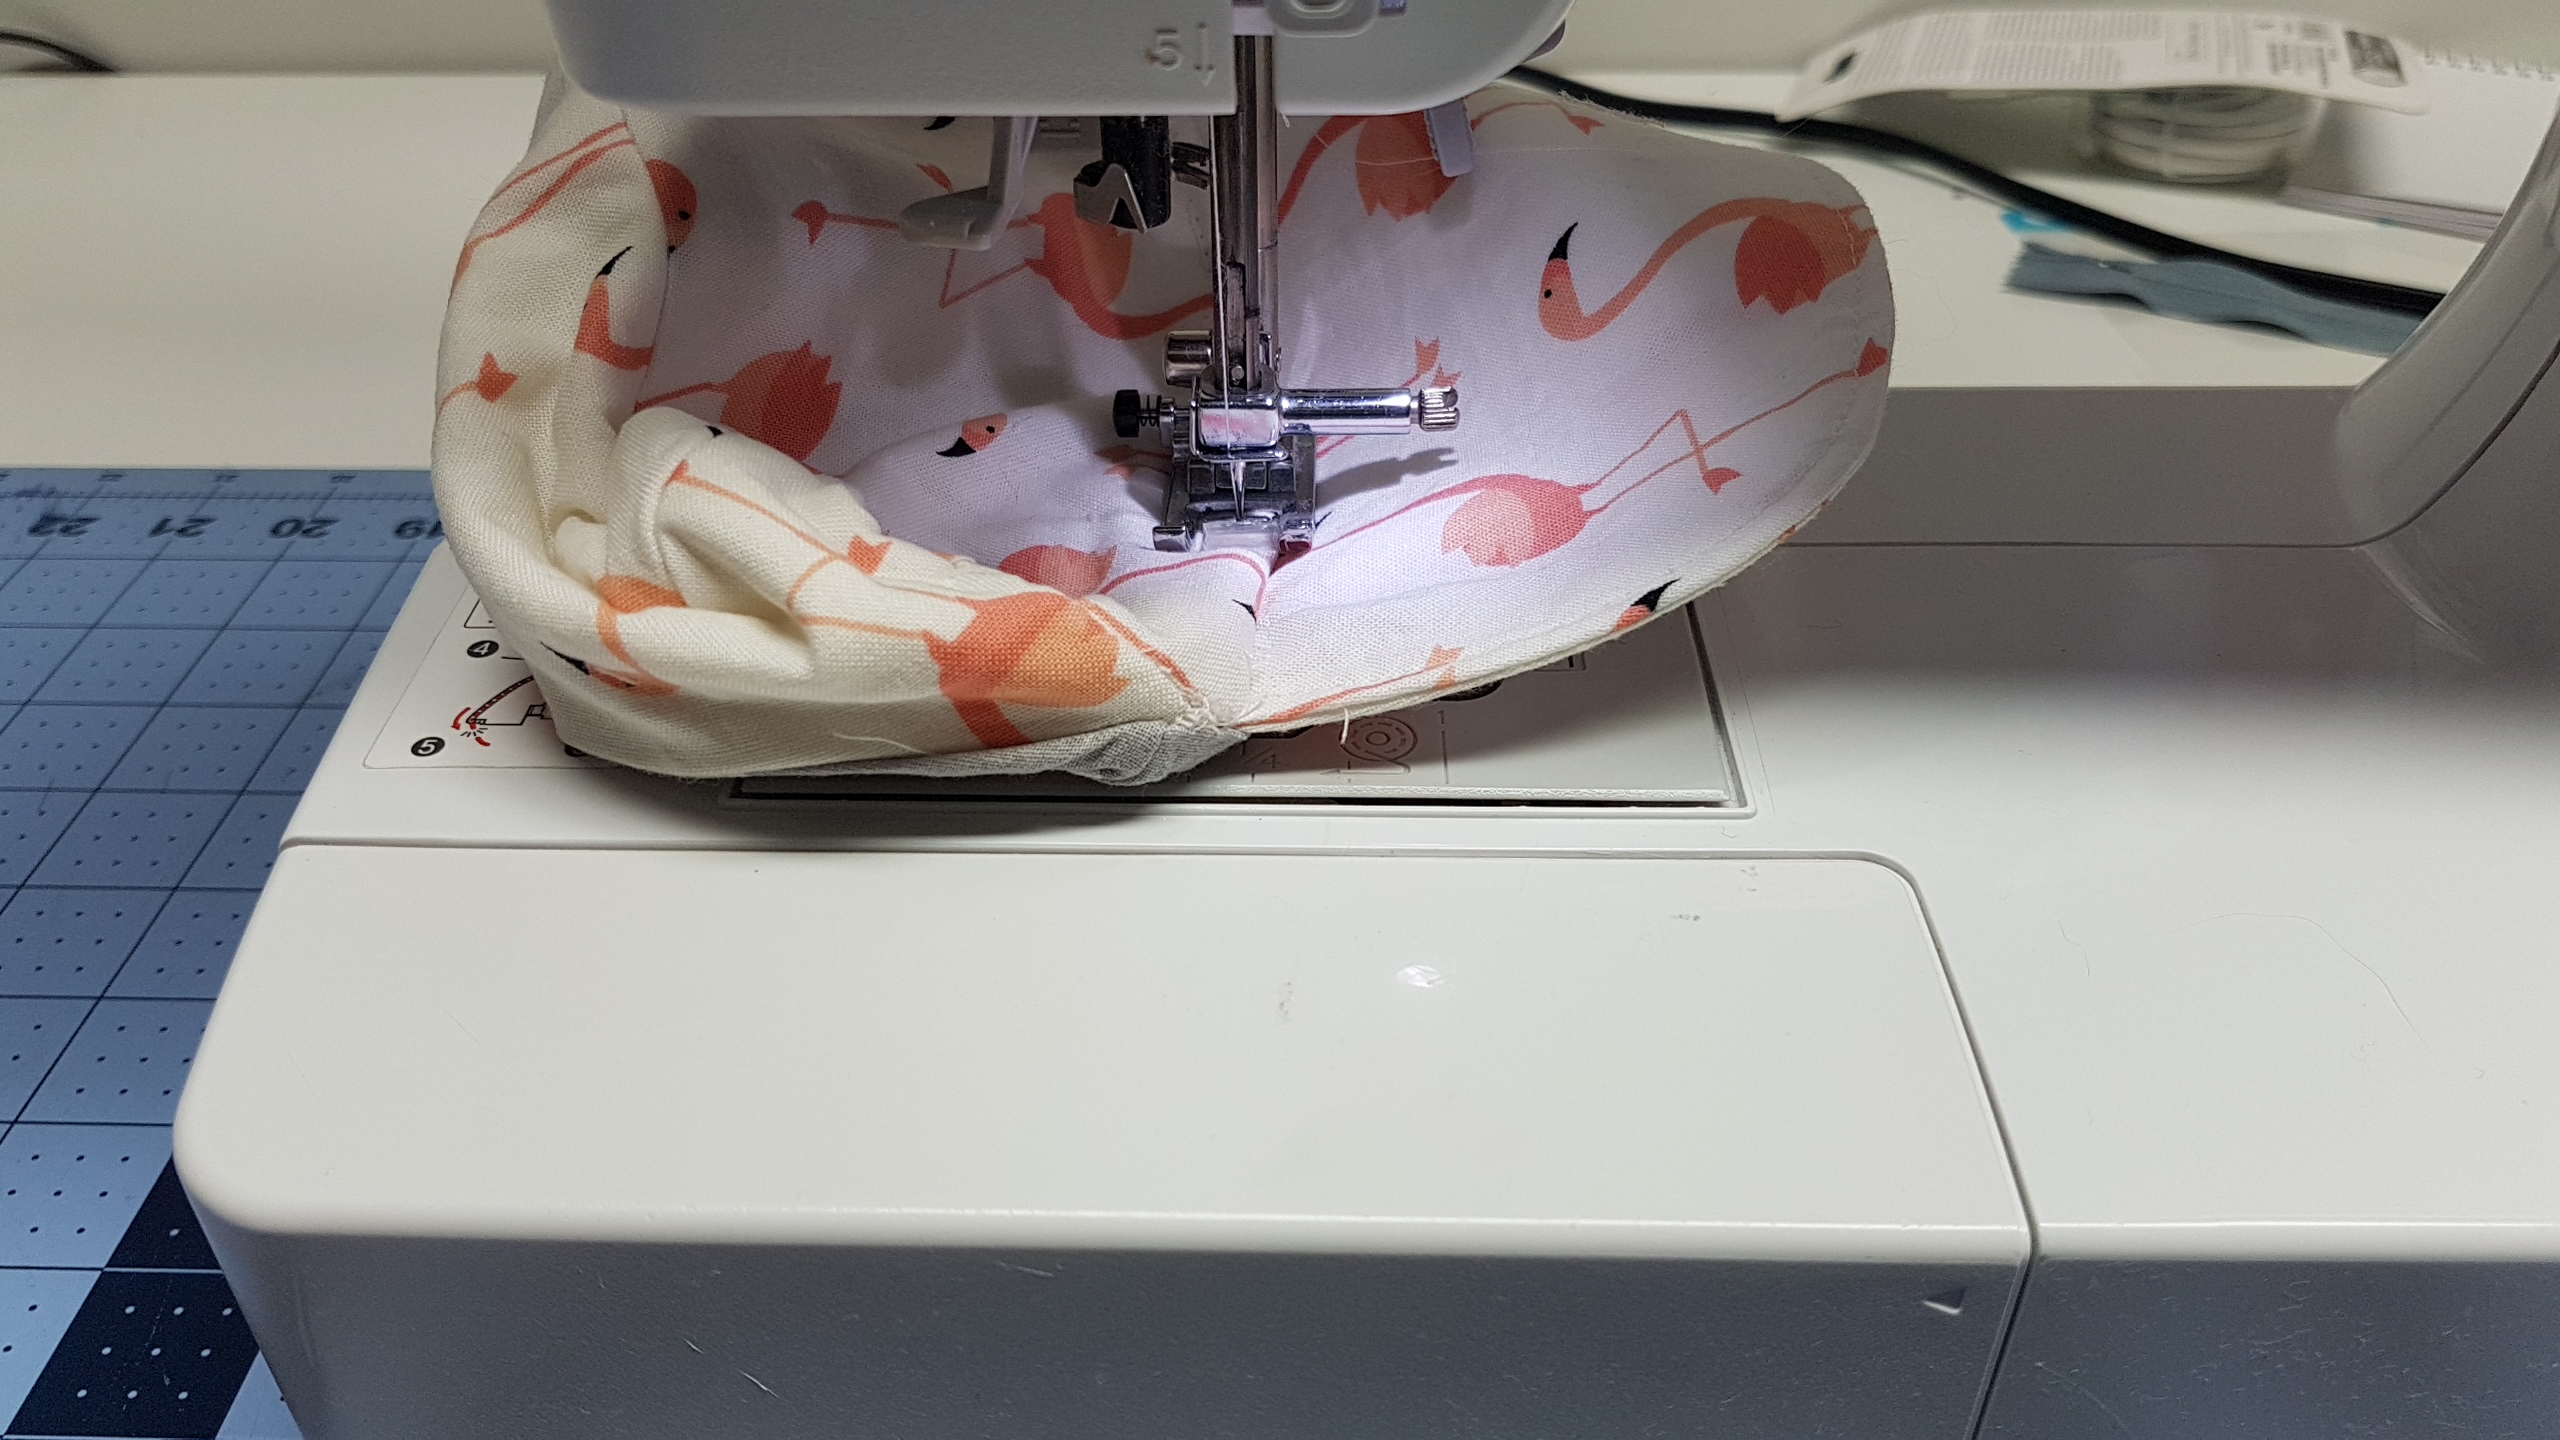
When doing the top stitch you will also do it behind the flap such as show in the photo, this will also create extra security for your flap
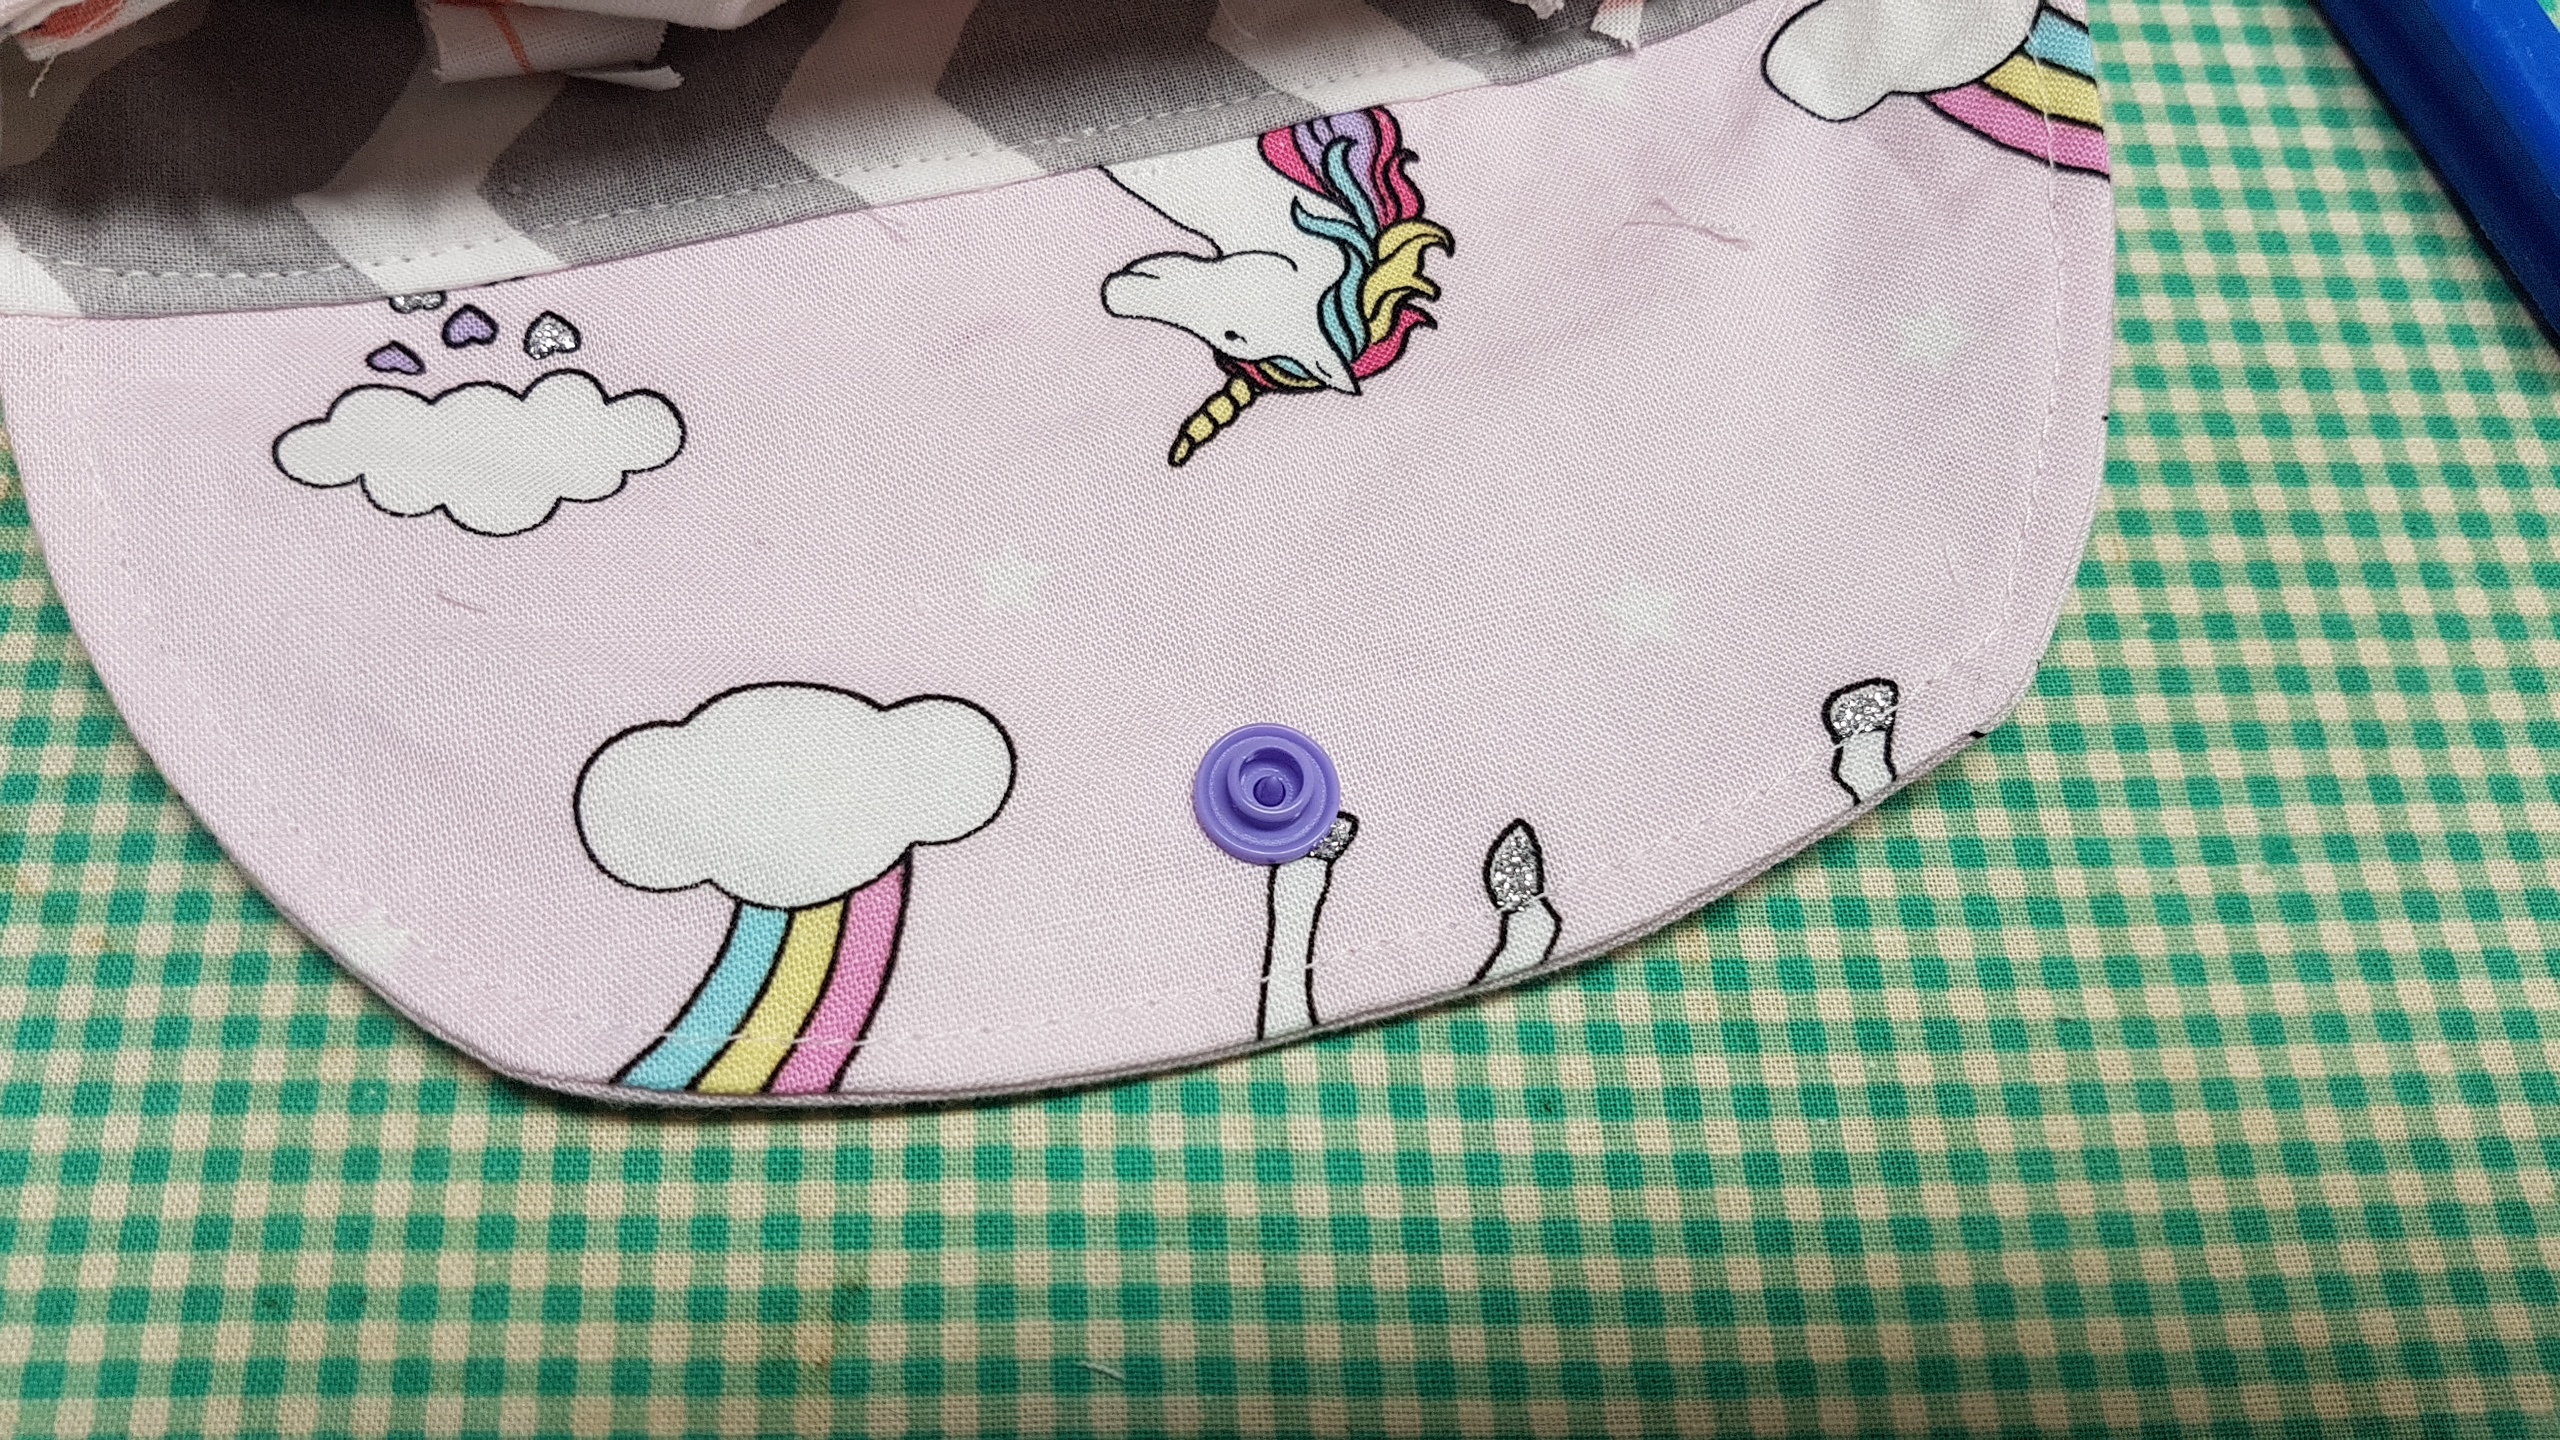
Now you can choose your closure, either velcro or snaps im using these Kam snaps, they have such a smooth backing im not worried about them scratching my glasses, if you have snaps that could potentially scratch your glasses you can insert your snaps before you do your final pouch assembly
If you have a pair of glasses this pouch is for i would put them in to the pouch and close it to see where you would like your snaps placed if not then give a little extra room at the top just incase someone wants to put a nice big pair of sunglasses in it
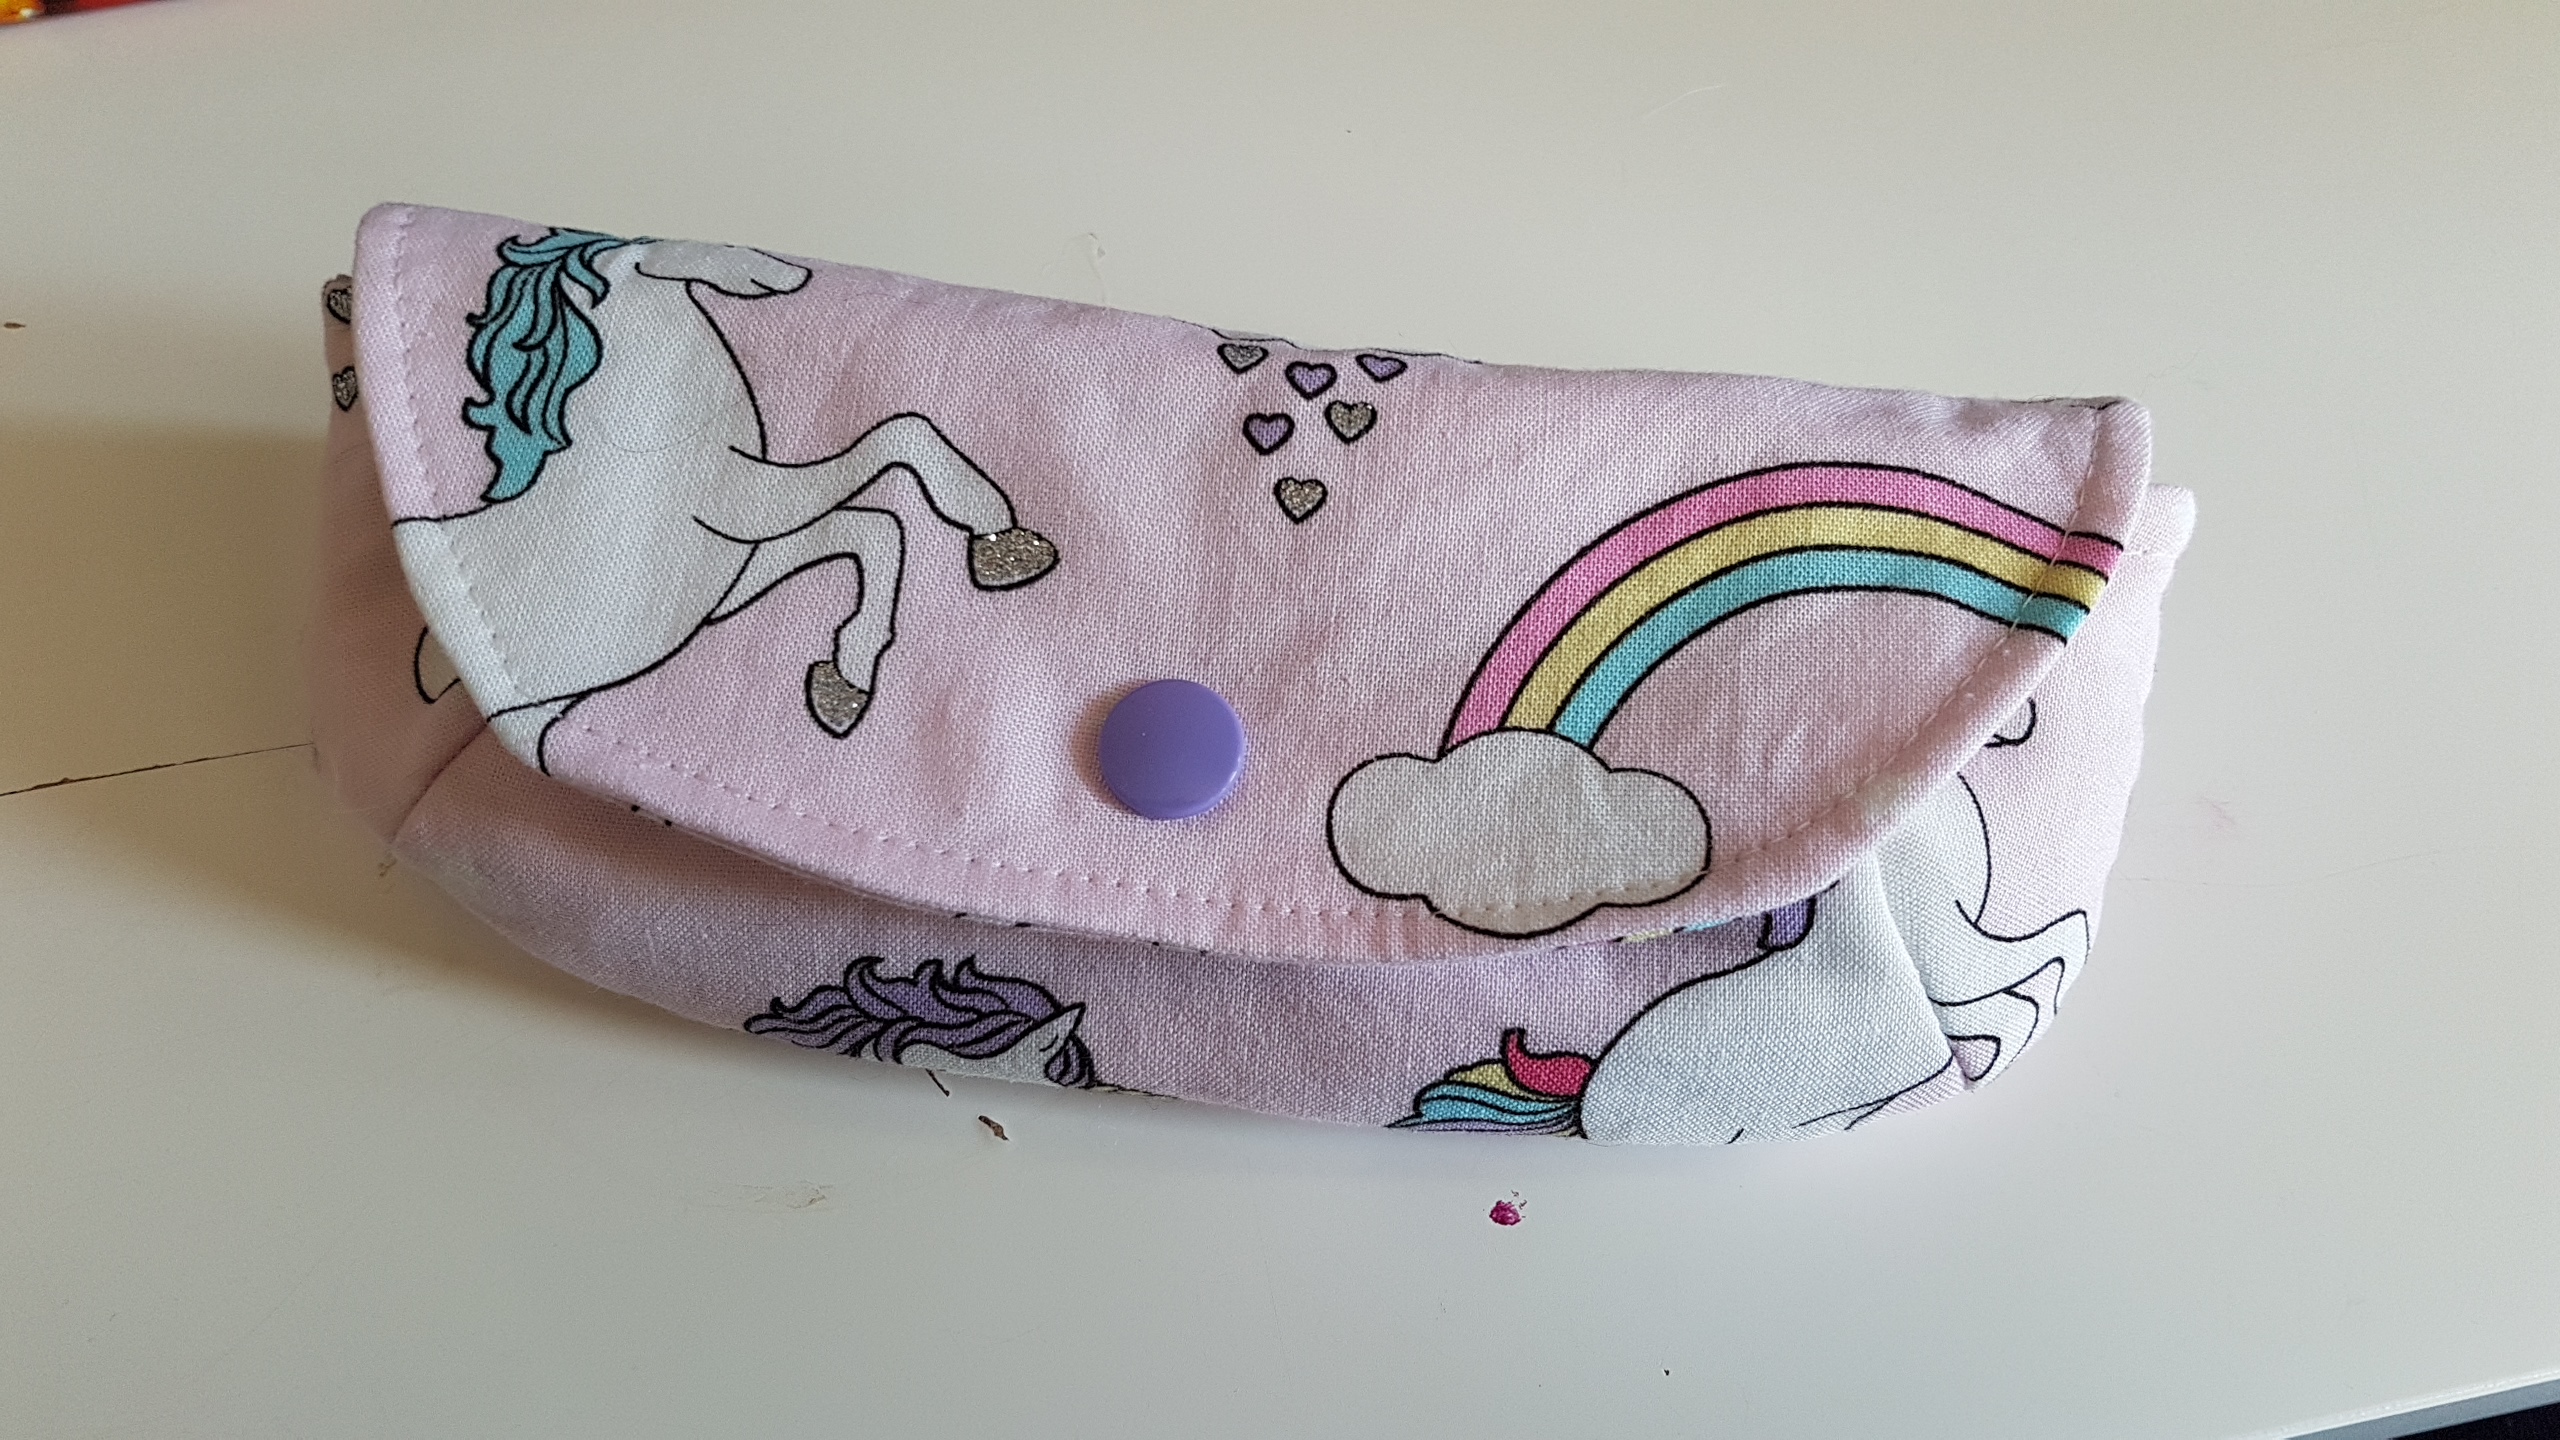
I didnt love my flamingo one so i made it again and i love how this one turned out, i even fussy cut my flap piece so that i got a good bit of a unicorn and rainbow on the front


0 Comments