
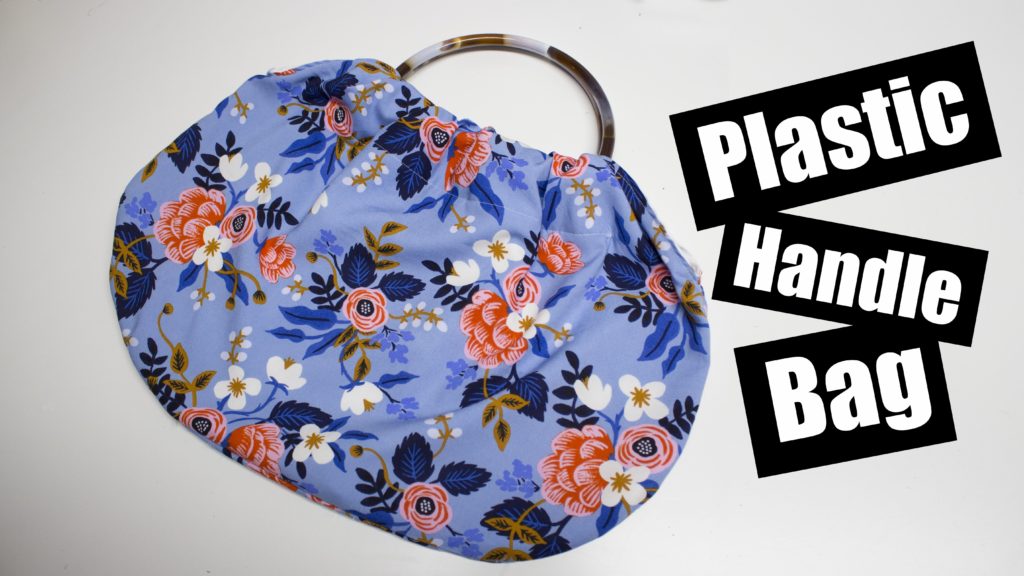
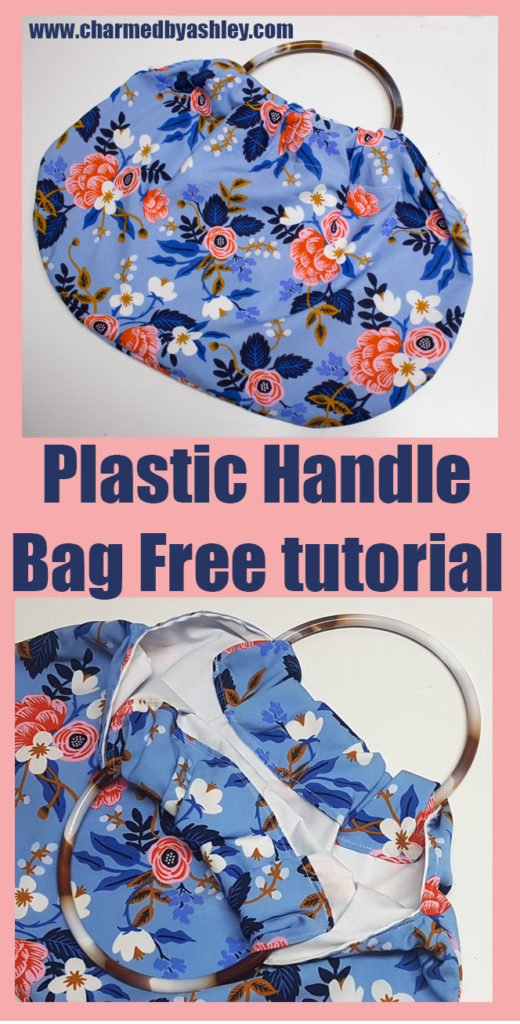
This tutorial is for the Plastic Handle Hoop Bag
PLEASE PIN AND SHARE IF YOU LOVE THIS!!
Follow along with the Video tutorial posted Below!!
Things you will need
Beautiful Fabrics – Lining and Outer Fabric
**I used a beautiful Rayon fabric fir the outer and a Cotton for the lining to give it a big of structure
To Print the pattern instructions Click this Templateinstructions
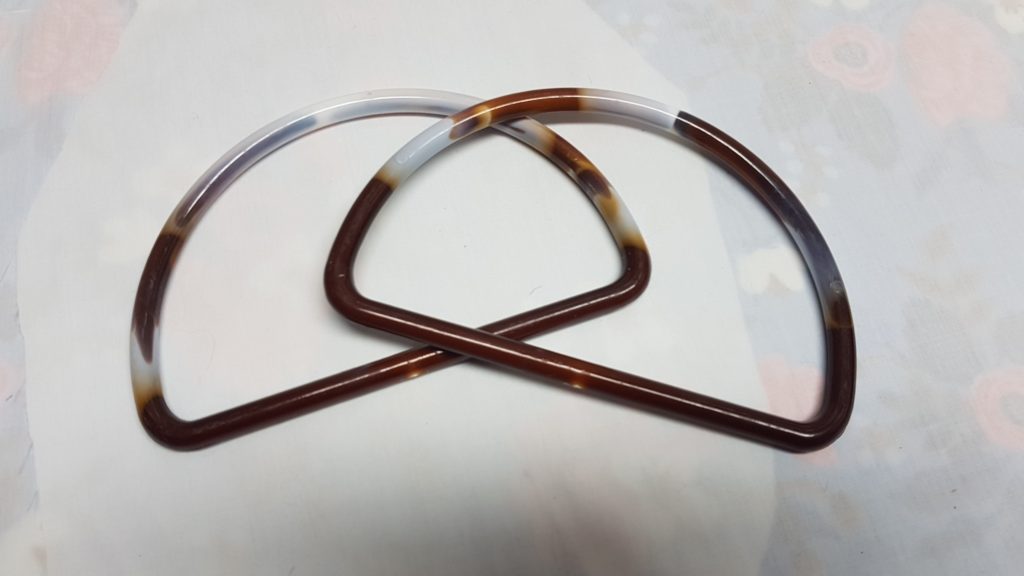
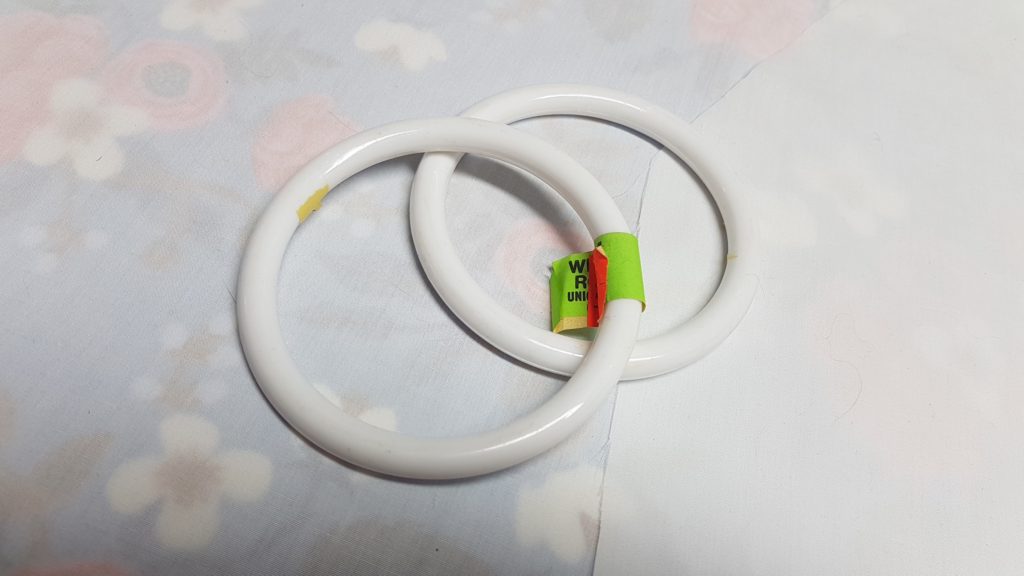
2 plastic handles I used D shaped measuring 7″ wide or you can use Circular Shaped measuring 5″
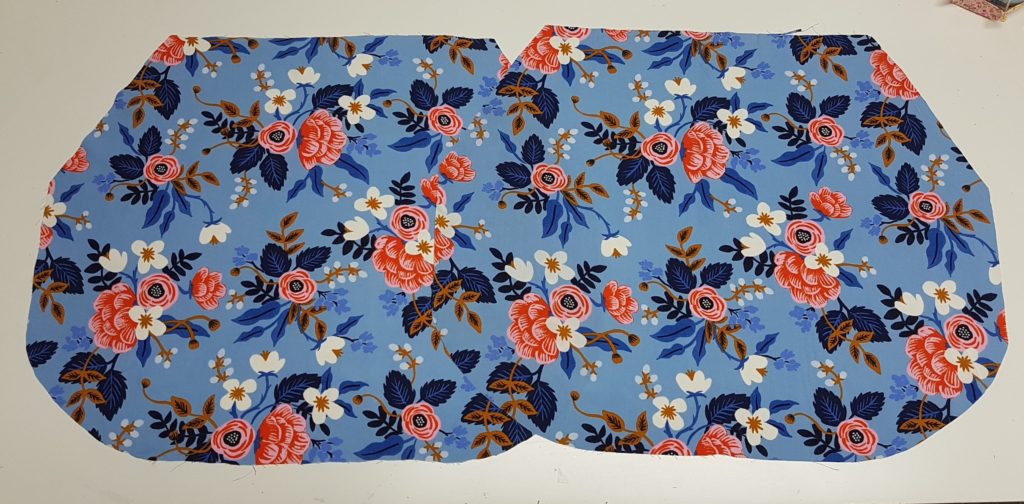
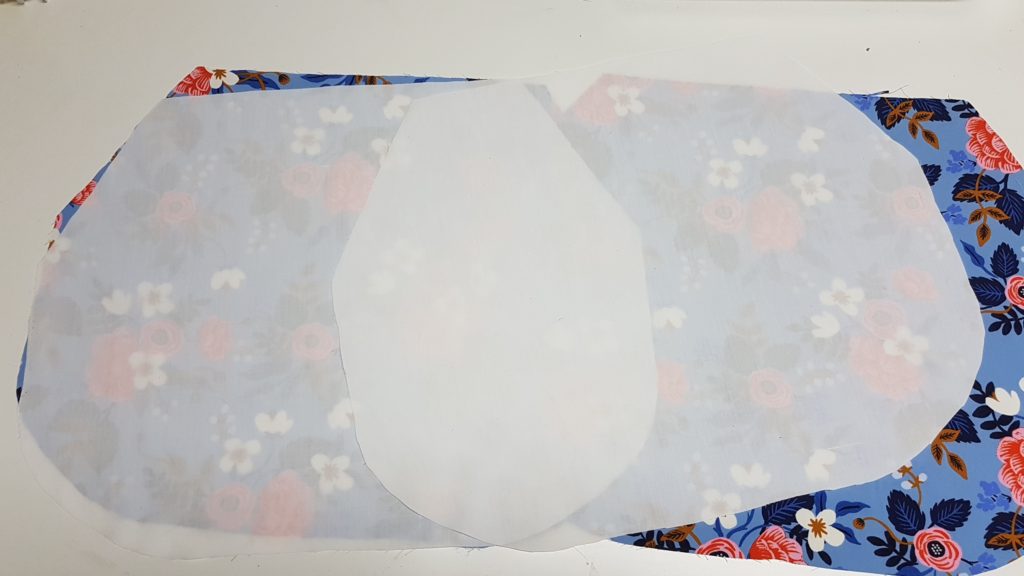
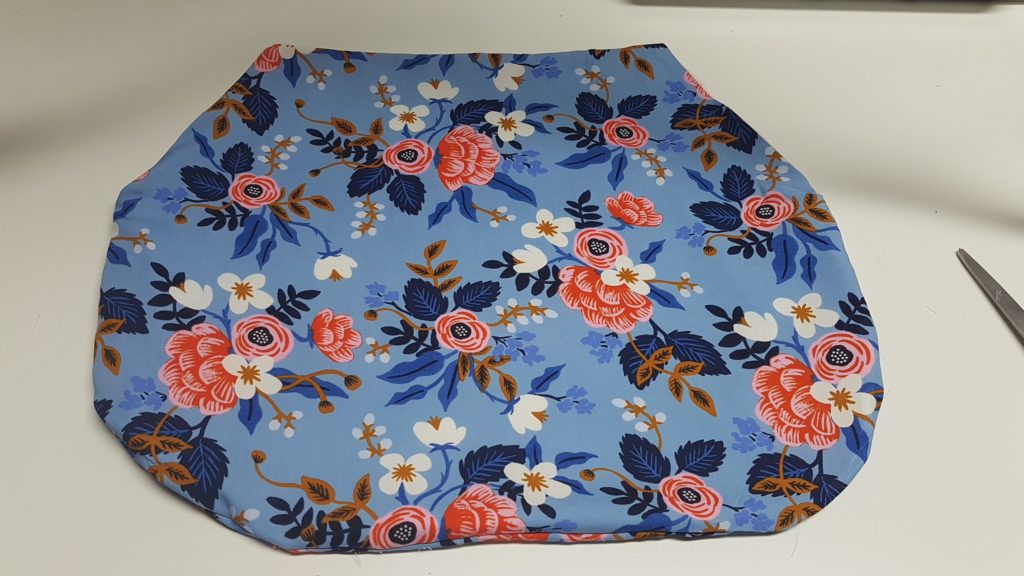
Make sure you cut your pattern on the old
Cut 2 outer fabric
Cut 2 lining fabric
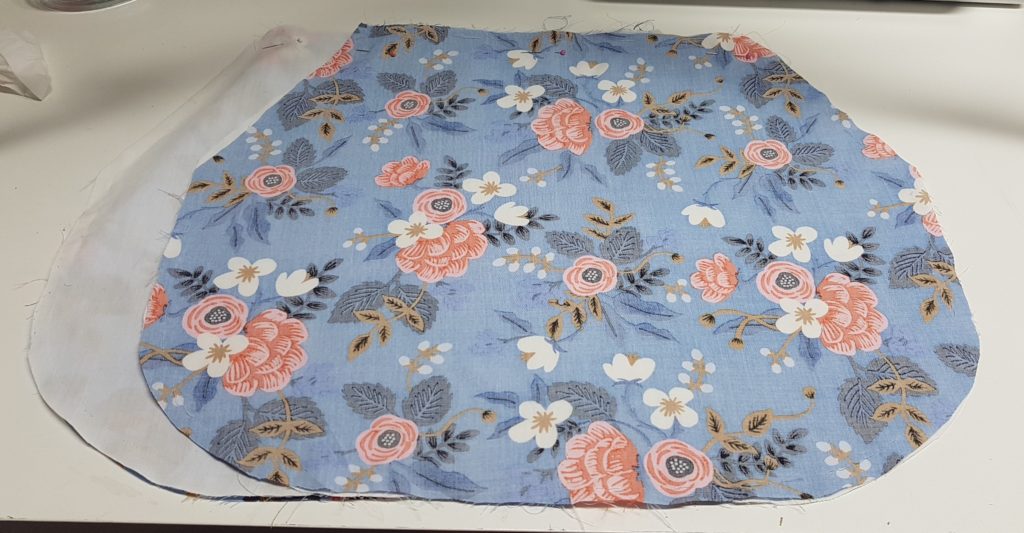
Step 1: Take 1 lining and 1 outer fabric placing them right sides together, pin at the top and sew along that straight edge
**Do this for the remaining two pieces
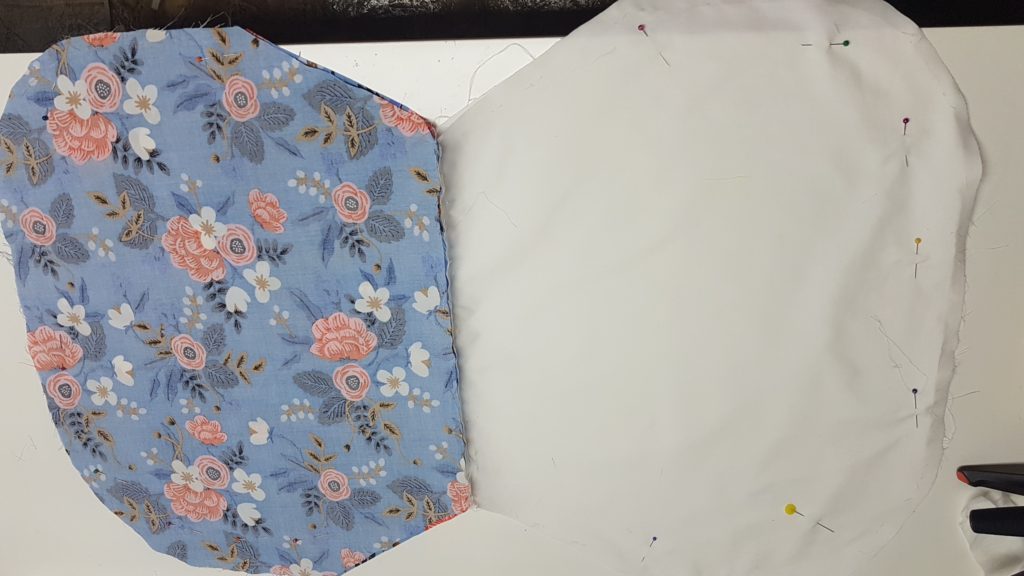
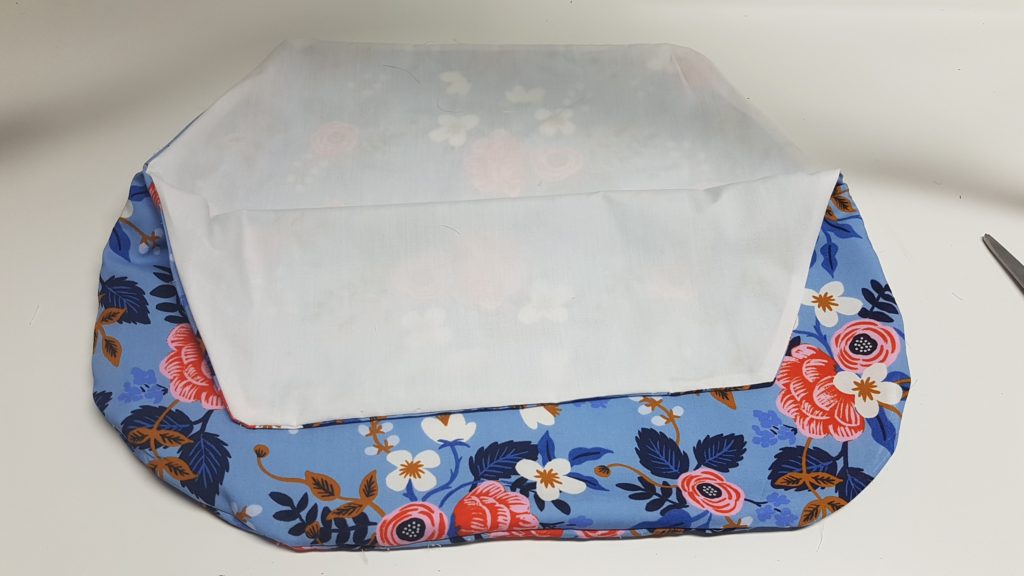
Step 2: Stretch out each piece so you have 2 longer pieces and place them right sides together, lining pieces together and the outer fabric right sides together
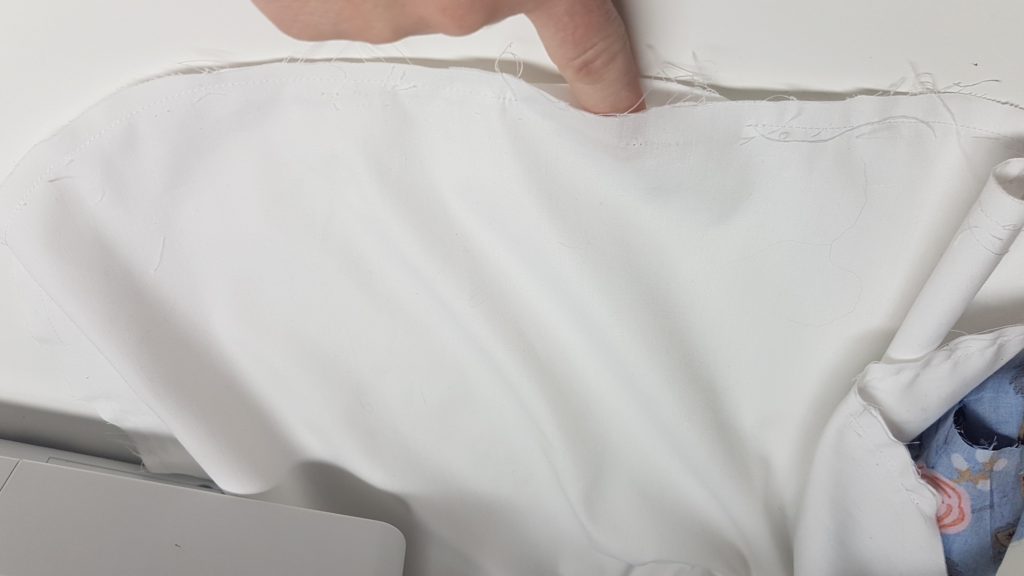
Step 3: Now we will saw around the curved edge of the lining and the curved edge of the outer fabric, do not sew the short sides of each fabric, (the two straight side in the middle.)
***Leave a 3″ hole at the bottom of your lining fabric
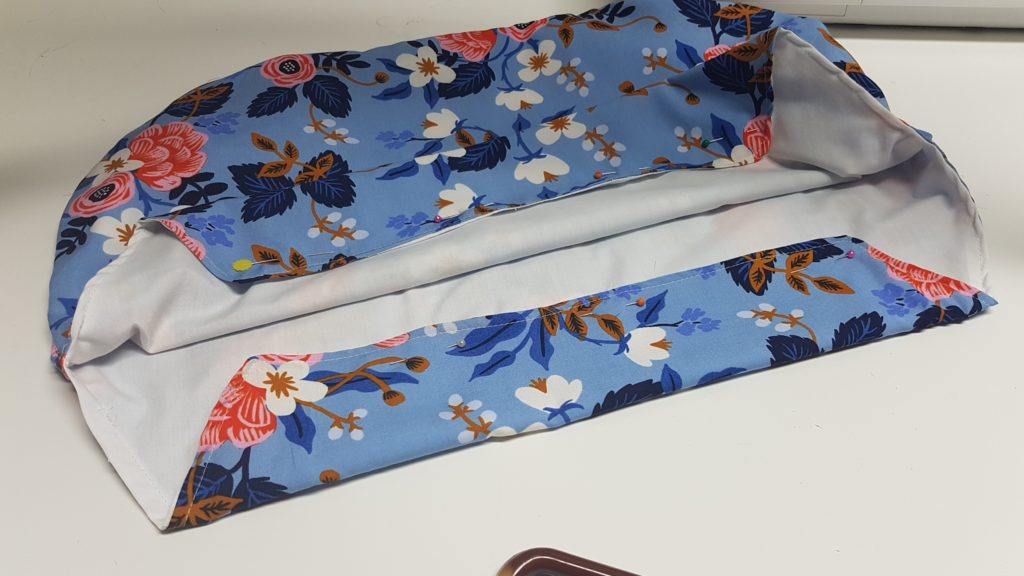
Step 4: Now we will sew the short sides we left, pull the seams to stretch out the lining fabric and the outer fabric and then place the two sides right sides together, you will do this for both sides of the bag.
Pin and Sew

Step 5: Flip the bag right side out from the hole you ledge in the lining of the bag
Step 6: top stitch the opening of the bag and top stitch the hole in the lining to close it up.

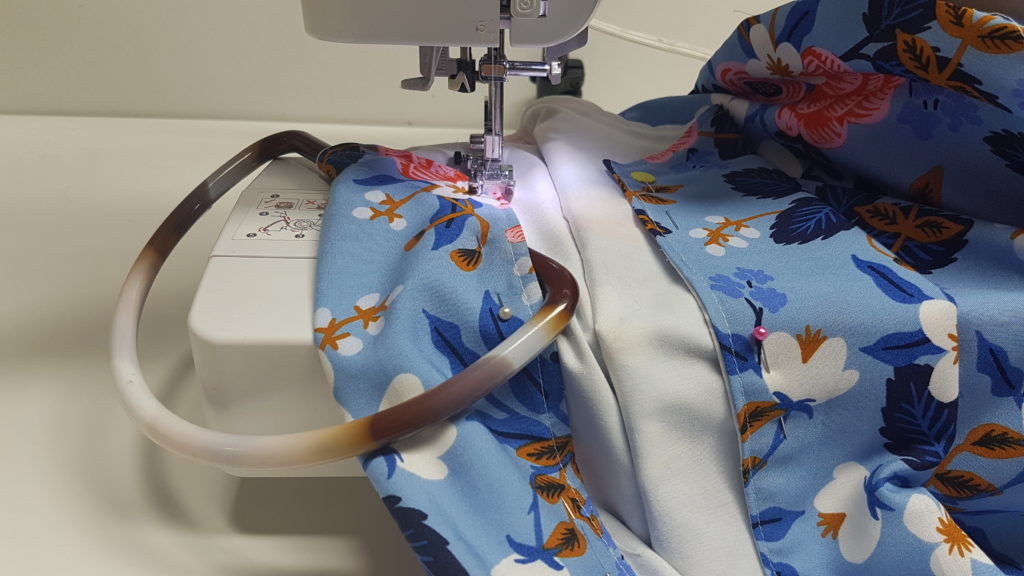
step 7: Fold the top of each side of the bag down 2.5″, we will top stitch these folds down with the handles encased inside.
** Mark along the edge of the folded fabric on the inside of the bag so you have guide where to place your fabric when you are sewing the handle in (THIS WILL MAKE THINGS SOOOOOOOOOO EASY FOR YOU) use chalk or disappearing ink pen
Step 8: Pin the fold down to help you, place in your sewing machine and then tuck the handle into the corner of the fold and begin to sew along the top stitch, slowly sew while pulling the handle and lining up the edge with that guide line you marked
This is the easiest way i have found to install a plastic handle and i’m thrilled with the result!! Thank you for viewing my tutorial please PIN AND SHARE!!
Some links are Affiliate links


0 Comments