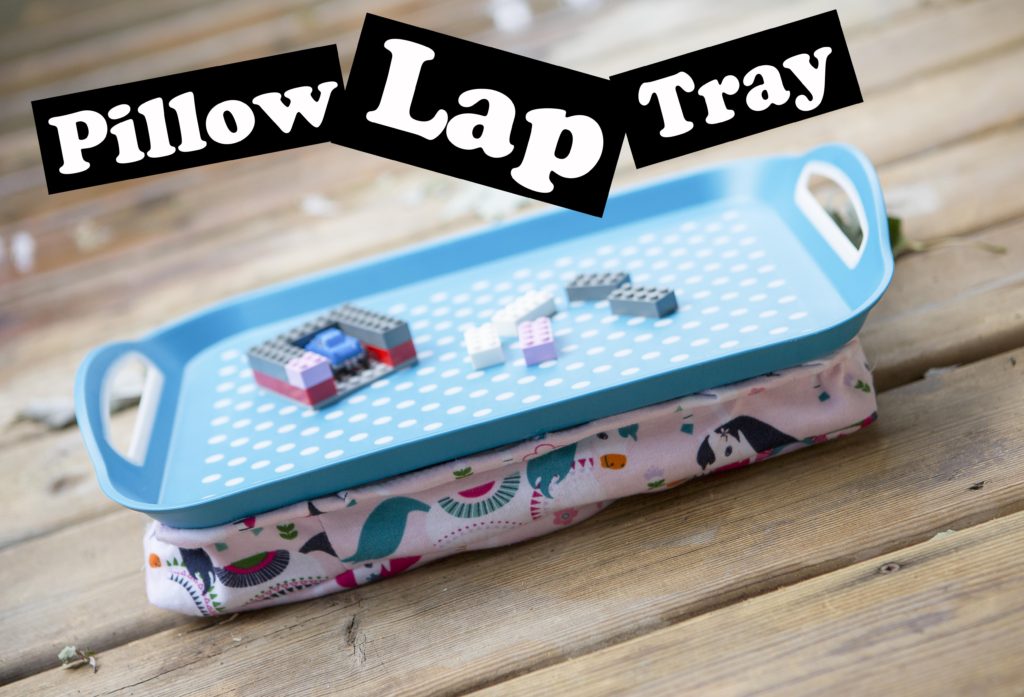
Such an easy project! and so inexpensive!
My family is heading off for a road trip down to Florida from Ontario Canada, yes that far! it will be about a 21 hour drive and i need to figure out how to keep two little ones busy in the car
While wandering through michaels looking at the travel and toy storage solutions i came across these lap trays with the pillow under it, the pillow adds a non slip factor and stability when placed on the lap which is great! they were too expensive but i would need 2 so i examined it and decided psh… i can make this! So off to Dollarama i go!!
This tutorial will help you make your own custom Pillow lap tray, not ever tray is the same size so i will guide you on how to measure out your fabric to make the pillow for the back.
The trays i found at Dollarama (if you can find this one i would def recommend getting it) are none stick on the bottom and on the inside, they have handles for easy carrying which is a bonus!
The Tray was $3.50 and i already had fabric and pillow stuffing laying around! you will also need a piece of Card board (cut up a box you have lying around will work perfect)
The fabric i used was Jersey in this tutorial but i have made it with Cotton fabric and both work perfect!
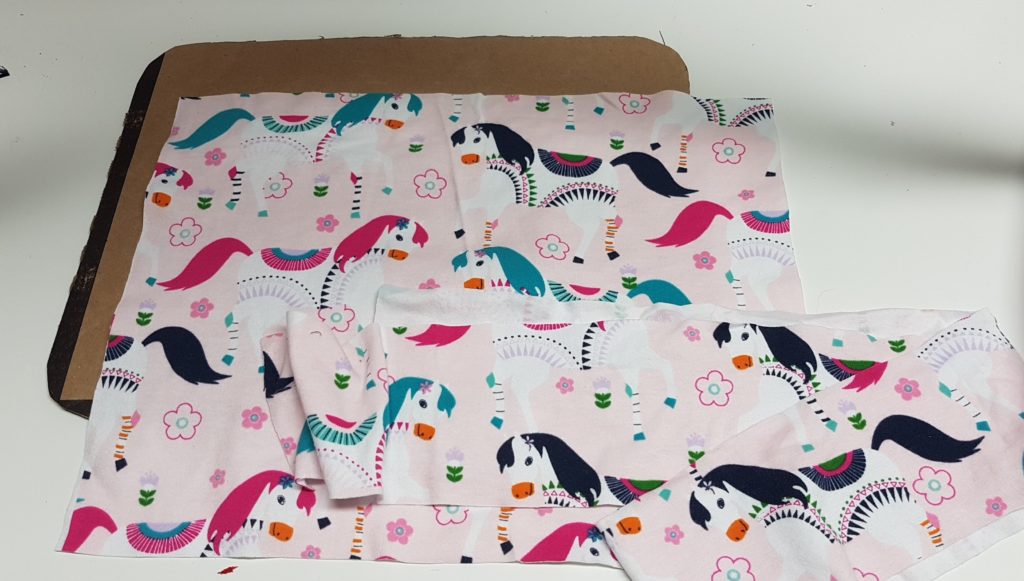
The tray base measured 13″ long x 10″ wide
I cut a piece 13.5″ x 10.5″
For the sides i cut a piece 4″ x the length of all 4 sides (13.5+13.5+10.5+10.5 +1 (for seam allowance) = 49″
so 4″ x 49″ in length
Cut the cardboard 10″x 13″
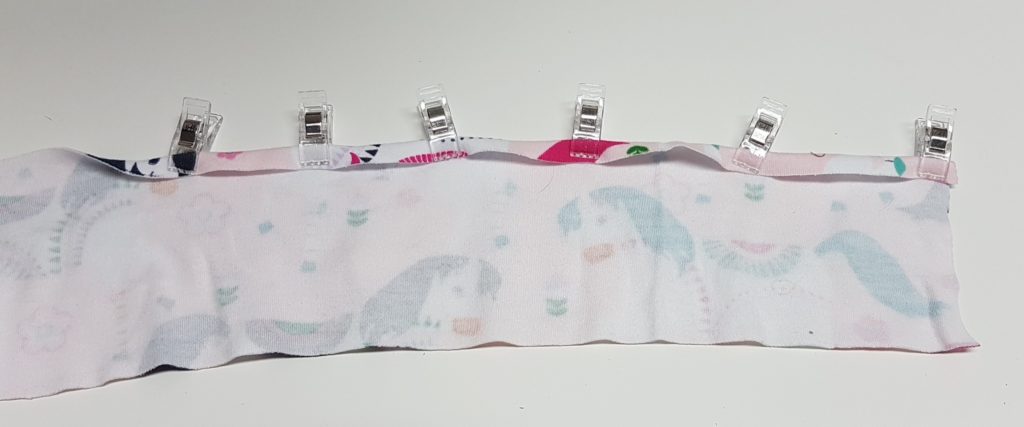
The first thing i did was hem the top of my side fabric, folding it down 1/4″, this isn’t entirely important but if you have a fabric that frays then you could skip this step
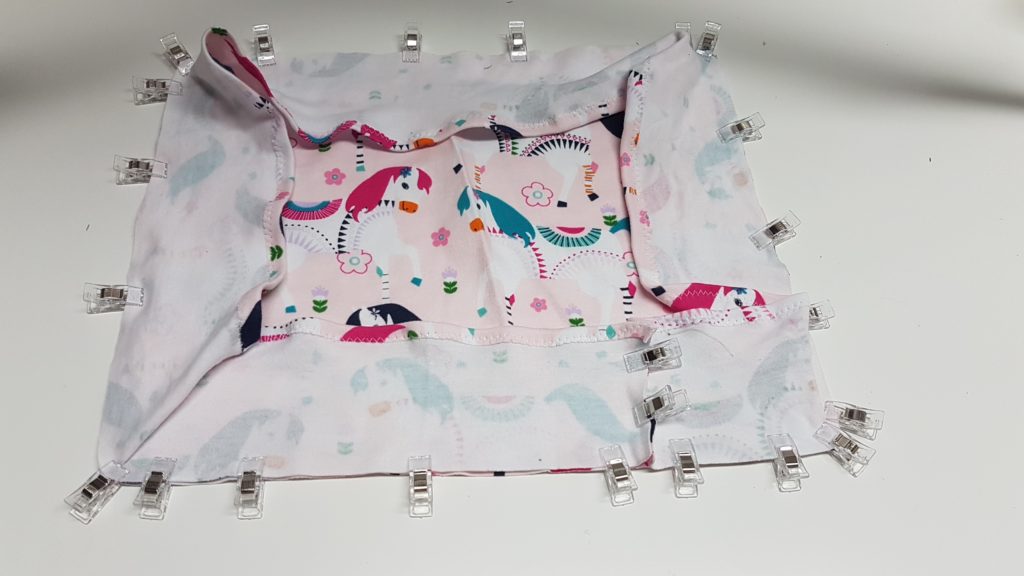
Now you will take that long side piece and clip it to all four sides, sew all the way around and stop to sew up the side seam on the side piece and then continue around
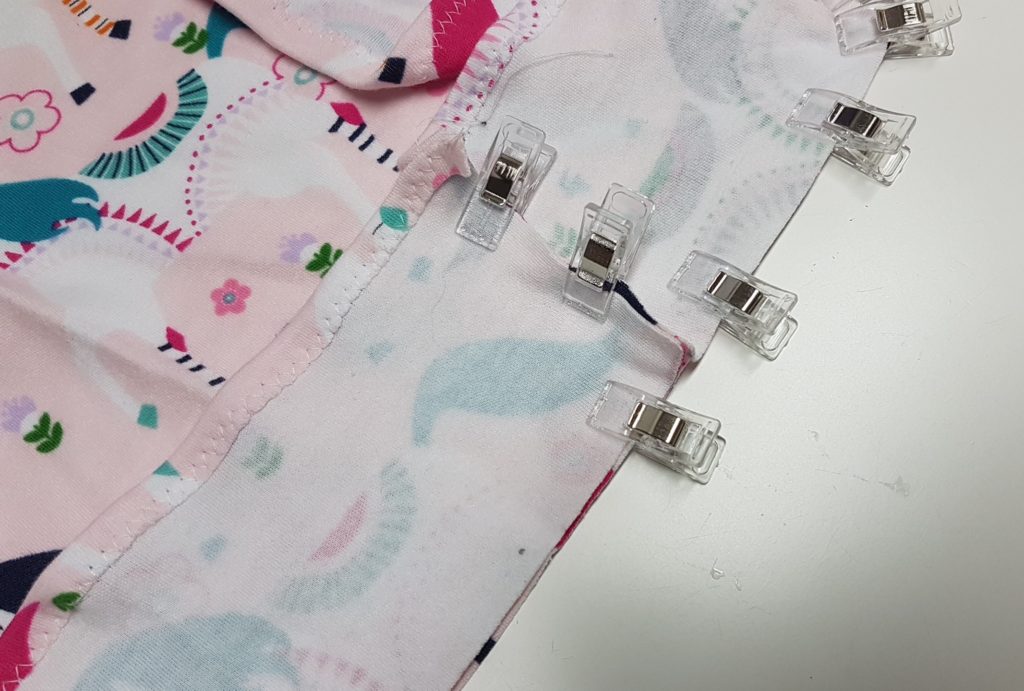
I like to sew the side seam while i sew all 4 sides just to make sure it fits nicely (refer to video tutorial if you dont understand)
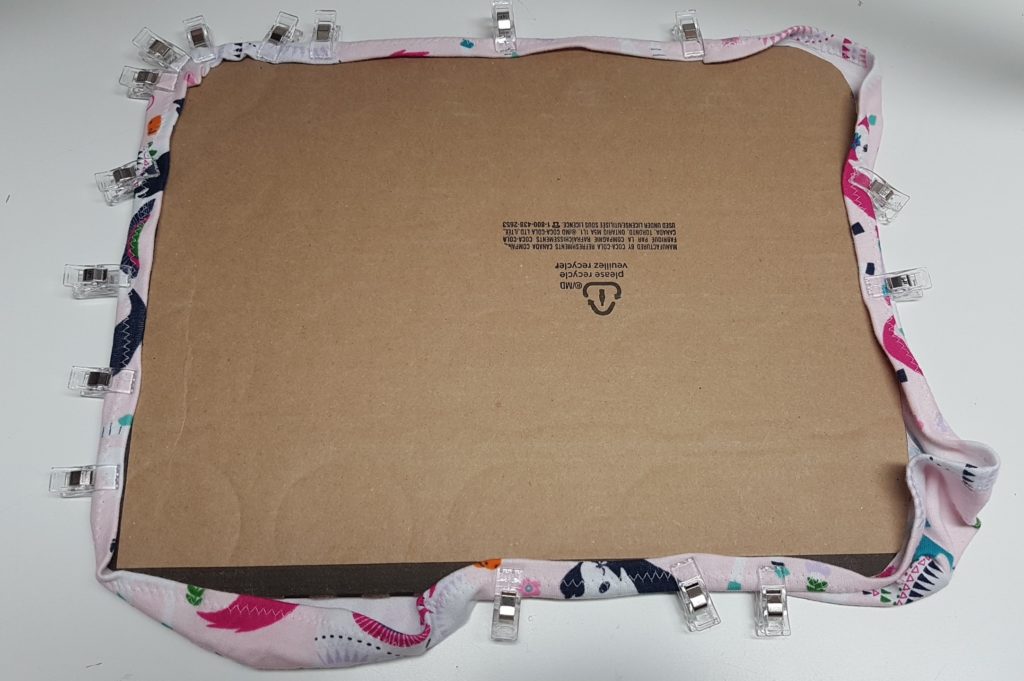
Now you will take your cardboard and clip the edged of your pillow to the edges of your cardboard, find the centre of each side and clip it in the centre of the one side of the cardboard to keep it all even, it will be gathered in the corners but dont worry you wont see this mess haha (yes it might be messy)
Leave a 6″ gap so you can stuff your pillow before you close it all up
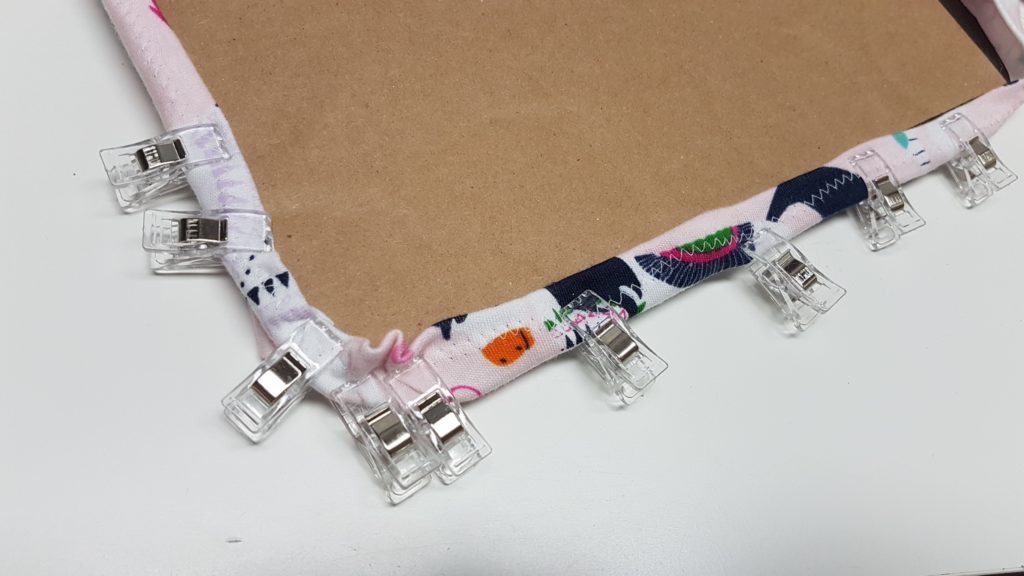
When you sew the fabric onto the cardboard you will be going through the two layers of fabric and the cardboard.
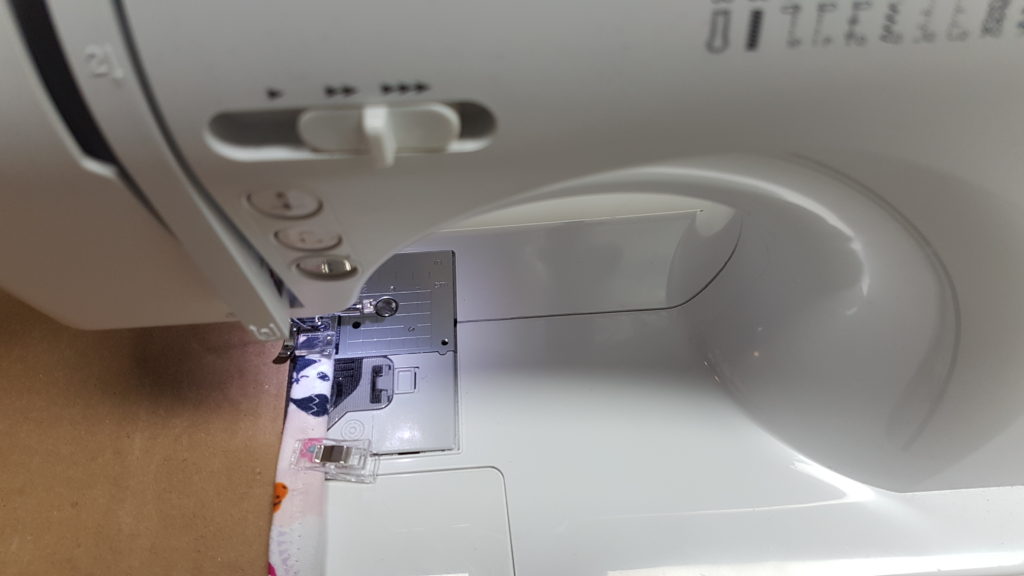
Give your cardboard isnt super thick it should fit under your presser foot just fine
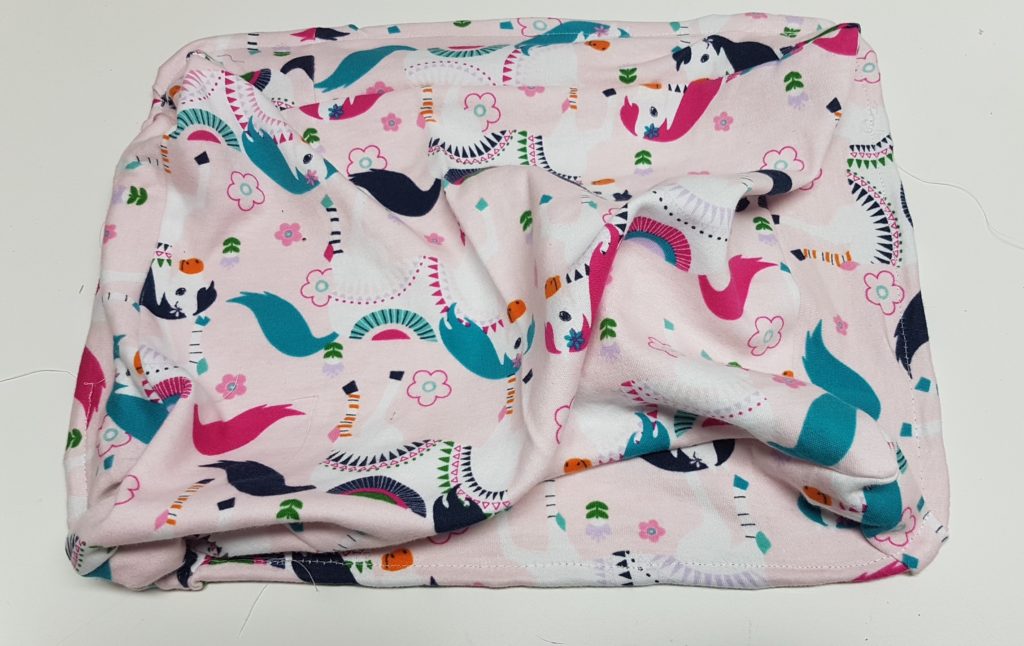
This is how it will look
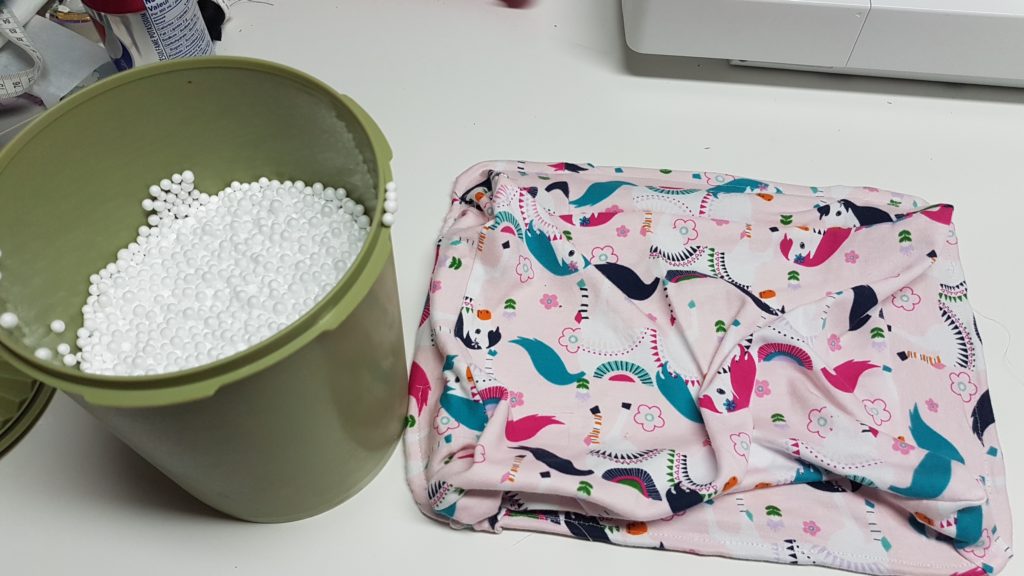
Now you can use Pillow stuffing, or bean bag chair filling, i had both so i chose to do half and half as the pillow stuffing will eventually flatten
Fill it but not too much so it still molds to your lap
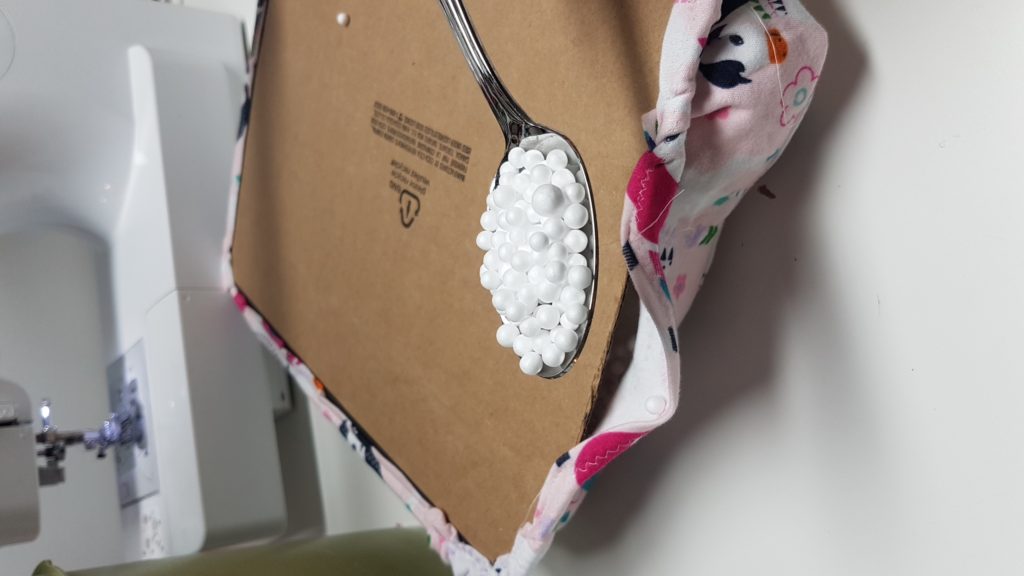
Then you will finish sewing up that edge once your pillow has been filled
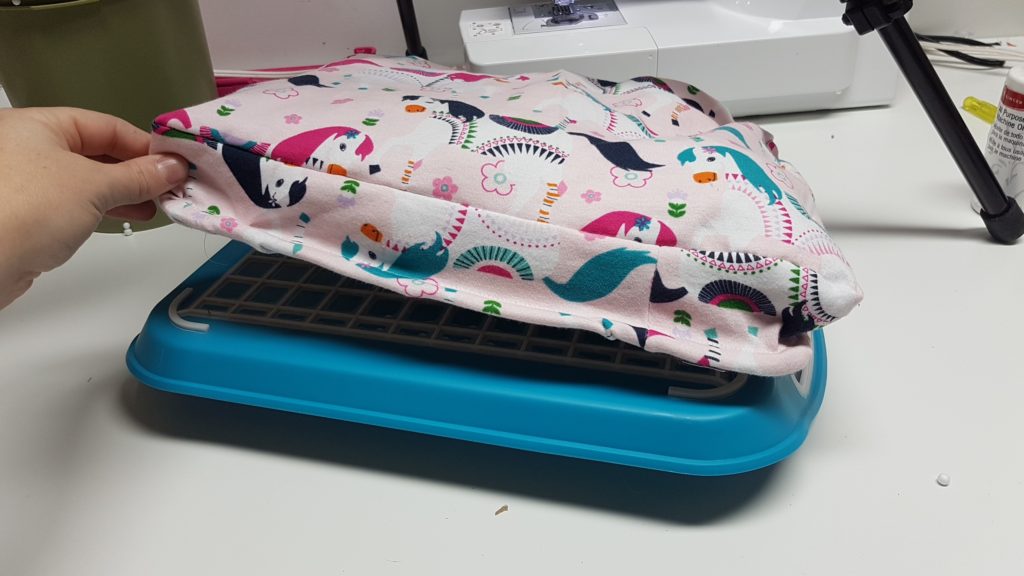
Now you will Glue your pillow onto the back of your tray, the glue i used was E6000 but any other very strong glue will work, i gave it a very generous amount. Place a heavy option on the tray to help weight it down during the drying process
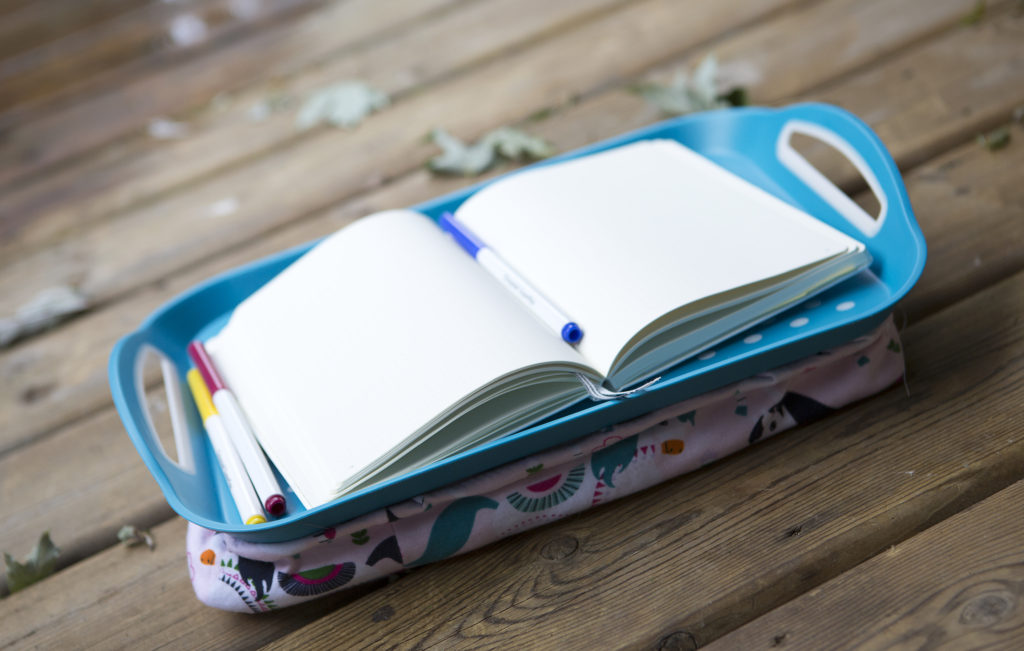
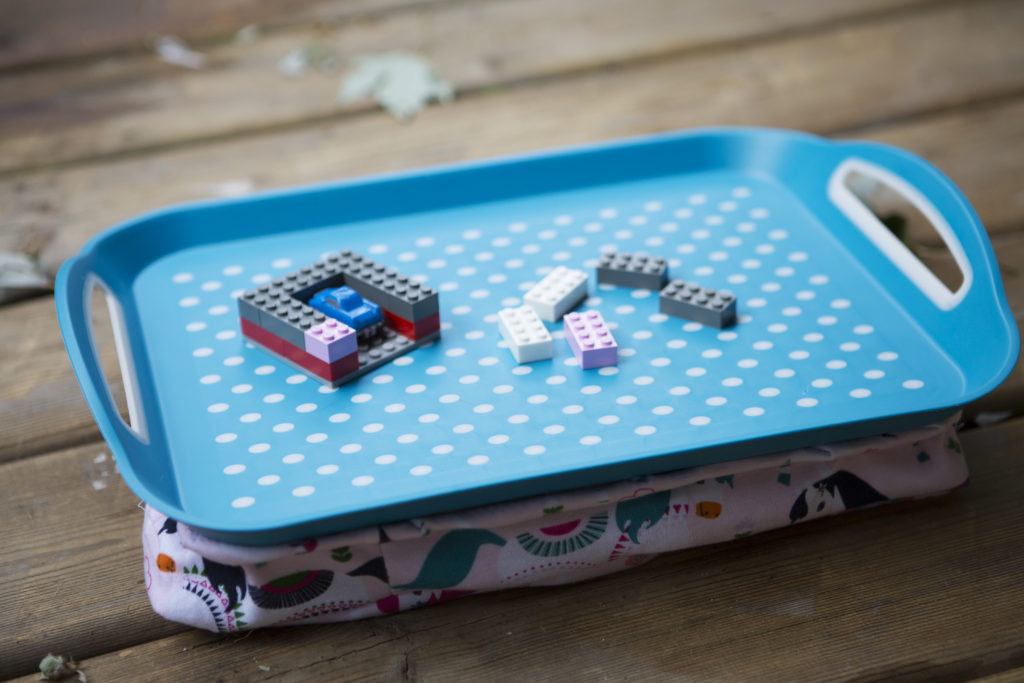
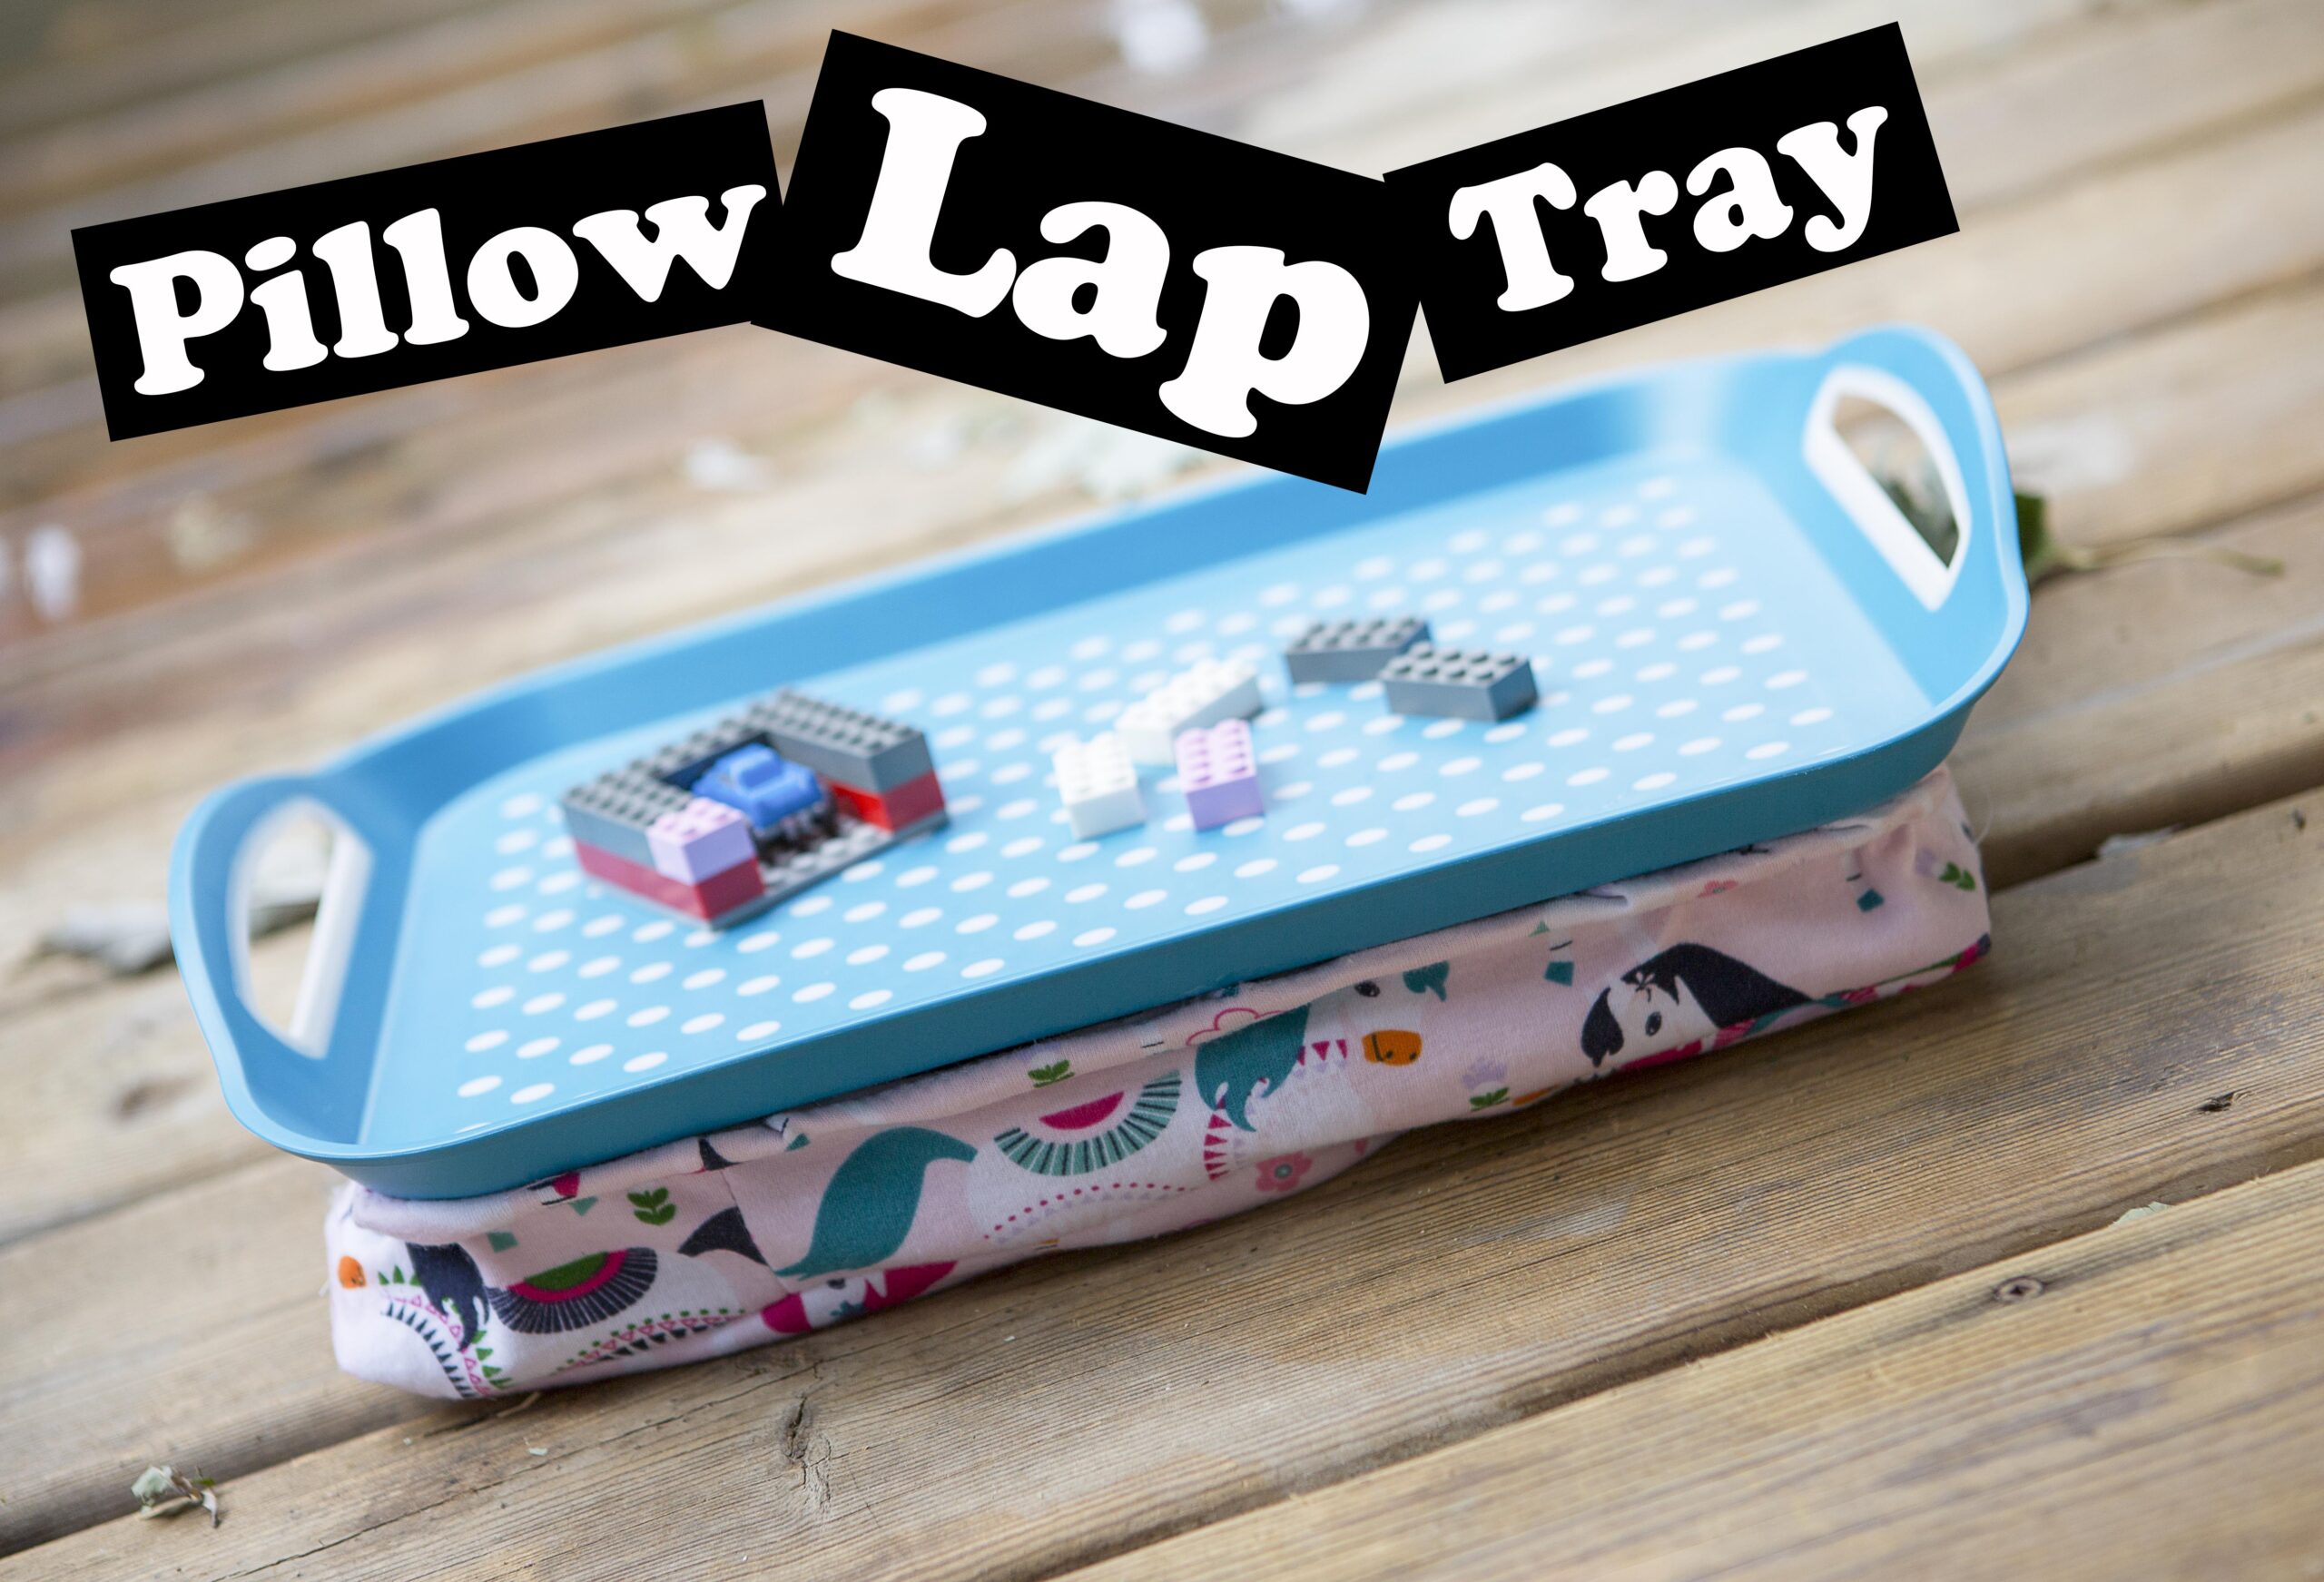
And then your done! my kids are going to love this in the car on the way to florida, you can also put some Velcro on it and on the back of a lego plate to create a lego tray!


0 Comments