
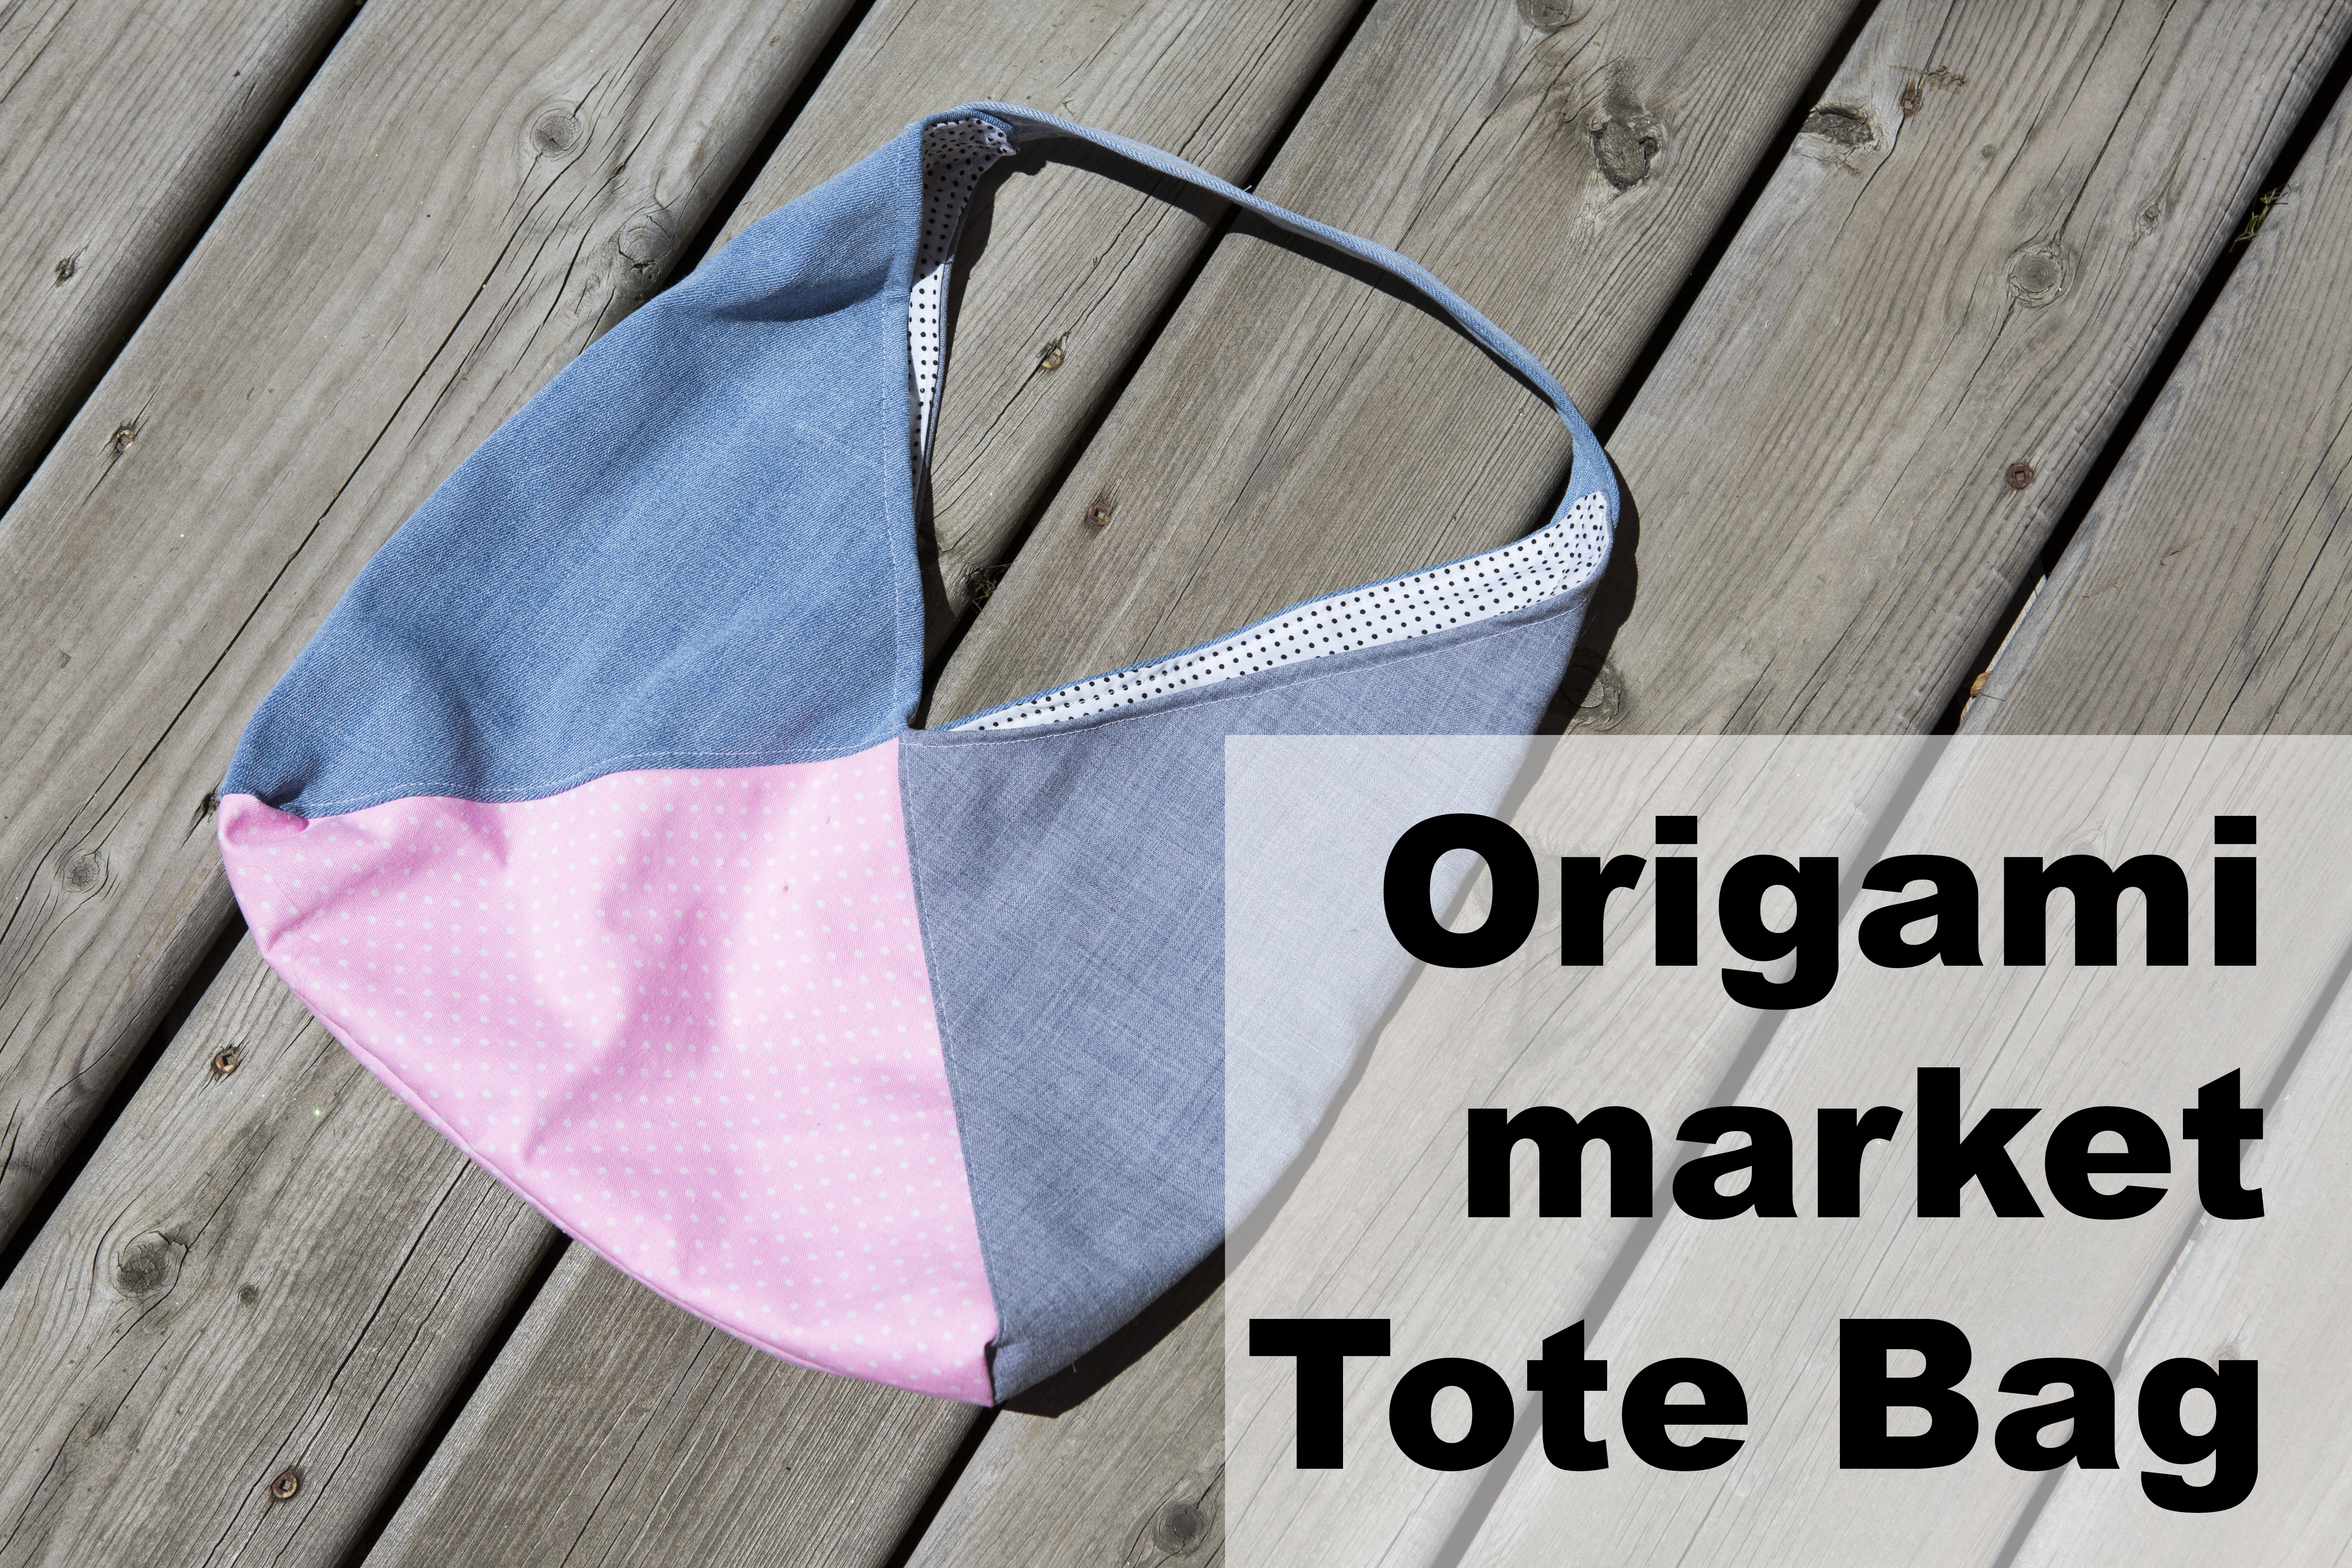
Welcome to the Free Origami Bag tutorial
This is not the tradition Origami pattern, the tradition is not a lined bag, this is fully lined and made with recycled Material
I love the patch work look to it so its the perfect opportunity to cut up some old blankets, jeans or clothes to create this beautiful bag
Use it as a market tote or a purse!
For this tutorial i used an old pair of jeans, a pink polka dot light jean material, and a polyester none stretch fabric. That’s the great thing about this project as long as all the pieces are similar you can use anything you got laying around and a great opportunity ot use up some large scraps!
Click the link to see how to create the pattern, i tried to post a photo but for some reason its not working so the link will pop up a PDF for you
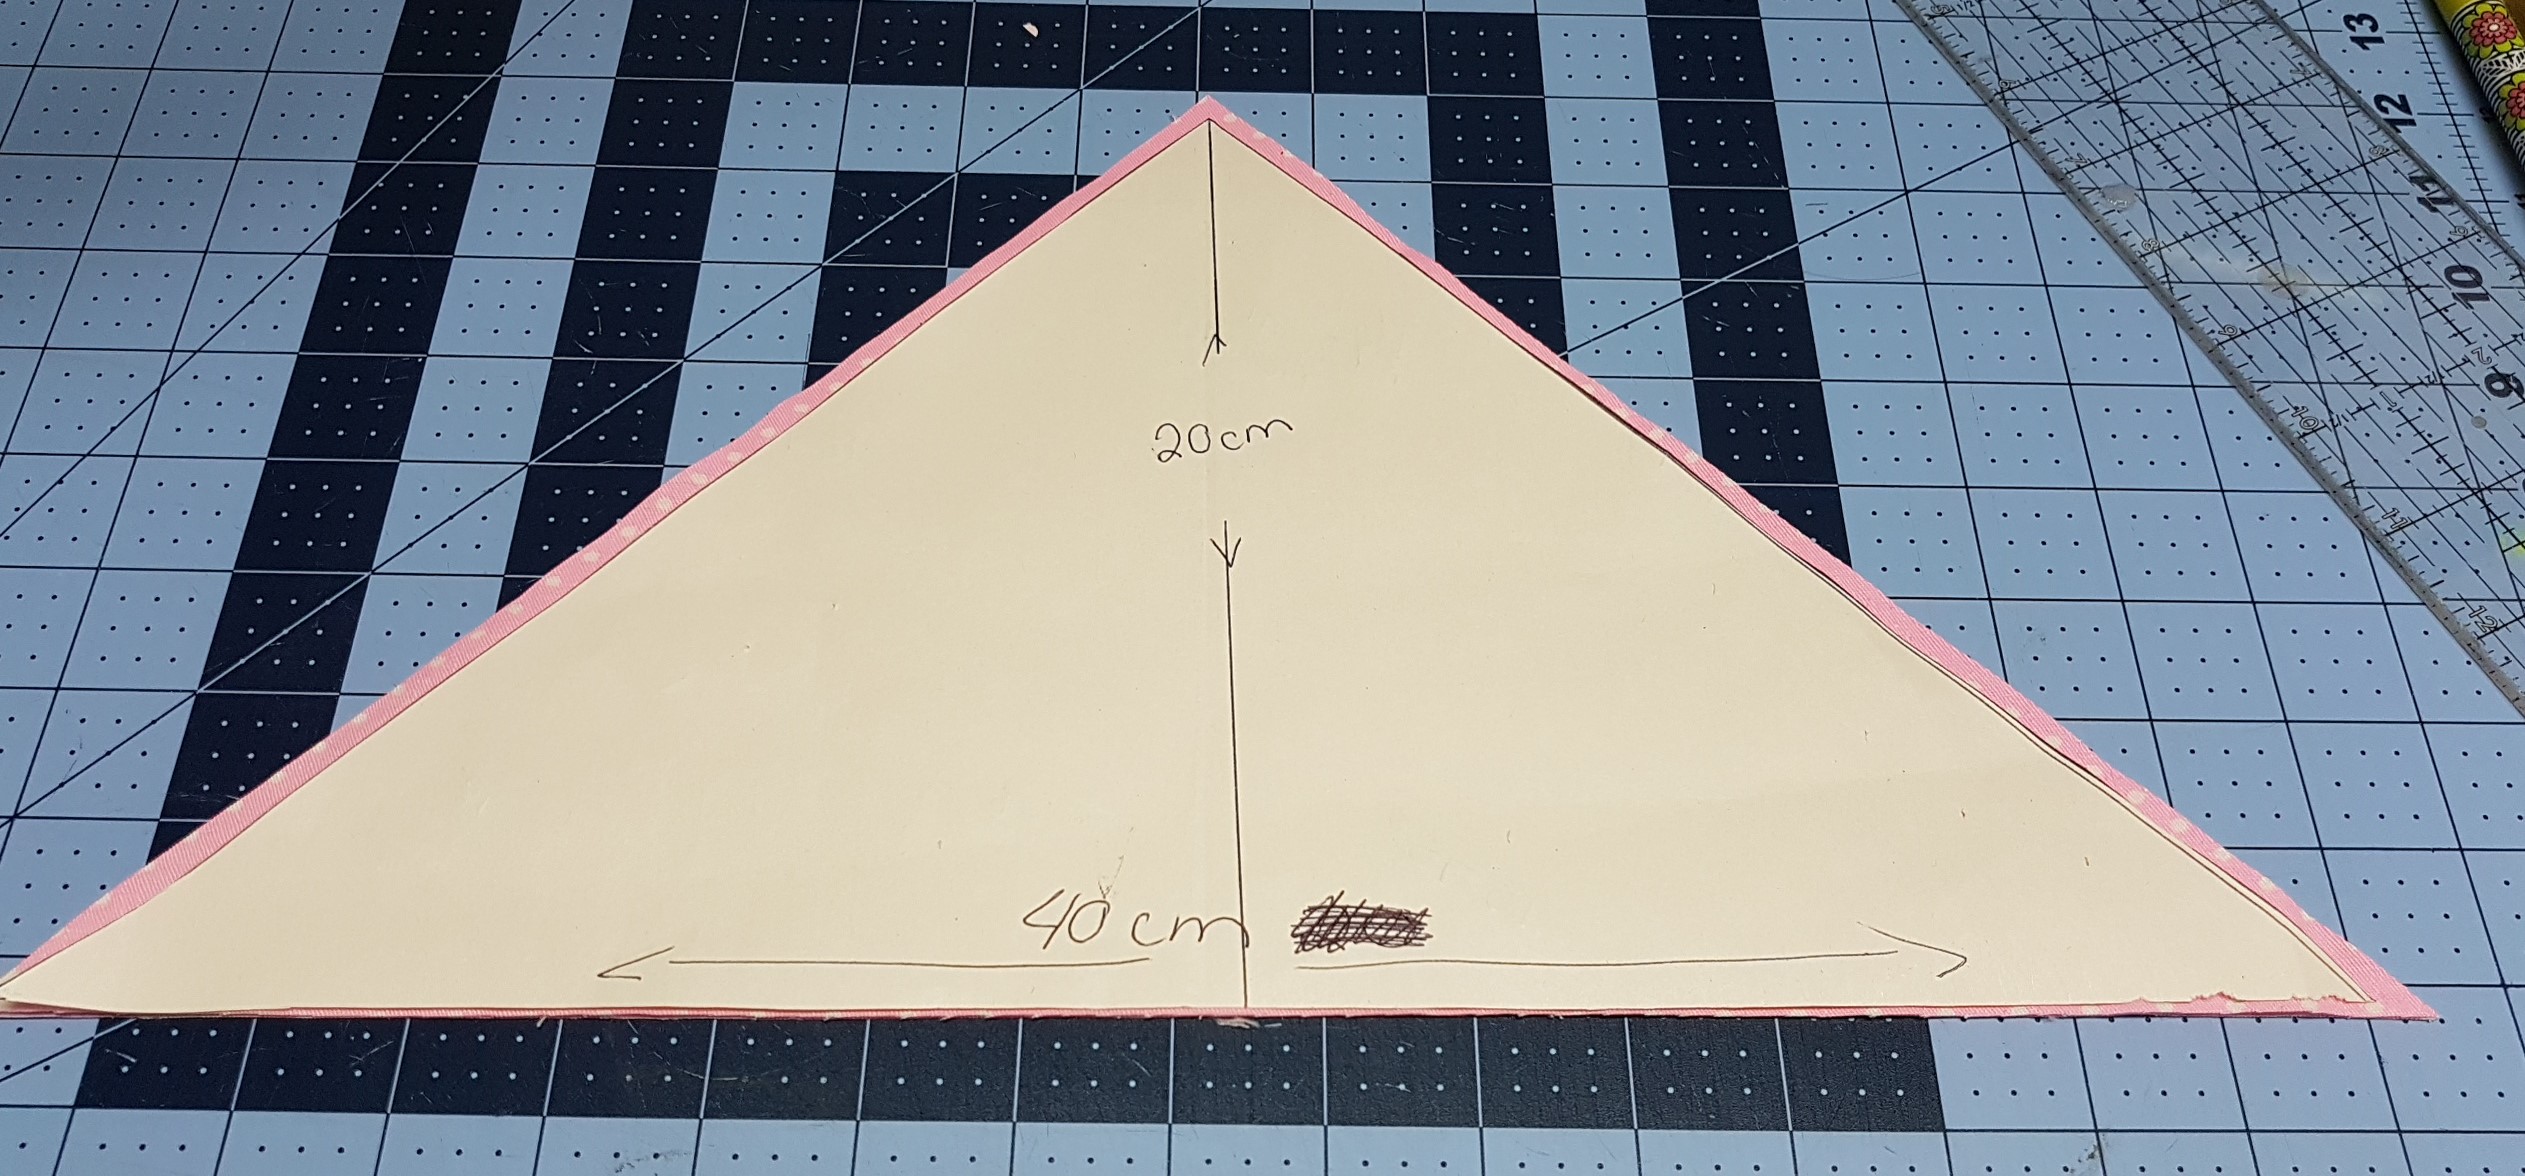
This is the main Triangle Measurements, when you cut your 6 triangles you will leave a 1/4″ seam allowance on the top sides of the triangles only
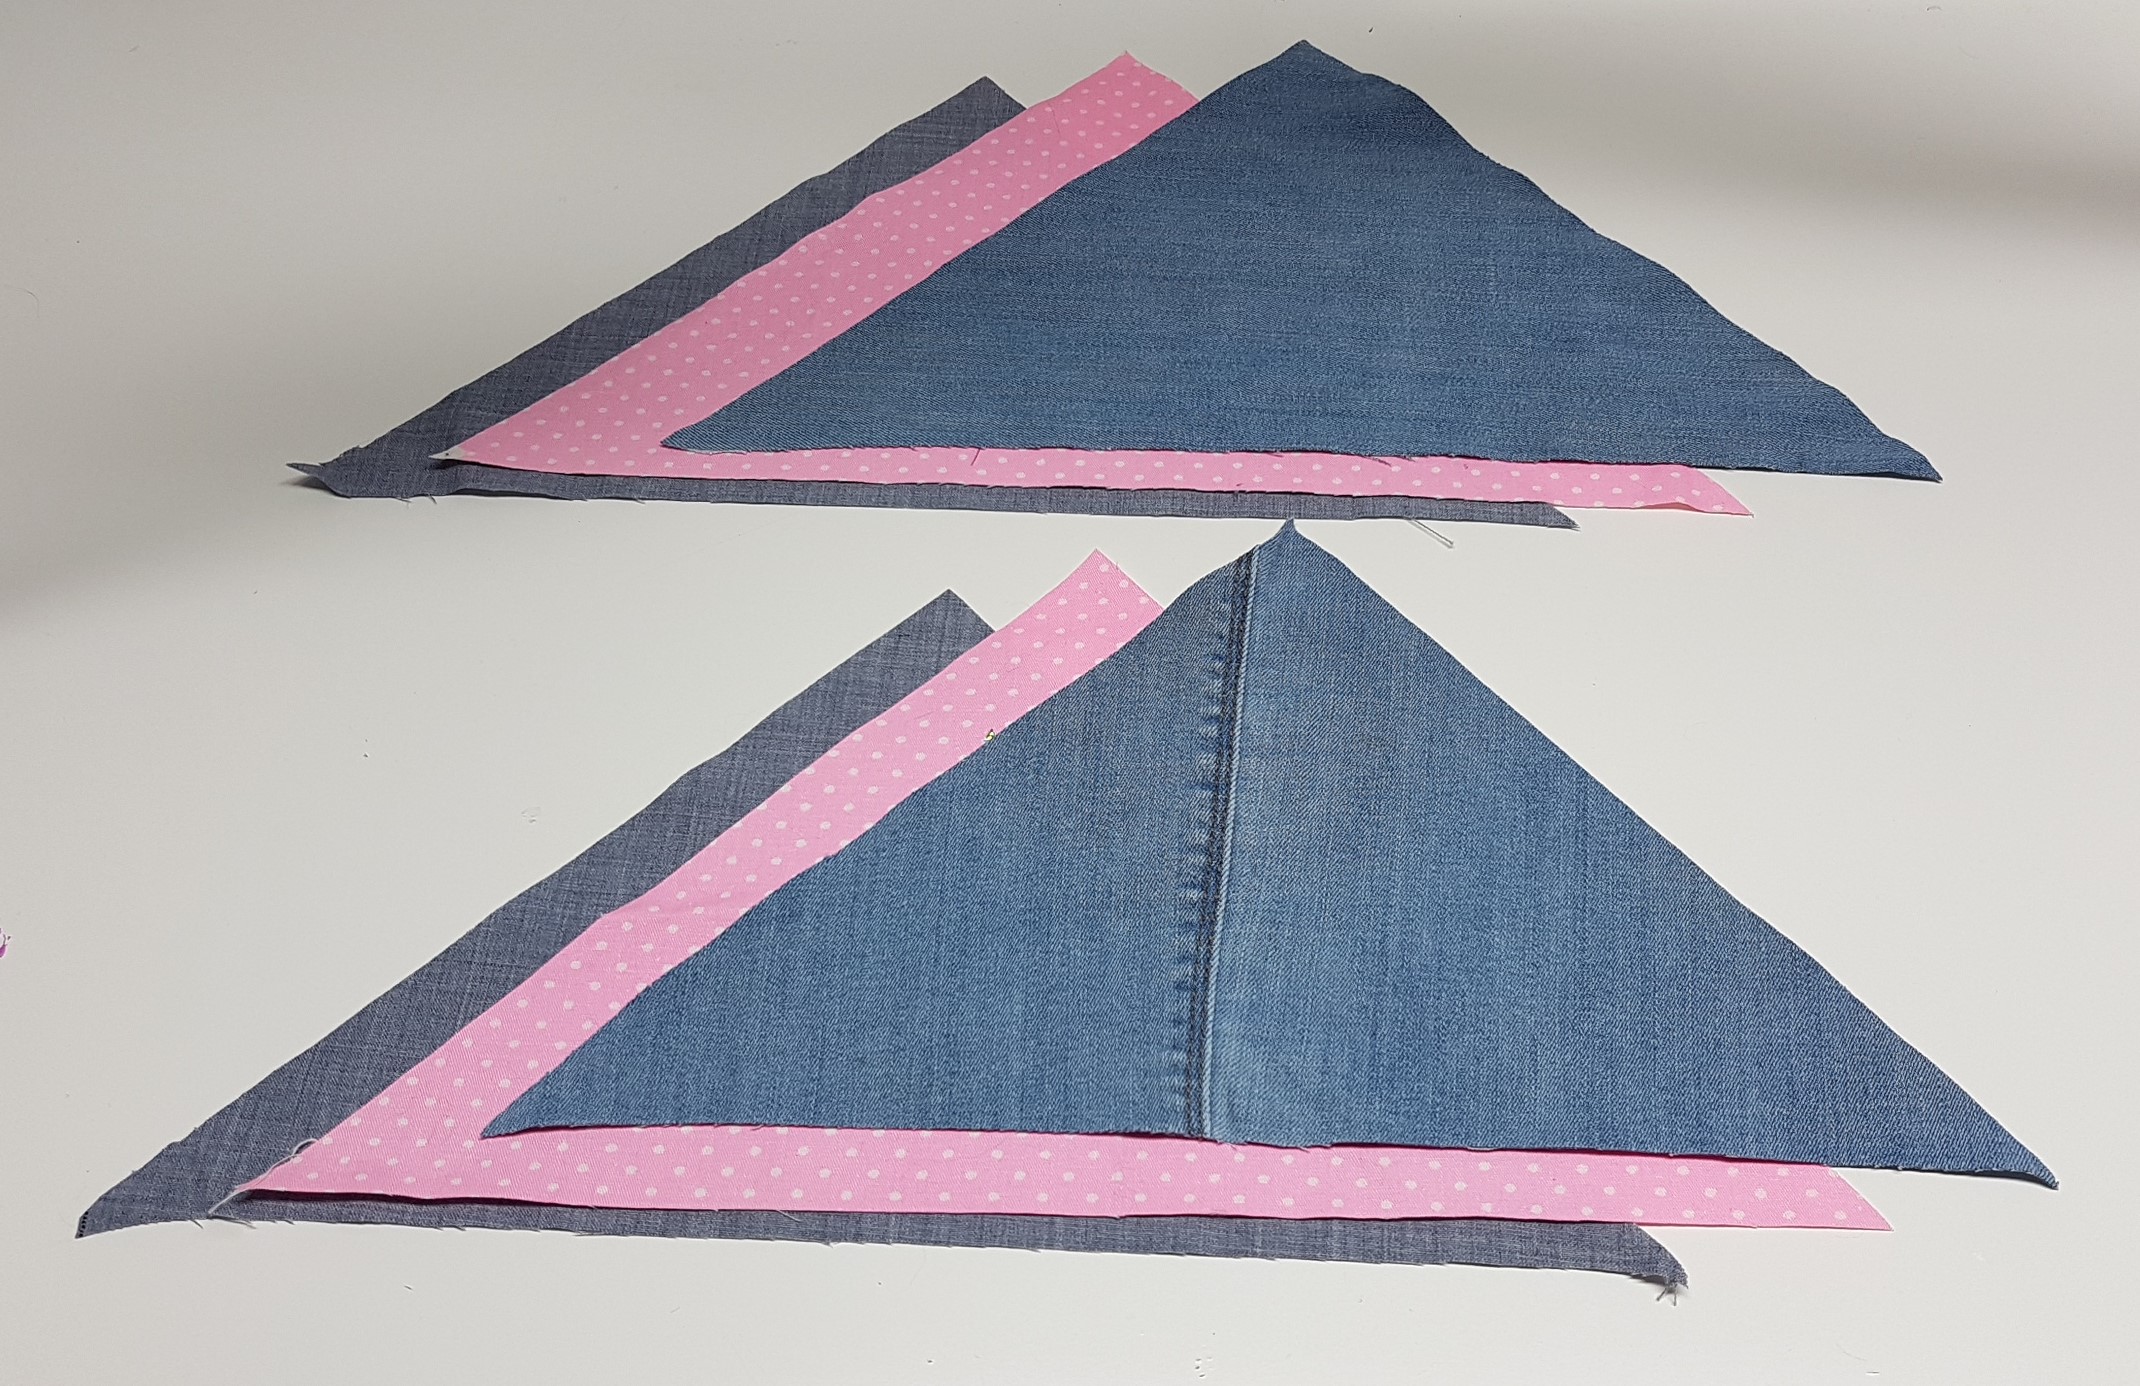
Cut out 6 Triangles, i did two each so both sides of my bag are the same but you can choose 6 different fabrics
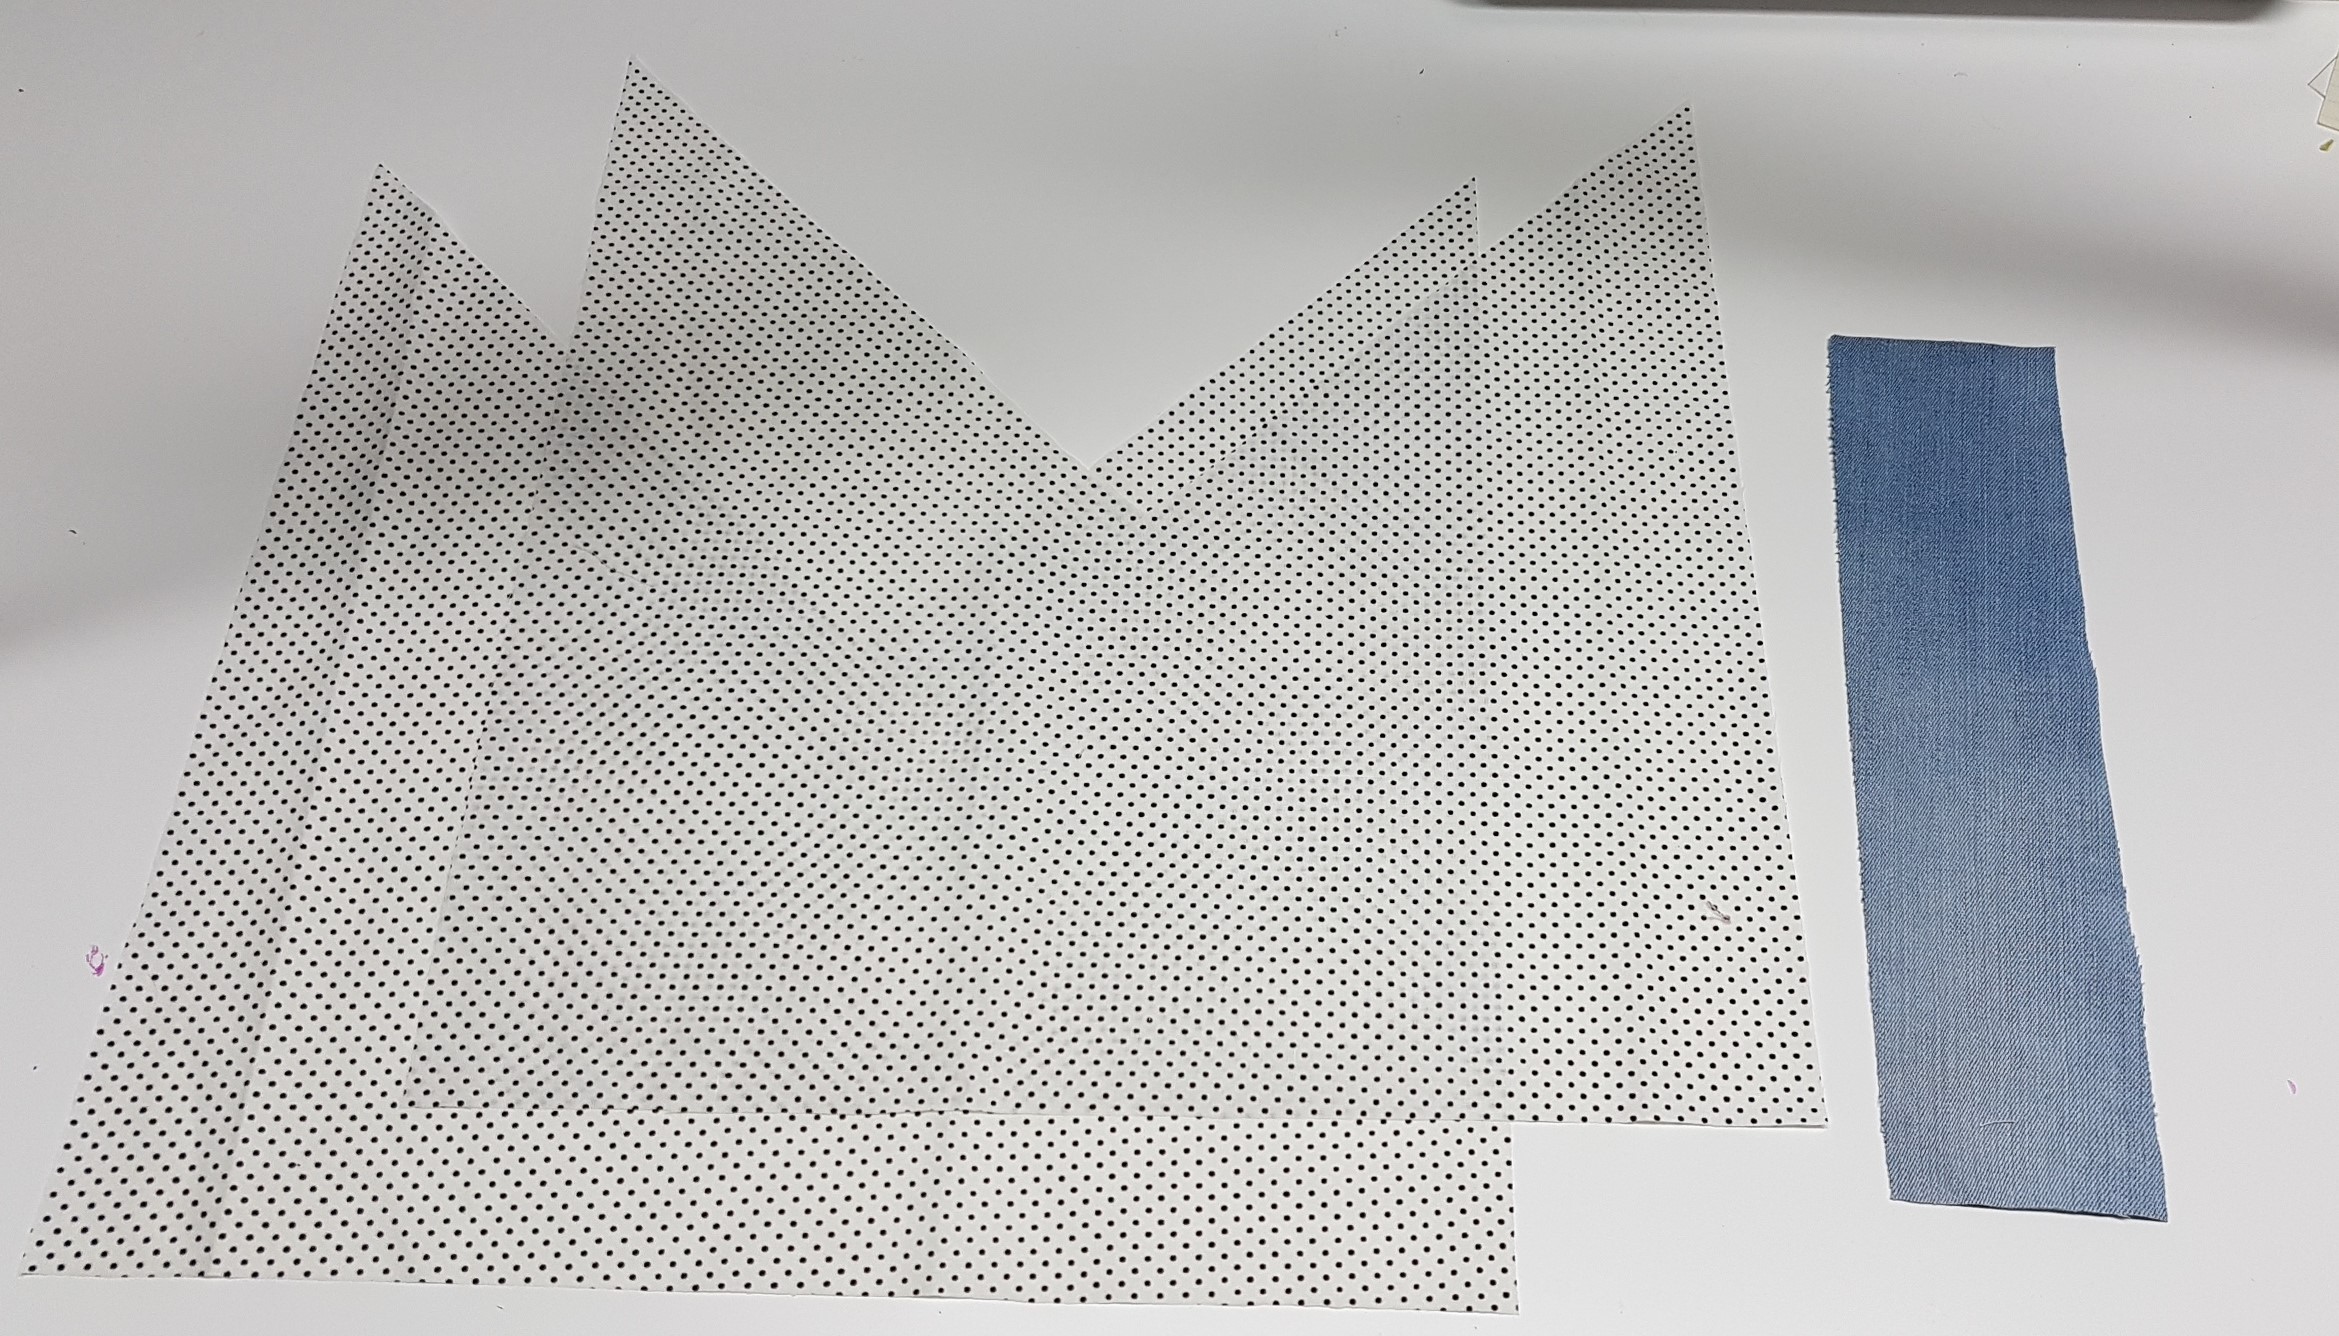
Refer to the pdf to create the lining and the strap
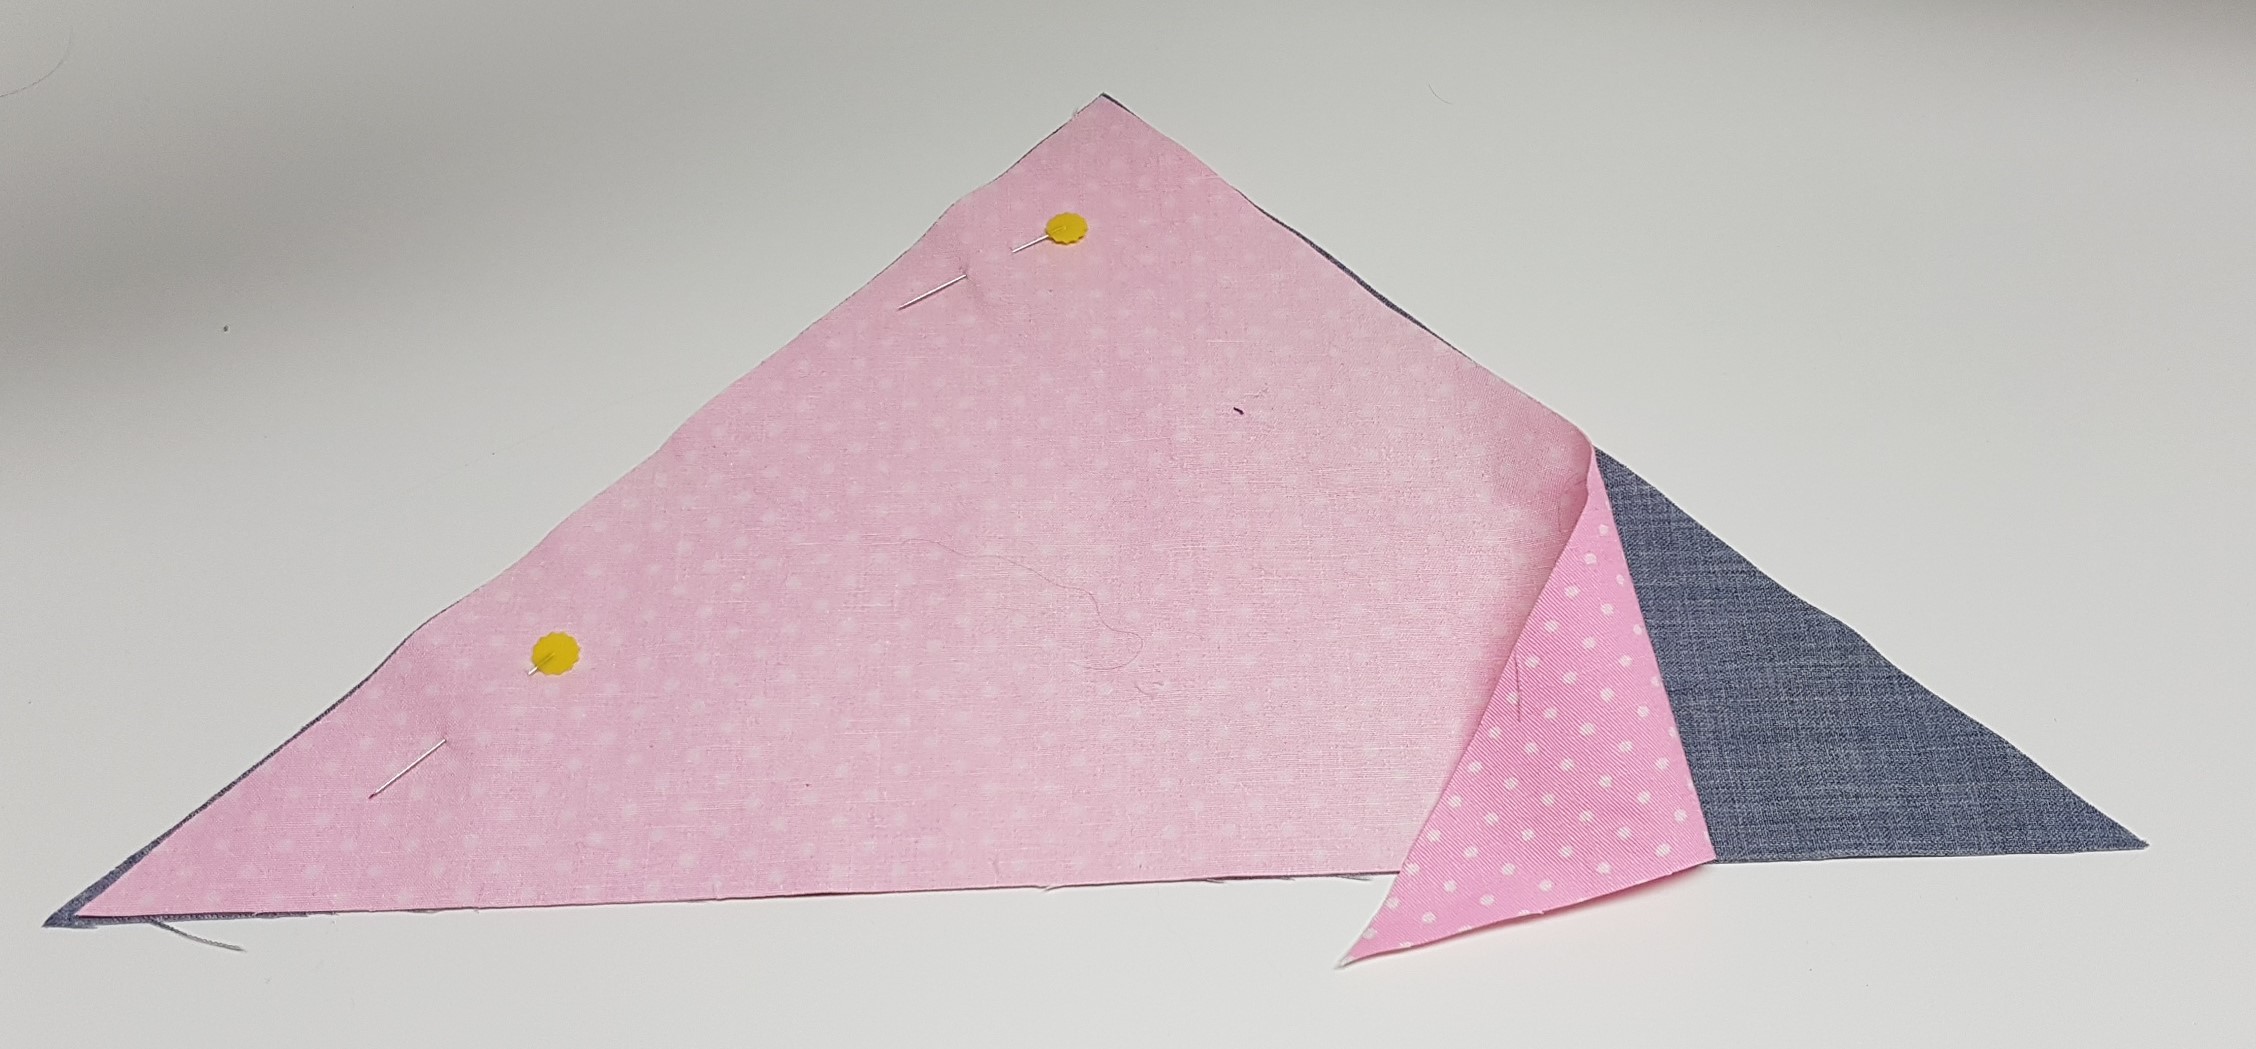
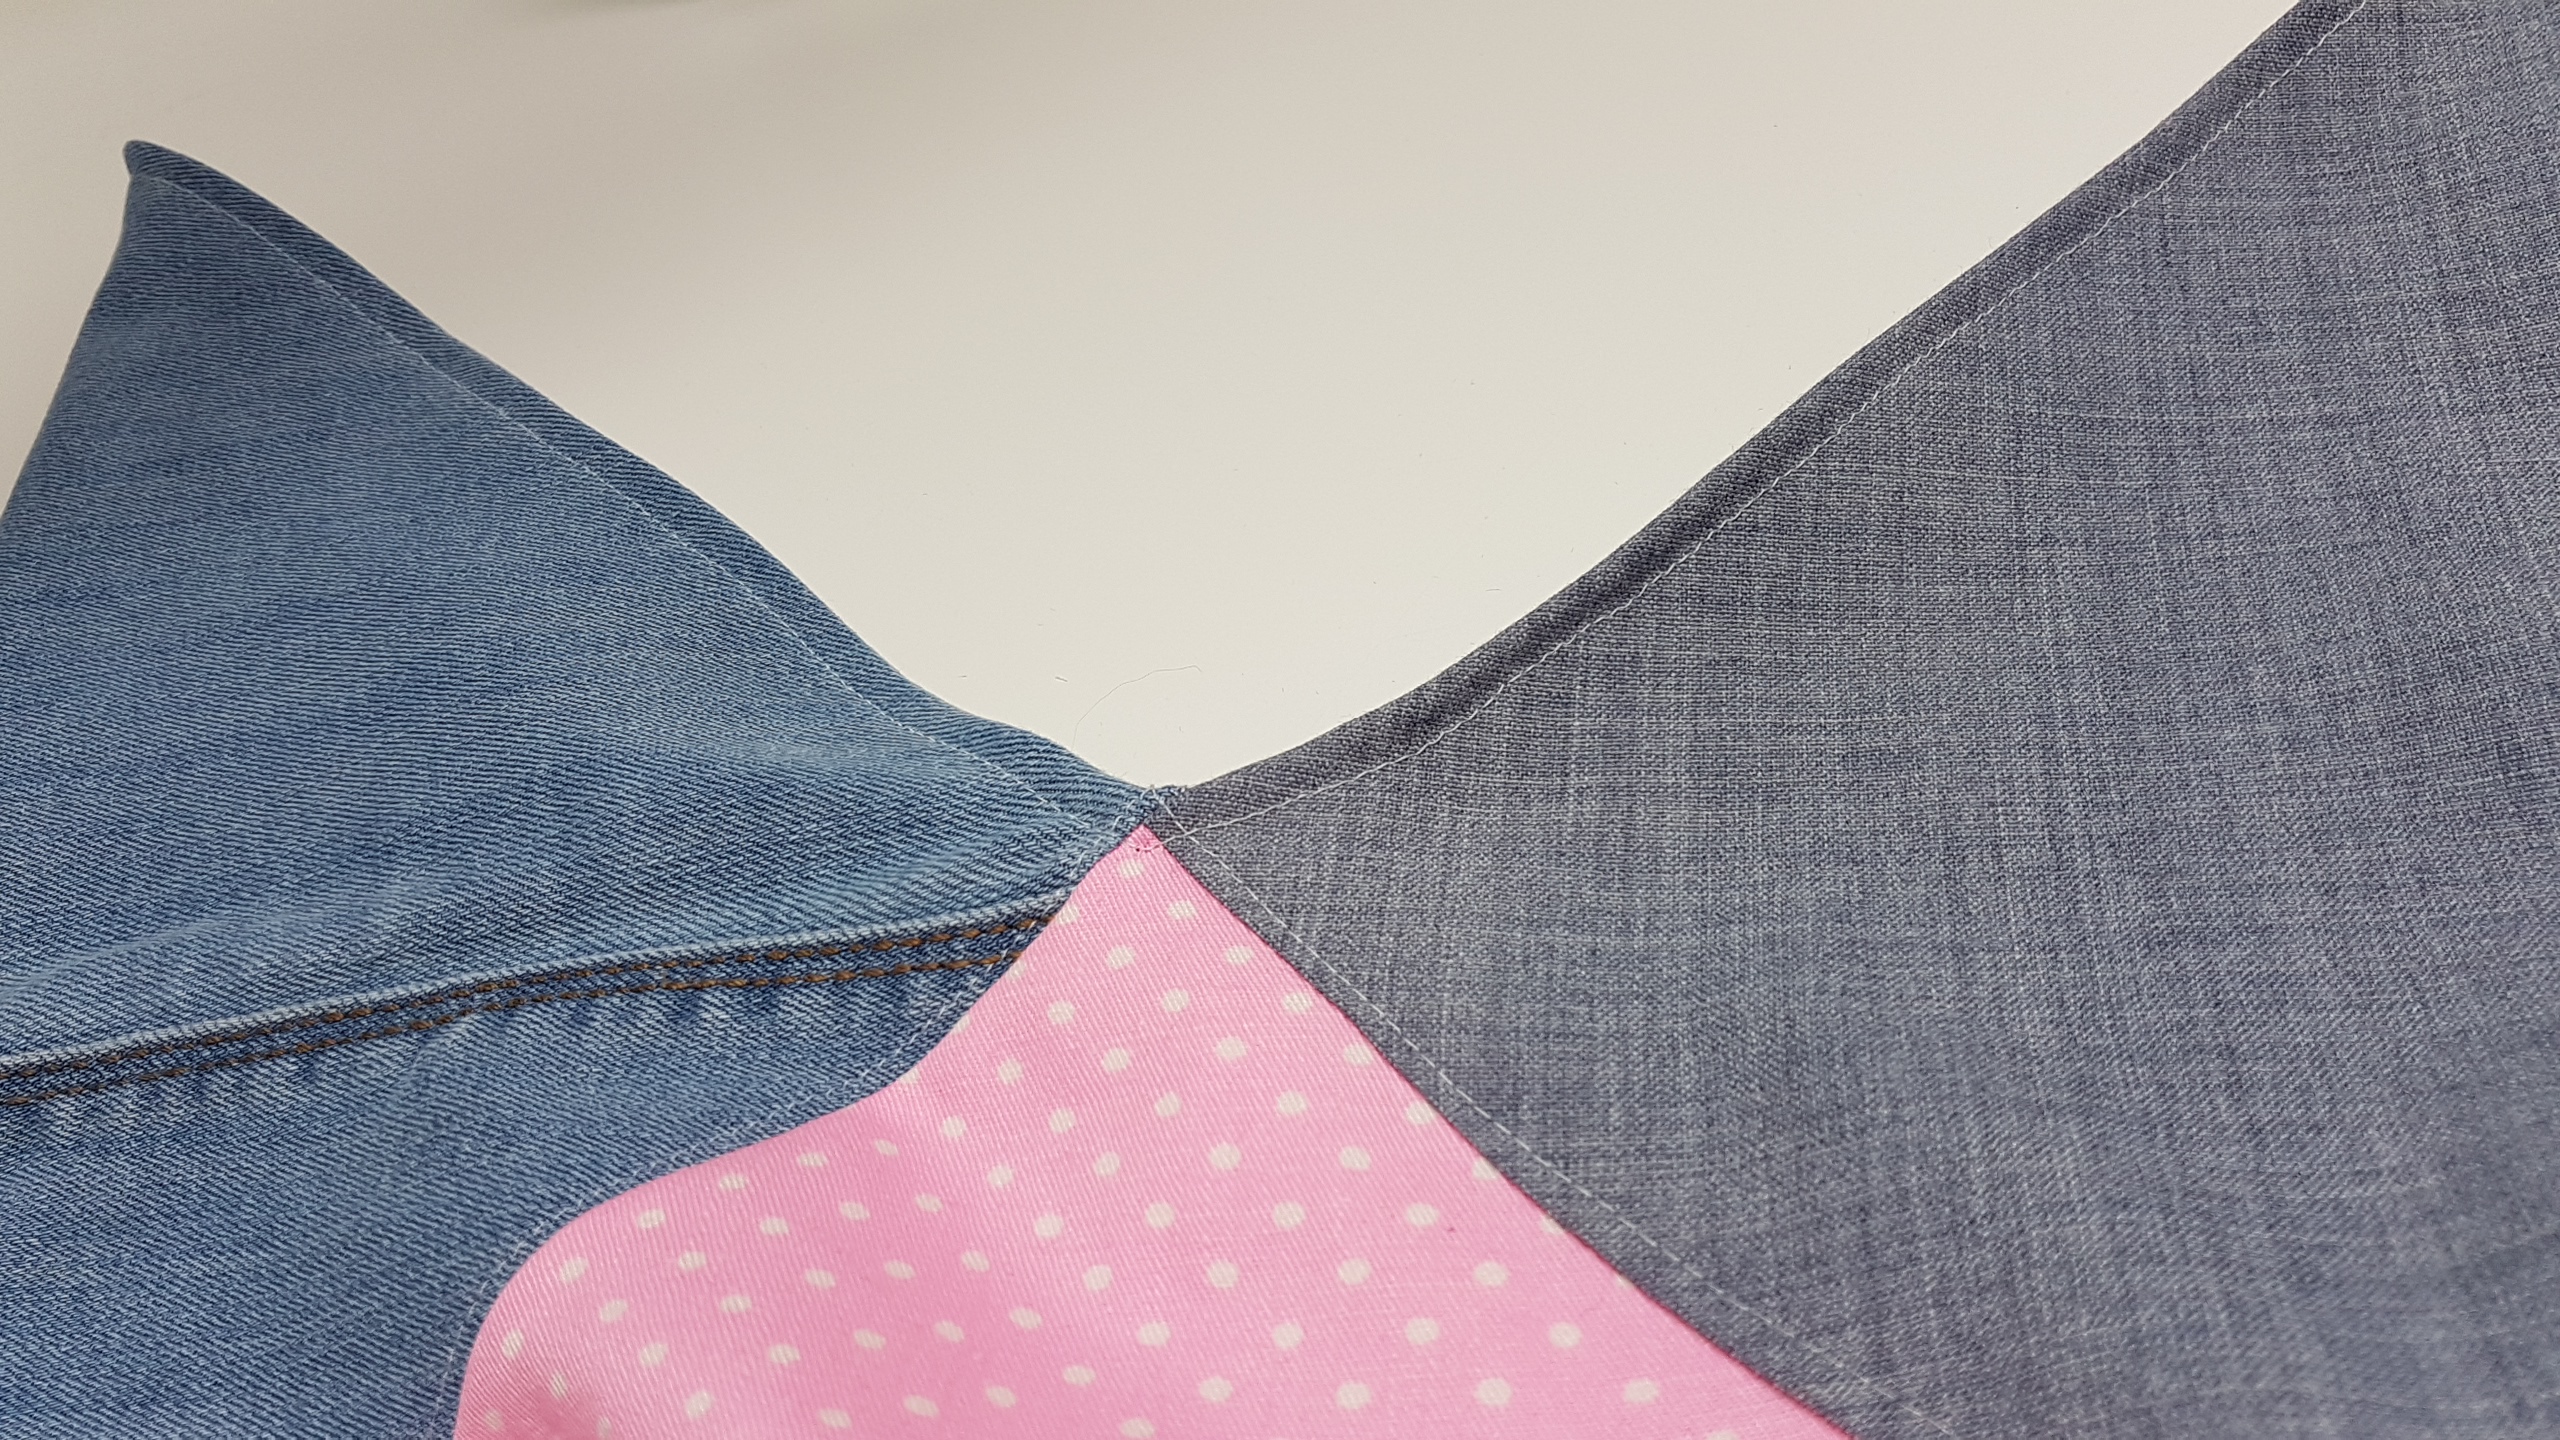
place two triangles right sides together, sew along one of the short sides with a 1/4″ seam allowance
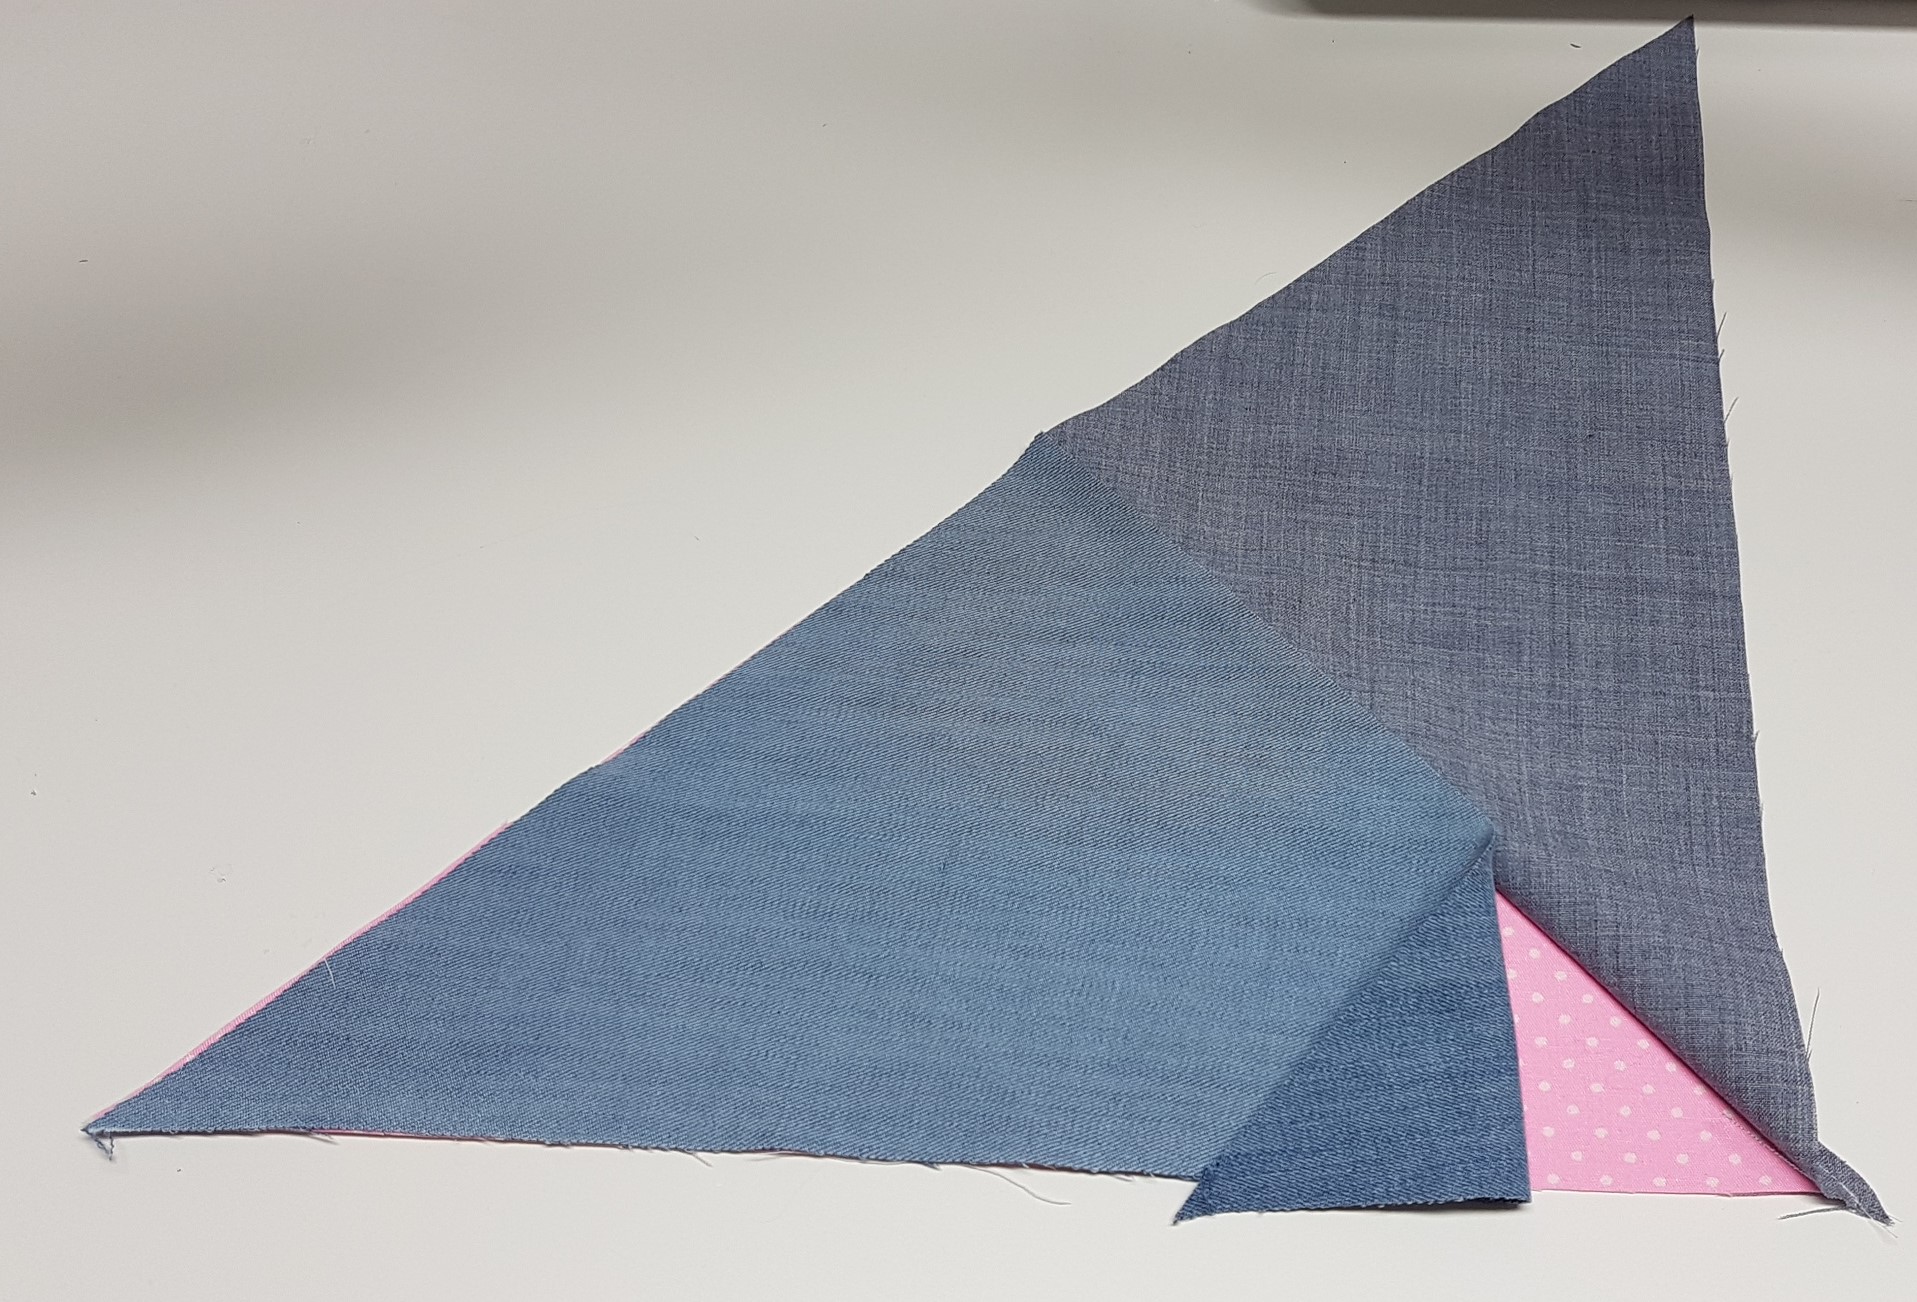
Open that piece and place the third triangles with the short sides lined up on the other side of a triangle, where you place this triangle will decide which triangle you want at the bottom of the bag
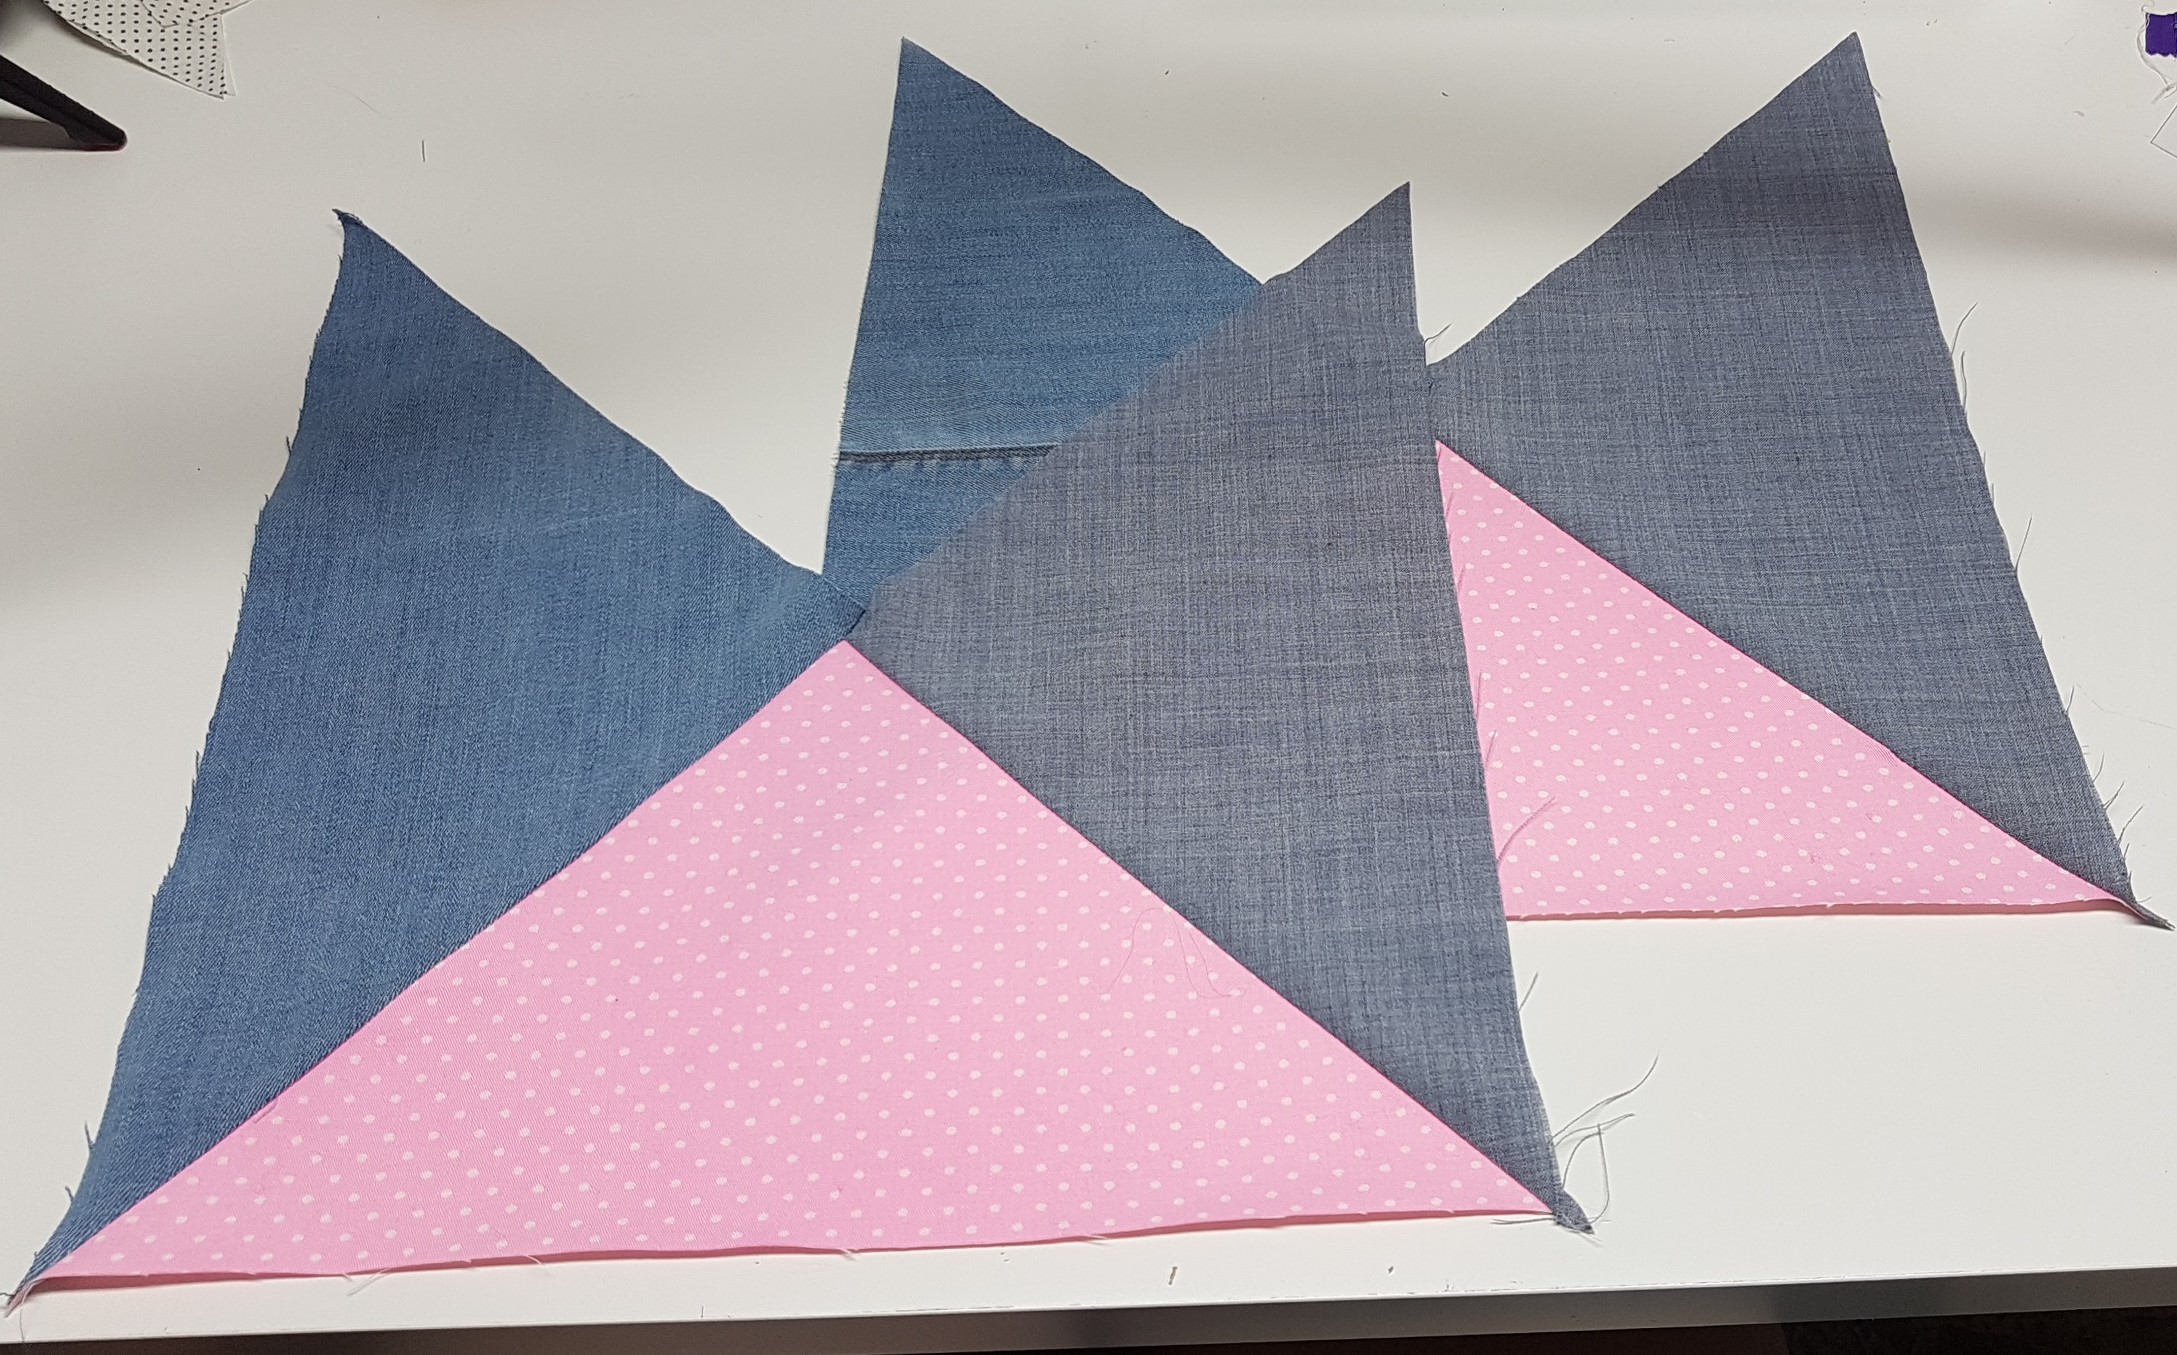
Repeat these steps to the remaining 3 triangles, now you have completed either side of the bag
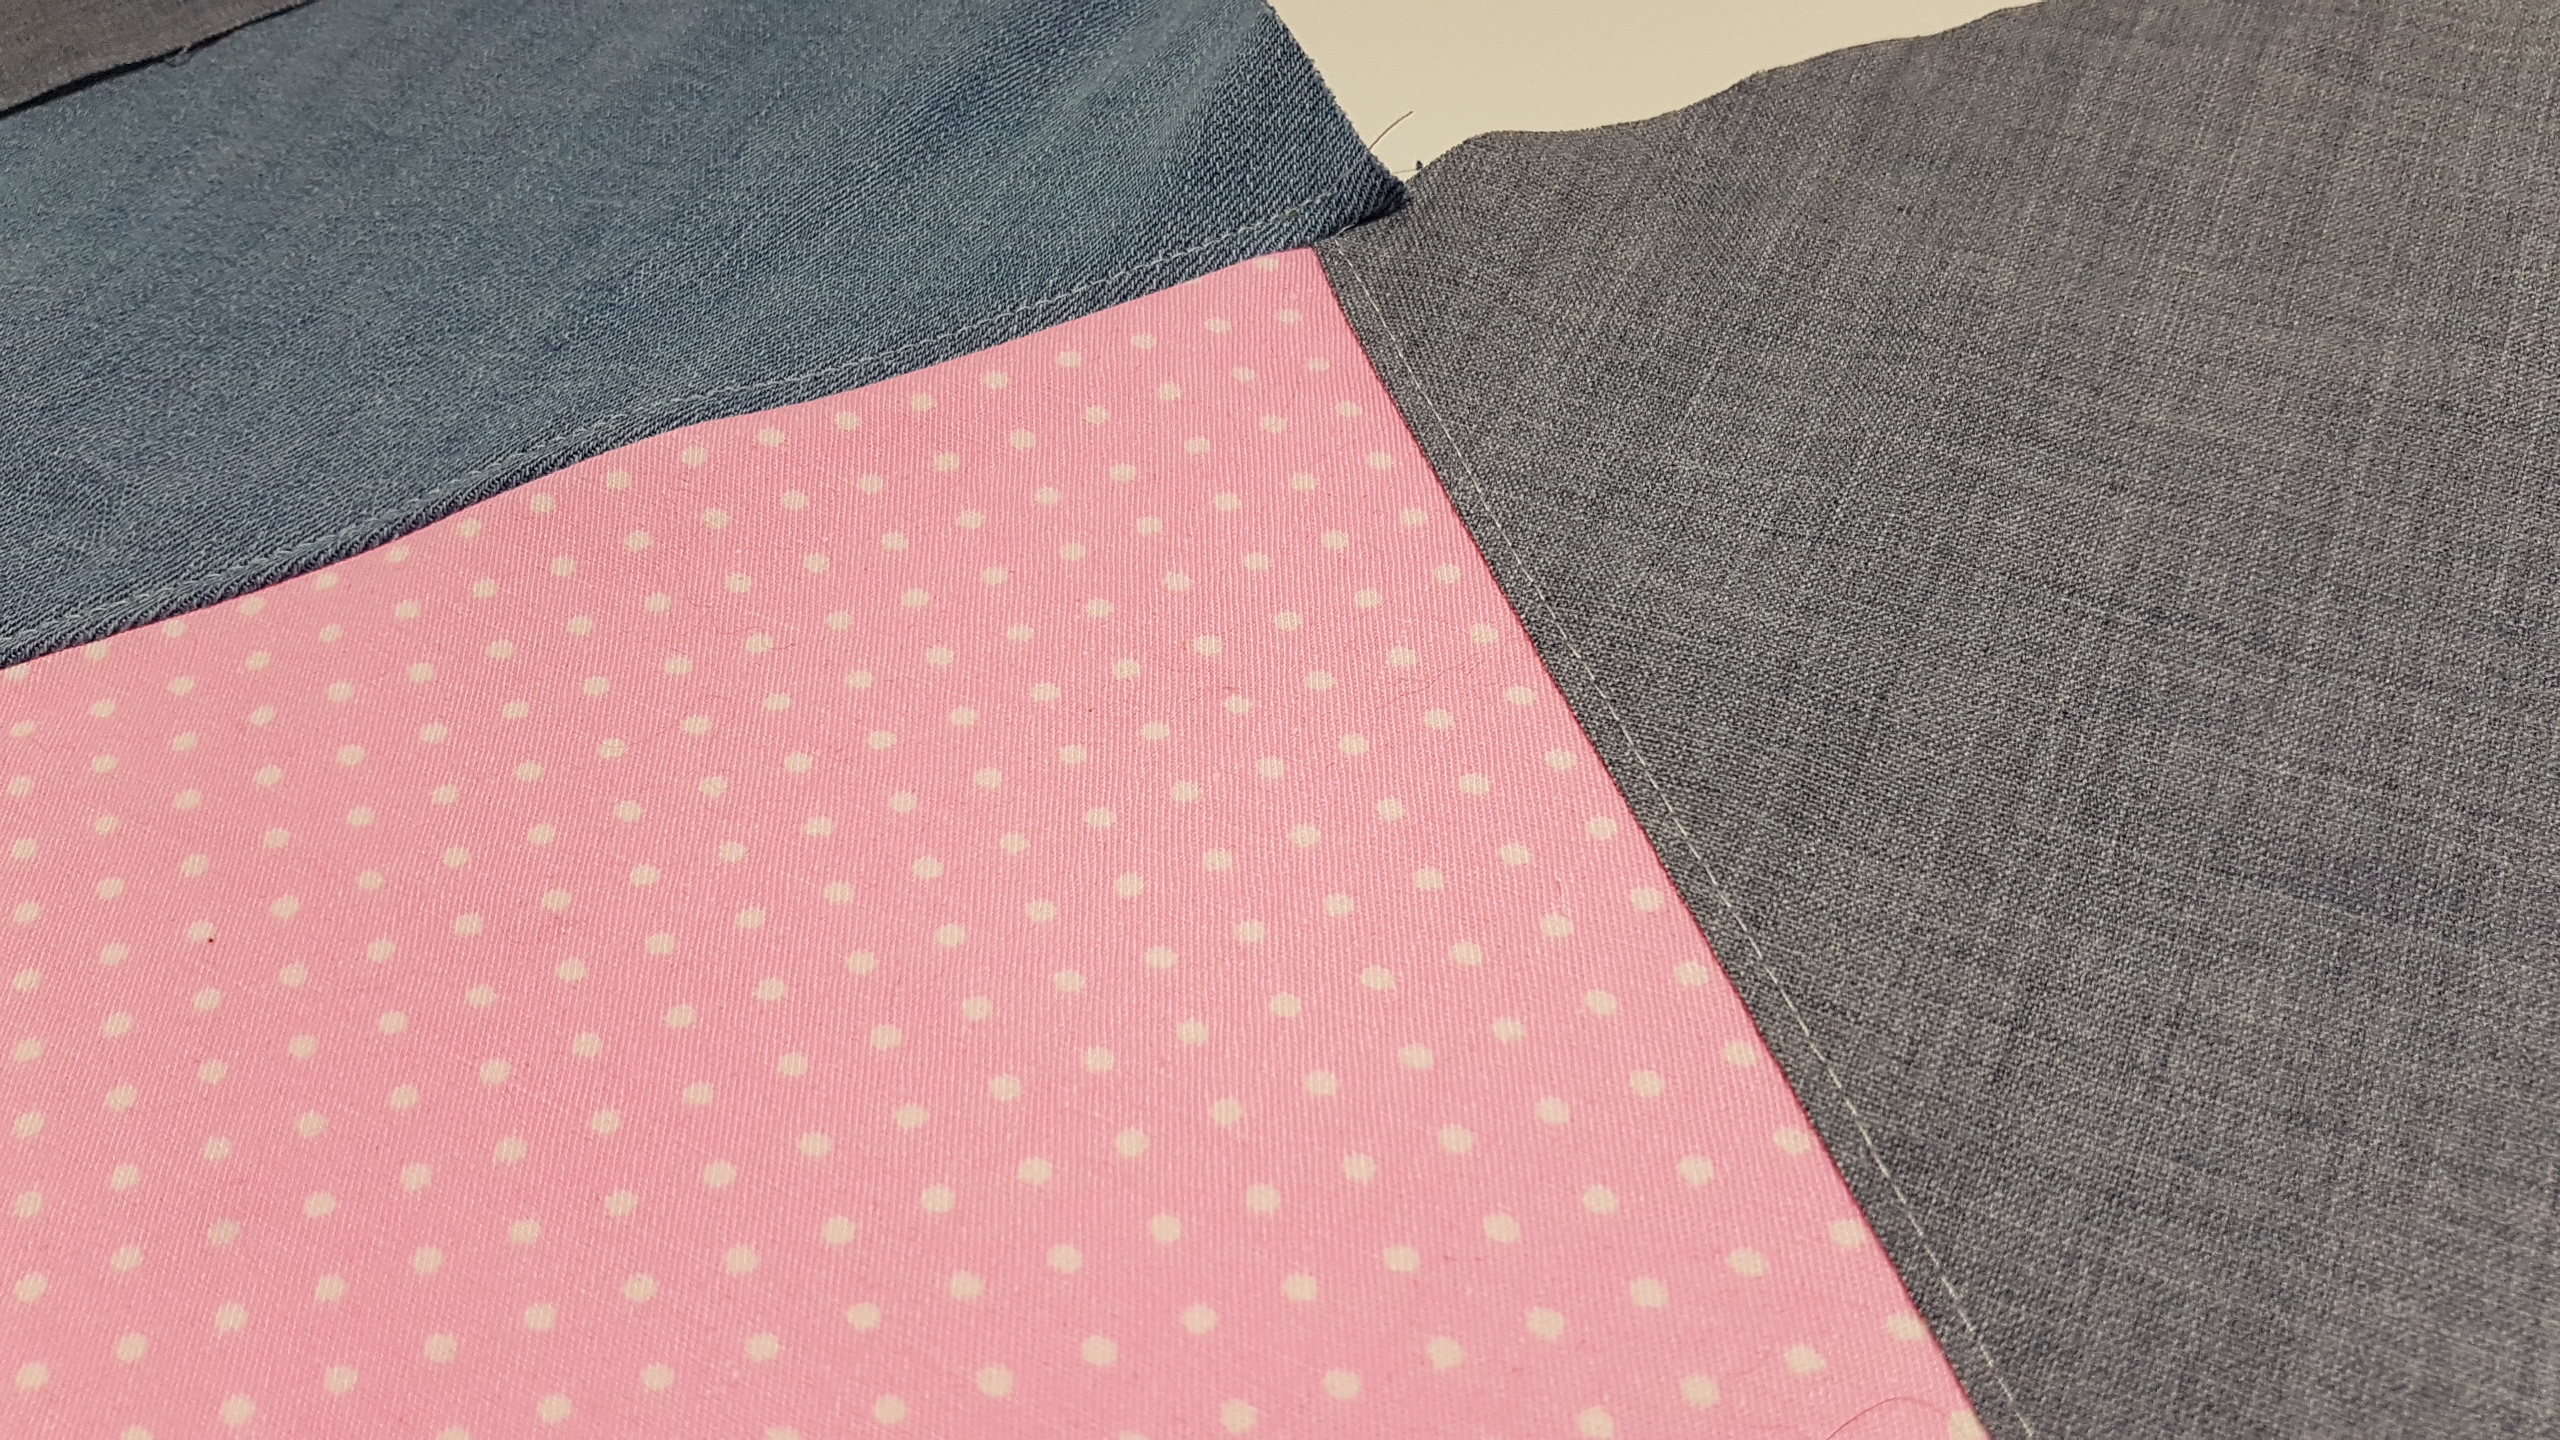
to add a little visual interest to your bag top stitch along the seams, helps flatten it out and makes it look extra pretty!
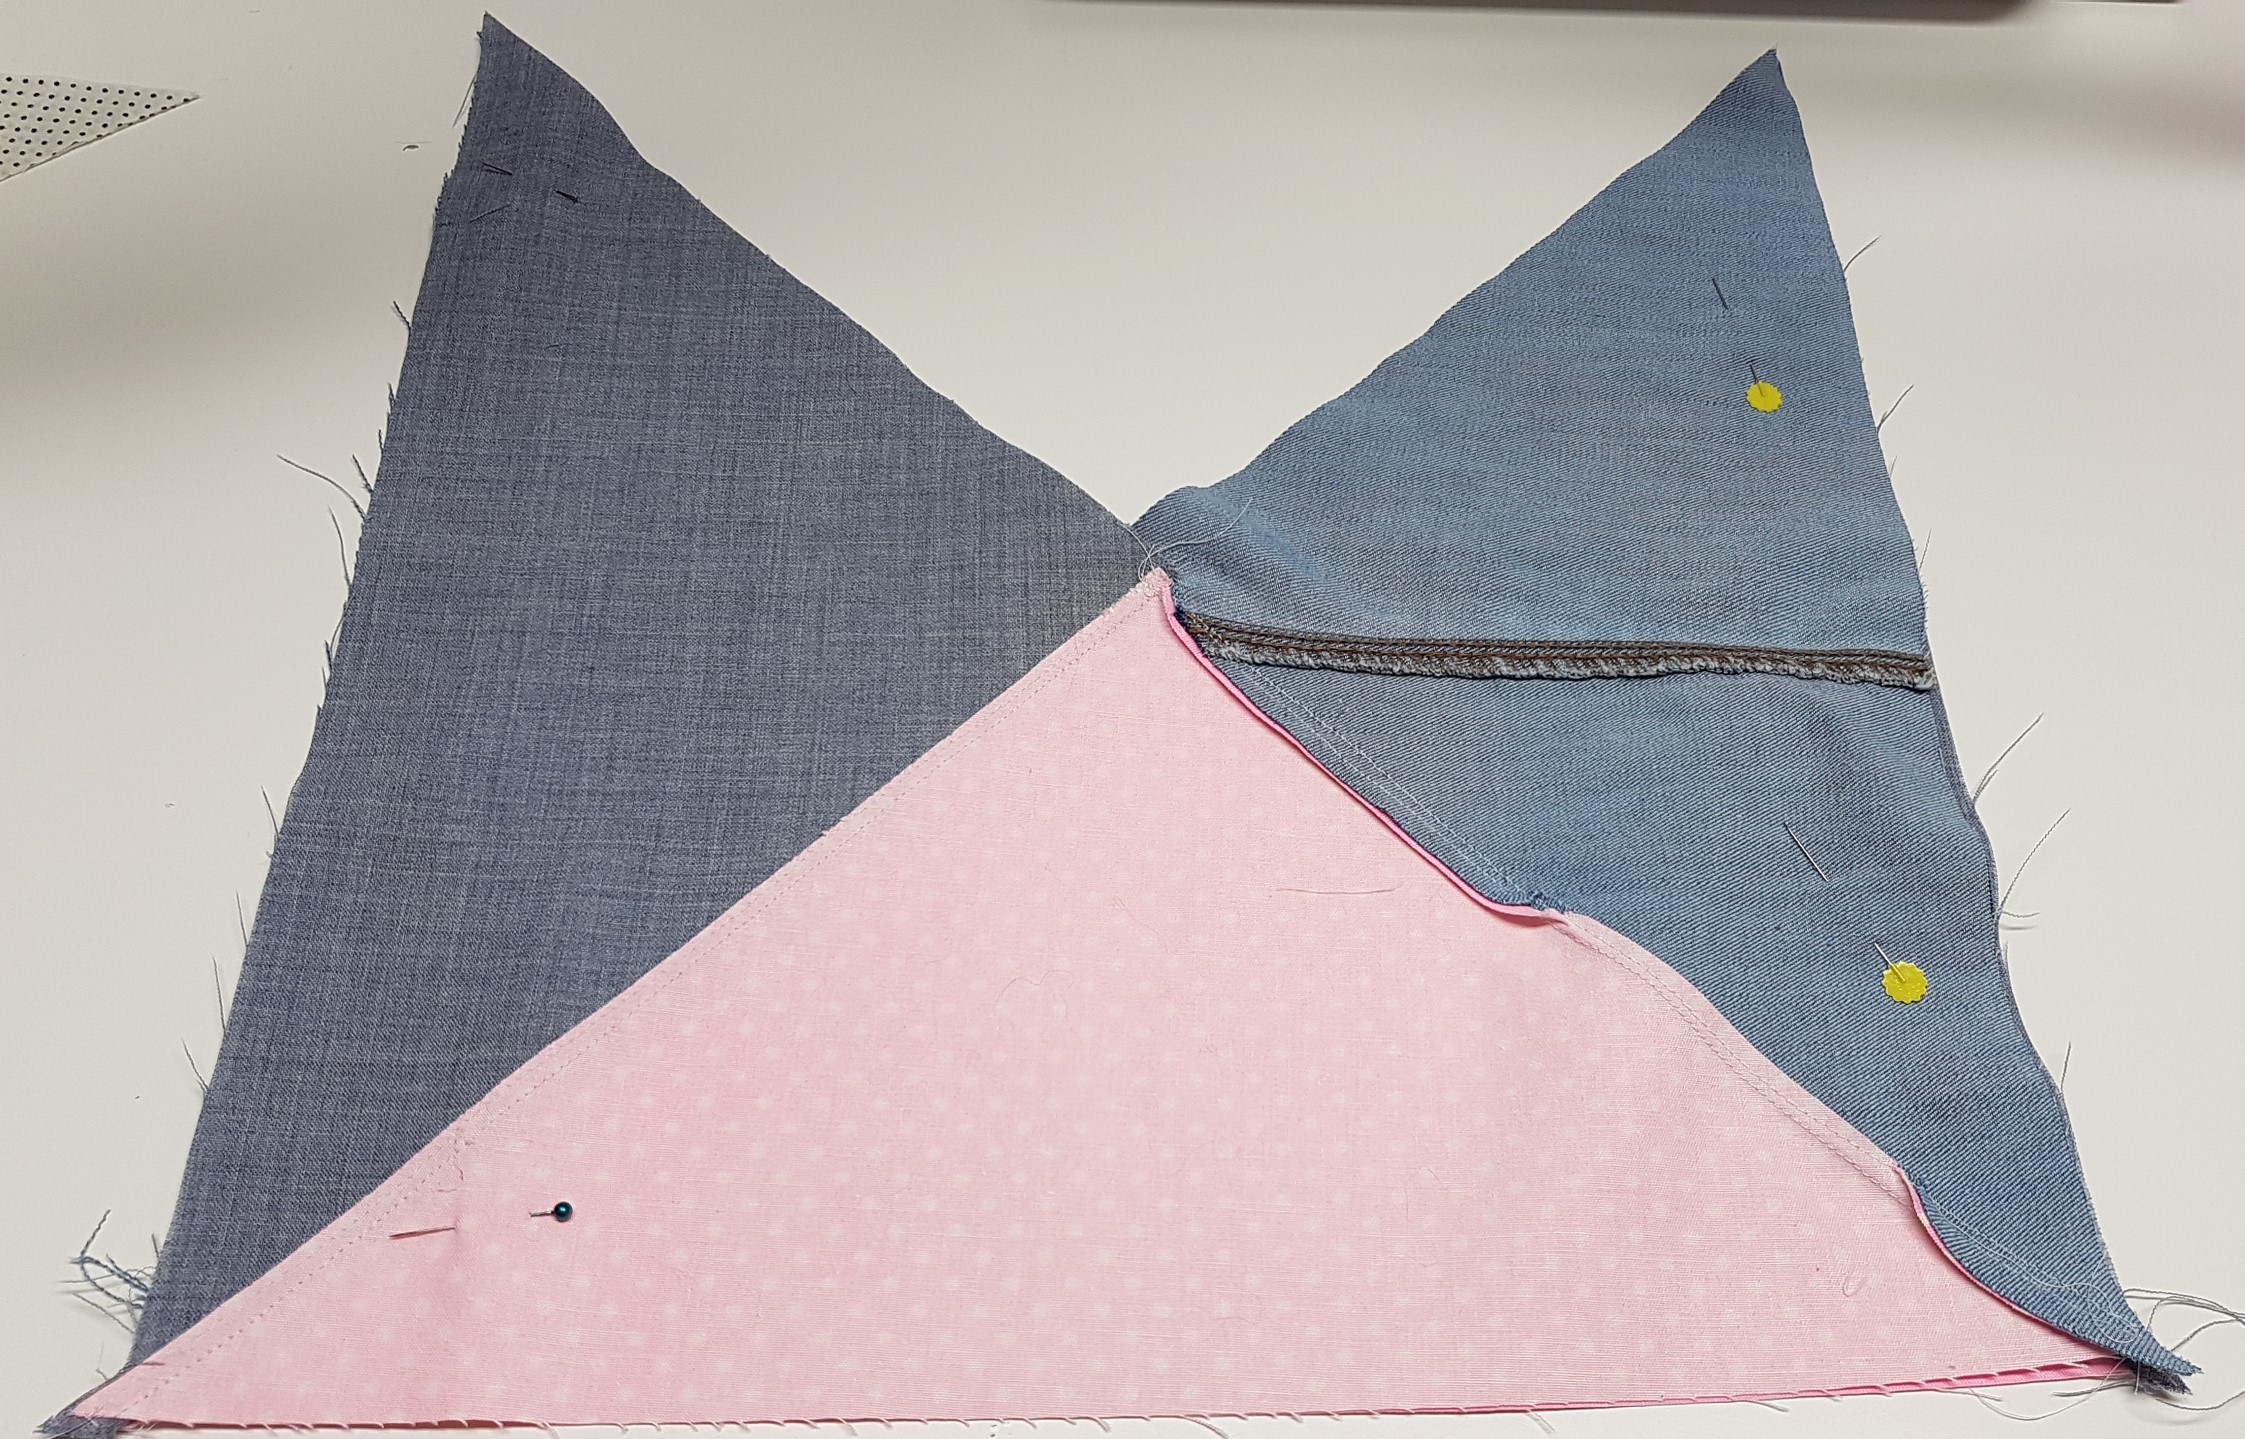
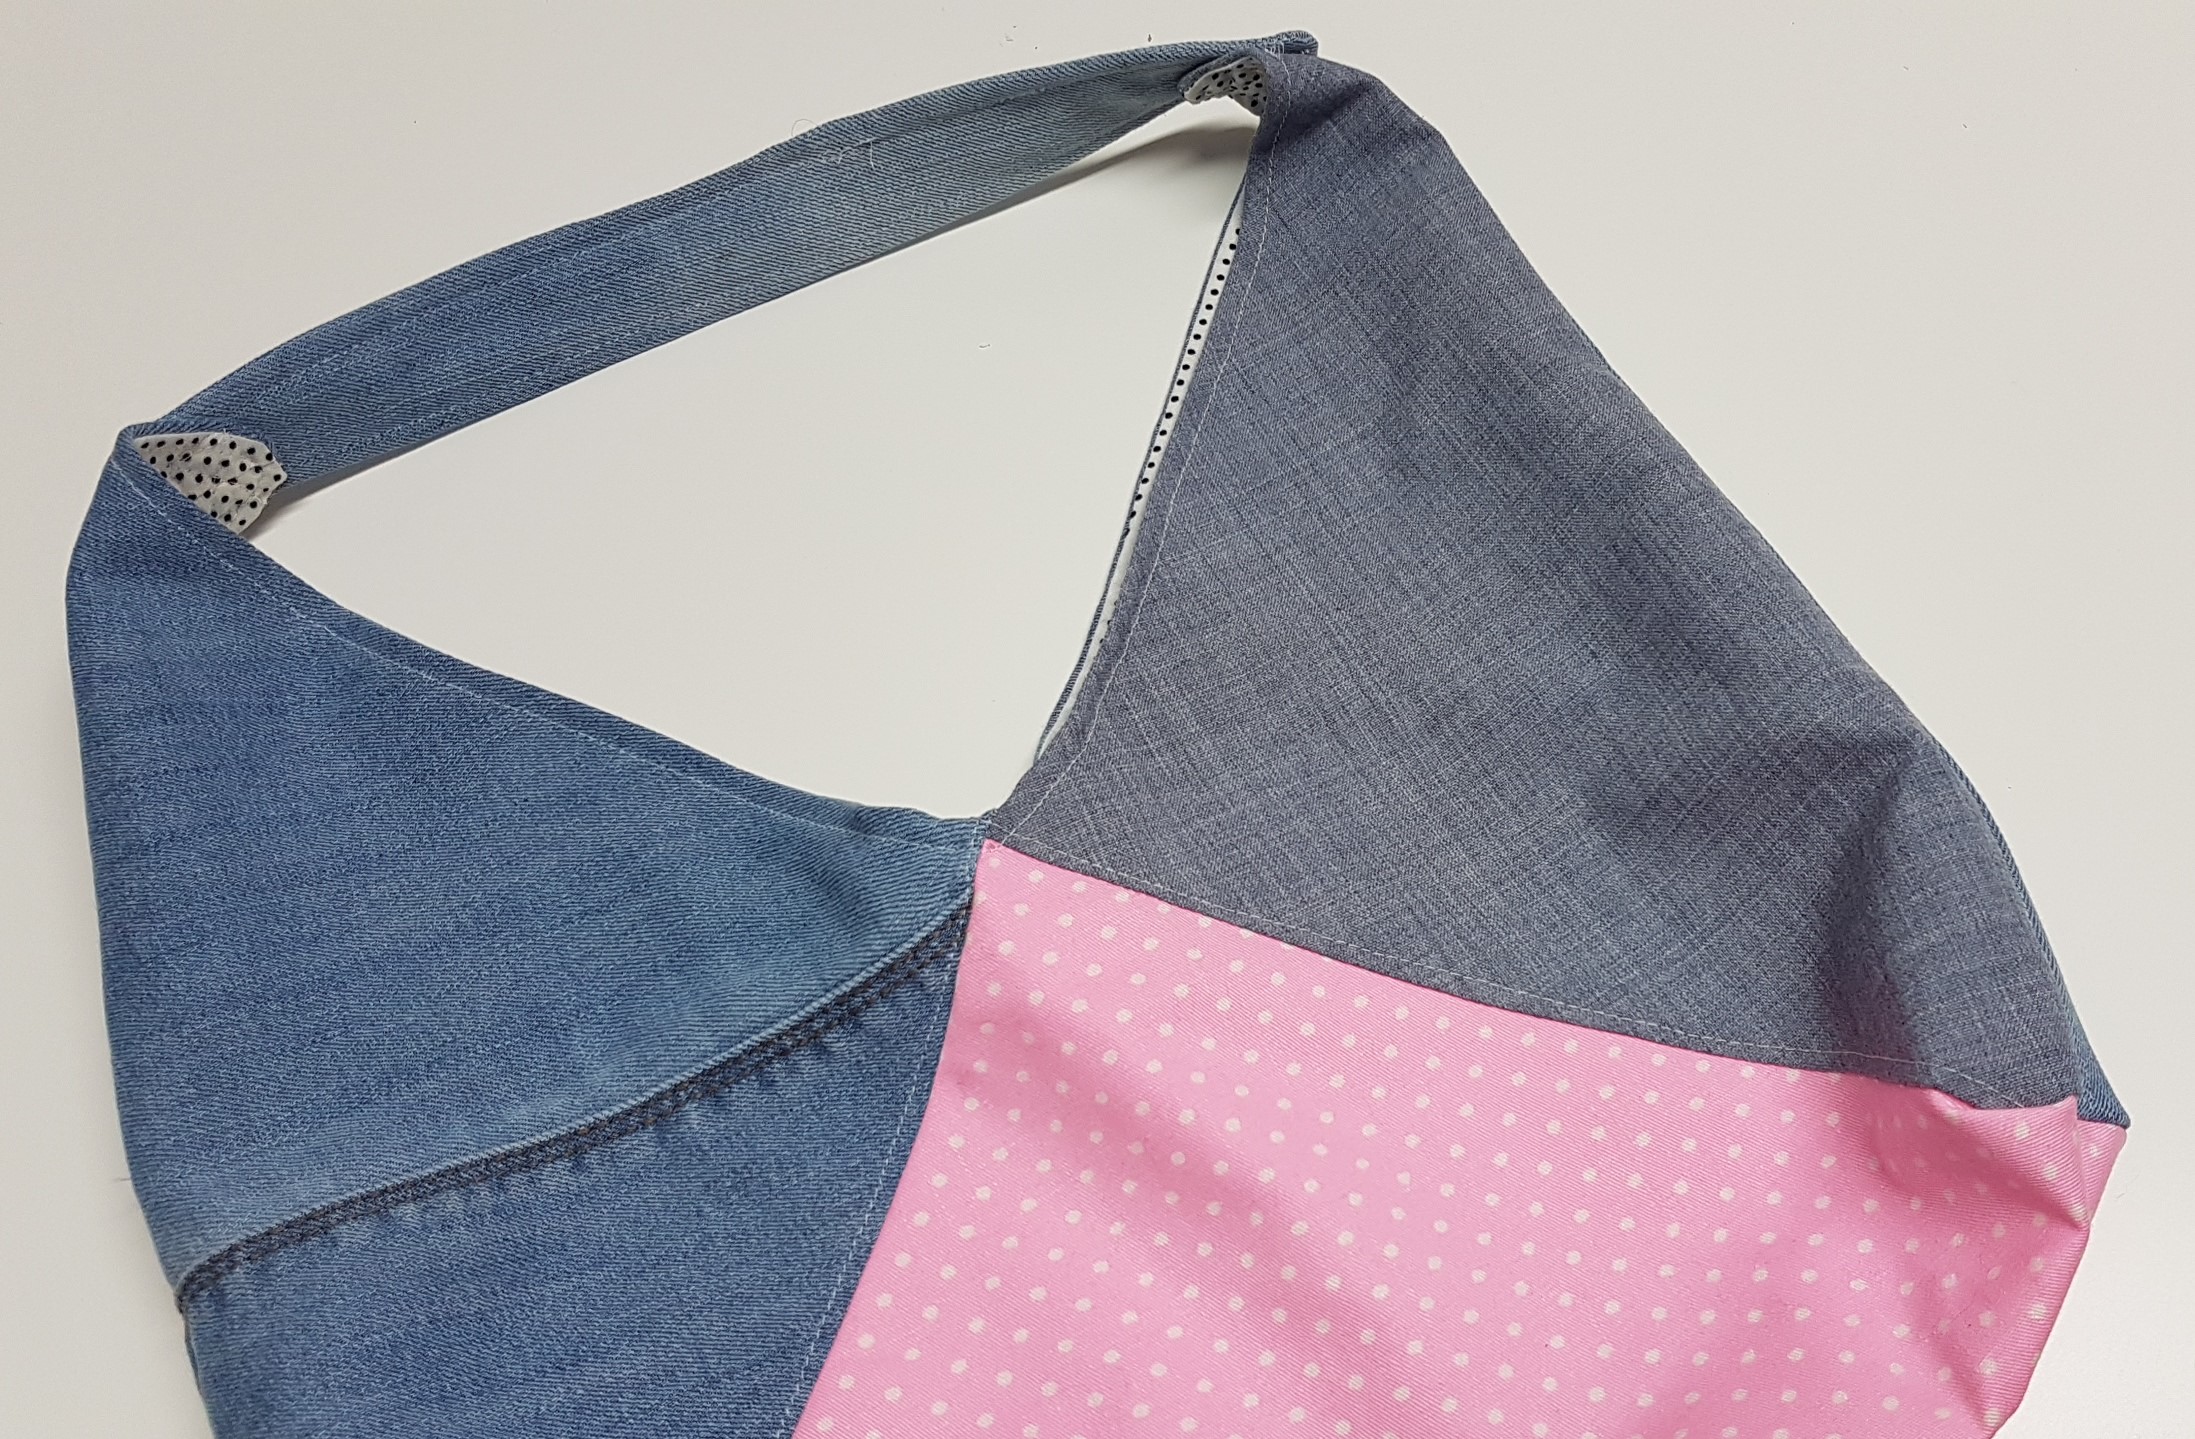
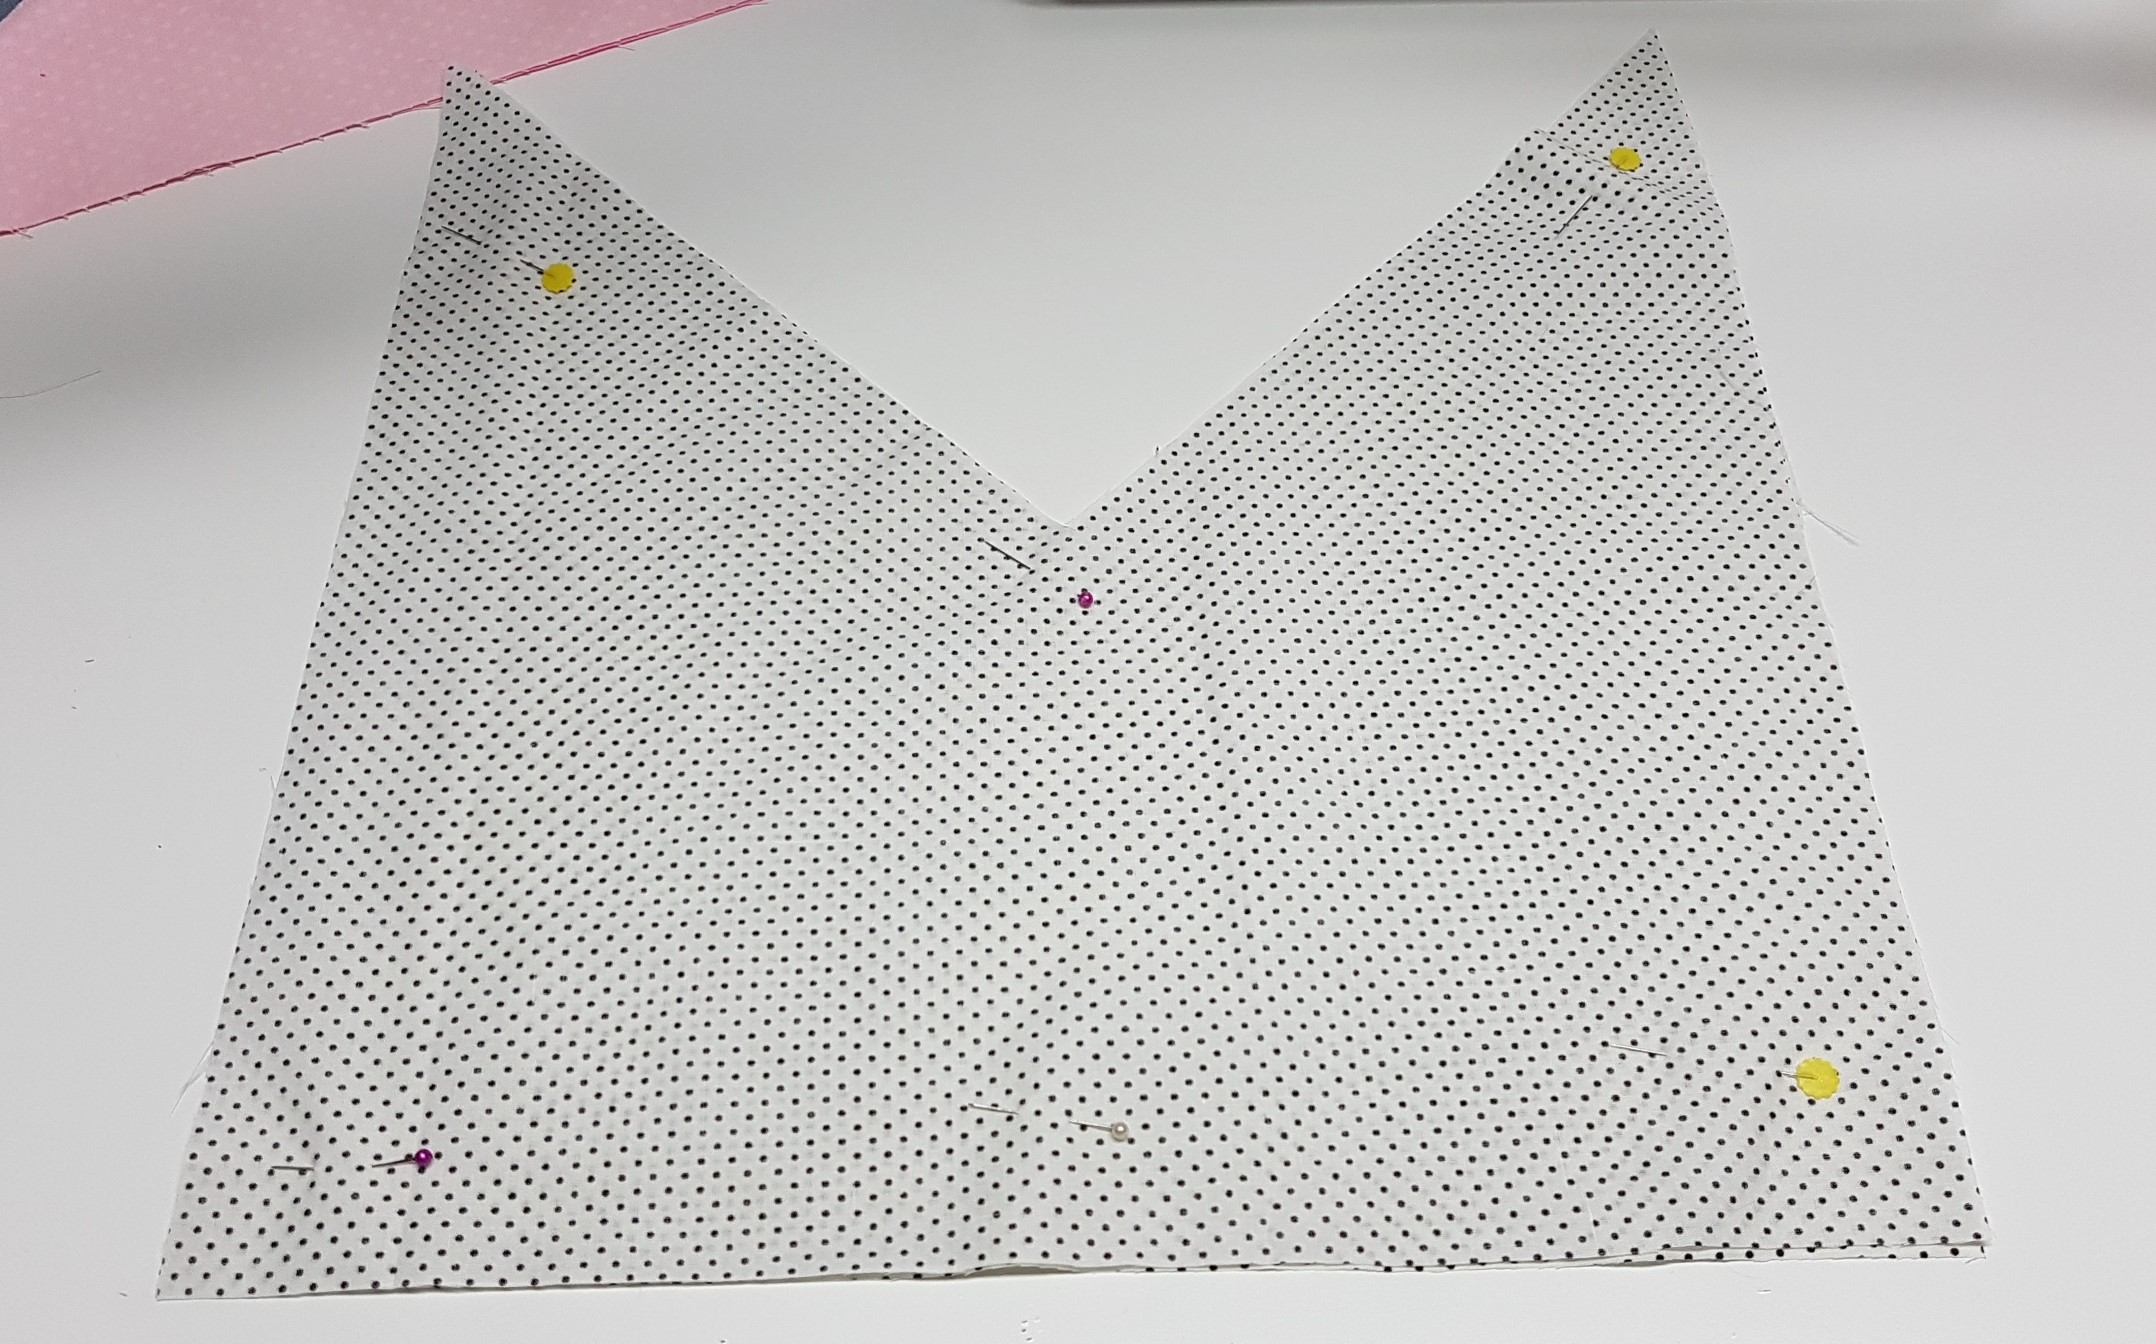
now place the two pieces right sides together and sew along the 3 flat sides, dont sew the top V
Take your lining pieces, place right sides together and sew along the three sides, leave a 4″ gap at the bottom of the bag (this will be used for turning)
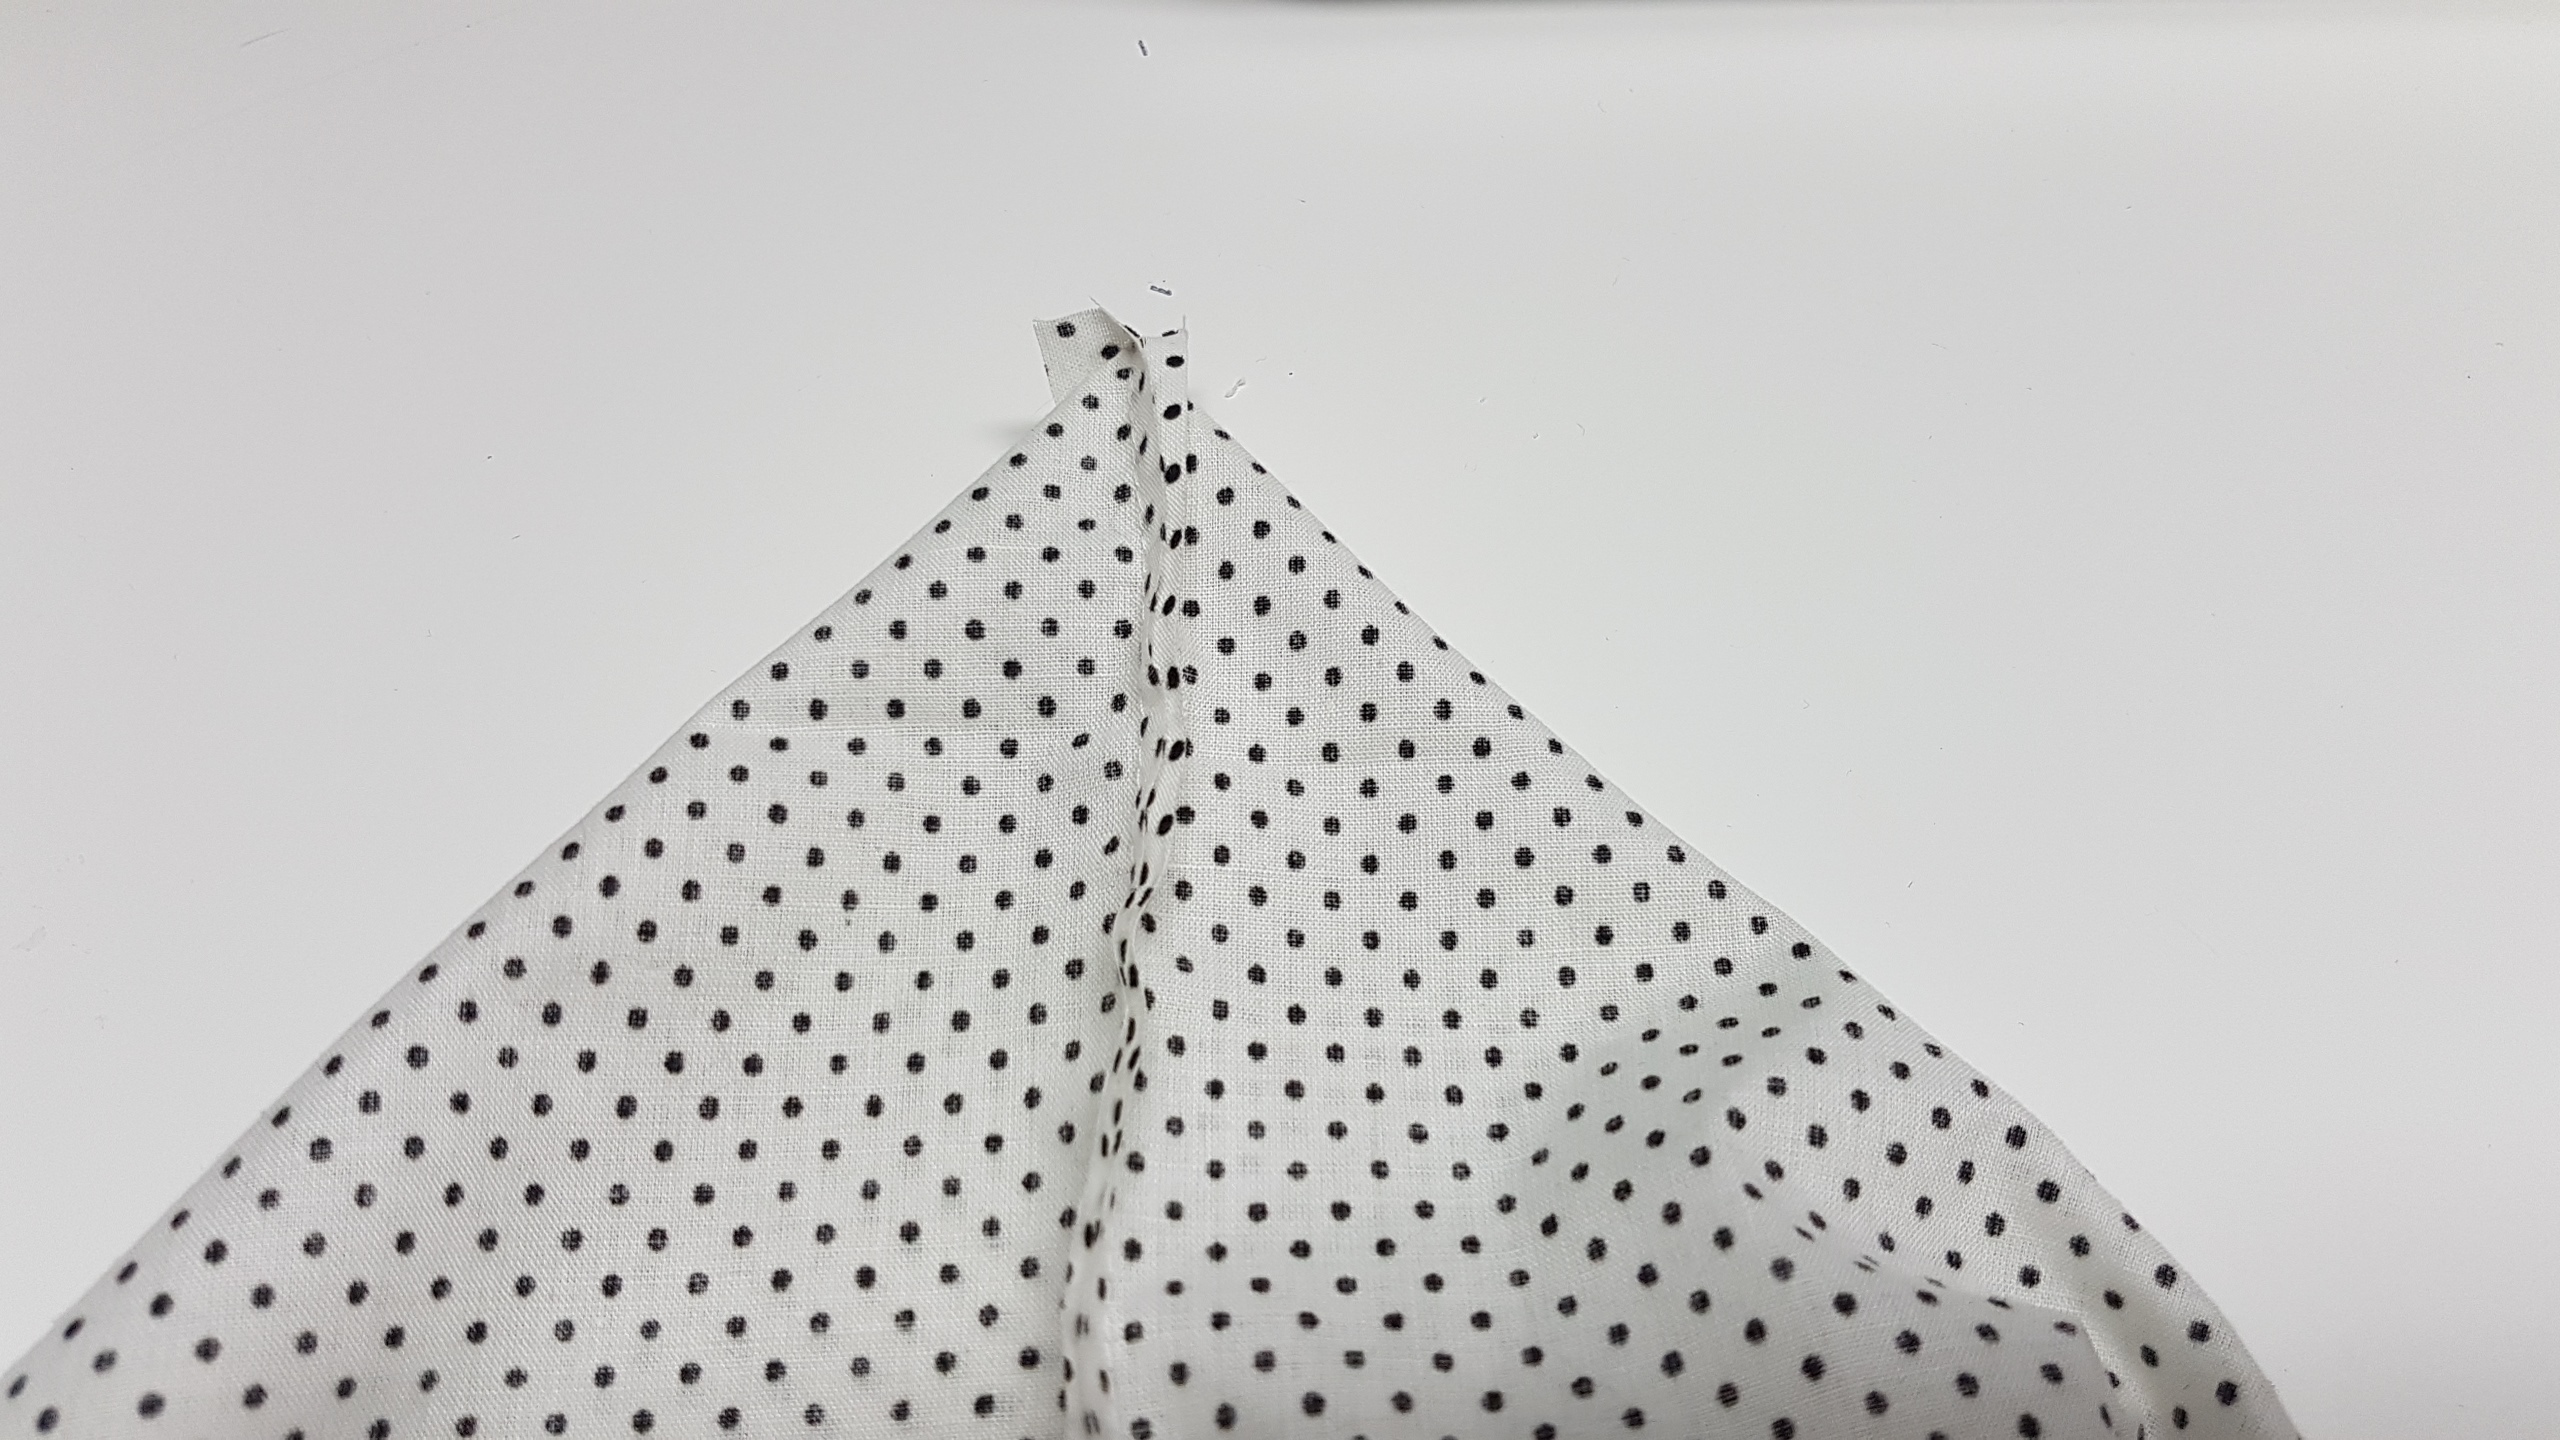
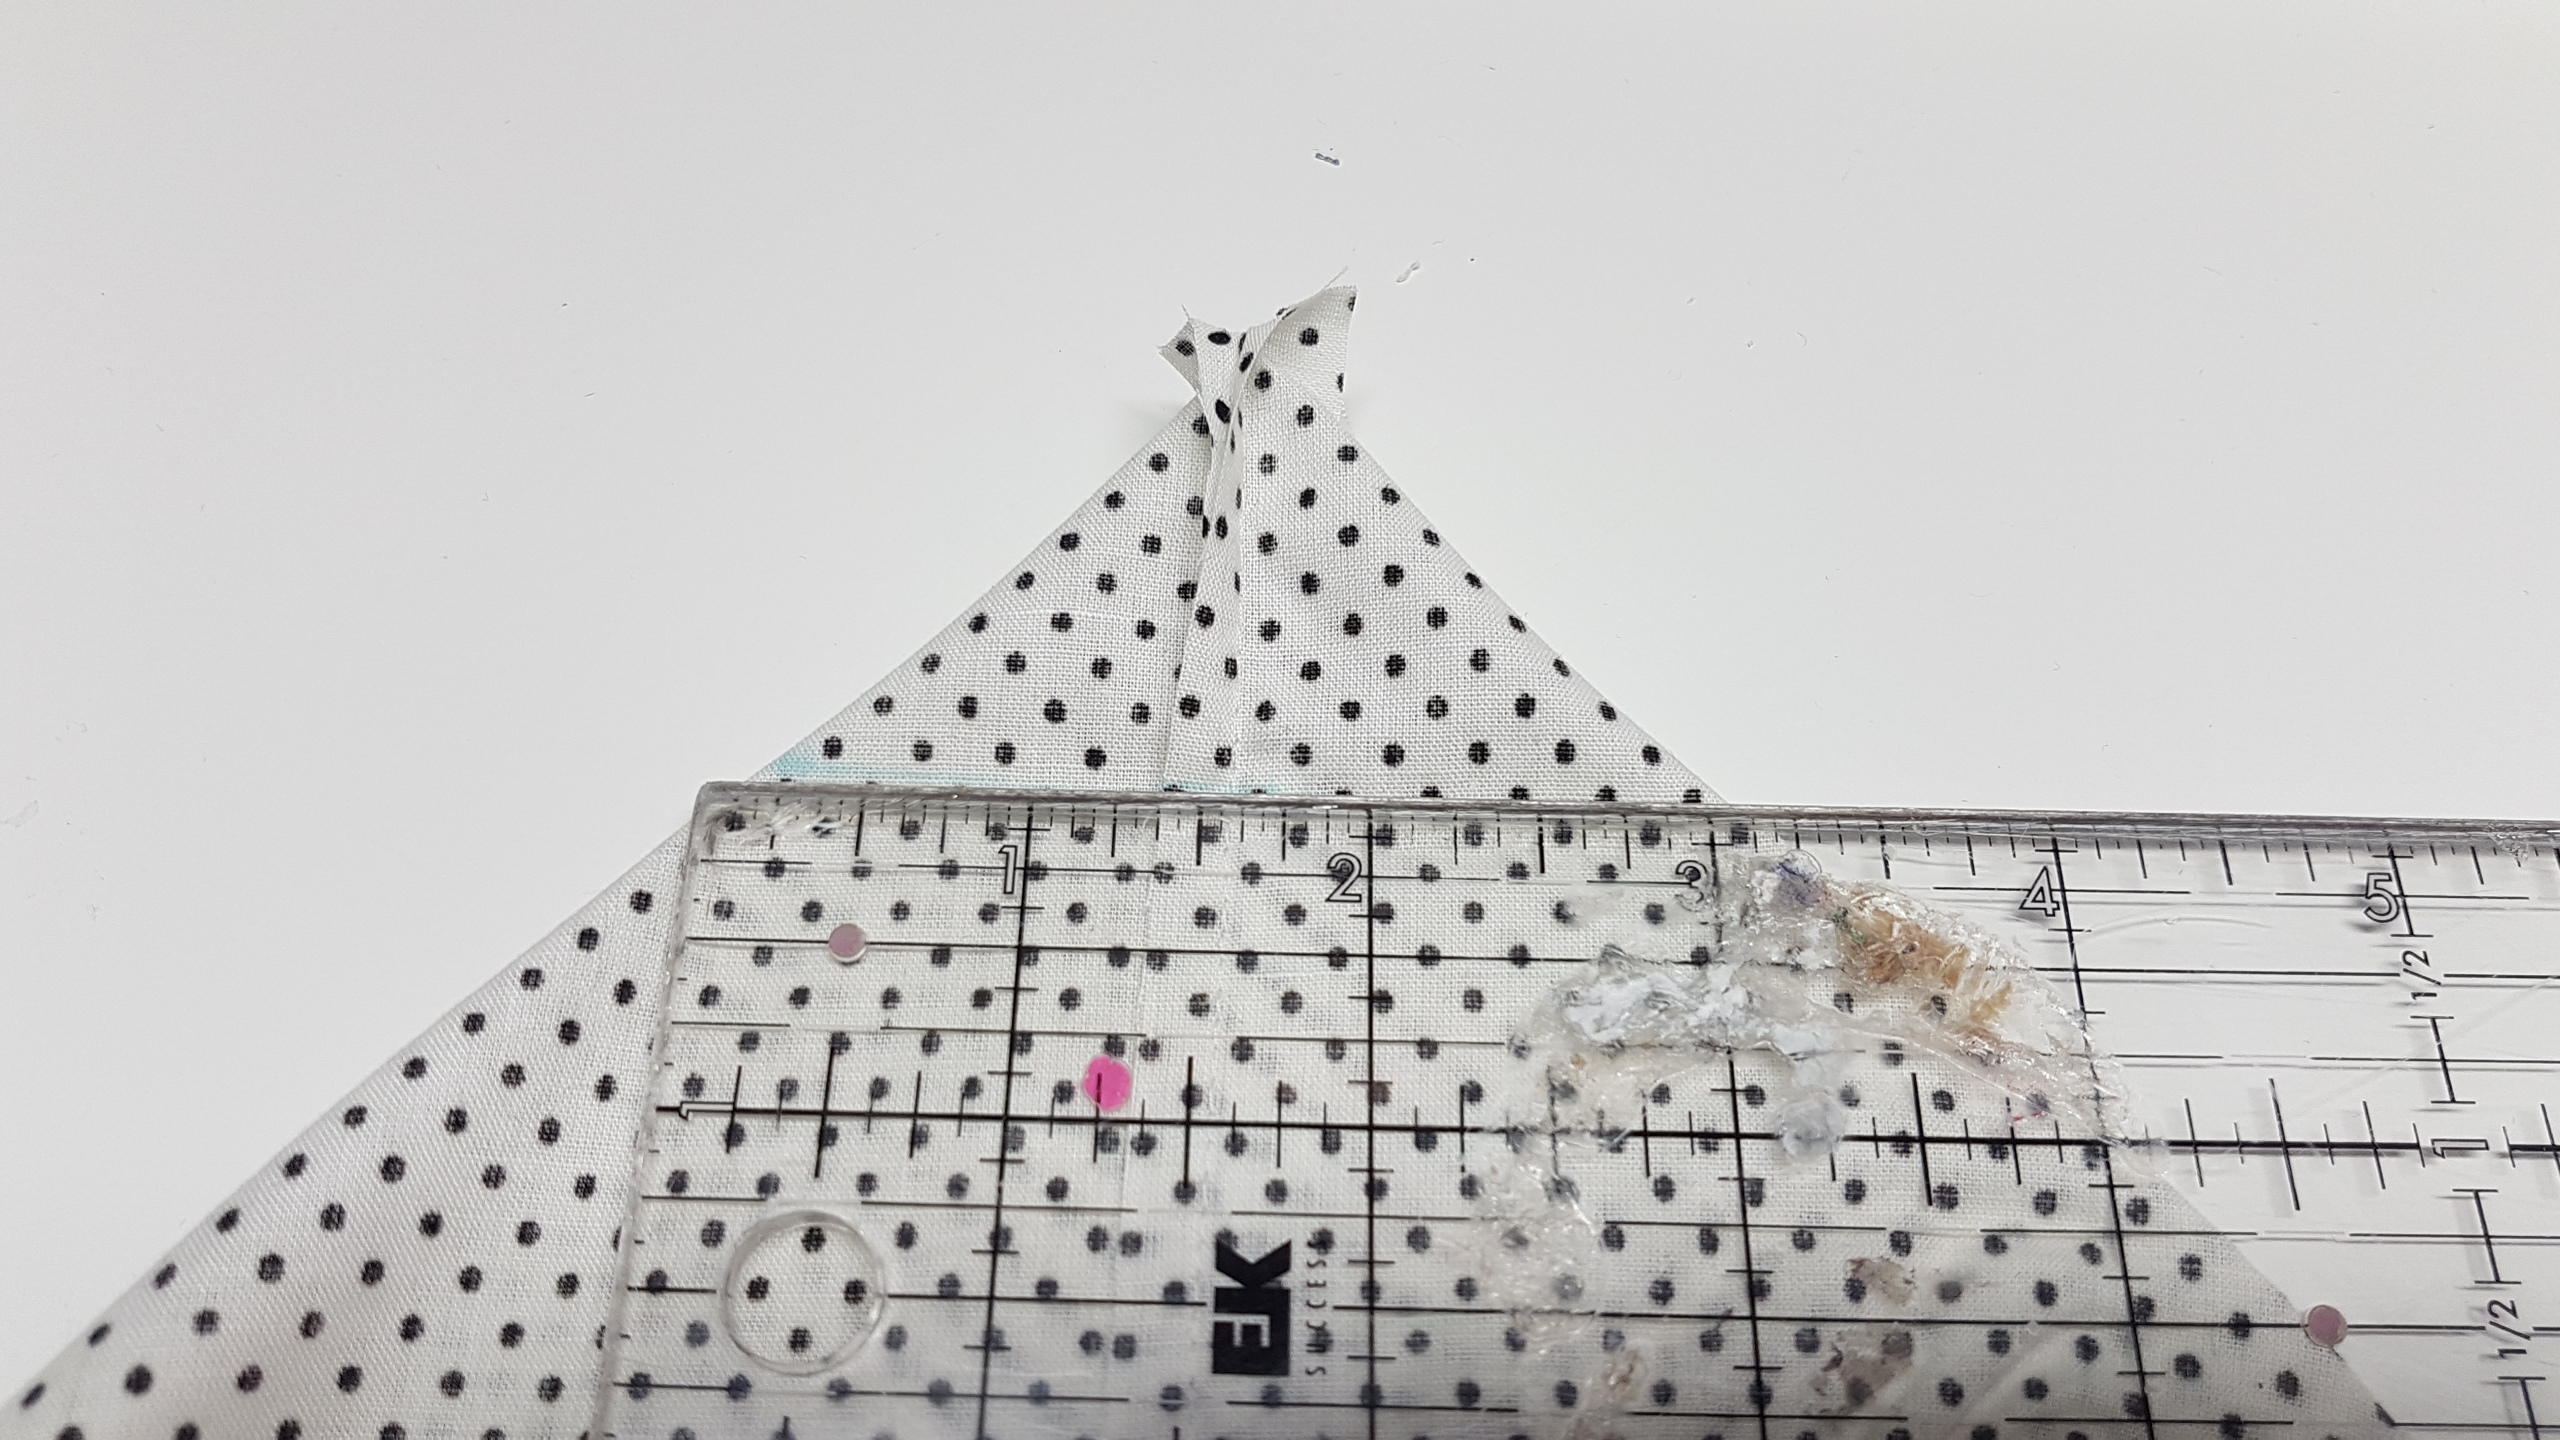
Now we will crop the corners of the lining and the outter shall, fold down each corner so the seam runs down the centre, use a ruler and measure up 3″, sew along that line, use chalk or disappearing pen to give you a guide
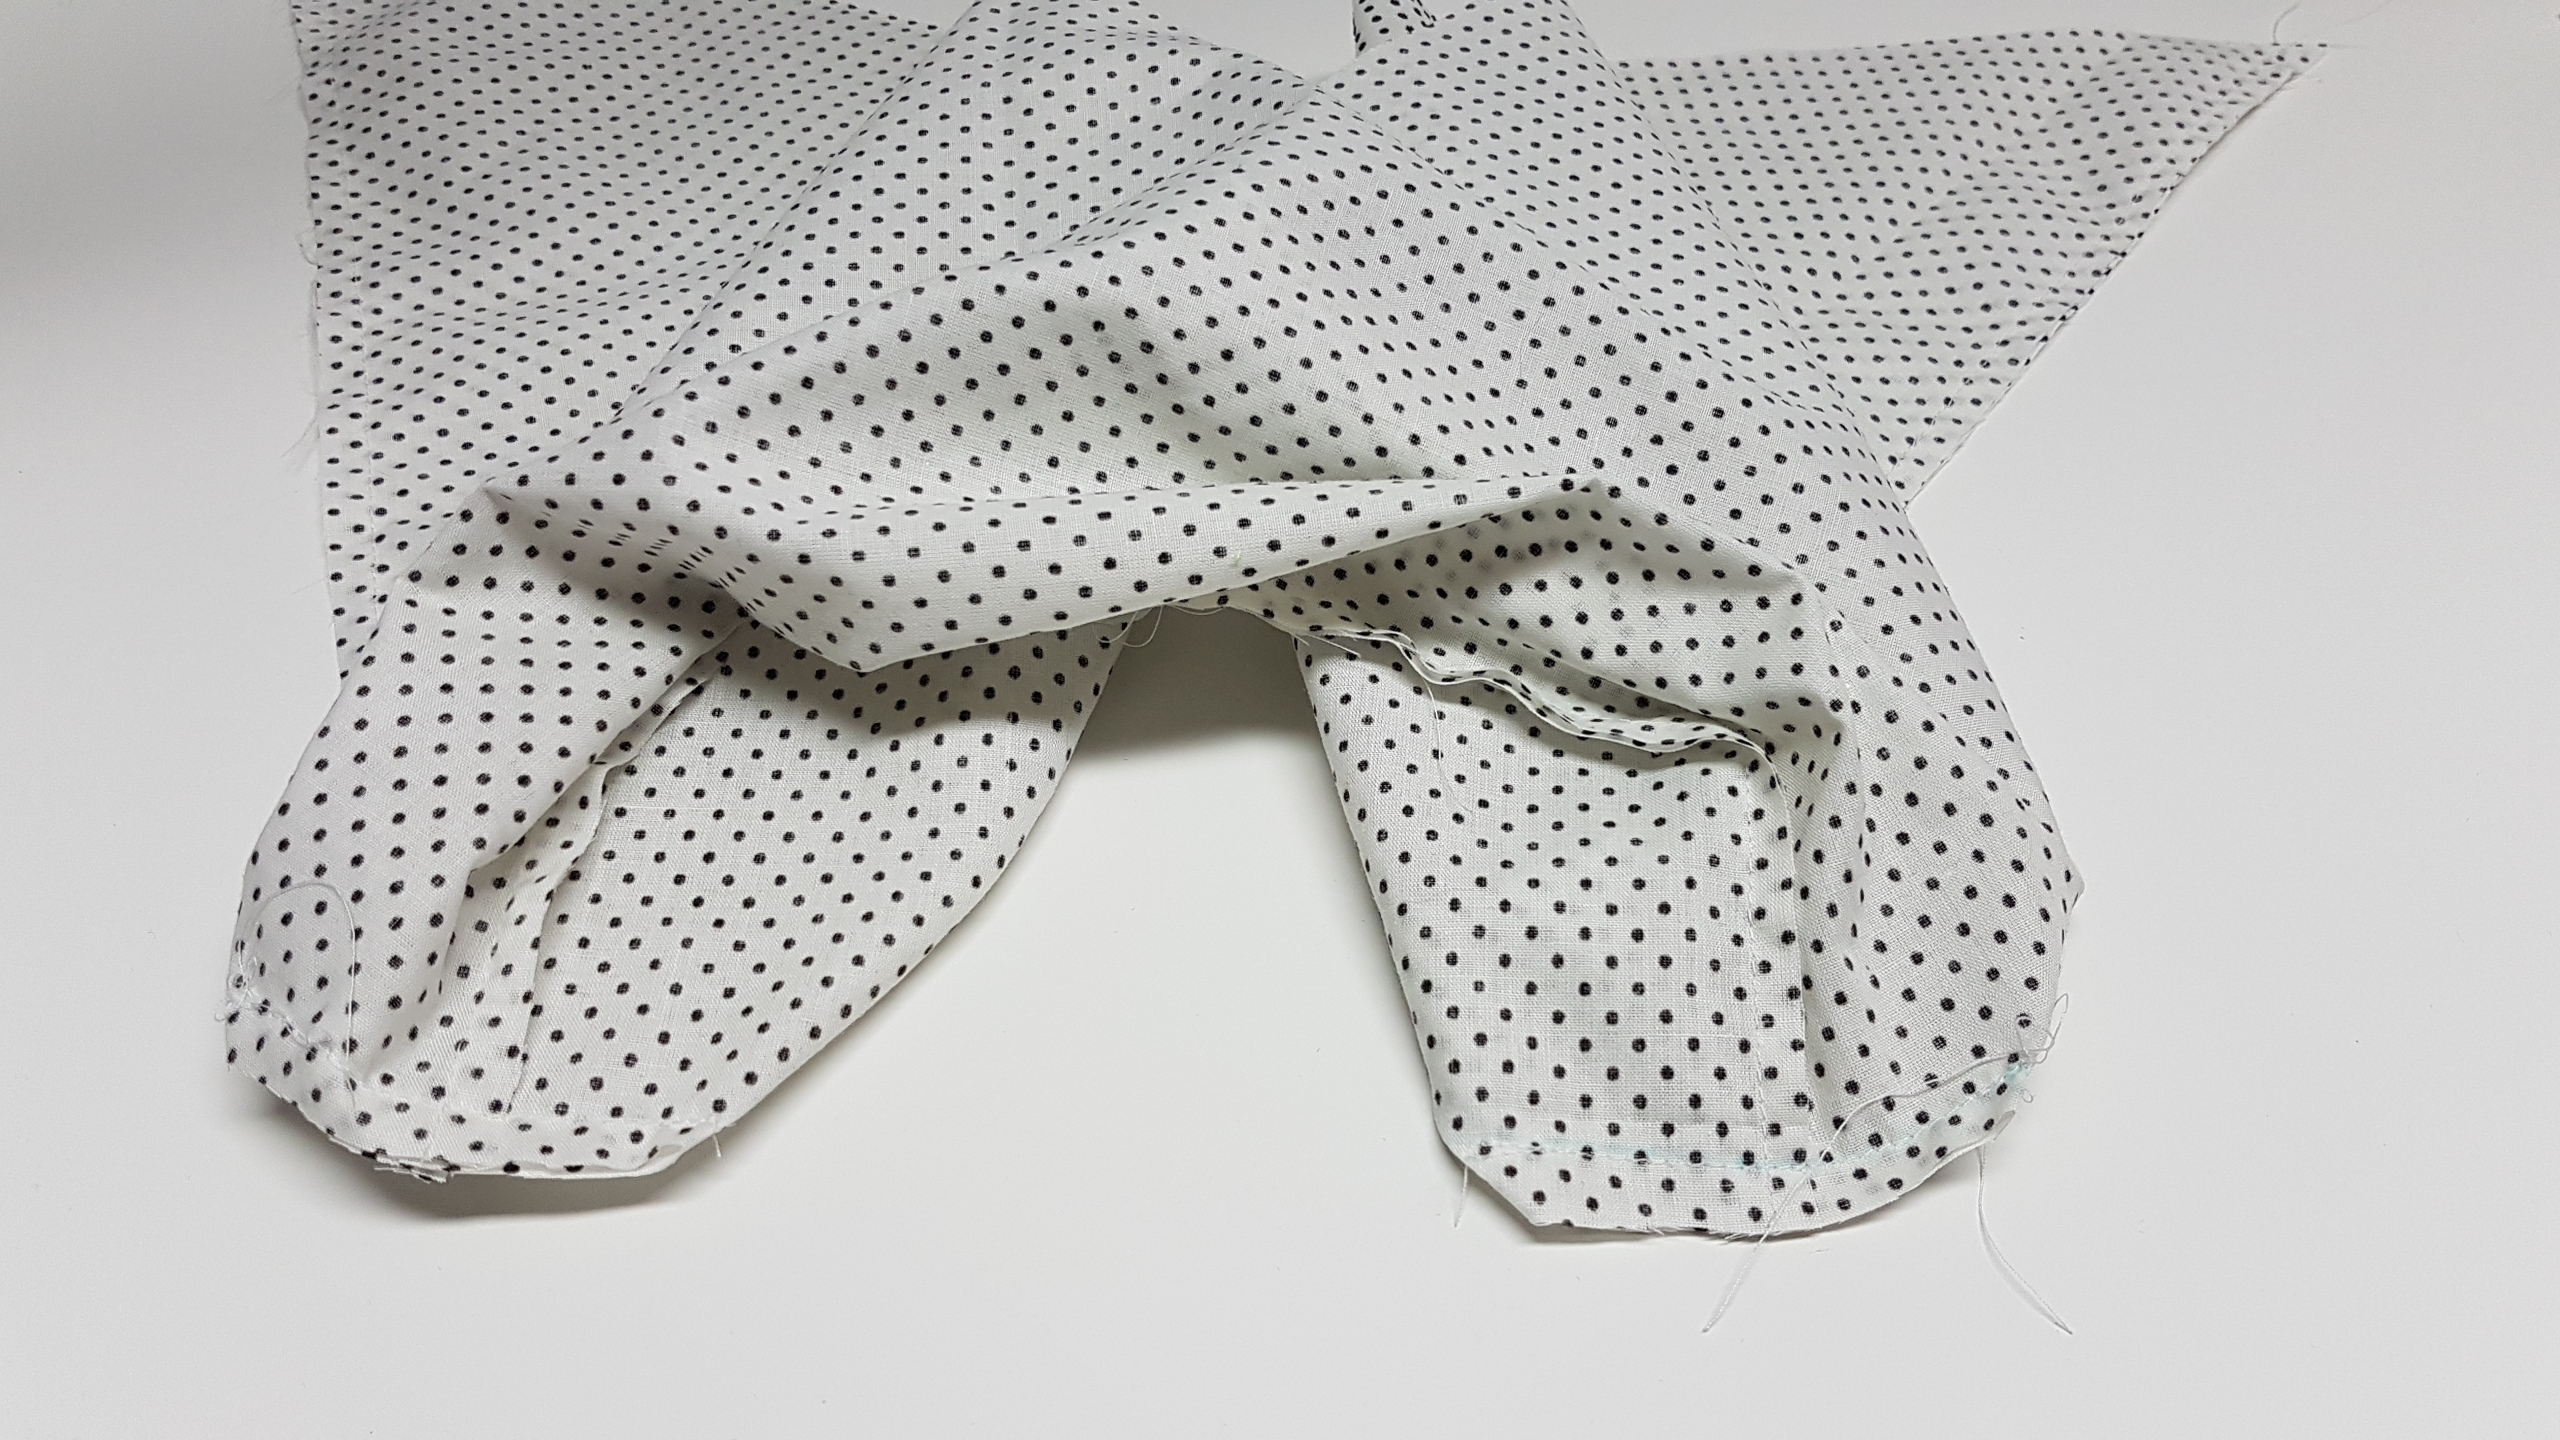
this is how it should look for both pieces, and your going to snip off that corner
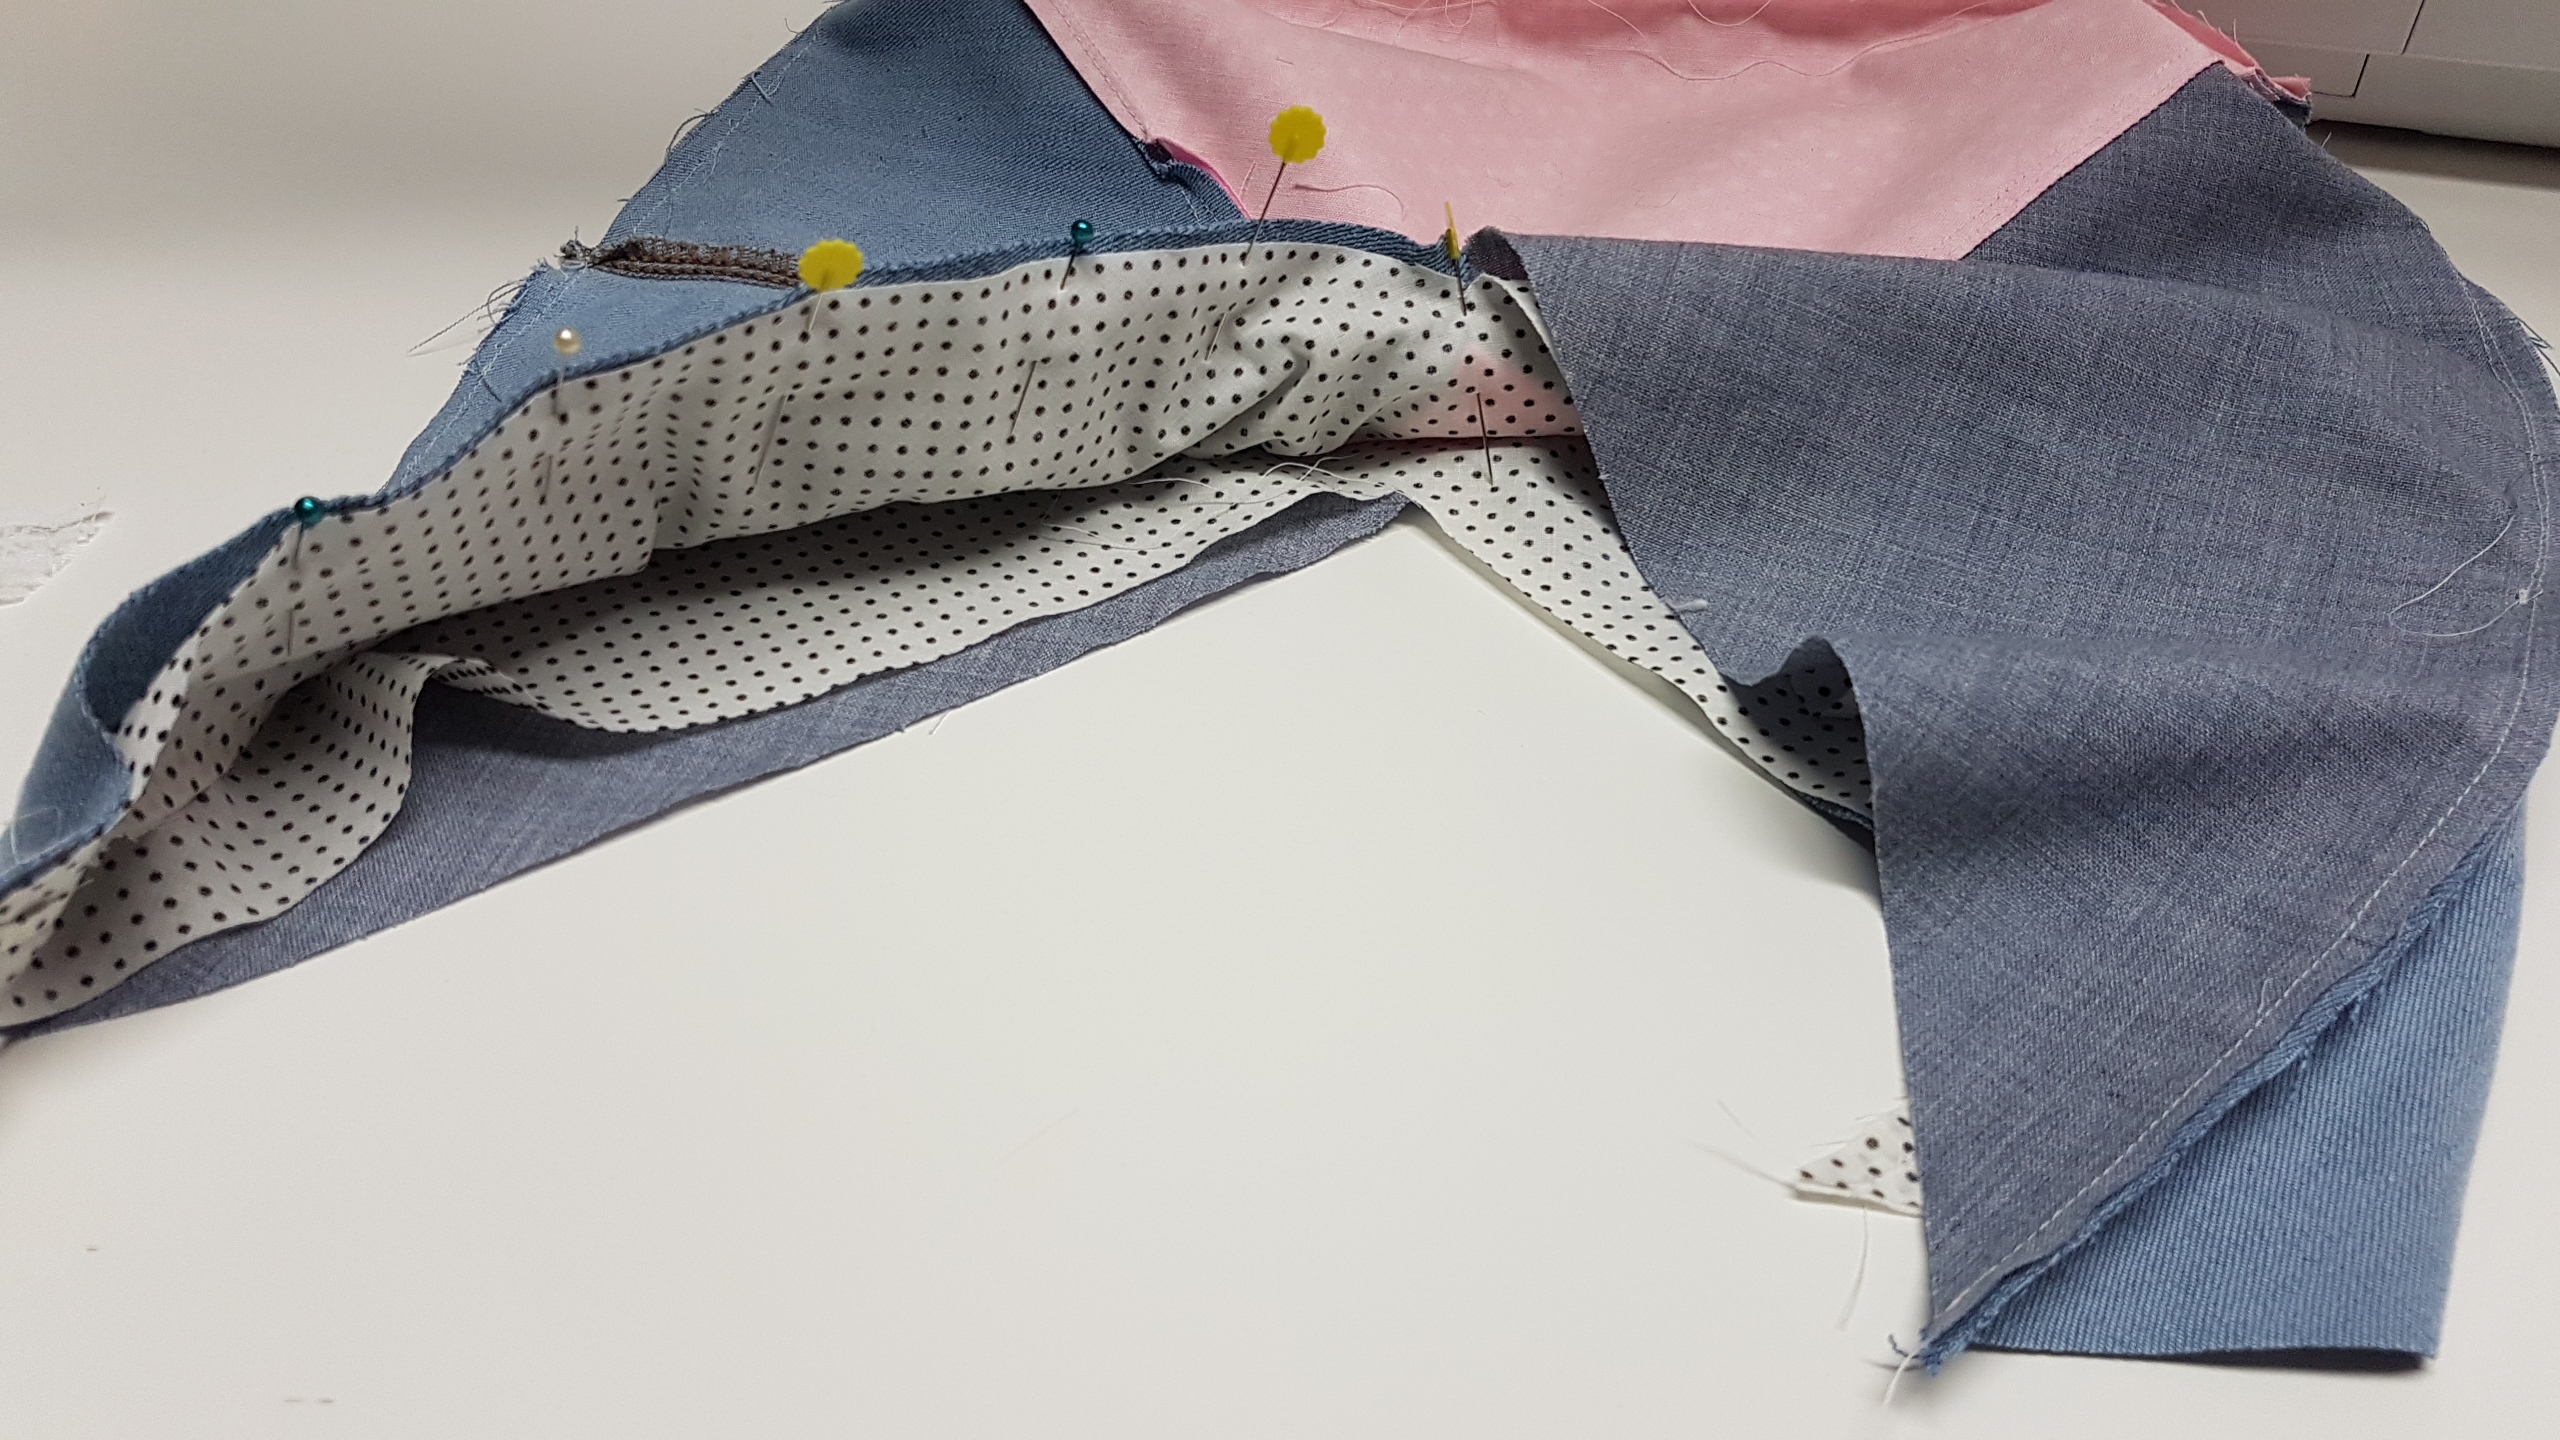
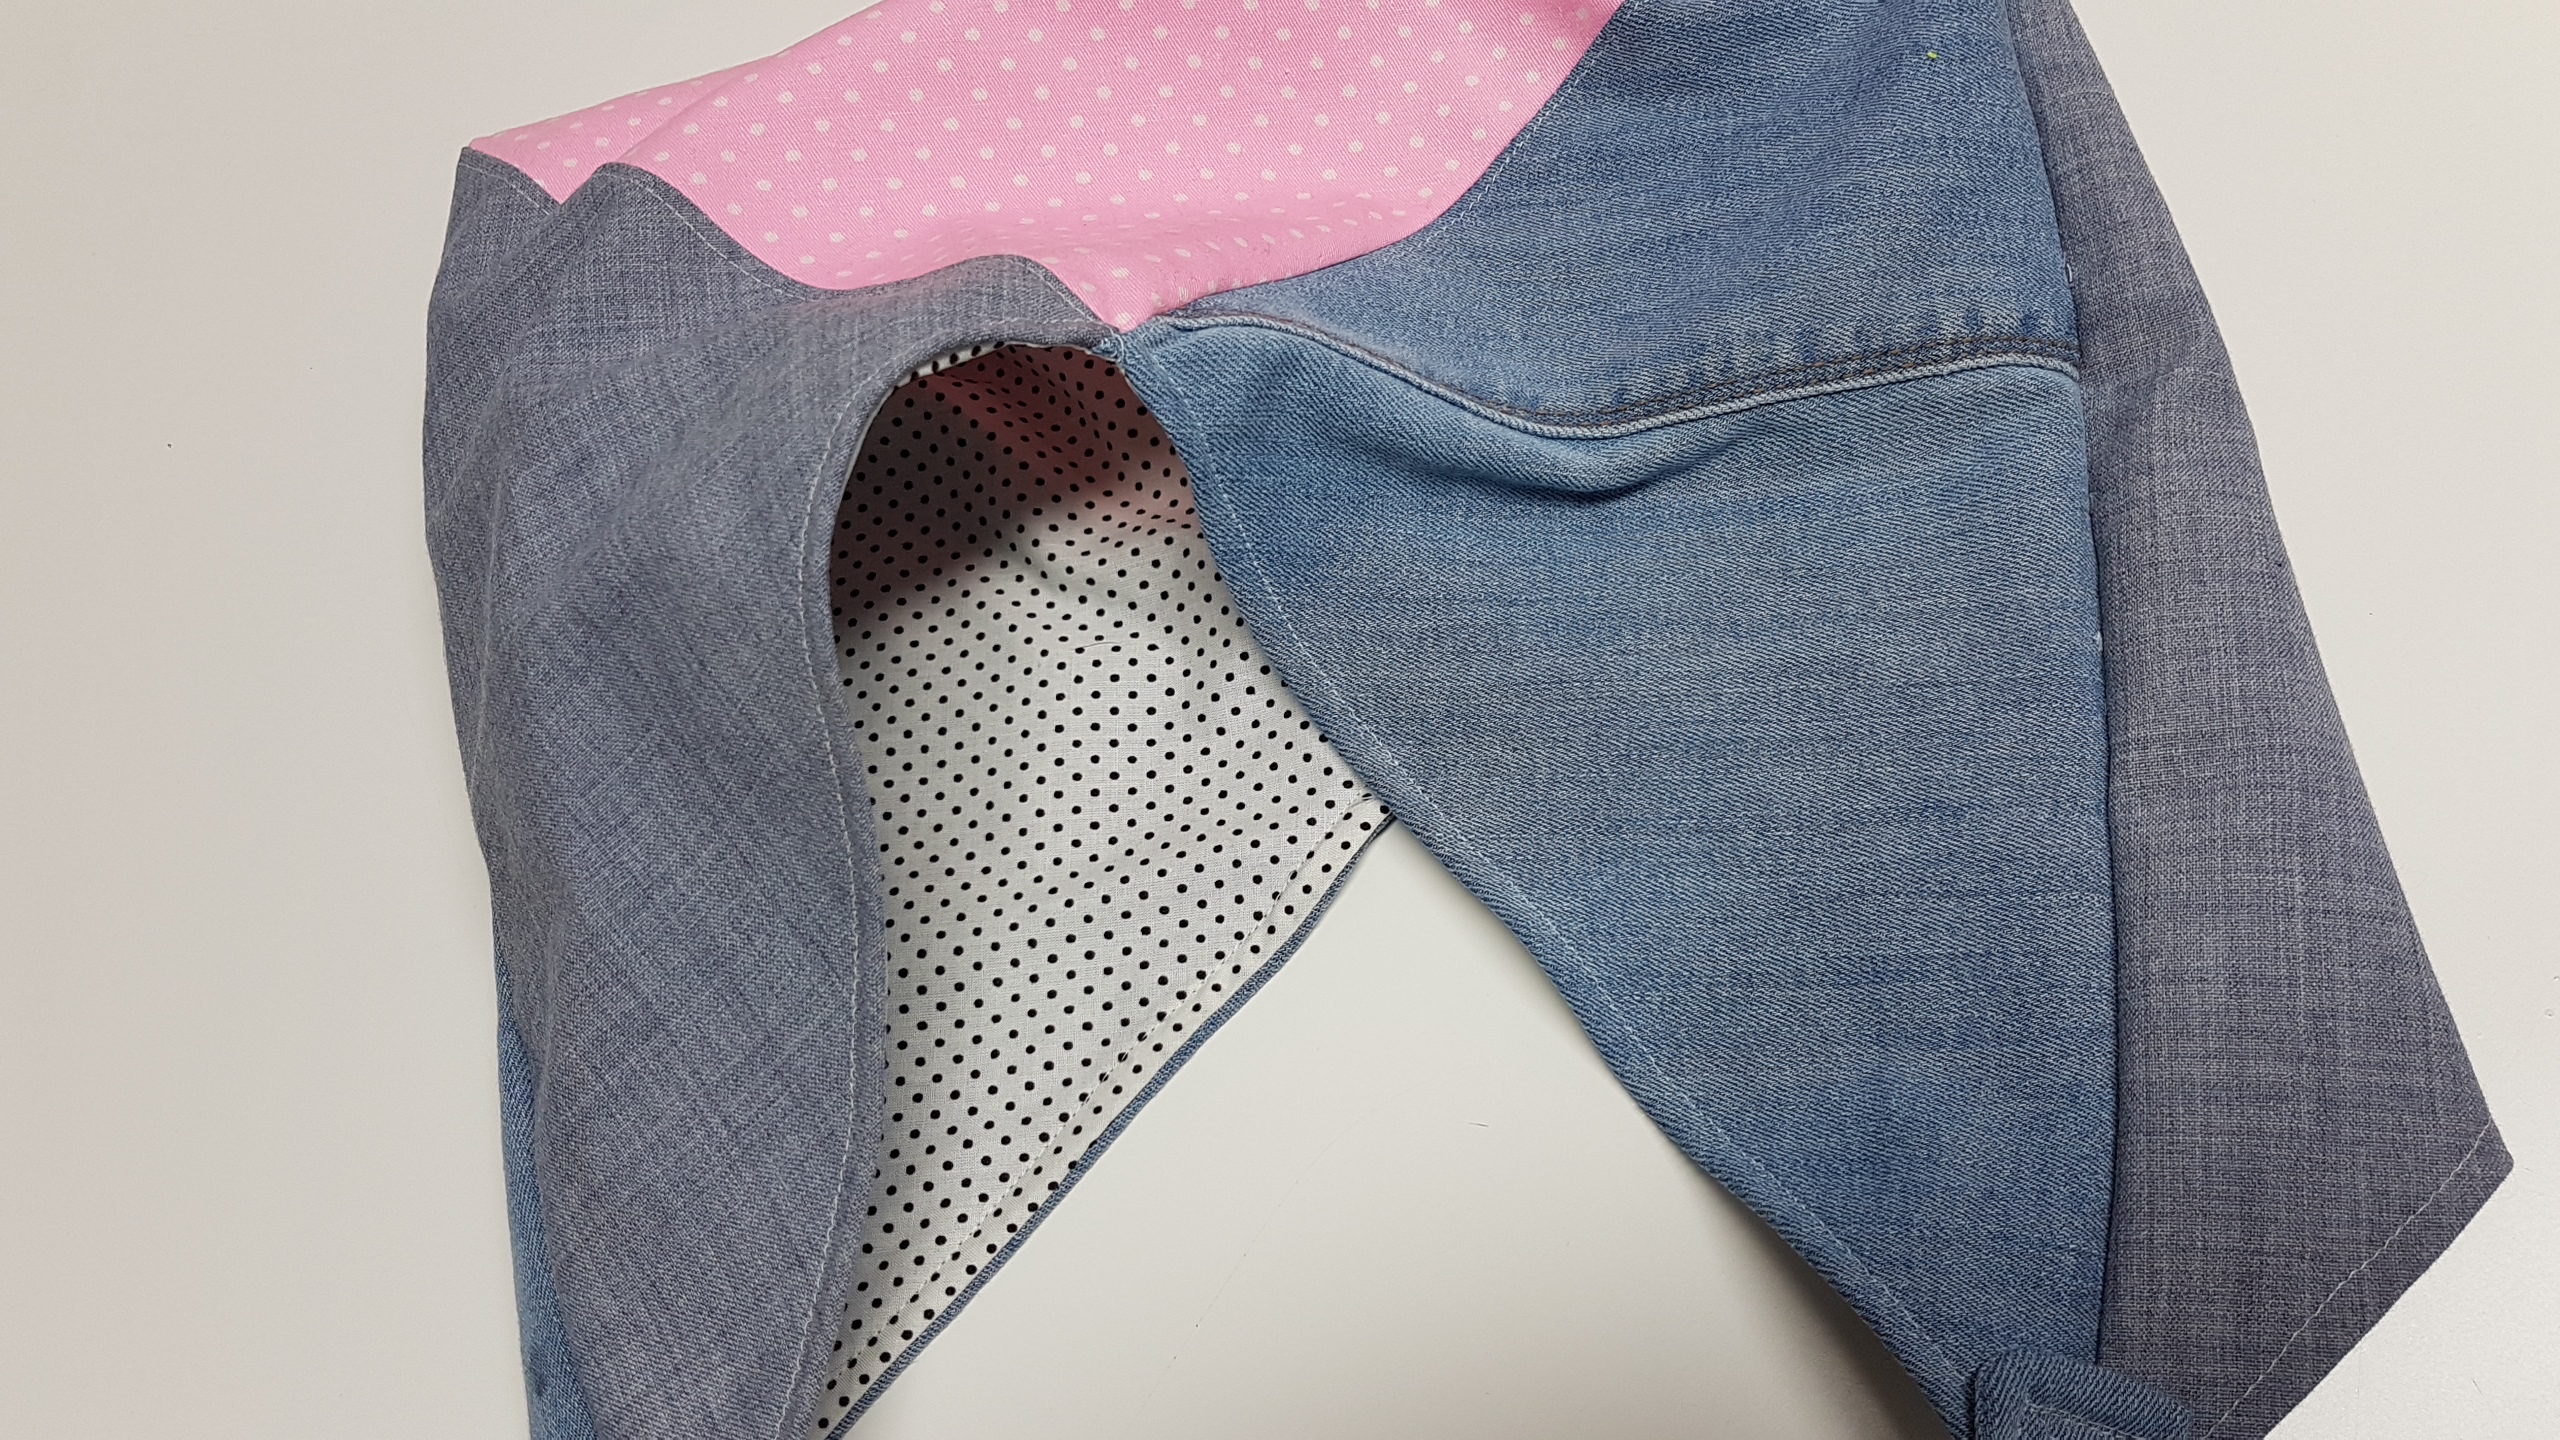
Now you will take the lining, turn it right sides out and slip it into the bag lining up the sides, middle, edges, use lots of pins and clips to keep it in place during the sewing process
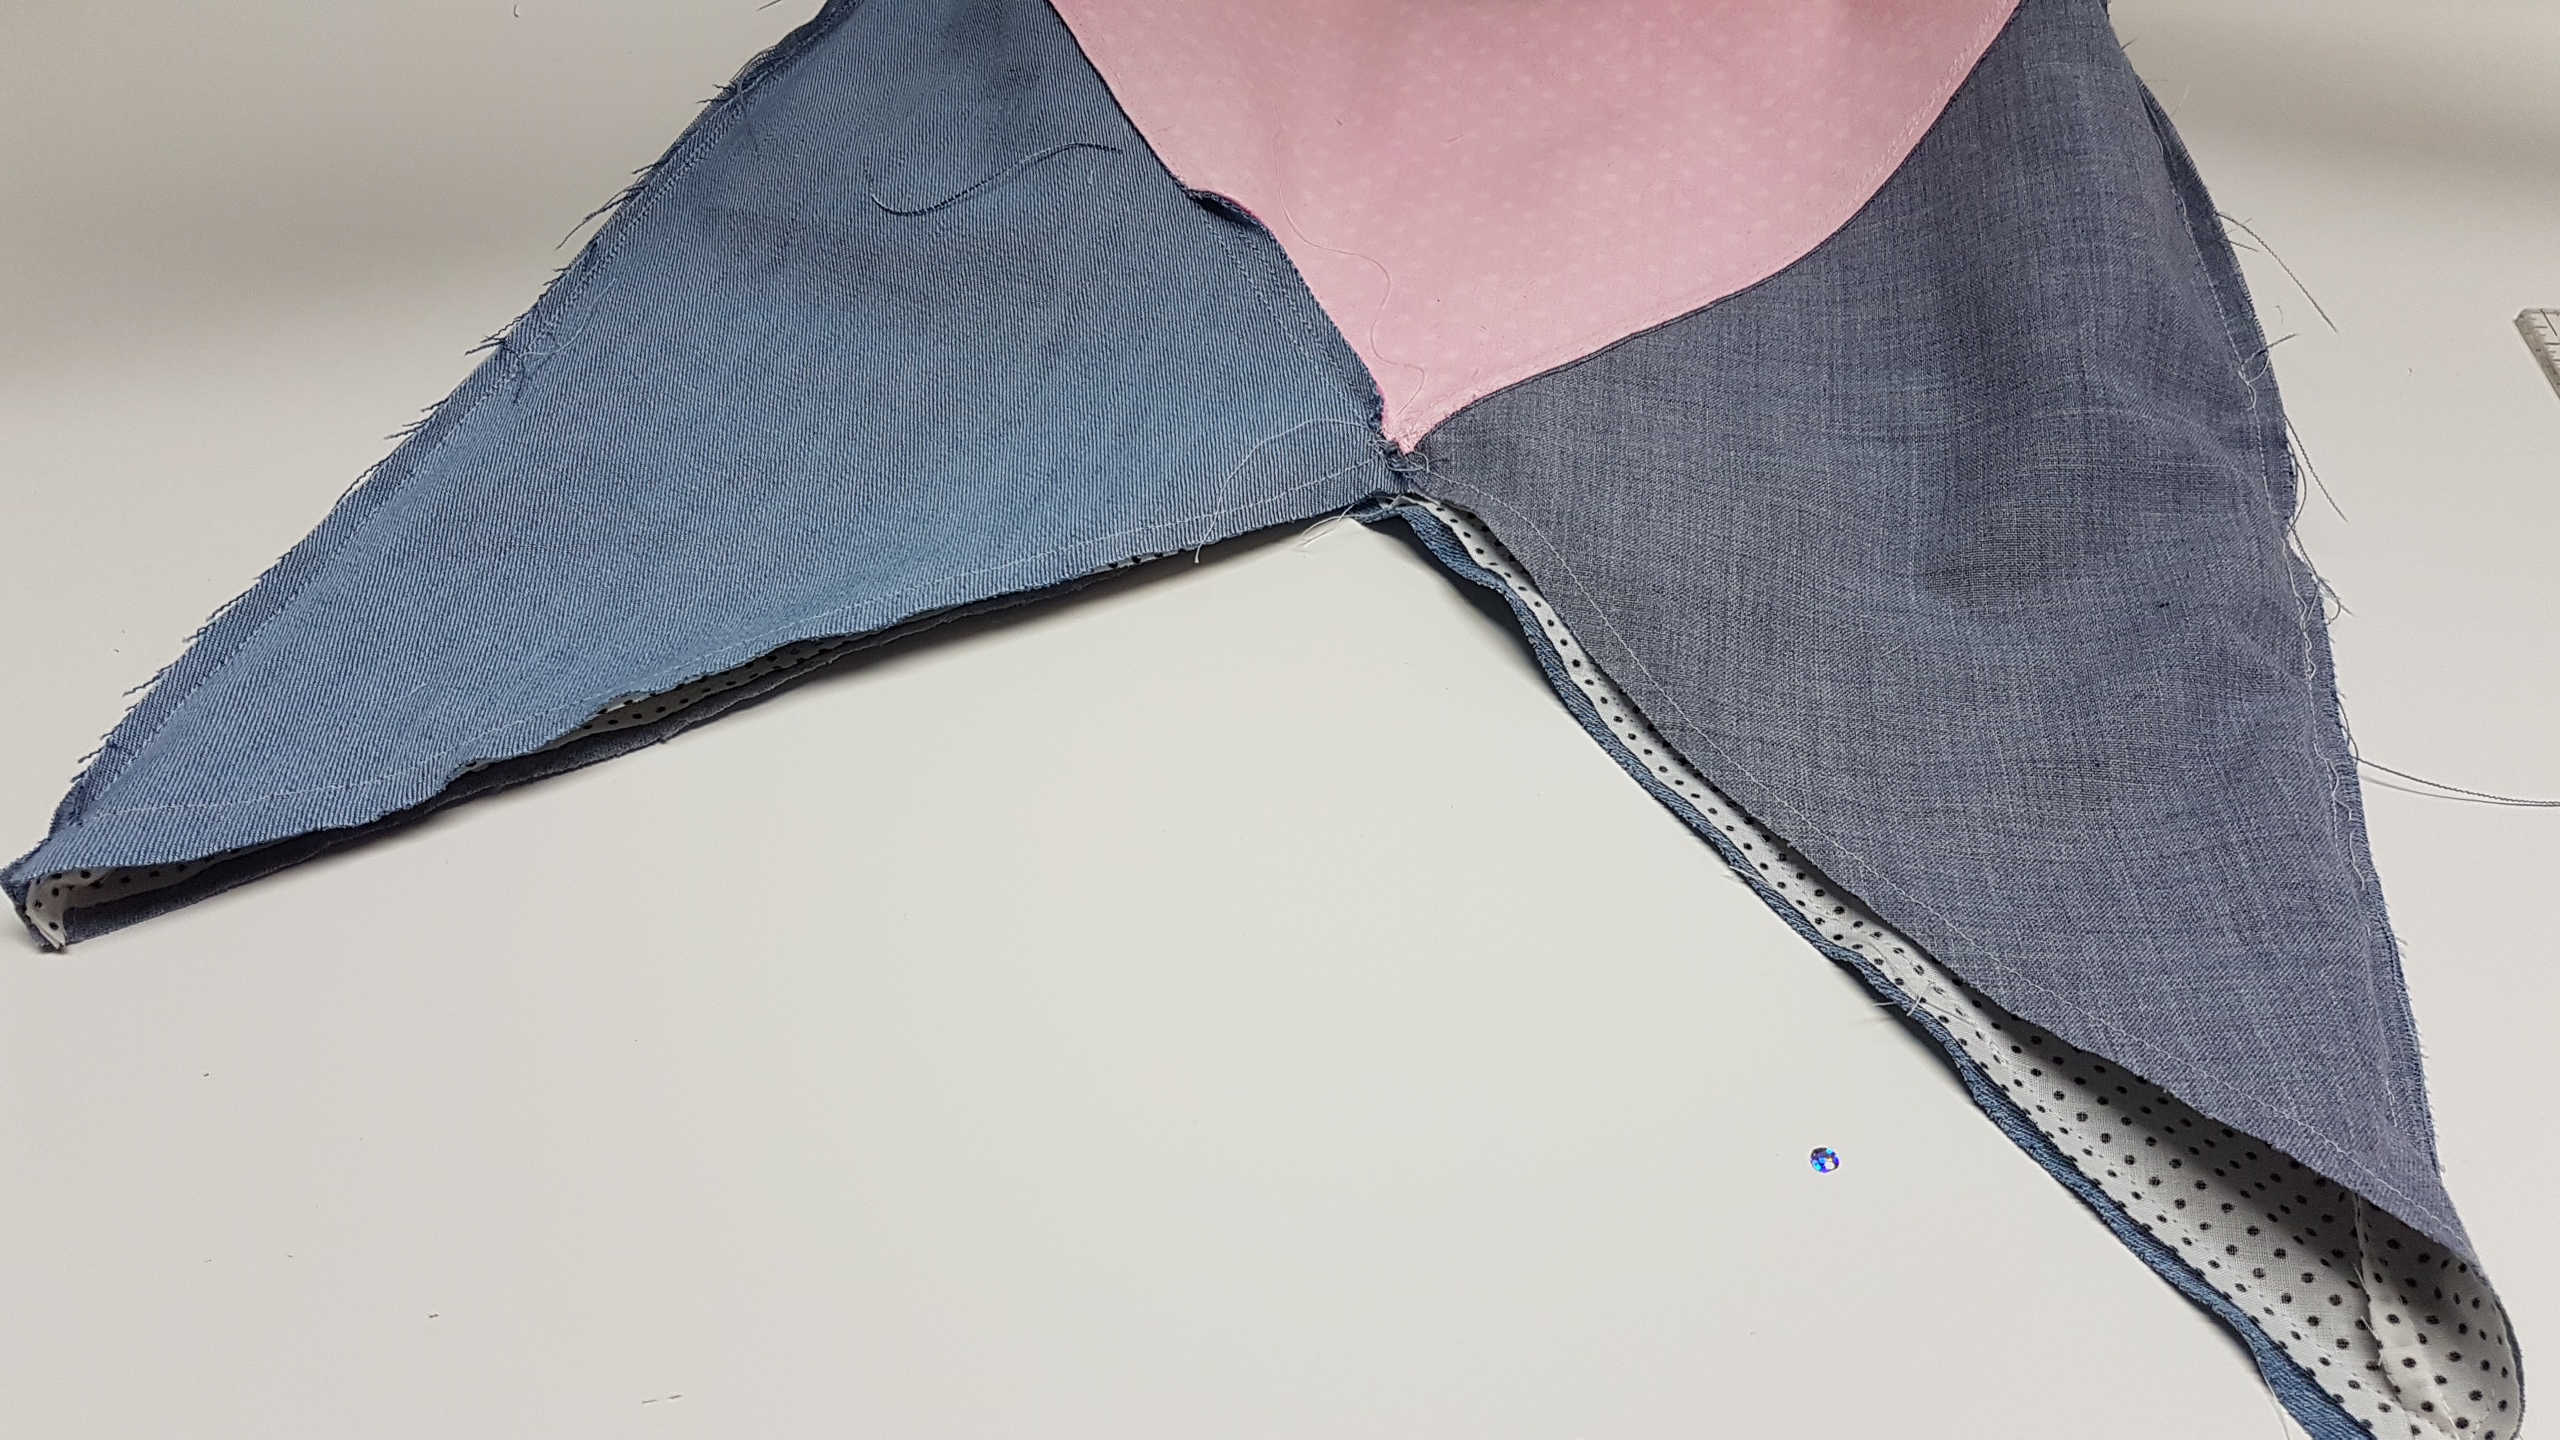
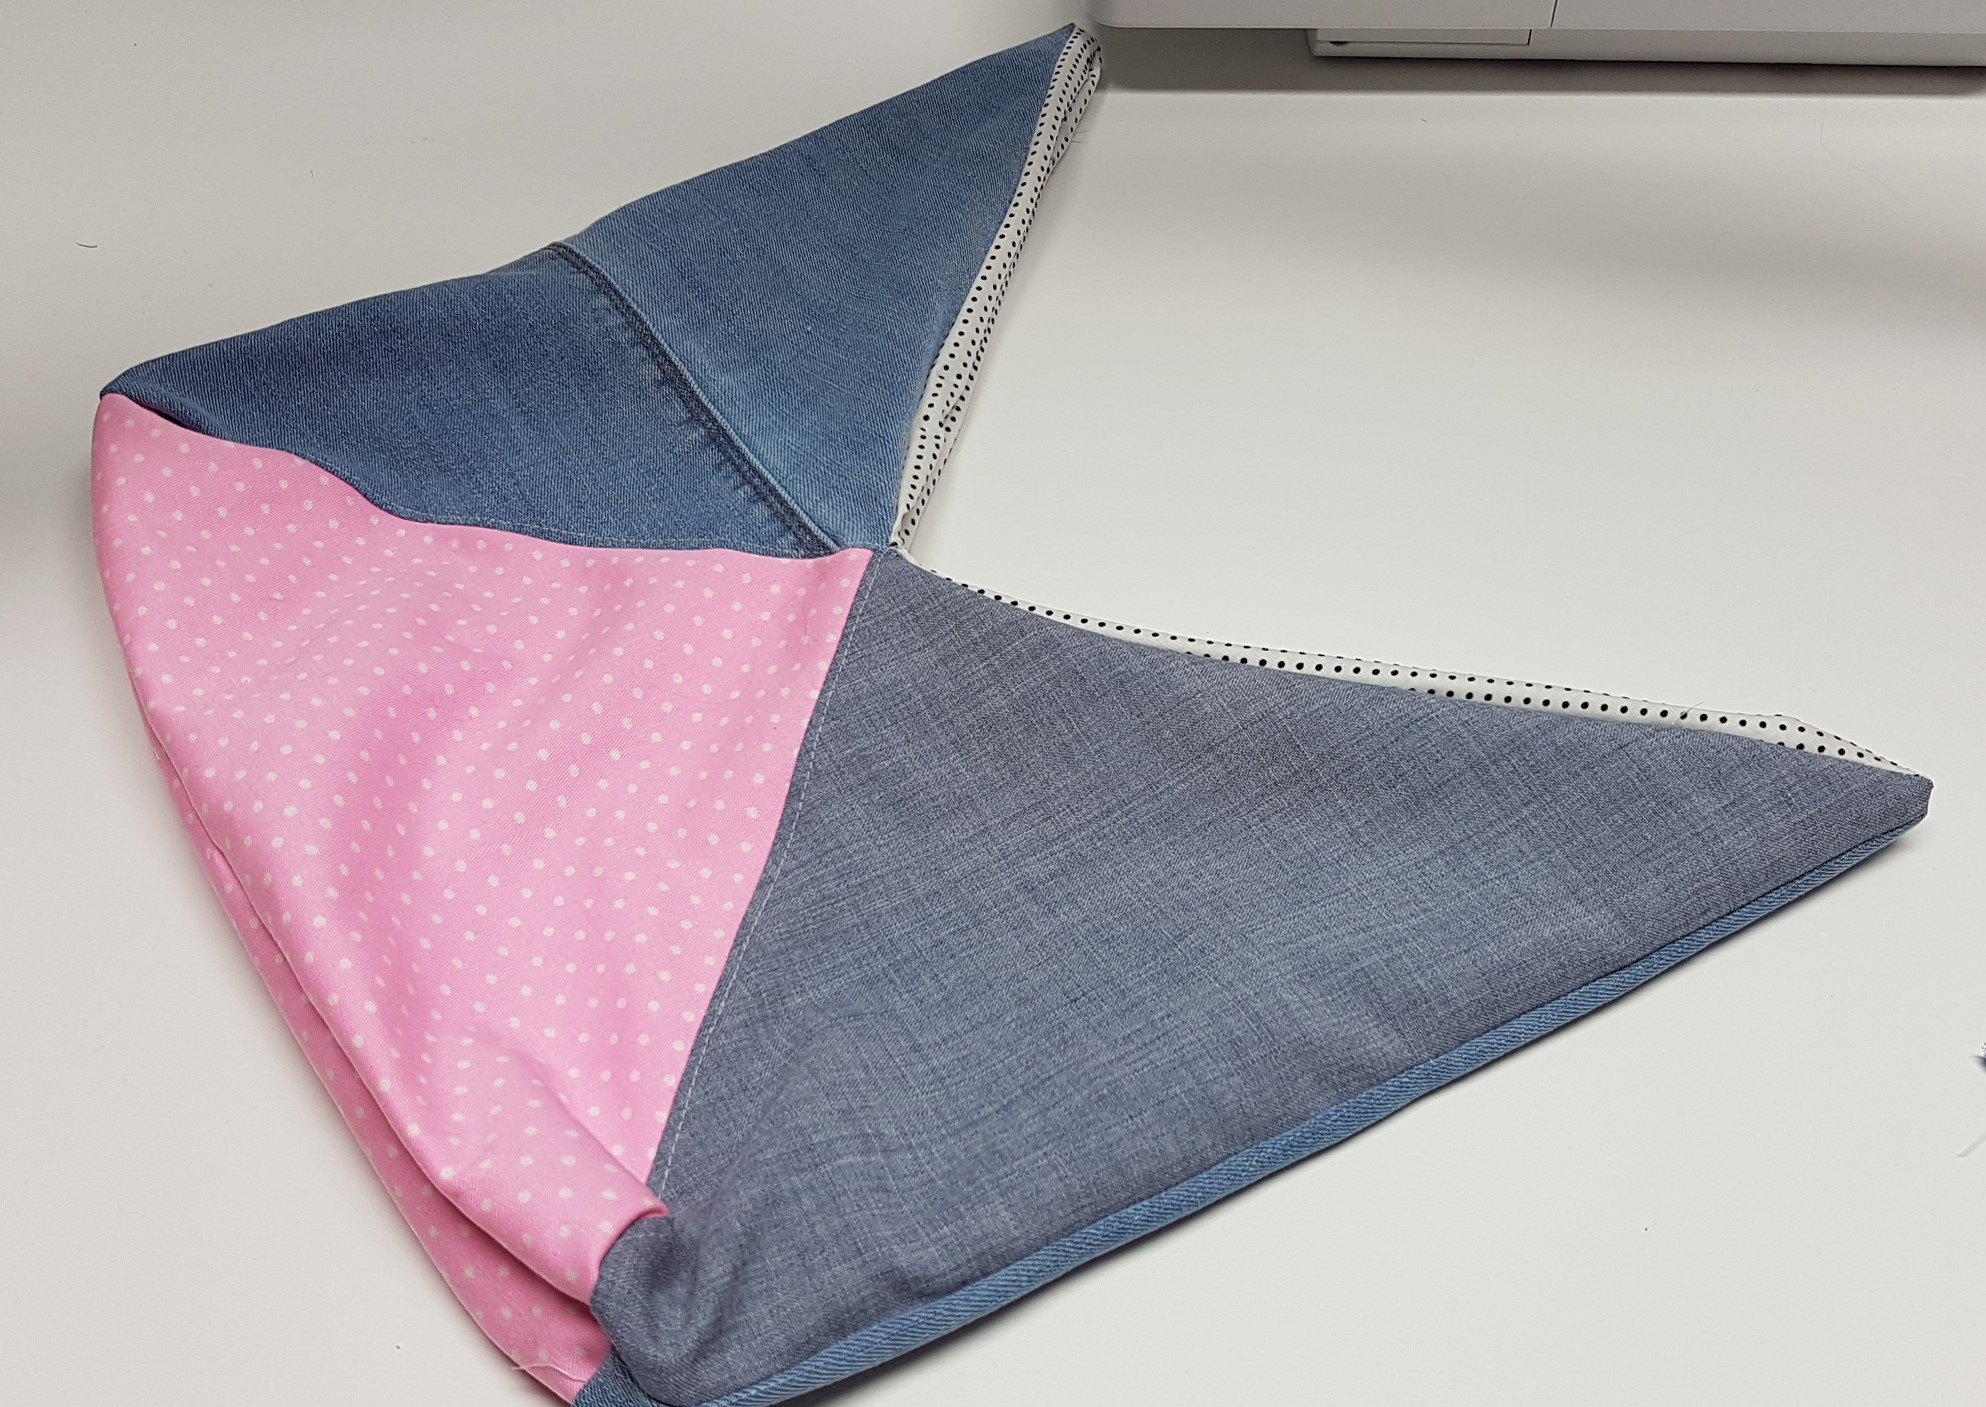
This is how it will look, now with the hole that is in the bottom of the lining you will turn your bag right sides out
Once you have it flipped we will flatten the edge of the bag and do a top stitch along the edge of the opening
this will help hold the lining down and give it a crisp edge
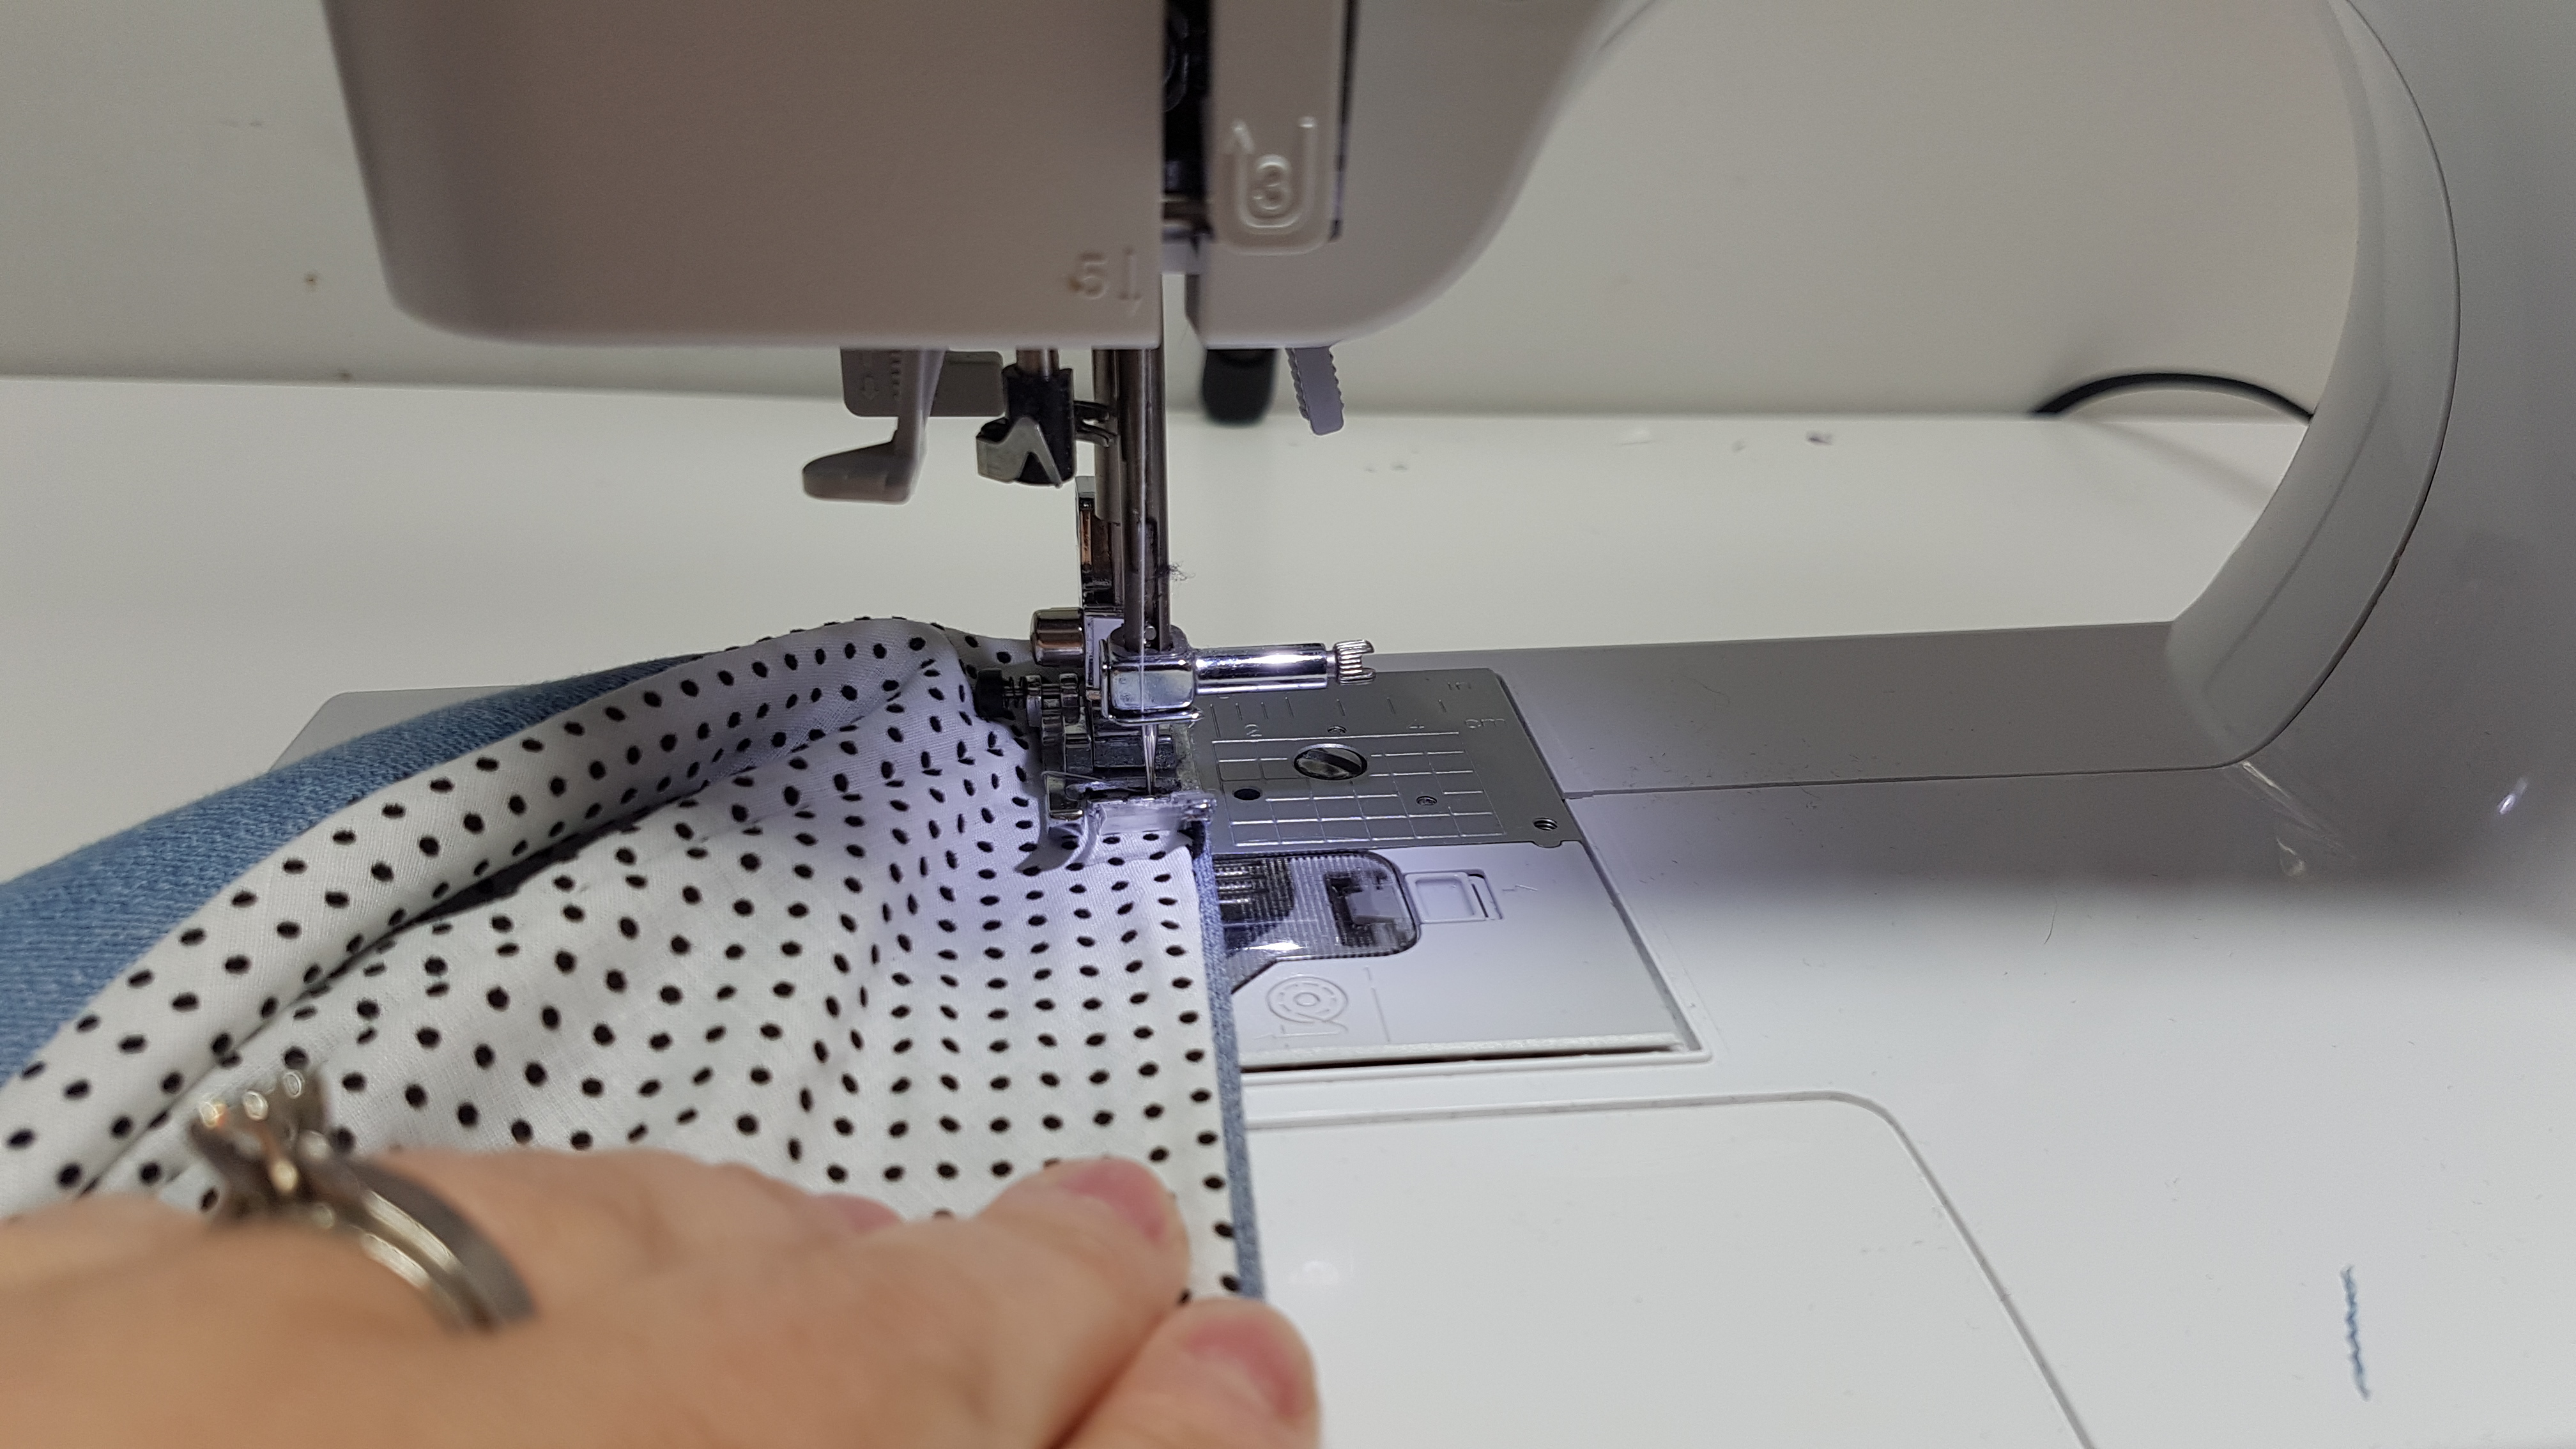
When i sew my lining i like to inset the lining a little bit, i think this helps make your bag look cleaner from the outside so you dont have any lining peaking through, unless thats what your going for!
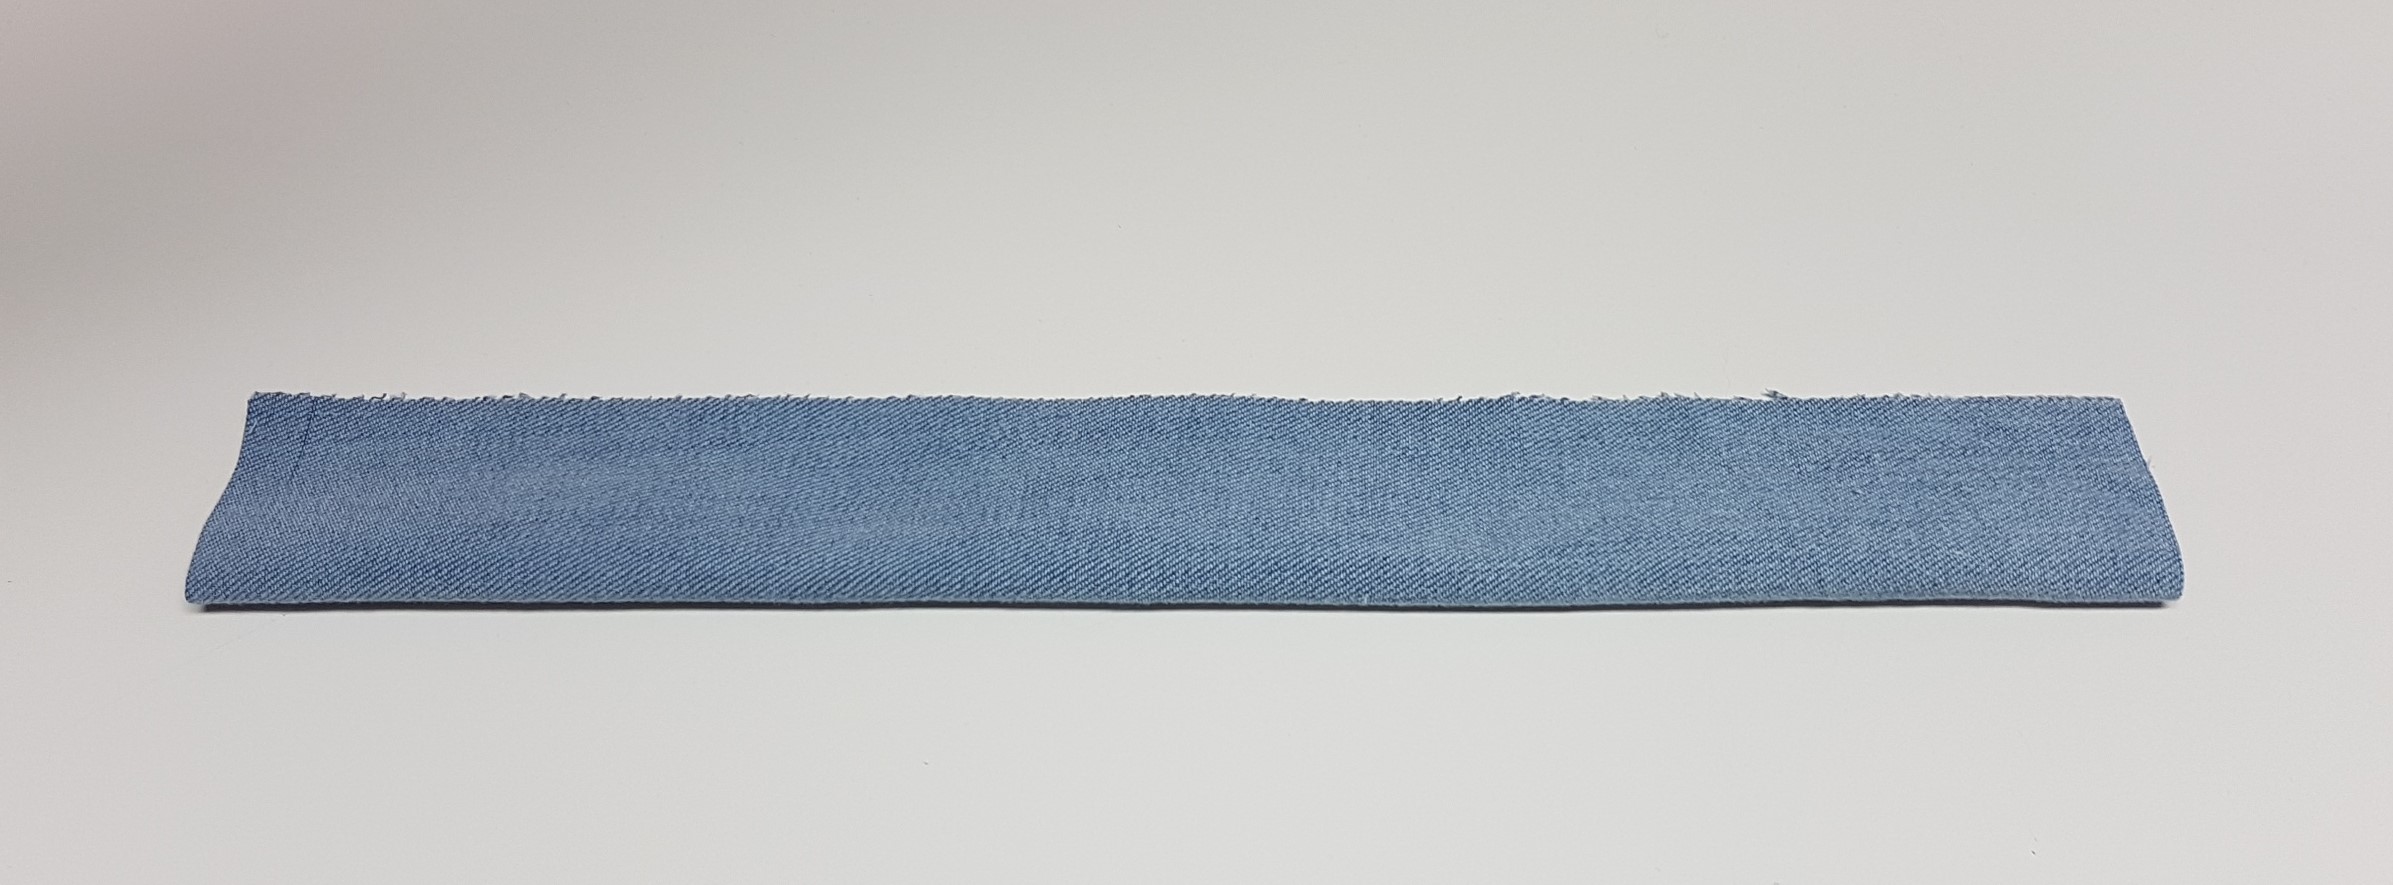
Now you will take your strap piece and fold it in half length ways, sew down the sides and down the long edge leaving a 1″ hole that will be used for stitches
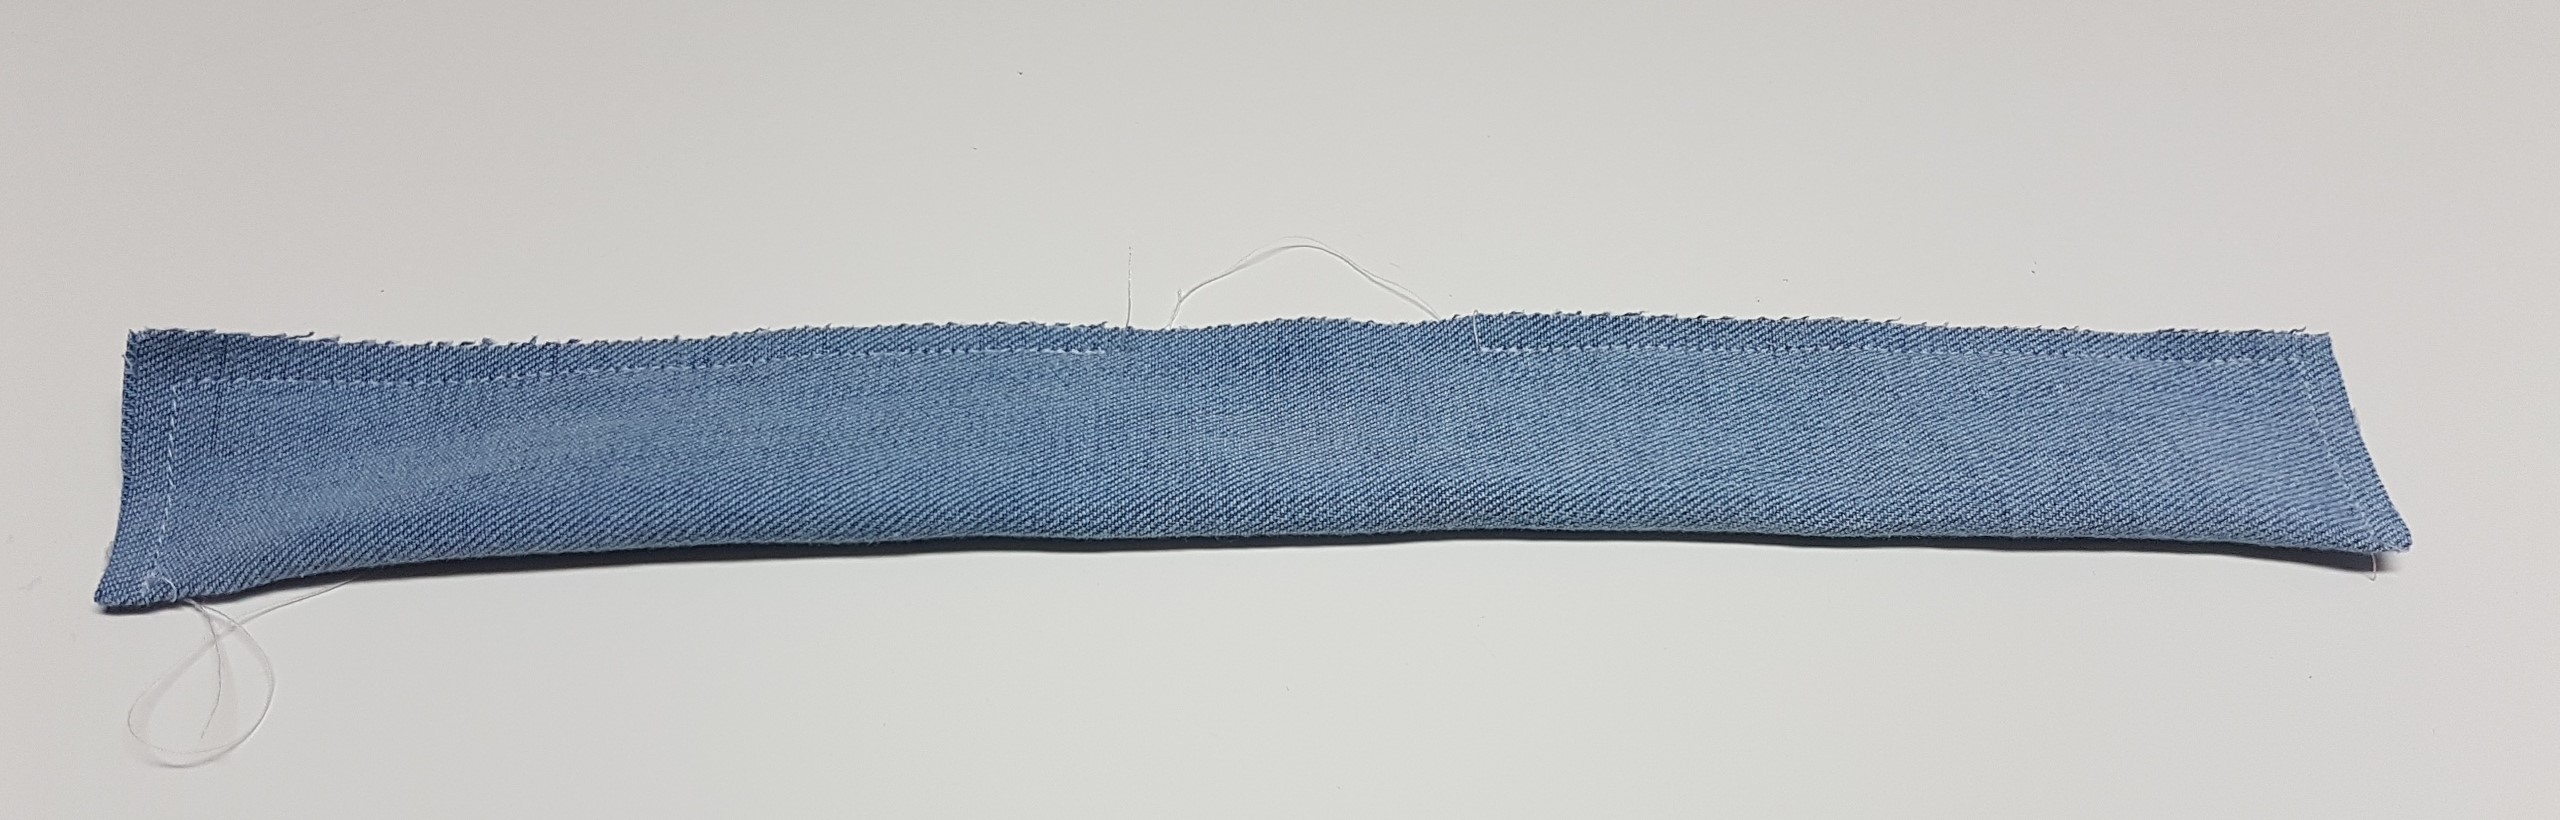
turn the piece right sides out poking out the corners, Top stitch the Strap
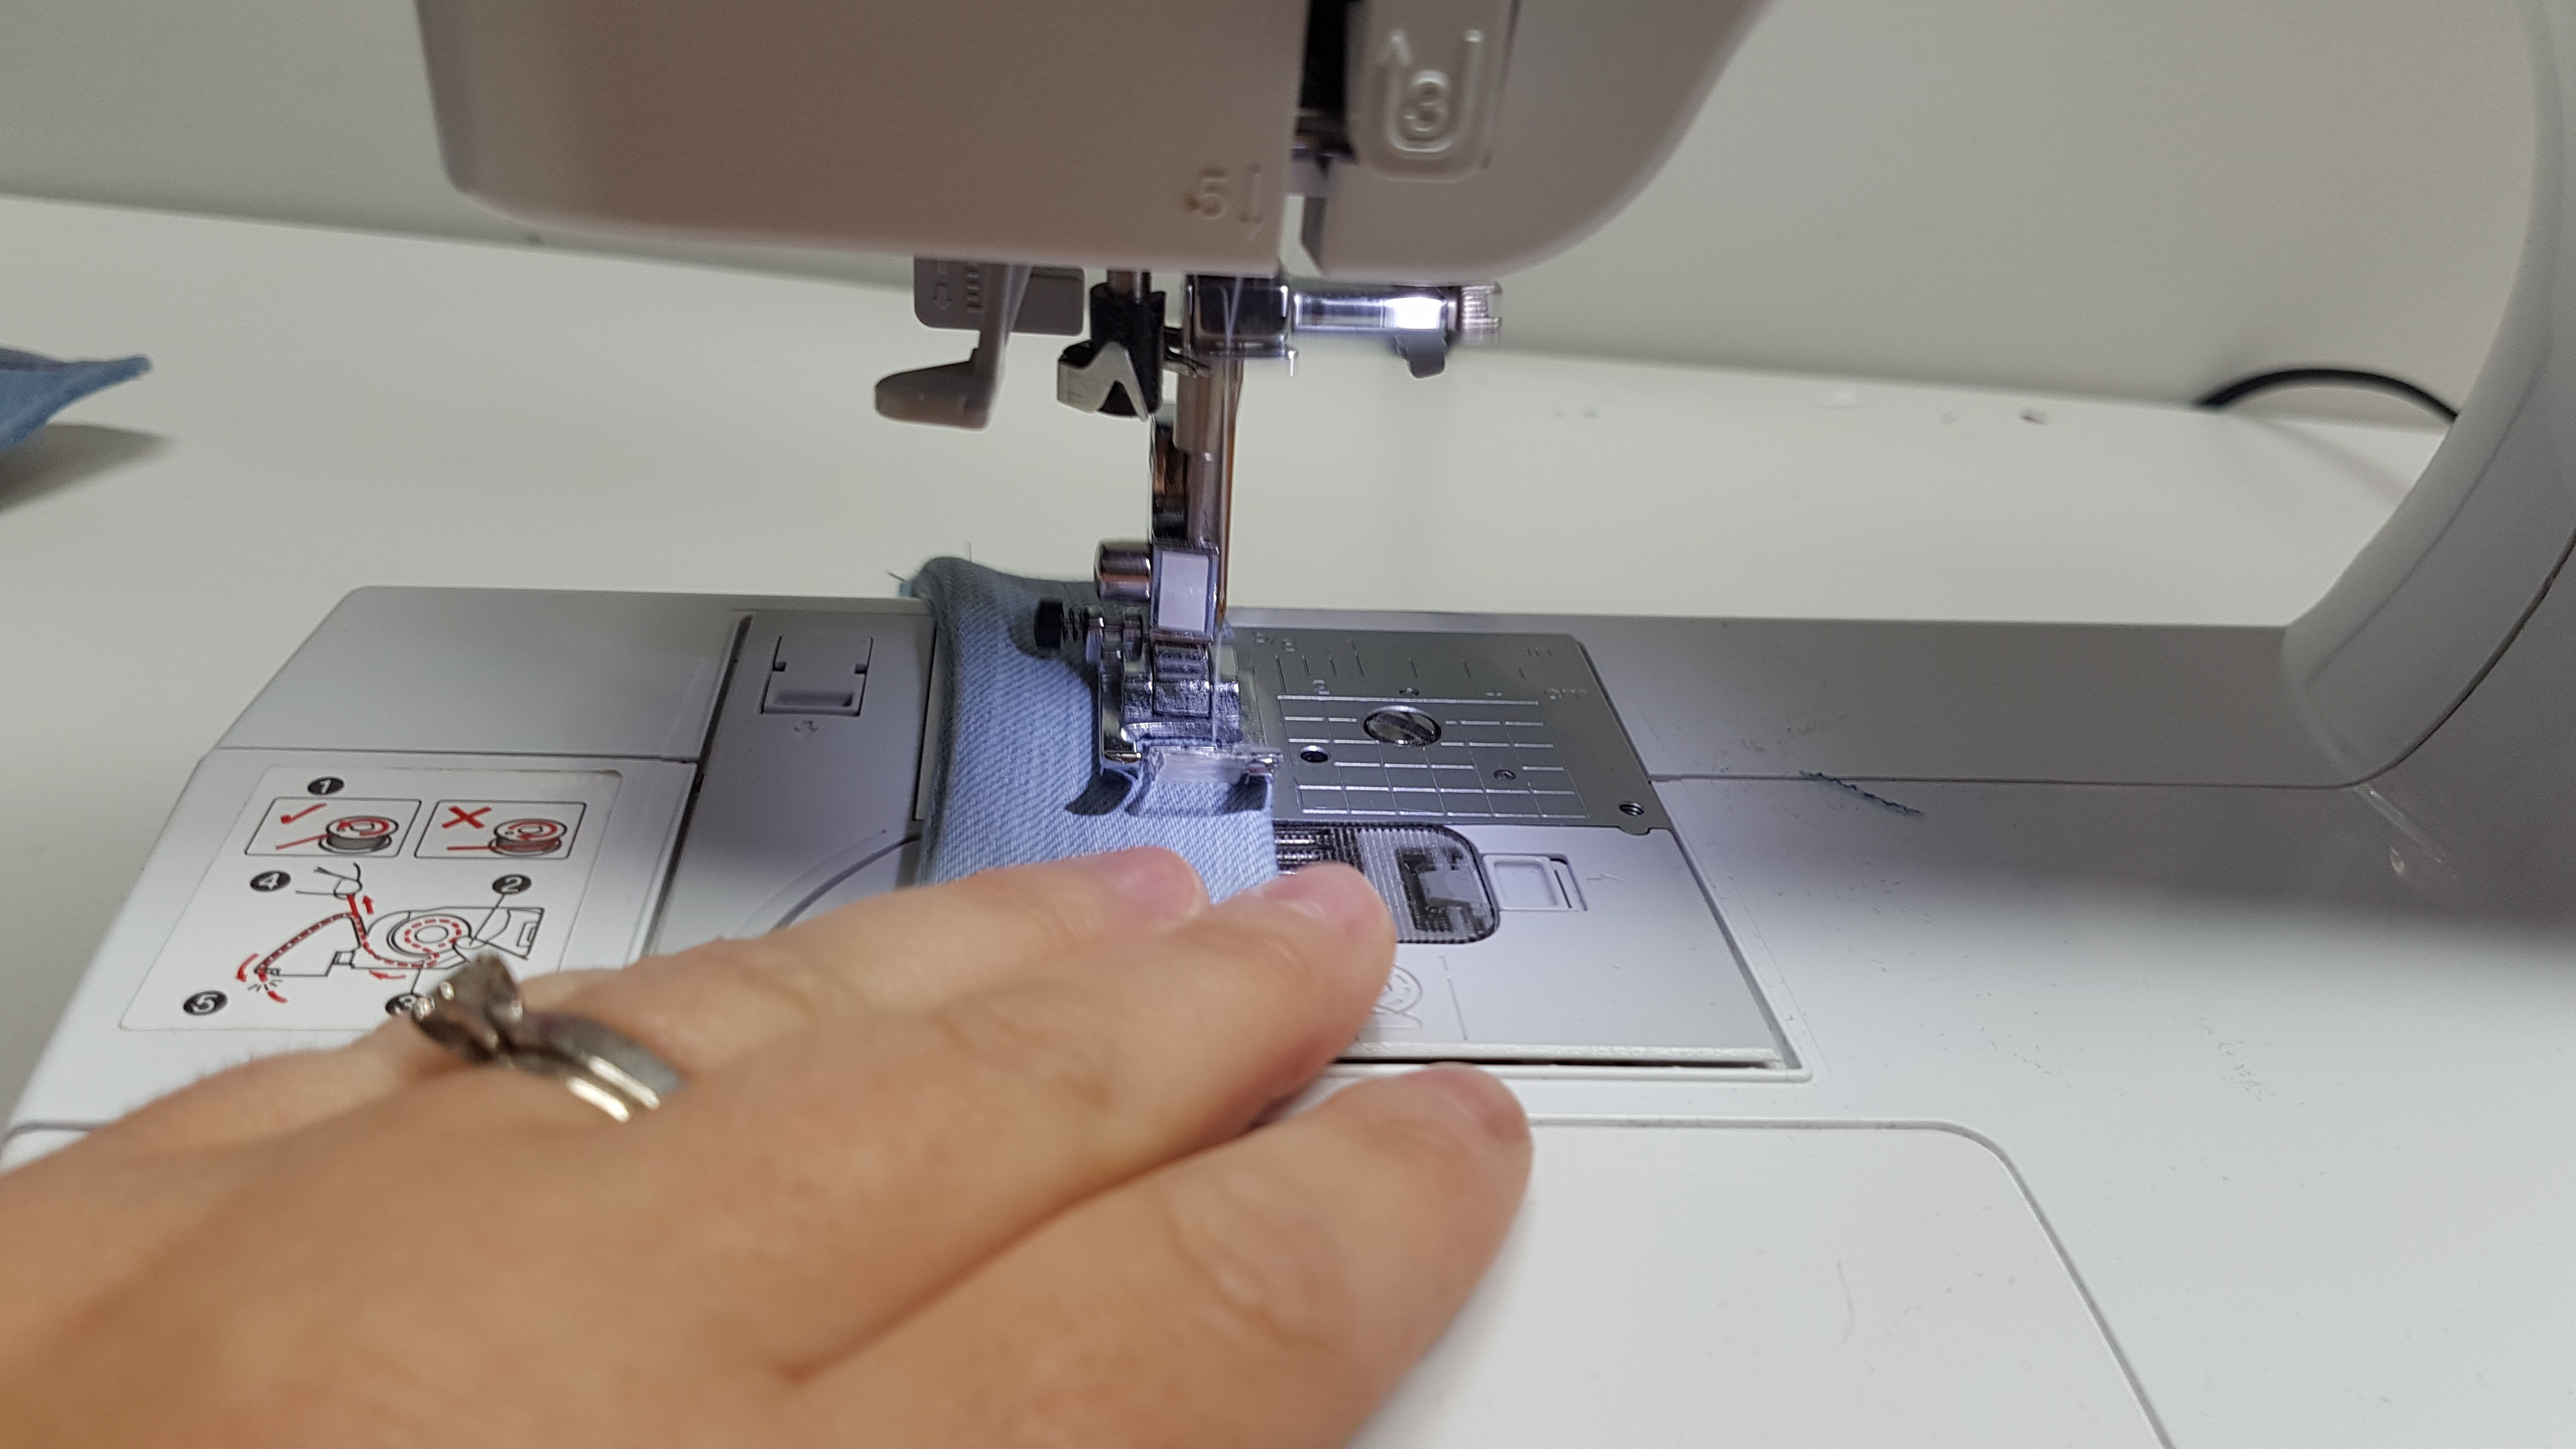
When i top stitch i like to use a longer stitch, and using a contrasting thread if you want it to be seen
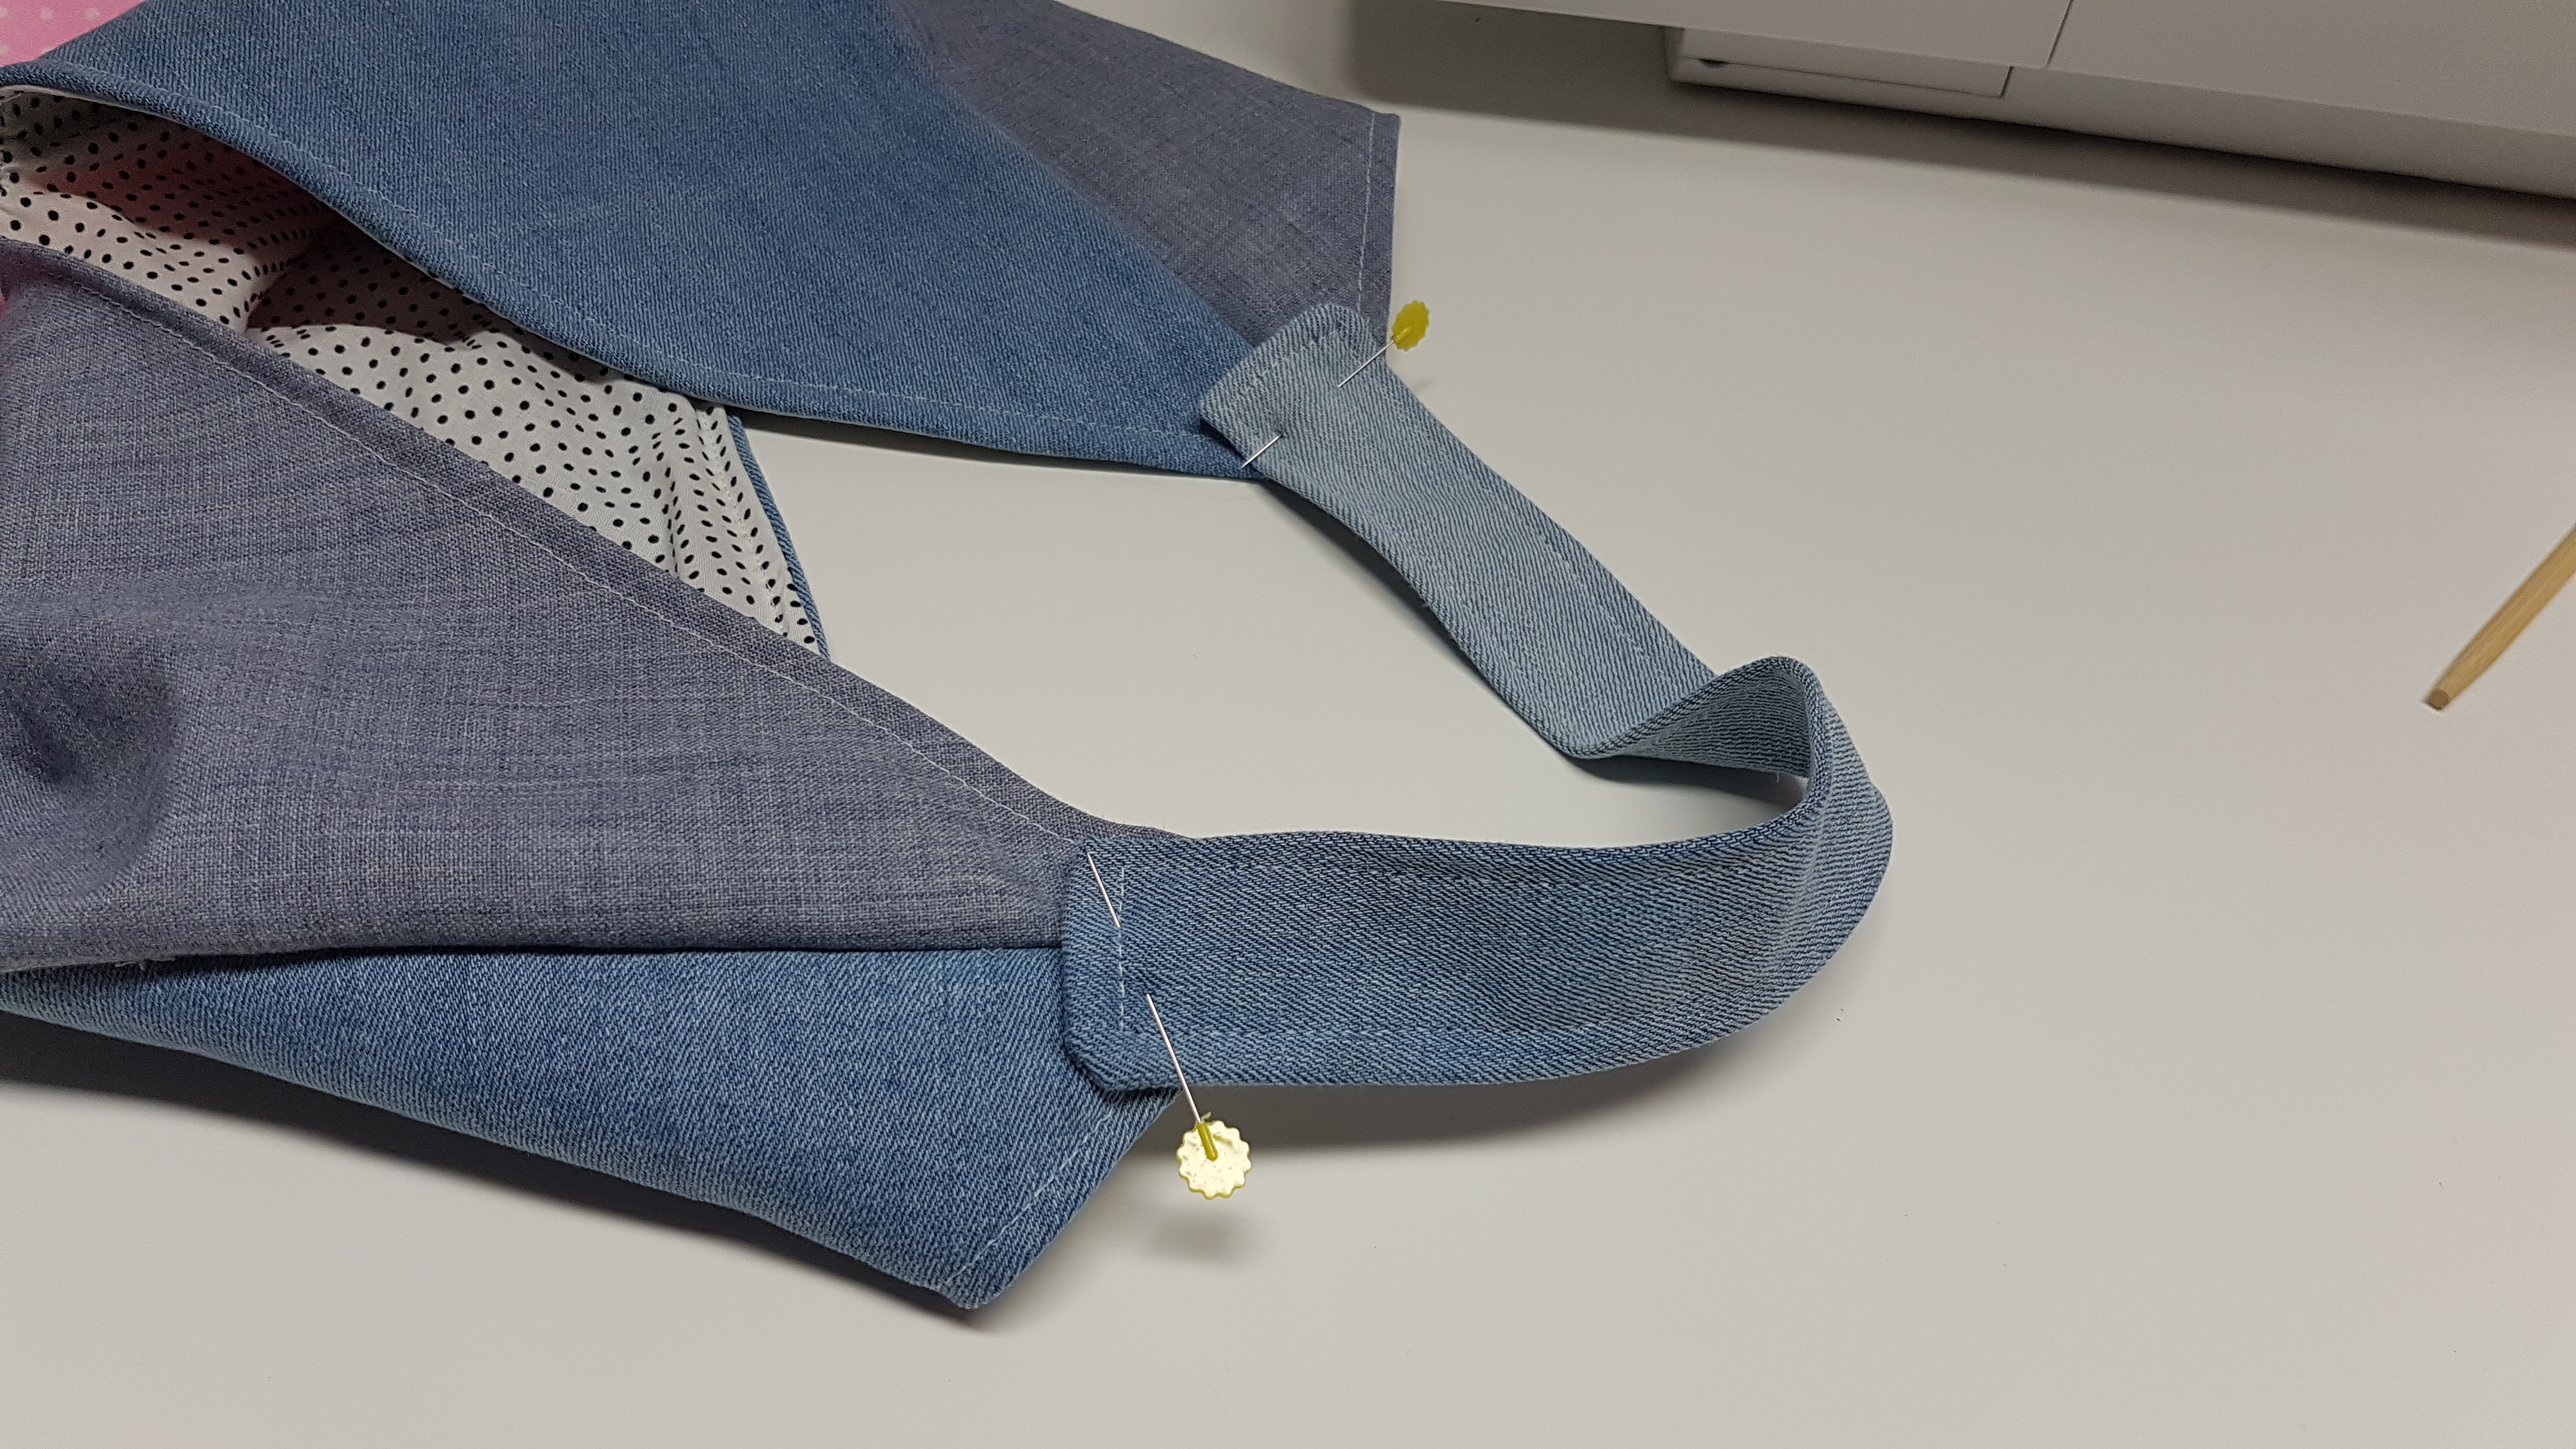
Now because this bag is patch work looking i dont mind having my strap just sewn on the outside, If i was making it a little nicer maybe i would hide the ends of the strap but for this tutorial i love how this looks and i hope you do too!

to attach the straps i created a square with a x in the middle for extra security
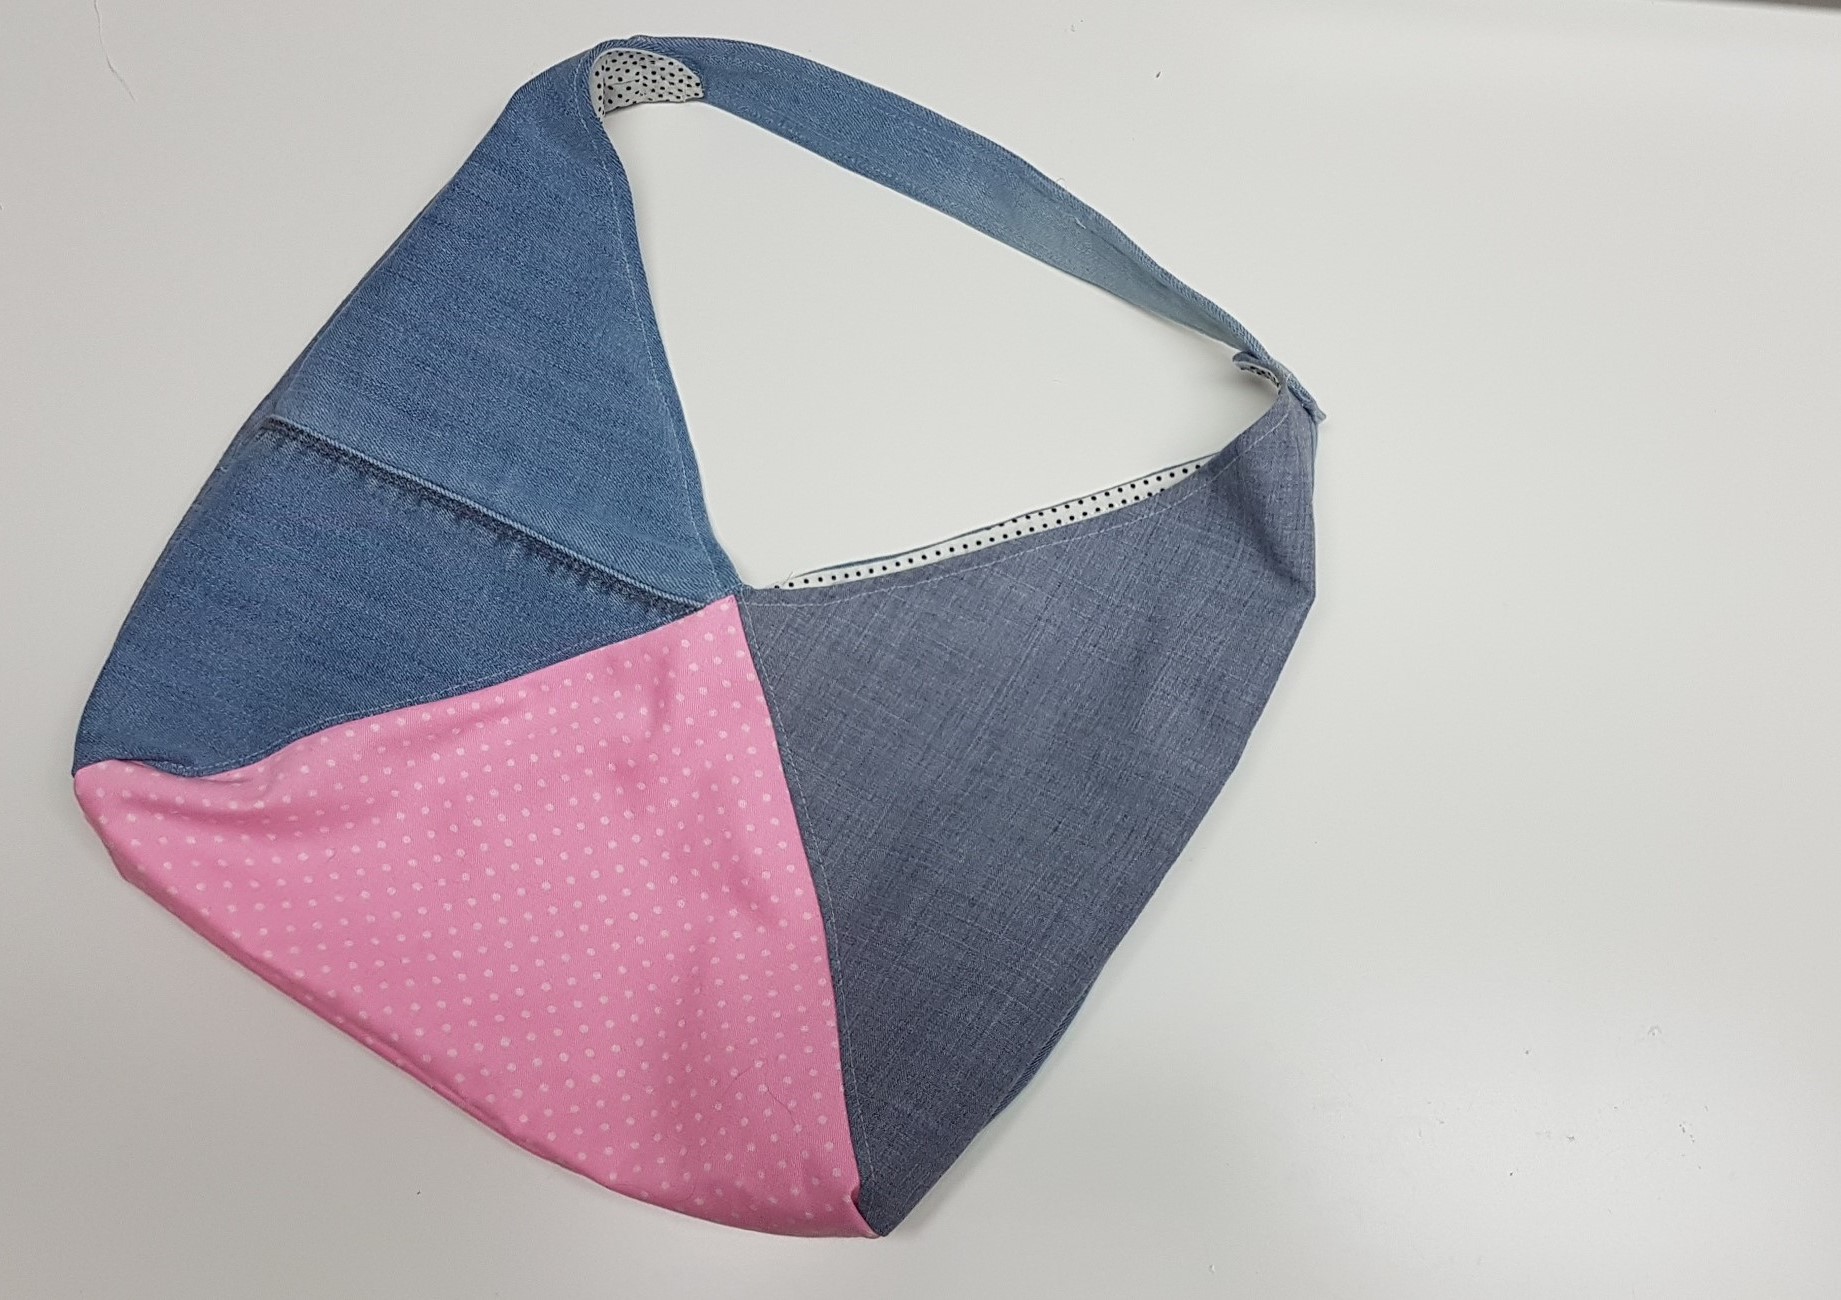
I looooooooooooooooooooove this bag! im obsessed with it, its so adorable and perfect for market shopping or as a purse!


0 Comments