

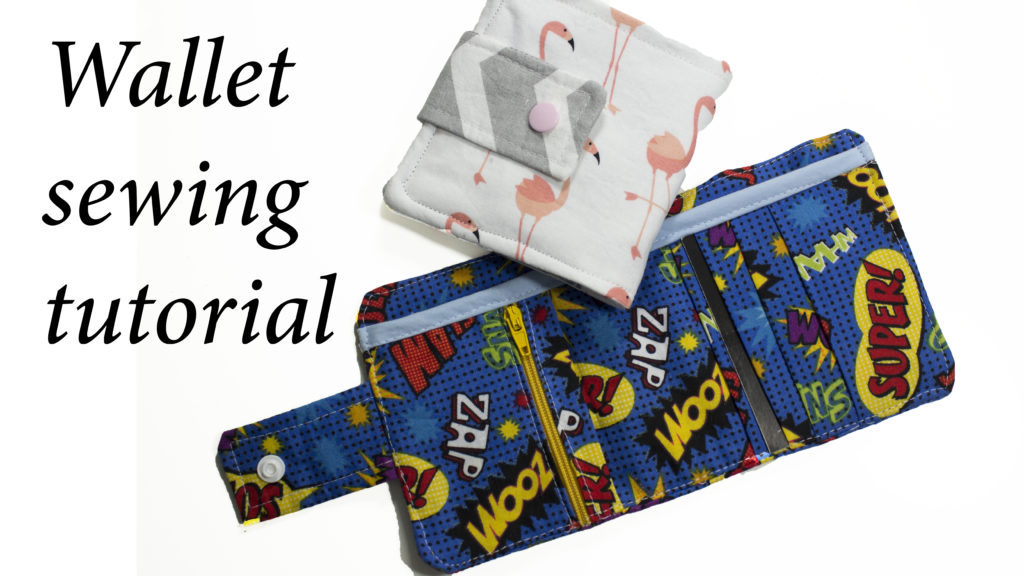

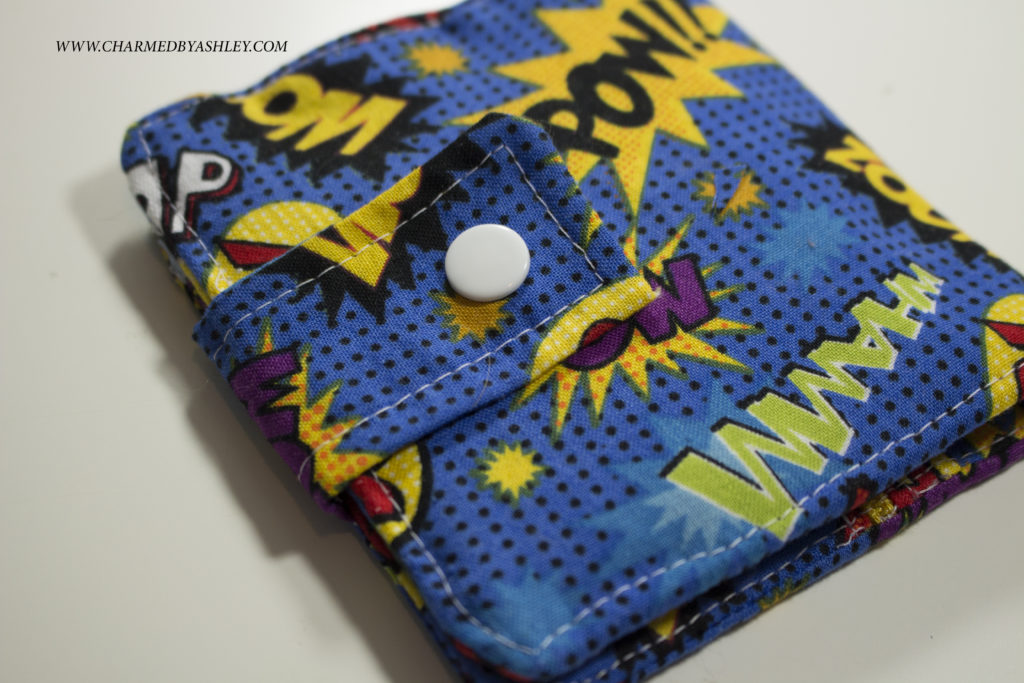
I wanted to make a wallet perfect for a child, but could also be used for an adult, i love how it provides security for small change, a bill pocket and a few card slots!
A video tutorial is over on my youtube.com/charmedbyashley
This is where you will find the pattern measurements!
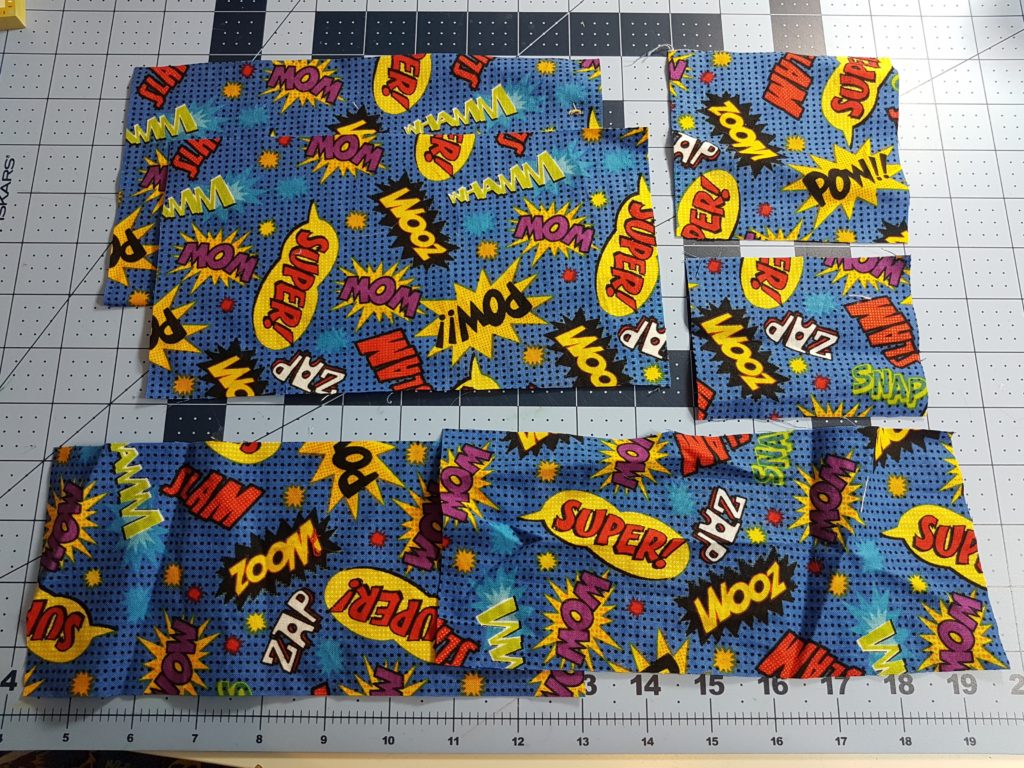

- – 2 x 9×5″ outter pieces
- – 2 x 9 x 4.5″ inner pieces
- card slots 4.5 x 19″ (one continuous piece that will be folded into slots, watch the video to see exactly how i did it if it gets a little confusing)
- Tab piece – 3.5 x 3.5″
- Zipper pocket 1 – 4.5×4.5″ 1 – 3.5 x 4.5″
- 1 piece of Bias tape ( ready made ) or use the same or a contrasting fabric – 9″ x 2.5″


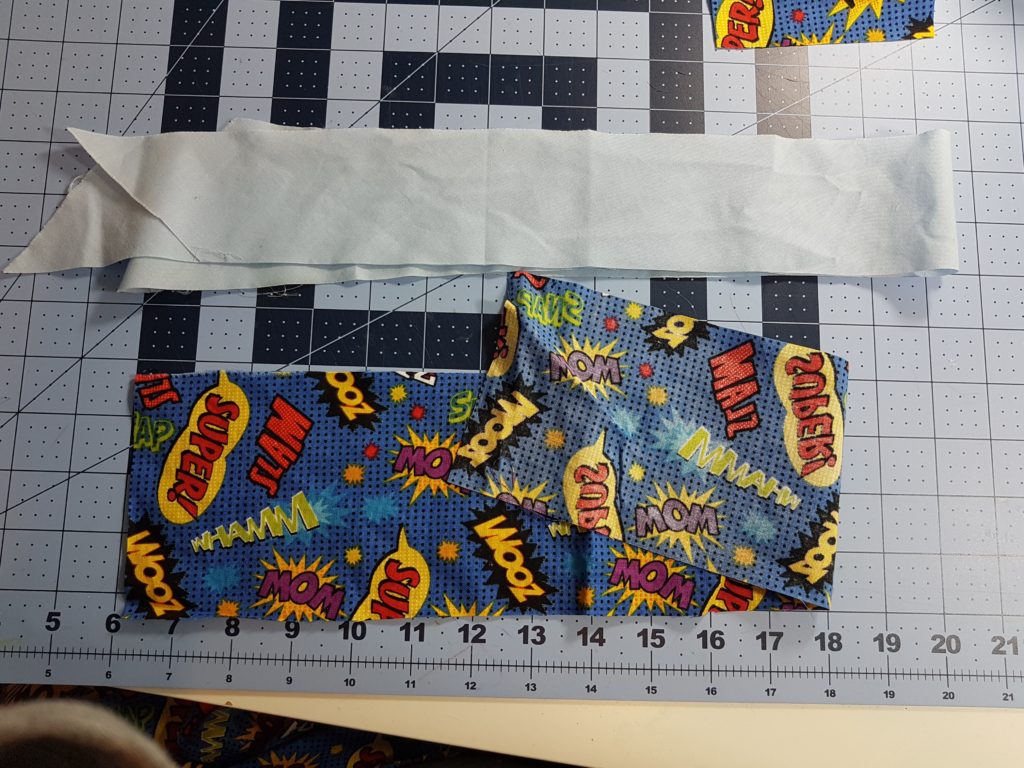
First i work on the card slot, using a Hot iron i will use a business card to help with the folding and to judge how deep you want your slots to be, putting the card on your fabric and folding the fabric over the card and then back again with create a “slot” to visualize its sort of an accordian fold, make sure you fold the fabric back 3.5″ before you start folding your slots so you dont have raw edges inside your wallet
For a full demonstration check out the video linked here ->
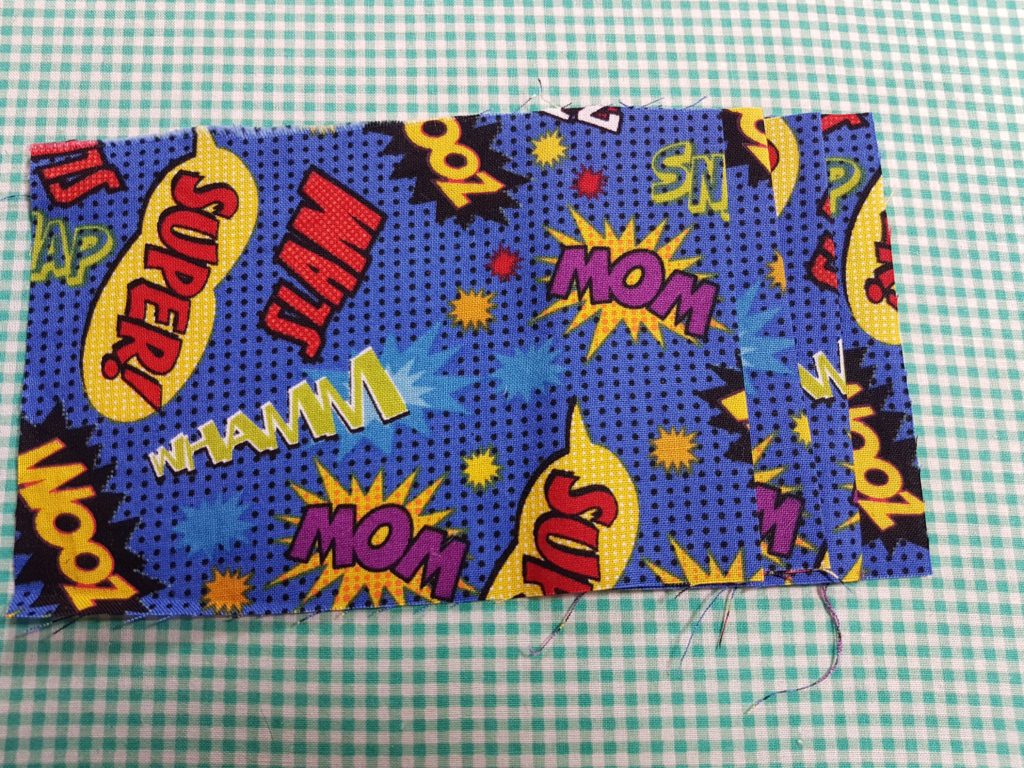
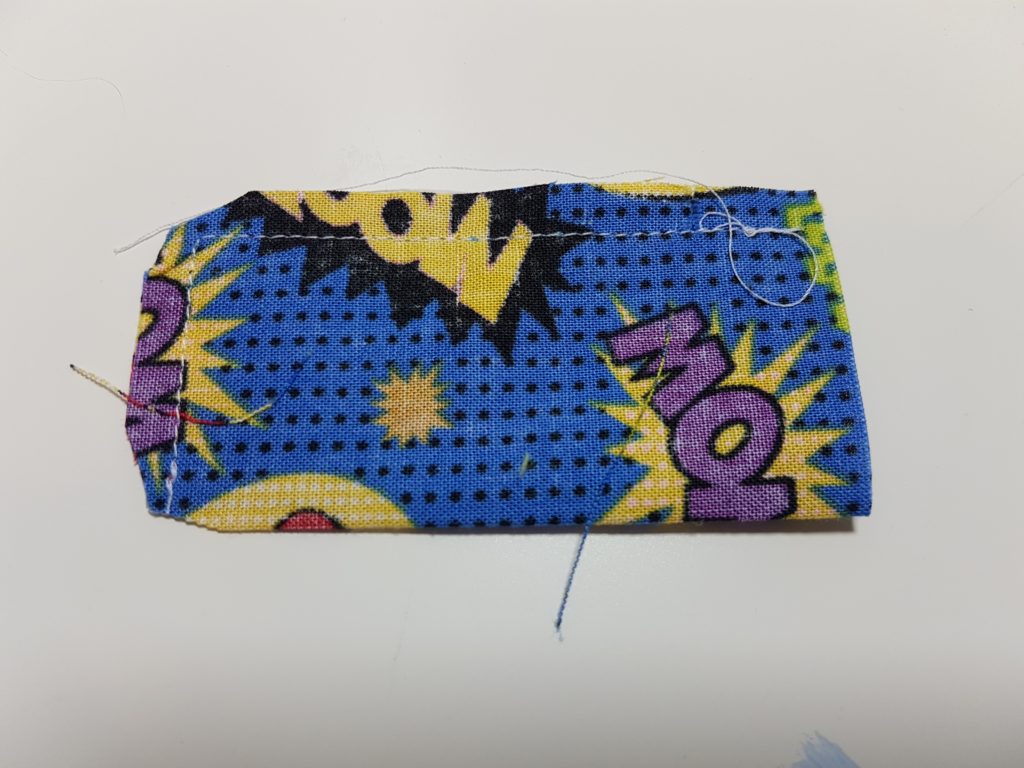
This is how the back looks like and that part on the left will be folded over the back to line up with the other raw edge

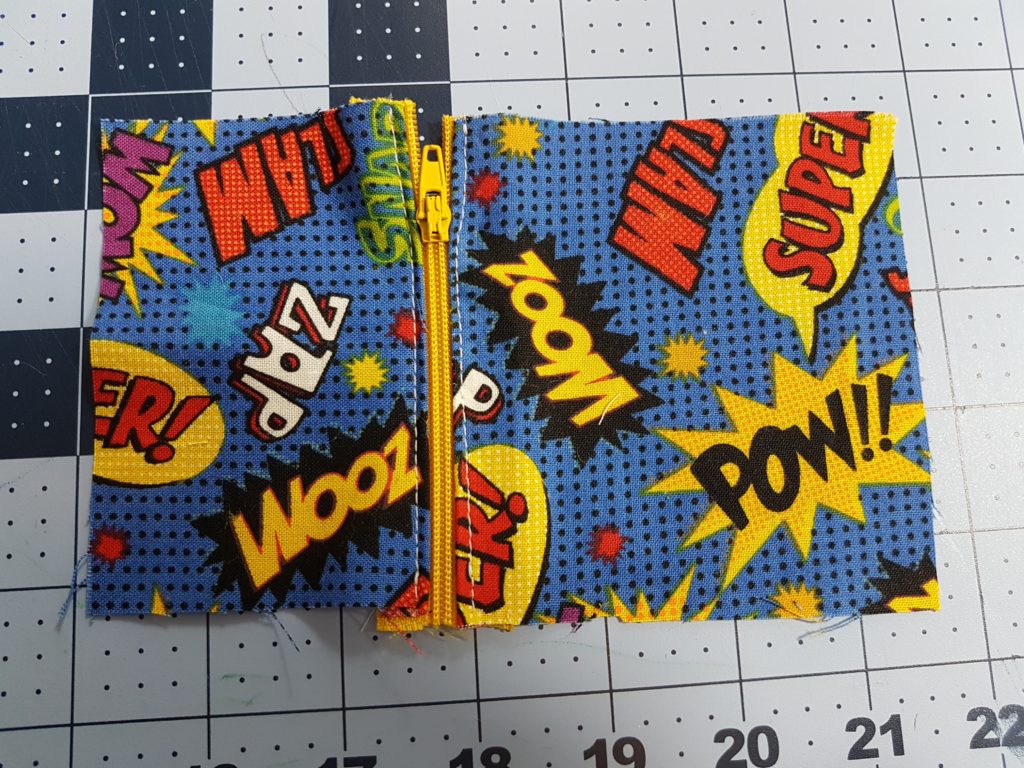
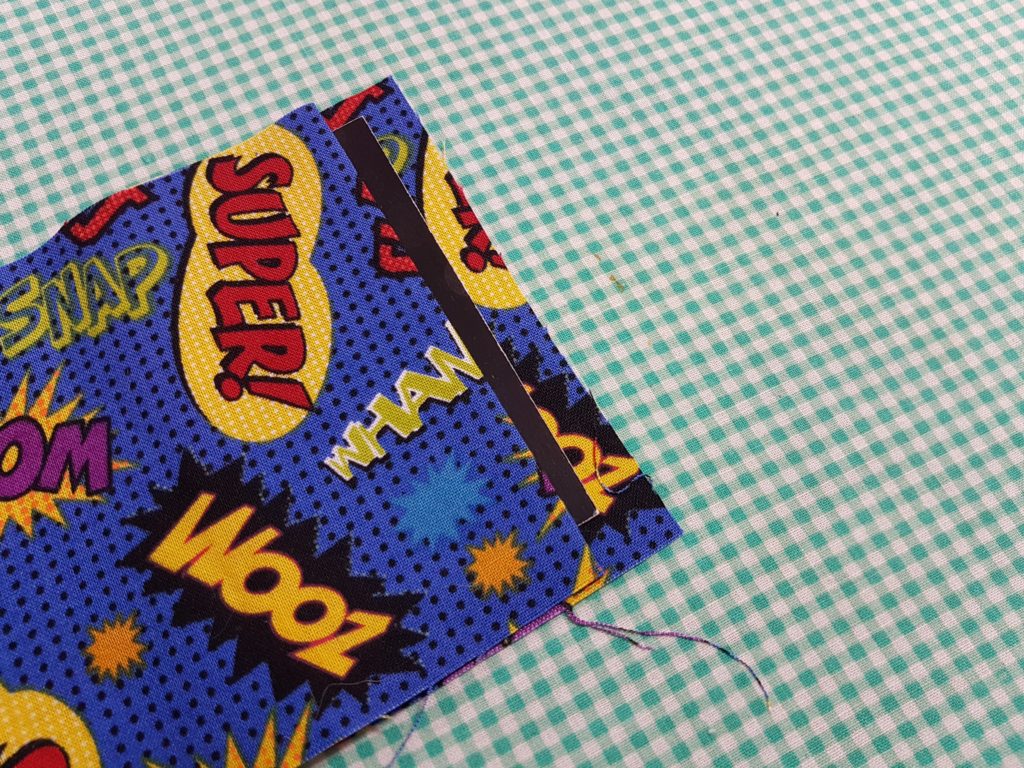
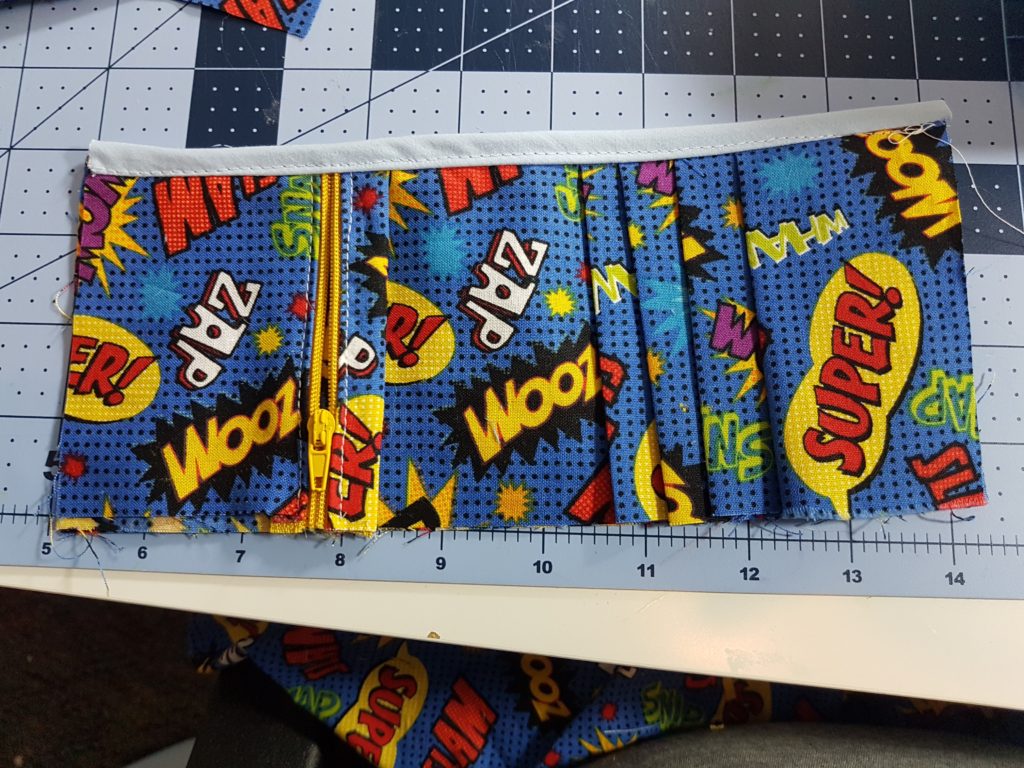
attacked the two pieces to your zipper in this way, lay your fabric right sides down sewing along the zipper and then fold it back and do a top stitch, the 1 piece of fabric is shorter because you will be folding back the long piece behind the zipper to line up the raw edges and that will create your pocket, its not lined but i dont feel its necessary but if you feel you need to line it then that is totally up to you
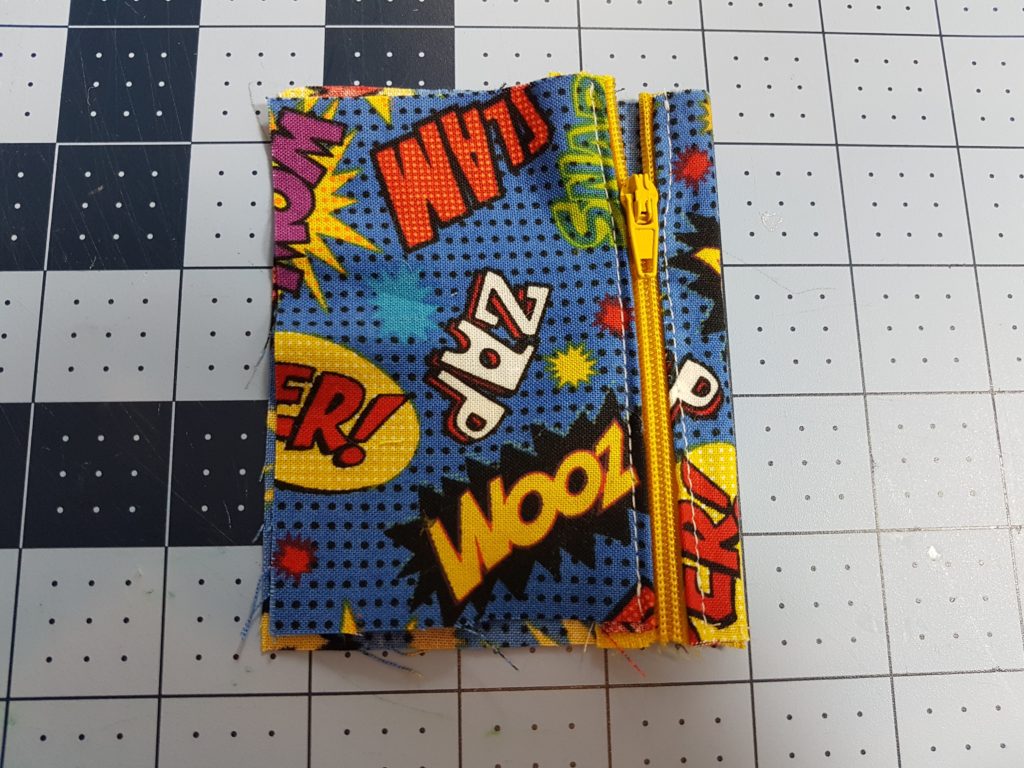
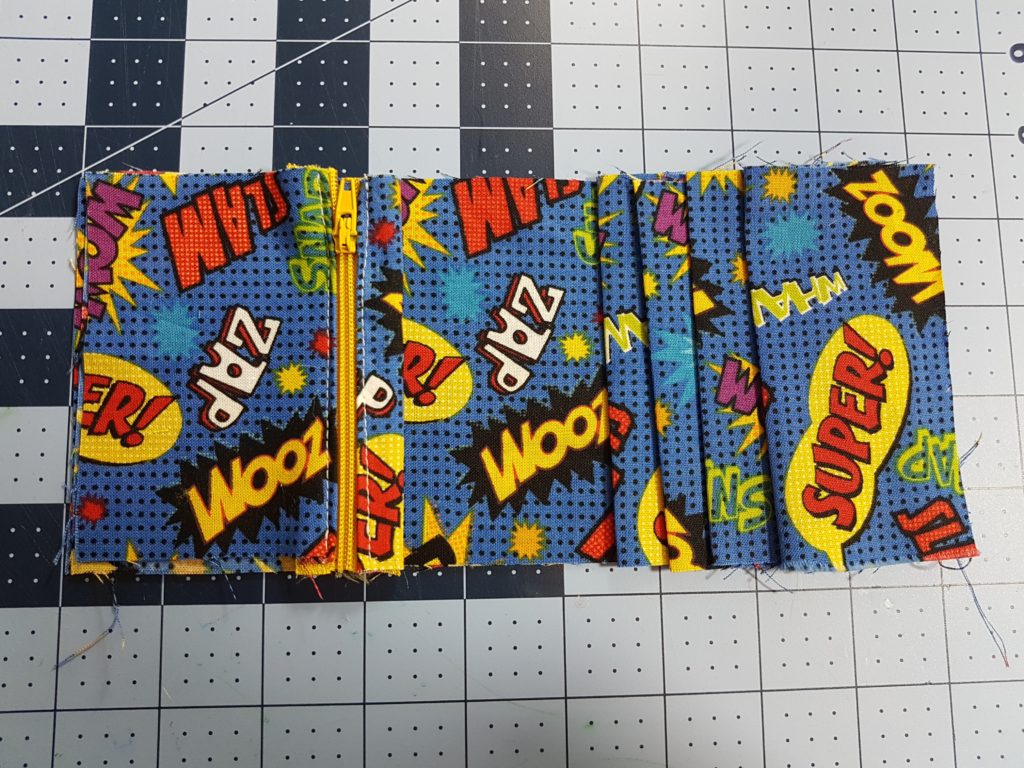
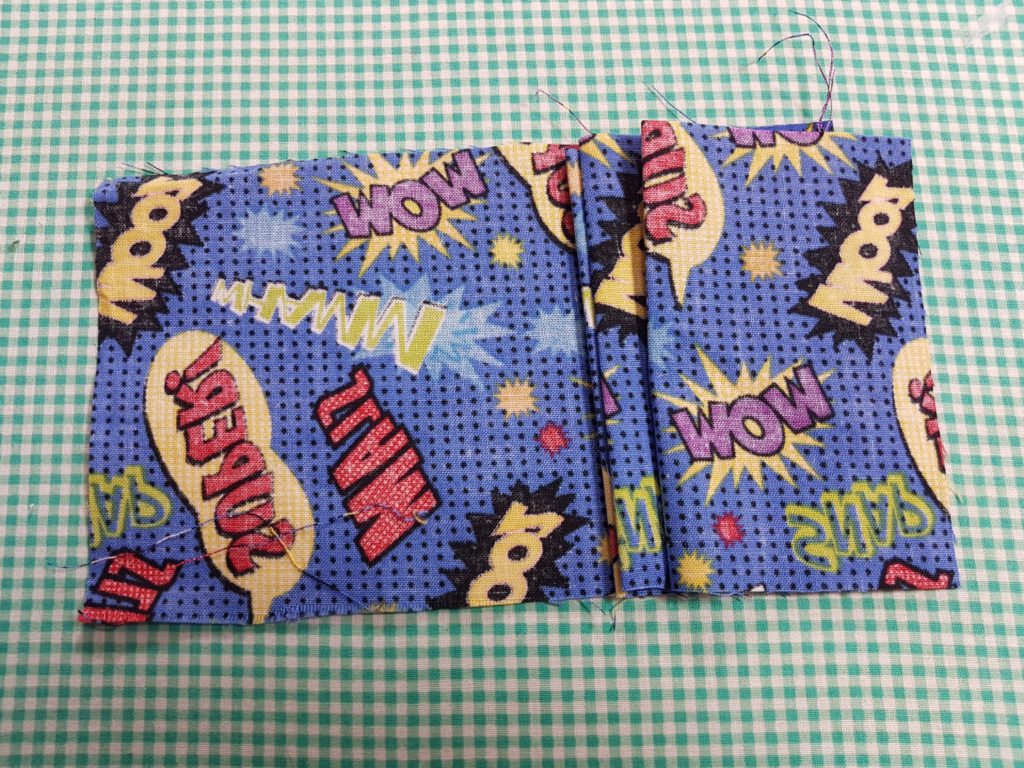
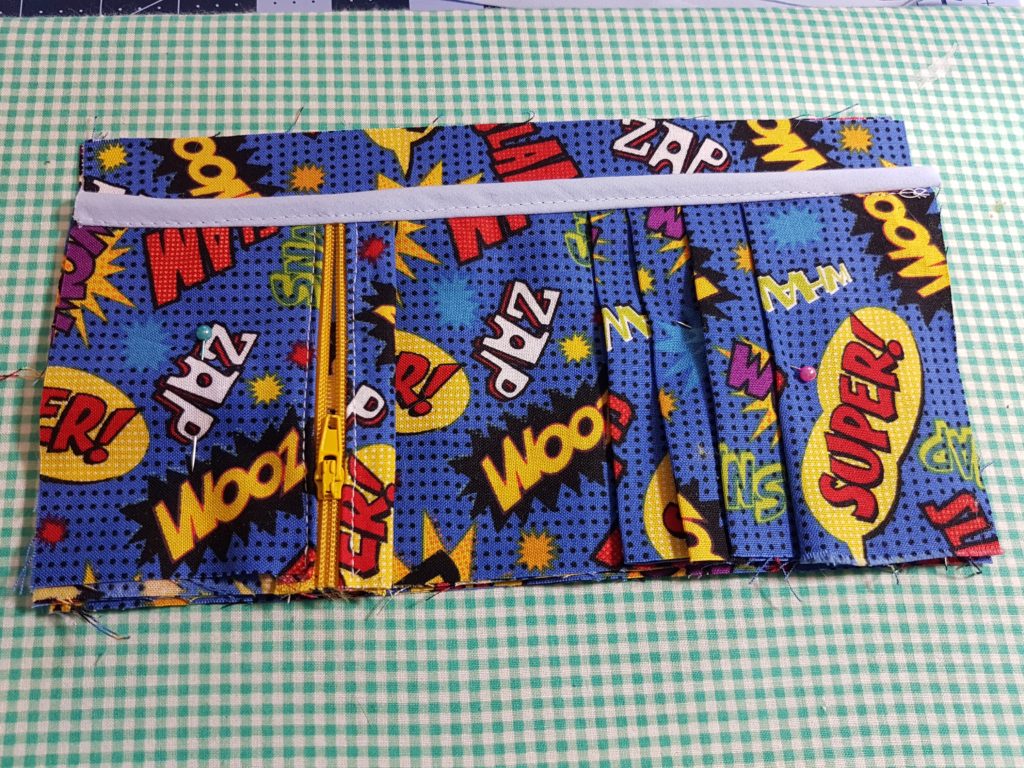
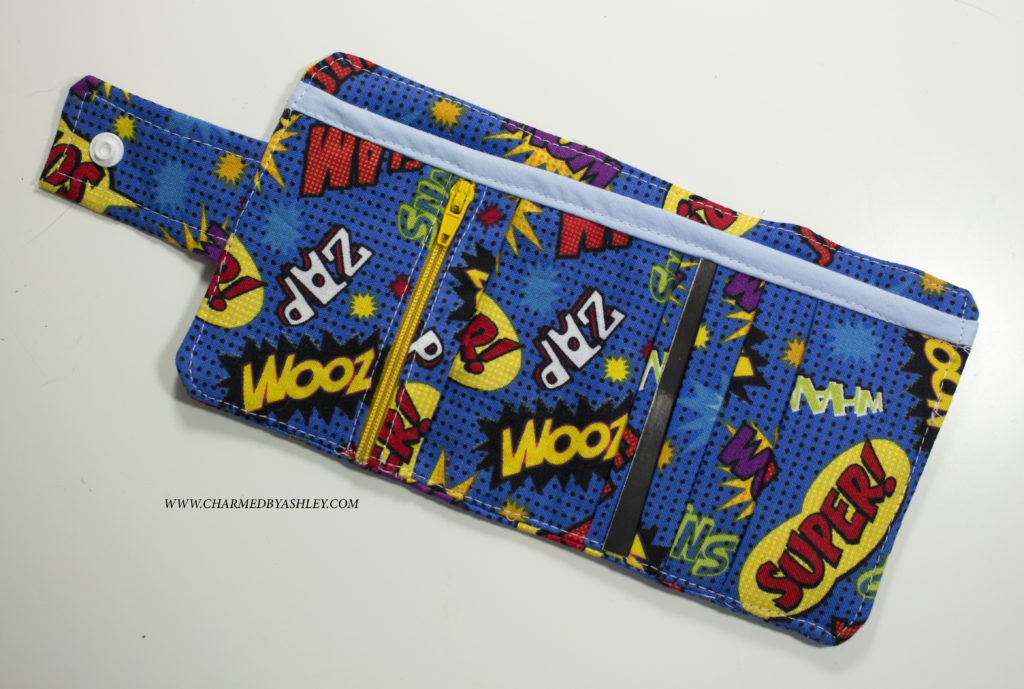
This is how the longer fabric turns under the zipper and lines up with the shorter fabric, and you will take your inner two pieces with the wrong sides facing each other, lay it on the table and place your card slots on one side and then the zipper on the opposite side in this way
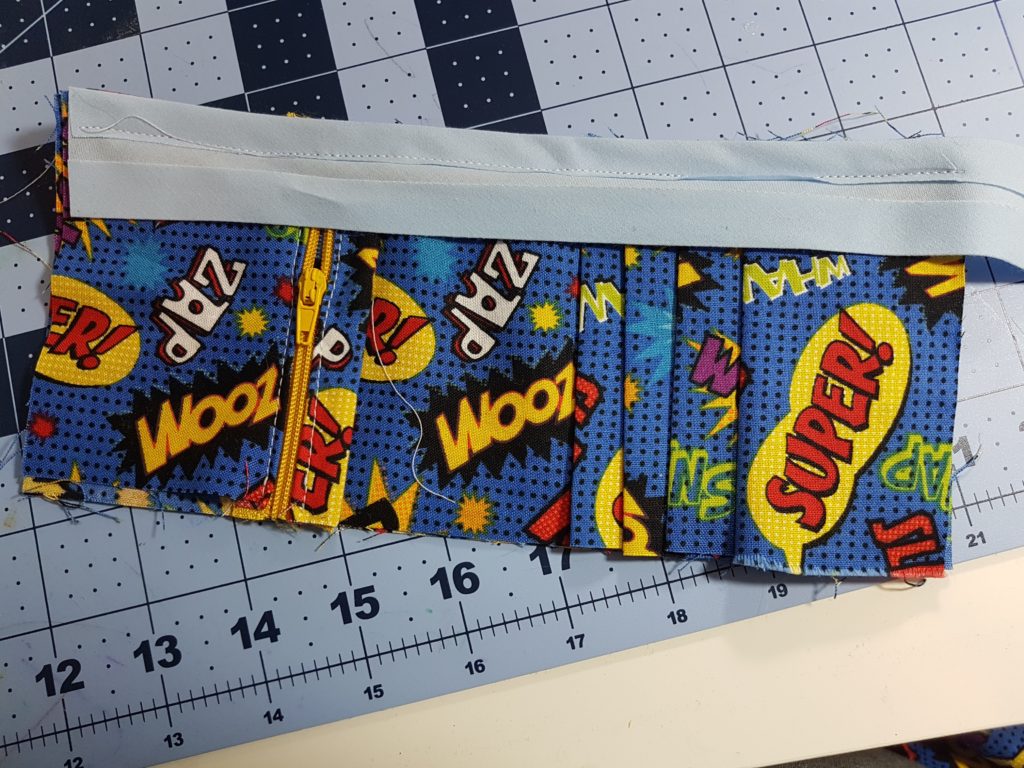

Now you will attach the bias tape at the top of this piece, this will secure all the inner pieces together, then it is best to base the rest of the wallet to keep all the pieces in place (A Baste is when you just do a quick sew around quickly, not intended to secure things and can be done with the longest stitch on your machine)
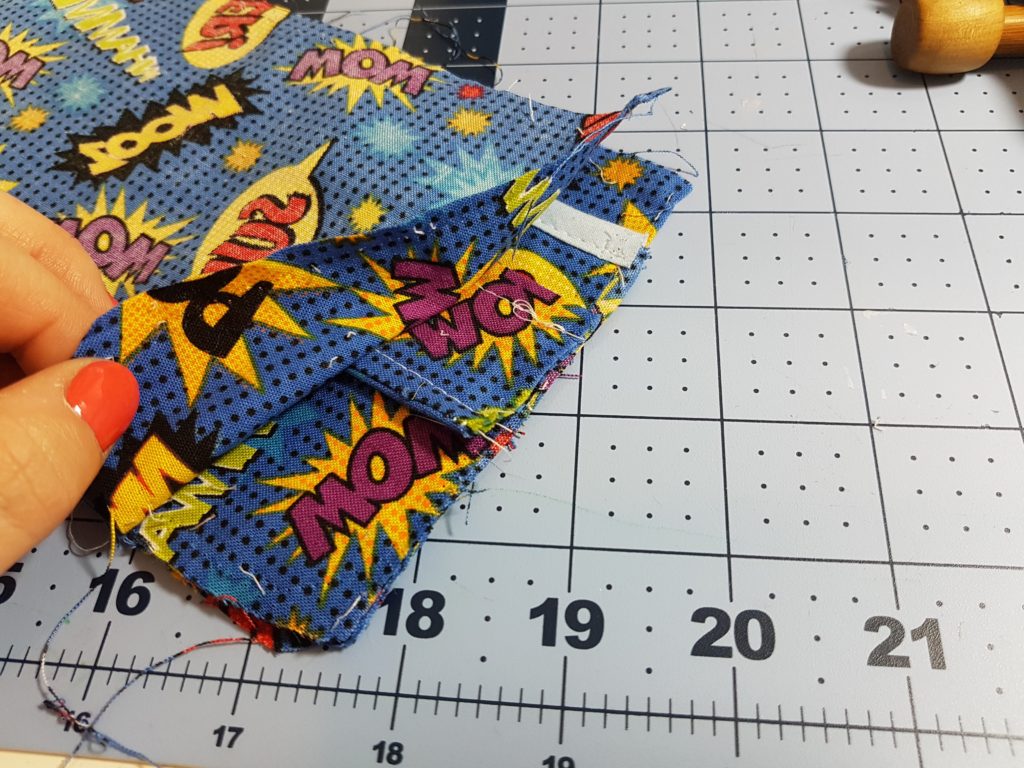
to sew the tab fold in half and sew down 2 sides, flip it right sides out and top stitch around the three sides
Now its time to put it all together, place one of the largest rectangles right sides facing up, place the inner wallet on top with the right sides facing up, place the tab on either side with the length of the tab near the middle of the wallet, place the last piece of fabric ontop with the right sides facing down.l
Sew all the way around while leaving a 3″ gap for turning
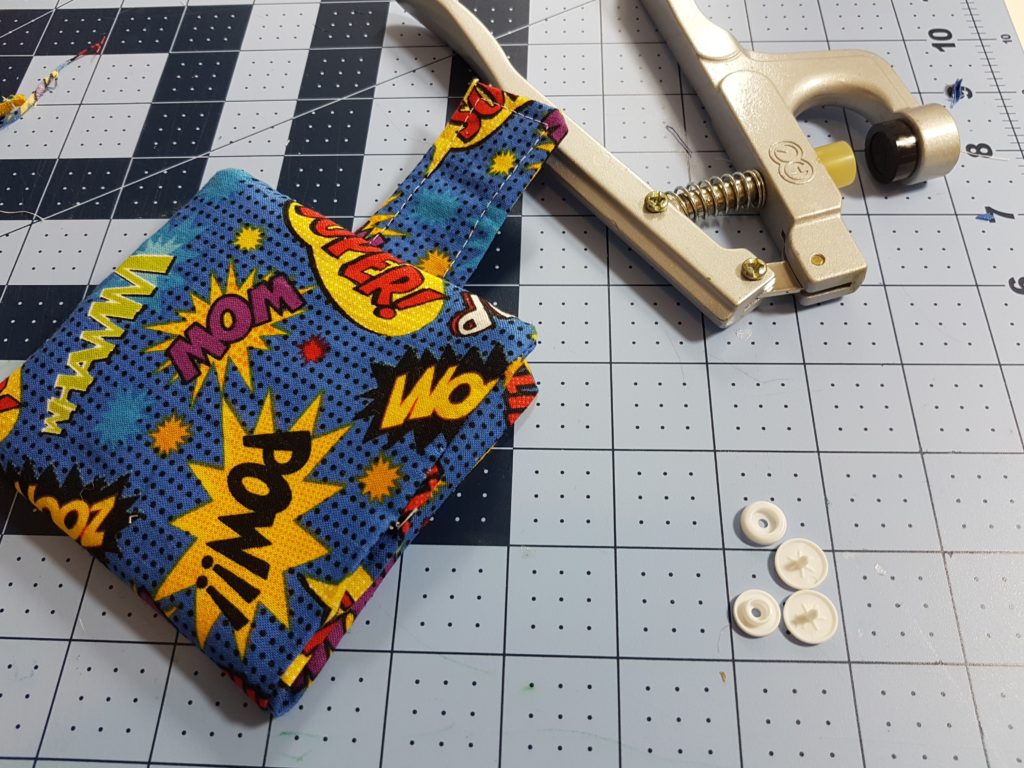


Add your buttons and if you dont know anything about these types of snaps which are called KAM snaps check out my tips video here!
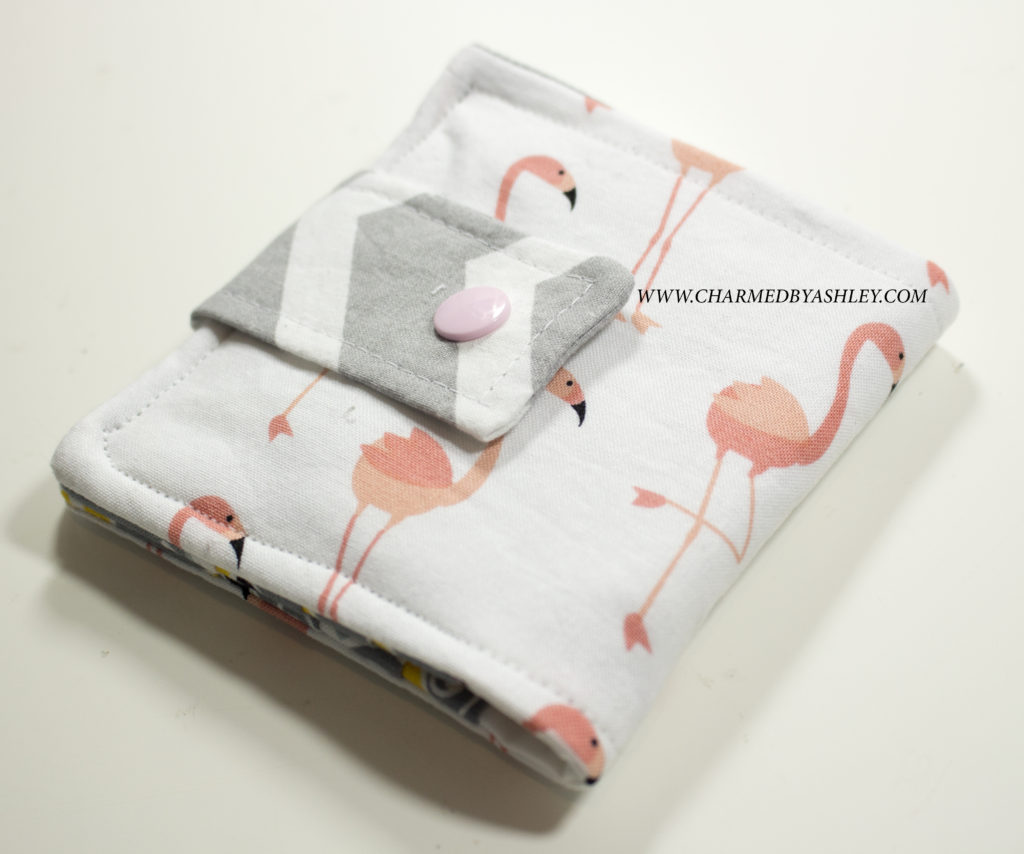
Do a small top stitch around the entire wallet securing that gap that was using for turning and then your done!
Love how this turned out and i hope you give it a try! i am very happy with this one but not so happy with the one in my video… it still gives you an idea on how to create this wallet so DONT JUDGE ME!! if you go over that haha… i am in no way an expert
Thanks so much and follow me on instagram twitter and facebook @charmedbyashley
Save
Save