

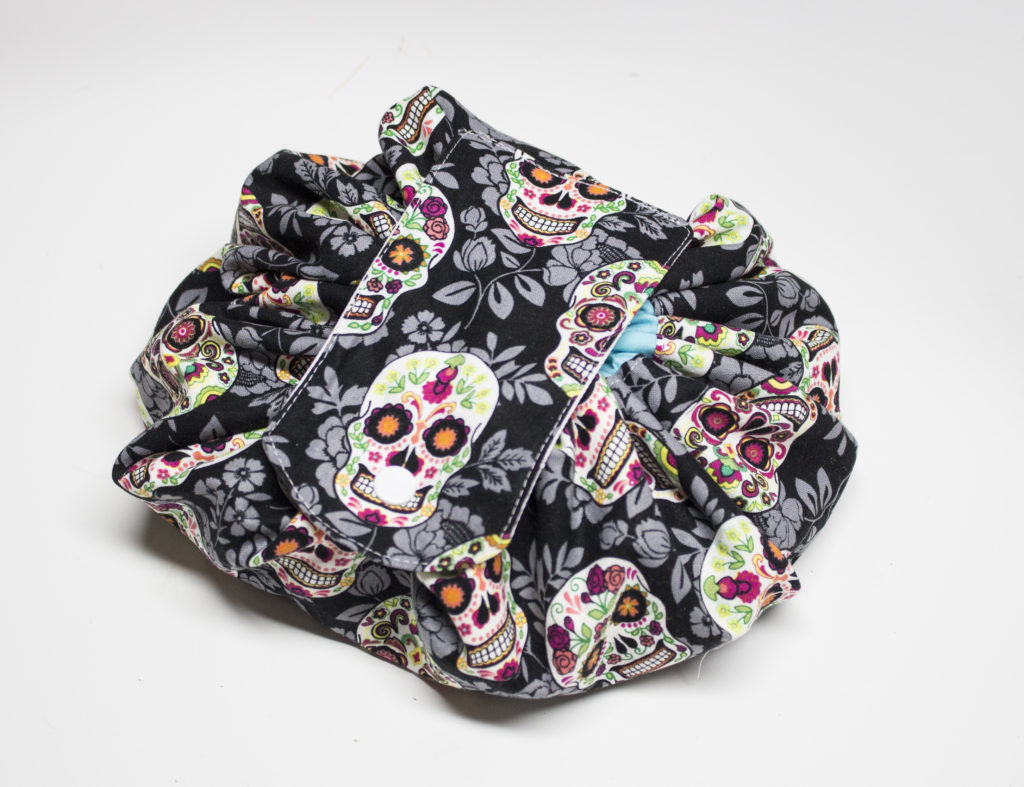
Welcome to the Circle Make up pouch tutorial! here you will learn how to make a circle pouch that gathers in the centre with a tab closure.
For this tutorial you will need
Cotton Fabric for the outer shell
Cotton or a water proof material for the lining
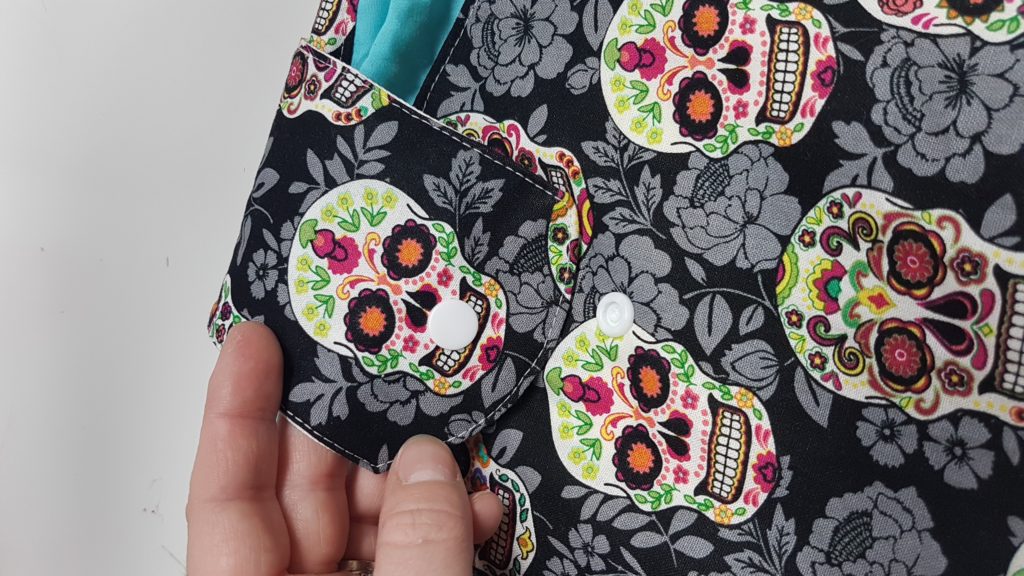
Choice of closure, i used Plastic snaps but you can use Velcro or magnetic closure
Cincher and cord (which i stole off a mesh bag from the dollar store)
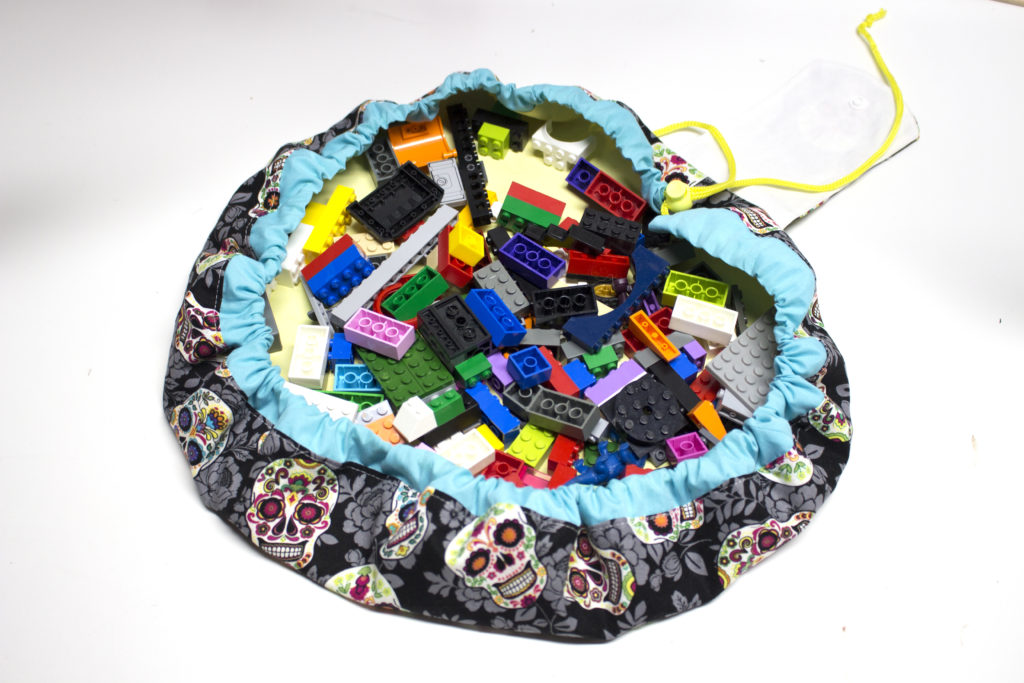
I created a diagram to help you create the pattern as i did, This can be made in any size from small to Floor size for toys!
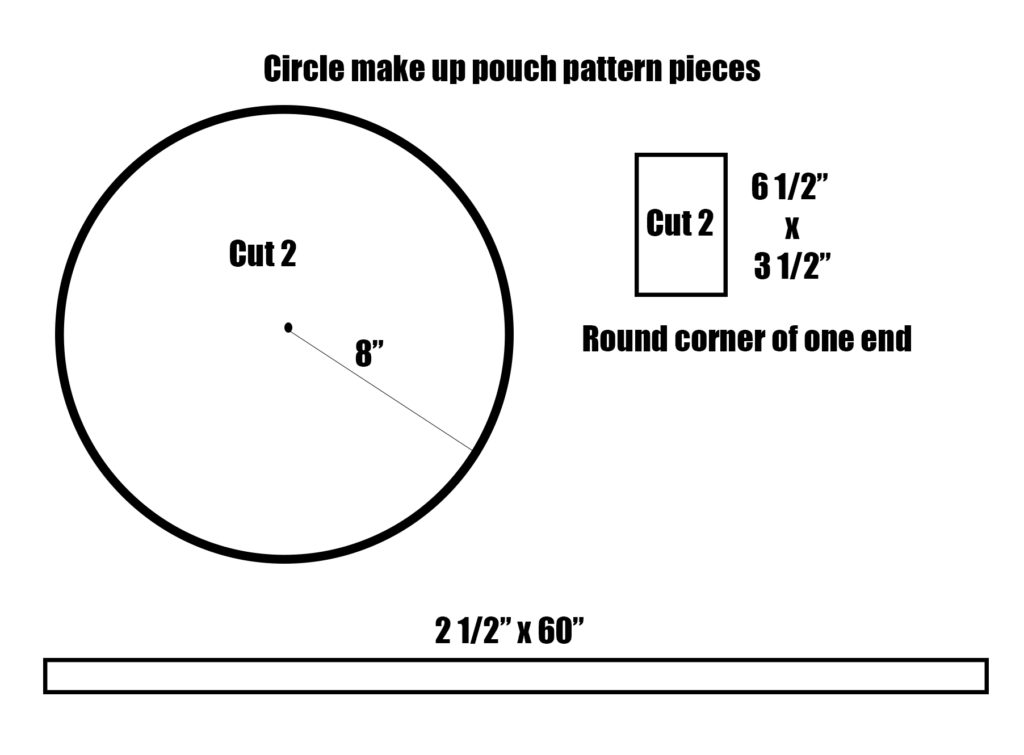
![]()
** The length of the cord casing is the circumference of your circle, adjust your tab size according to the size bag you are making
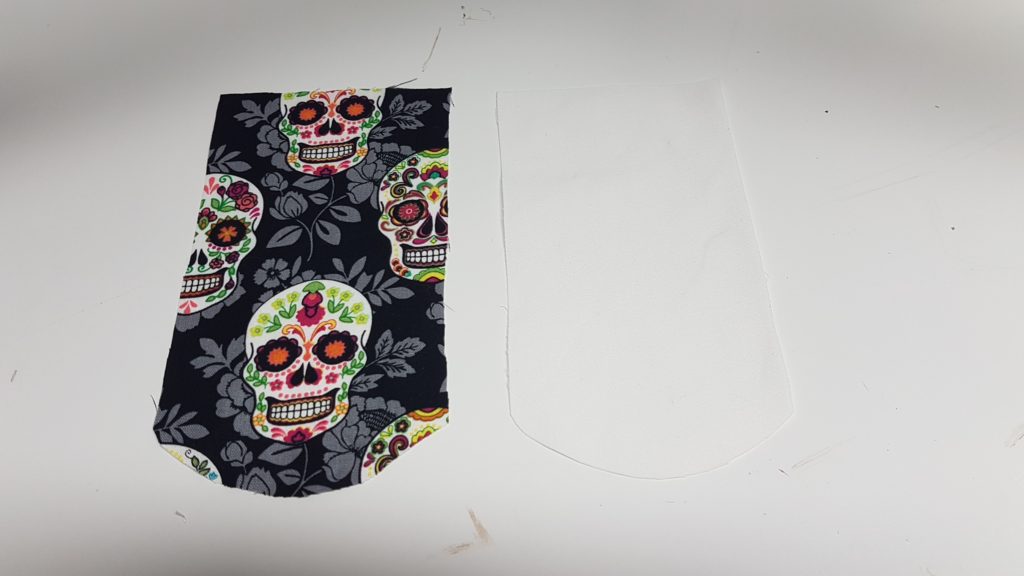
Cut out tab pieces, i used cotton and a canvas fabric to give it some stiffness, add interfacing if you are using cotton for both pieces to make it more stiff. **Add your closure 1″ away from the centre curved side if you would like to do this before you assemble your tab piece
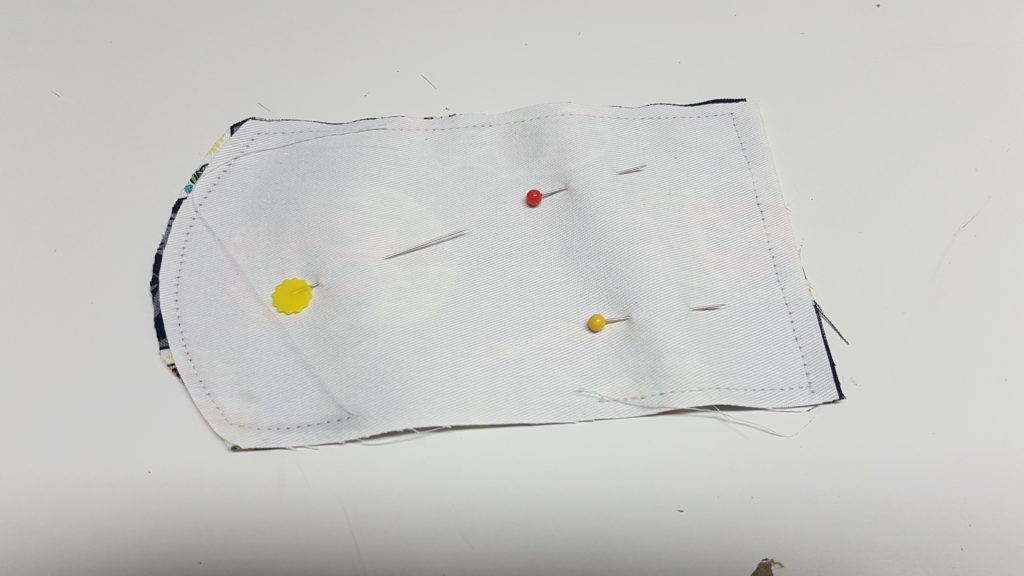
Place tab pieces right sides together, sew around leaving a 1 1/2″ gap on one side for turning
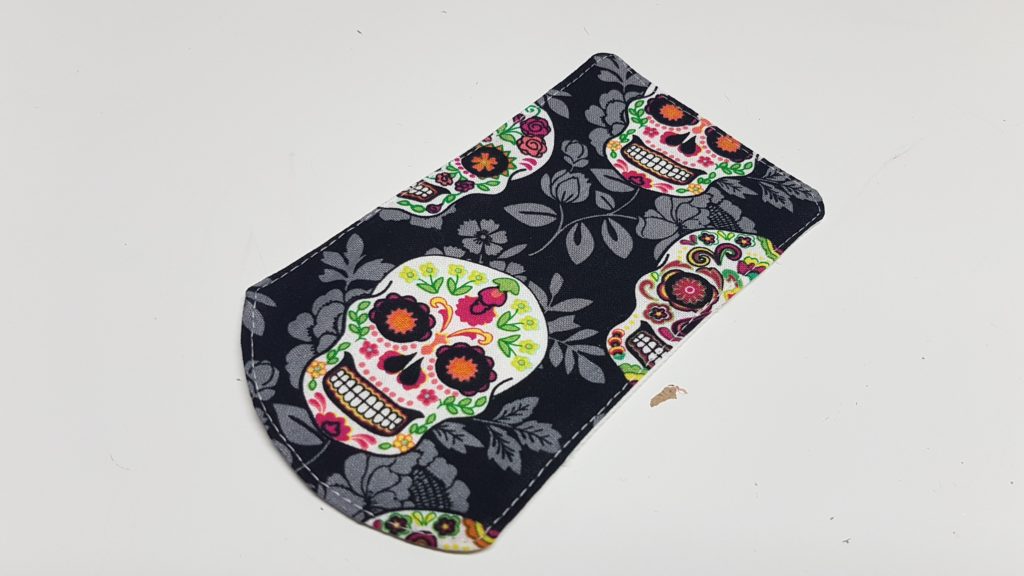
Turn the piece and iron flat, top stitch the edge to close up the hole
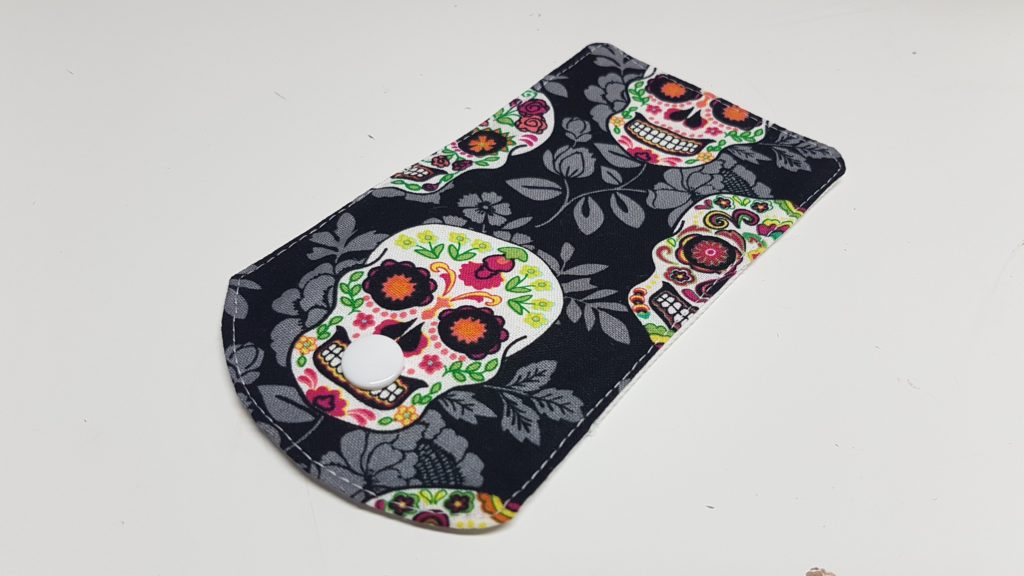
Add closure if you didnt already
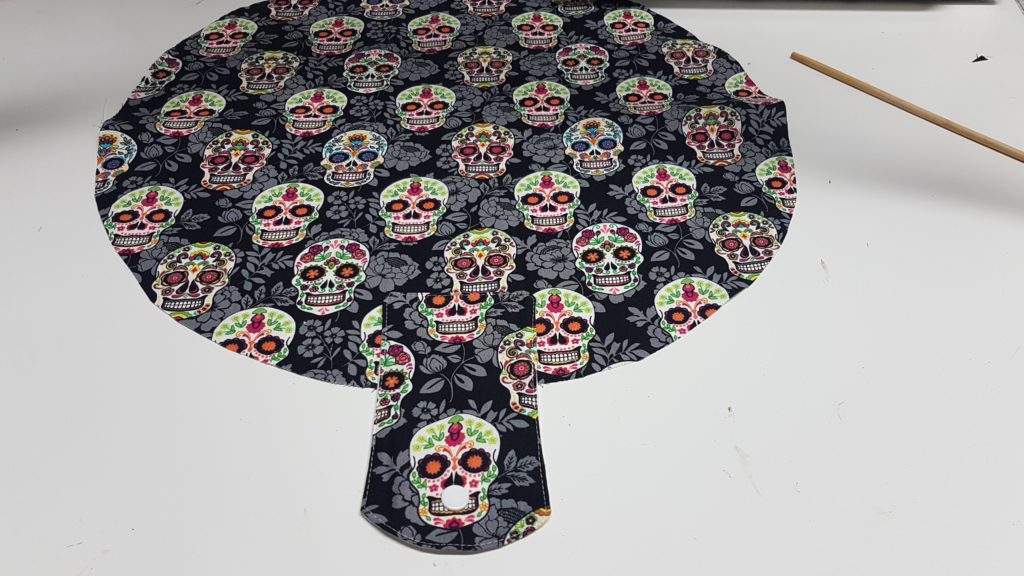
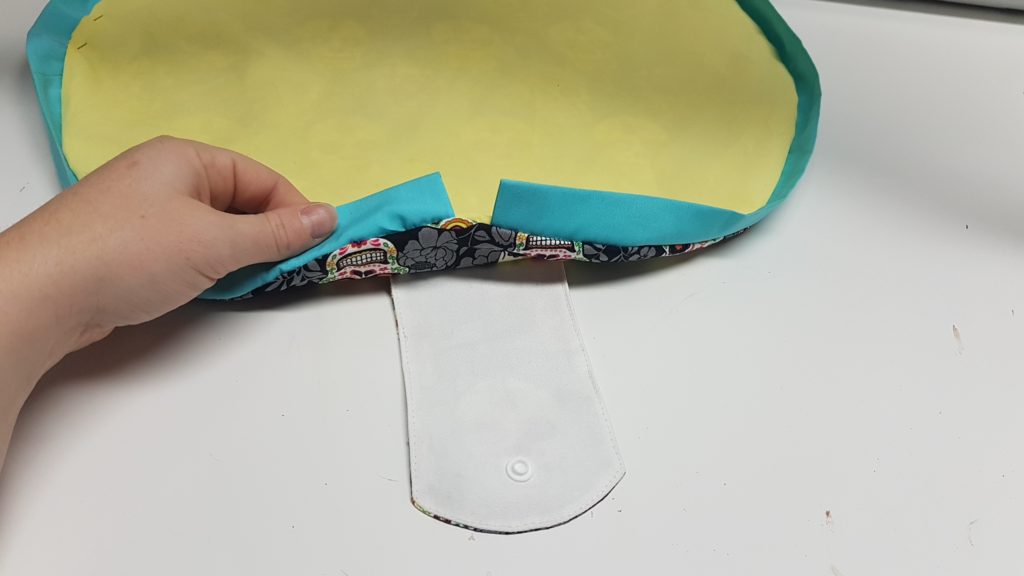
Place tab piece on the edge of the circle 3″ in, sew along the top short end to secure to your circle piece.
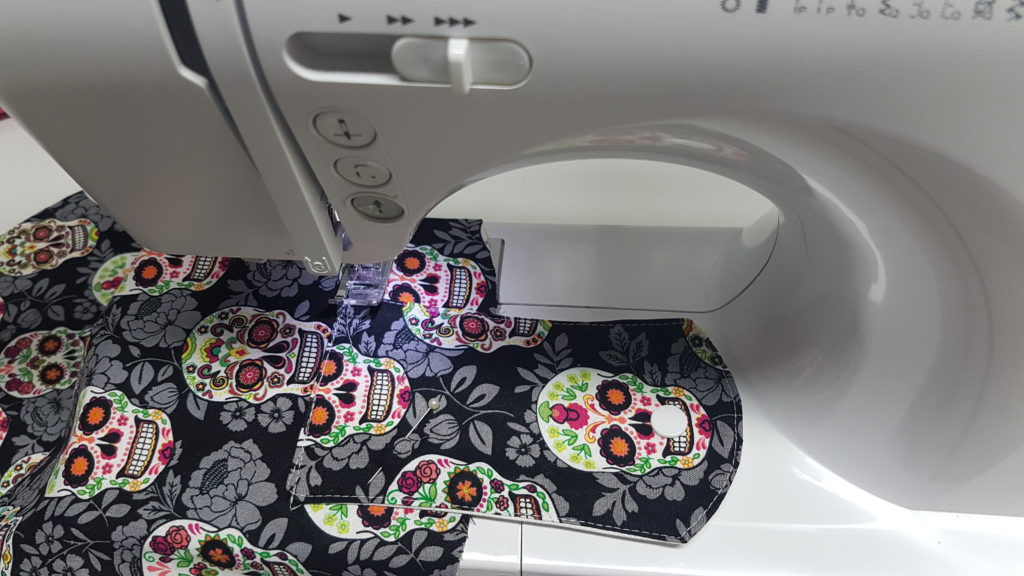
make sure to lock your stitches at the corner so its nice and secure
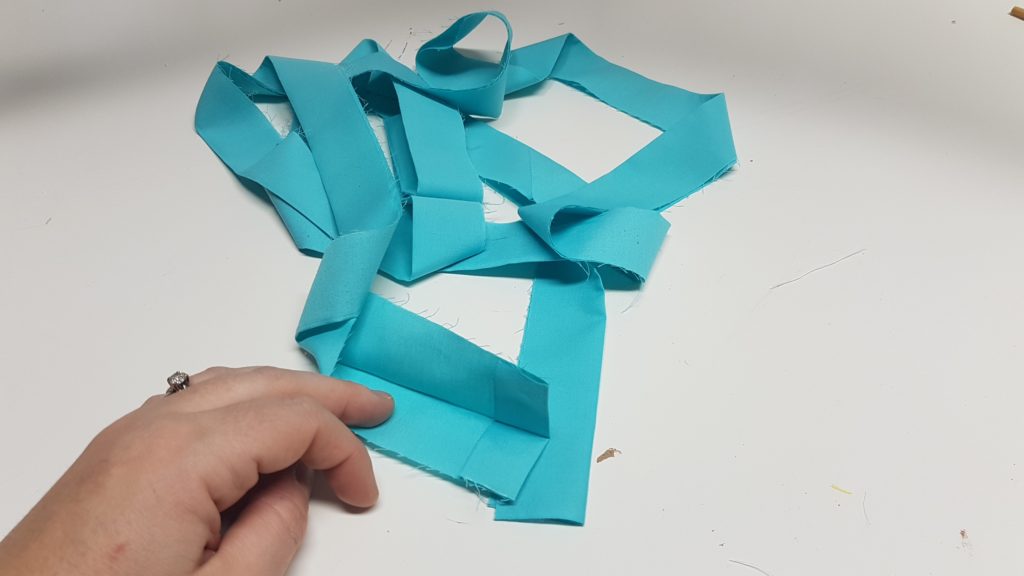
Iron your long piece of fabric folding the short end in 1/2″
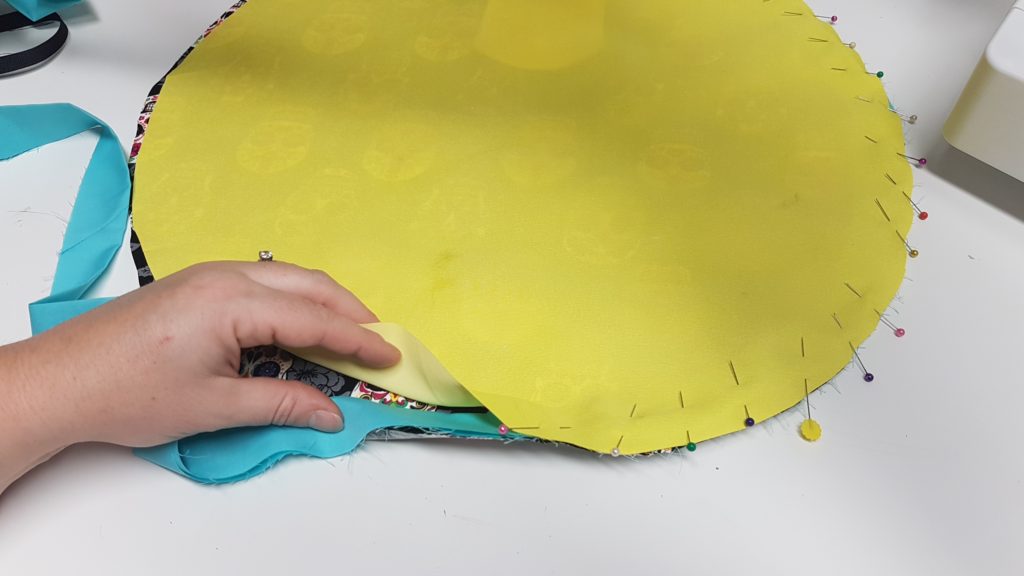
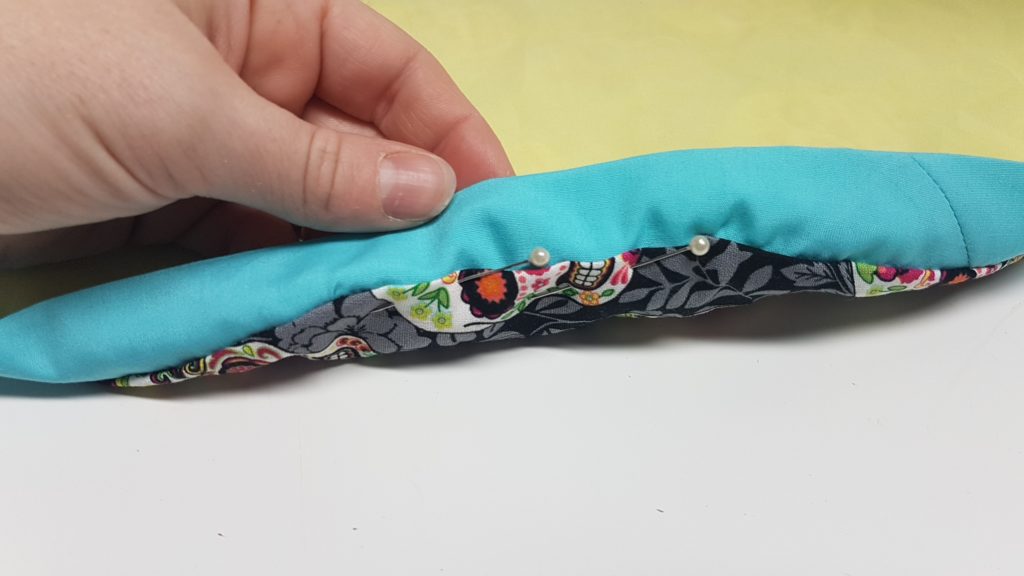
Take the piece pieces with the right sides together, begin placing your long strip of fabric with the raw edges lining up with the circle, begin the placing in front of your tab piece, this is where you want your cord to come in and out of.
pin it all the way around
**i like to have a long piece of fabric and gauge how much i need, once i get around the circle i will cut the excess off and cut and fold in
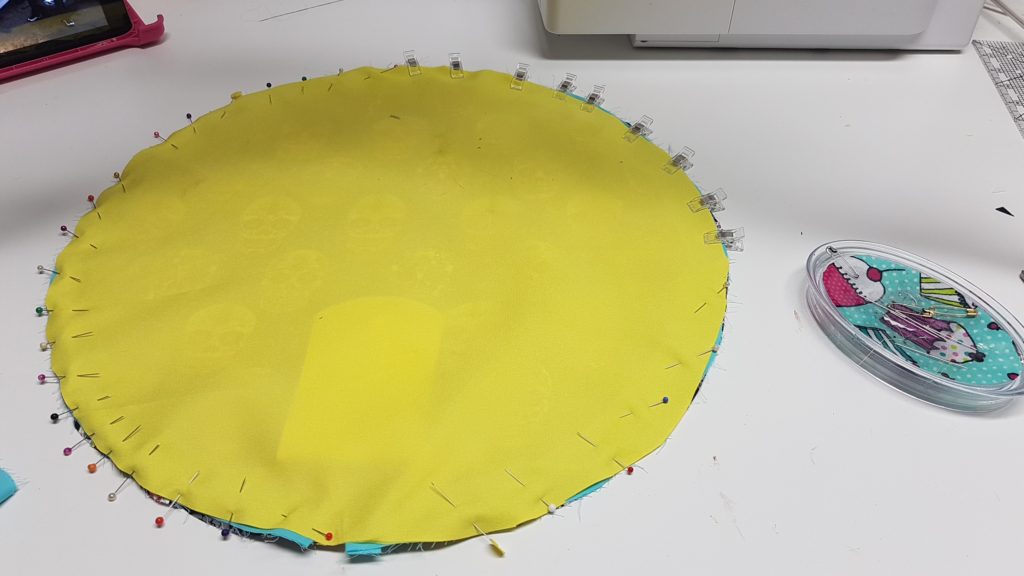
Note how the beginning and end of the strip of fabric is place infront of the tab piece. Sew all the way around your circle leaving a 3″ gap at some point in the circle (not near the beginning and end of the blue piece
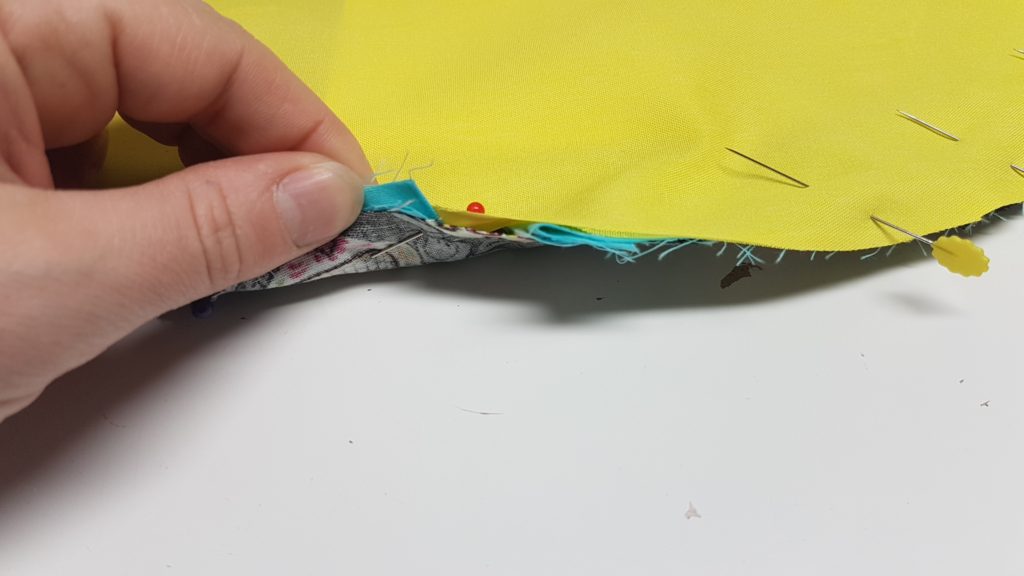
Make sure your strip of fabric has 3/4″ space between the two ends
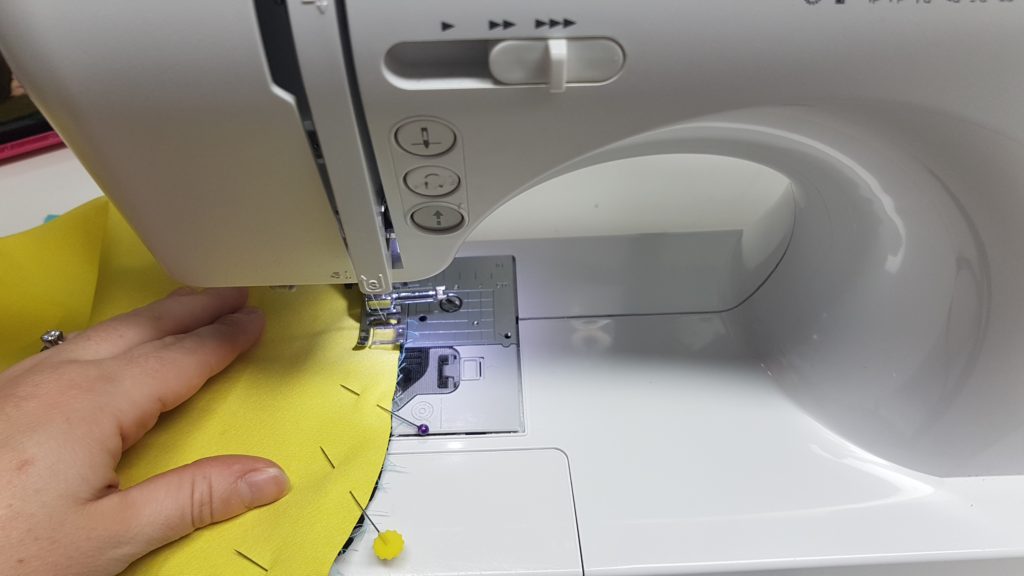
sew all the way around (leaving that 3″ gap some where)
flip the piece right sides out and then turn in the edges of that hole

Top stitch all the way around and that will sew up that hole you used for turning
Now we can put the cord in
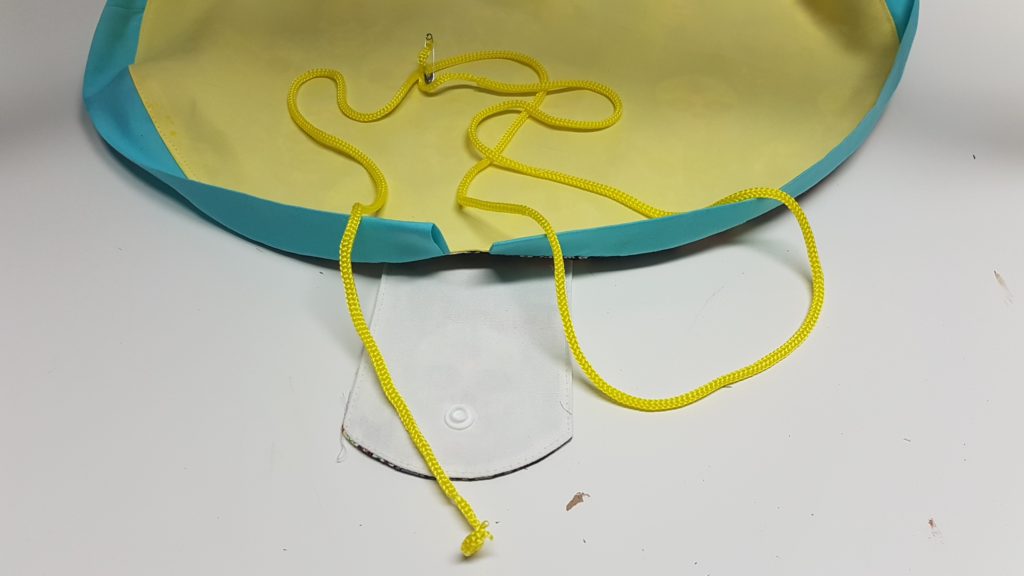
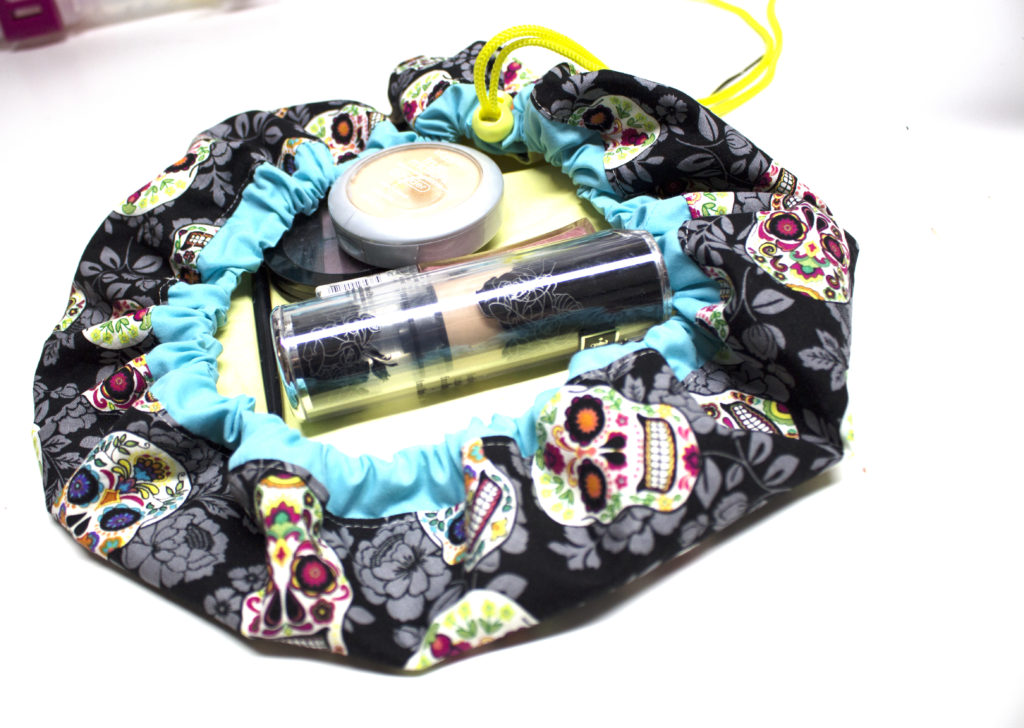
Slip your cord into the casing and apply your little plastic cincher, Add the other side of your button to the outside of the bag (i filled the bag to gauge where the tab falls)
it was 3″ in from the edge directly across from the tab piece


0 Comments