Things you will need
Cotton Fabric a lining and an outer fabric
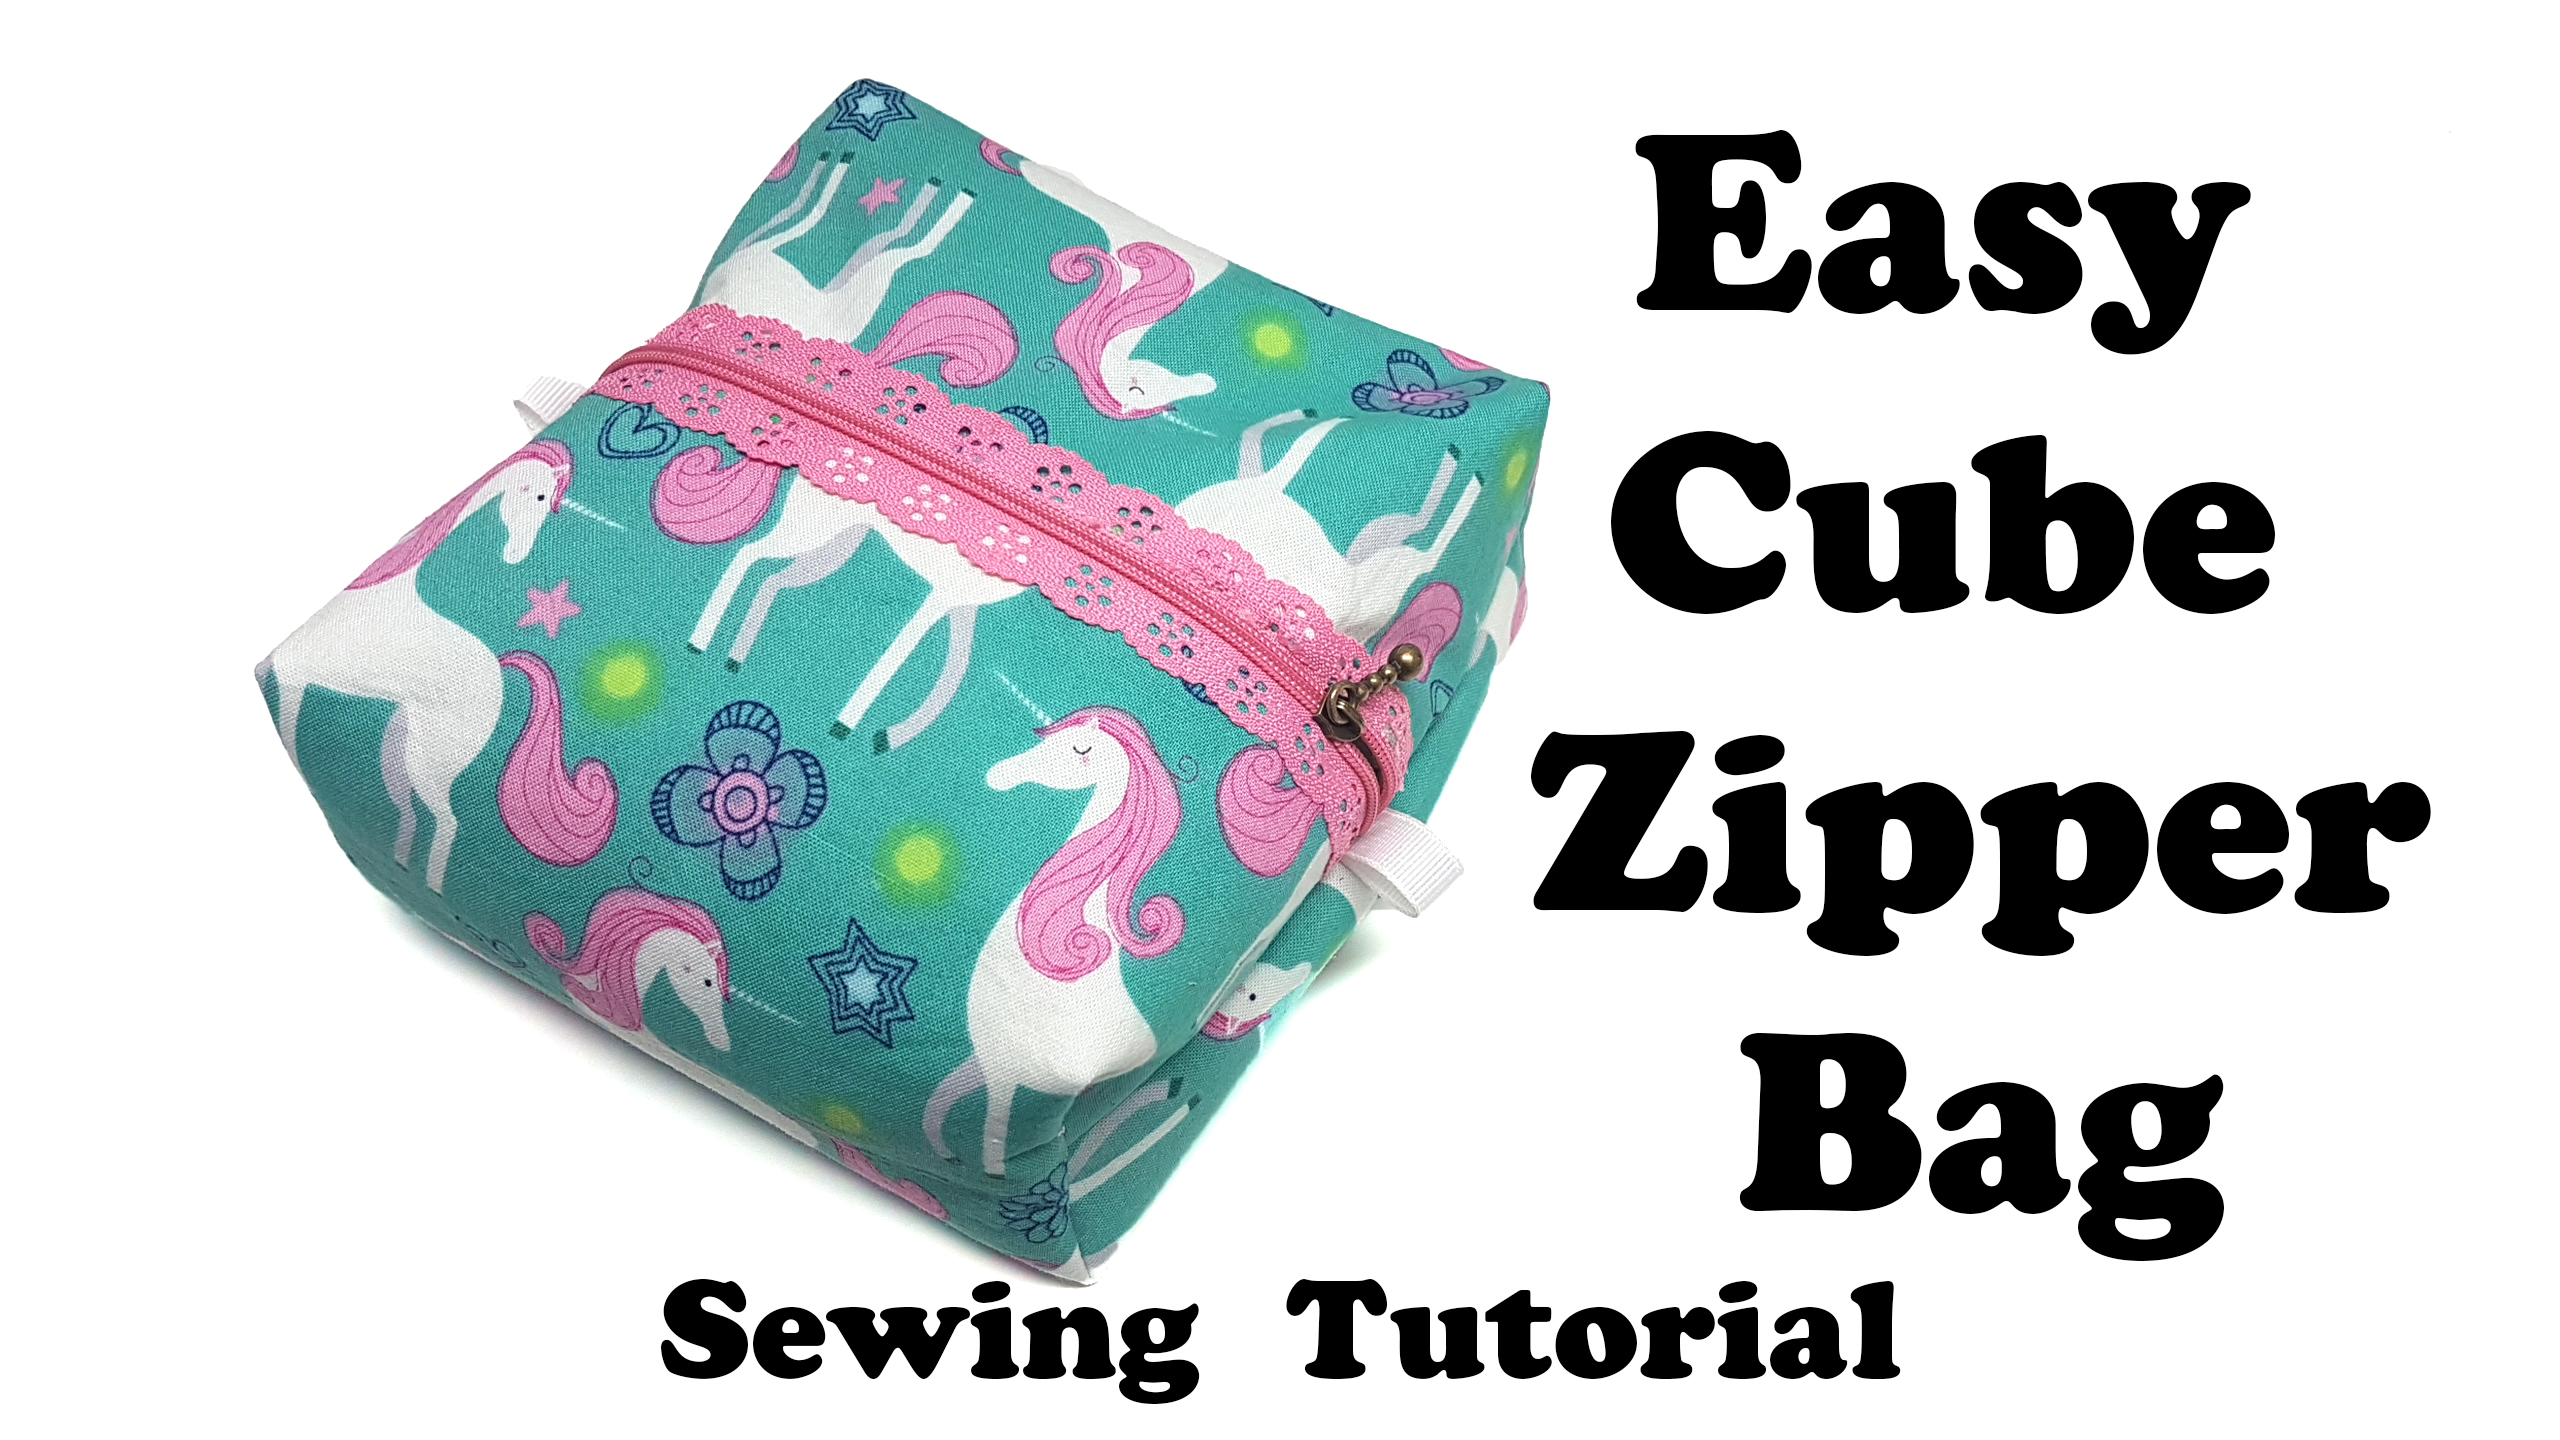
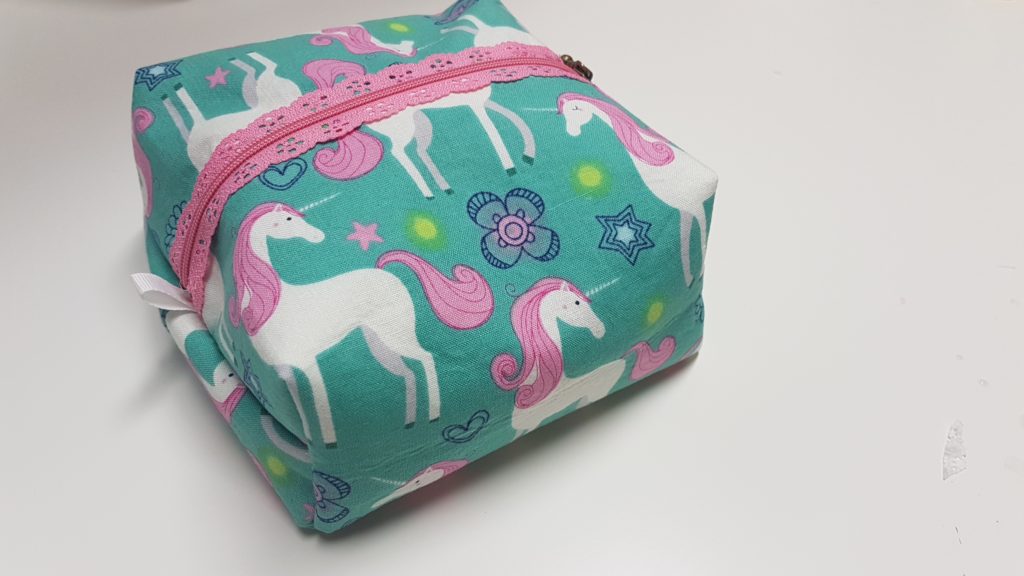
For this tutorial i chose this unicorn print and a plain lining, this print is from Joann Fabrics
I also used medium OR light weight interfacing, the interfacing will add structure to the bag as the cotton is too flimsy and will lay flat otherwise
i used Grosgrain ribbon for the ribbon accents on the sides of the bag
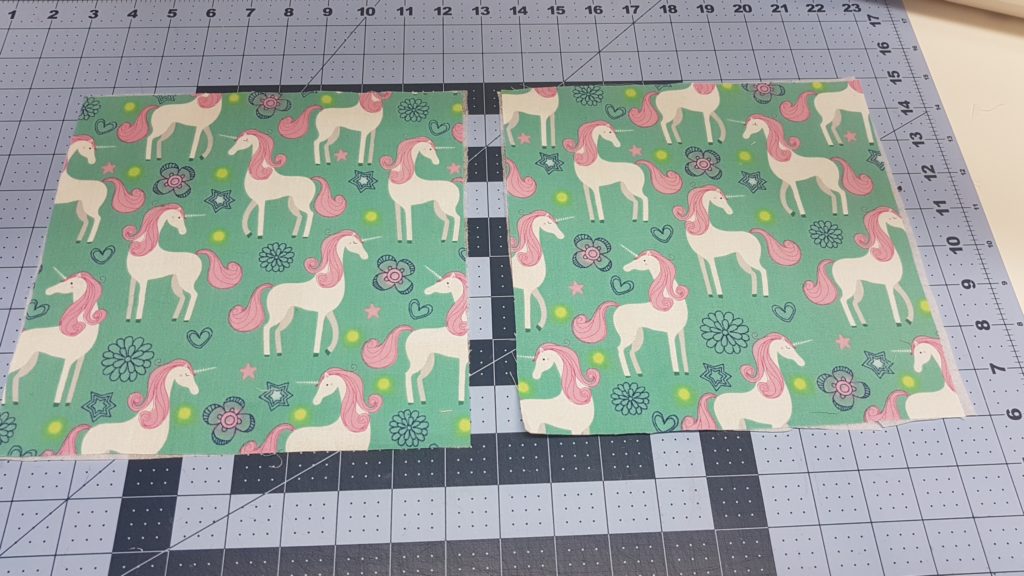
Fabric – 8″x12″ 2 in main fabric, 2 in lining fabric
Zipper – 8-9″ in length
Interfacing Cut 2 at 8 x 12″
**FINISHED PRODUCT MEASURES 5 1/2″ X 5 1/2″ X 2 1/2″ tall
My Fabric is direction so i will be placing the fabric in the opposite ways so that it appears right side up on the bag
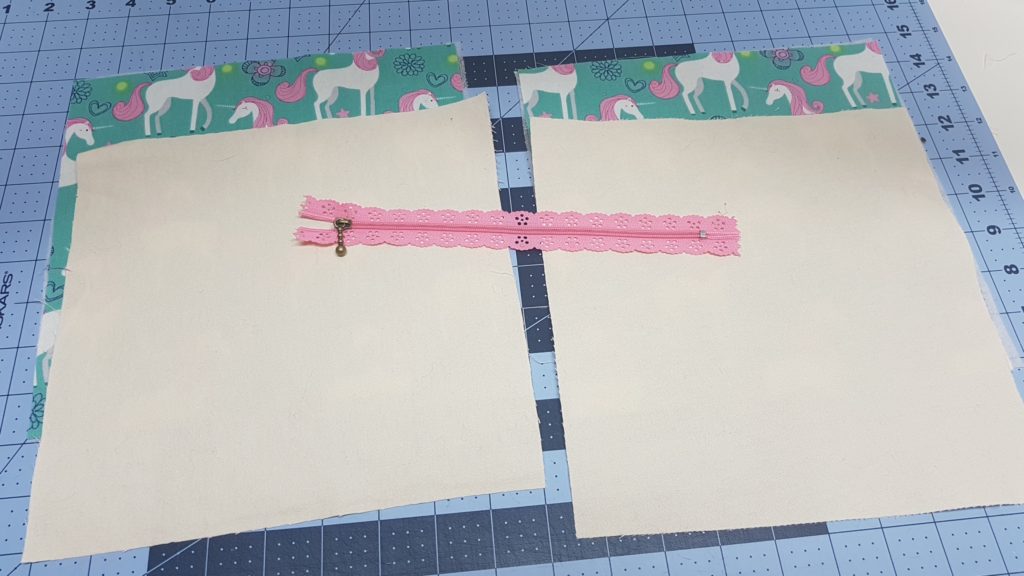
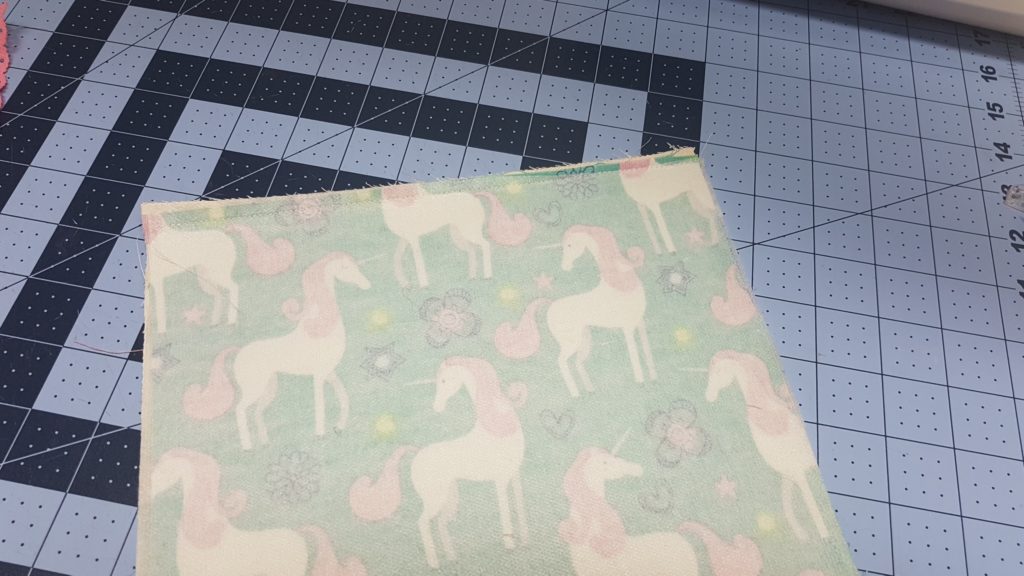
First take main fabric and lining fabric and place right sides together, do this for the other two pieces
Sew along the one side (8″ side) at the top of your fabric if its direction
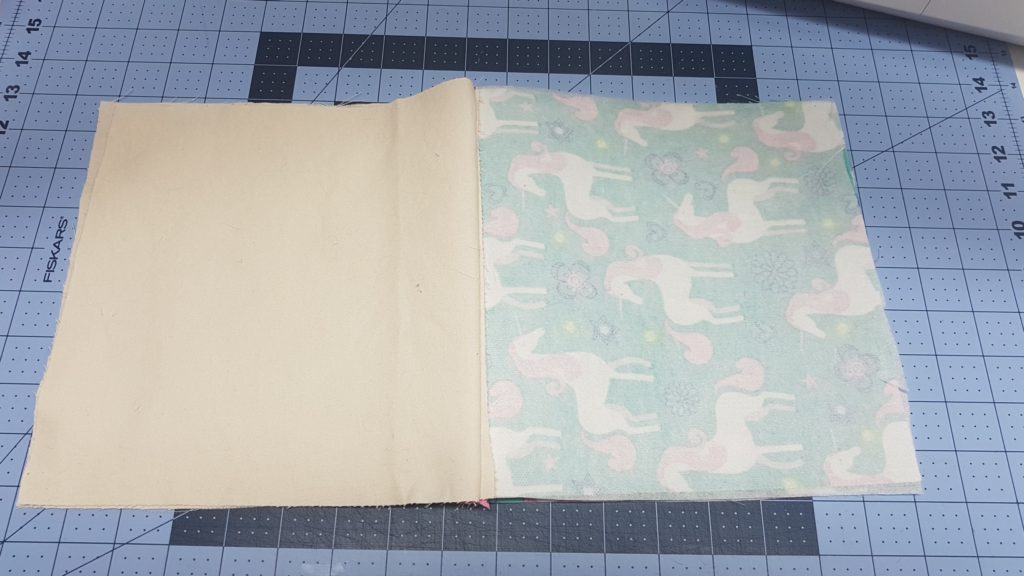
flip right sides out and press that seam
do that for the other side
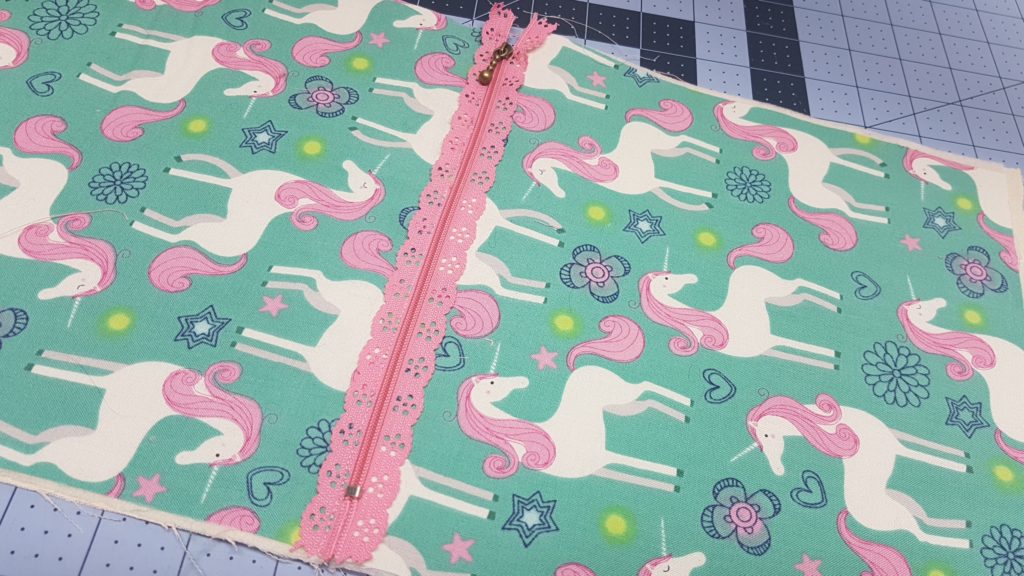
you will then sew this zipper on top, do one side at a time placing the zipper along the edge of the sew side of your fabric, make sure your fabric doesnt get too close to the teeth of the zipper on the underside so it doesn’t end up catching in the teeth once the bag is complete
use a matching thread so it will be invisible to the naked eye, in my machine i put a pink thread on the top of my machine and kept a white thread on my bobbin, the pink will be on top and the white will be underneath
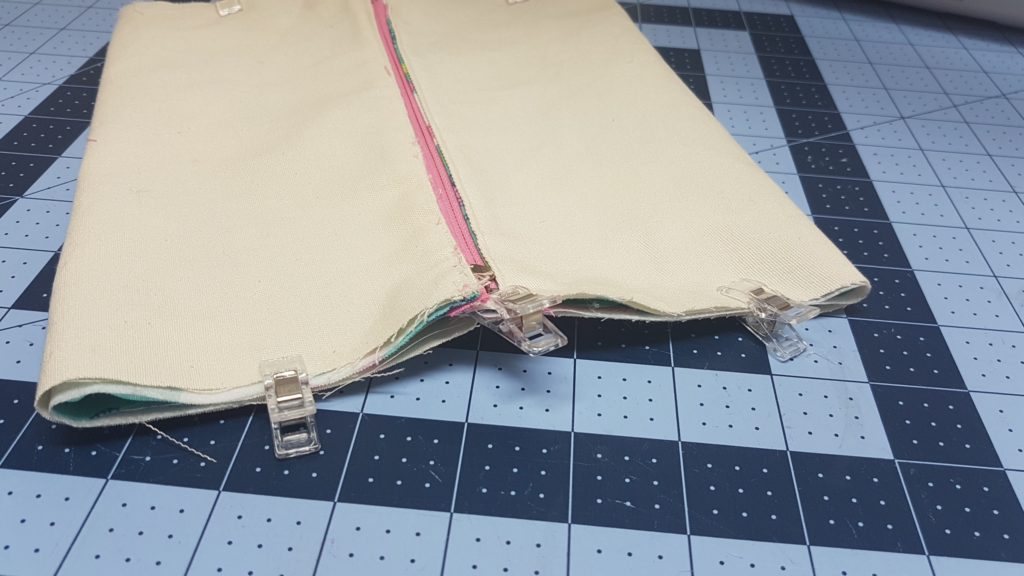
once you are done sewing on y our zipper put ride sides together, main fabric right sides together with itself and the lining right sides together
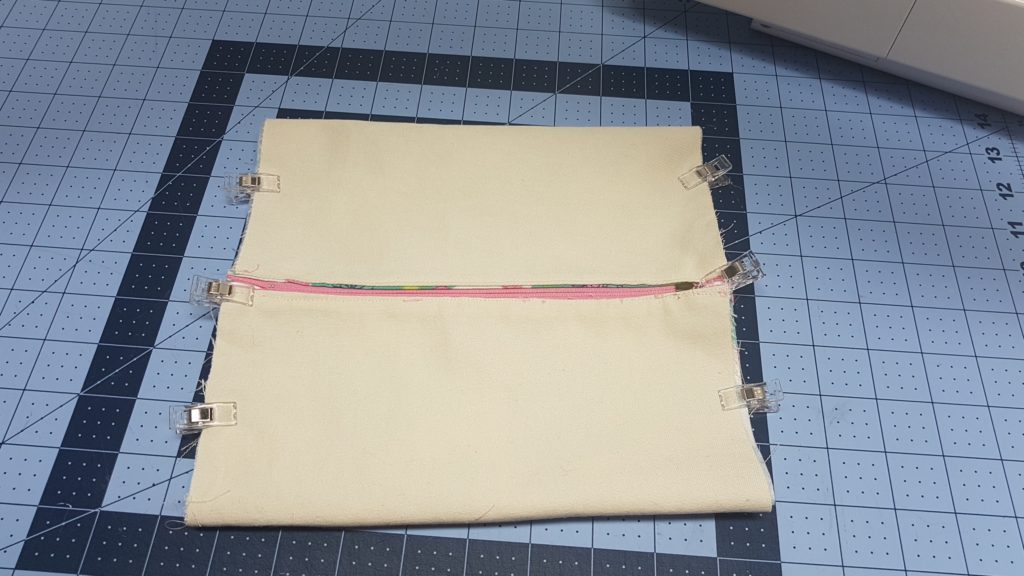
we will be sewing down each side, in this photo i will be sewing the left side and the right side
Once done you will be able to unzip your zipper and open it up and put it right sides out, but then we will put it inside out and flatten it like shown, make sure the zipper and the bottom seam are lined up
we will then insert our 2″ piece of ribbon, you might need to unzip your zipper to get the pull out of the way, use pins or clips to keep it all together as it can be tricky to hole it all in place
fold the ribbon in half and insert between the seam and the zipper, make sure the raw edges of the ribbon are lined up with the raw edges of the bag, sew along each side of your bag
**the raw edges will be exposed and that is fine at this point
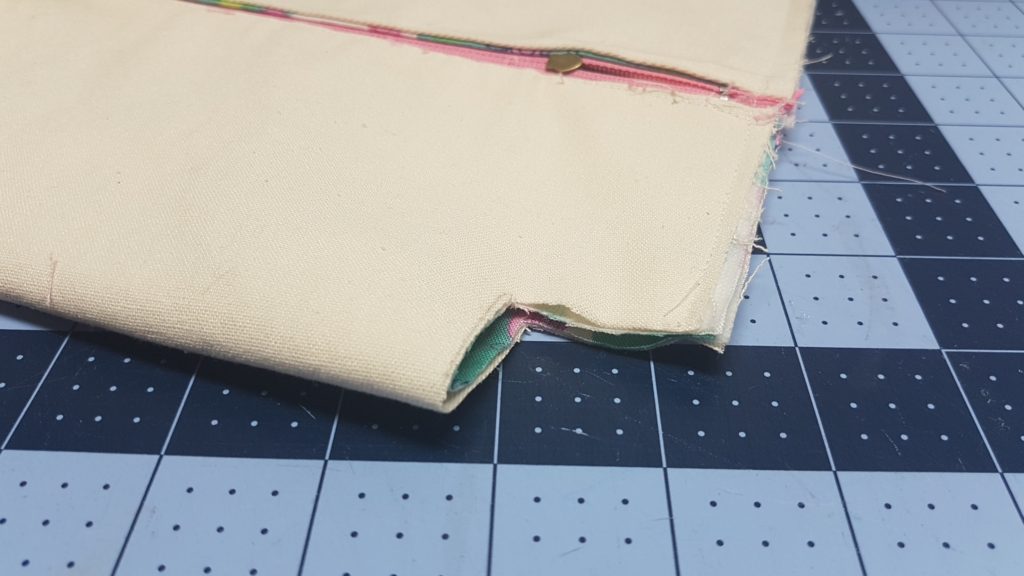
Now we will cut notches into all 4 sides of the bag, i measured a 1 1/4″ by 1 1/4″ square and cut it out, the depth of your bag is depending on this measurement
my bag is 2 1/2″ high, whatever your measurement of your square is multiply that by 2 and that will be the height of your bag
After you cut your notches you will grab some bias tape or 1 to 1 1/2″ ribbon and cover up those raw edges, you will do this again with the next step so keep that bias tape handy
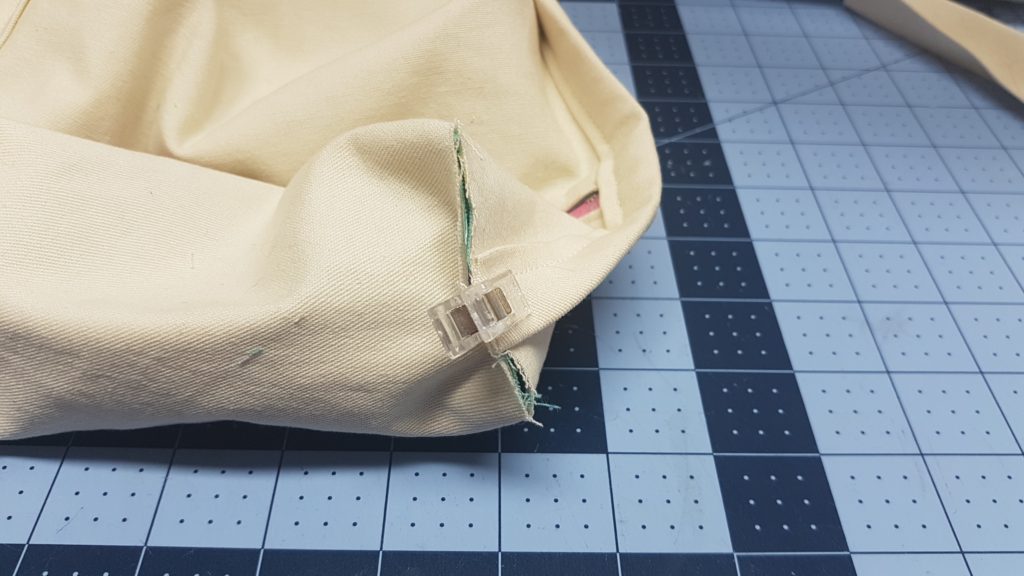
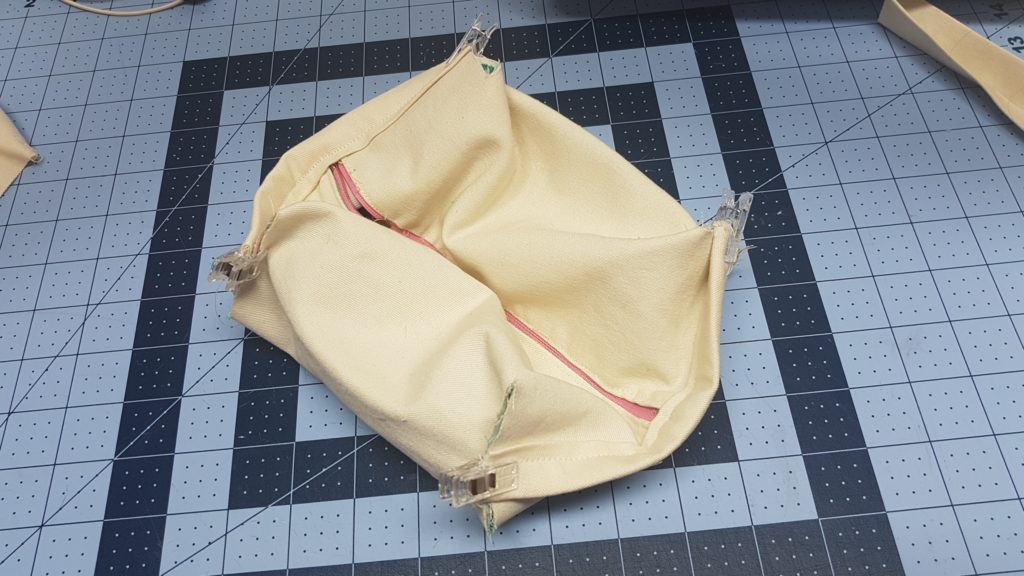
After you are done covering the sides with bias take u will then flatten each of your cuts taking the side seams and lining it up with the middle of that cut, basically take your cut open it and squish it the opposite way, line up all the fabric making sure your lining and main body fabric is all lined up together
Do this for all 4 sides, once you have sewn all 4 sides, and covered with bias tape you will carefully undo the zipper providing you gave yourself some room to access it hahah! flip it right sides out and poke the corners and your done!


0 Comments