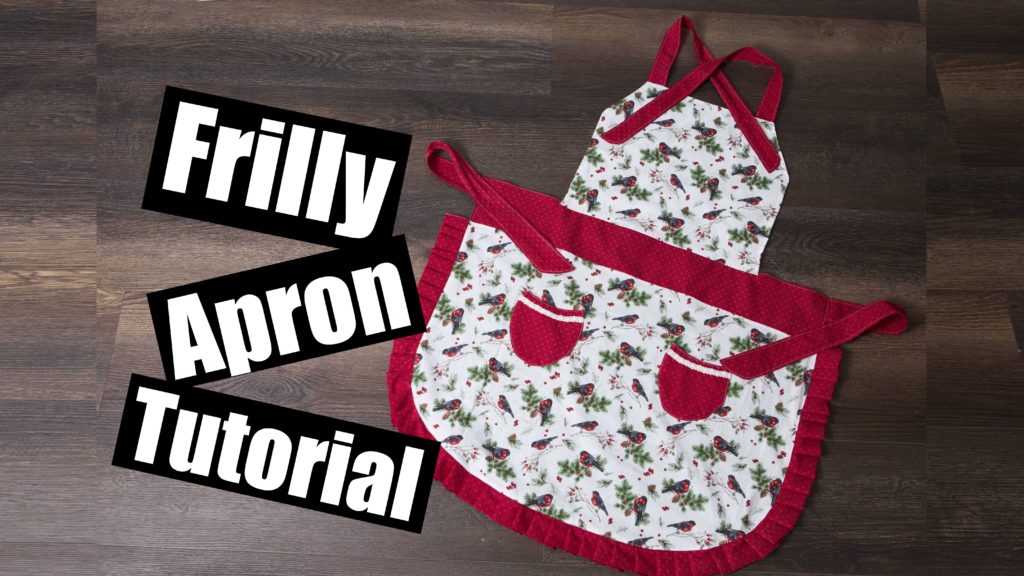
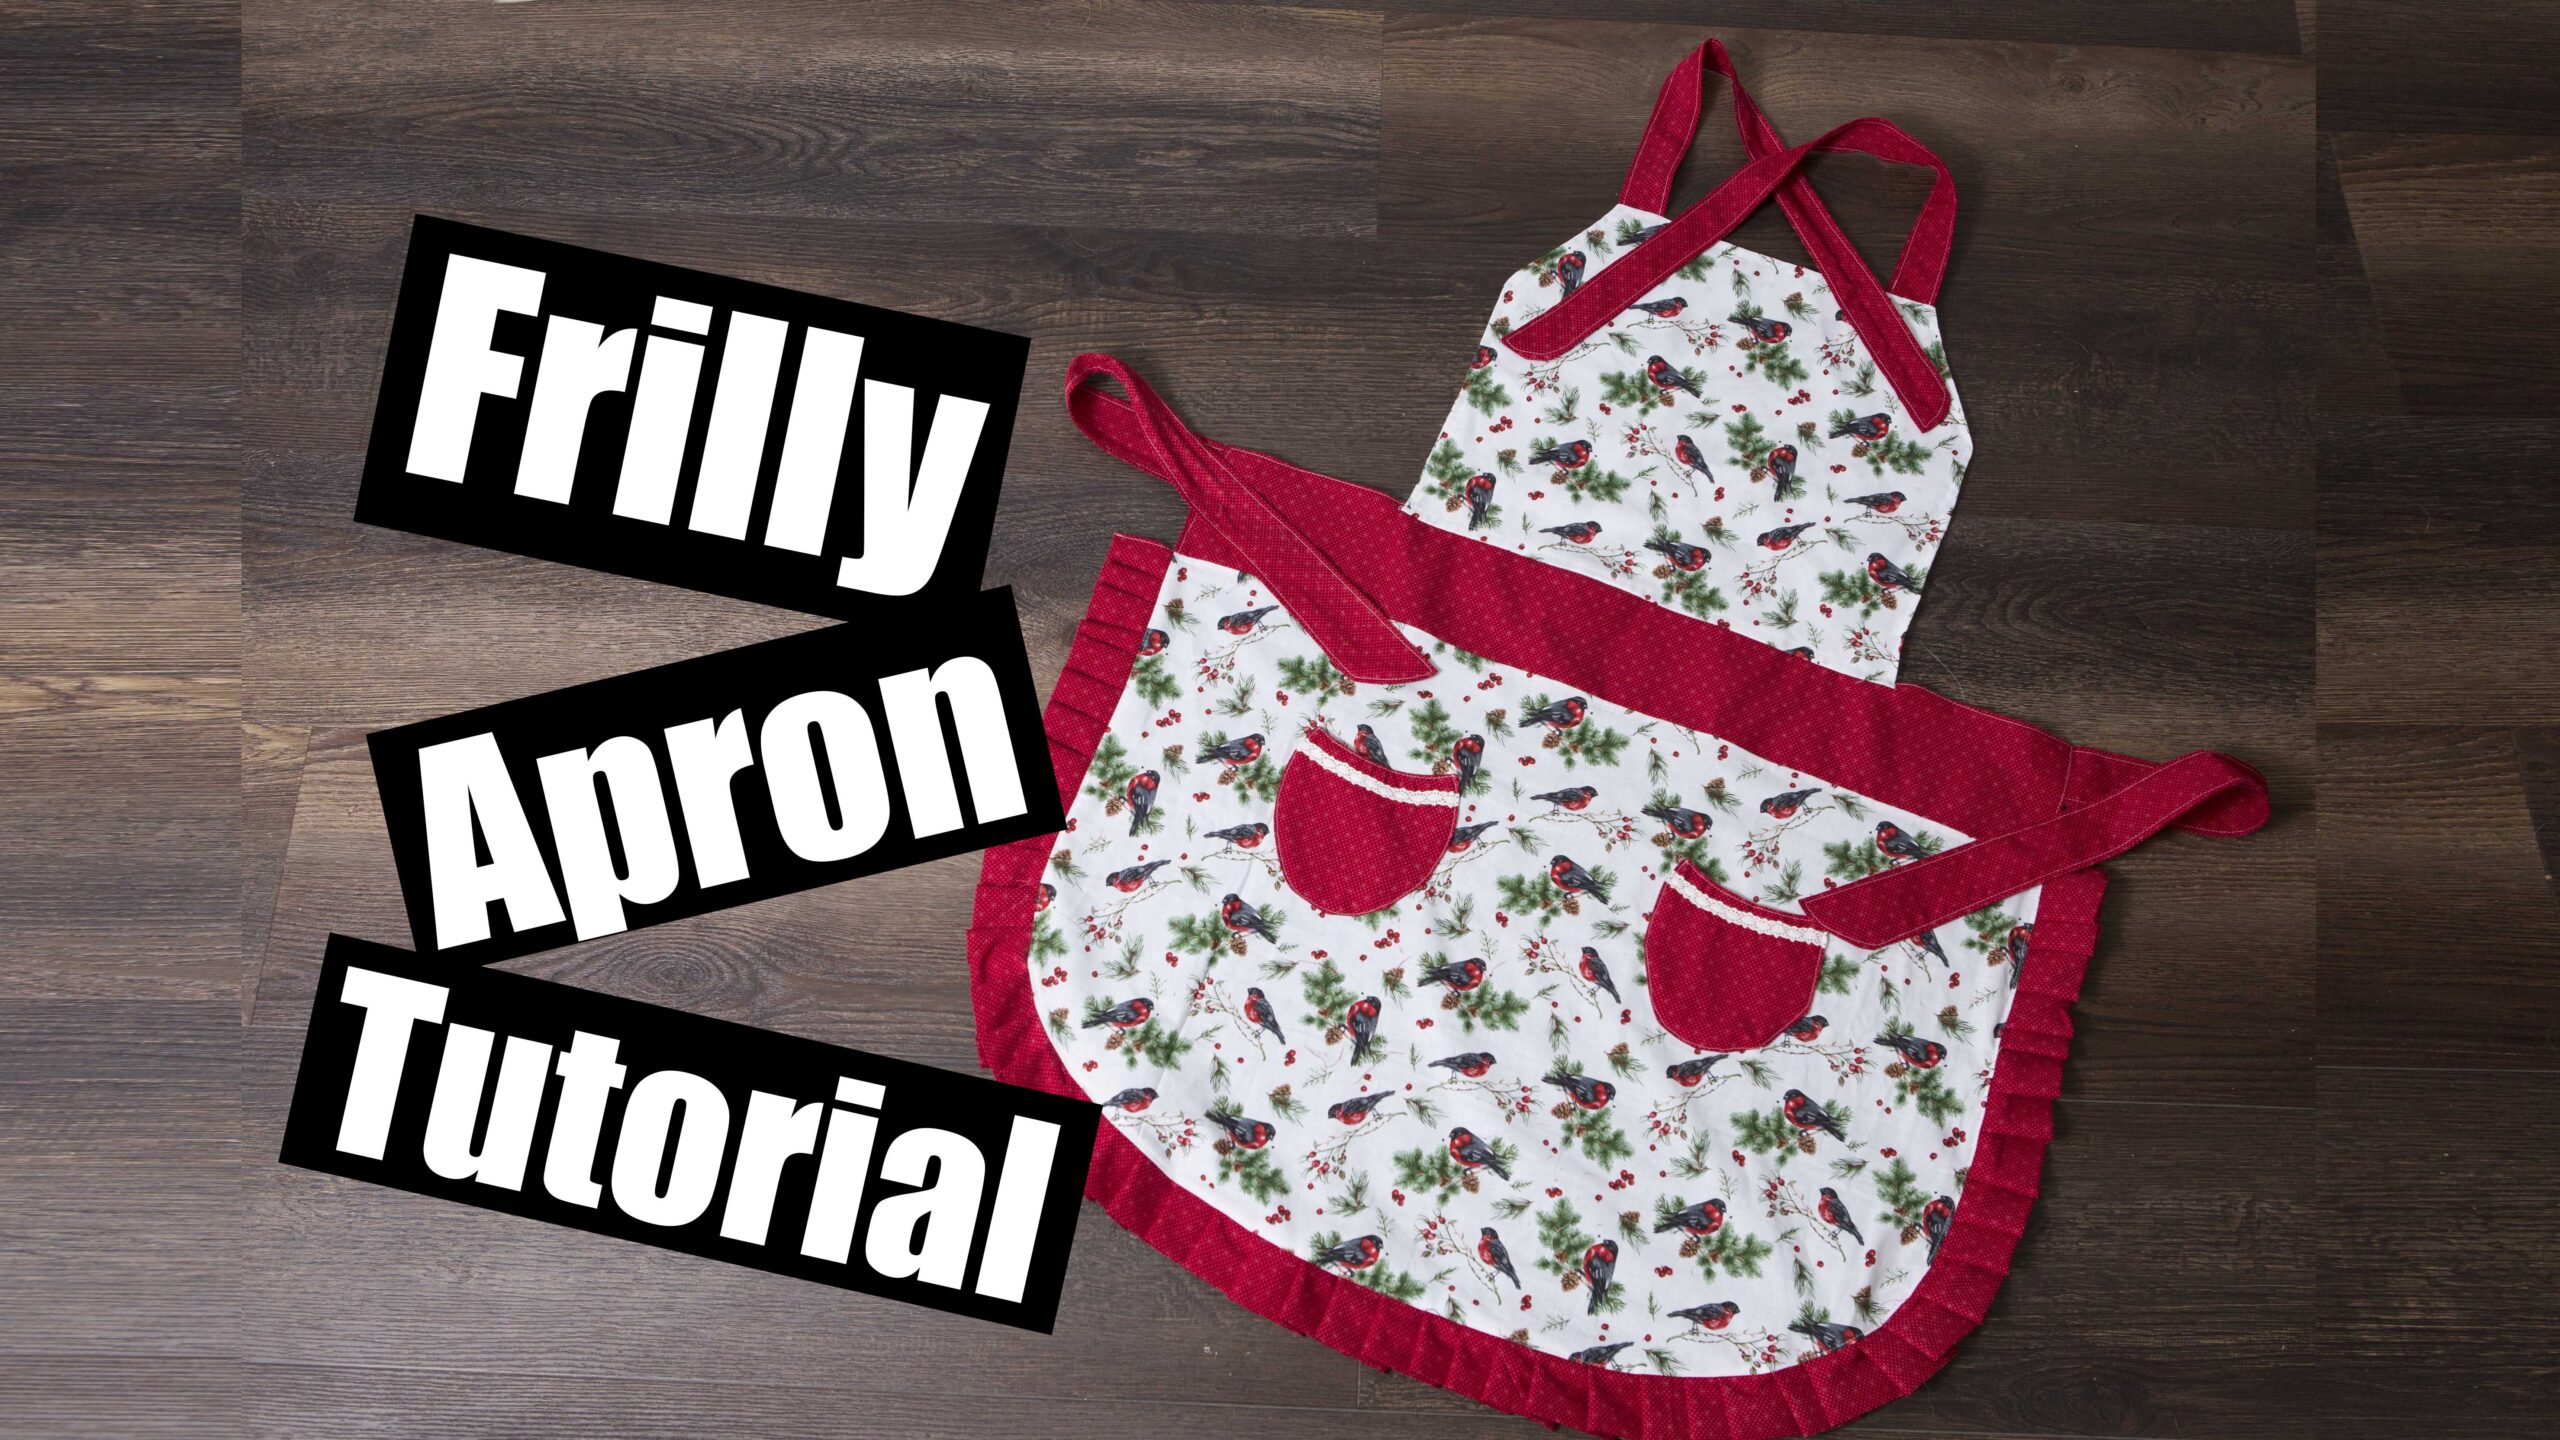
Hey! Welcome to the Frilly Apron Sewing tutorial! this is not the full tutorial as this is a resource for the Video that will be posted below
Here you will find Measurements, Pocket piece and Instructions on how to create your own template for this Apron
Materials
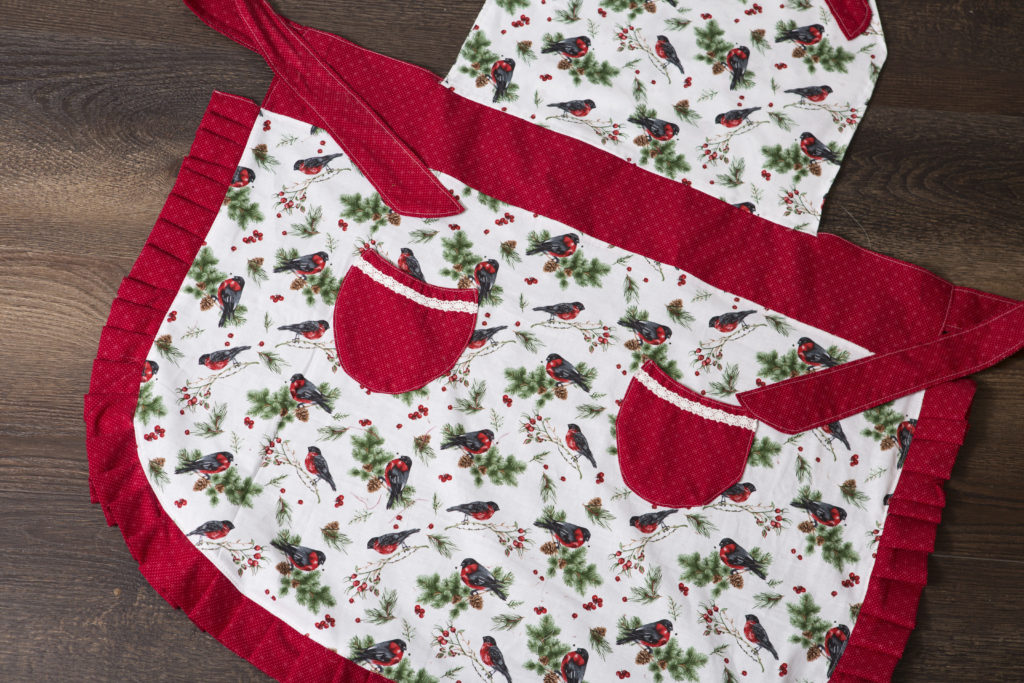
Cotton Fabric (Ideally two contrasting colours)
Recommendation – Lace, Trim or Rik Rak for the pockets
Skills you might learn!
Straight Stitch, Top stitch, Knife Pleat, Hidden Seams
Measurements (This is a one size fits all pattern)
Neck Ties – Cut 2 – 24″ x 4″
Waist Ties – Cut 2 – 24″ x 5″ (for waist larger then 38″ you may want to add more to this length)
Waist Panel – 9″ x 26″
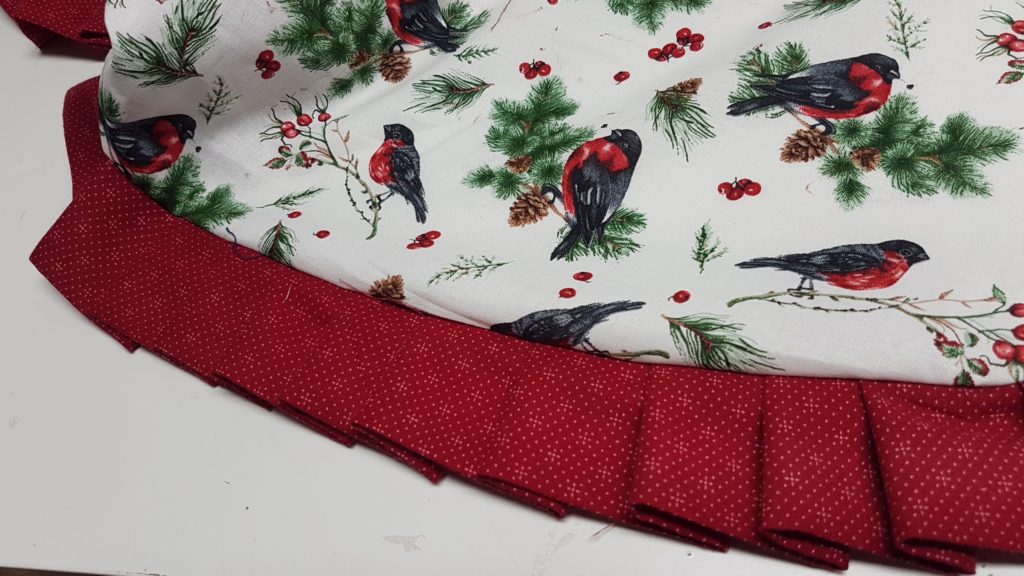
Ruffle Pieces – Between 4″ x 165″ For the knife pleat you need a ton!
To create your Skirt Refer to instructions below, Draw out the pattern on a large piece of paper (PRO TIP, keep the paper you get from Homesense, TJ Maxx, Home Goods, Great paper for pattern drafting!) or i use Tissue paper
Click here for the PDF instructions – Measurement Instructions
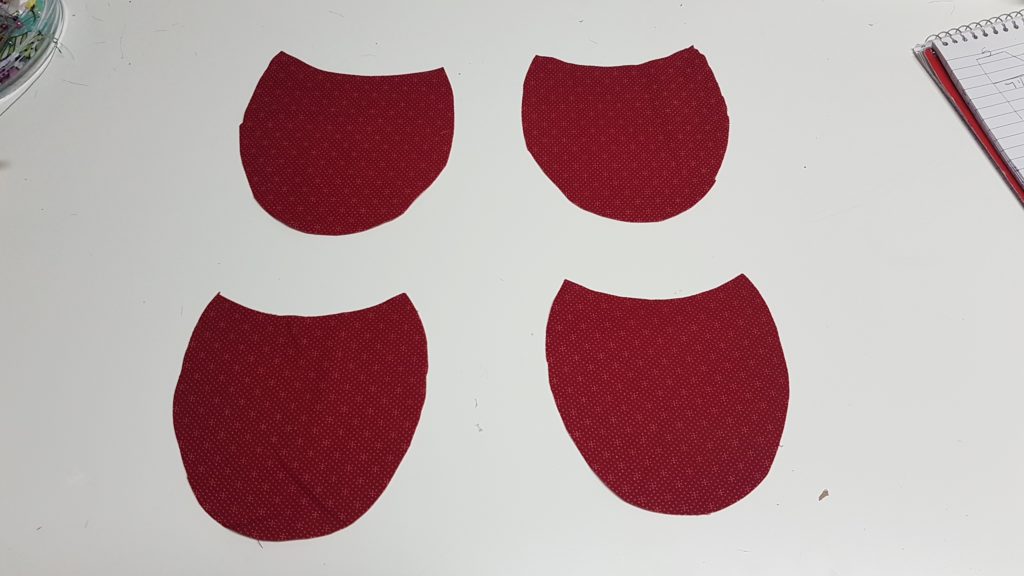
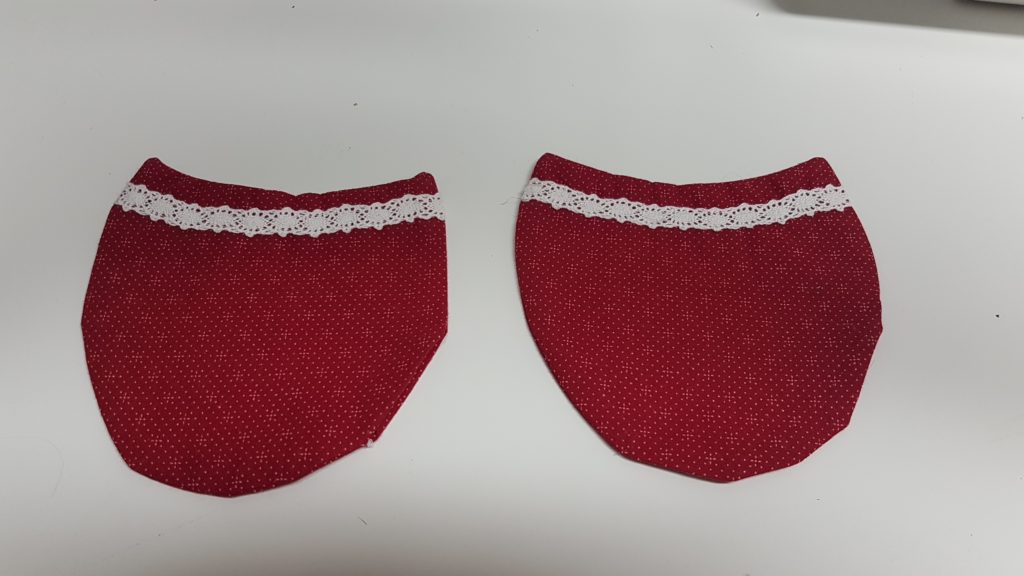
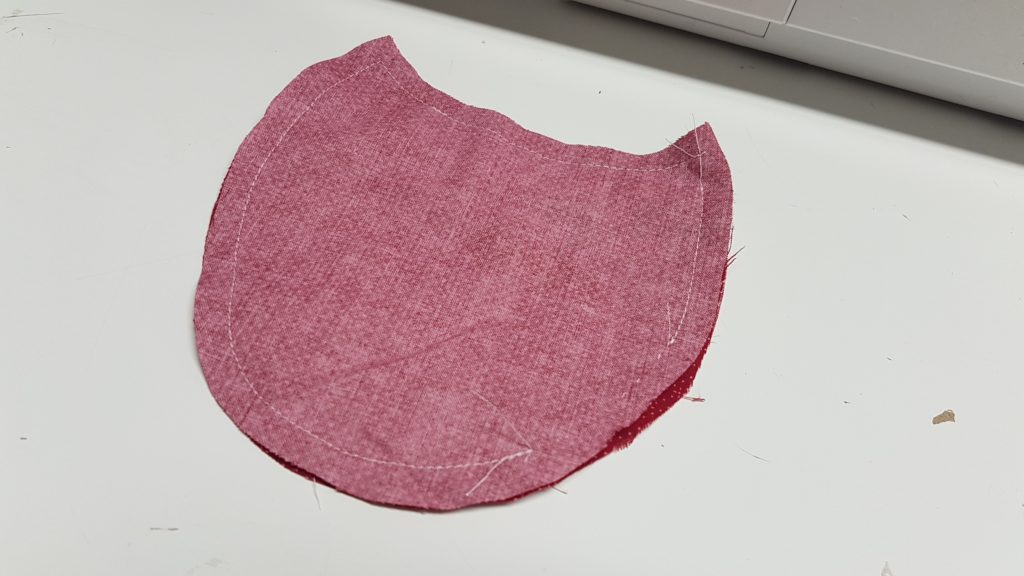
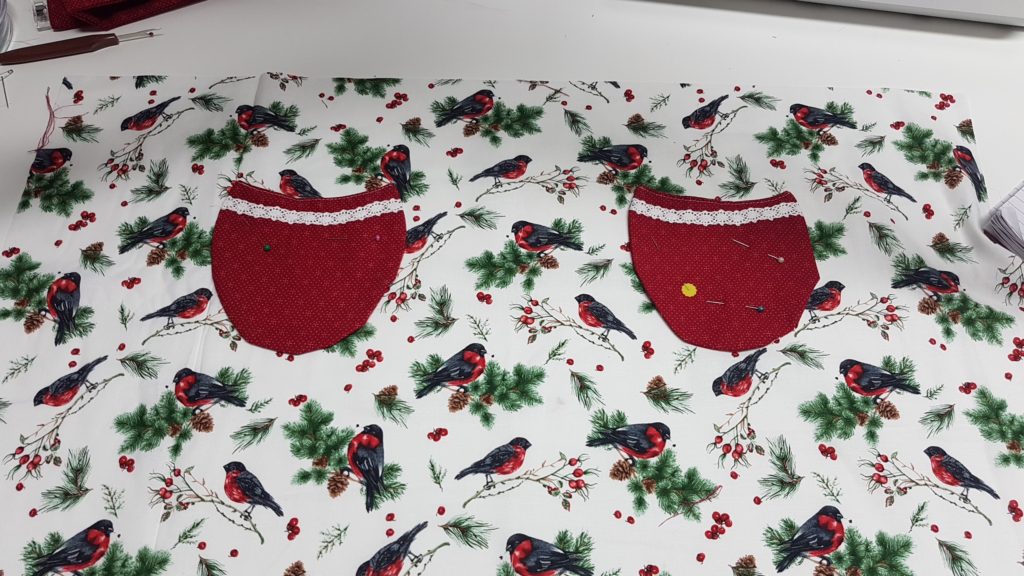
Printable Pocket pattern piece – Pocket Piece
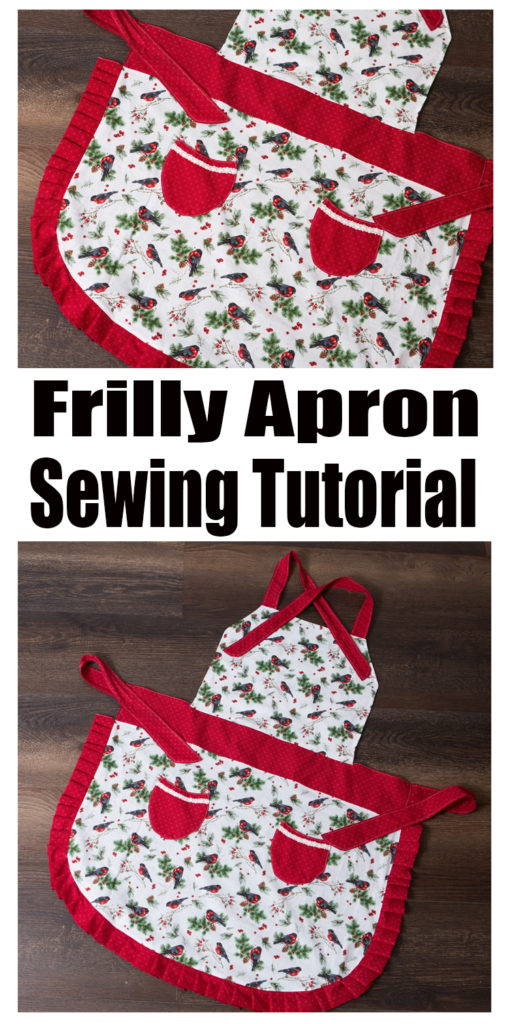
Please Pin to all your friends!!
Some Photos but not the entire Tutorial, Please refer to the Video for a full explanation

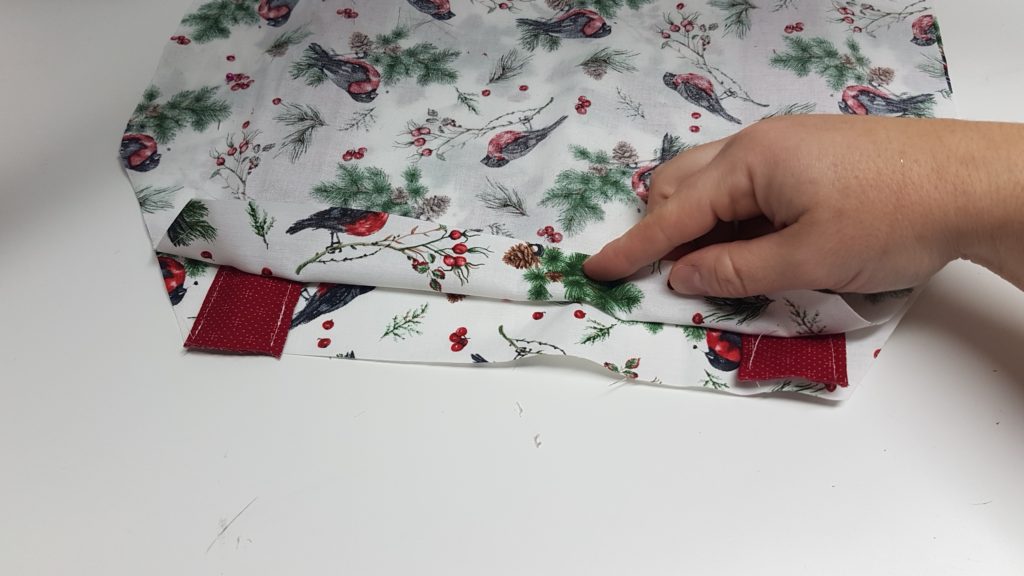
Sew neck ties between layers of bib, sew bib and flip, top stitch
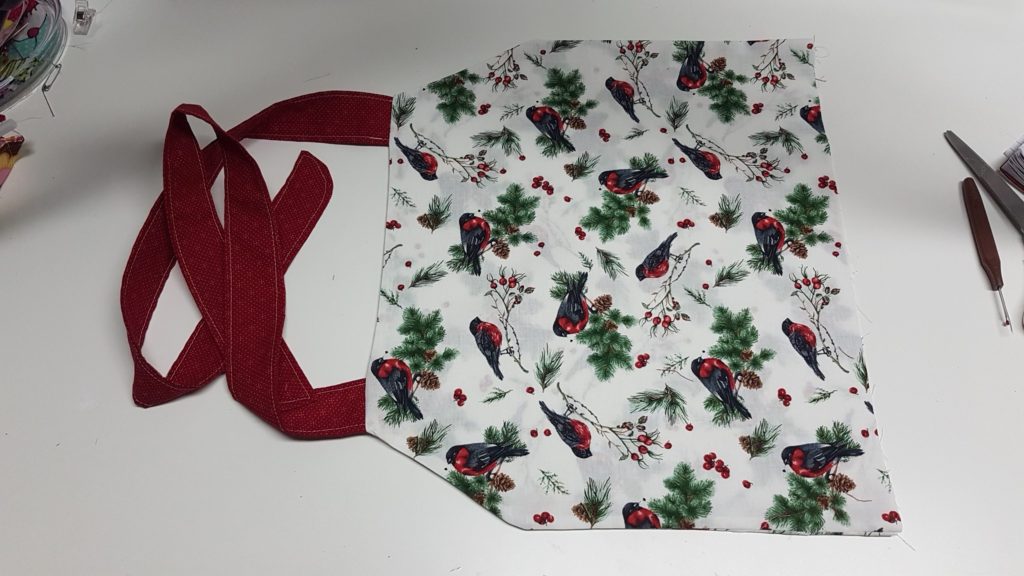
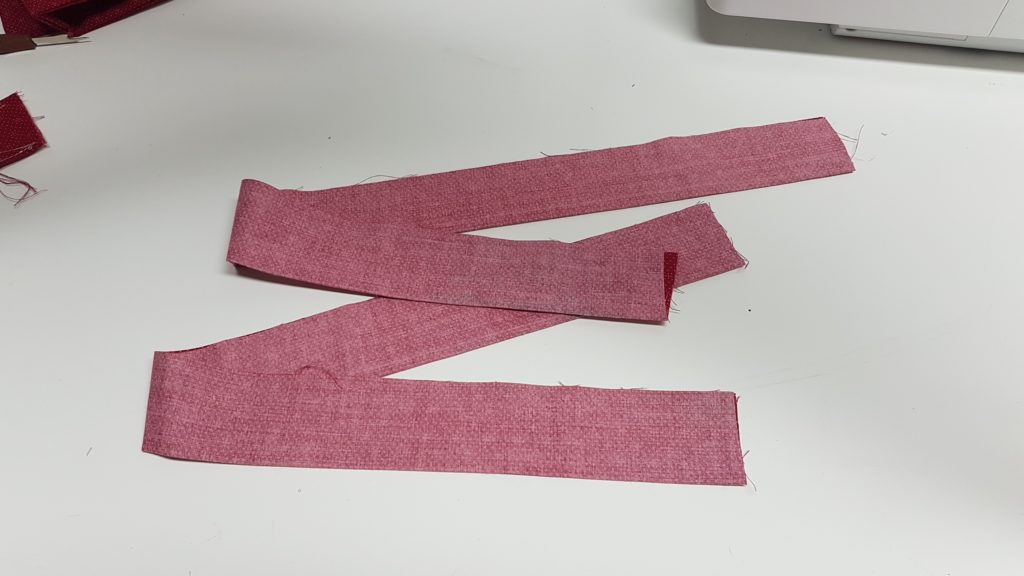
Sew the ties inside out and flip them right sides out then press and top stitch
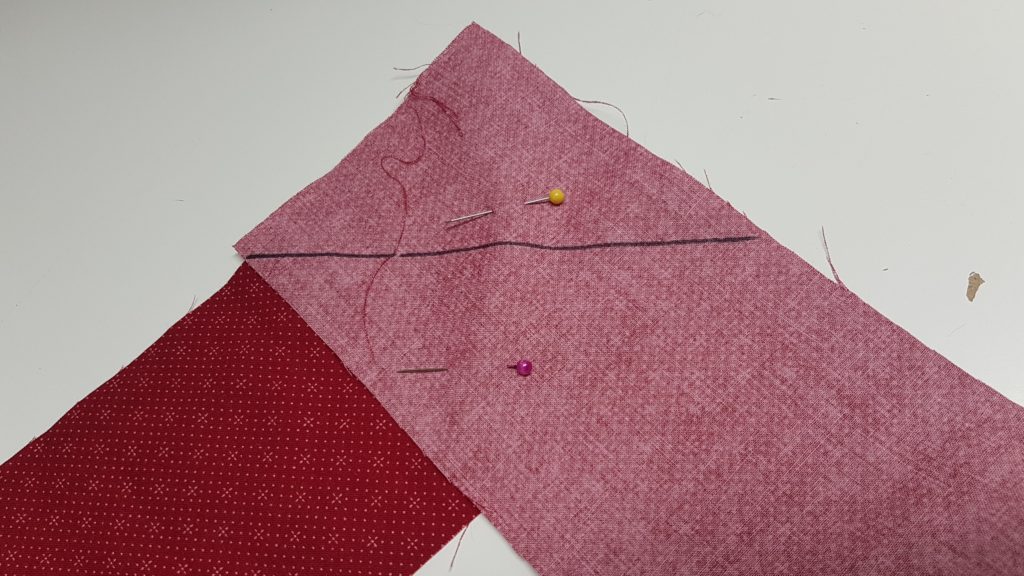
Attaching pieces to create a long Ruffle Piece


0 Comments