
 .
.
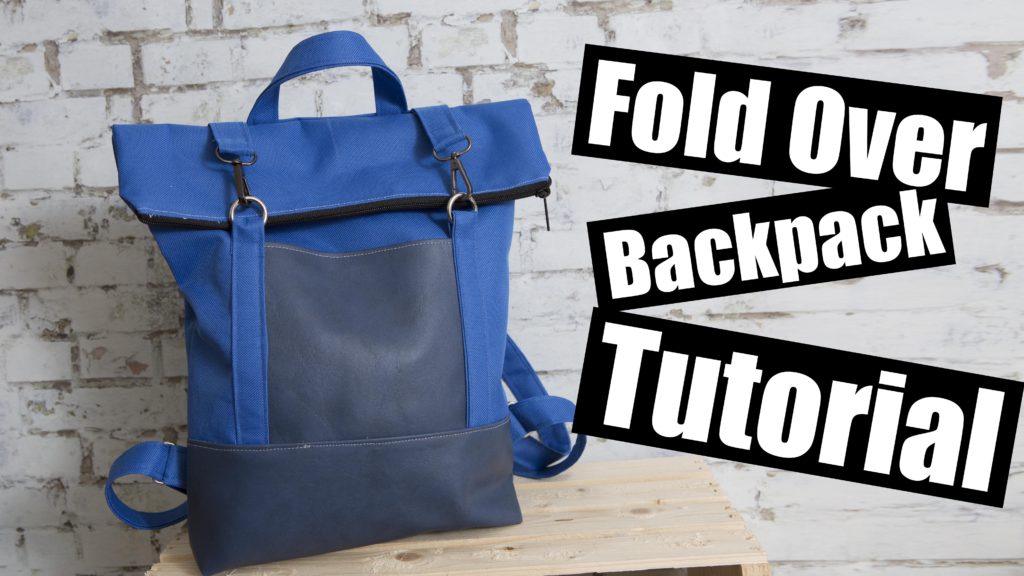
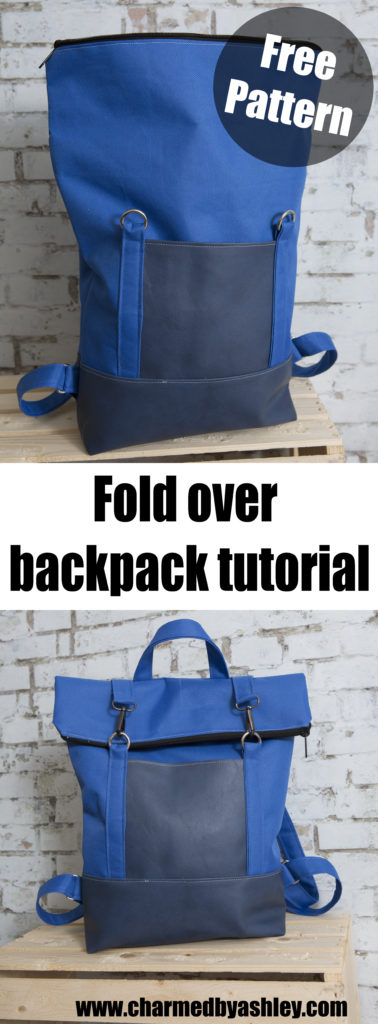
Welcome to the fold over backpack tutorial! here you will find the PDF download with measurements, links to products and tools, photos and video tutorial!
Please show your support and Share this tutorial!! it helps to keep my patterns free for all!
Sharing is Caring!!
Please Refer to the PDF for all the measurements here!! ——–>> Charmedbyashley – FoldOverBackpack <———————————
Hardware Links
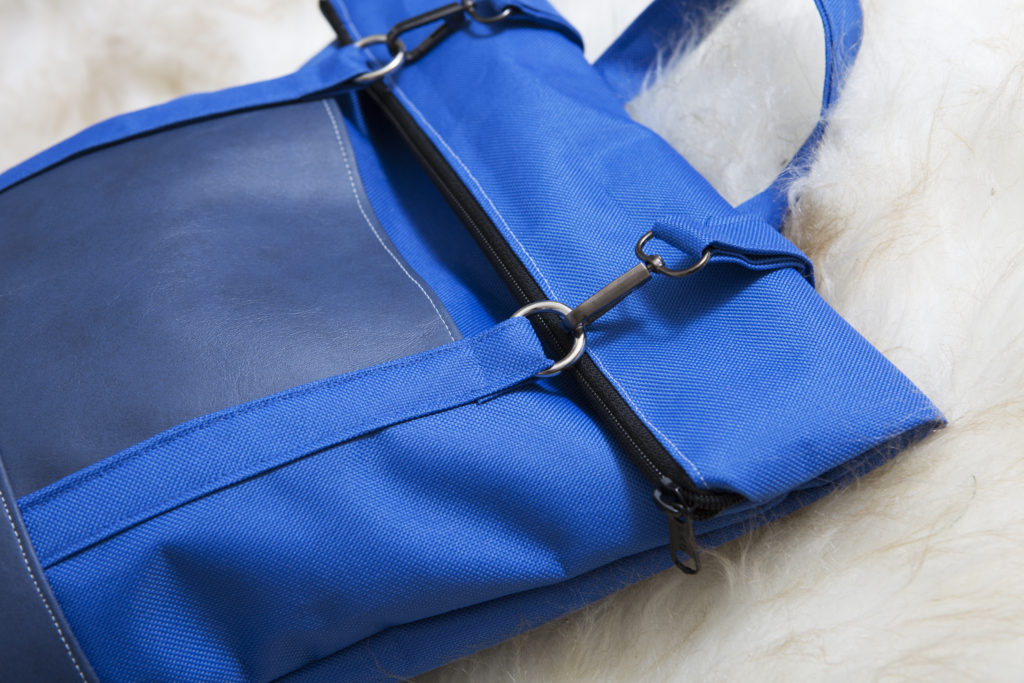
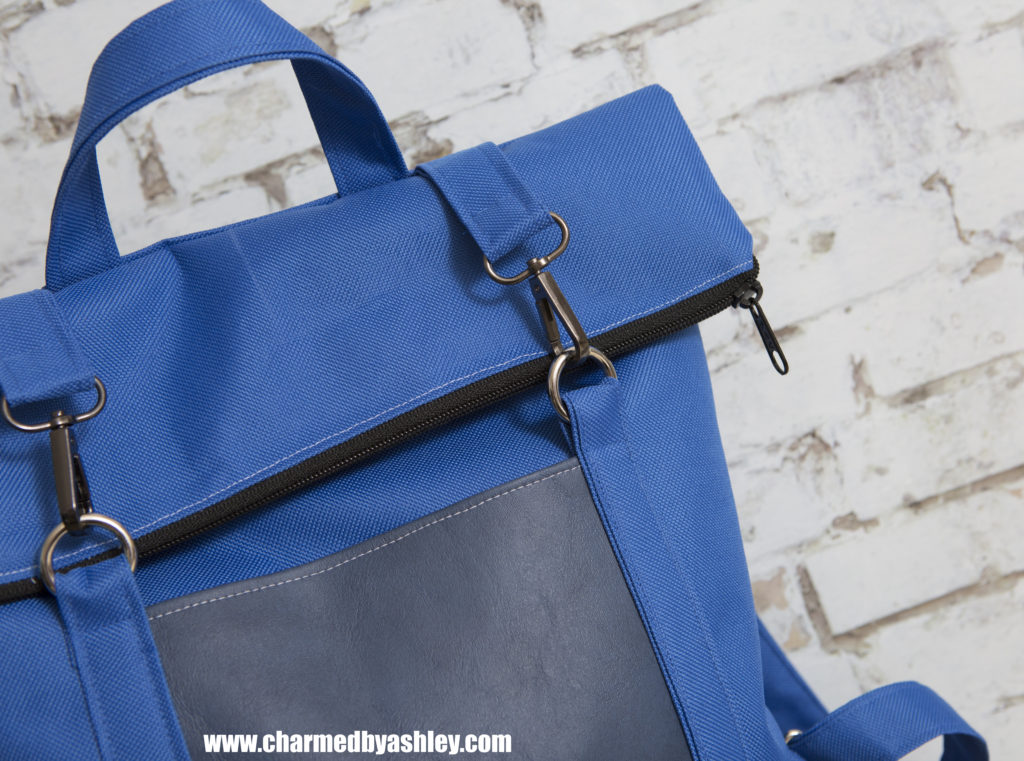
1″ O ring
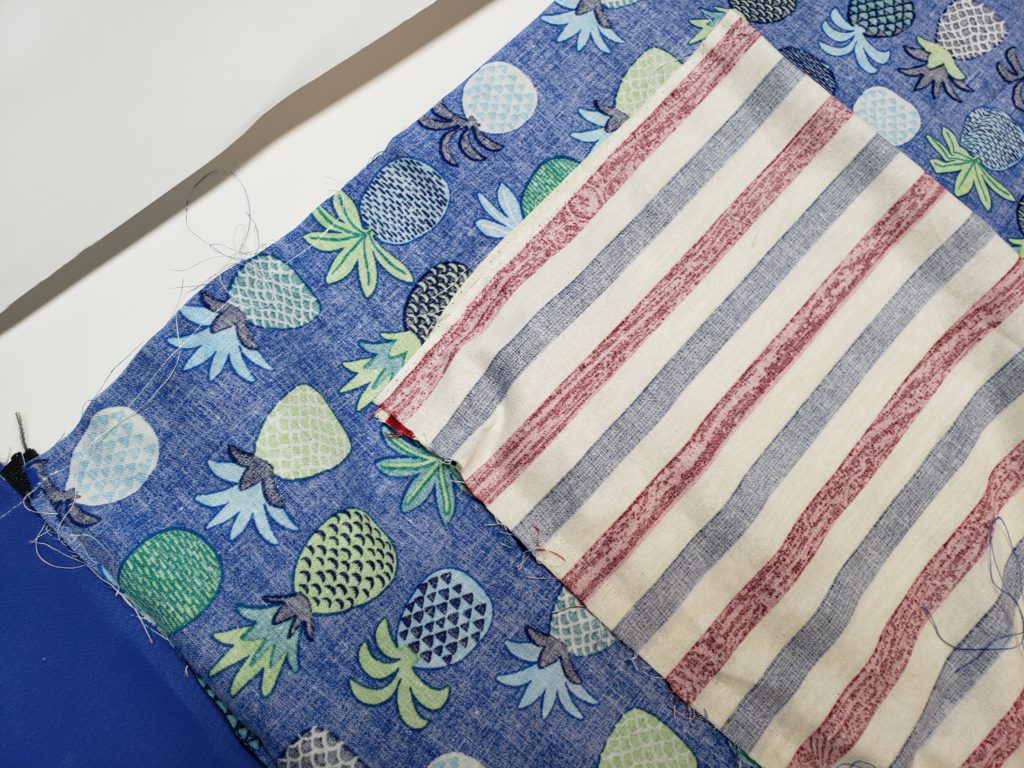
Fabrics I used
Waterproof Canvas and Vinyl for the base and slip pocket.
Optional inside zipper pocket – Zipper #3
Some links are Affiliate links and also help to support my tutorials and keep them freeeeeeeeeeee
Love you guys for all your support <3<3
Tools!
Iron – Oliso
Sewing machine – Brother
Ironing Board – Tutorial
Rotary Cutter – Olfa
Cricut –
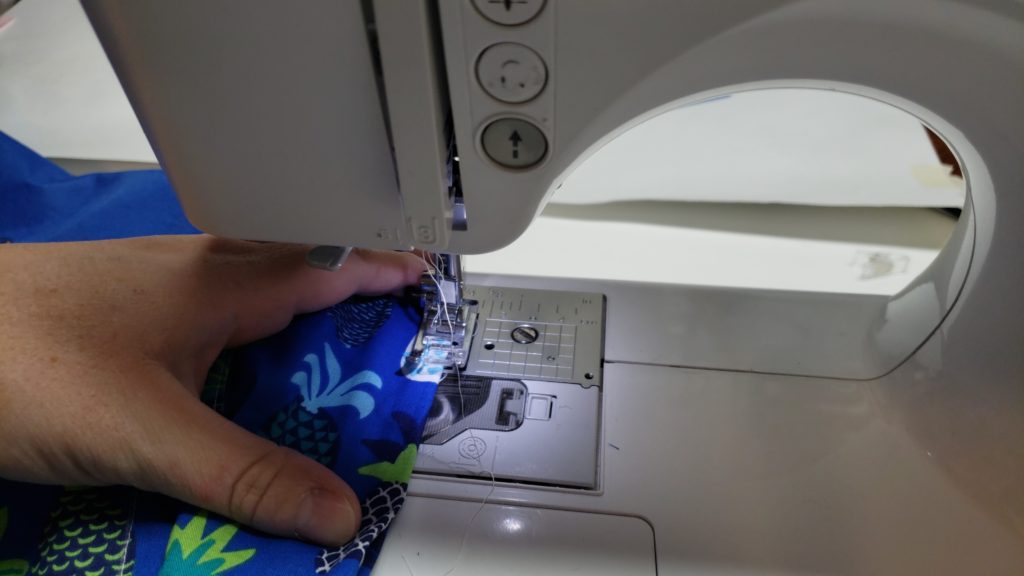
Below are some refence photos but are not the entire tutorials so please refer to the Video for greater clarification.
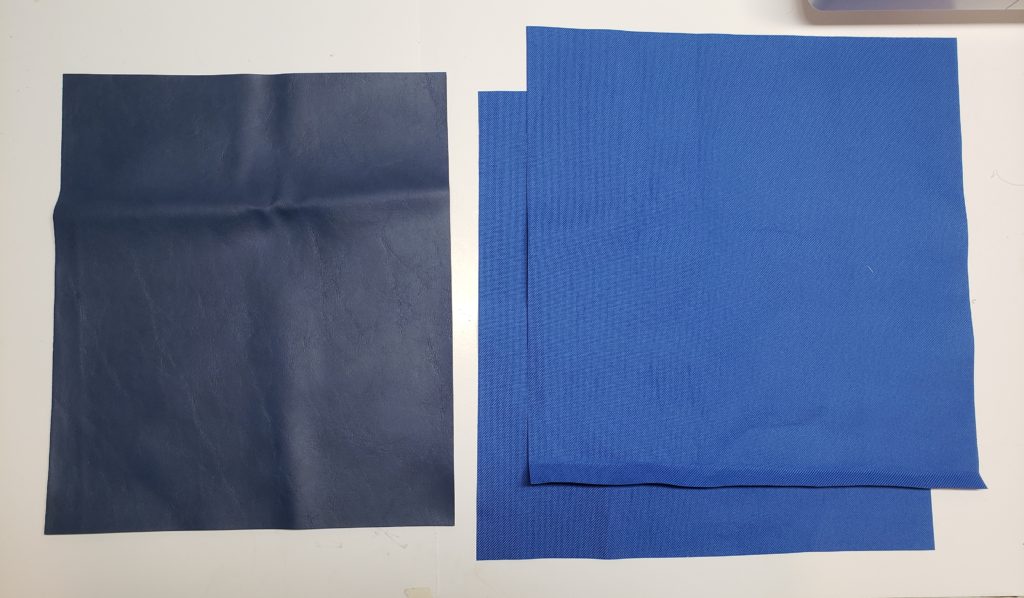
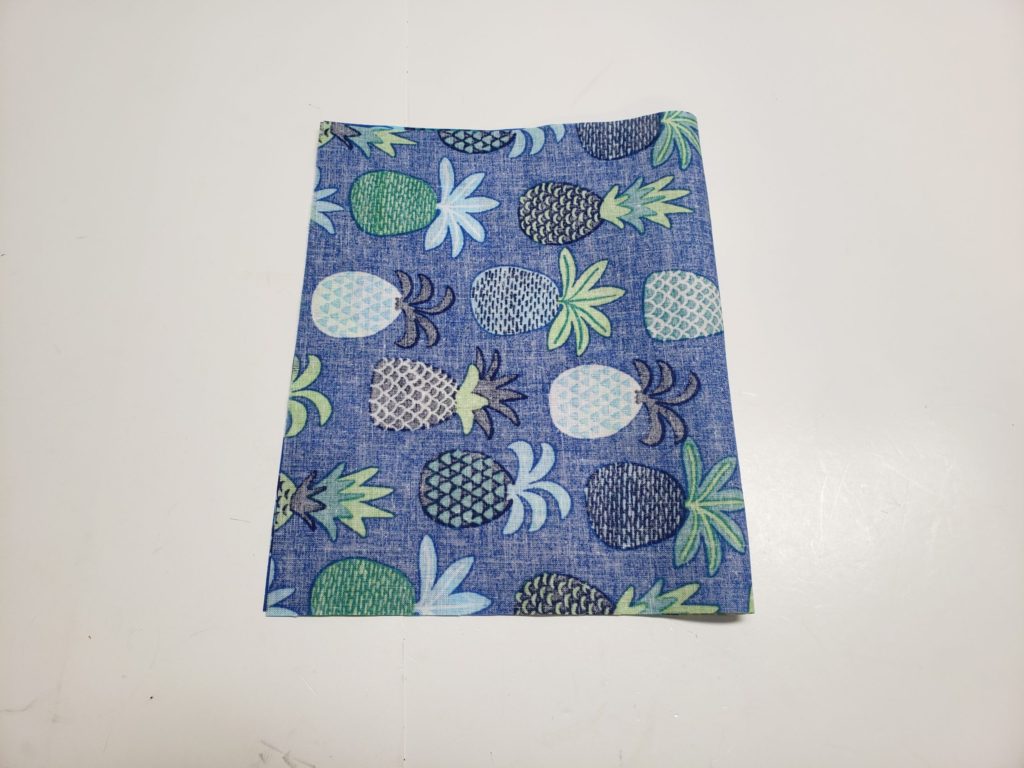
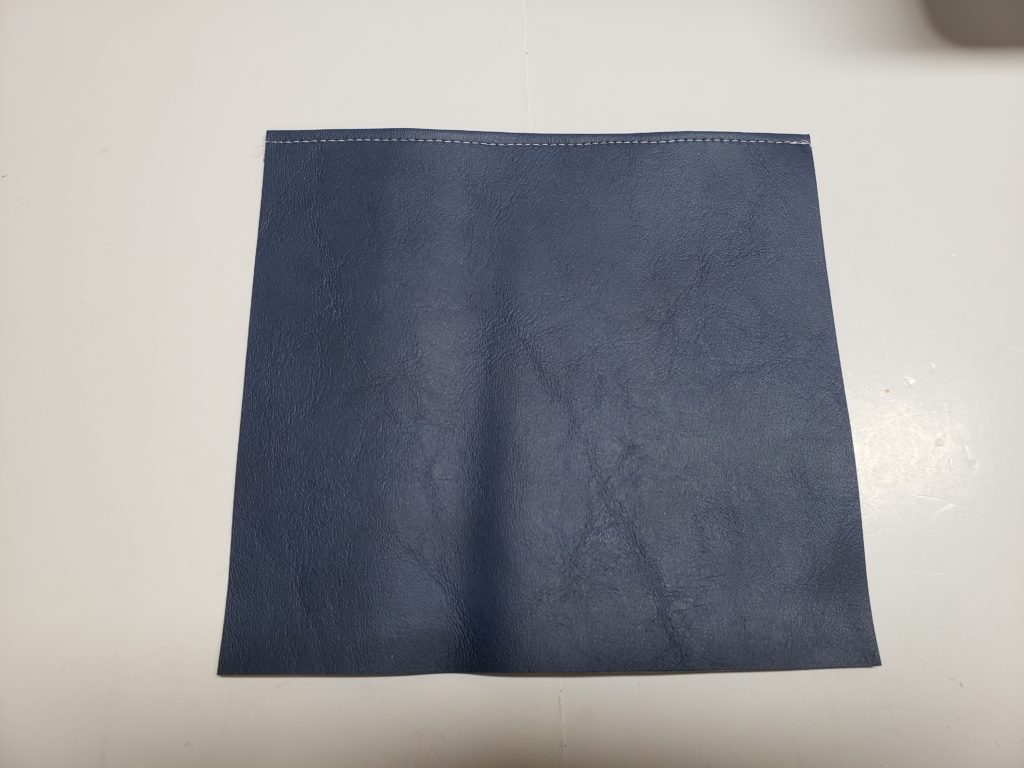
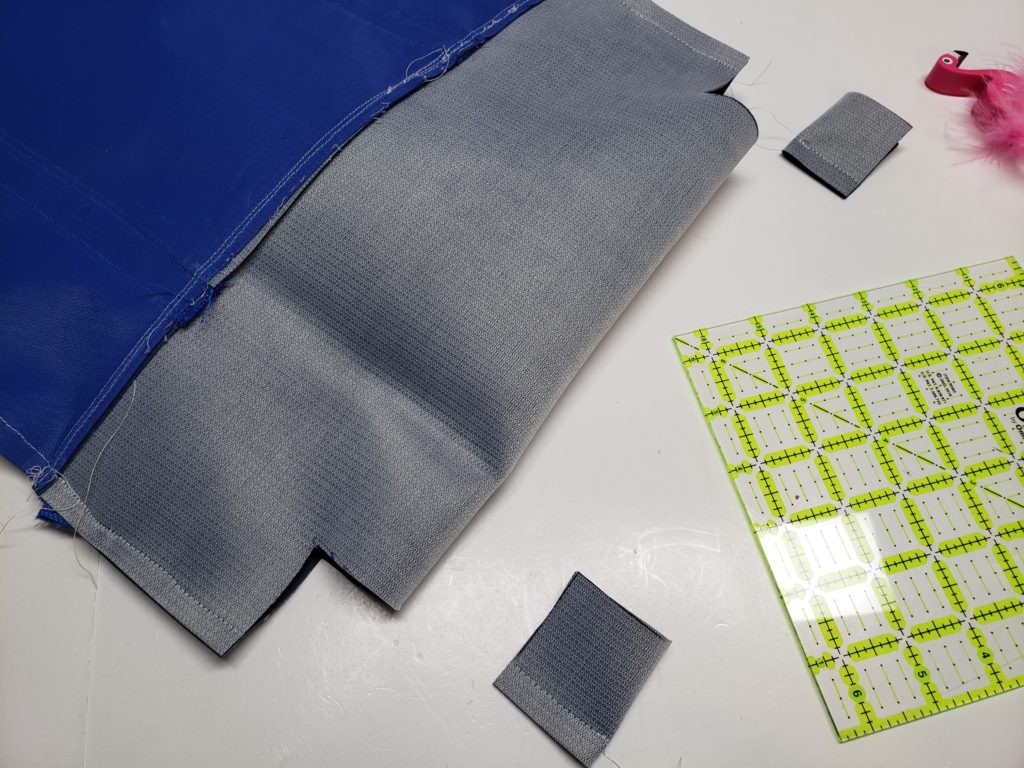
Outer Fabric pieces – 2 Side panel (water proof canvas), 1 bottom panel (Vinyl)
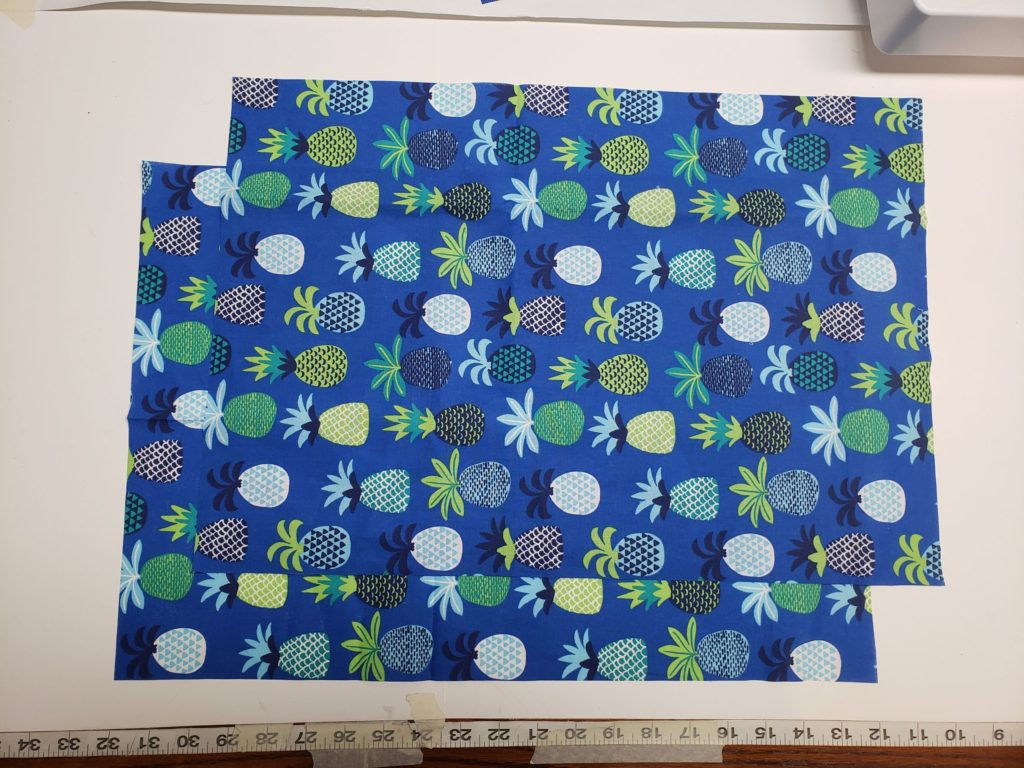
Lining pieces – Cotton fabric
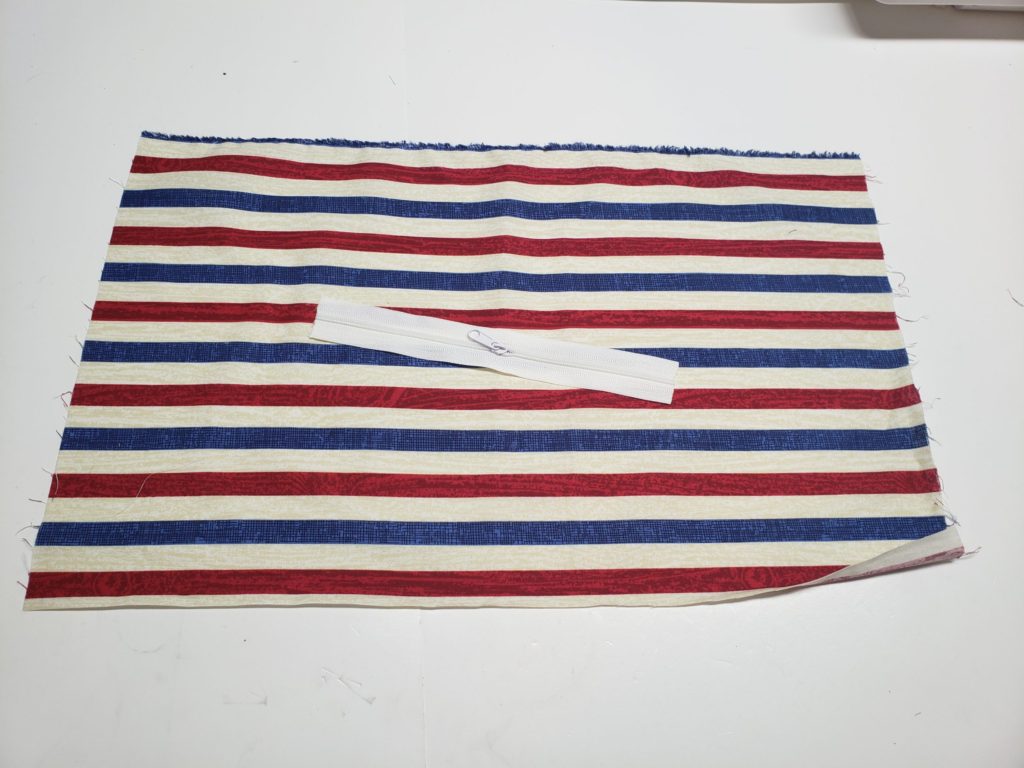
This is the optional inside hidden zipper pocket piece and zipper. please refer to this tutorial to learn how to install it!
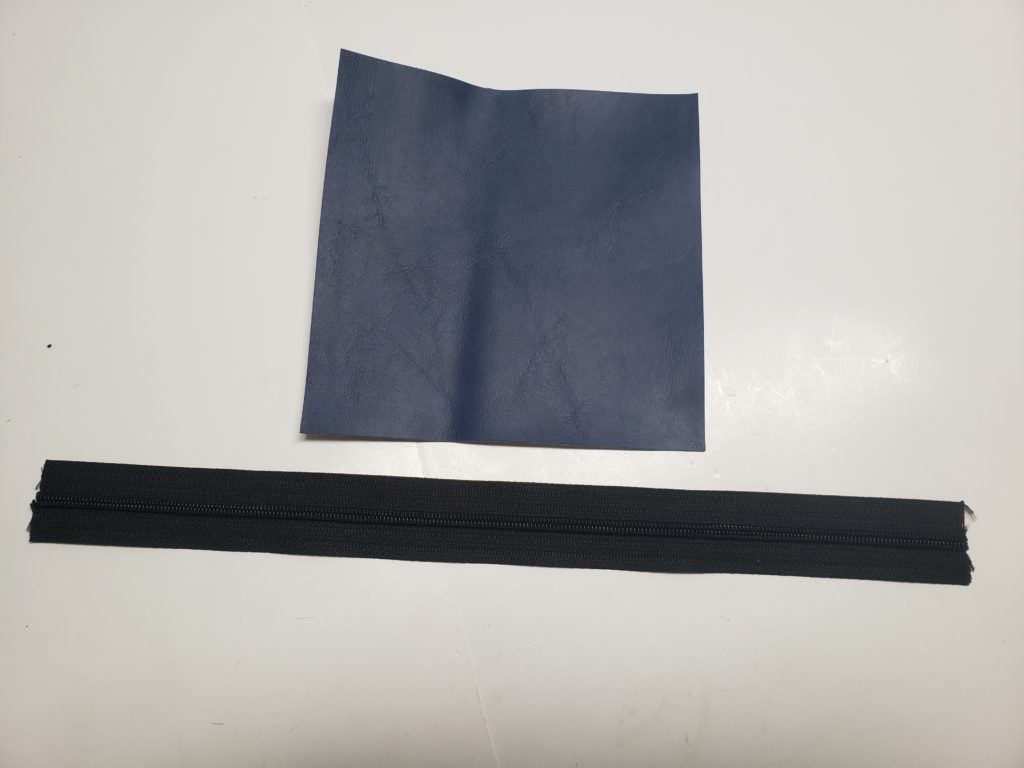
I’m using a #5 zipper for the paint zipper and vinyl for the front slip pocket.
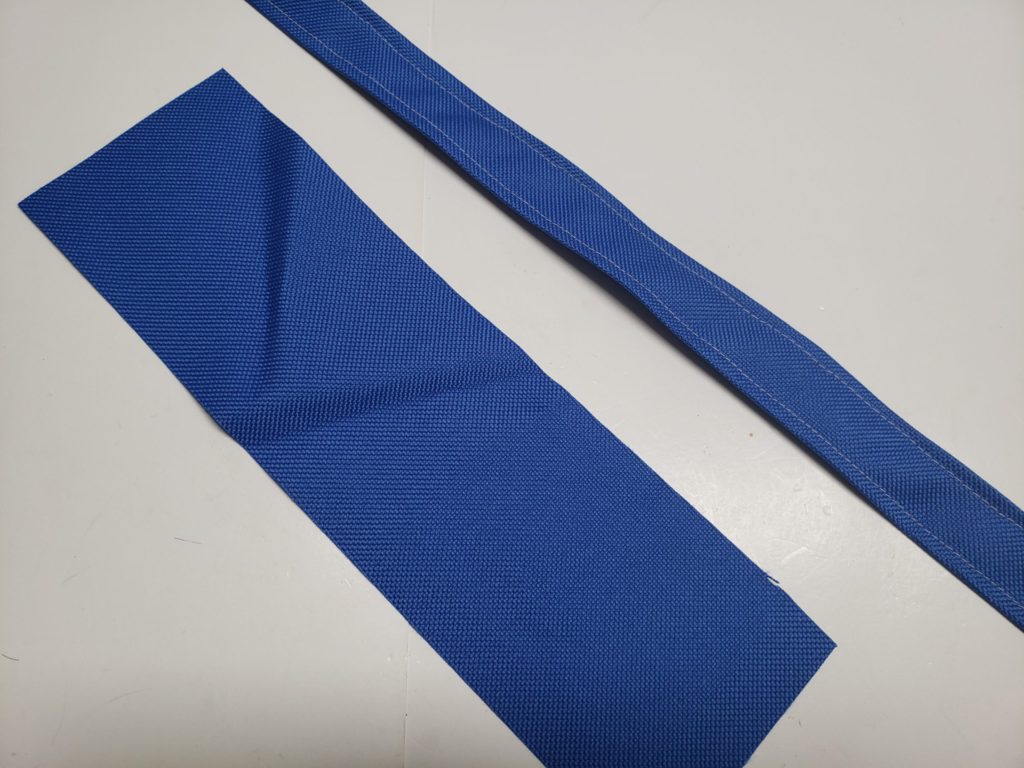
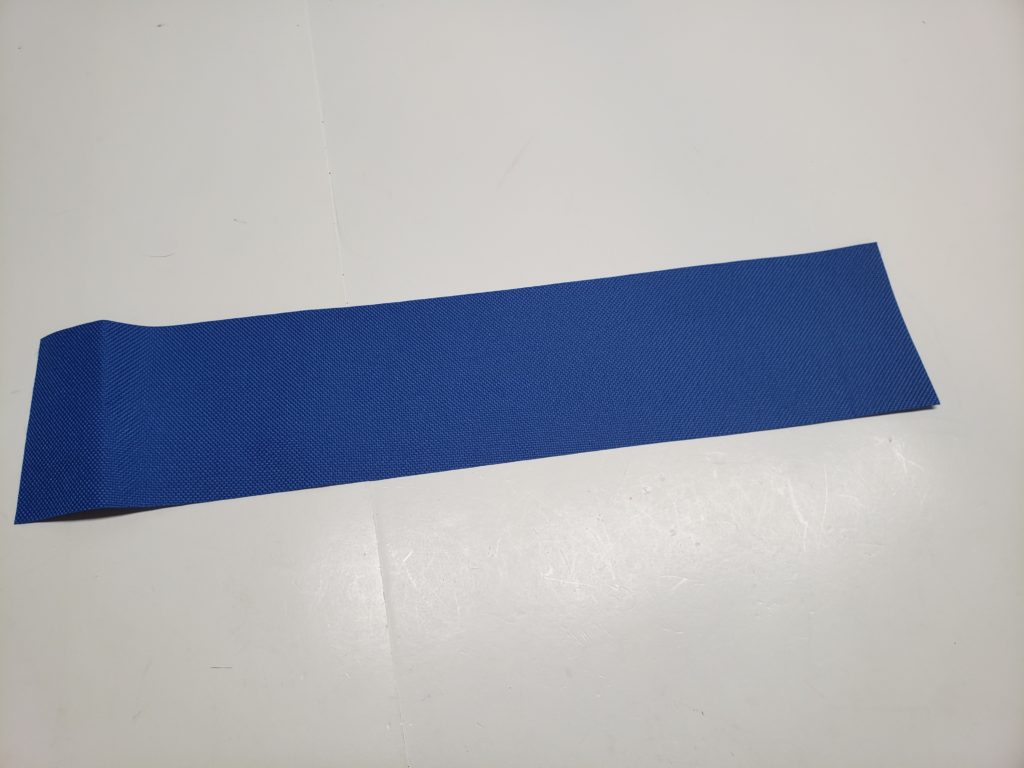
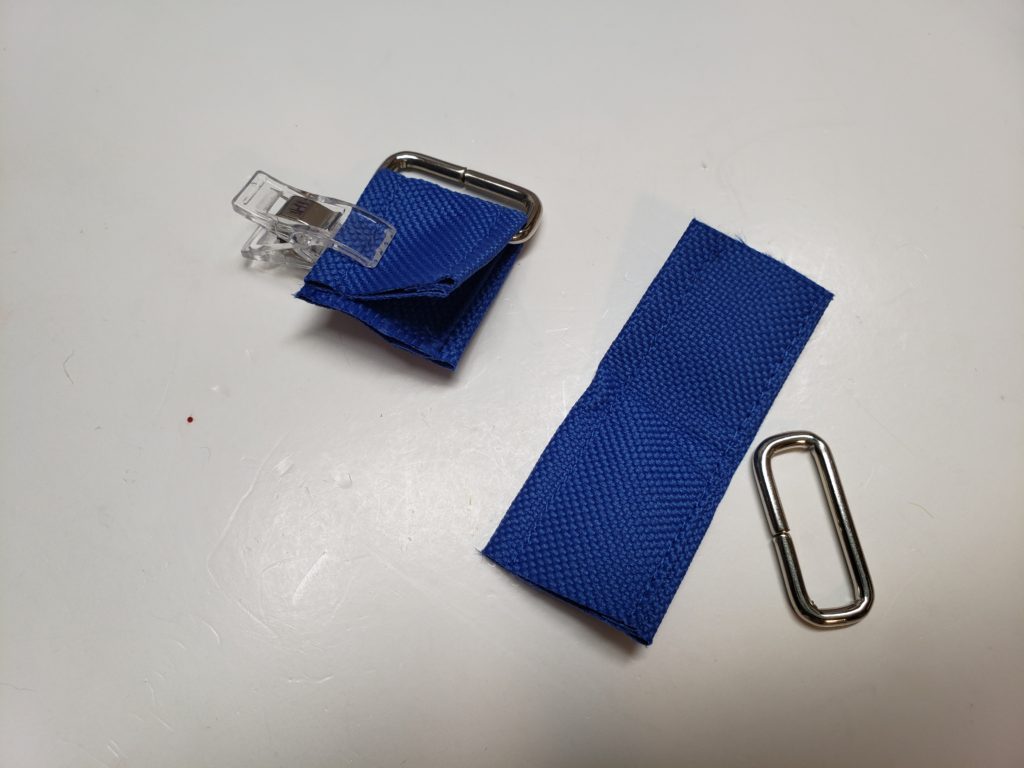
Make your own strapping! using a piece measuring 3″ wide. check out my strapping tutorial for some more styles!
Strapping should measure 1″ wide
 0
0 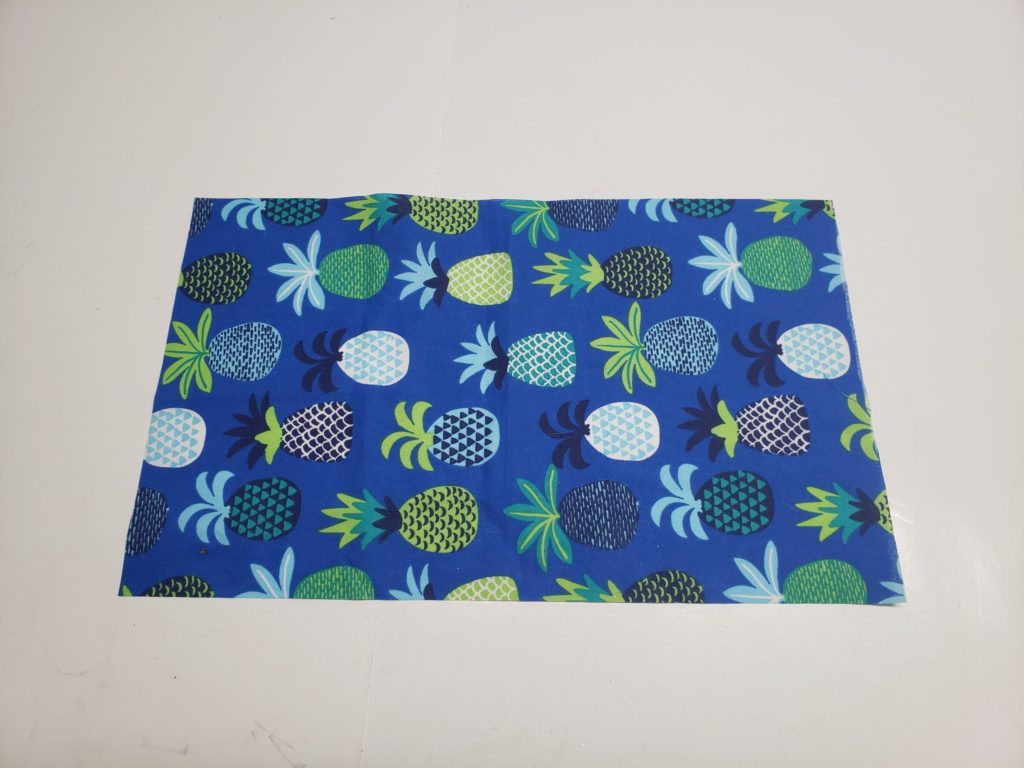
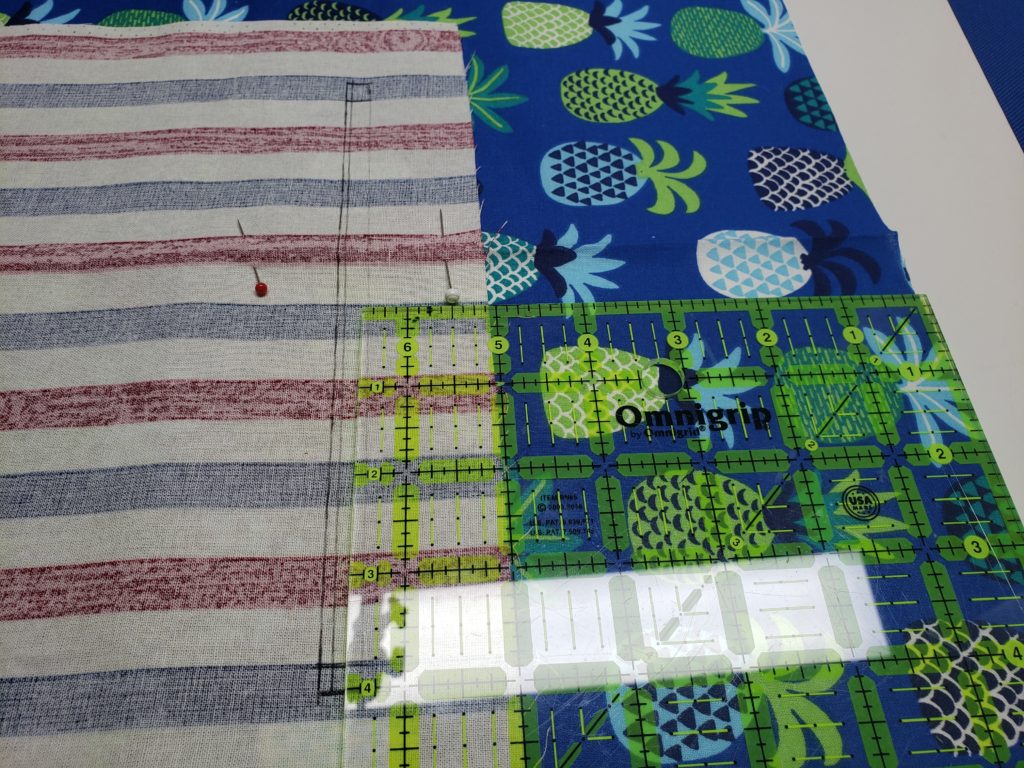
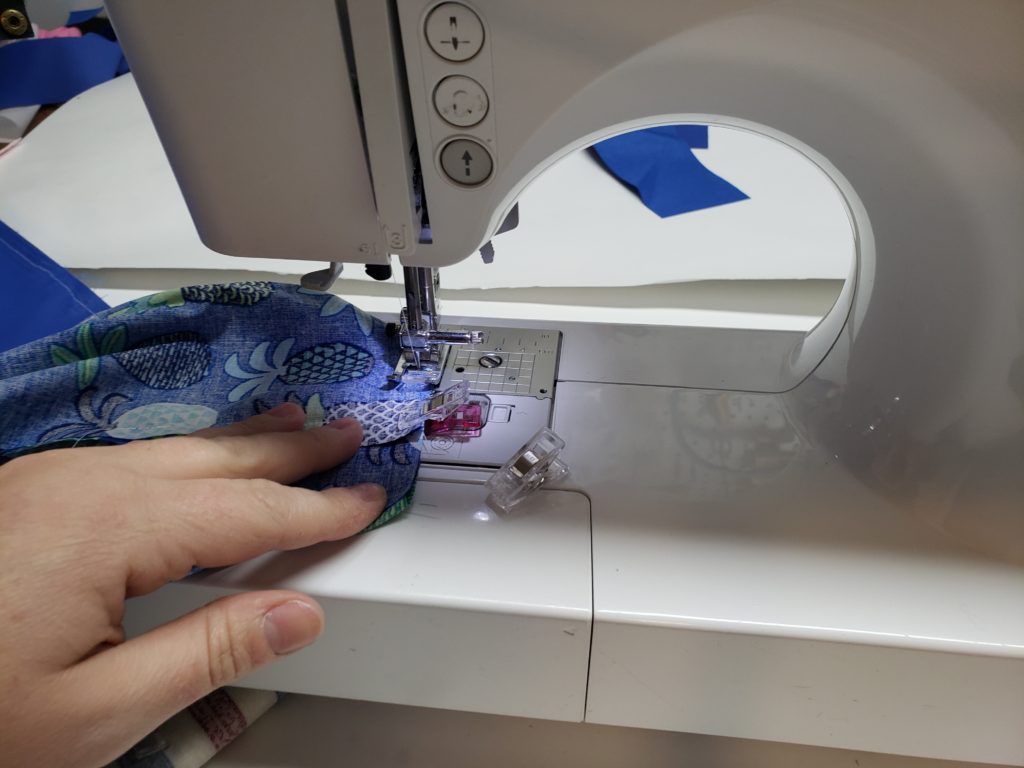
Create your own custom slip pockets inside your bag! take your slip pocket piece and fold in half length ways.
Sew down the 3 sides leaving a 2″ gap somewhere for turning.
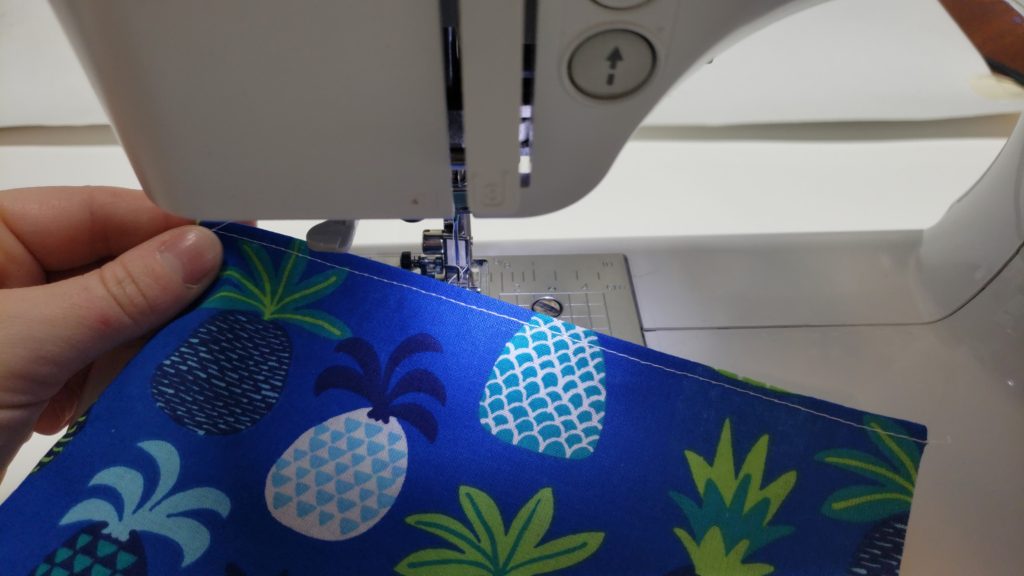
Flip piece right sides out and press, do a top stitch row of stiching at the top of the rectangle only.
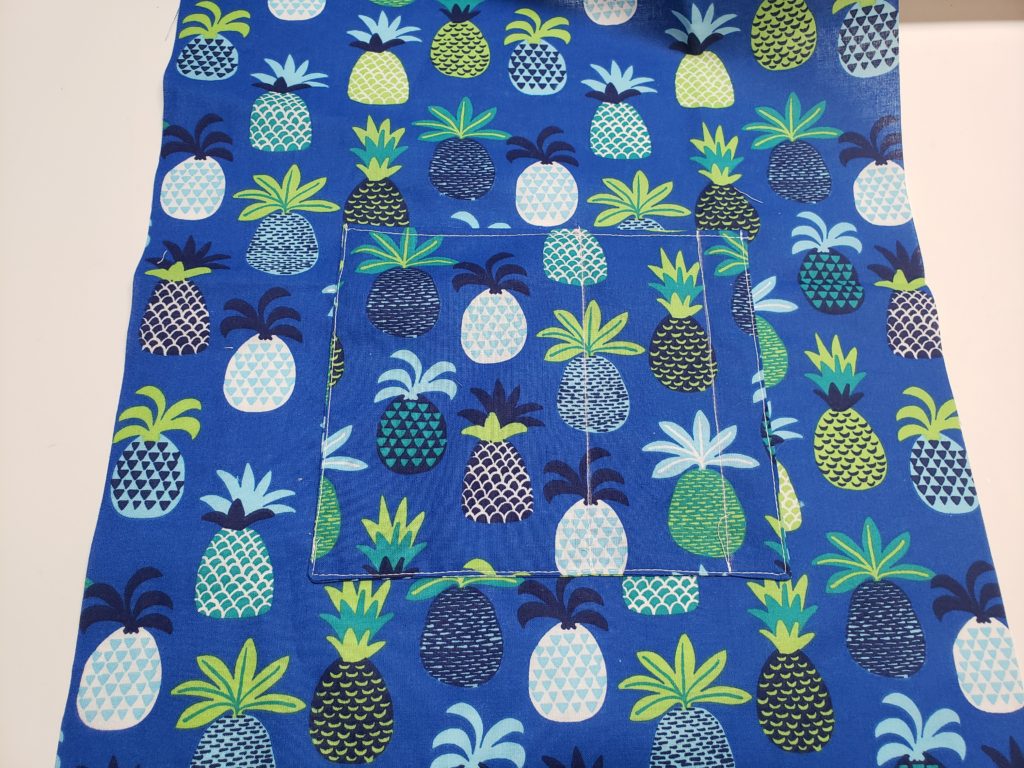
Place on your lining piece centred 6 1/2″ down from the top. draw with chalk your desired slip pocket sizes for cell phone, pens, and other accessories.
Sew a top stitch down the other 3 sides to secure your pocket into place and sew down your guide lines to create your custom slip pockets.
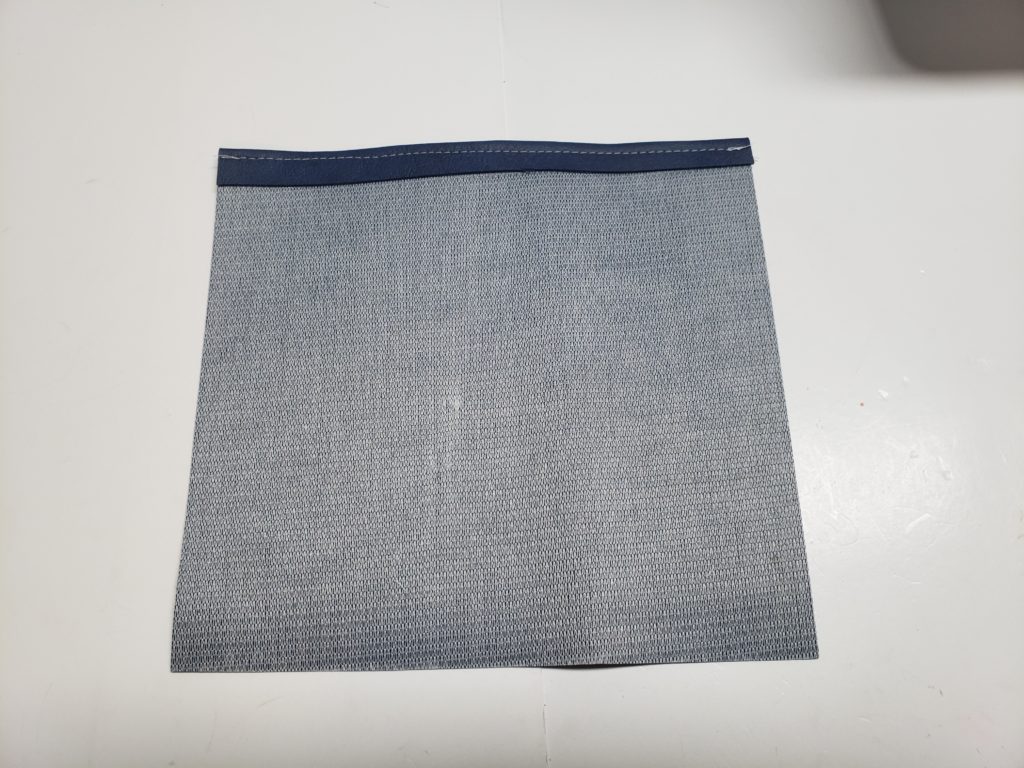
If using a vinyl for the front slip pocket Hem the top with a 1/2″ seam allowance. the pocket should measure approx 6″ x 6″
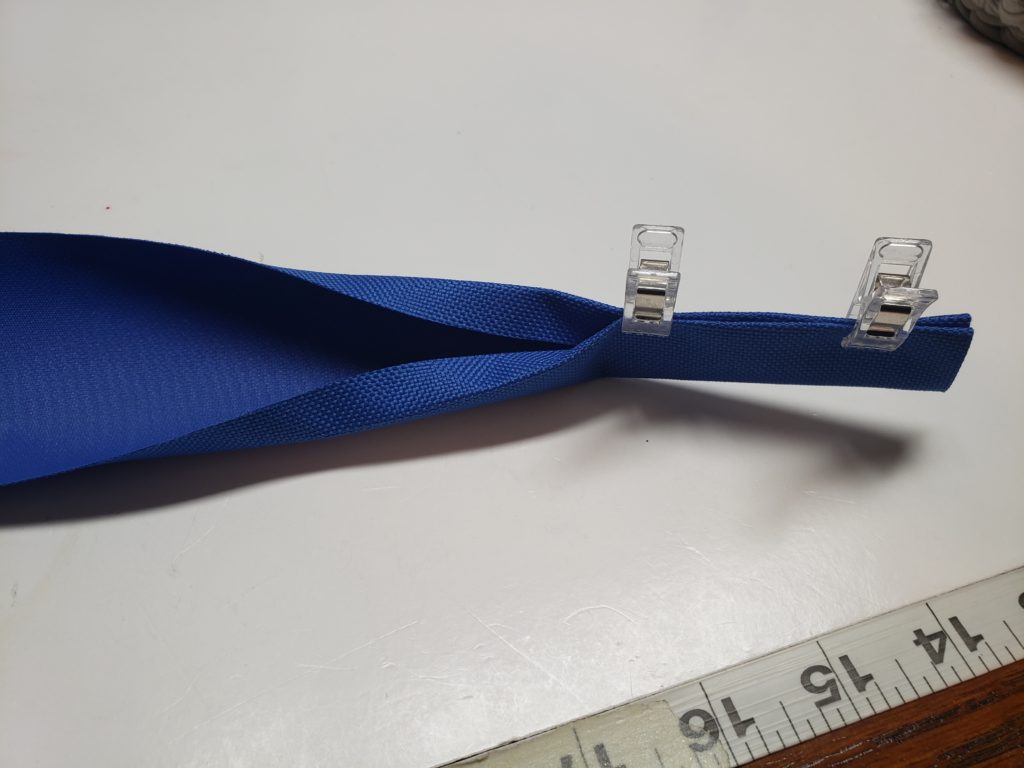
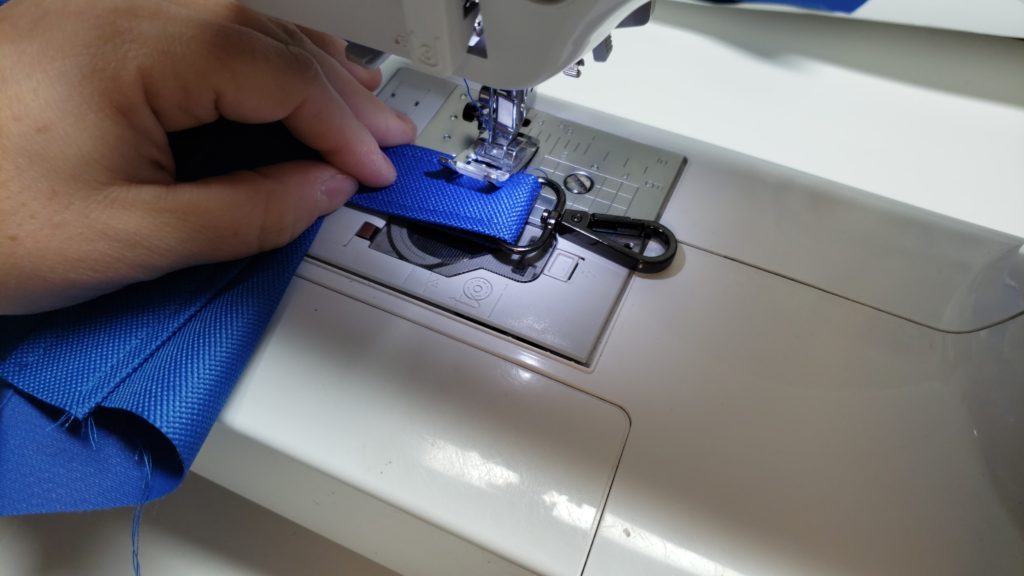
Creating your own straps folding in a half inch and then folding again.
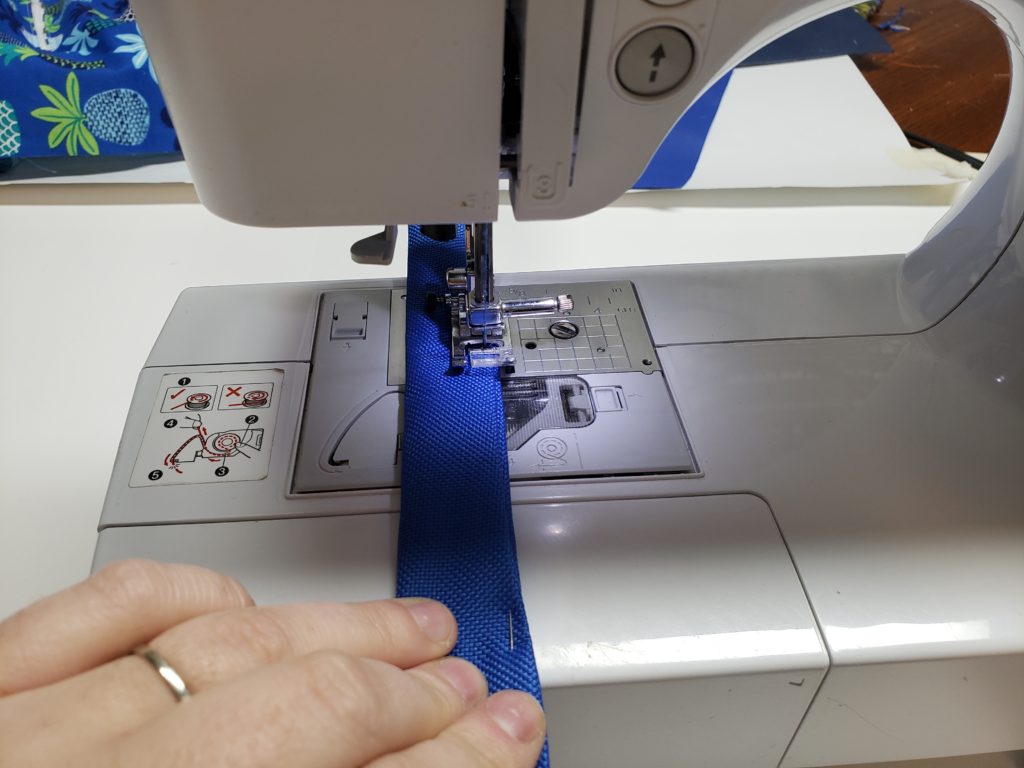
Sew down both sides to create your strap.
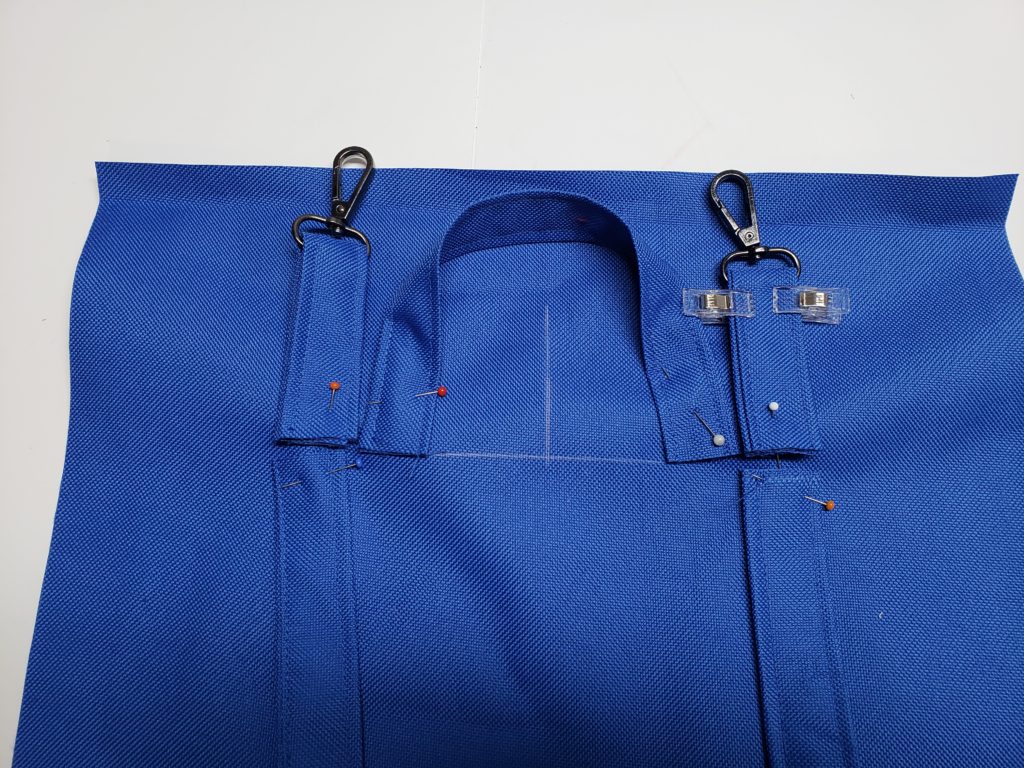
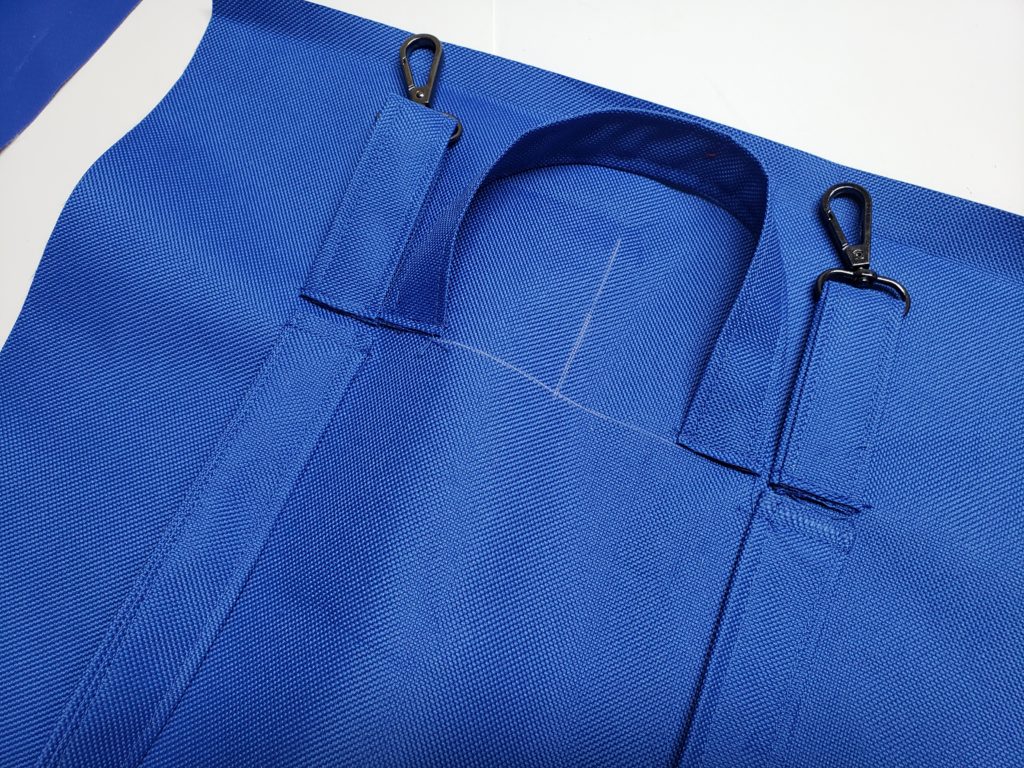
Place your strapping. take one side panel outer piece. measure down 4 1/2″ and draw a guide line, draw a guide line centred to centre your straps easier. place your handle centred with the strap along the line your draw and 3″ apart, using your swivel clasp strap insert into clasp and fold in half, place those beside your handle piece. place your shoulder strap piece lined up with the swivel clasp strap.
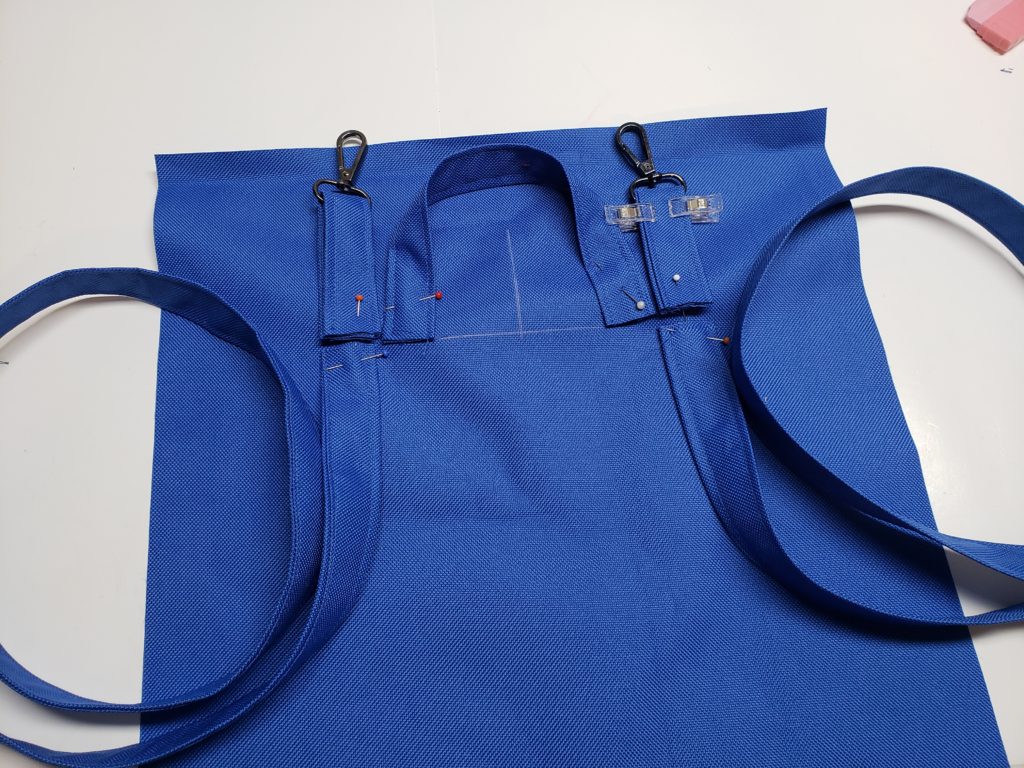
Baste stitch these into place to reduce shifting when doin the next step, this will also add extra securities for your straps
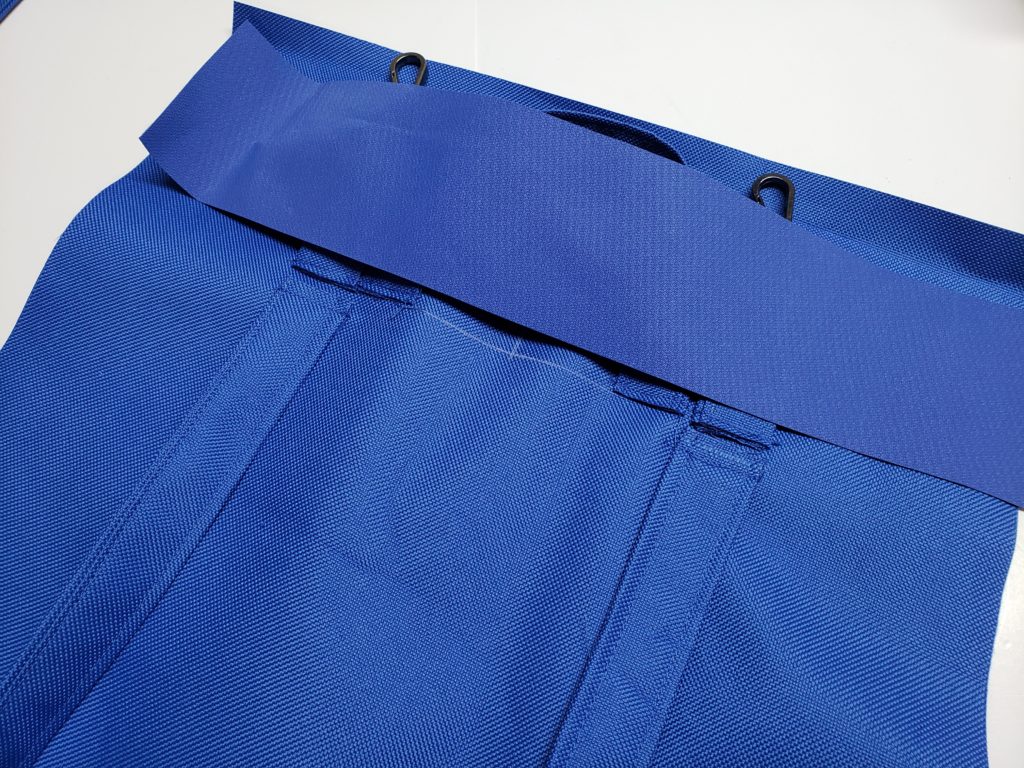
Cover these raw straps with another piece of strapping, you can create your strap ontop of it, i took a piece of my strapping that i did not create yet so a 3″ x 14″ piece, layed right sides down and sew a 1/2″ seam allowance. Fold the piece over the raw edges and tuck under 1/2″ sew 2 top stitches to secure it all into place and it will end up looking like a strap.
i like to tack the swivel clasp strap close to the clasp to prevent the clasp from shifting too much.
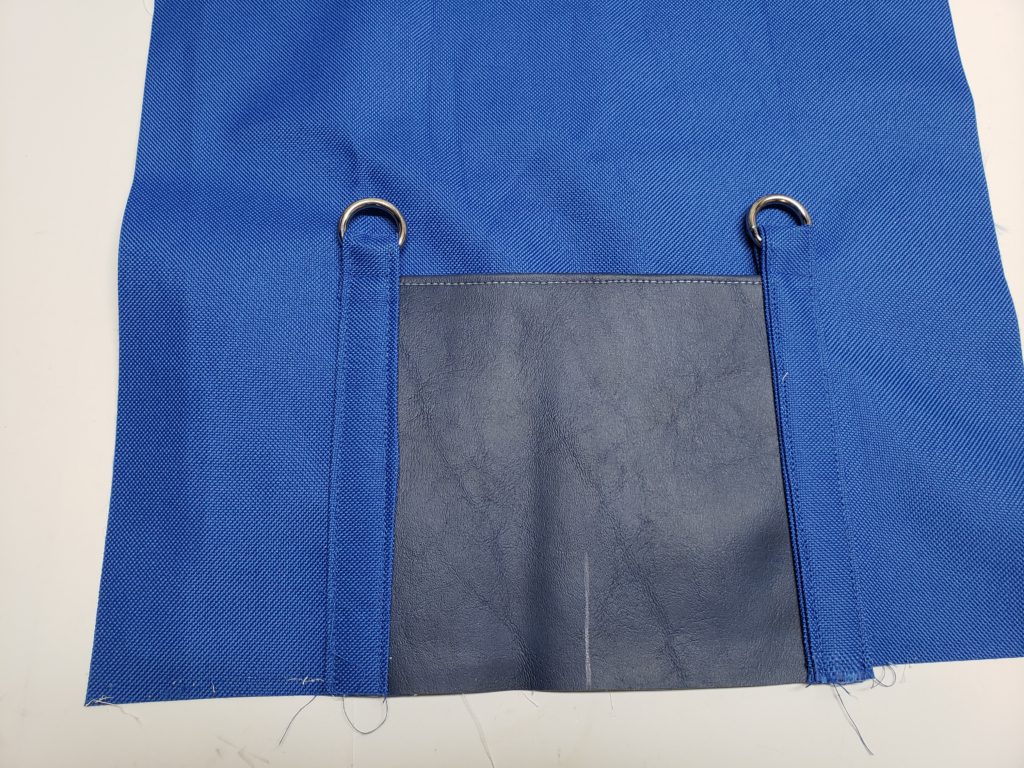
using the second outer side panel piece, find the centre and mark, find the centre of the slip pocket and line it up with the guide line on the fabric. take your strapping and insert your O ring, fold over the strapping 3/4″ over the O ring and pin the strapping into place covering up the side of the slip pocket, make sure your strapping is placed 3″ from both sides.
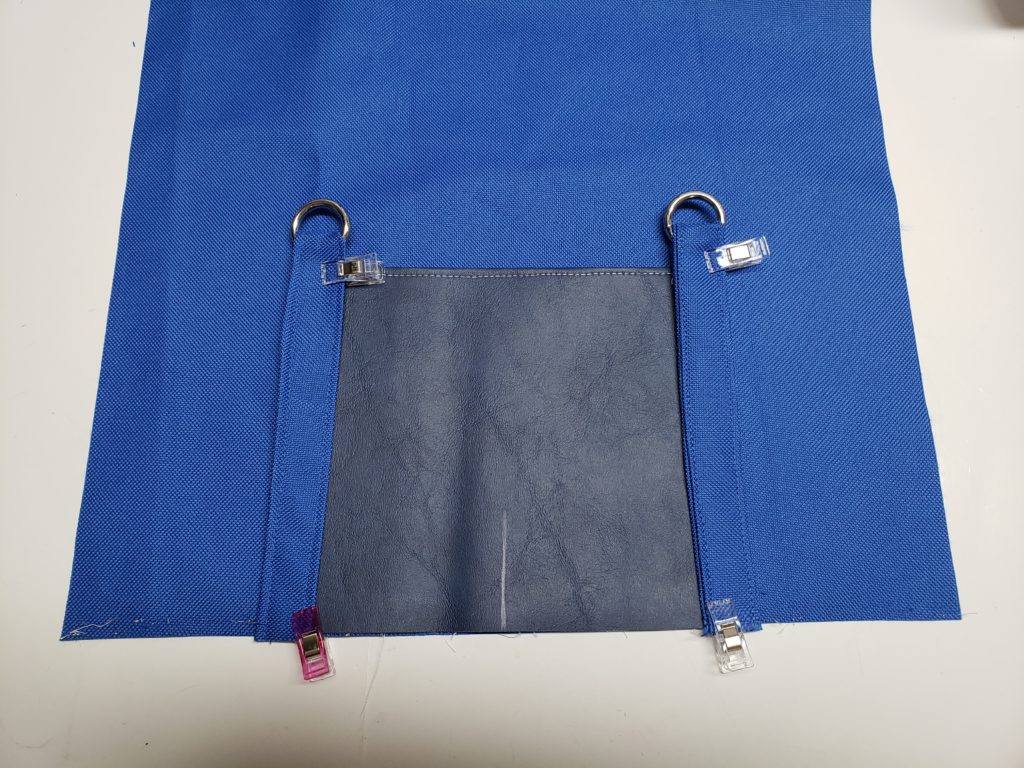
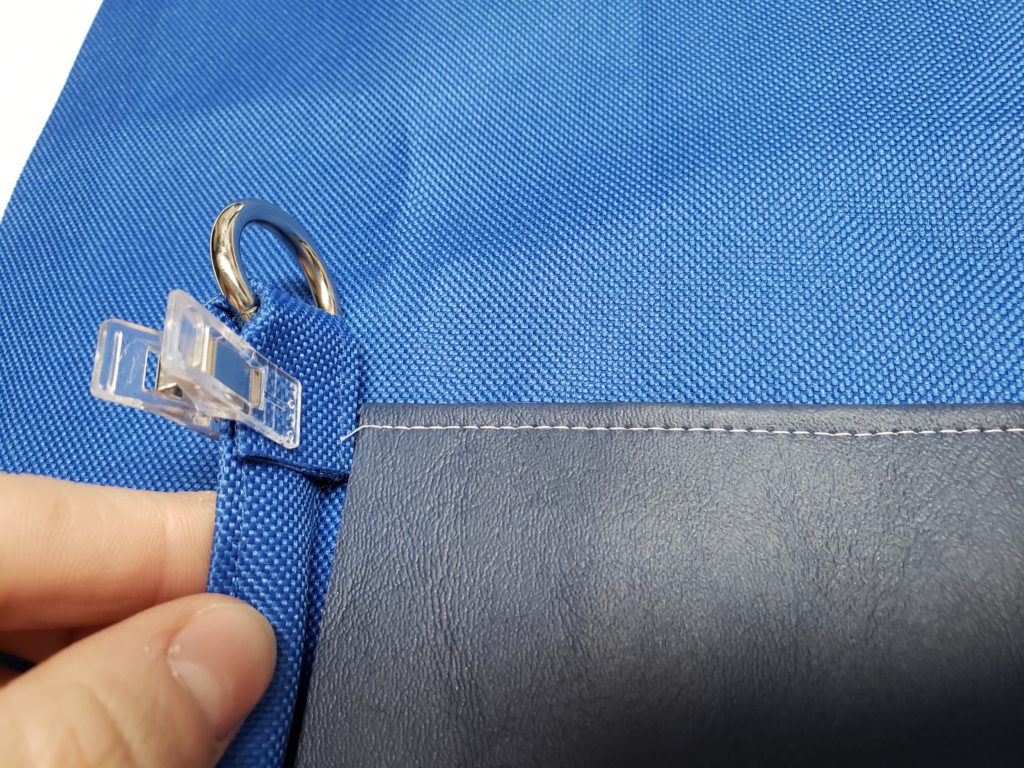
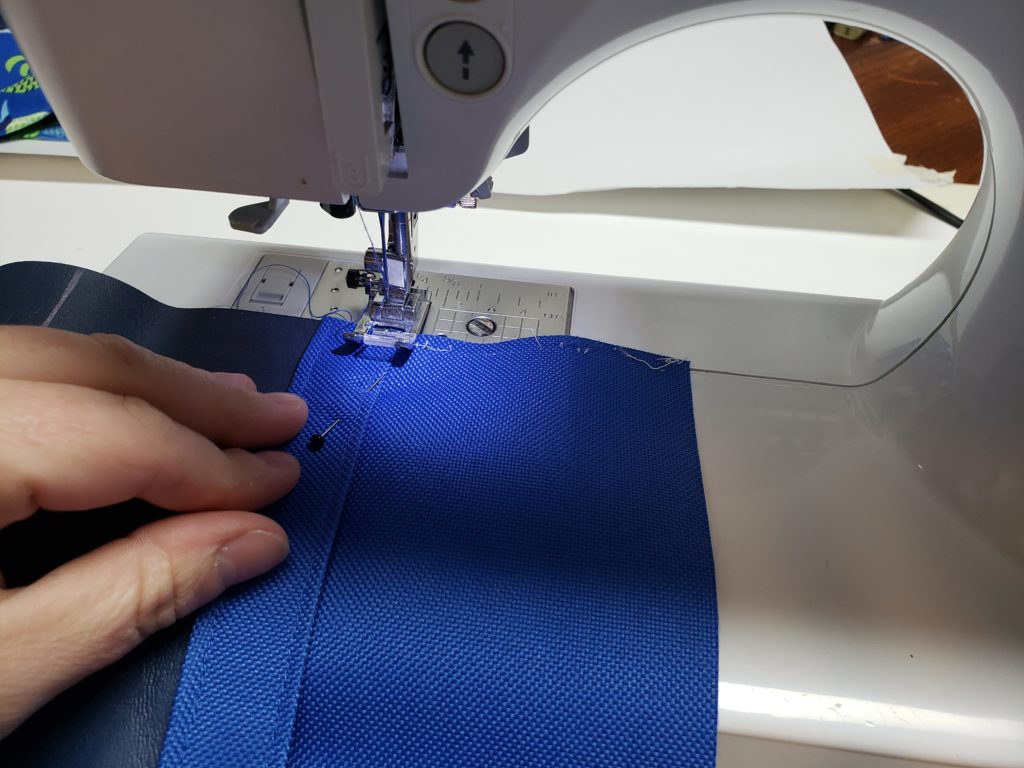
Sew up and across and down the strapping to secure it into place as well as the slip pocket.


0 Comments