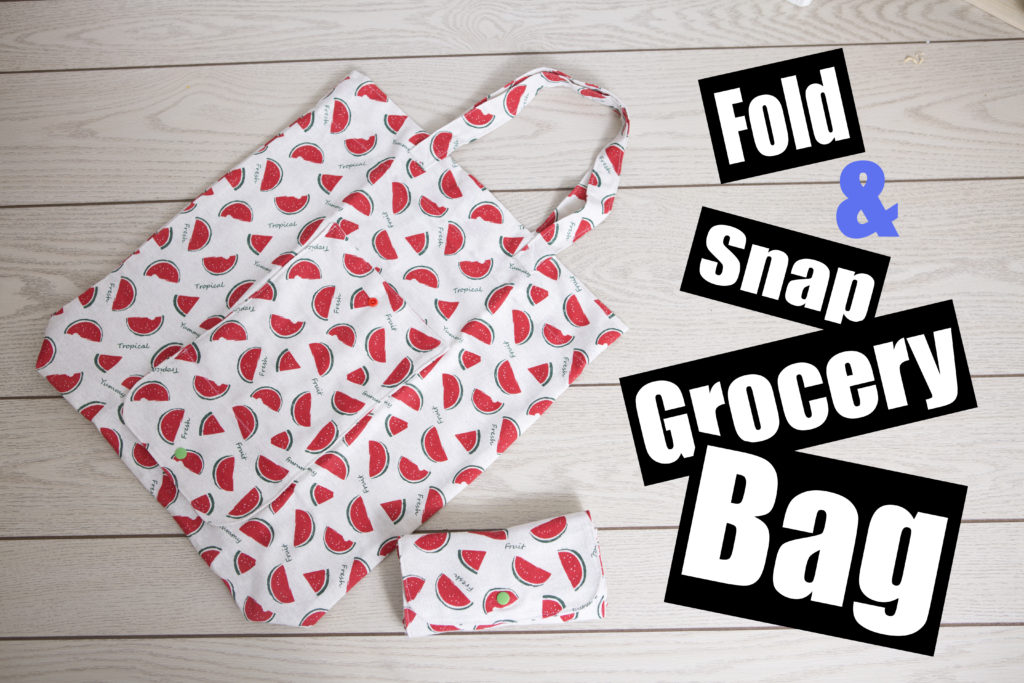
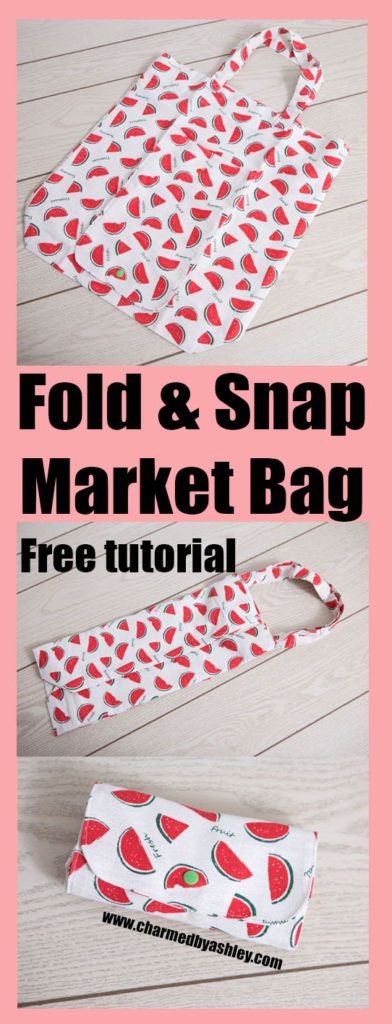
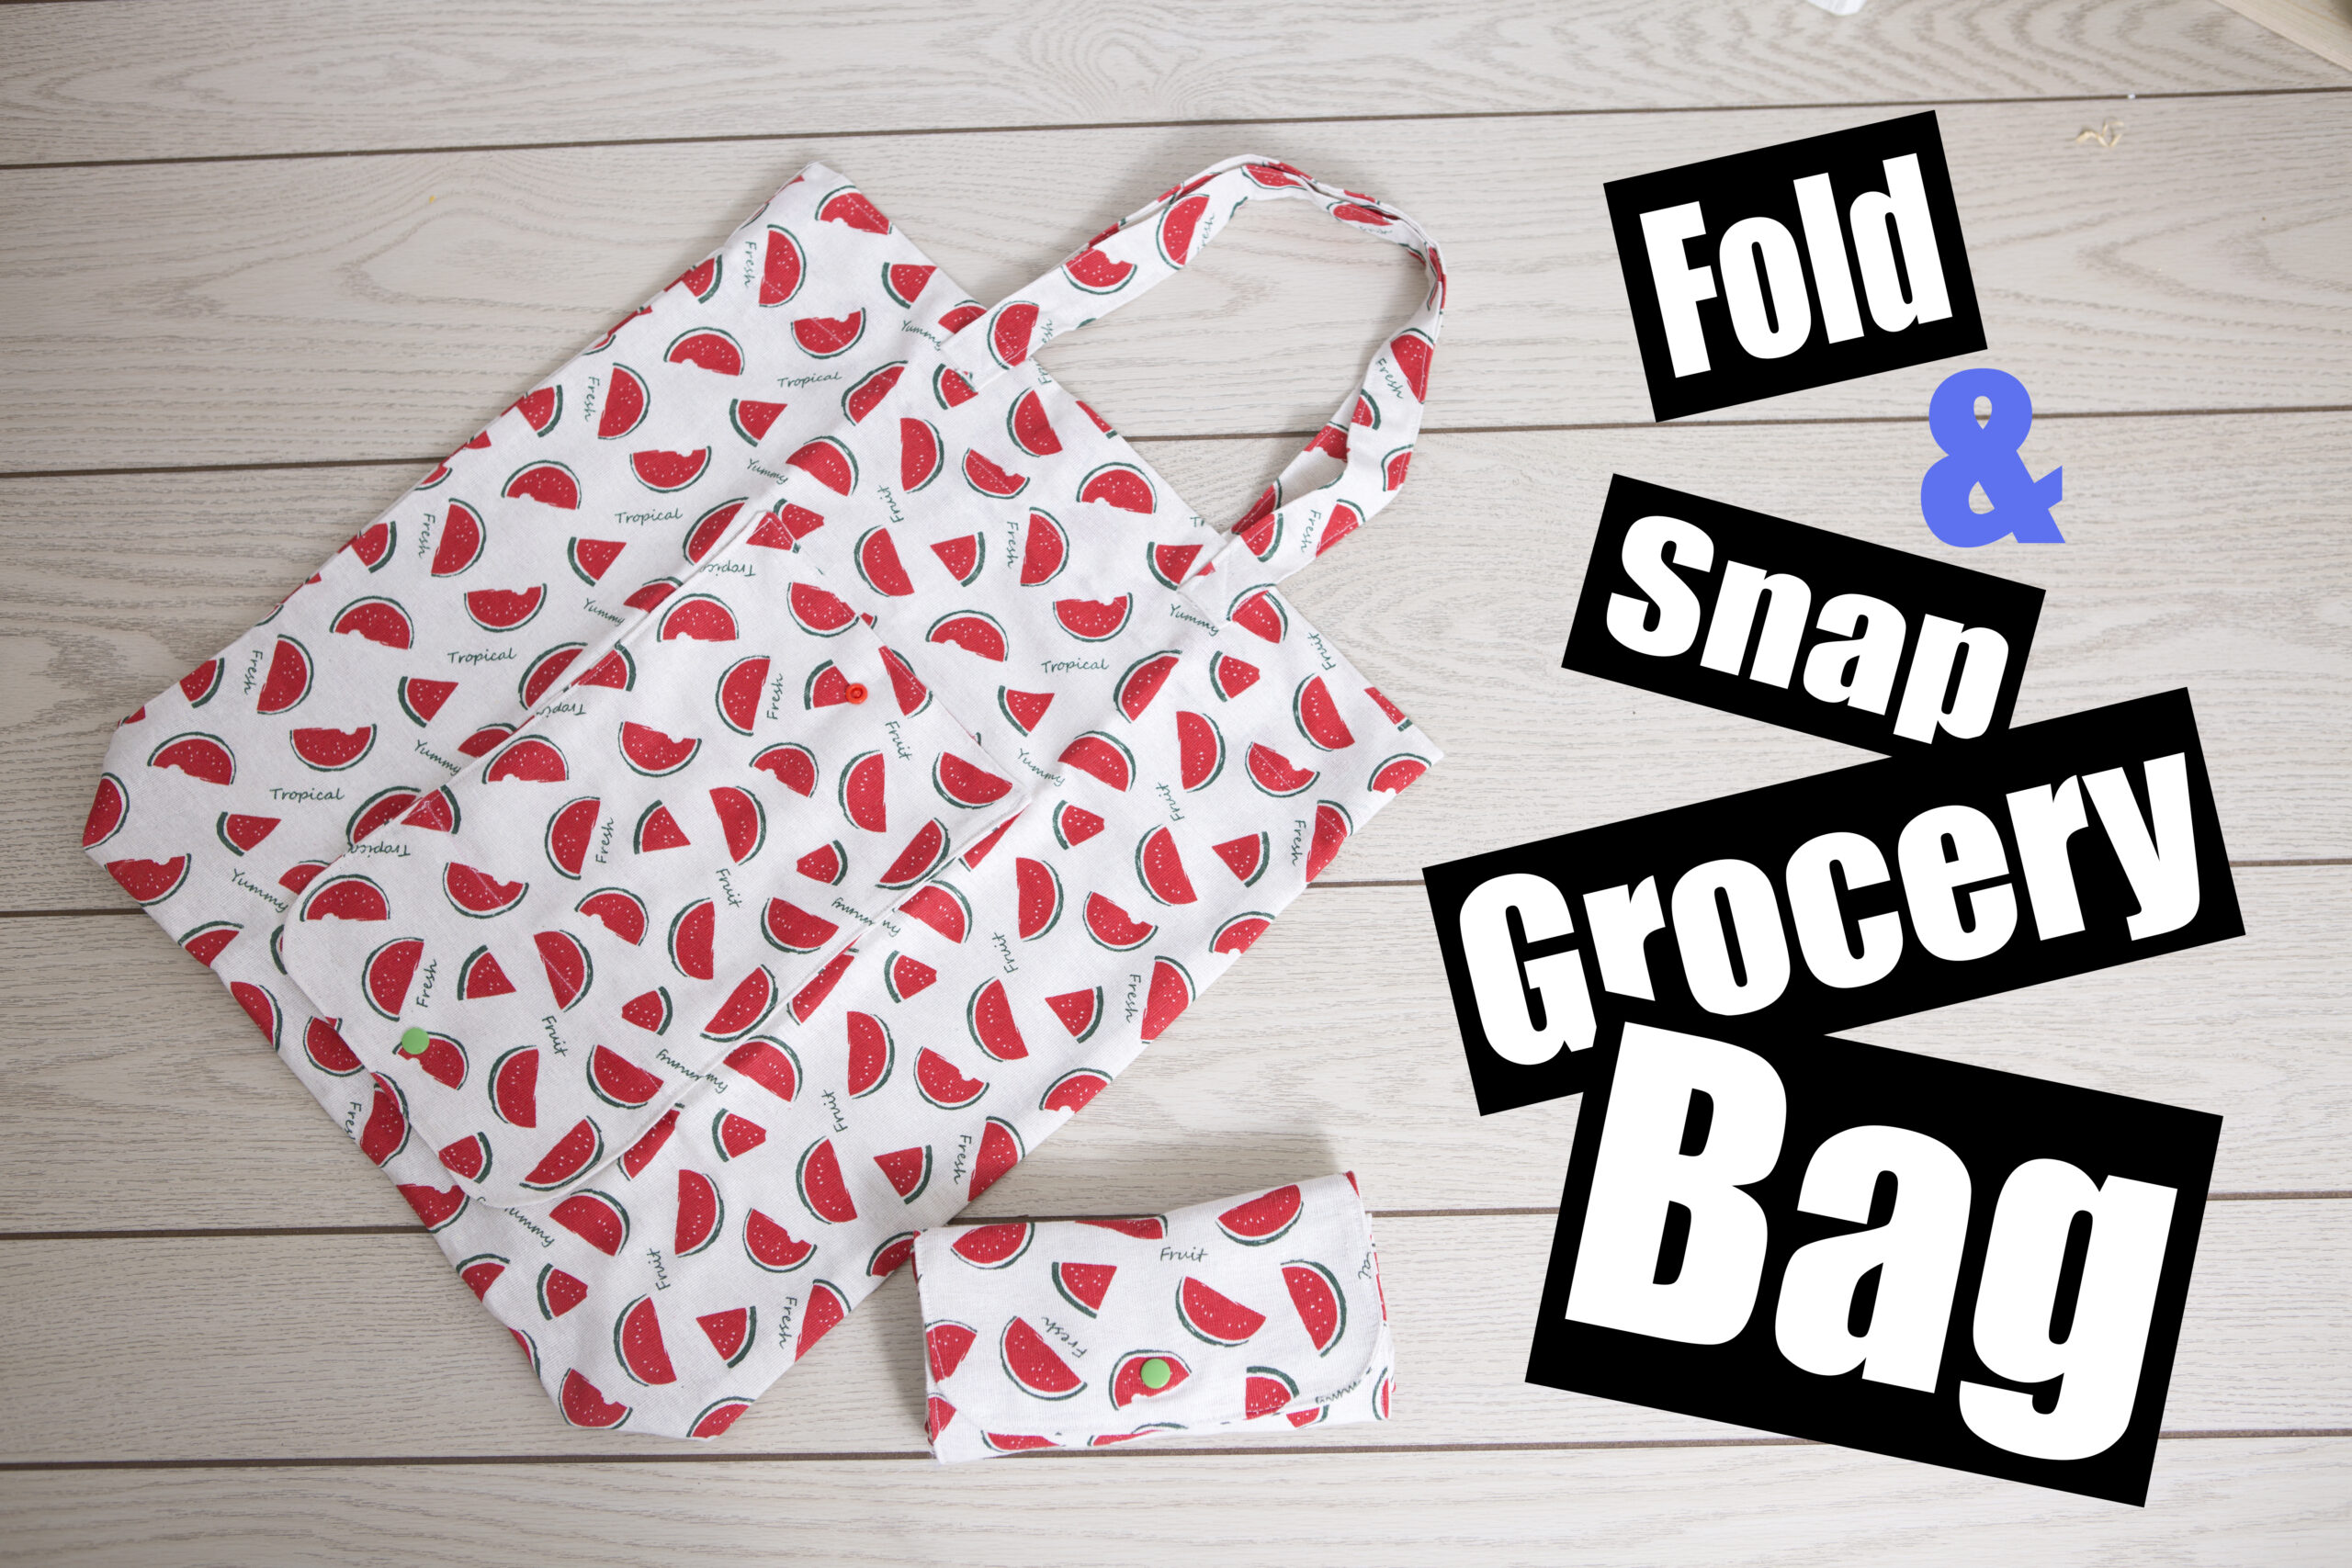
Hey guys! welcome to my Fold and Snap grocery bag tutorial! here you will find the measurements, materials , photos and link to the full video tutorial.
Things you will need
Recommended Fabrics – Canvas, duck fabric, woven fabric, muslin, Cotton
Snaps or Velcro forthe closure
Measurements
Main bag – Cut 2 – 26 1/2″ x 20″
Pocket Piece – Cut 2 – 8 1/2″ x 13″ long
Handles – Cut 2 – 3 1/2″ x 22
FINISHED MEASUREMENTS
approx. – 18″ wide x 19 1/2″ tall
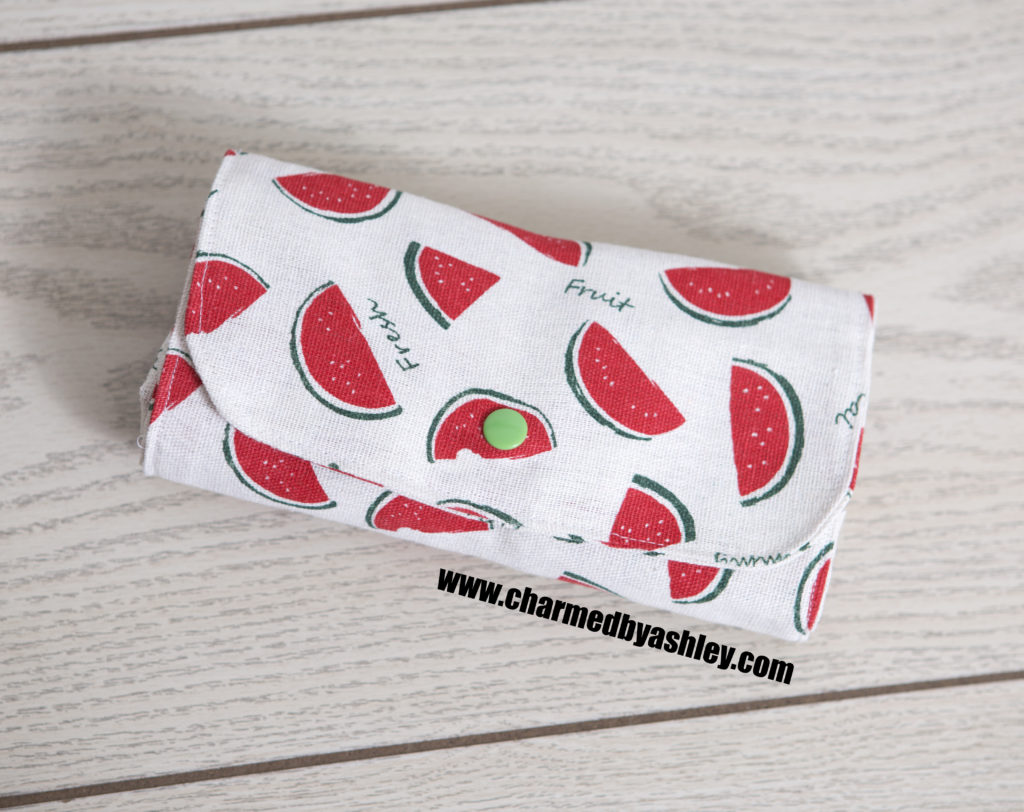
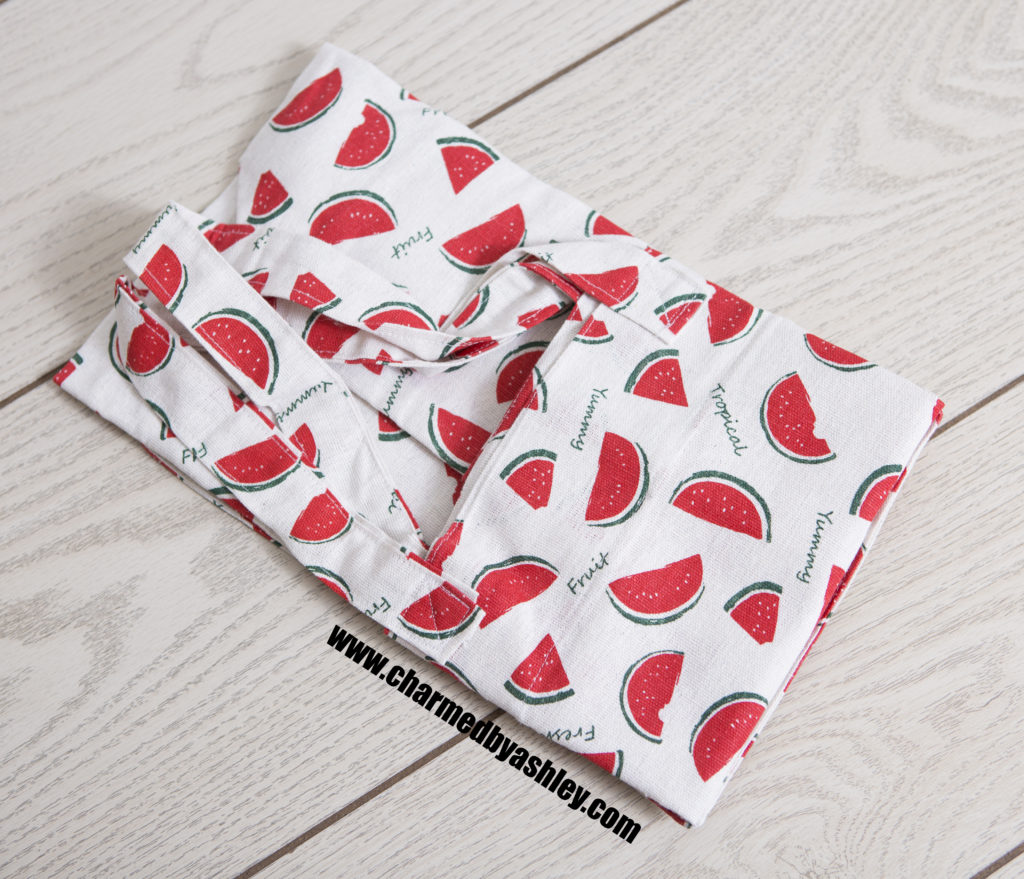
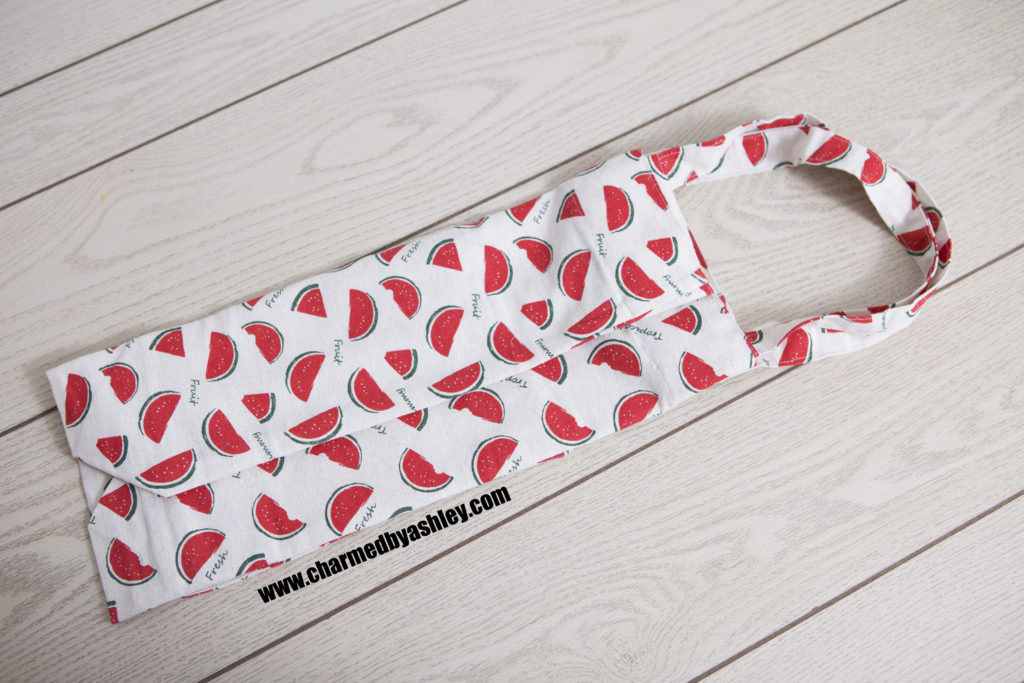
Folded up finished size – 8″ x 4 “
This is your two pieces Outer fabric
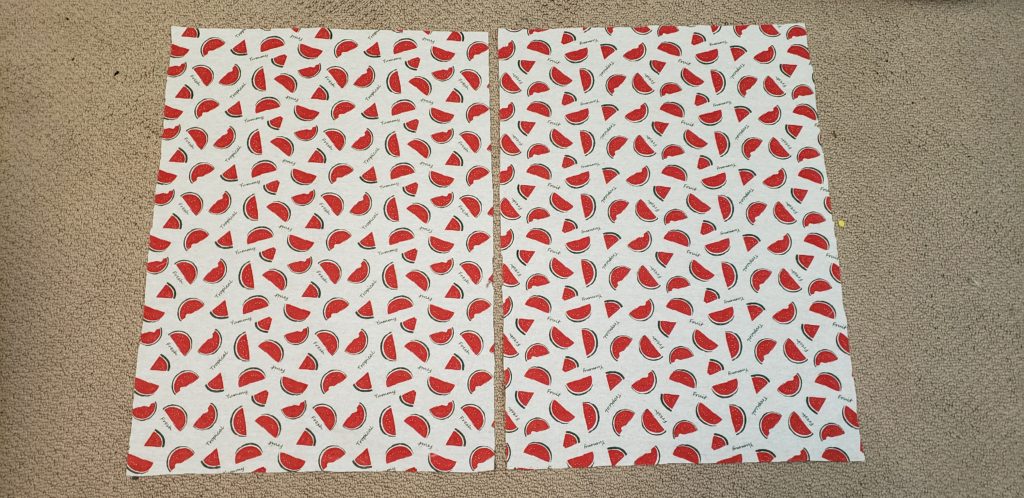
Cut out your two pocket Flap pieces, i like to round the two corners where the flap will be, use a round item such as a roll of masking tape or a spool or ribbon to help aid with that
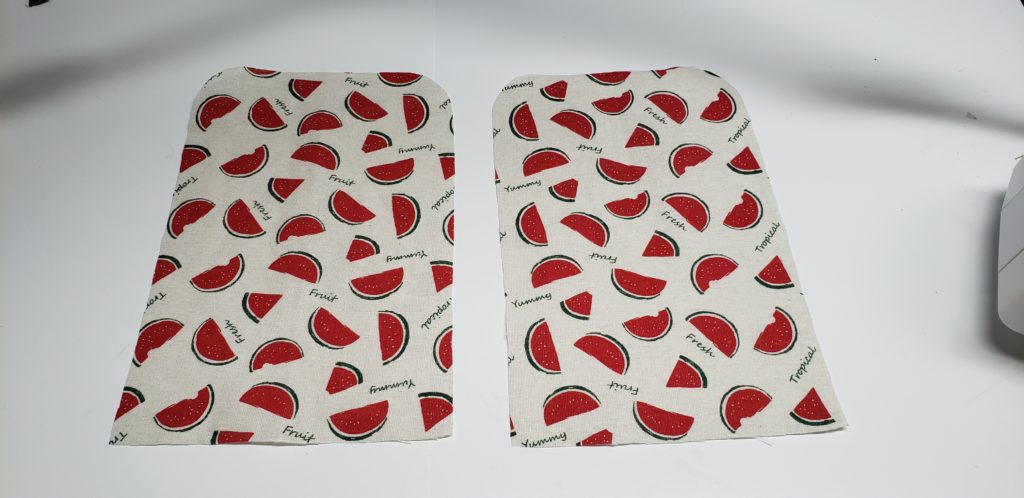
Step 1 – Put the two flap pocket pieces together, right sides together. sew all the way around leaving a 3″ gap on the side of it.
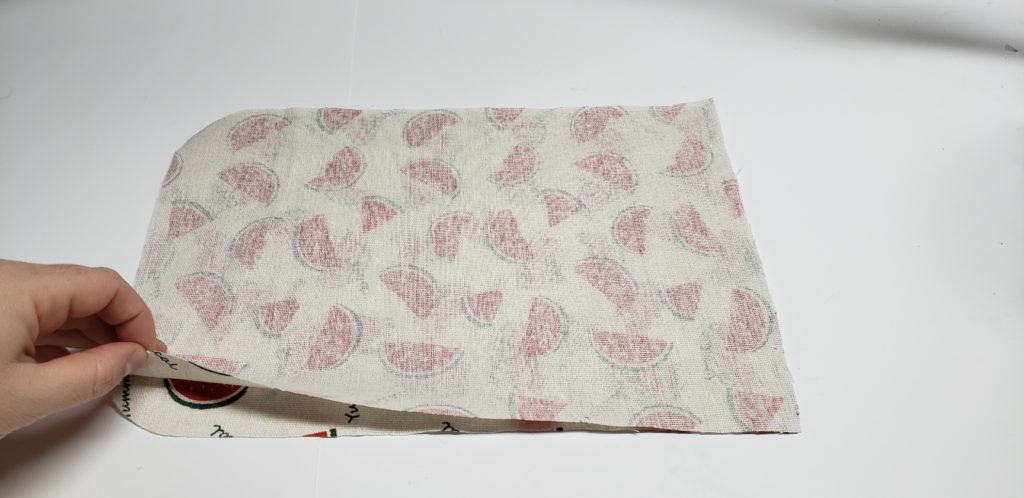
Step 2 – snip the rounded corners and the corns off. turn the piece right sides out.
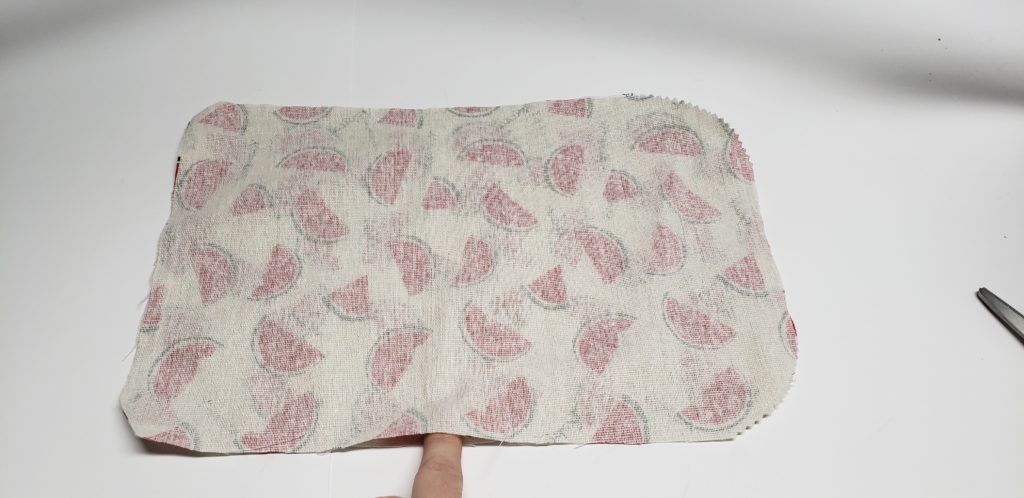
Step 3 – Iron your piece flat, turn the raw edges in at the hole.
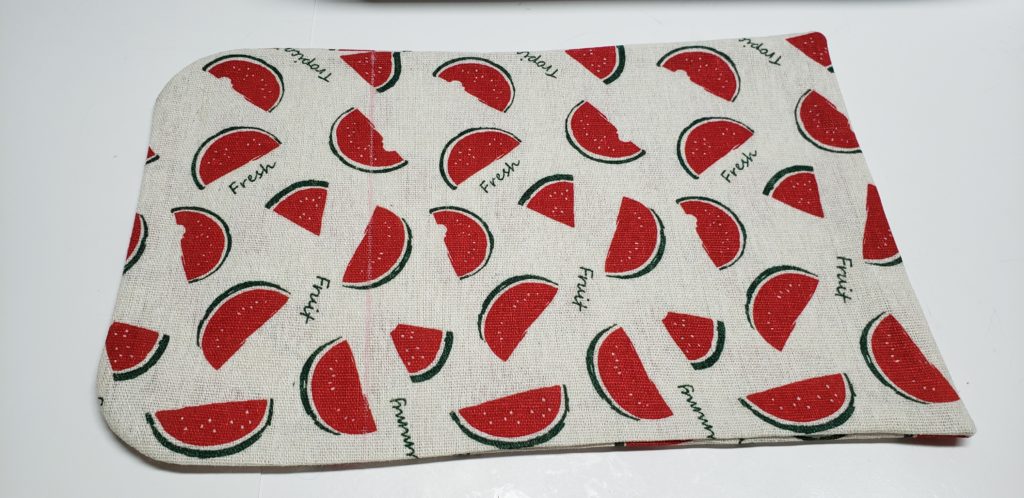
step 4 – mark a line 3 1/2″ away from the round side (which would be your Flap side) This line will be the bottom of the pocket.
Now sew along the short flat side(top of the pocket), and the curved flap side, dont sew past the line we marked.
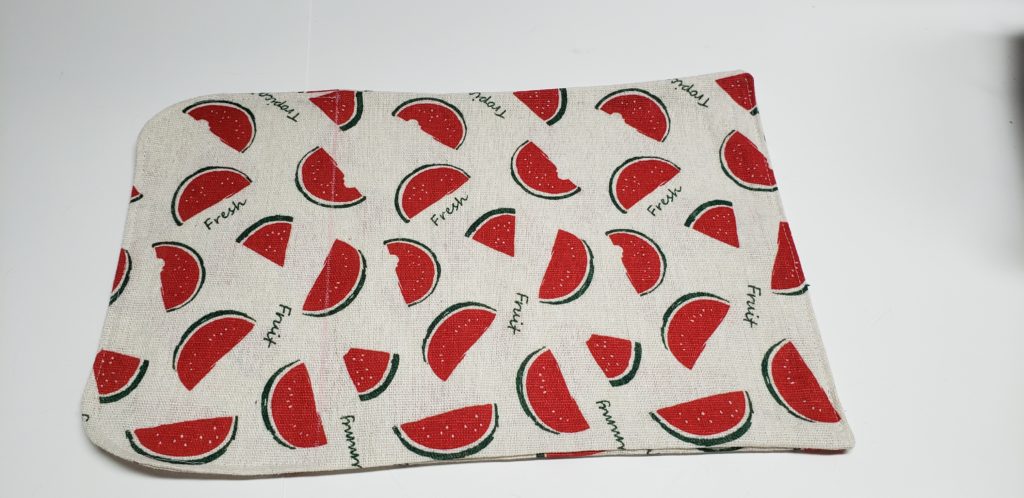
Step 5 – Place outer pieces together, WRONG sides together. sew along 3 sides leaving the top of the bag open (short side) use a 1/4″ seam allowance
**For this bag i am choosing to do French seams, this will help to hide the raw edges since this is a 1 layer bag. if you want you can choose not to do french seams and use a serger to finish your edges.
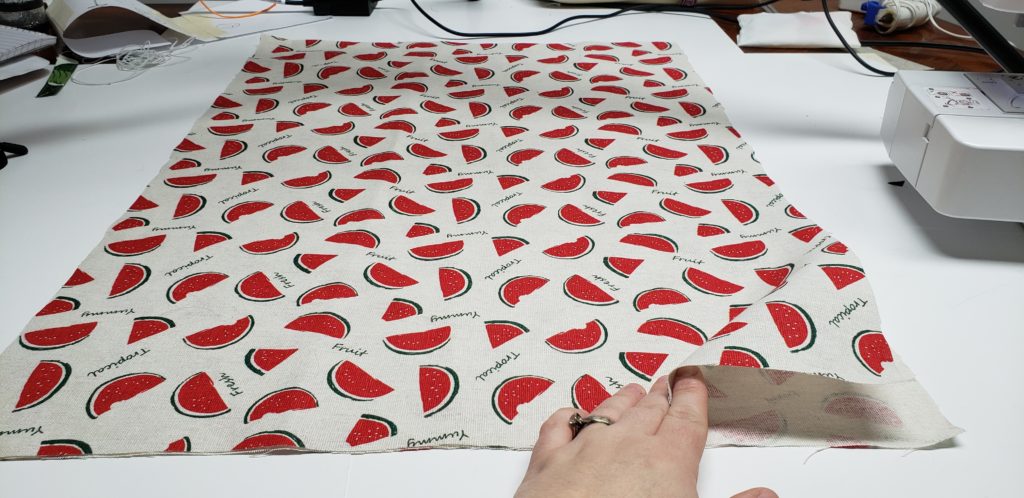
Step 6 – Flip the bag so the wrong sides are out and sew the 3 sides again encasing the raw edges inside, using a 1/2″ seam allowance
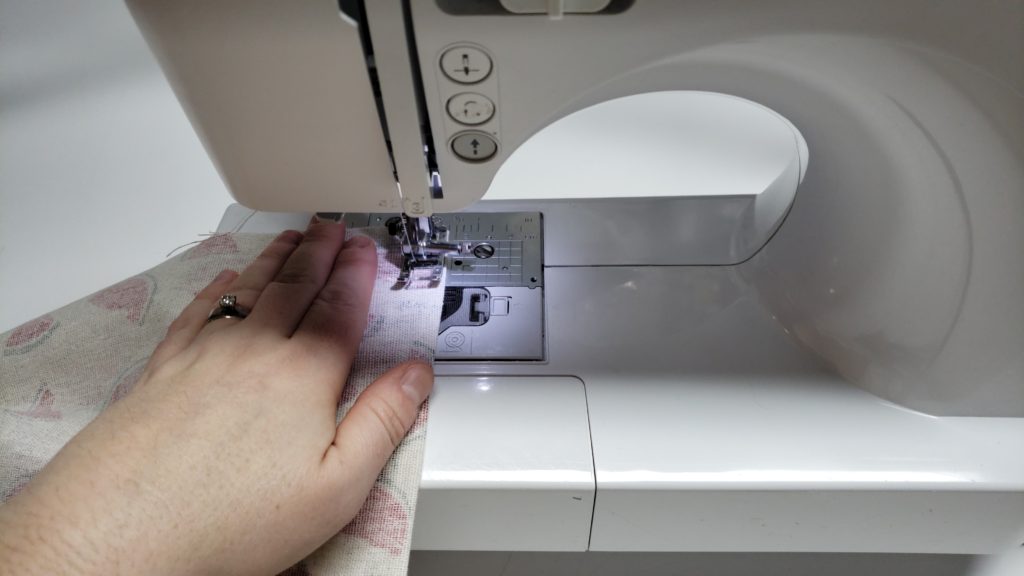
This is how it will look.
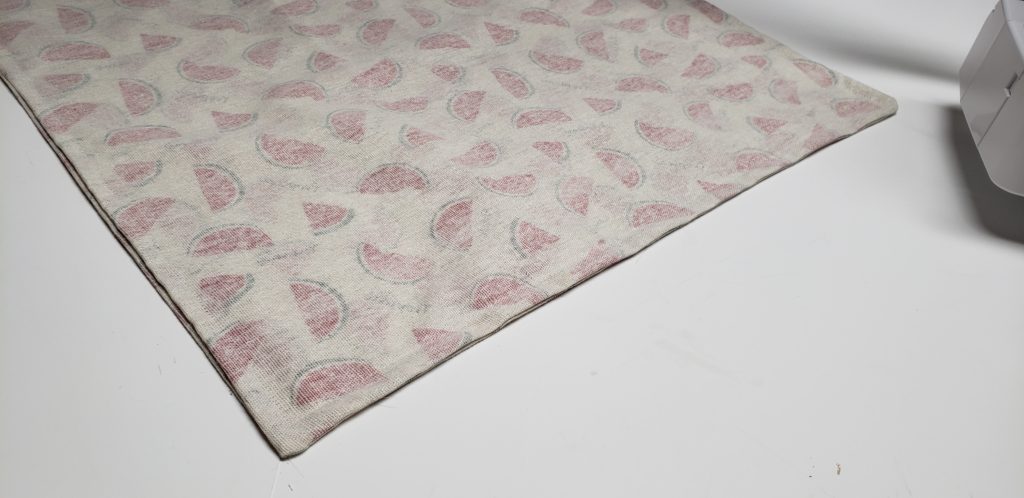
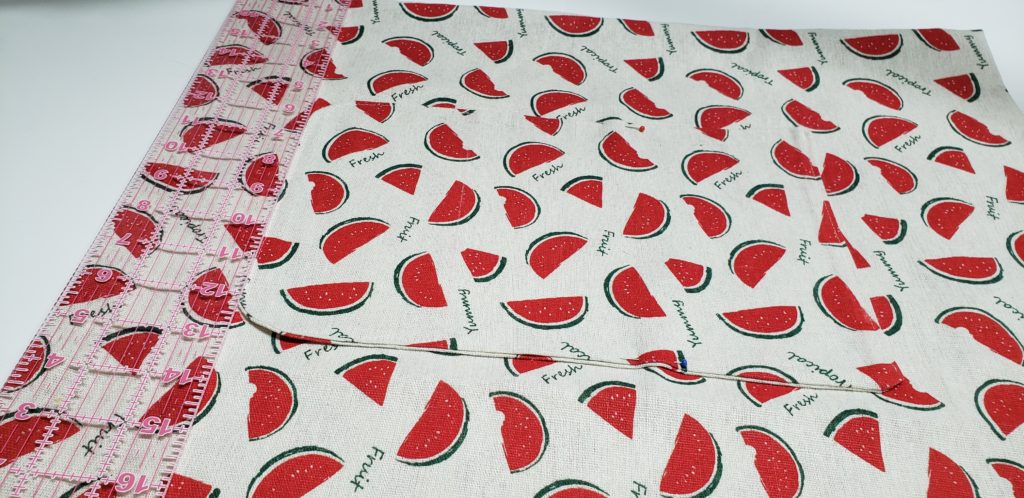
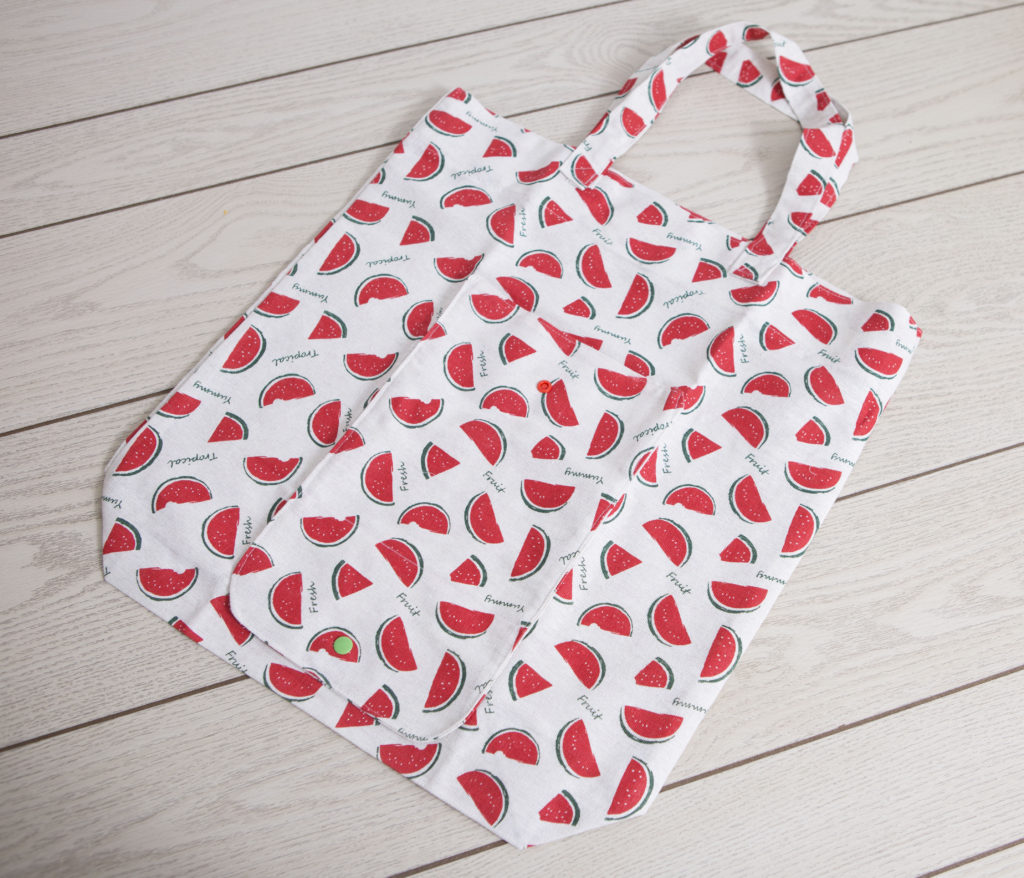
Step 7 – place pocket flap centre on one side of the bag, measure 3″ away from the bottom, make sure the flap part is near the bottom of the bag as shown.
Sew down the one side to the marked line, sew across on the line we marked earlier and back up the other side of pocket. this will create your pocket and leave the flap free.
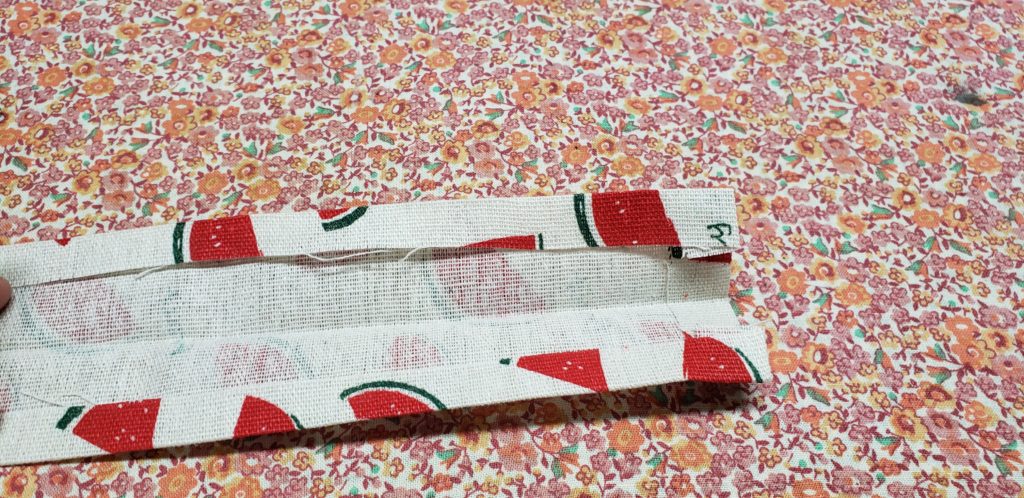
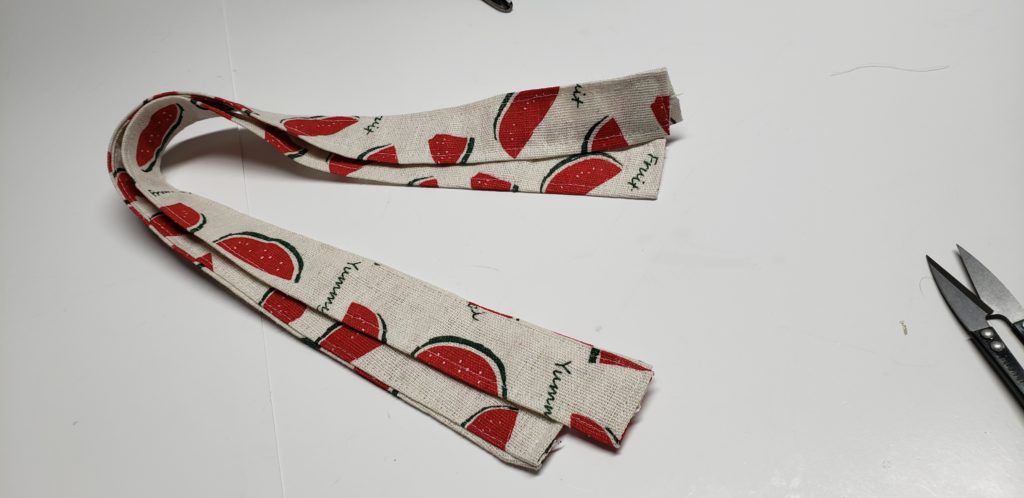
Step 8 – Create straps, fold in short sides by 1/4″ press and then fold in the sides 1/4″ and press, Fold entire thing in half and press to create strap, Sew all the way around the strap to secure down the sides.
Step 9 – fold down the top of the bag so the top of the bag is 6″ away from the top of the pocket.
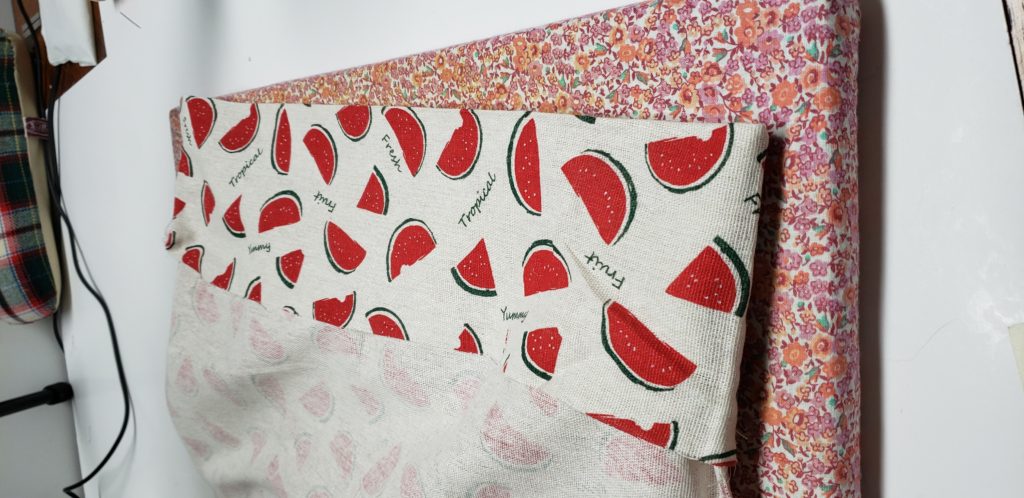
Step 10 – Fold up the raw edge to hem the raw edge. Sew all the way around to secure down the hem and sew along the top of the bag 1/8″ away from the fold.
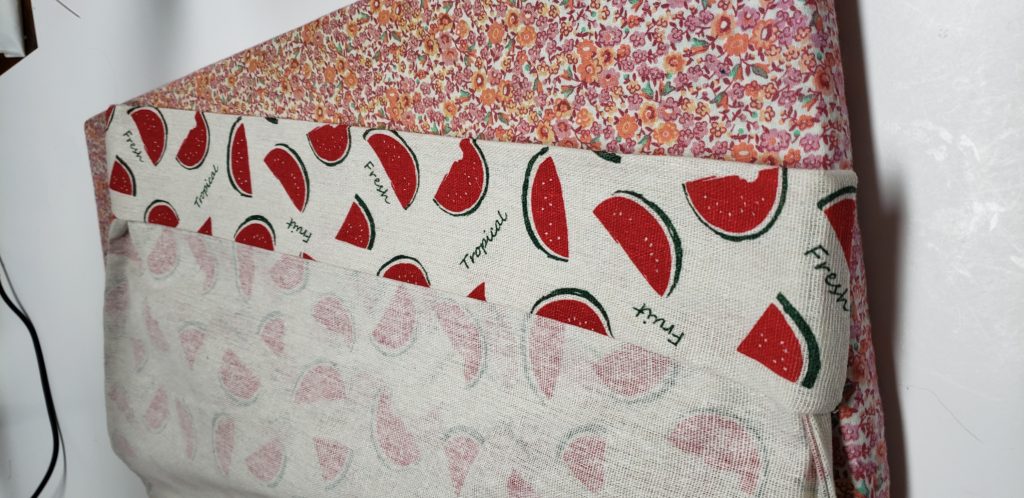
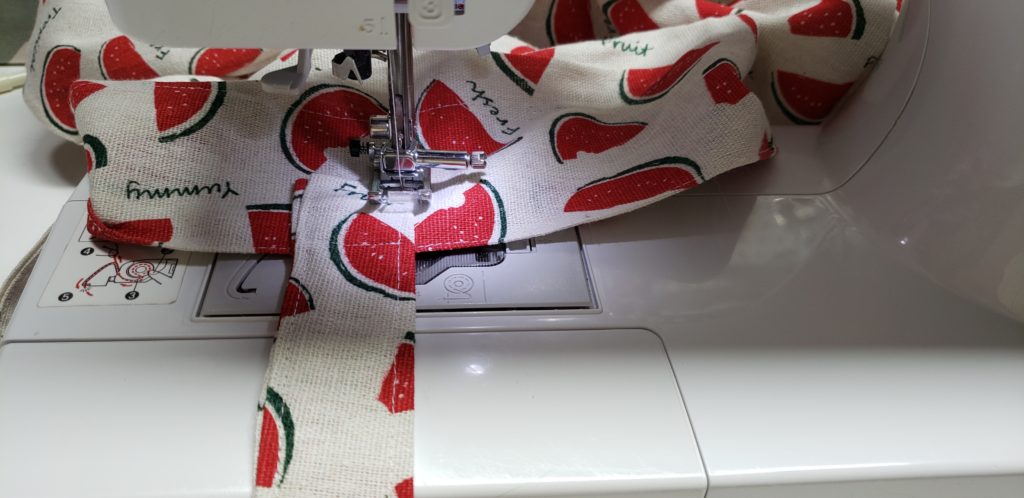
Step 11 – attach straps, you can attach them on the outside or the inside, over lap strap about 1″ and sew a box with an X to secure it to the bag.
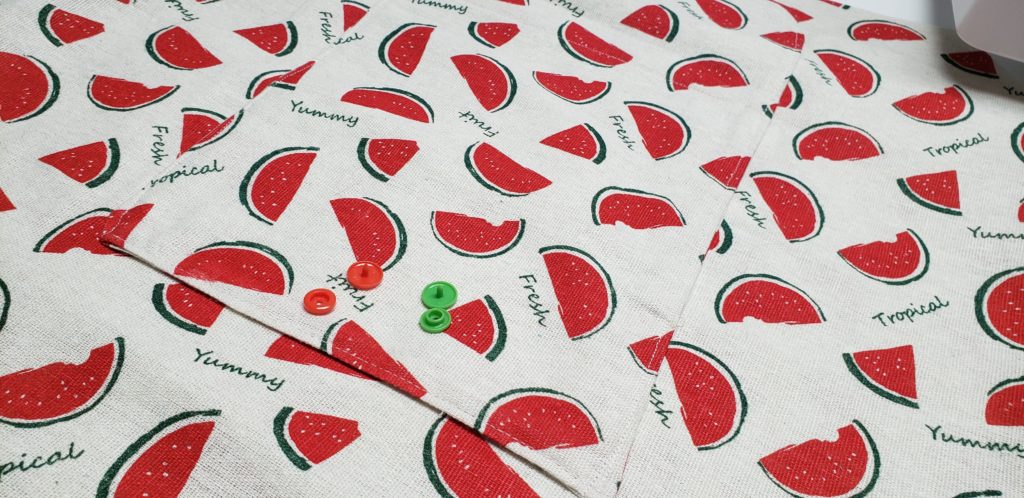
Attach male end of snap to the flap, fold up the bag and find the placement for the second snap, it will fall onto the top of the pocket make sure you only put the snap on the pocket and it doesnt go through to the actual bag.
Some links are affiliate links.


Love this pattern! Is it okay to sell bags made from this pattern? Not sure if I’ll ever end up selling anything I make but I could see people wanting these!
Thank you 🙂 ya of course sell away!