
Help support Ashley and say thanks!
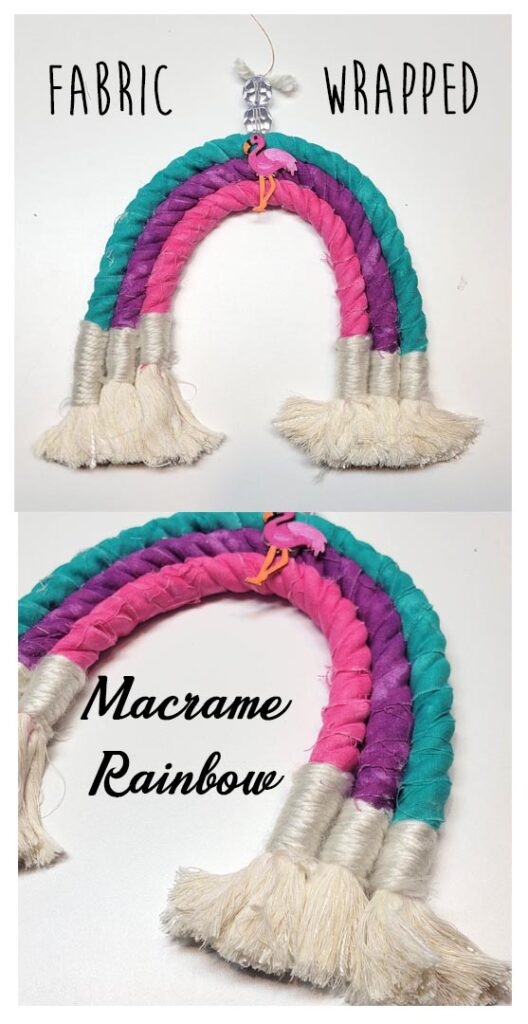
Today i tried my hand at some macrame! Macrame rainbows is very trendy these days and can be made with so many beautiful yarns, embroidery floss, twine, and rops but i thought i would try a fabric wrap rainbow and i think it turned out absolutely gorgeous!
This makes the project go so much quicker since i used 1 1/4″ in strips cut from a jelly roll which made things go exceptionally fast.
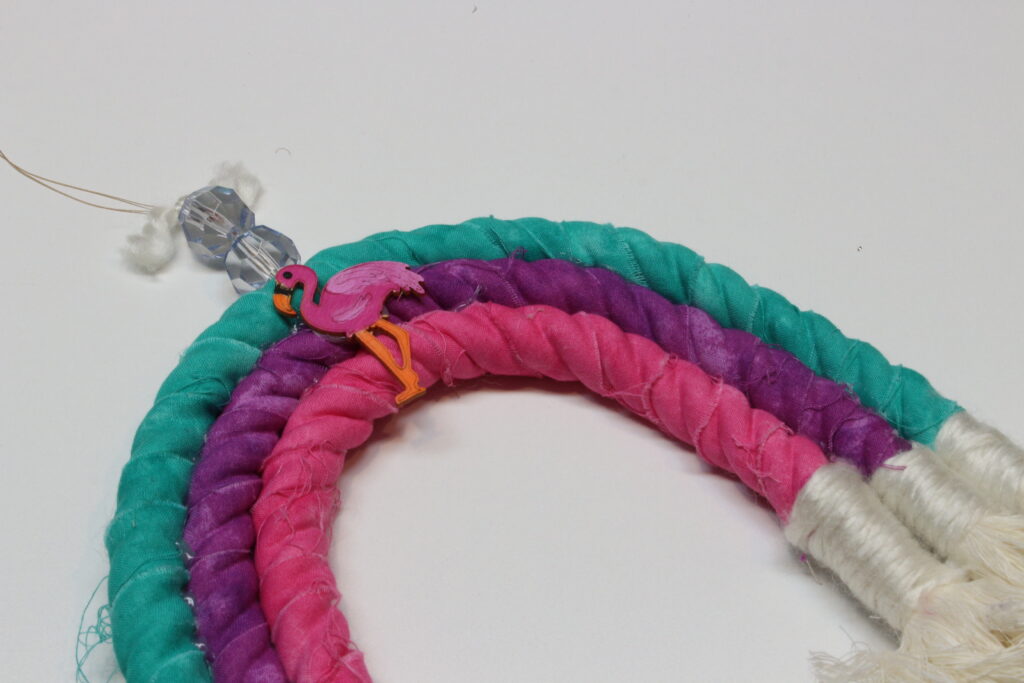
I used some beautiful large rope to make mine and some soft cream yard on the ends with a fun touch of crystal beads and a painted flamingo to add a bit of my own personality.
Supplies
-
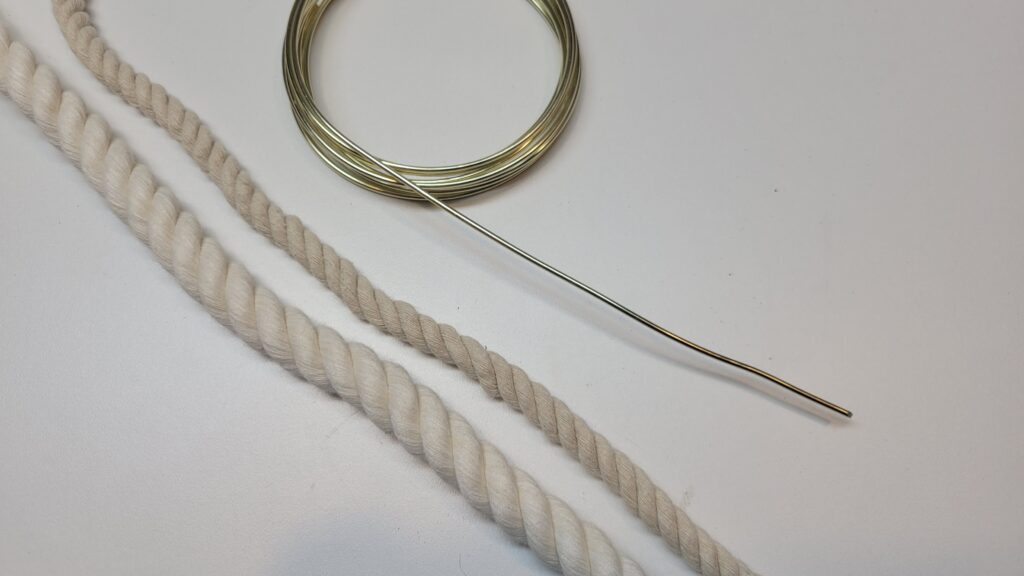
Choose your size – Rope – 5/8 to 1″
-
Rope – 3/8th – 1/2″
-
Craft wire
-
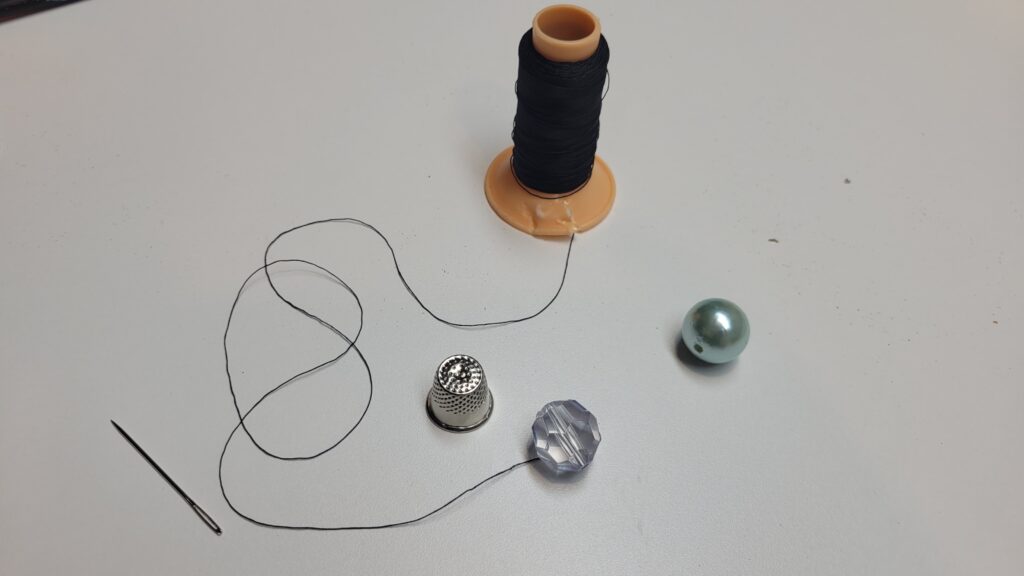
Beads
-
Twine
-
Yarn
-
Rainbow Cotton jelly roll
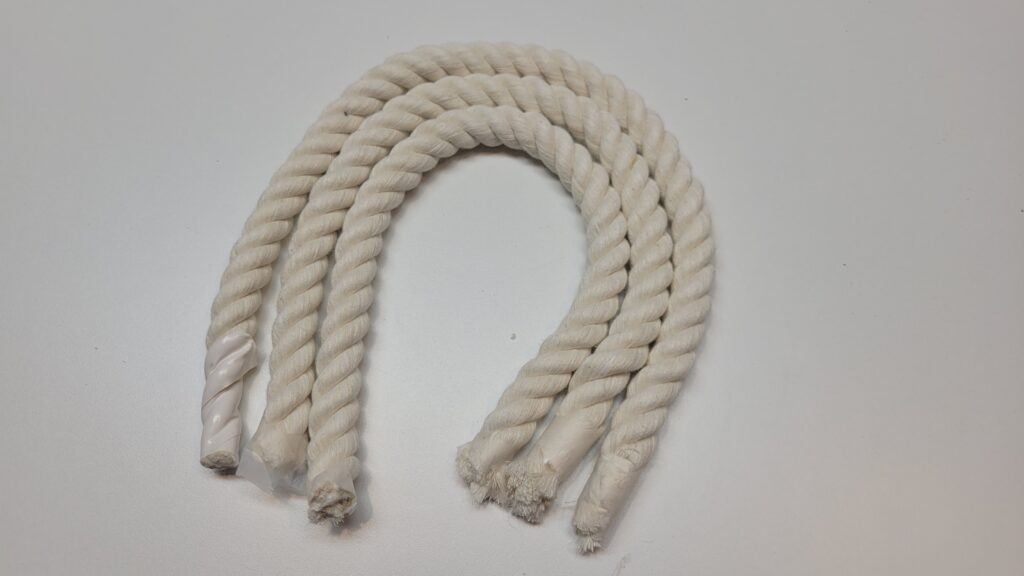
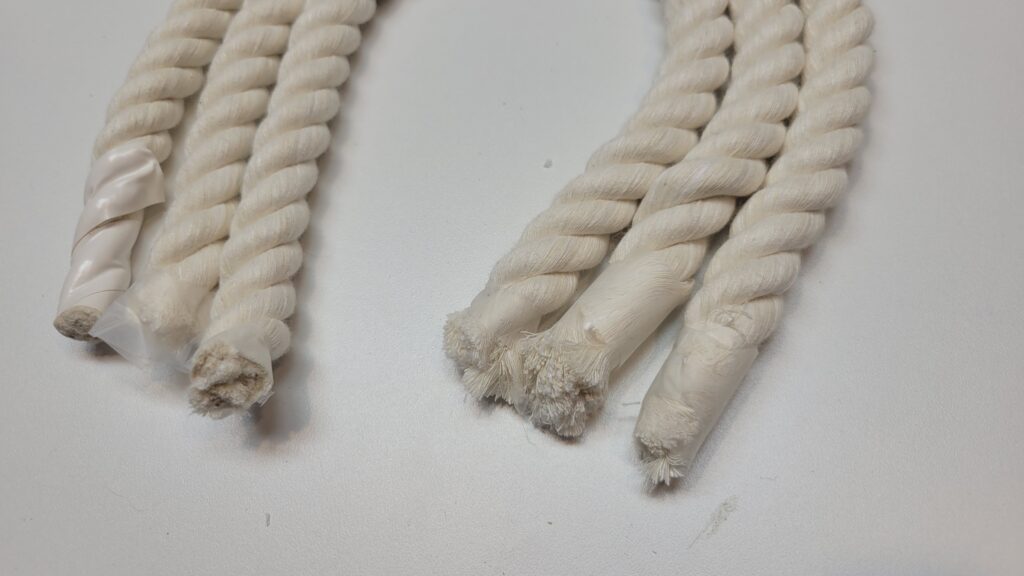
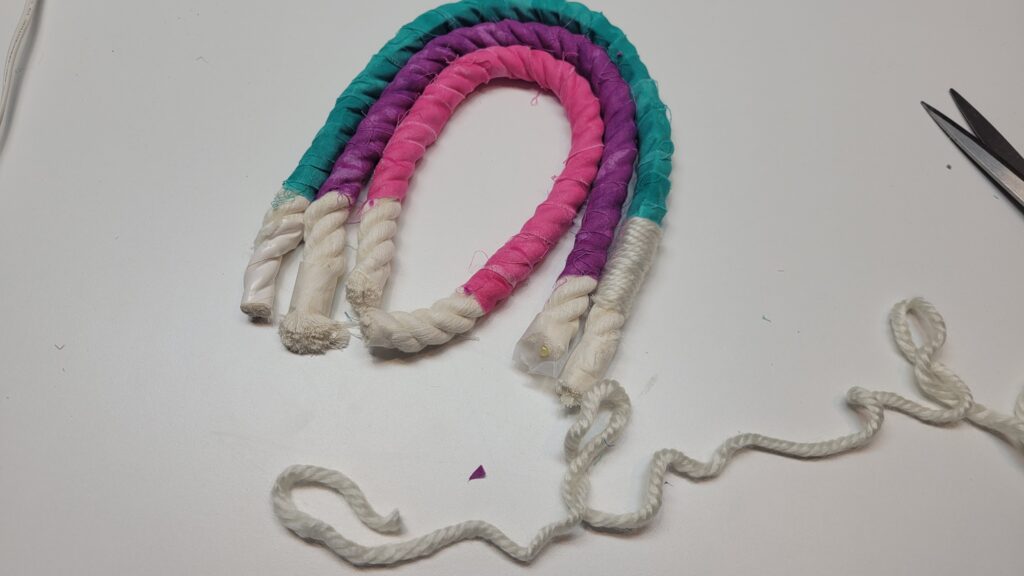
Step one – Cut your rope, my rope ended up being
- Outer strand – 19″
- middle strand – 17.5″
- inner strand 0 16″
but its really something you just want to eye ball the first time to figure out the size you like and add on 4 inches (2 inches on either side) for fringe length
Note** Tape the ends so it doesnt unravel during wrapping.
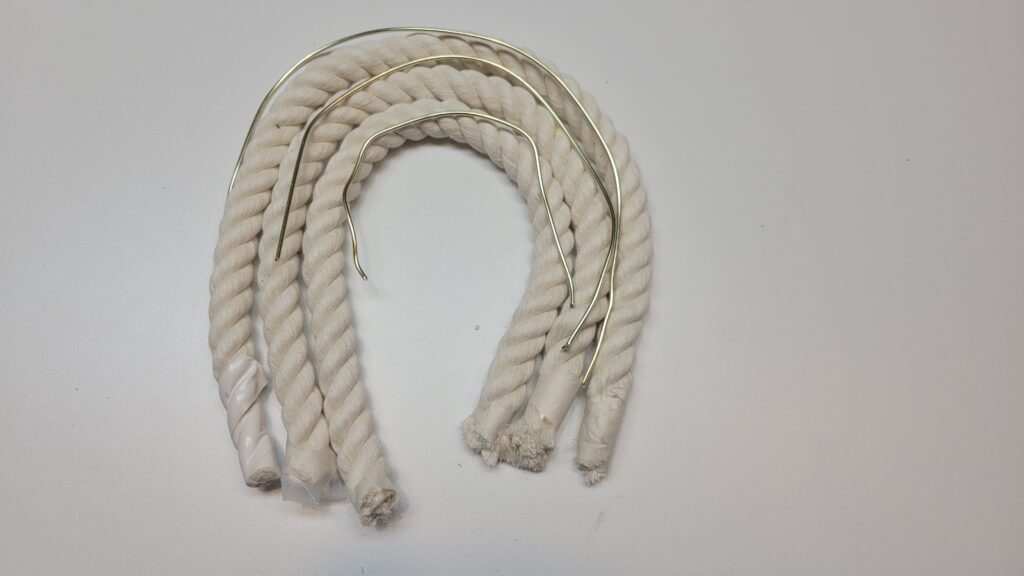
Step 2 – cut wires to be 4″ shorter then each strand so it doesnt end up in the fringe.

Step 3 – secure the wire to each strand of rope with a few dabs of hot glue. (this is temporary so it doesnt move around during wrapping.
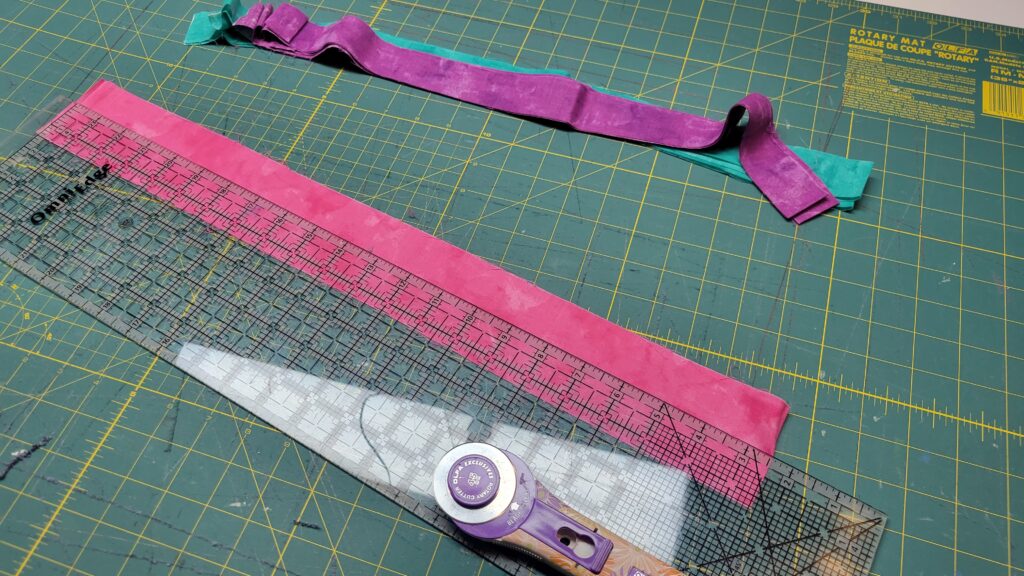
step 4 – Cut strips of fabric approx 40″ in length 1 1/4″
you can have the fabric as wide as you like so its up to your 🙂
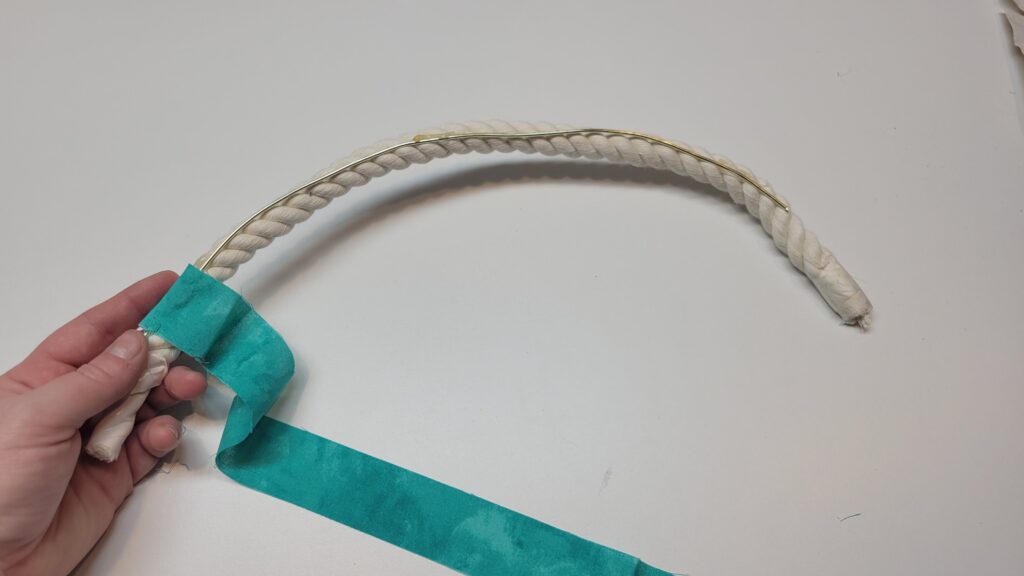
begin to wrap each strand
Step 5 – place a dab of glue 2″ from the end and place the end of your fabric, snuggly wrap the fabric around the rope, start to wrap as an angel once you get past the beginning and then straighten out once your get to the end (2″ before the end)
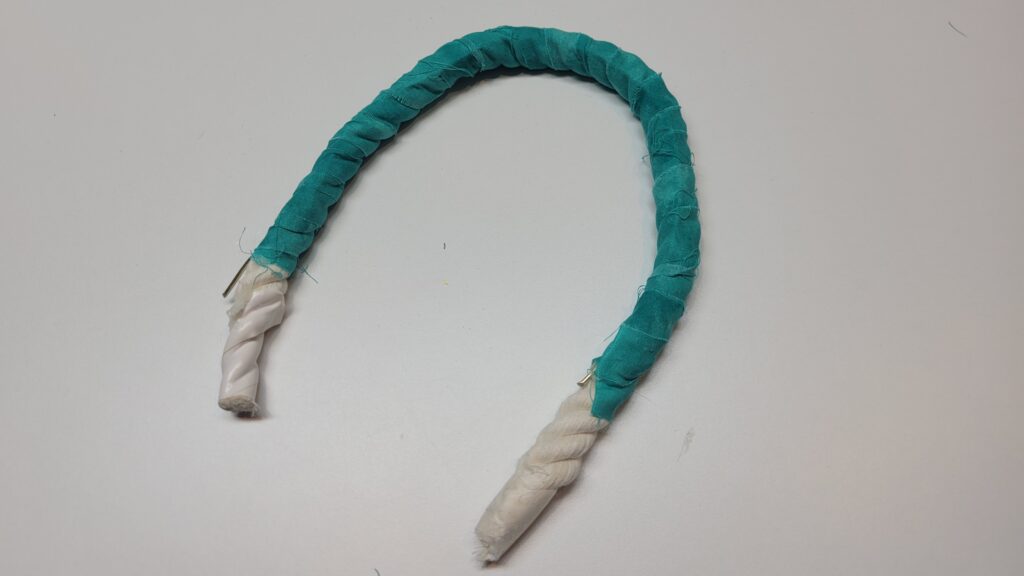
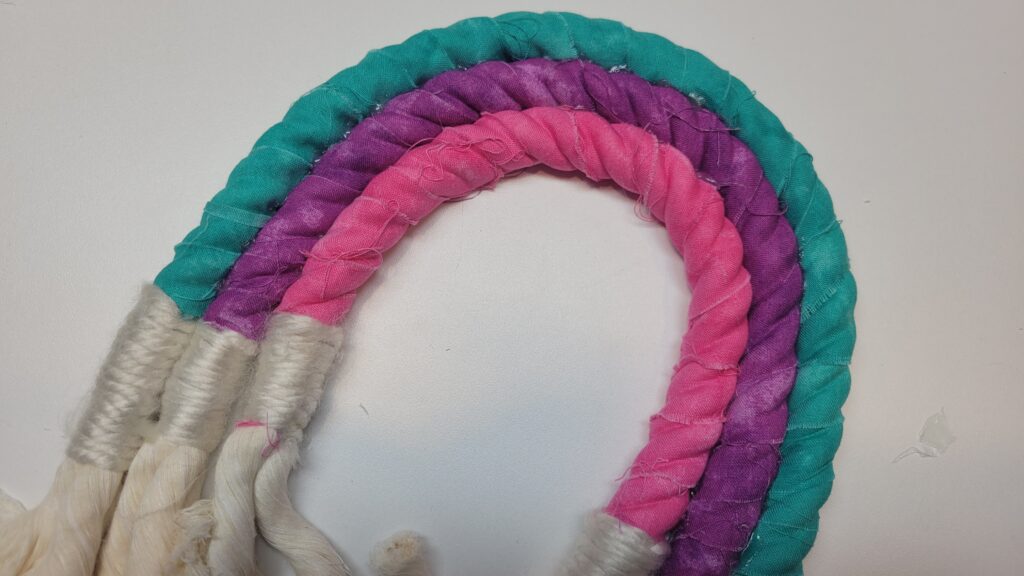
Optionally i decided to use some beautiful yarn to wrap the ends of each strand. to add some more texture to your rainbow.
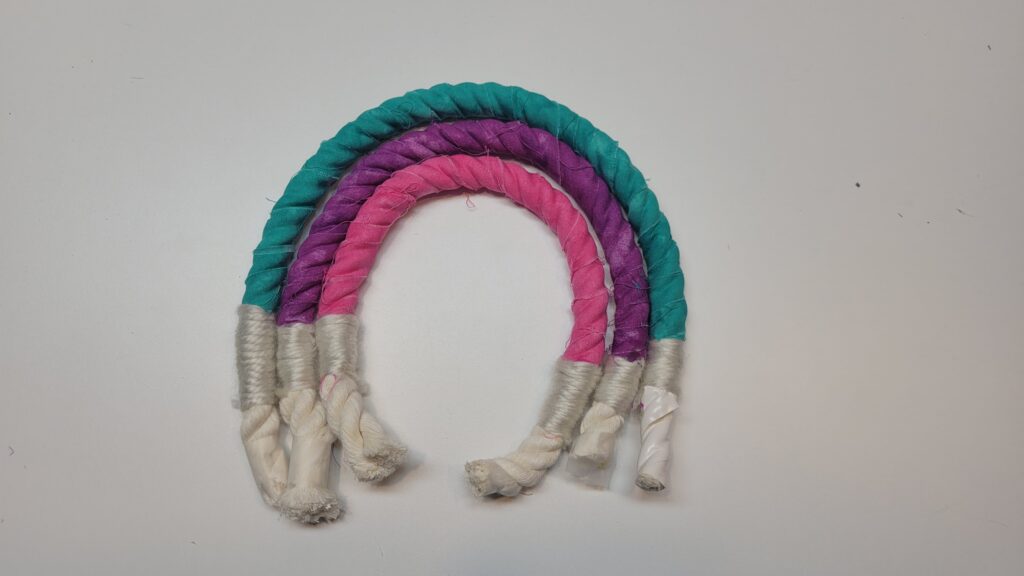
Step 6 – using the hot glue i put a long bead of glue down the rope and pressed it into the next strand. then did it again to create the rainbow structure.
Now its time to remove the tape and brush out the fringe.

using sharp scirssors even out the fringe.
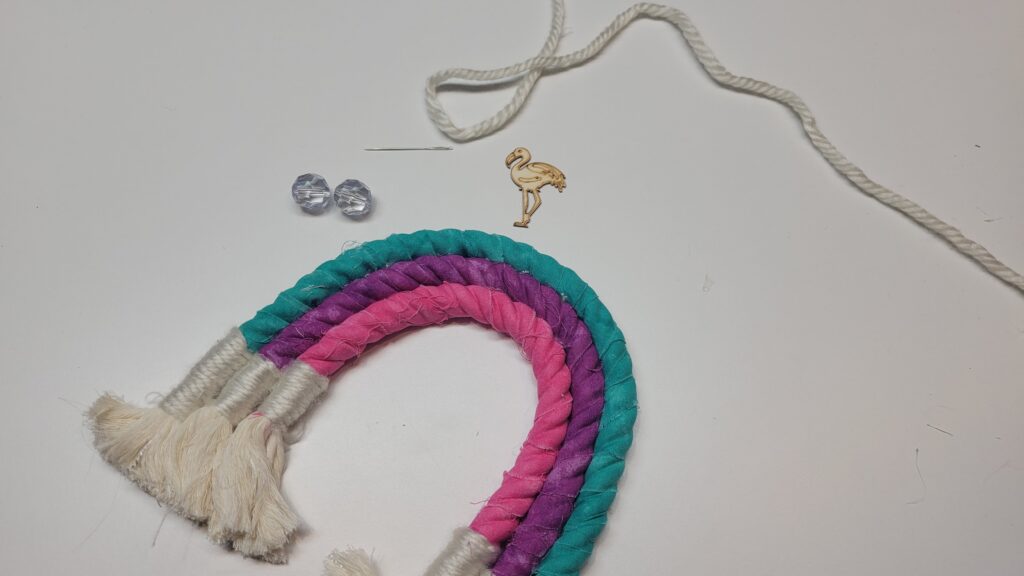
now to finish it off add some string or twine to the top for hanging, thread on some pretty beads and stick a flamingo on the front in honor of Charmed by ashley! haha (thanks)


0 Comments