Warning: Undefined array key "social_network" in /var/www/wp-content/themes/Divi/includes/builder/module/settings/migration/SocialMediaFollowNetworkTwitterToX.php on line 69
Warning: Undefined array key "social_network" in /var/www/wp-content/themes/Divi/includes/builder/module/settings/migration/SocialMediaFollowNetworkTwitterToX.php on line 69 Easy Triangle Pen Pouch | Charmed By Ashley Warning: Undefined array key "social_network" in /var/www/wp-content/themes/Divi/includes/builder/module/settings/migration/SocialMediaFollowNetworkTwitterToX.php on line 69
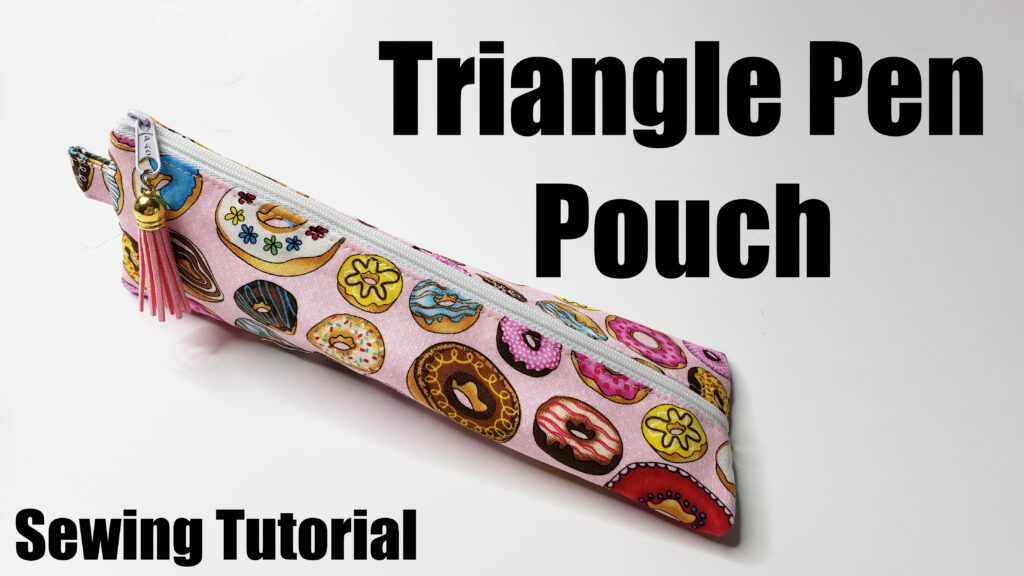
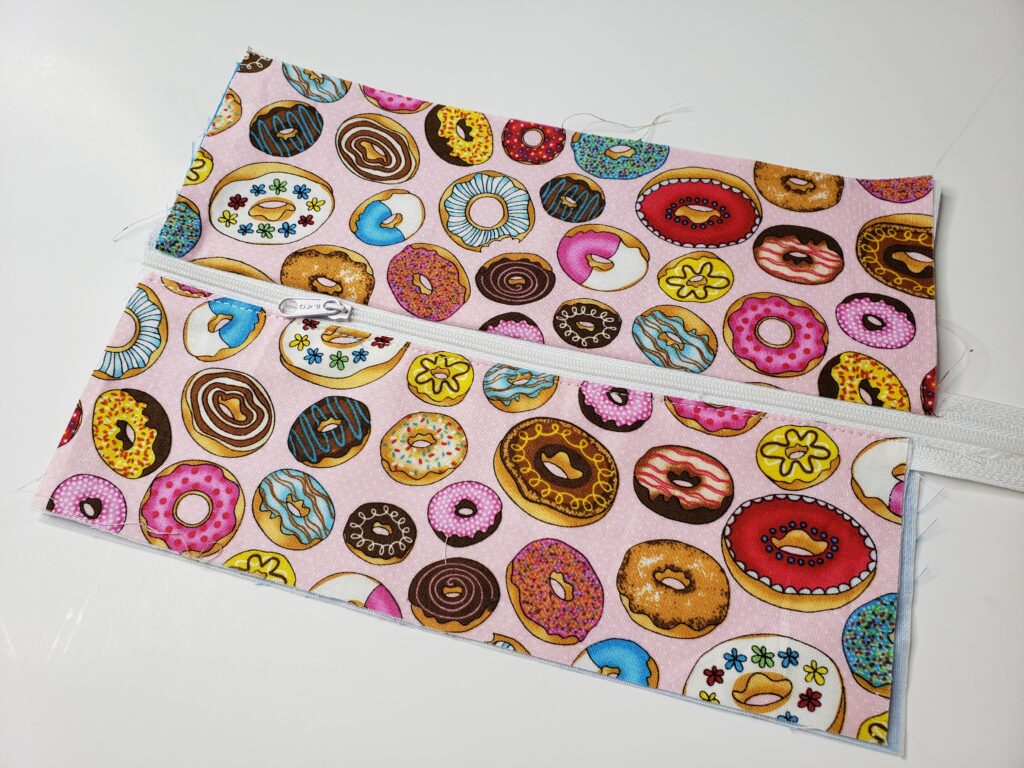
It’s been so long! i hope everyone is doing well and are ready for a new zipper pouch tutorial! This is great for back to school, a perfect size to keep a small amount of stationary, perfect size to use in college or Uni! But also great for so many other uses, crochet hooks, scissors, sewing notions and much more!
Finished Measurements – 3 1/2″ tall/wide and 9″ long
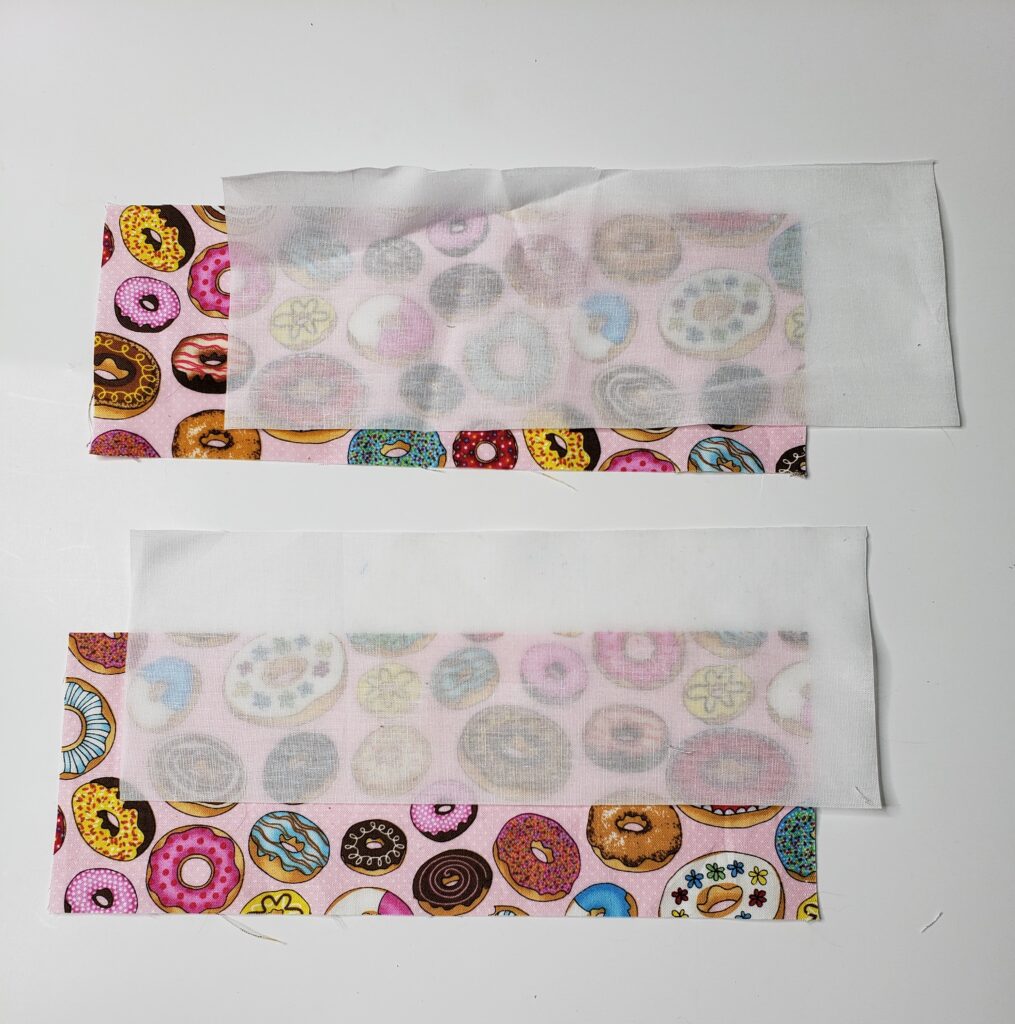
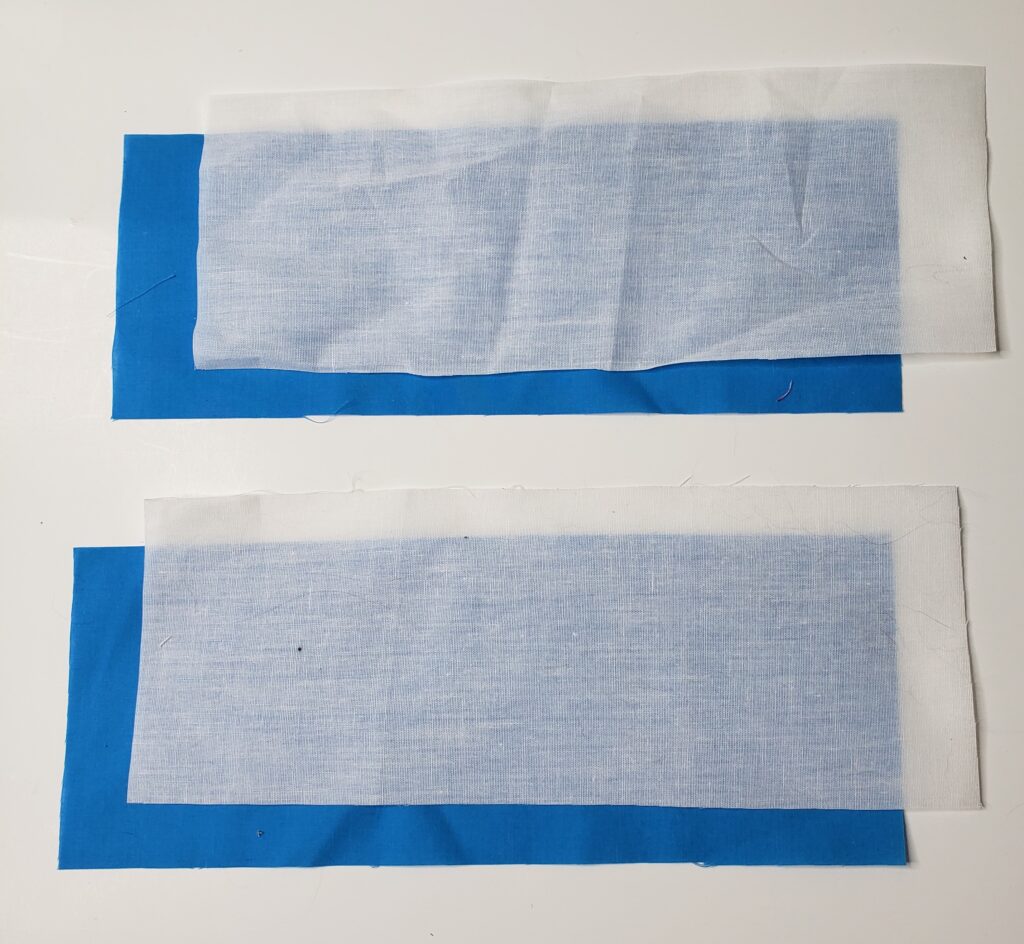
Cut 2 or 4 – medium weight interfacing. I interfaced all my pieces but you could get away with interfacing outer fabric only.
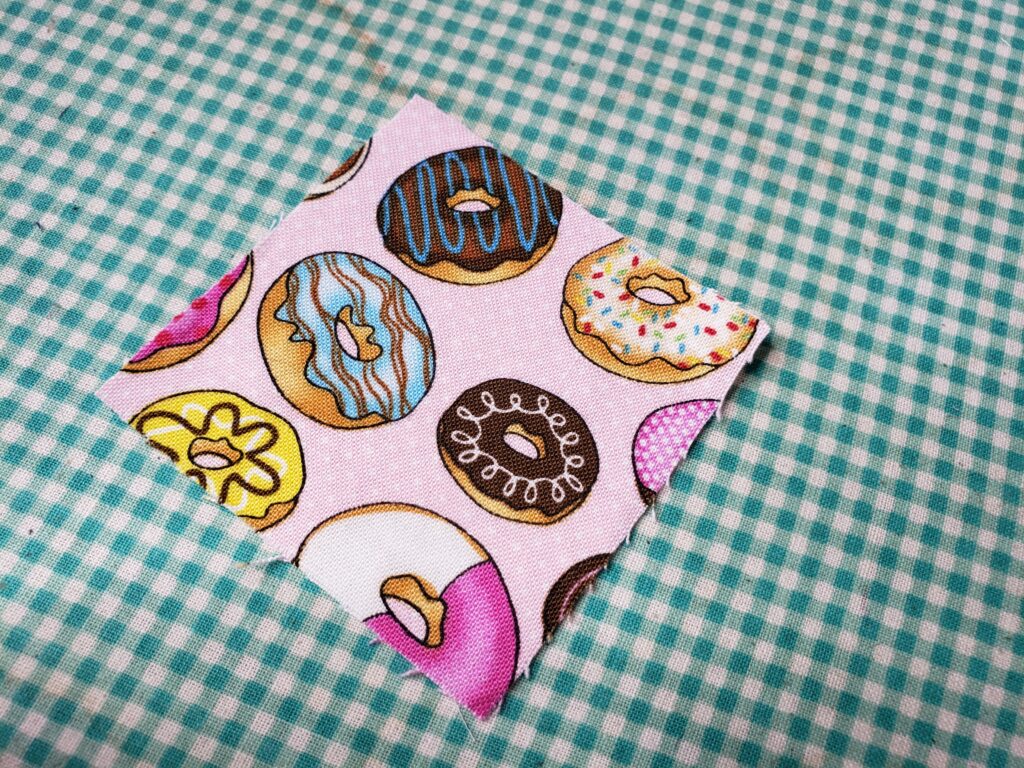
Optional side keychain loop Cut 1 plus interfacing – 2″ x 2″
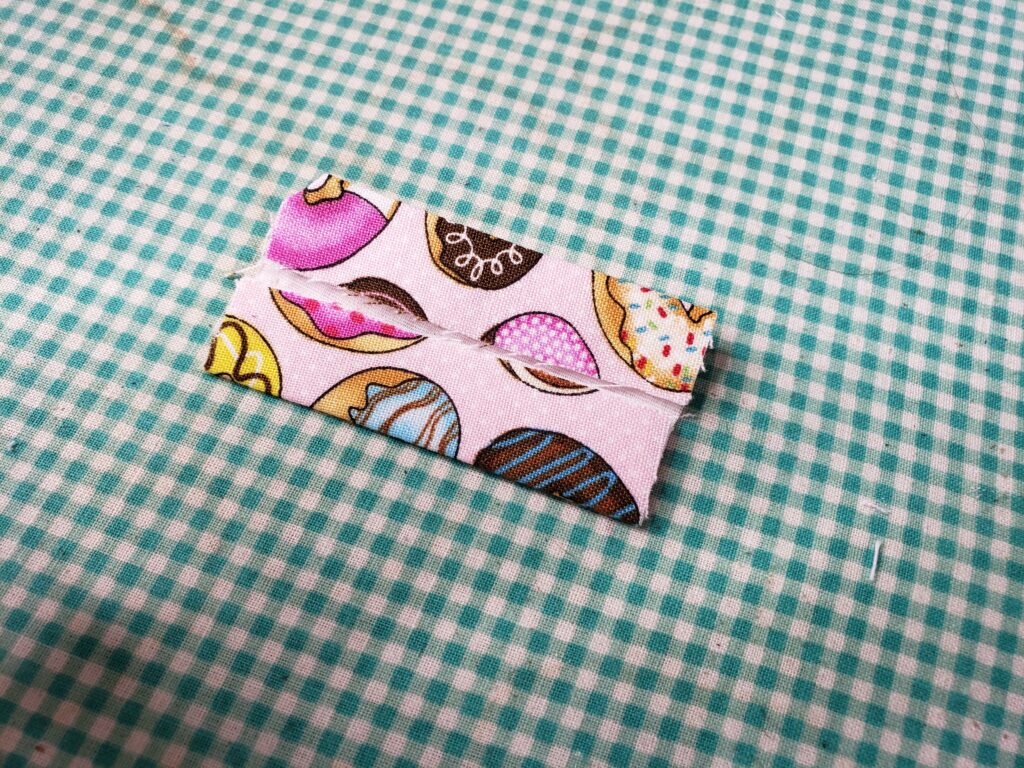
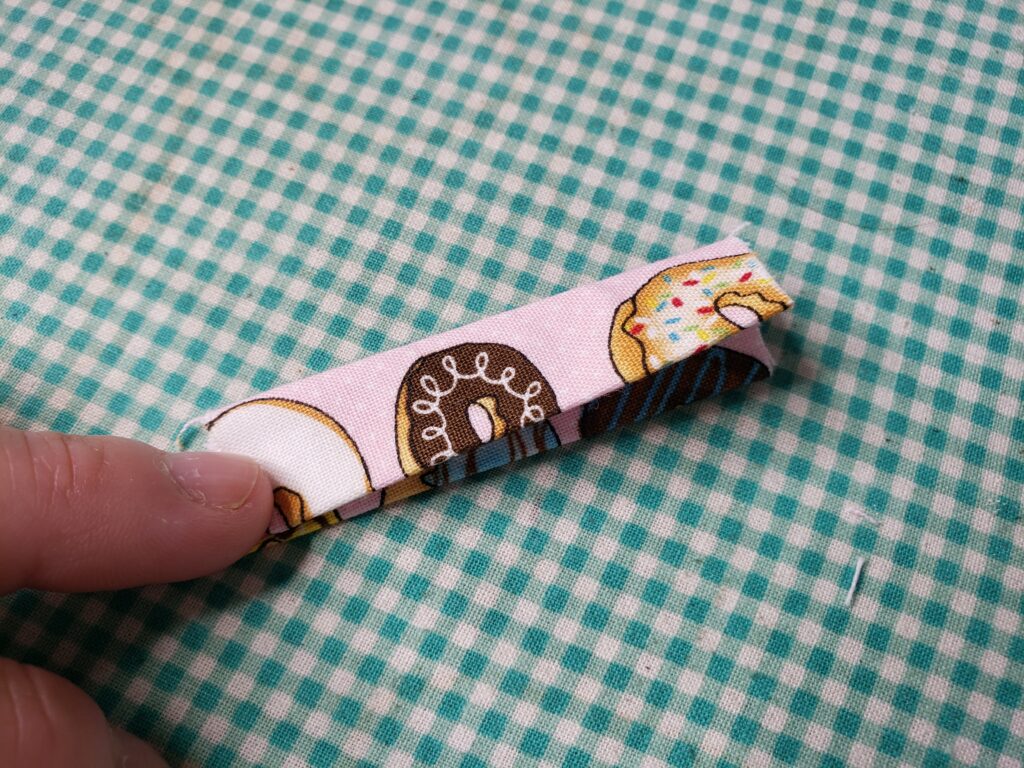
Iron on interfacing to tab piece
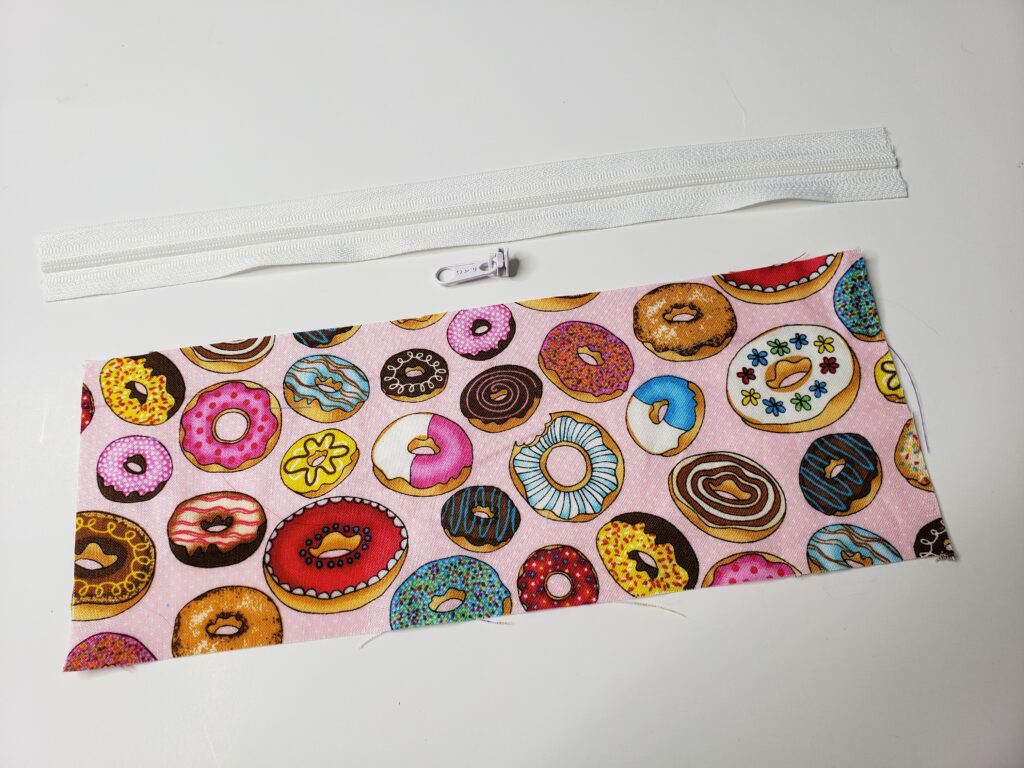
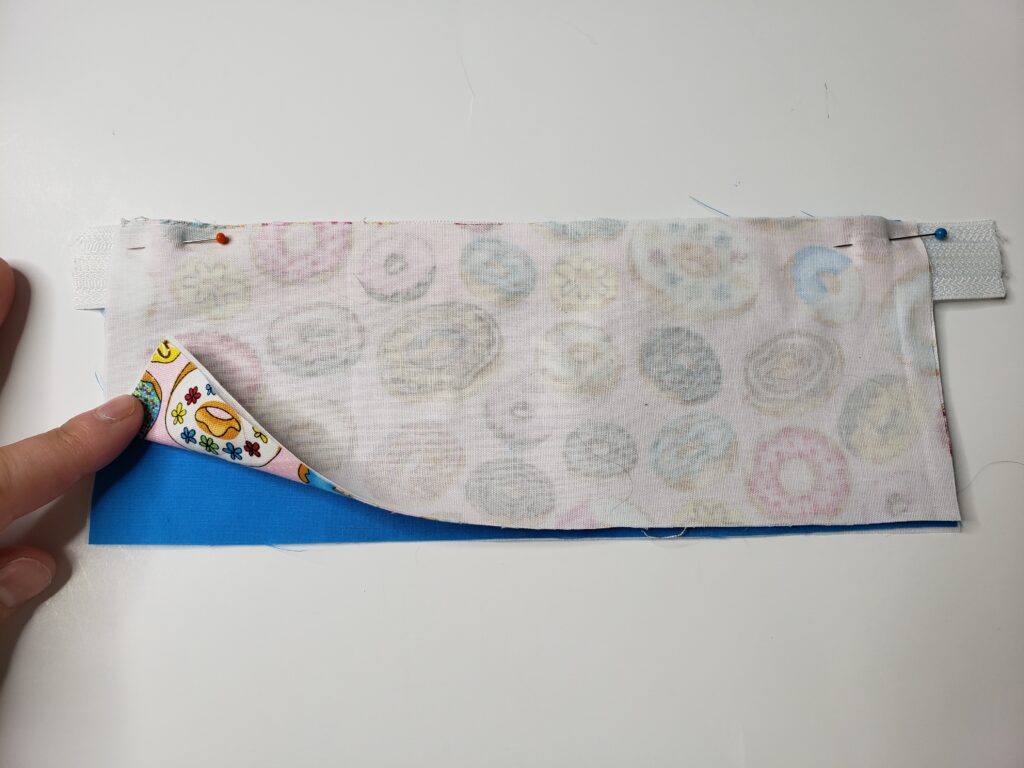
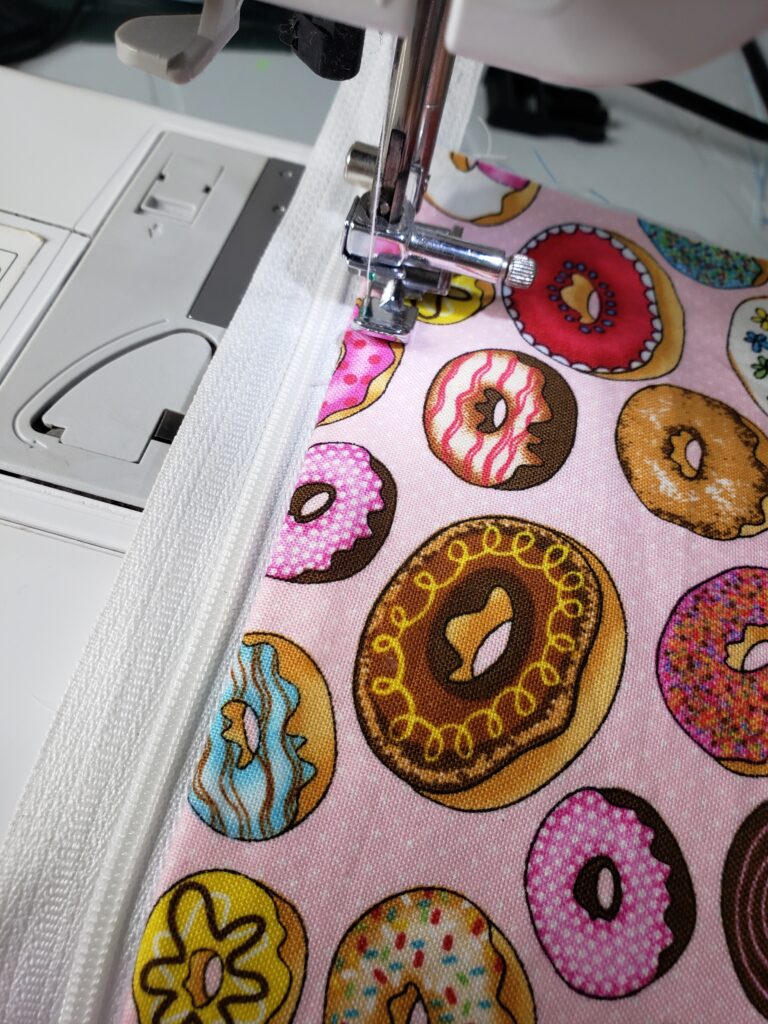
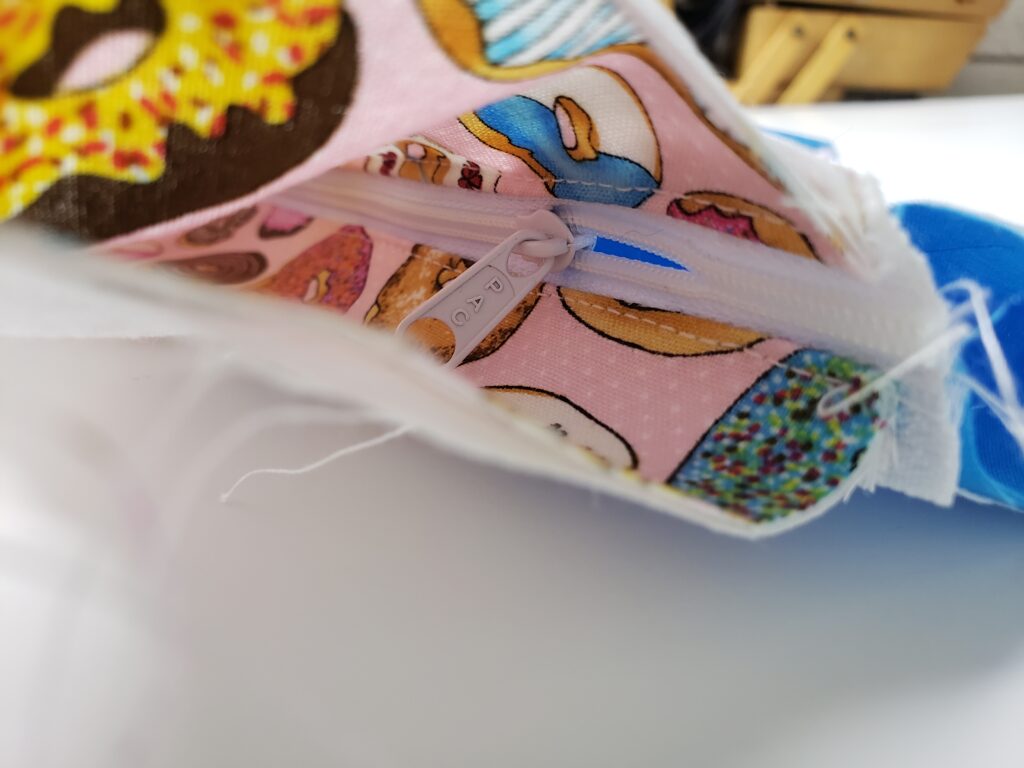
Zipper should be the length of your cotton pieces, if your using by the foot cut a piecesandwich Zipper between outer and lining fabric, make sure zipper pull is facing the outer fabric. Once sewn, flip and press fabric. Top stitch along the zipper.
using a longer stitch length looks nicer when doing a top stitch, i usually do a 3 stitch length. take last two pieces and sandwich lining up the edge to the opposite side of the zipper, make sure the zipper pull is facing the outer fabric.
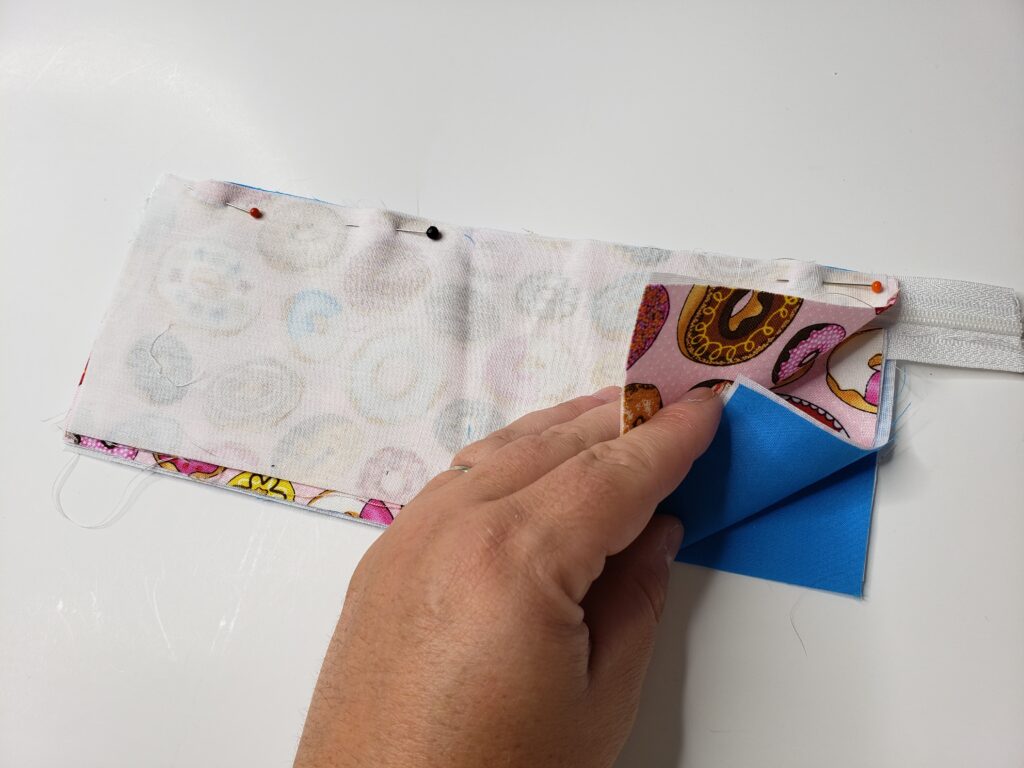
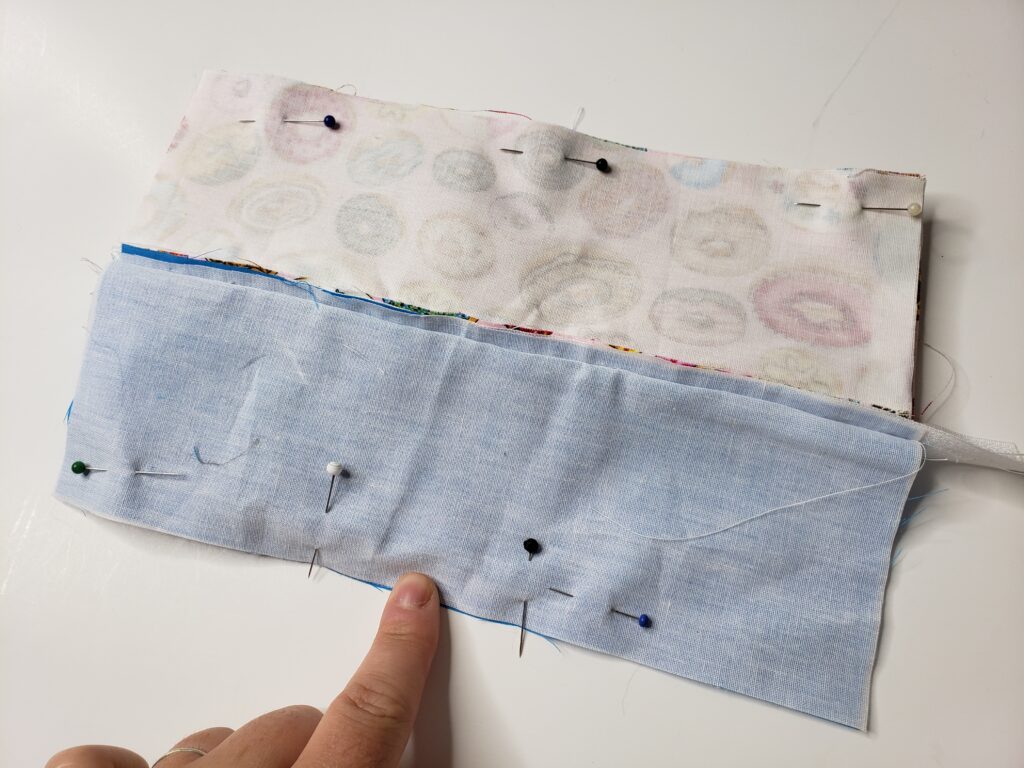
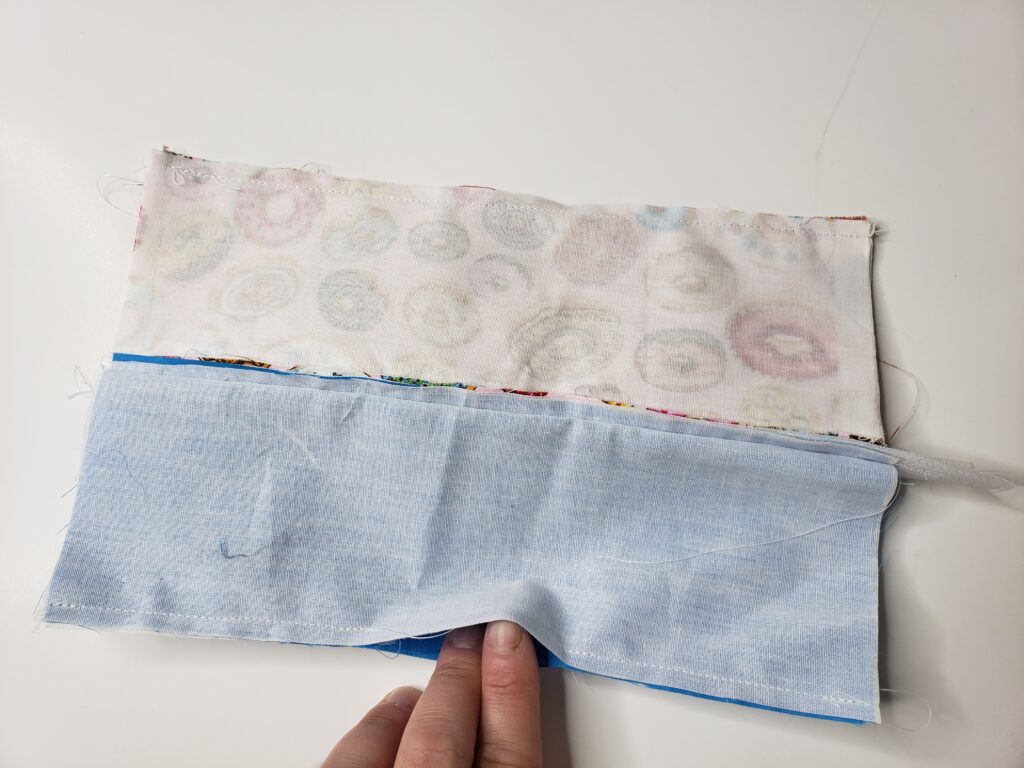
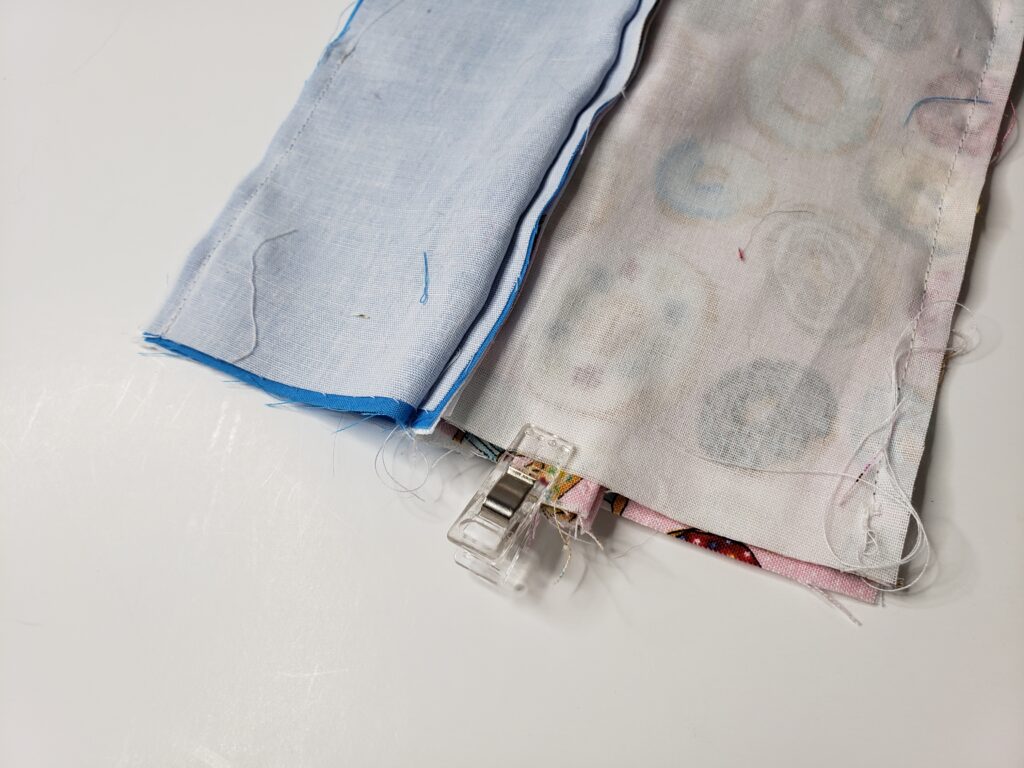
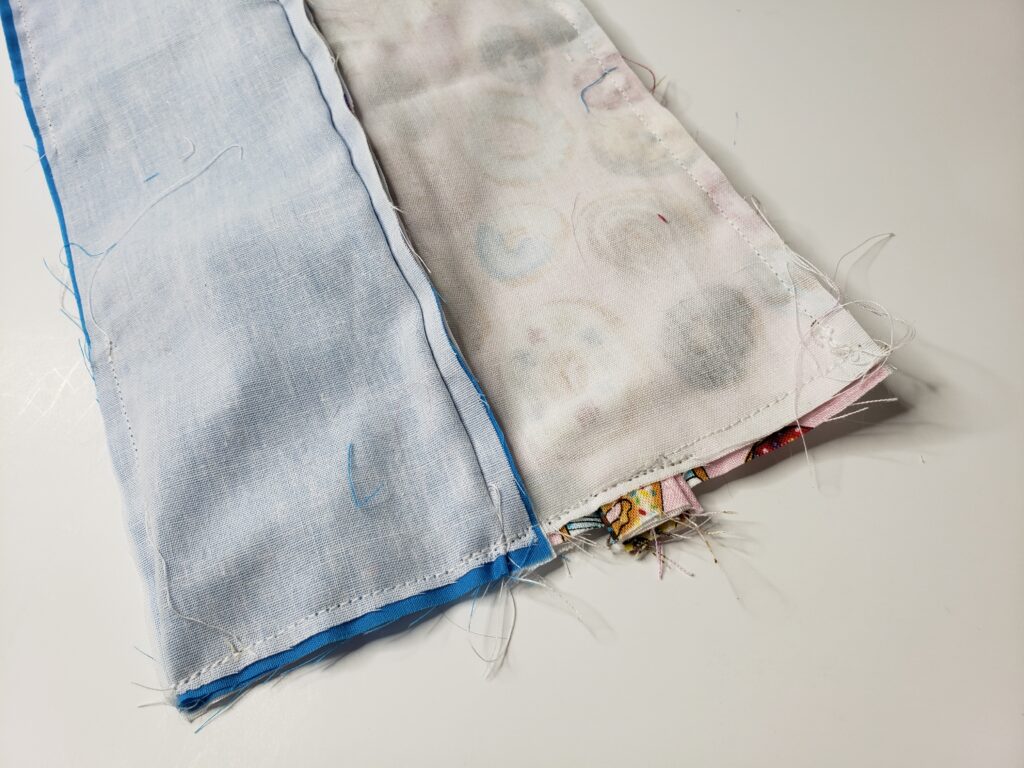
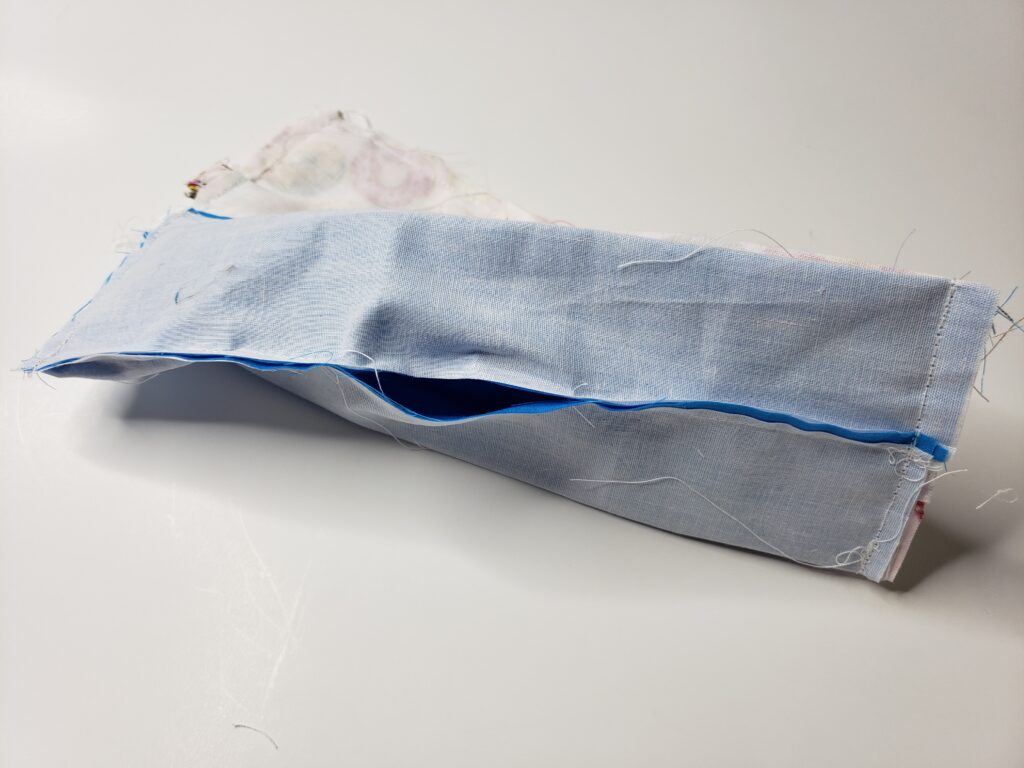
Press open the fabric and again top stitch.Open up the fabric to bring the right sides of the outer fabric and lining fabrics together. pin along the long edges, i have placed pins side ways to show where i will be leaving a hole for turning. do not sew down the sides, just the long sides that i have pinned. it should look like this. now we will identify which side of the pouch has the zipper pull in the closed position. this end will be the “top” of the bag. on this end we will fold our tab and place between the outer fabric about a 1/2″ away fro the zipper. we will sew from seam to seam to close up the side of the bag. it should look like this, i do a couple of passes over the tab to make sure its nice and secure.
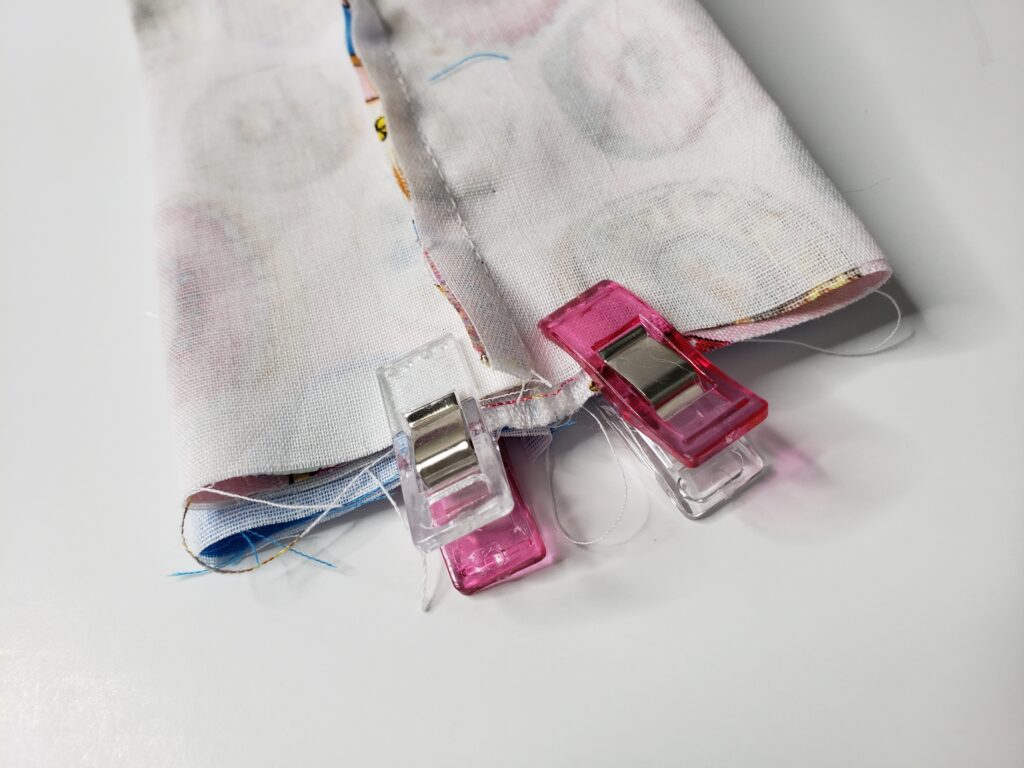
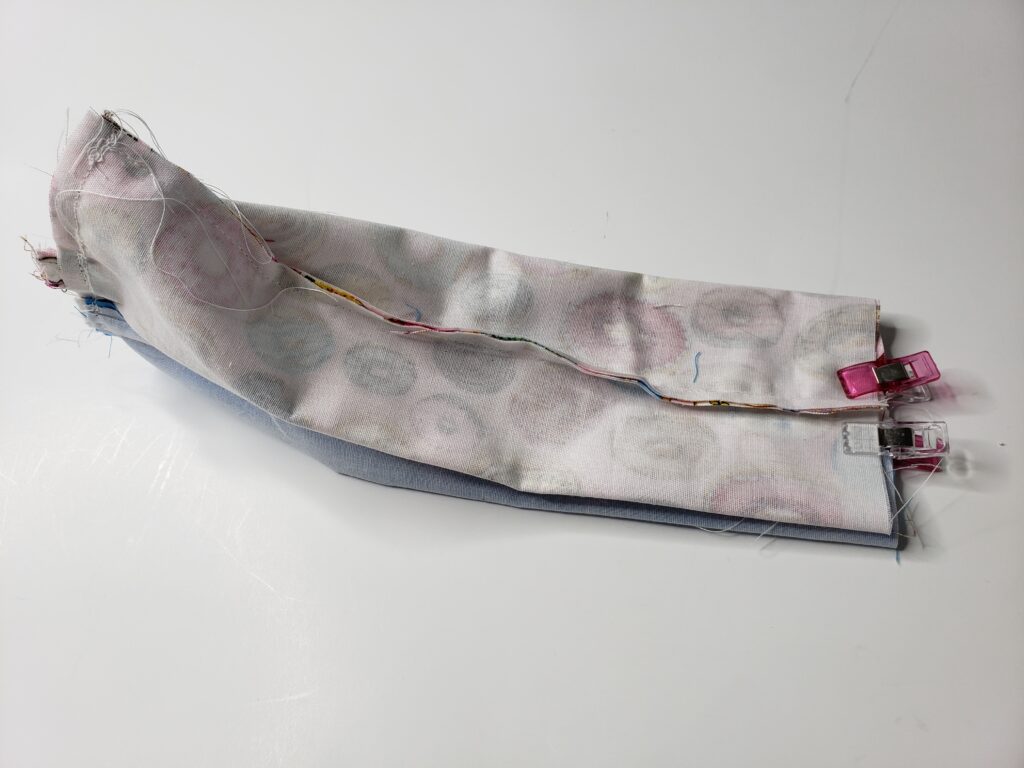
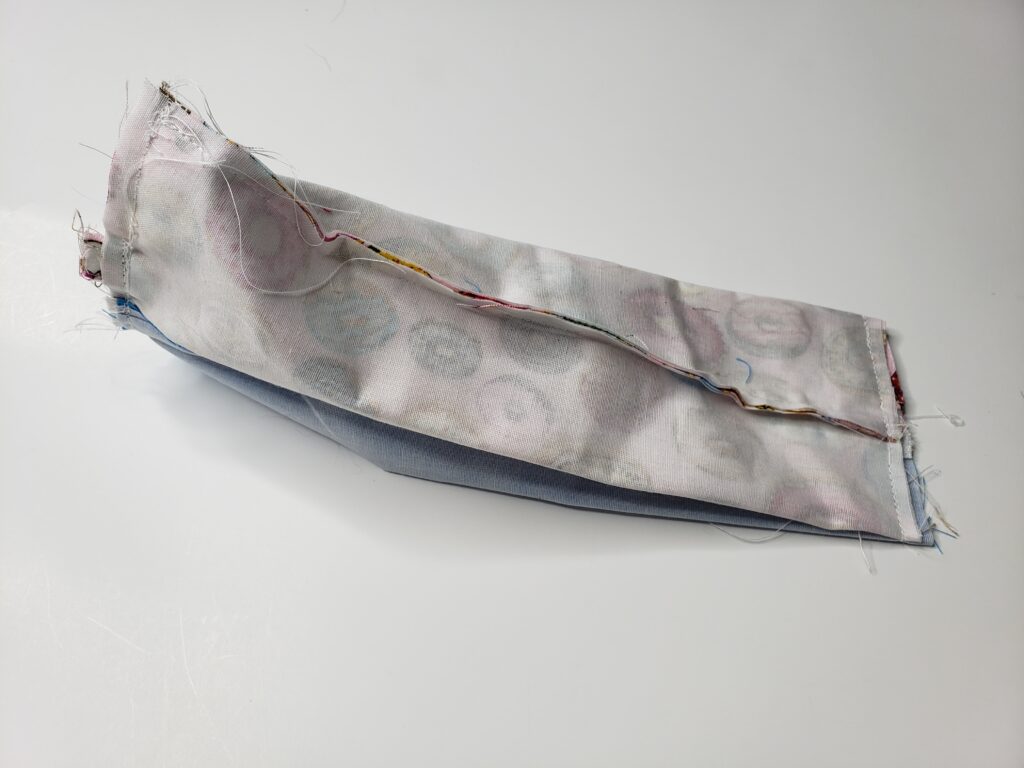
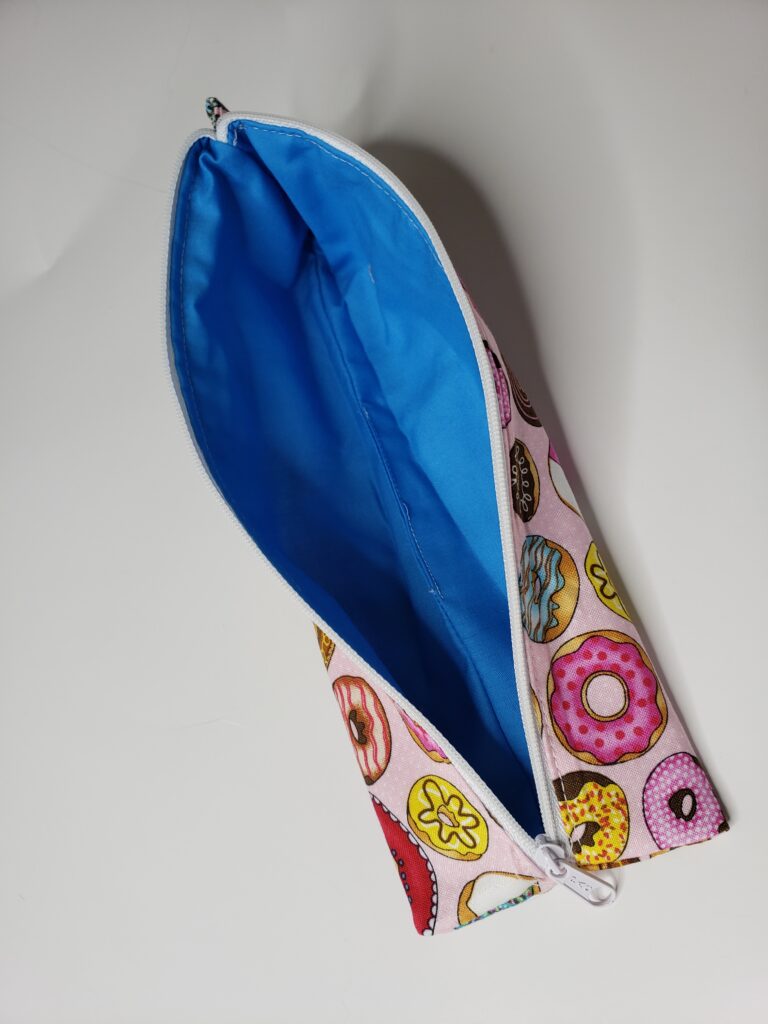
now we will take the other end of the bag and fold the seams of the fabrics and line them up with the zipper. on the top and underneath. clip into place to avoid fabric moving. sew across the close up the other side. now we will use the hole we left in the lining to flip our bag right sides out whilst poking out the corners. top stitch or invisible stitch the whole on the lining to close it up, add a cute tassel and your done!
HOME
Hey guys!
Hi i’m Ashley! Thanks for stopping by Charmed By Ashley the only sewing tutorial website you will want to be on! With a huge selection of easy to sew patterns and ideas Ashley will keep you busy for hours!
Enjoy!
Warning: Undefined array key "social_network" in /var/www/wp-content/themes/Divi/includes/builder/module/settings/migration/SocialMediaFollowNetworkTwitterToX.php on line 69
Warning: Undefined array key "social_network" in /var/www/wp-content/themes/Divi/includes/builder/module/settings/migration/SocialMediaFollowNetworkTwitterToX.php on line 69


0 Comments