
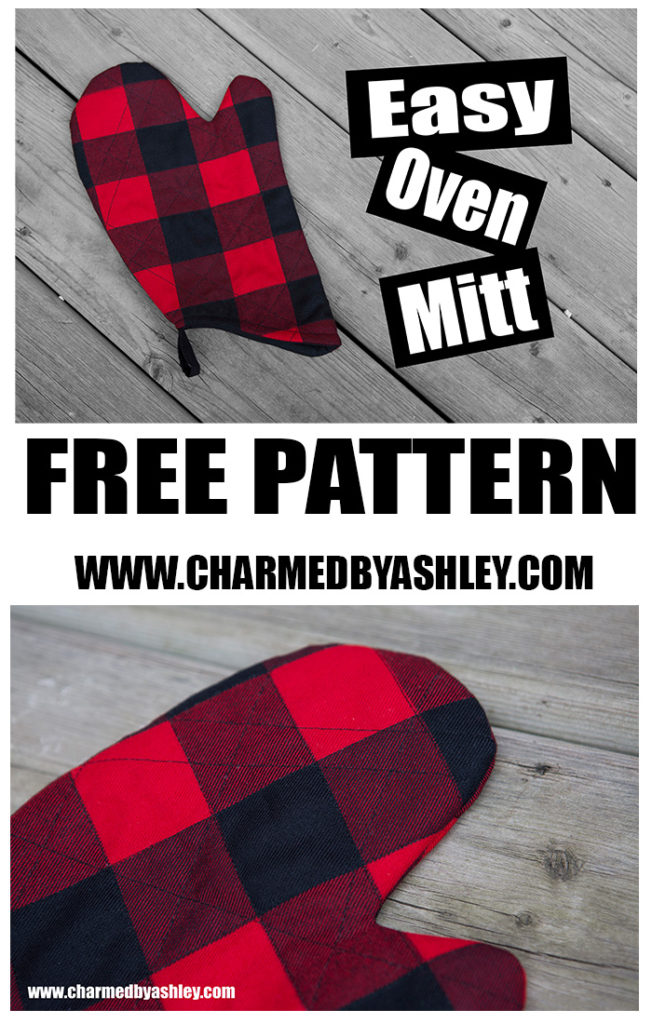
Easy Oven Mitt tutorial and pattern
This is an adorable oven Mitt FREE pattern! thats right FREE!! all i ask in return is you SHARE with all your friends on Facebook and Pinterest!
After you Share this you can download the pattern HERE
Materials
Cotton Fabric (or any other natural fabrics, for safety reasons a non flammable fabric would be best suited just in case heaven forbid it got caught on fire during the cooking process)
Insulating fabric, Quilt batting or Insul-Bright which is a fabric desired for hot pads, mitts and other items that need some insulation
If using Quilt batting you can use multiple layers to give you maximum heat resistance and helps make your mitt look a little more quilted if you plan on Quilting
Donate! Keep my patterns free! DONATE HERE
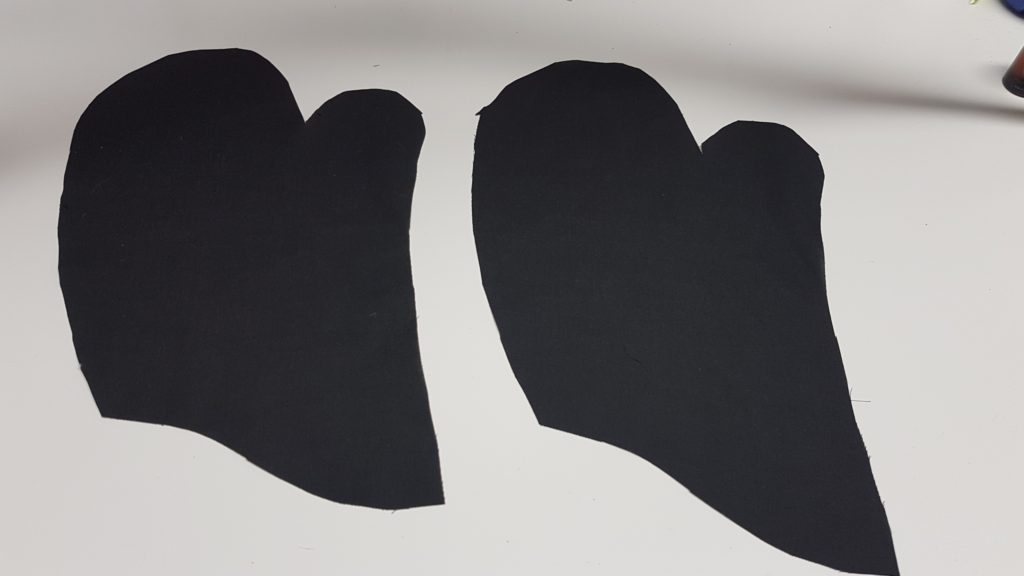
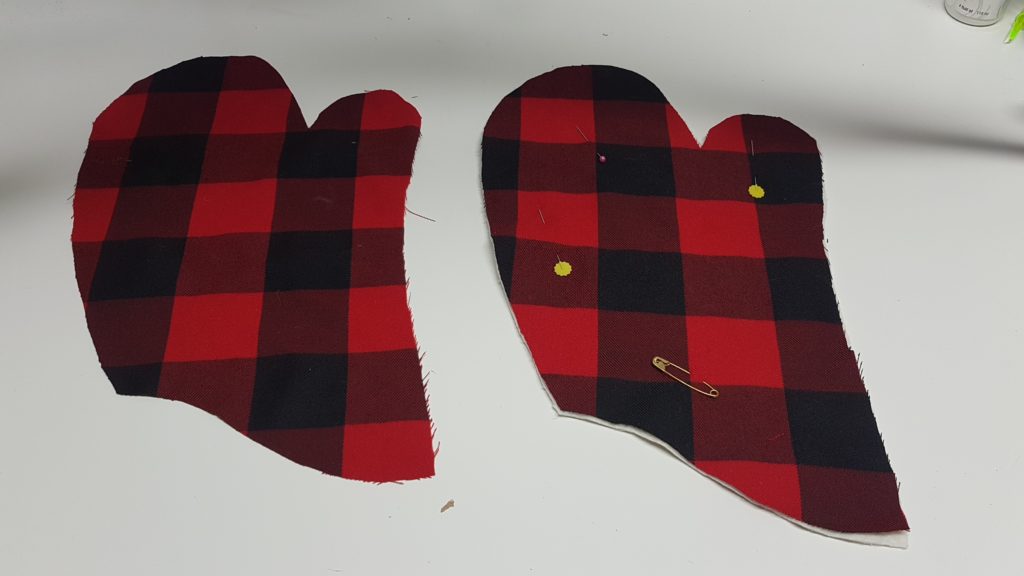
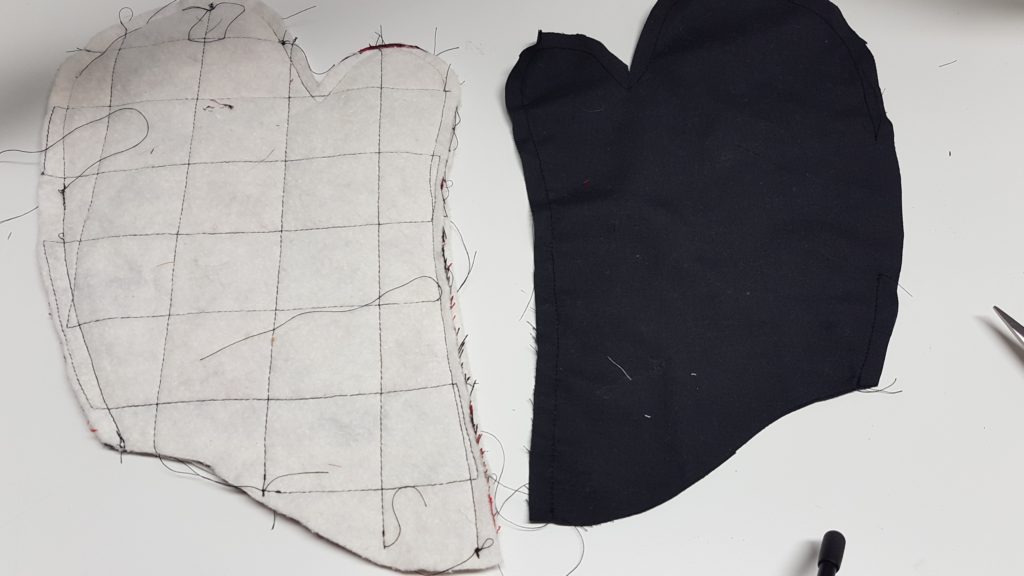
Cut out all of your pieces, make sure your two pieces are cut opposite so they go together in the end, i like to fold the fabric right sides together place my pattern and cut out the two layers at the same time.
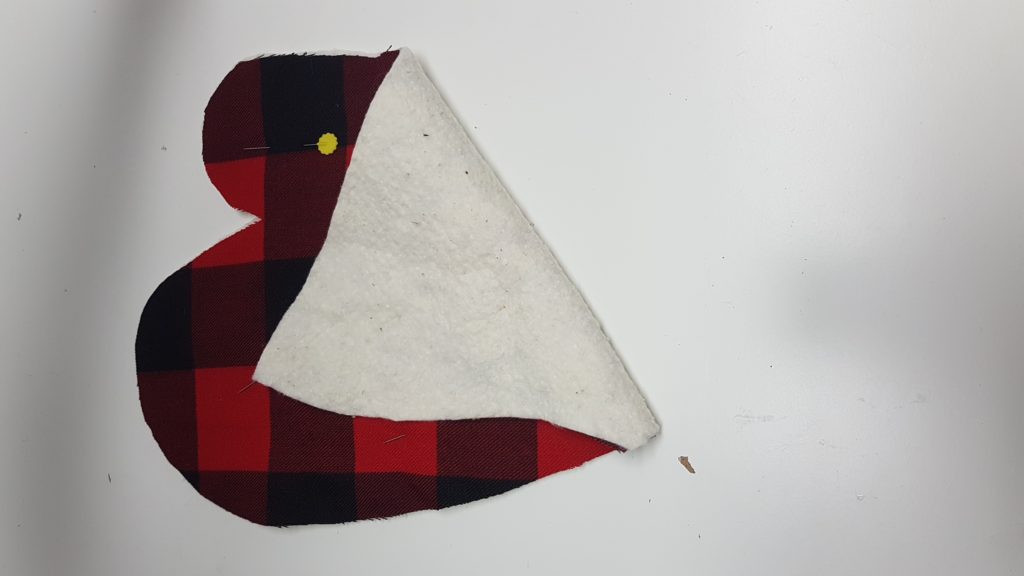
Cut out the desired amount of insulating fabric and layer it behind the top piece of fabric
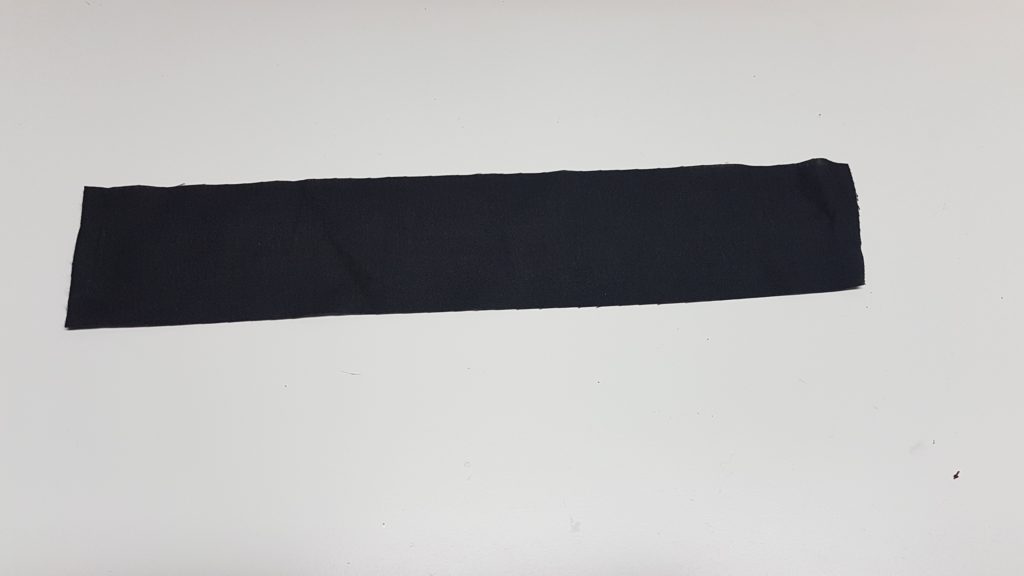
Iron the Rectangle piece with the raw edges in the middle and then fold in half again sewing down the one side to make a little strap. this will be the loop for hanging
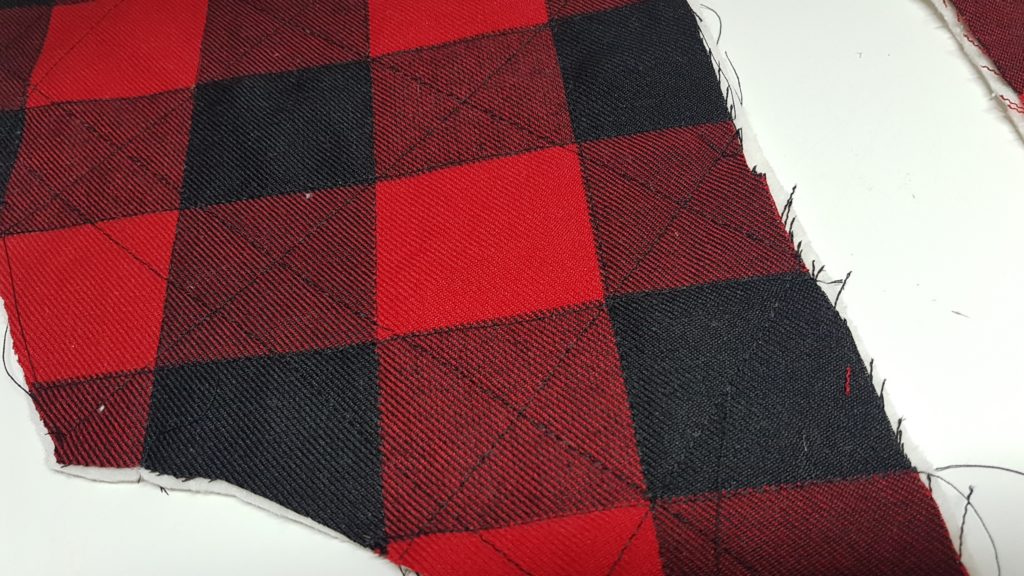
Now you can quilt the top piece with the insulating fabric, you can be creative and stitch in any pattern you wish, i chose to follow the plaid and then add some horizontal lines for some insterest
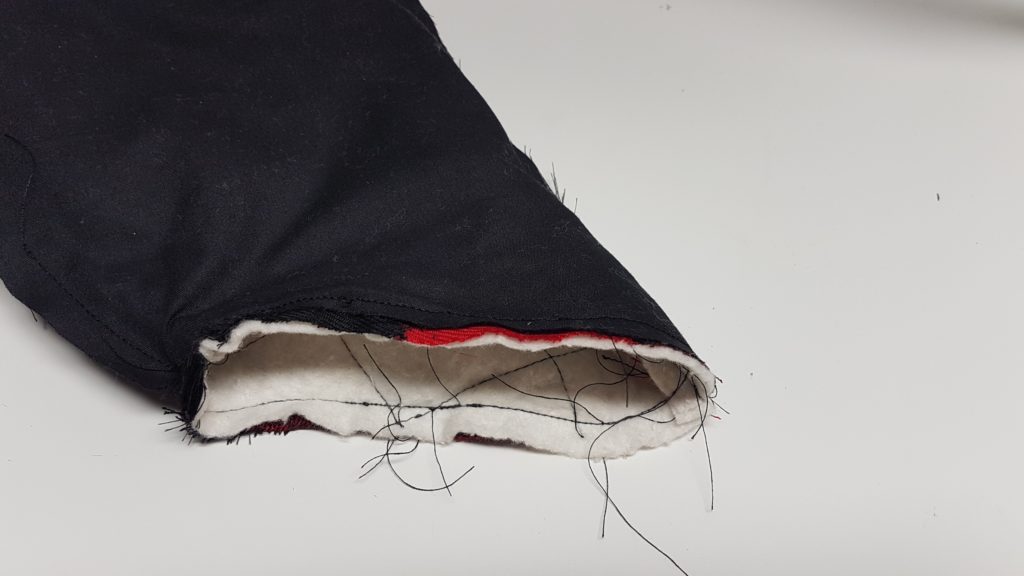
Now that you have finished quilting you will place the outer and inner pieces right sides together and sew all along the hand portion leaving the wrist part open
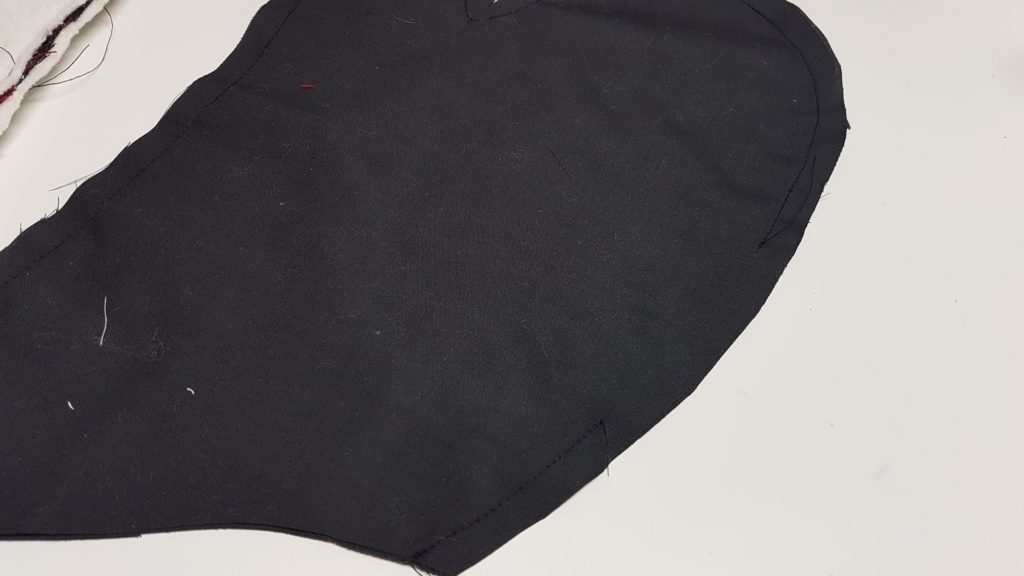
In your lining piece you will leave a 3 or 4 inch gap along the one side and this will be used for turning
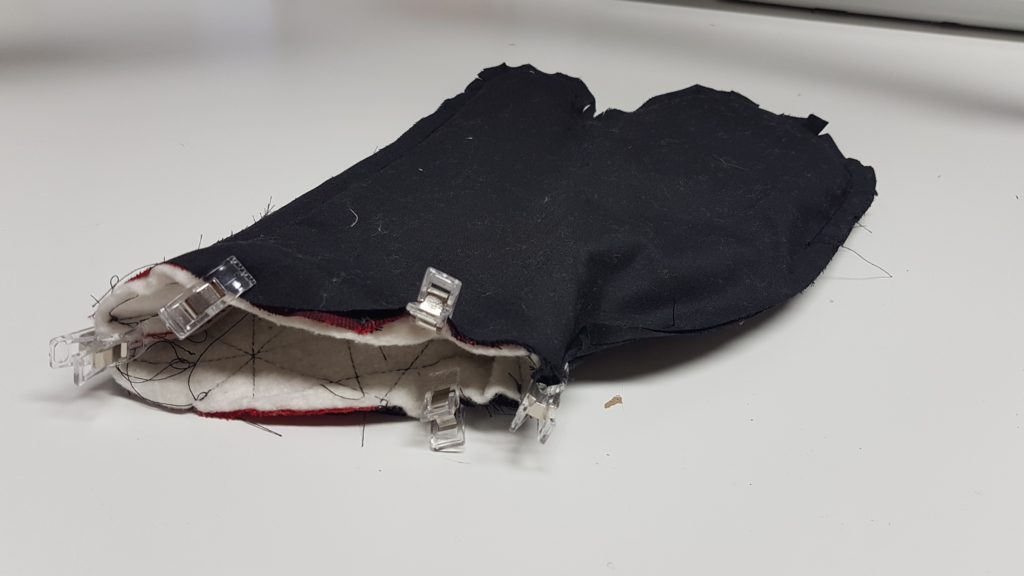
Now we will take the outer portion turn it right sides out and place it inside the inside out lining portion, line up the wrist part lining up the side seams and clip into place. This is where you will take your little strip of fabric to create a loop, fold it in half and slip it in with the folded edge inside and the raw edges lining up with the raw edges of the mitt, place it along the back seam
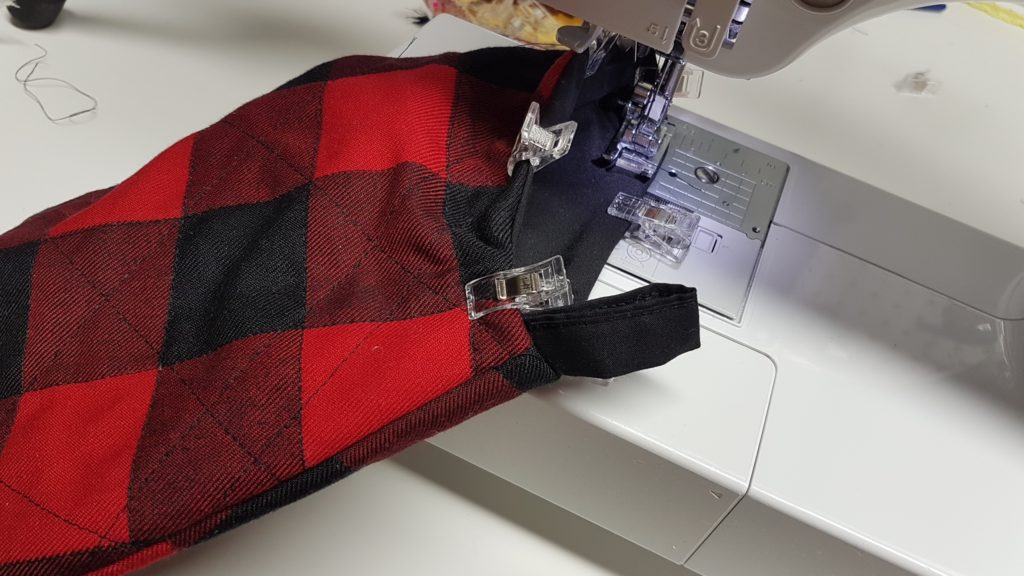
Now you will sew along the edge with a half in seam allowance
Once you are done you will flip the whole thing right sides out using that hole in the lining we left earlier
Then you can top stitch the cuff with a half in seam allowance
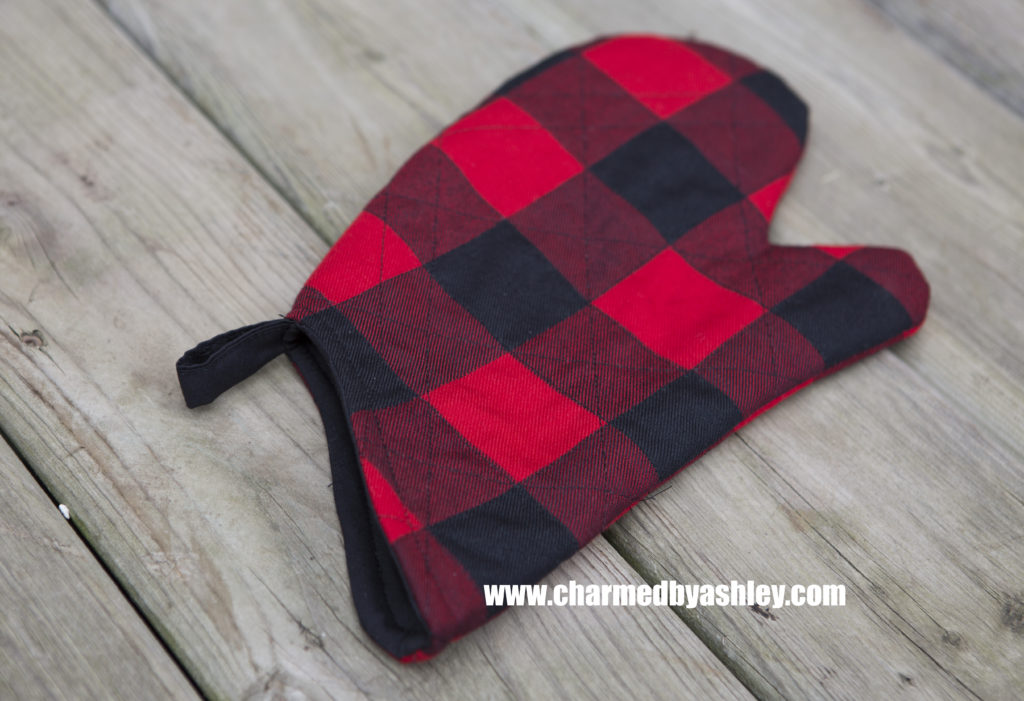
And then your done! dont forget to make two!!


0 Comments