
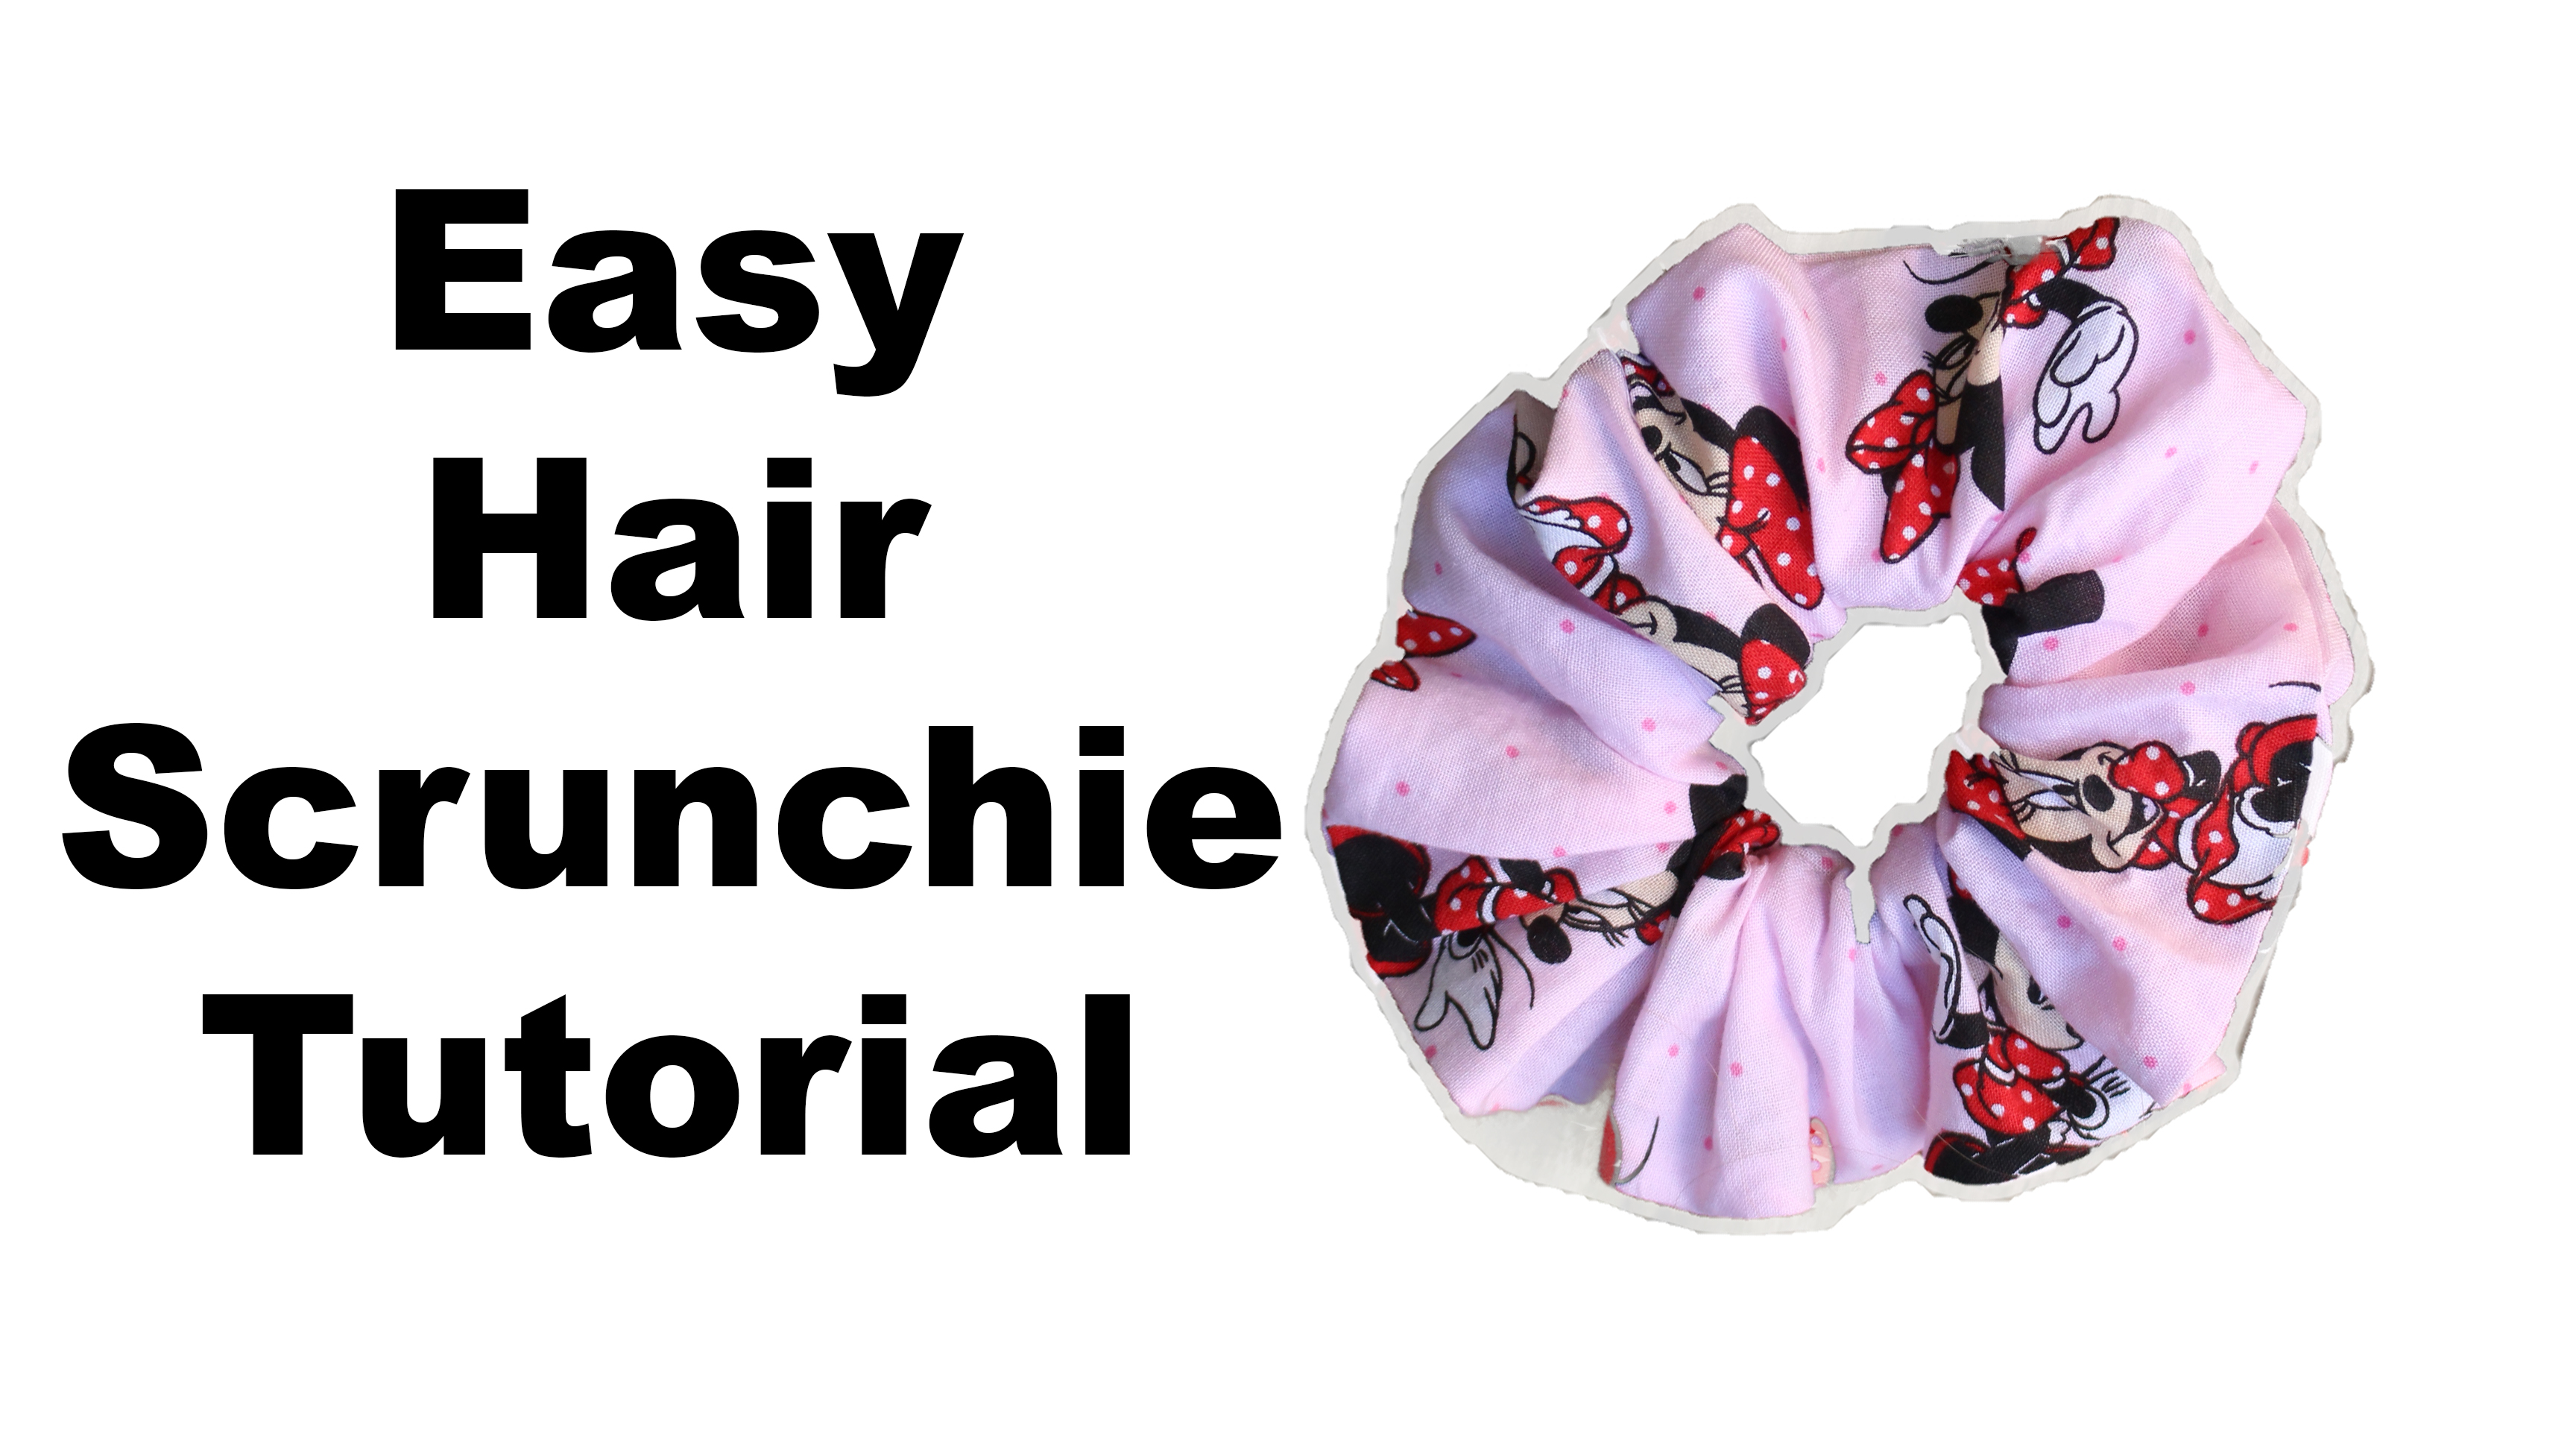
Hair ties can be harsh on your delicate hair, this tutorial is mainly to show you about the benefits of a silk scrunchie but why not bring back the scrunchie all together and make some adorable character ones for kids or decorate an adorable bun for your girls!
So whats the benefits of a silk scrunchie?
1.) The Dent! oh the dent…. the Dent that is left in your hair when you use a horribly harsh elastic hair tie
2.) the lost hairs… i’m pretty sure every time i take a hair tie out at least 10 or 20 are inadvertently ripped out of my scalp just from the motion of taking it out! lets all take a moment to remember all the lost hairs…
3) Silk is soft and will be gentle on your hair, if your one to wear a hair tie while your sleep then using a silk scrunchie will help protect especially from friction when your hair rubs against you pillow!
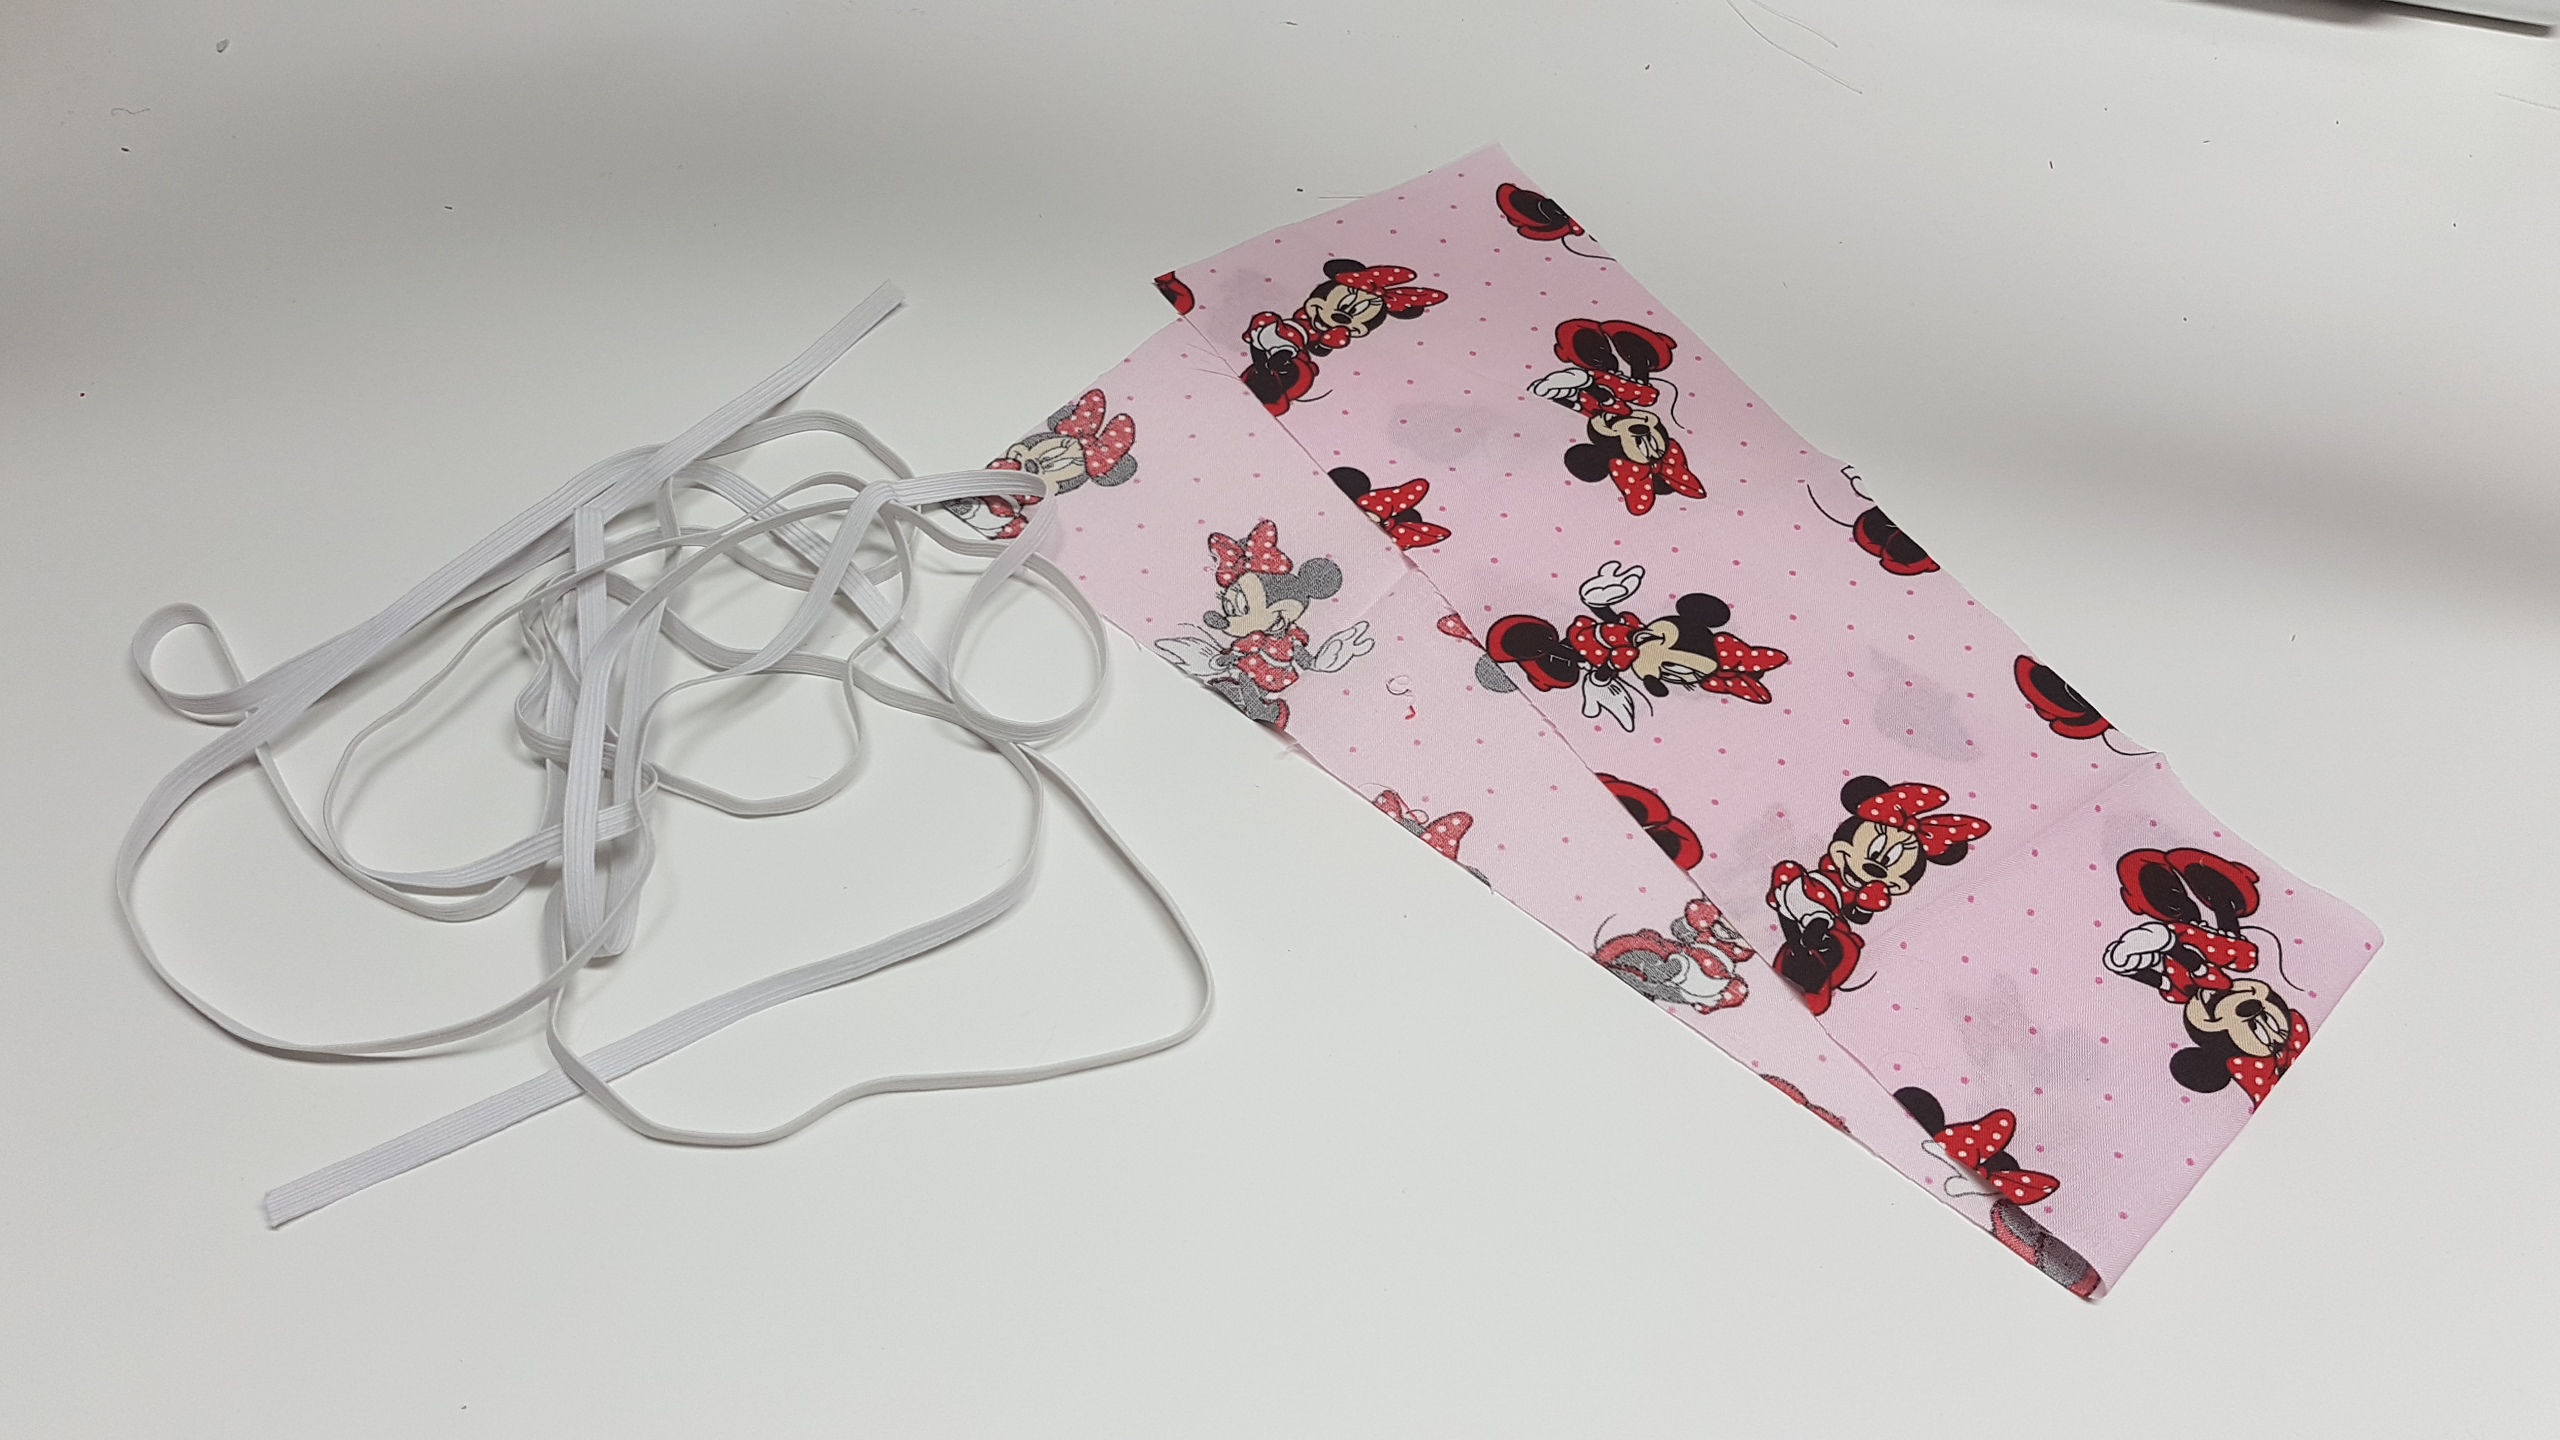

For this tutorial you will need 1/2″ Wide stretchy Elastic and a 5″ x 25″ piece of Fabric
for a Fun stiffer scrunchie use a cotton fabric for a soft scrunchie that you can wear to bed and will be gentle on your hair uses a silky fabric
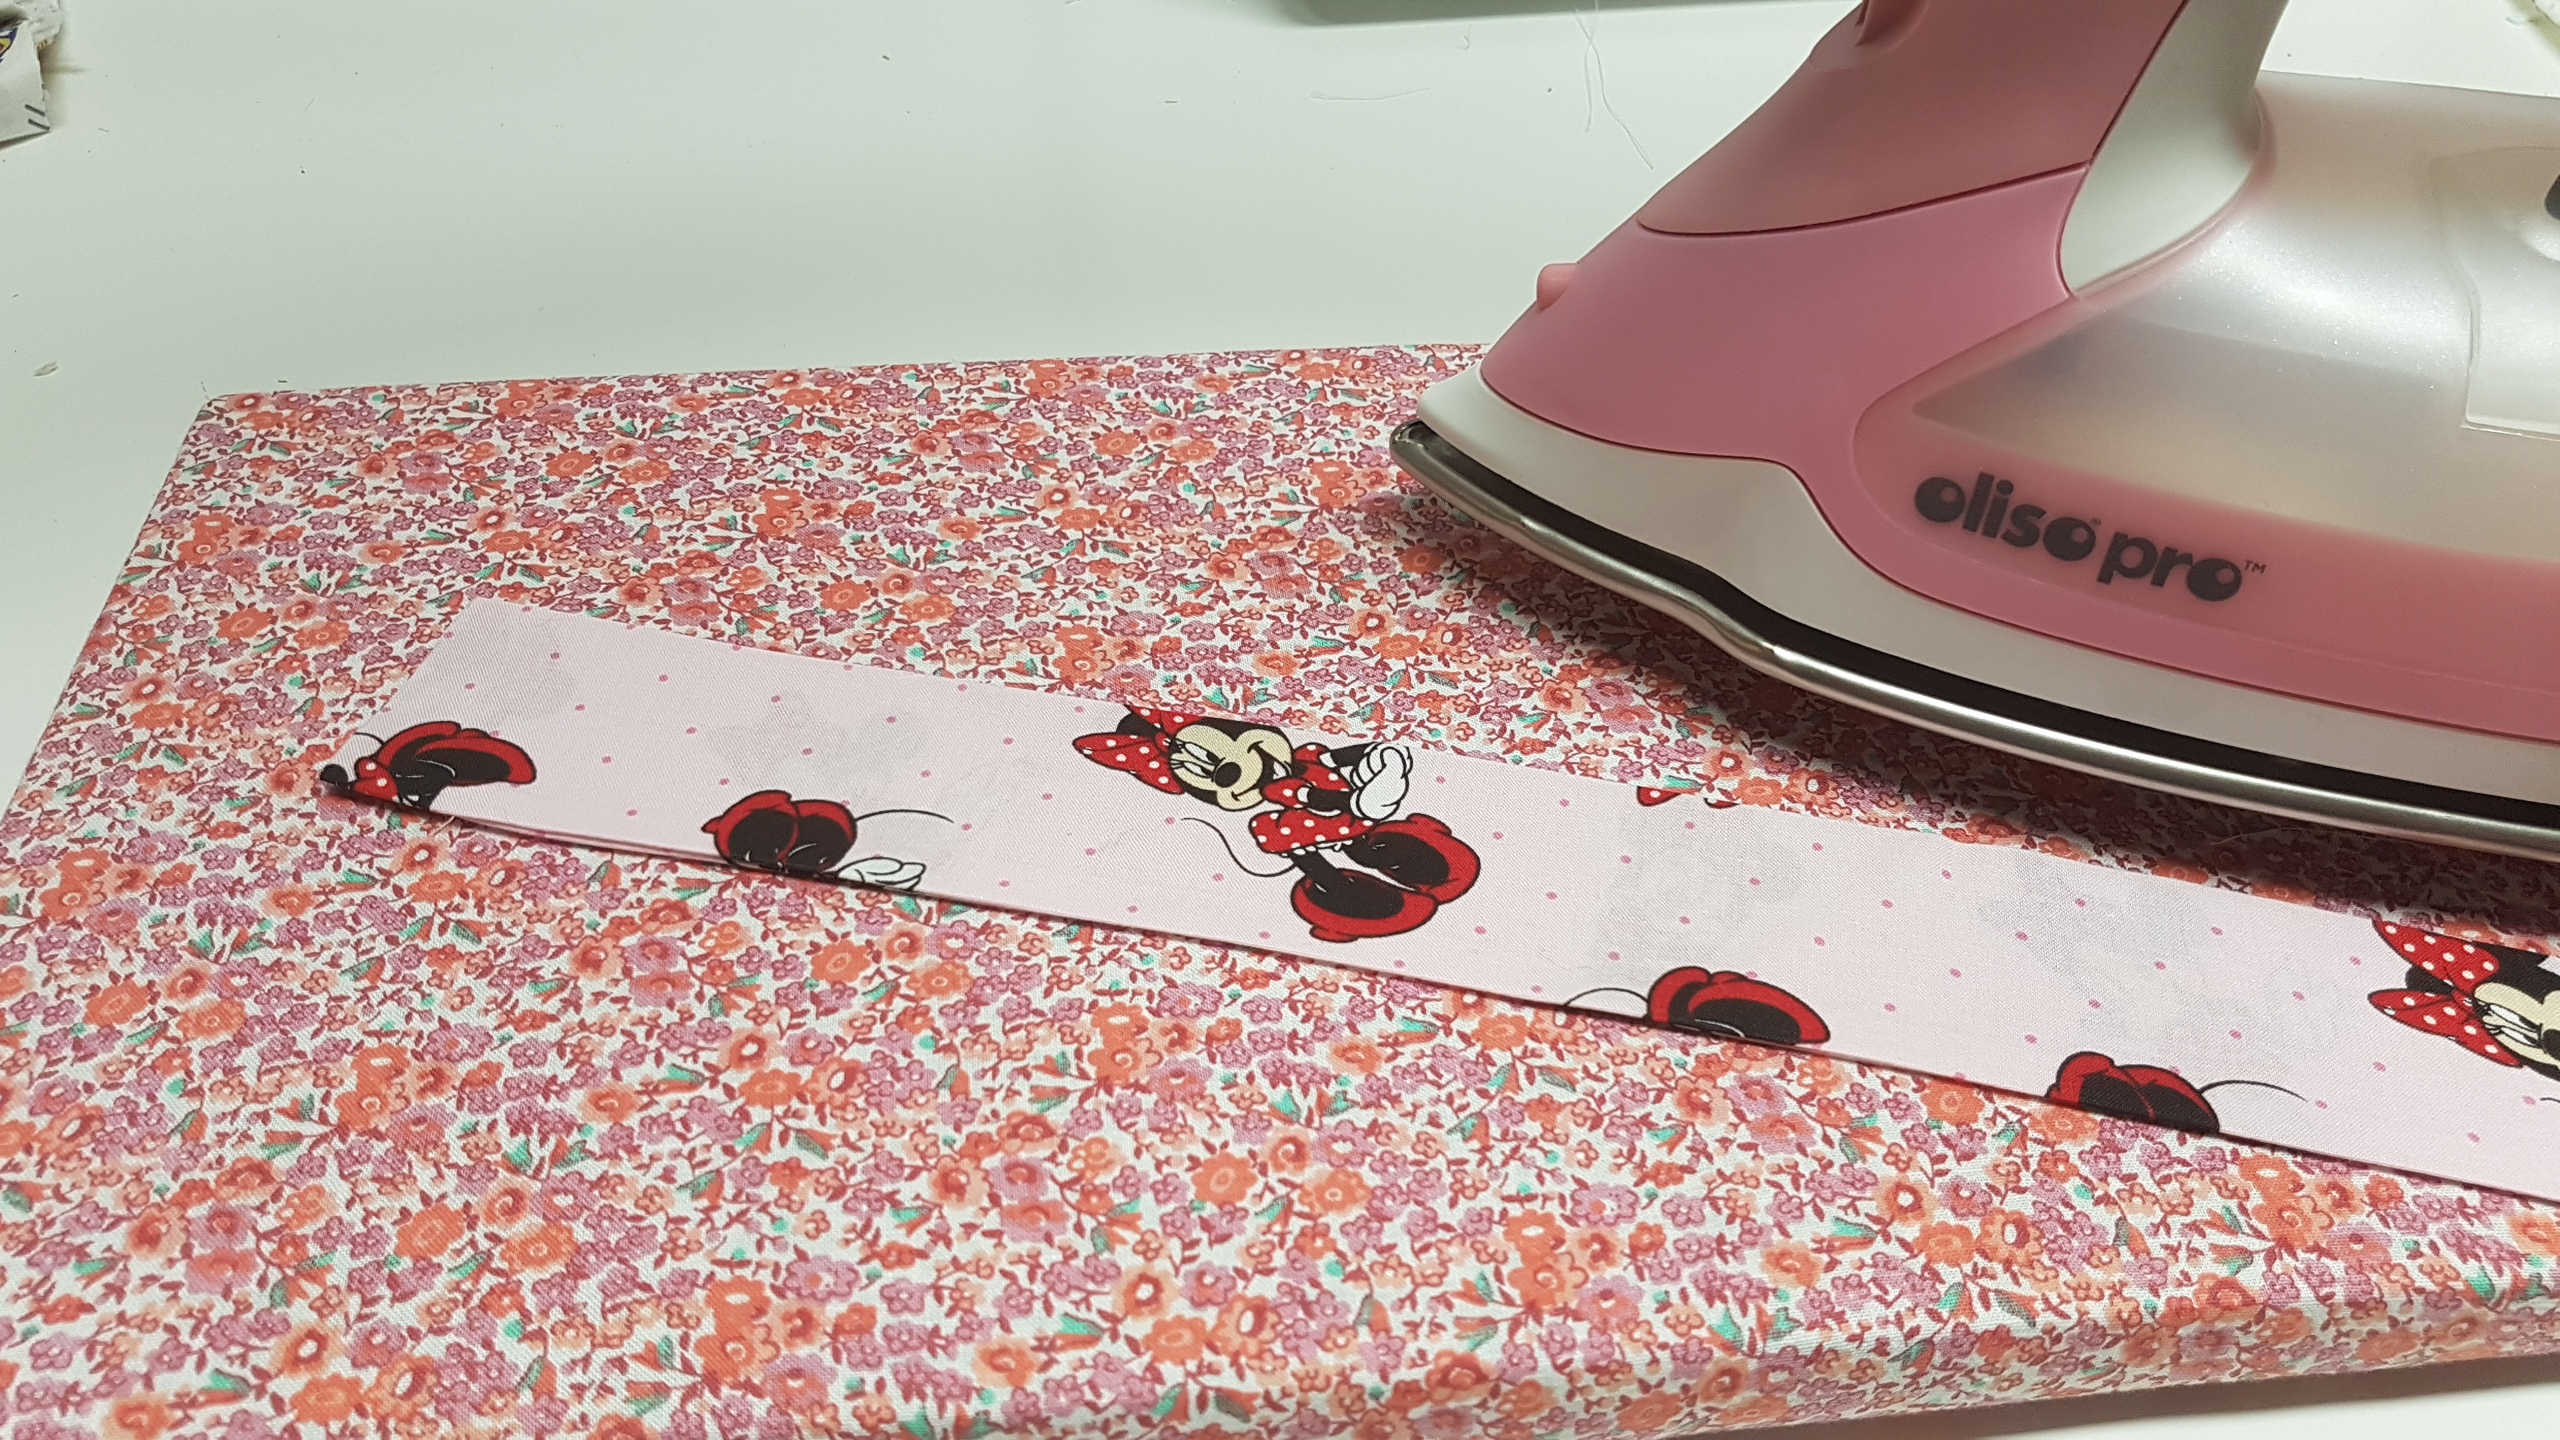
Take your piece and fold it in half with the right sides together


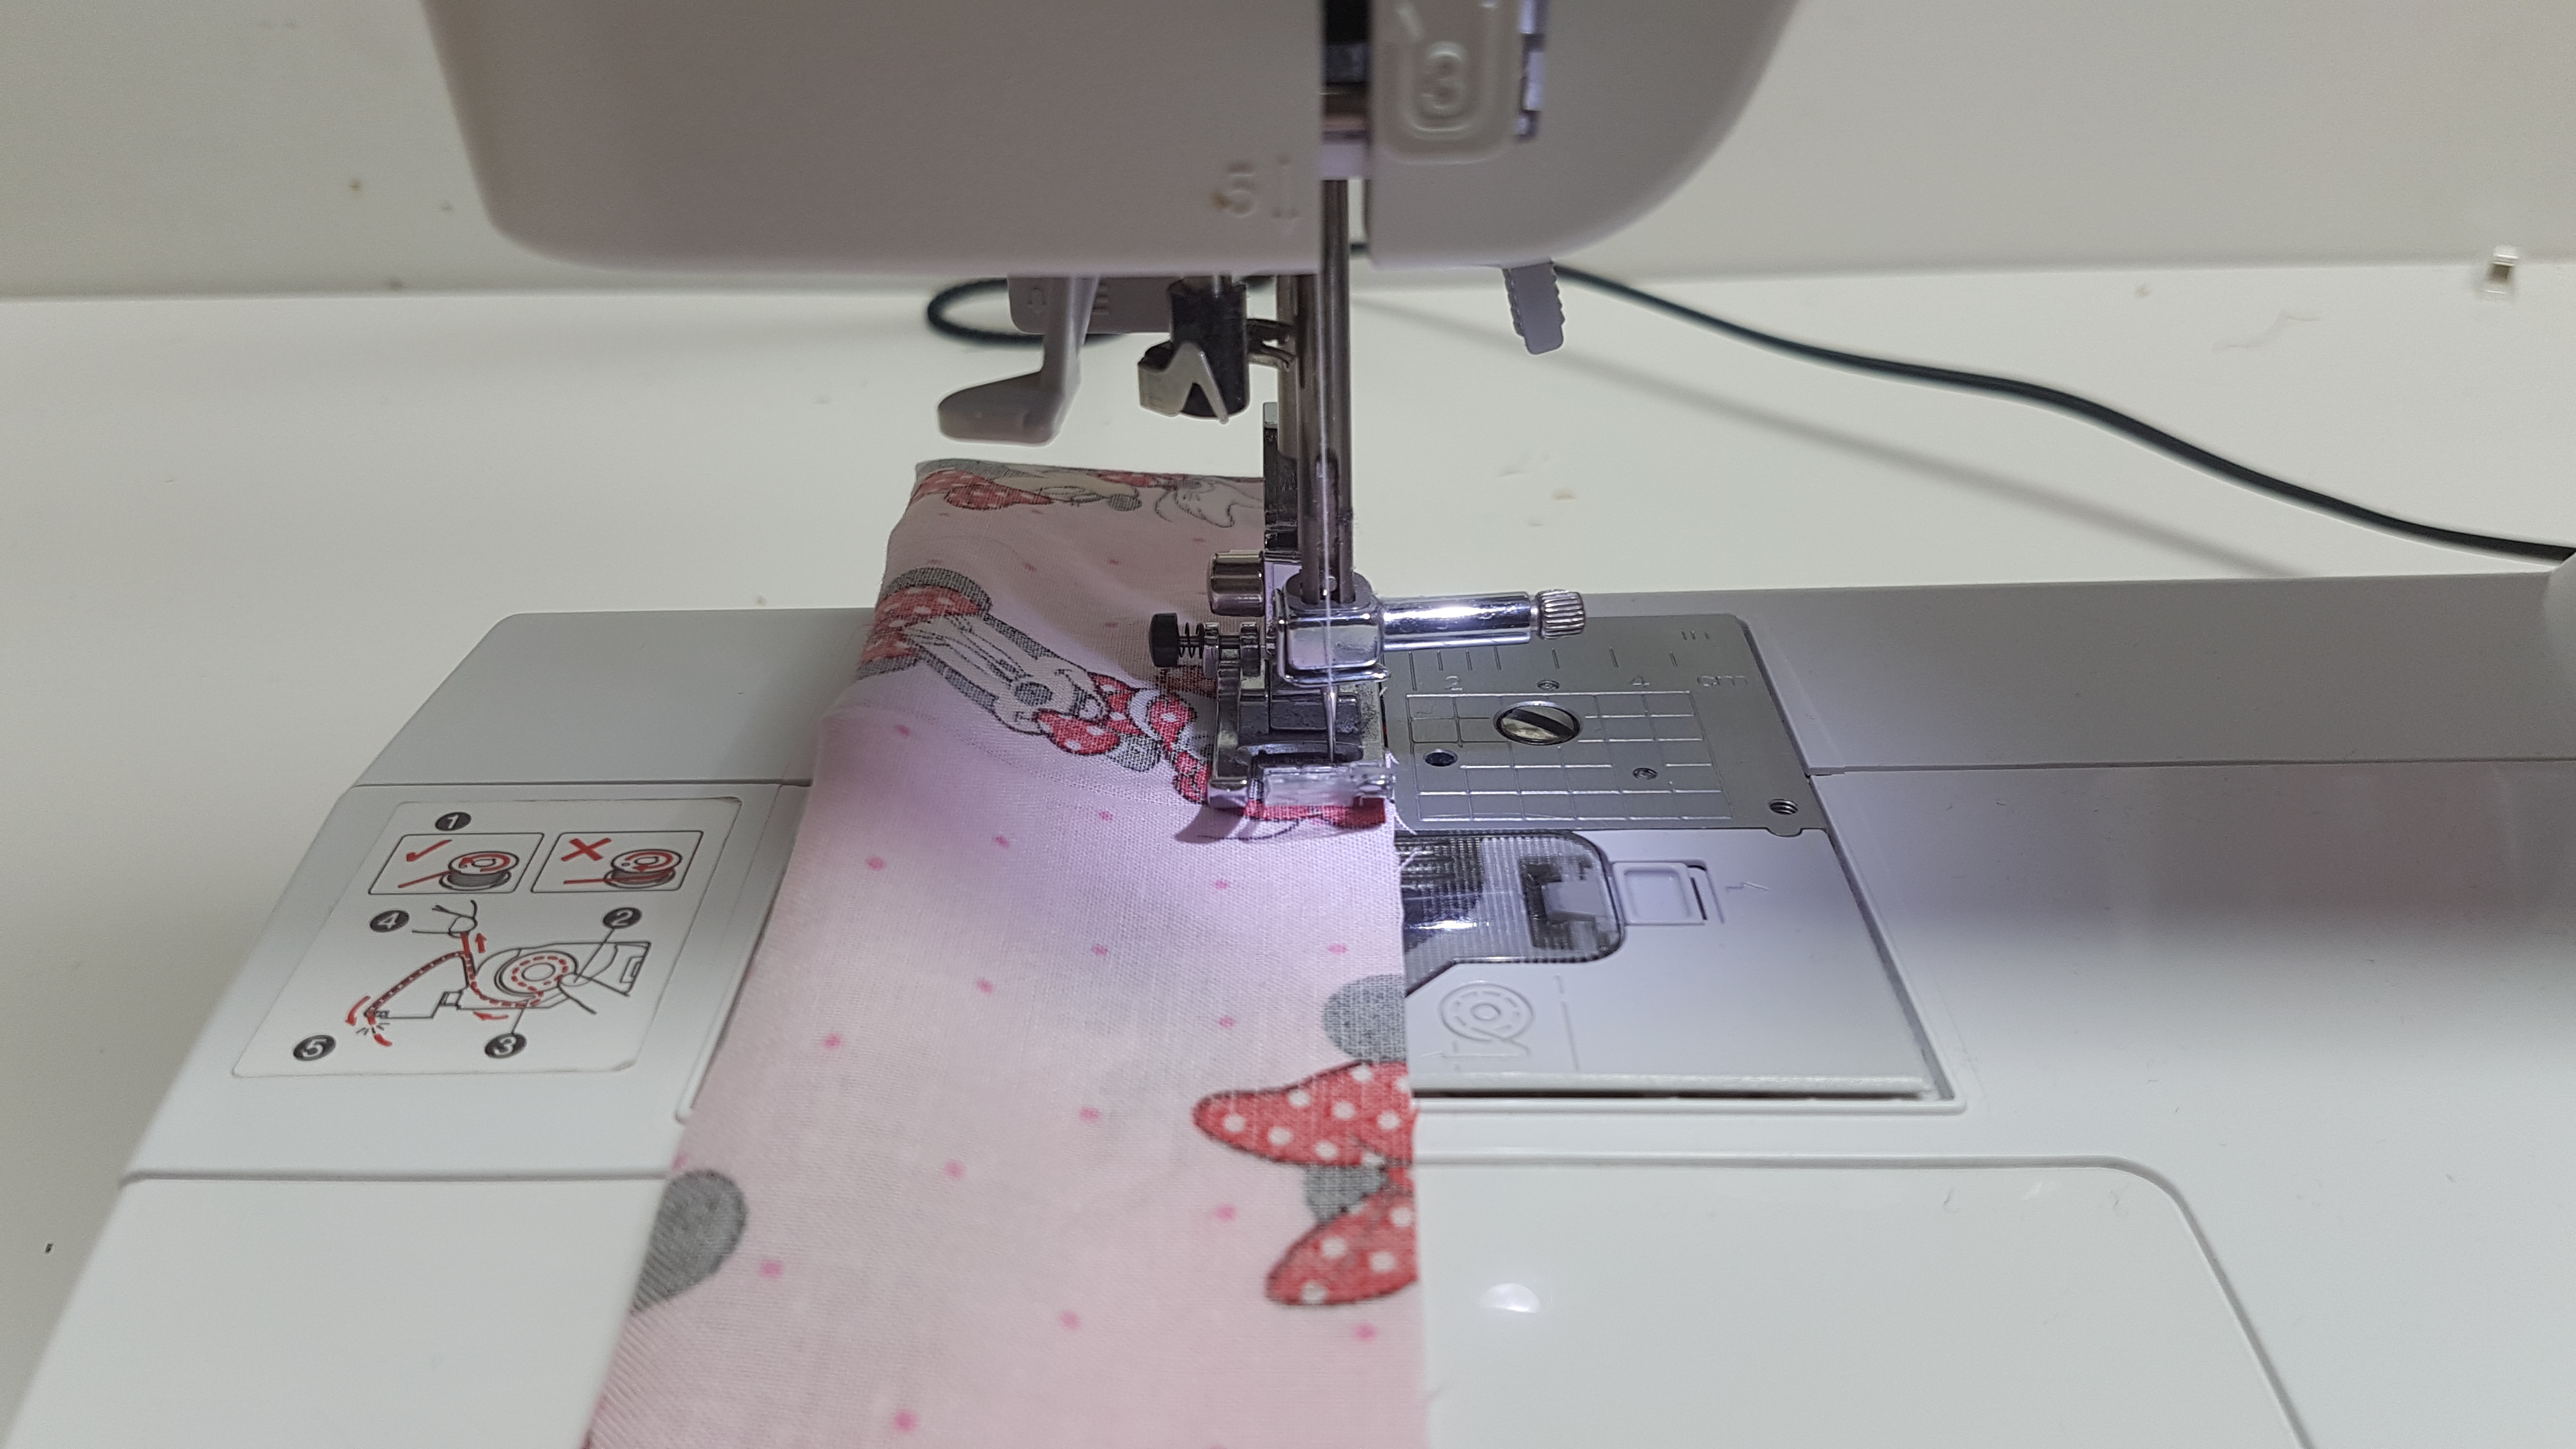
Sew along the longest raw edge with a raw edge with a quarter of an inch seam allowance
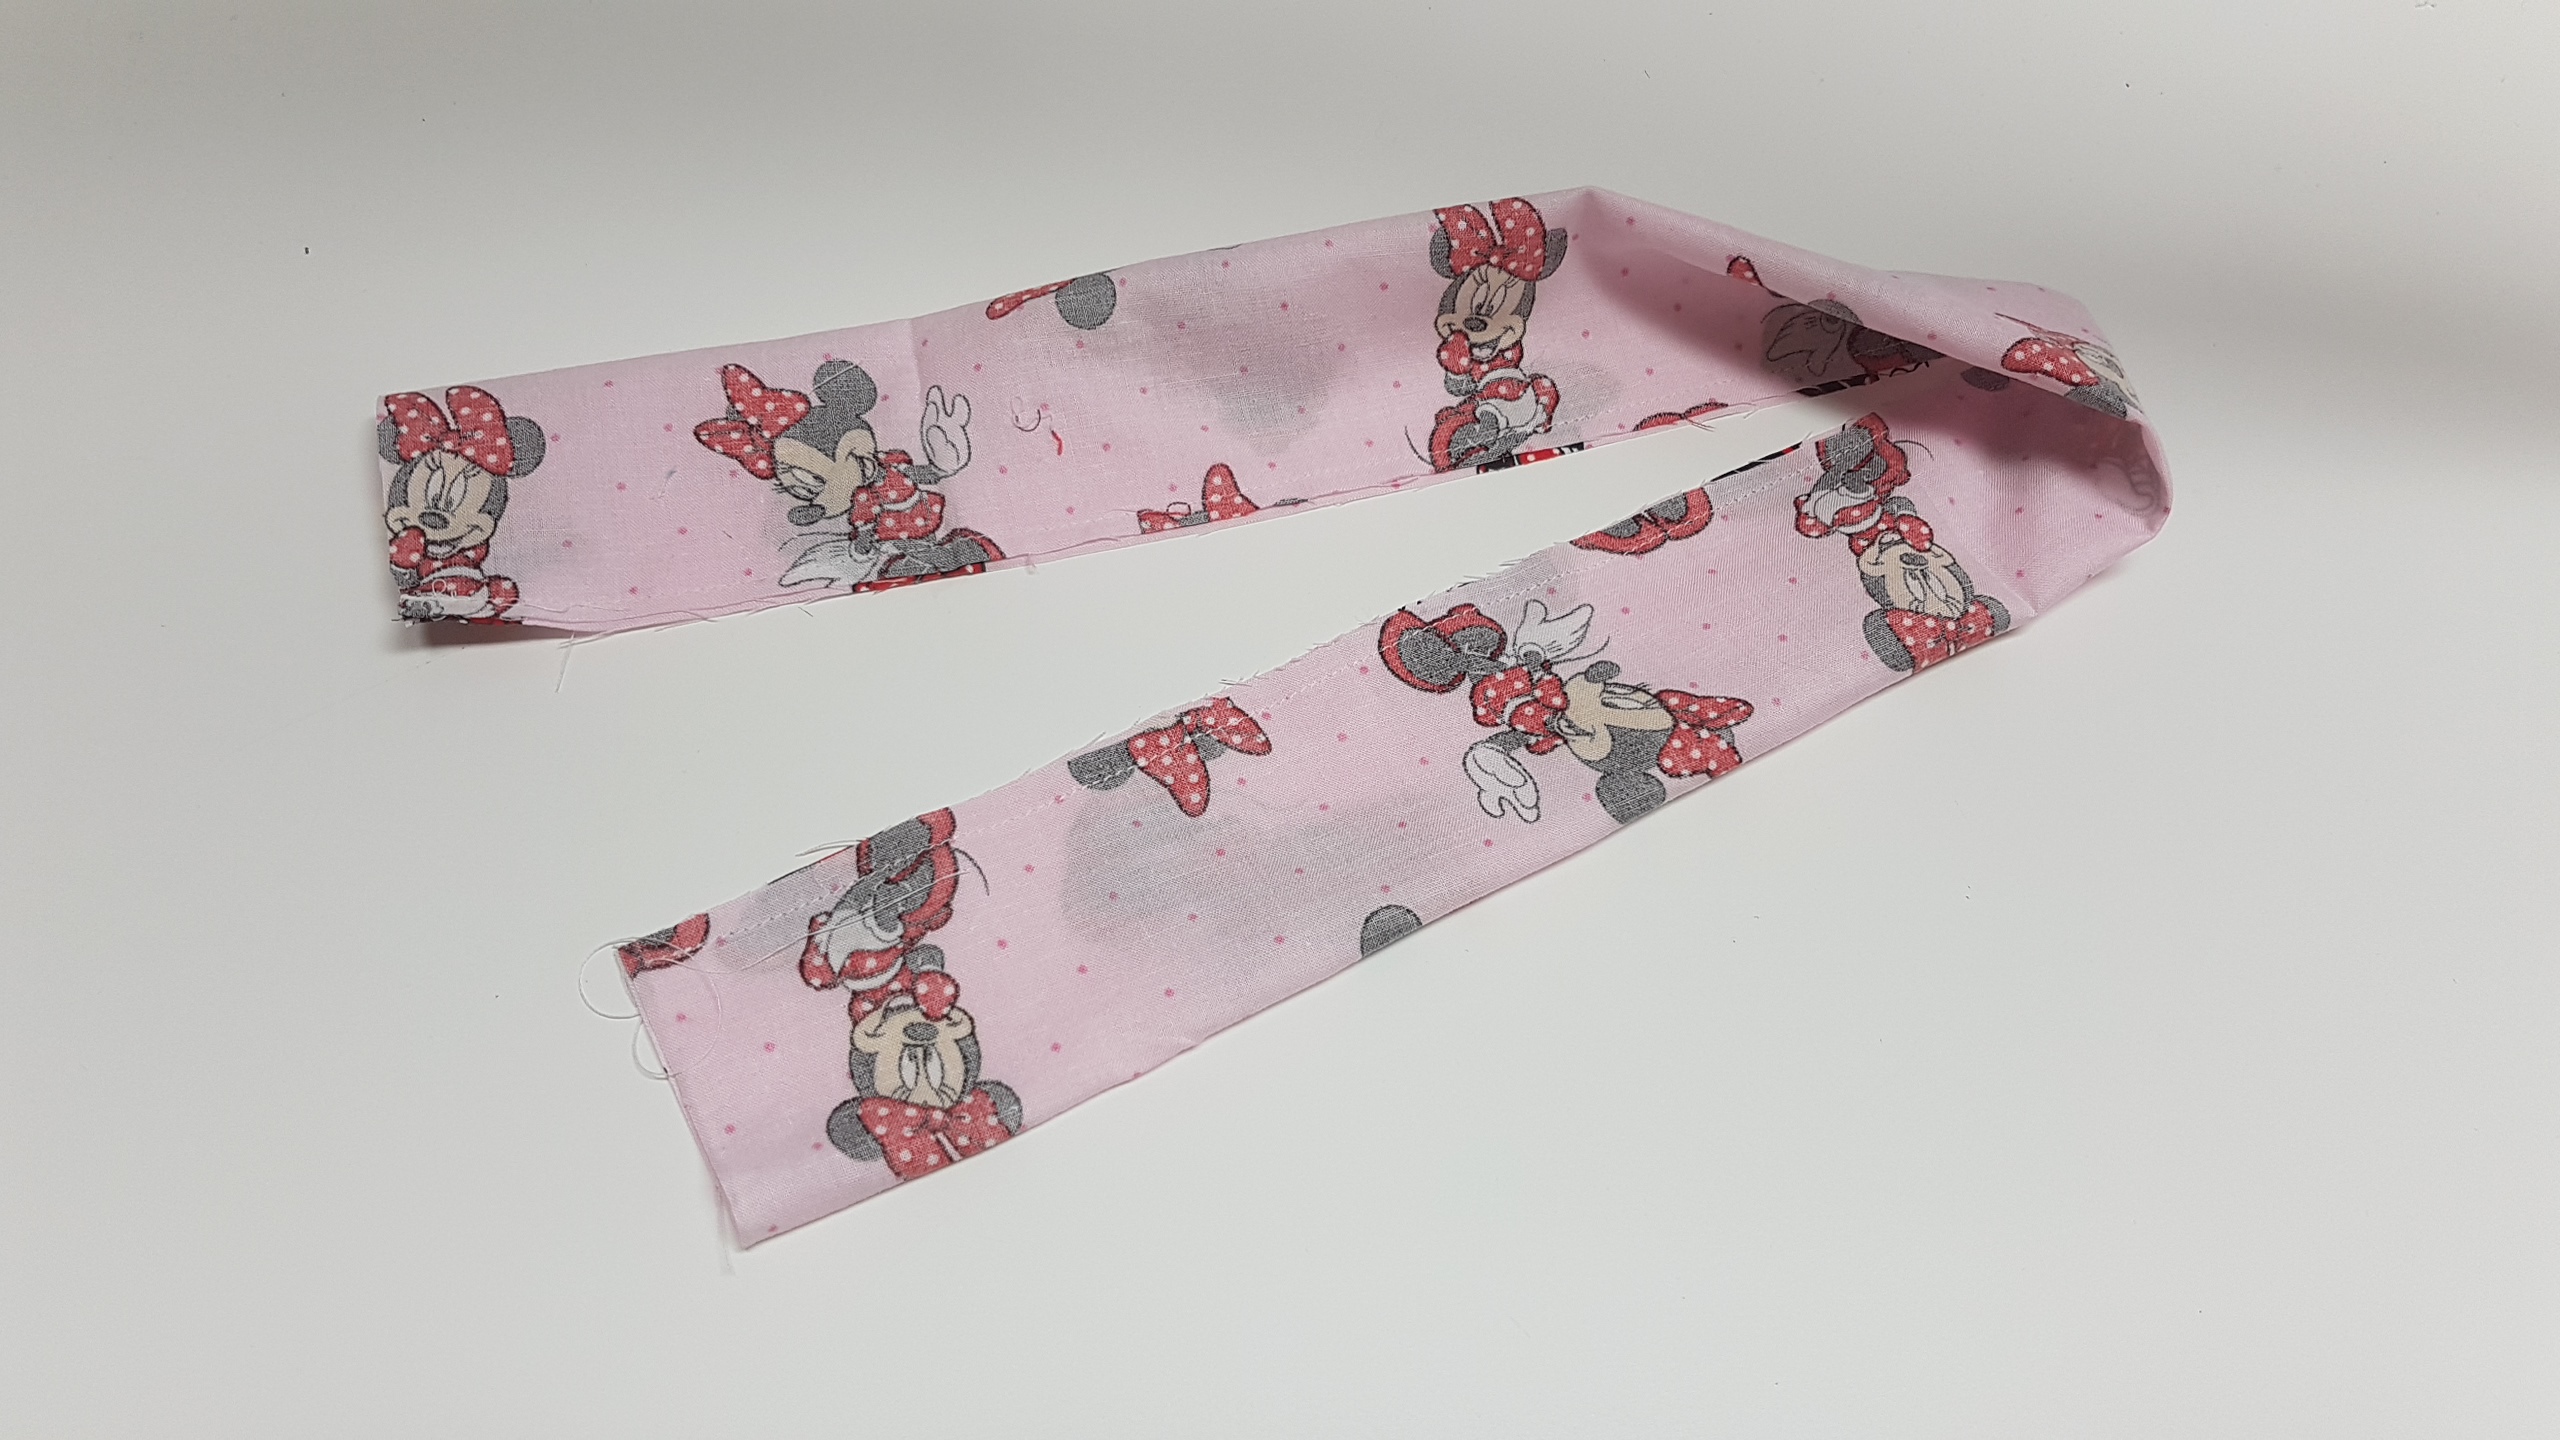
then turn the piece right sides out
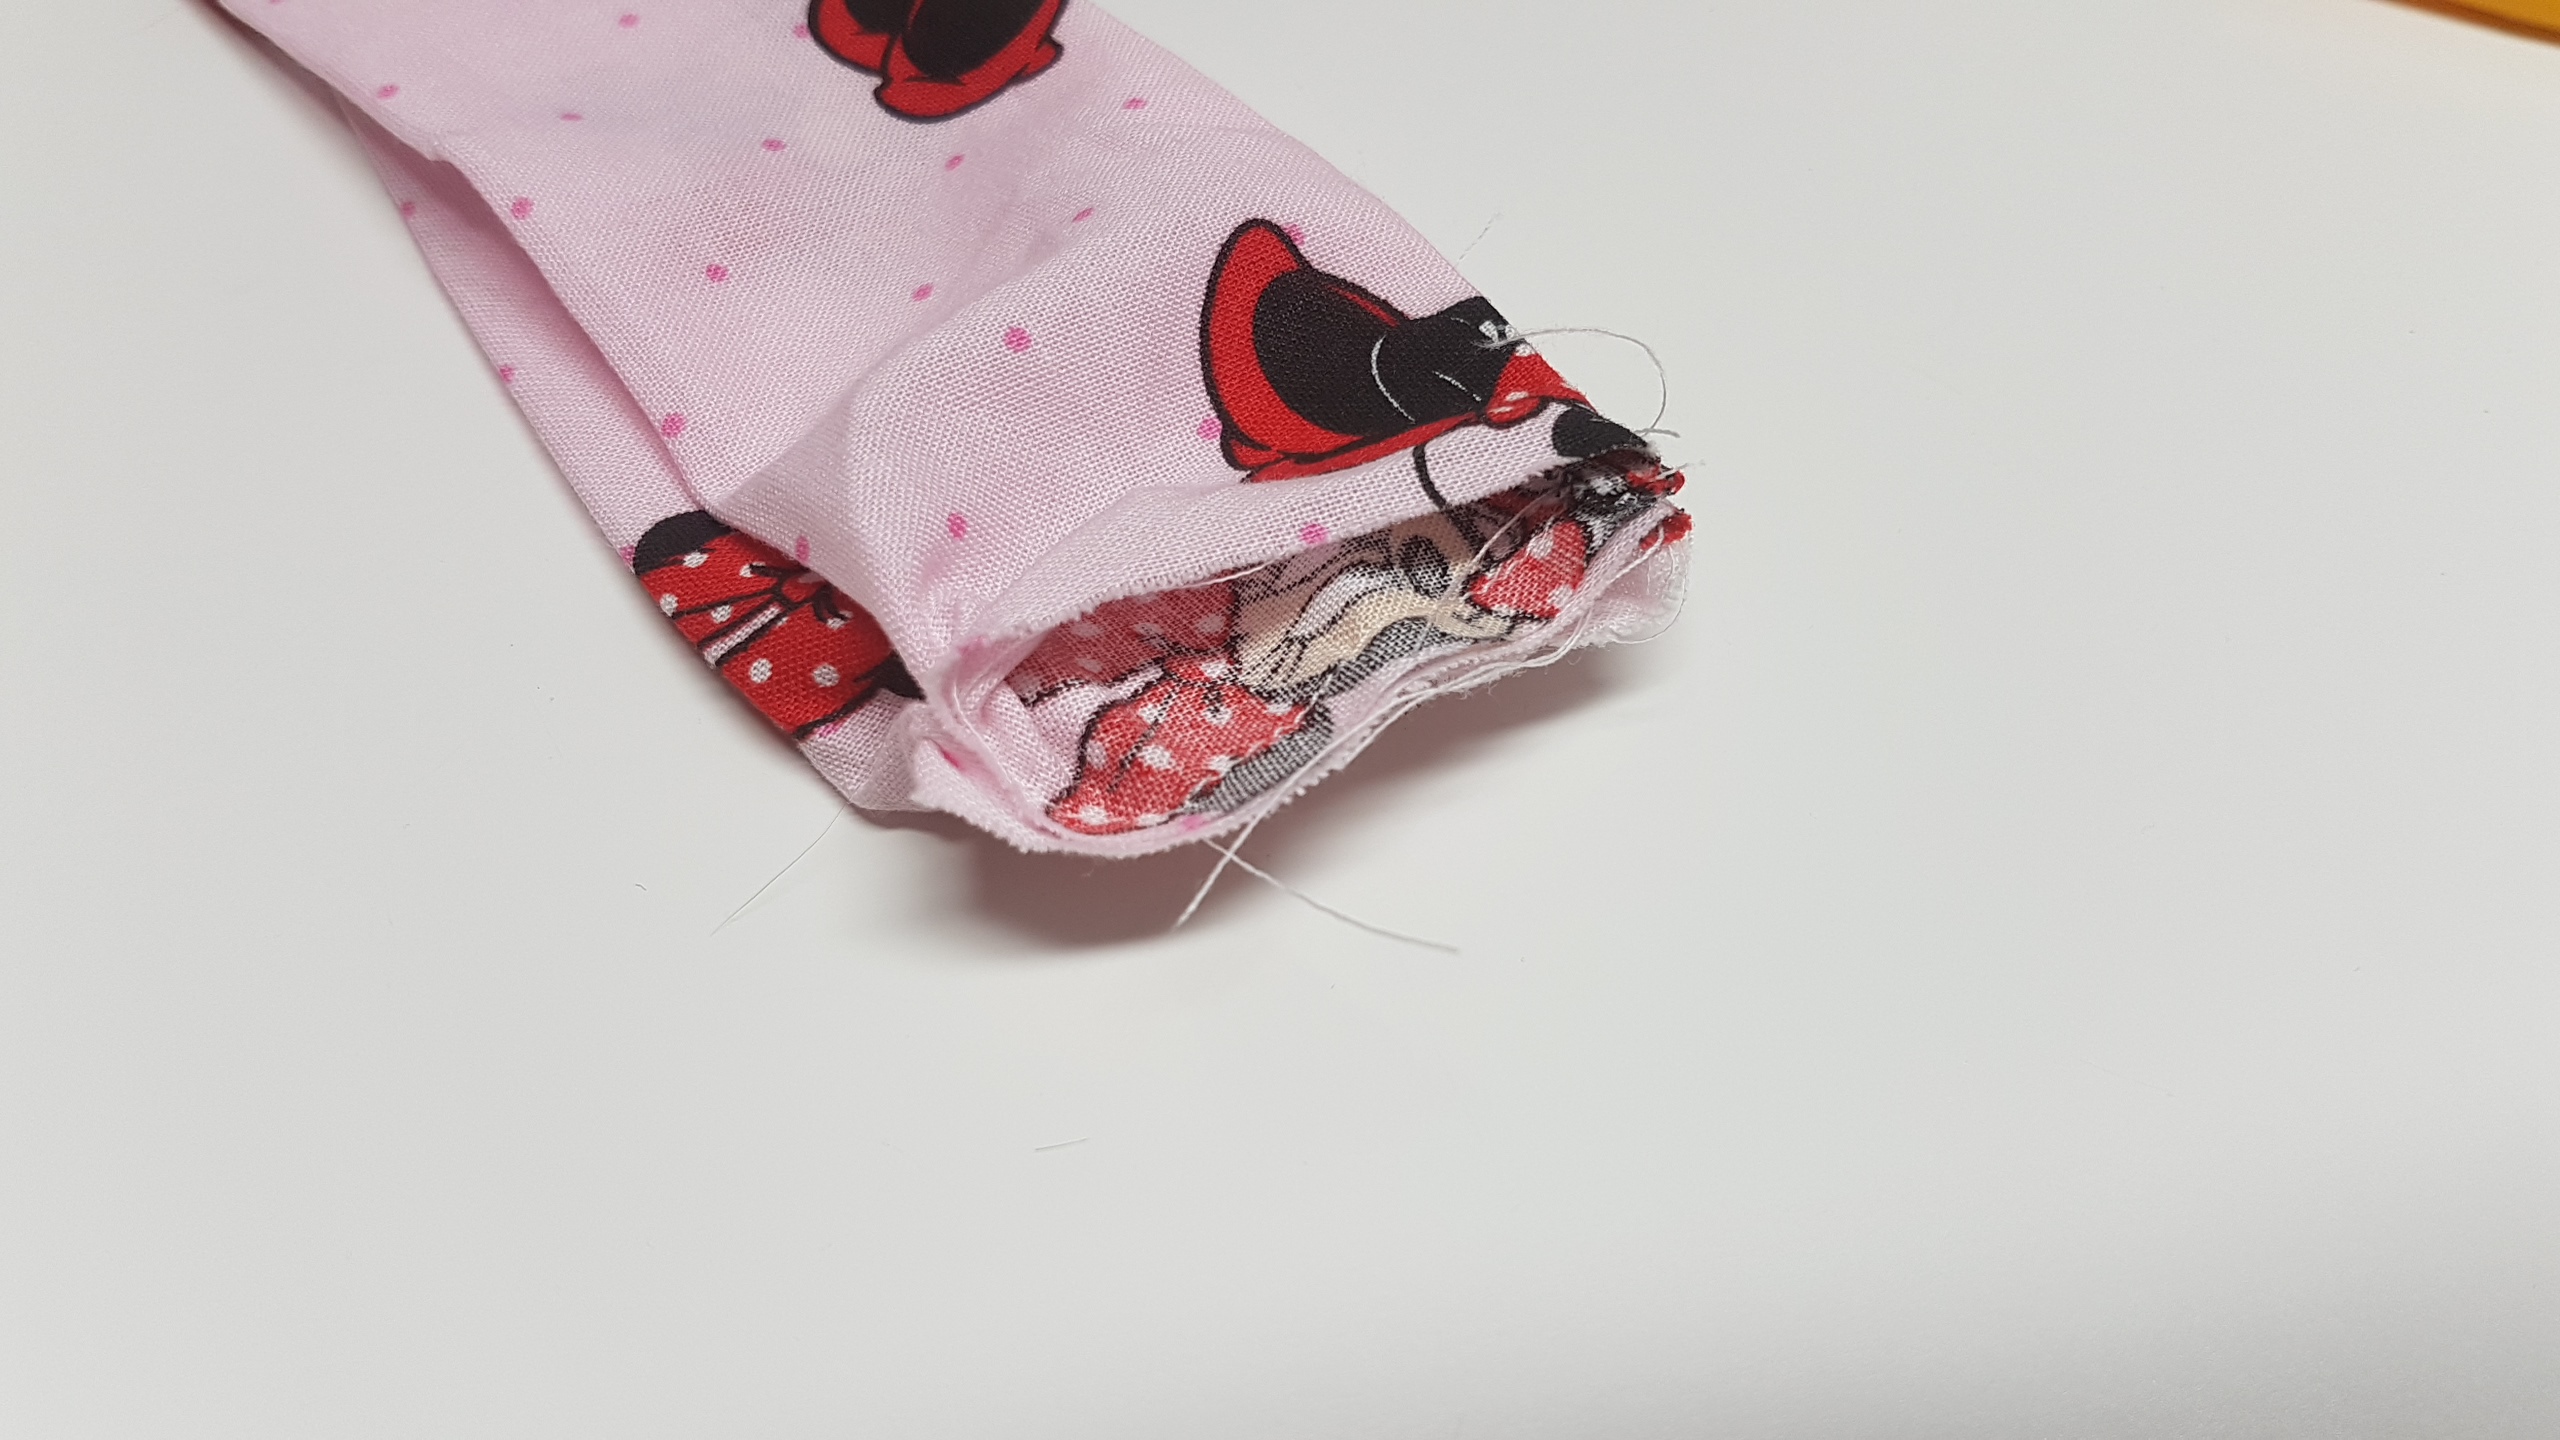
now that you have your piece right sides out you will take the raw edges of the open ends and place them right sides together on the one side, place the piece under your presser foot and start sewing the inside of the piece, this is very awkward and you will probably need some sharp tools to help push the fabric through the foot. if you have difficulties at this step refer to the video for more instructions linked below!
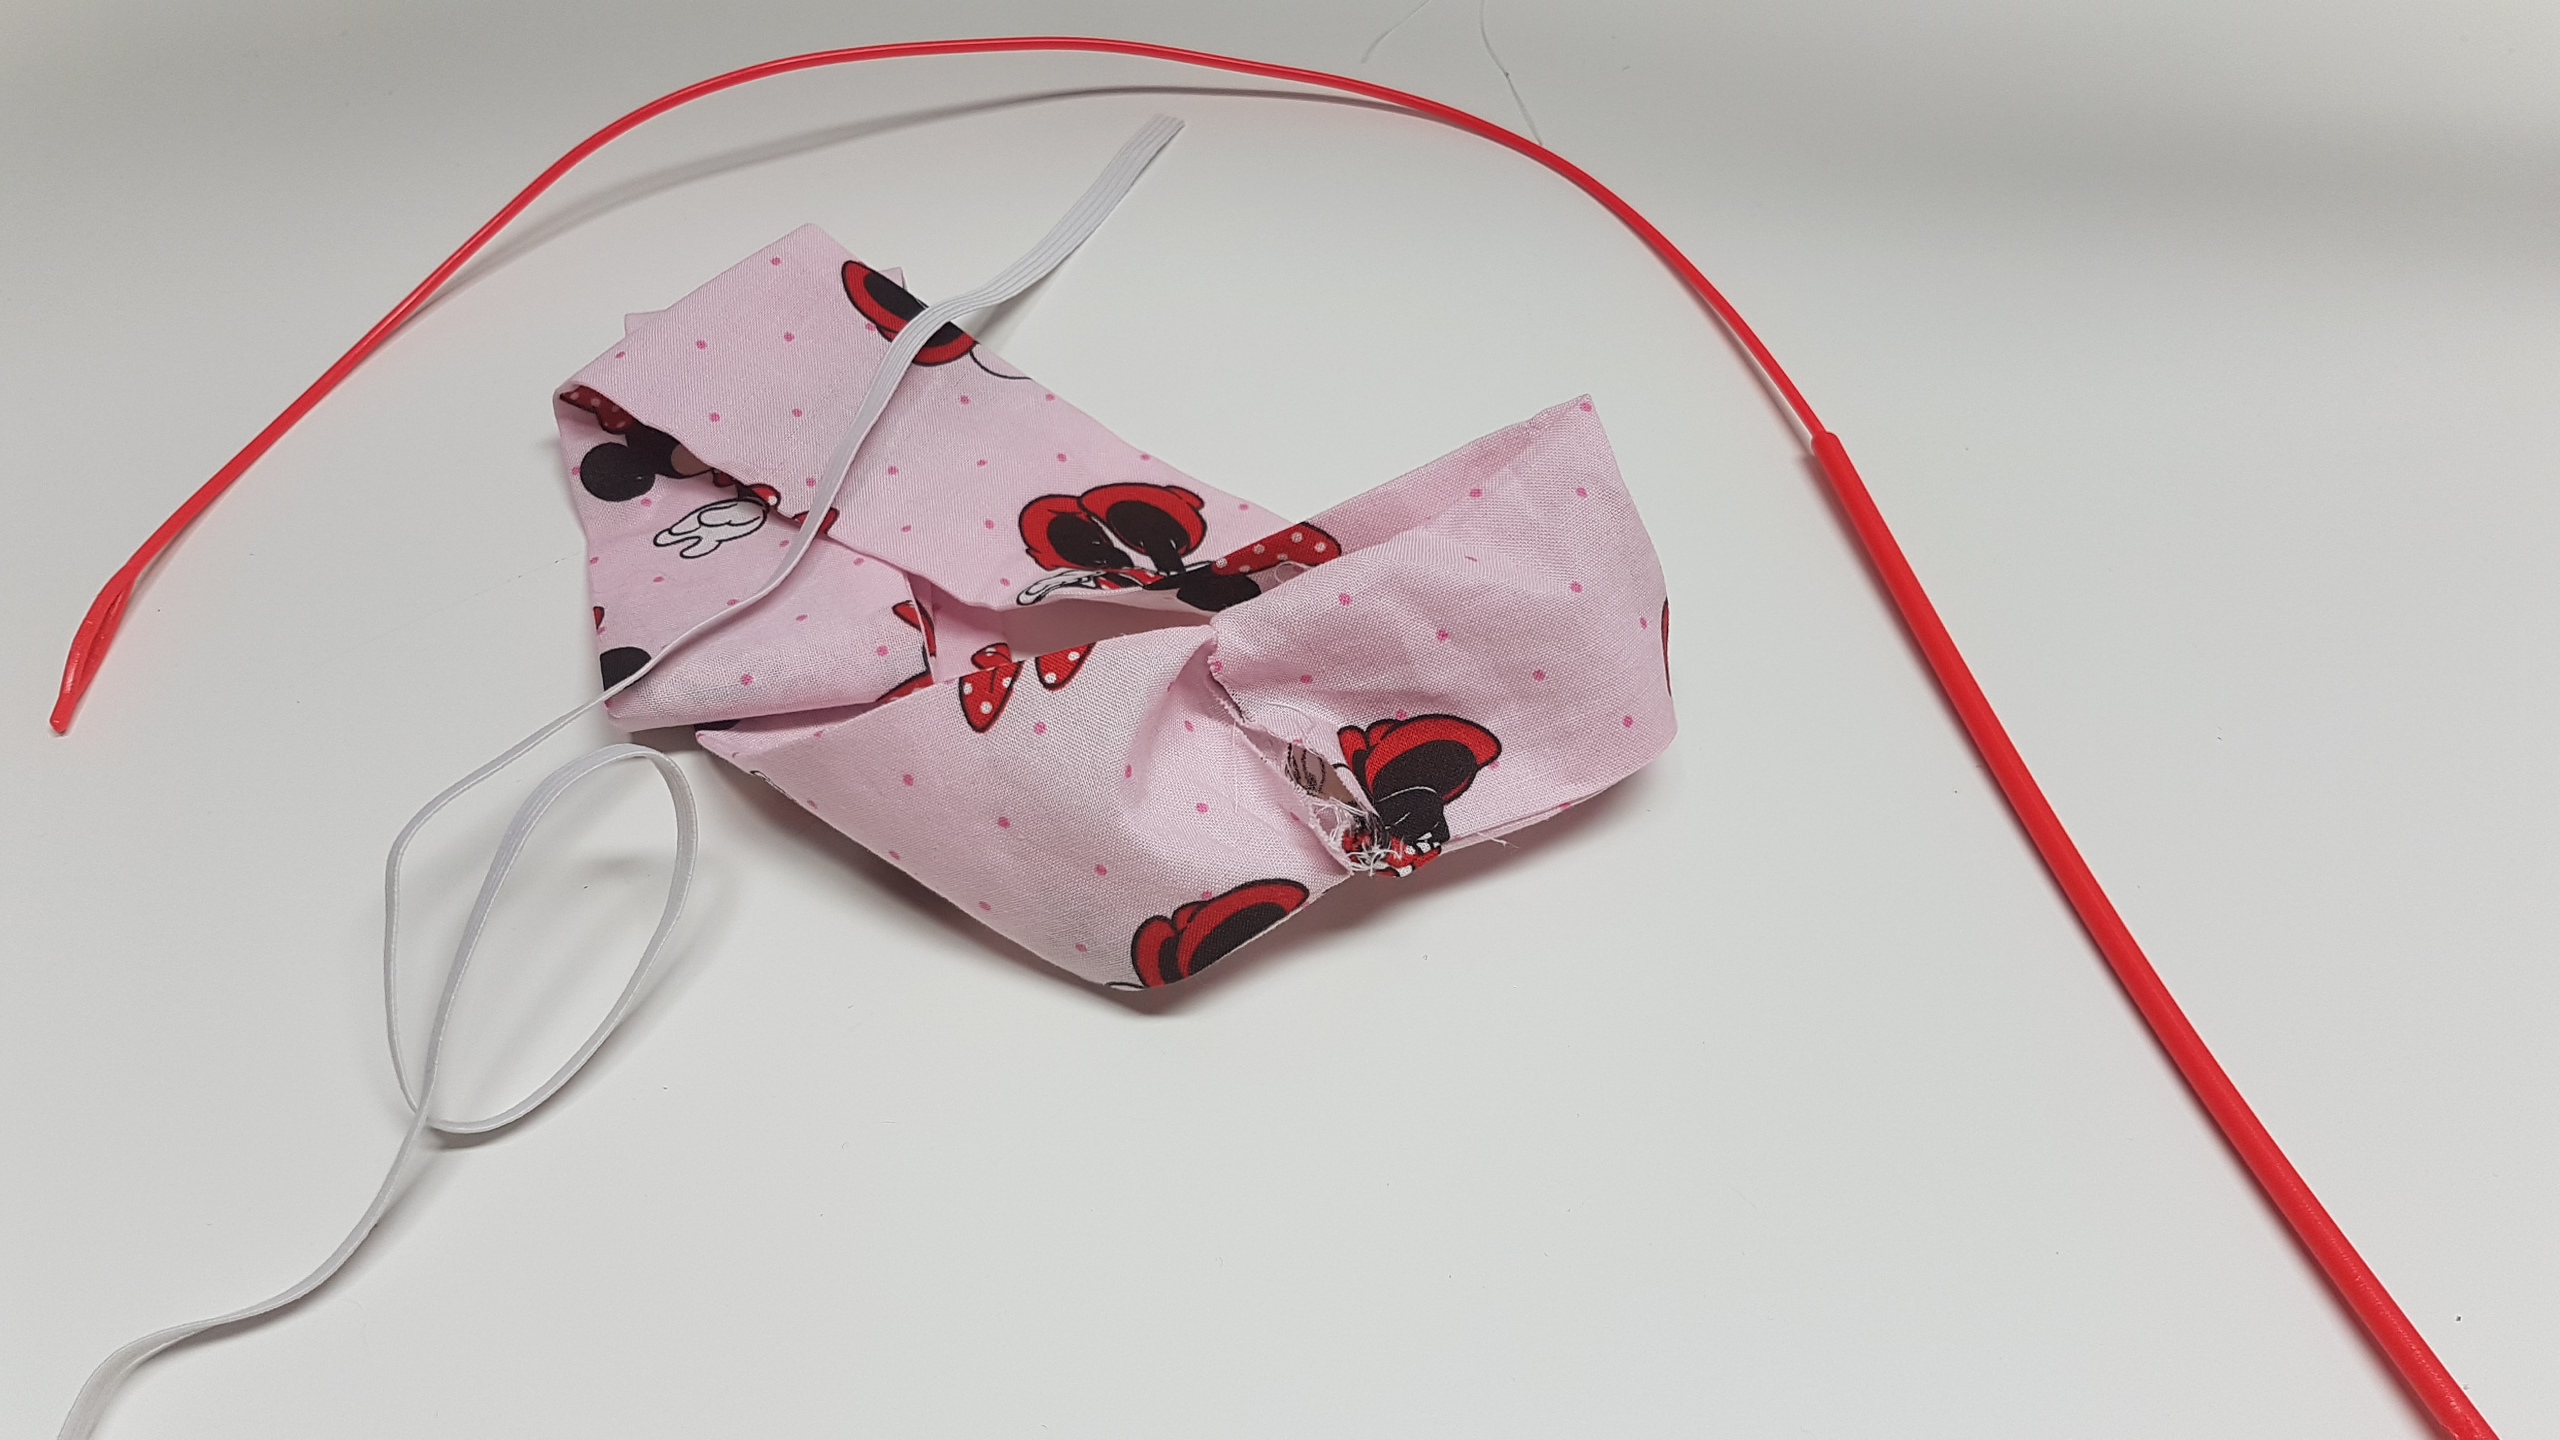
Once you sew as far as you can you will be left with a hole, this is where you will insert your elastic.
I like to use this handy tool that feeds into the sleeve holds onto the elastic and pulls it back through easily
I like to just feed in my long elastic and then cut to size that i like but if i were to estimate i would say the elastic is about 3″ or 4 ” in length
Depending on your elastic and how stretchy it is will determine your elastic length also
Next you will push the elastic inside the piece, and fold in the raw edges of the hole and do a top stitch to close it up

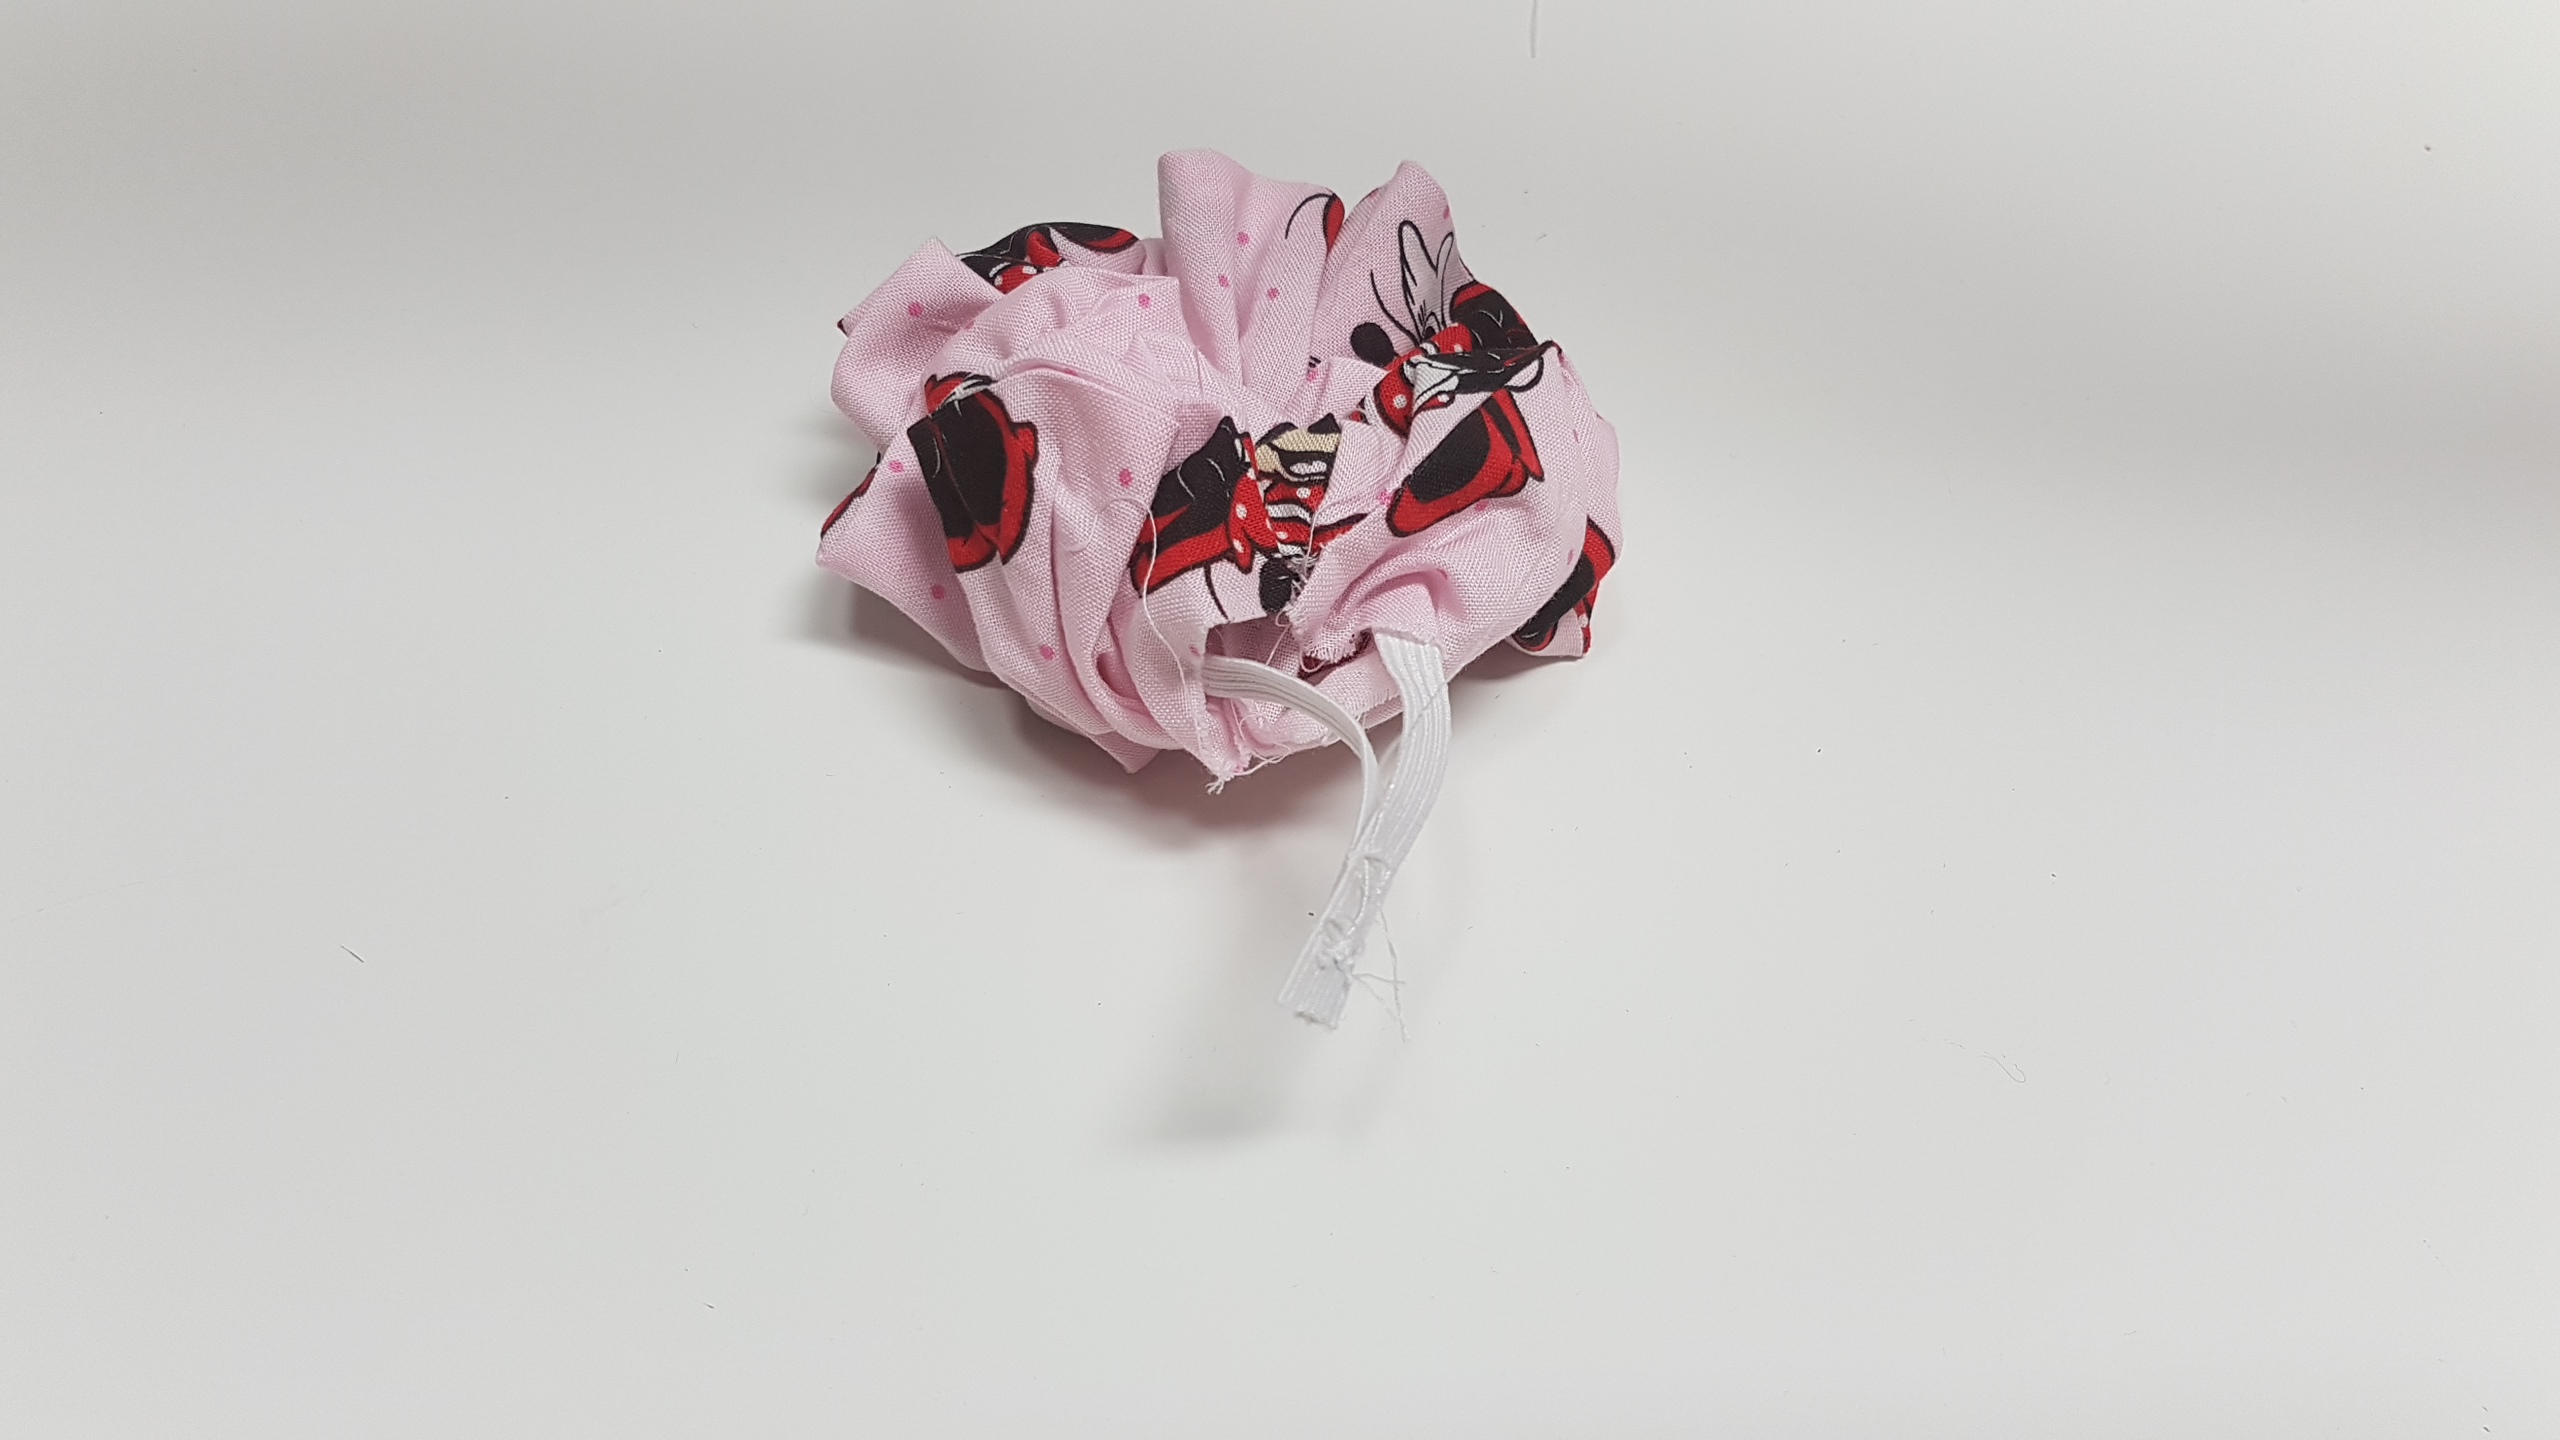
This is how it will look when its finished! perfect for little girls, dancing competitions for some added flare or to protect your hair while you sleep!
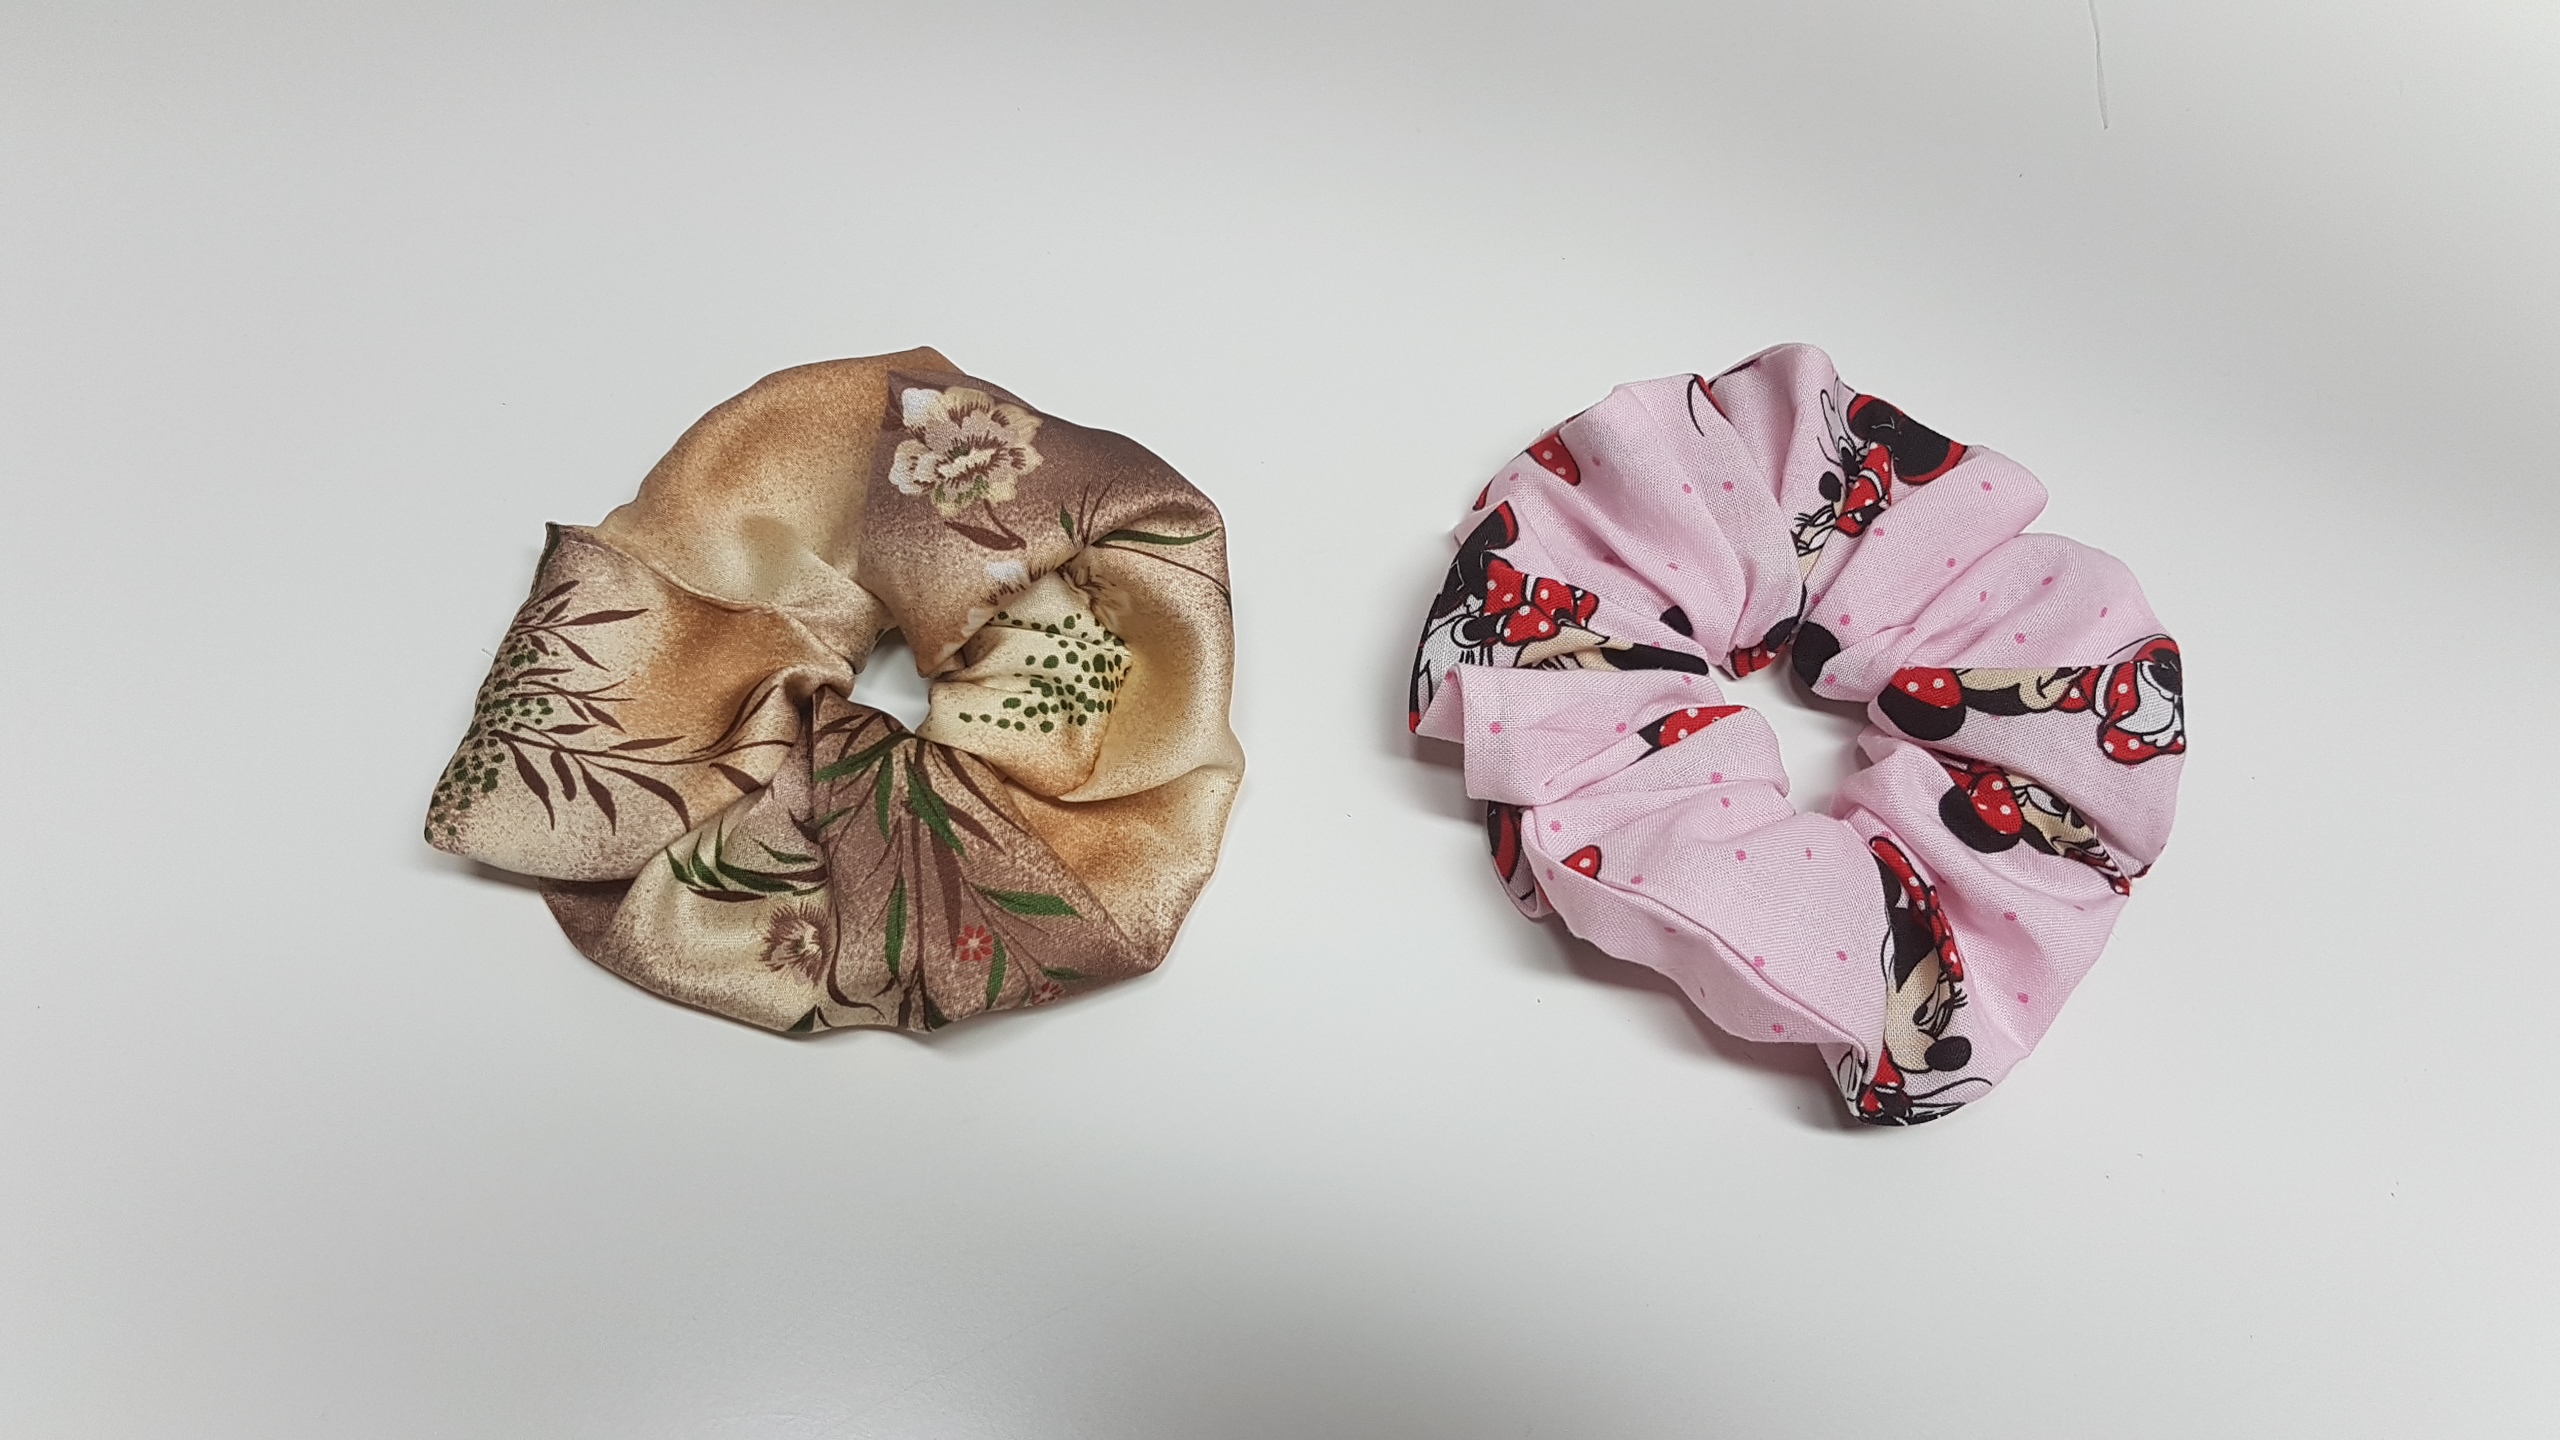
Here is a Silk Scrunchie as well as the cotton one!


0 Comments