
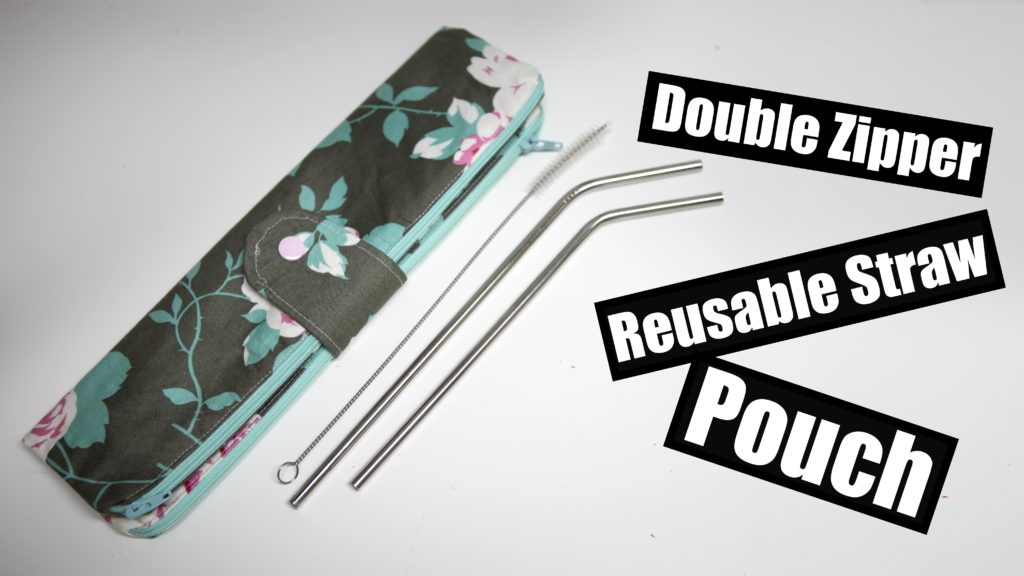
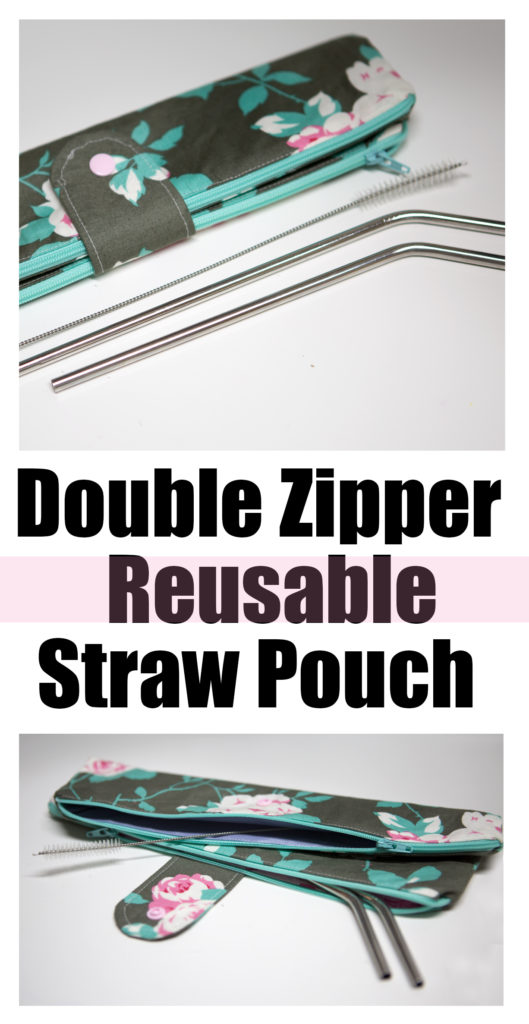
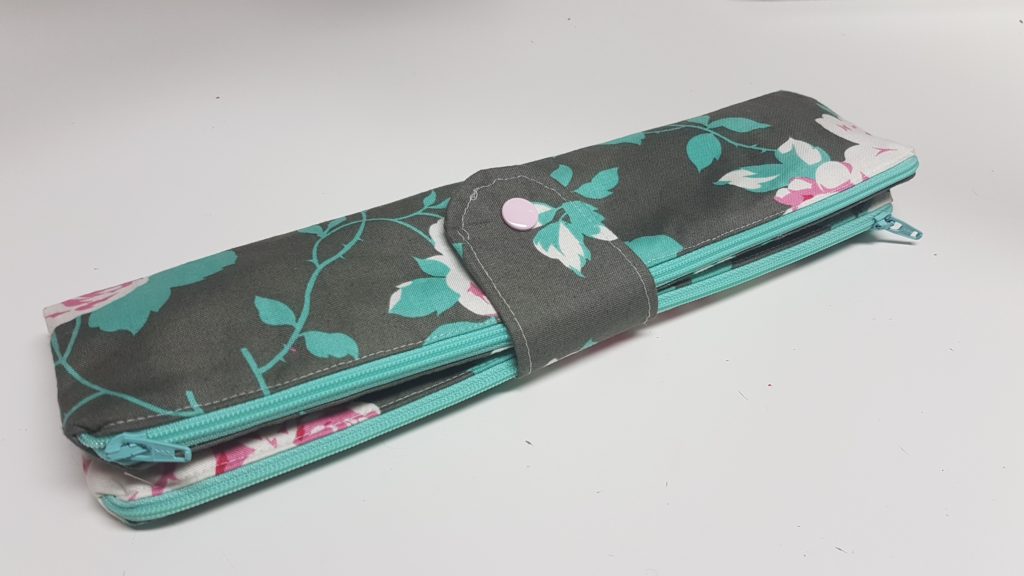
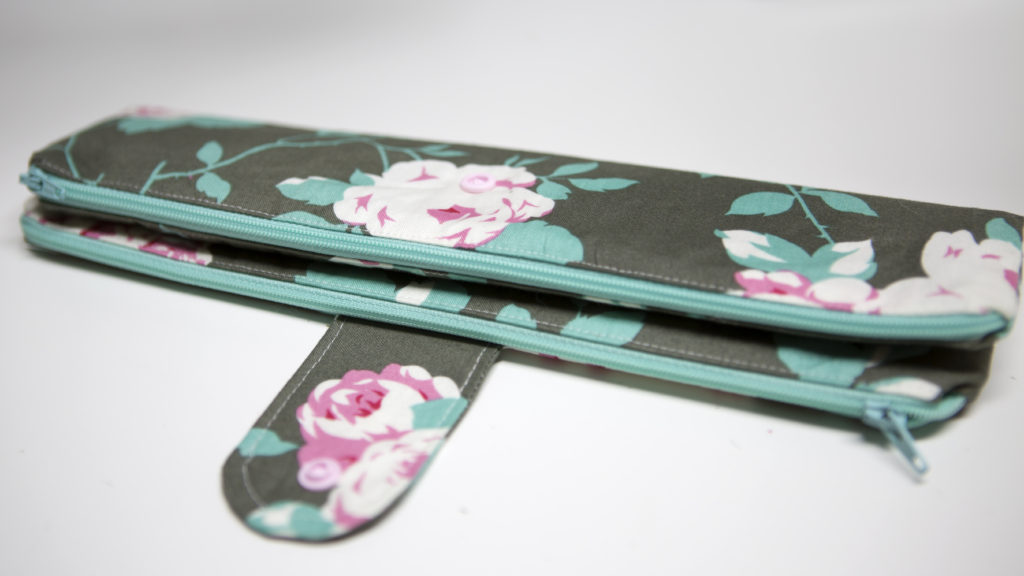
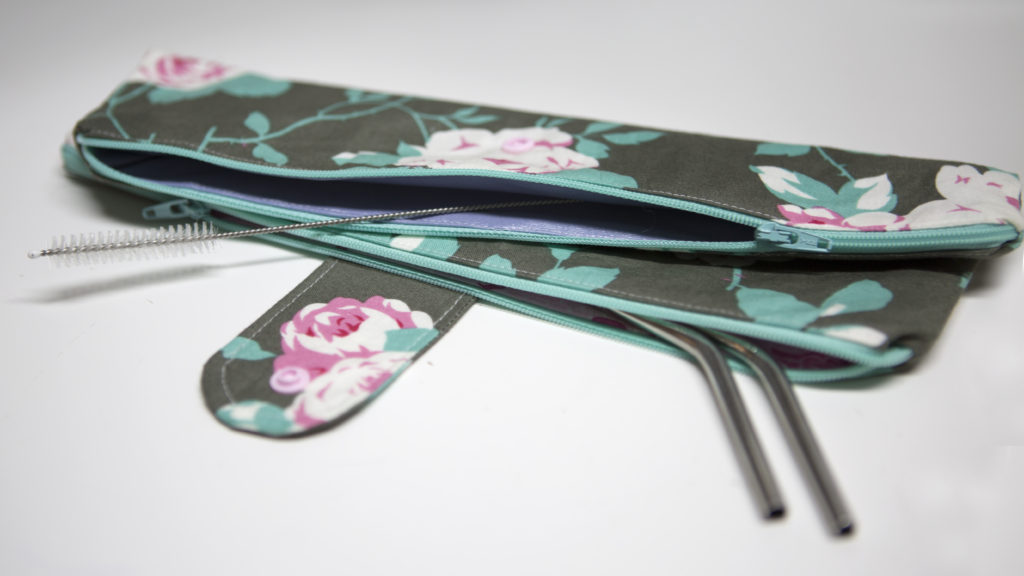
This is the tutorial for the double zipper reusable straw pouch
What is so special about this zipper pouch? This travel pouch has two seperate compartments, one pouch for the clean straws and one waterproof pouch for the dirty ones
This is a Video tutorial but here you will find photos to support that video and also the measurements so you can make your very own reusable straw pouch.
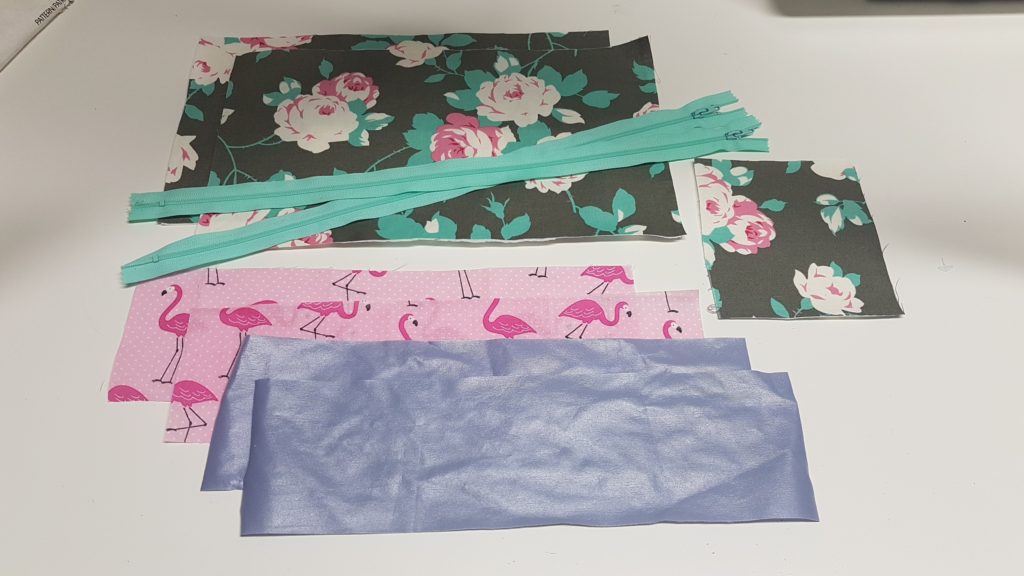
Materials
Cotton fabric
2 x Zippers longer then 13″
Optional – medium weight interfacing
Option – PUL for a waterproof pocket
The Straws! There are Metal, Bamboo or even Glass straws
The Iron i use – Oliso Pink Iron
Measurements
Large outer pieces – 13″ x 7″ – Cut 2
Lining pieves – 13″ x 3.5″ – Cut 4
**if your going to make one a water proof pocket then cut 2 out of the water proof fabric and 2 out of Cotton
Tab piece – 4 1/2″ x 3.5″
**Interface tab piece and outer pieces if you wish
Choice of closure –
Plastic Snaps – Plastic Snap setter
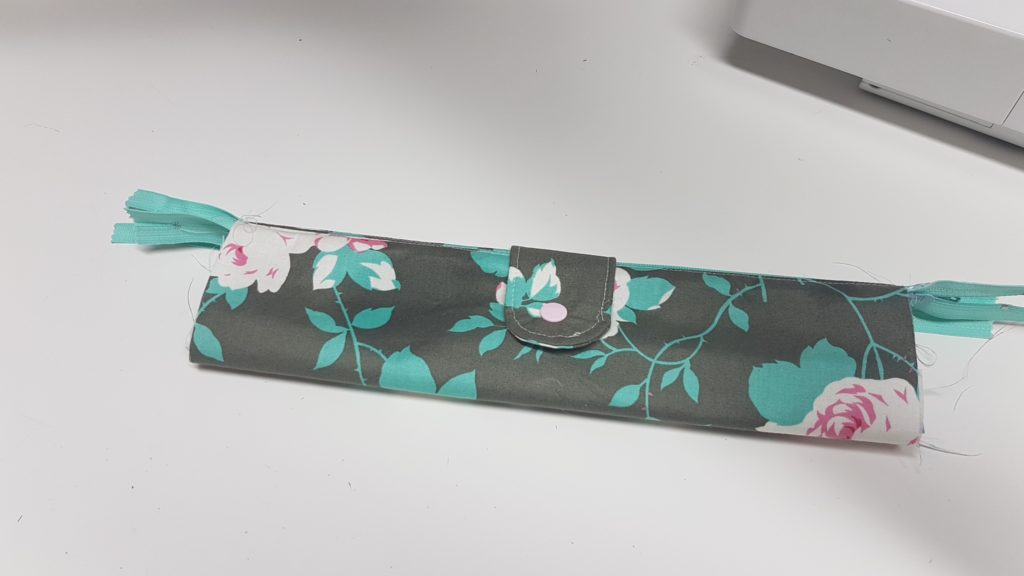
Step 1 – Fold tab piece in half length ways, sew down the long side and 1 short side, round the short corner if you wish to have a rounded tab
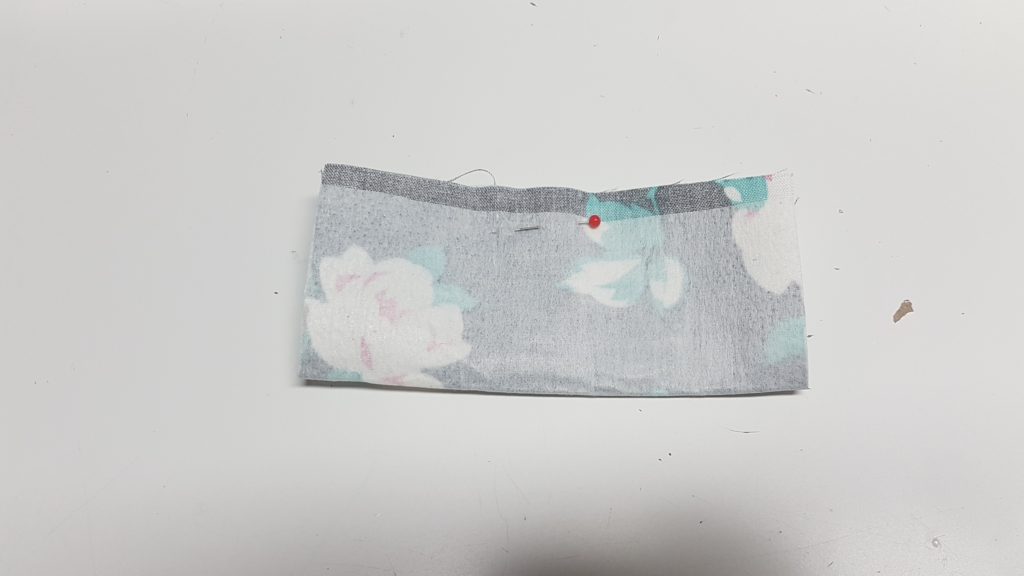
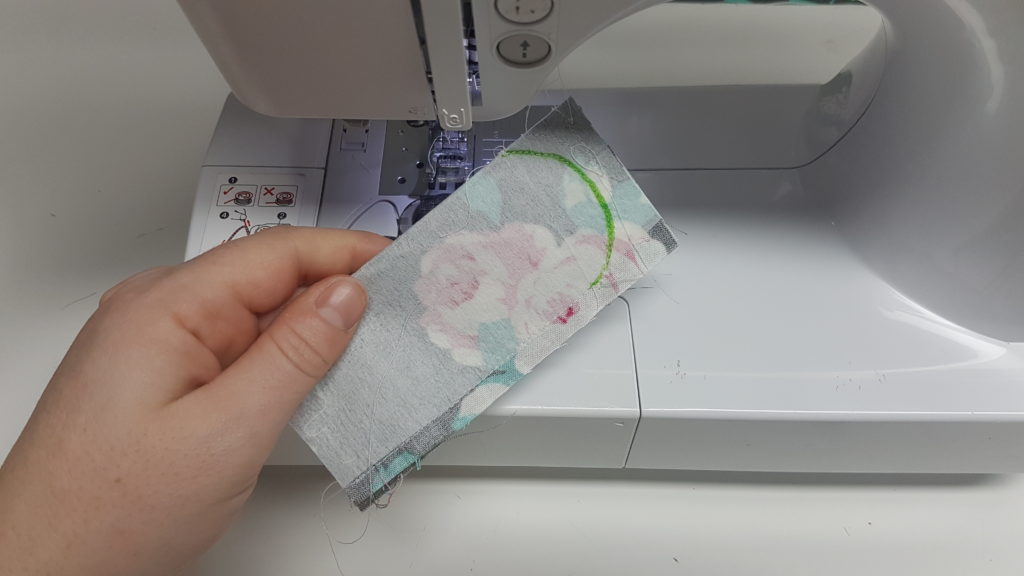
snip off the excess fabric and flip right sides out and press
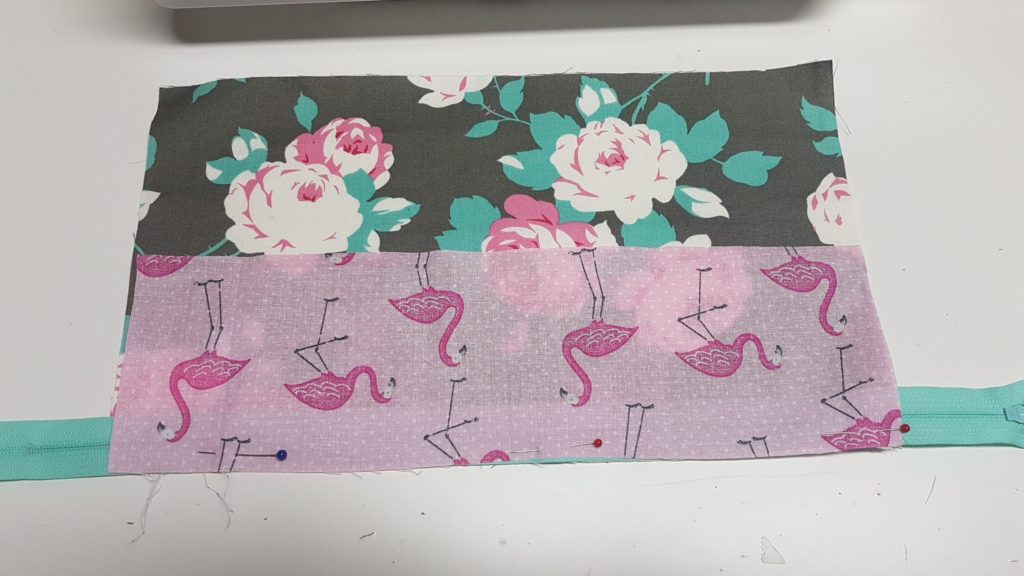
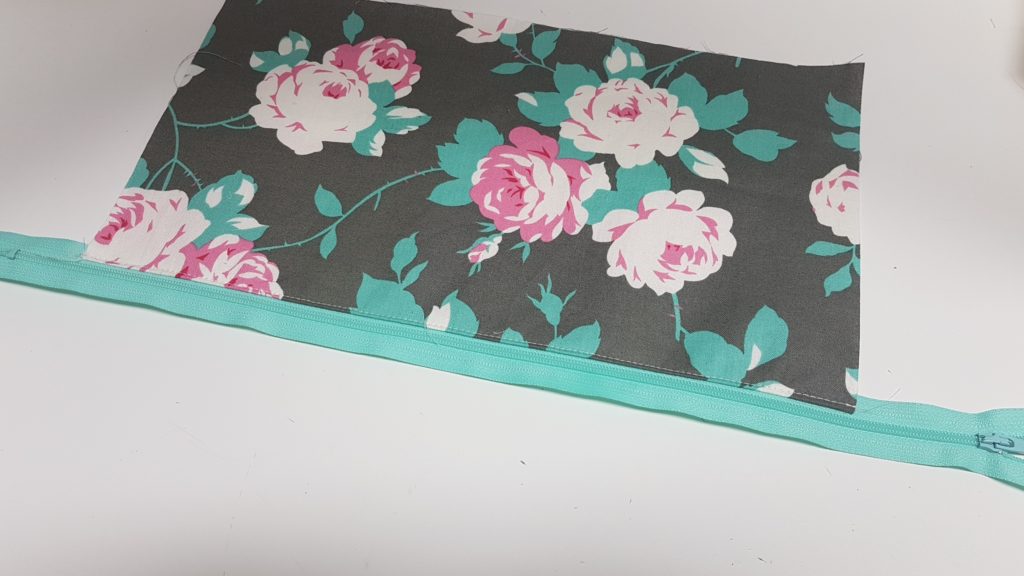
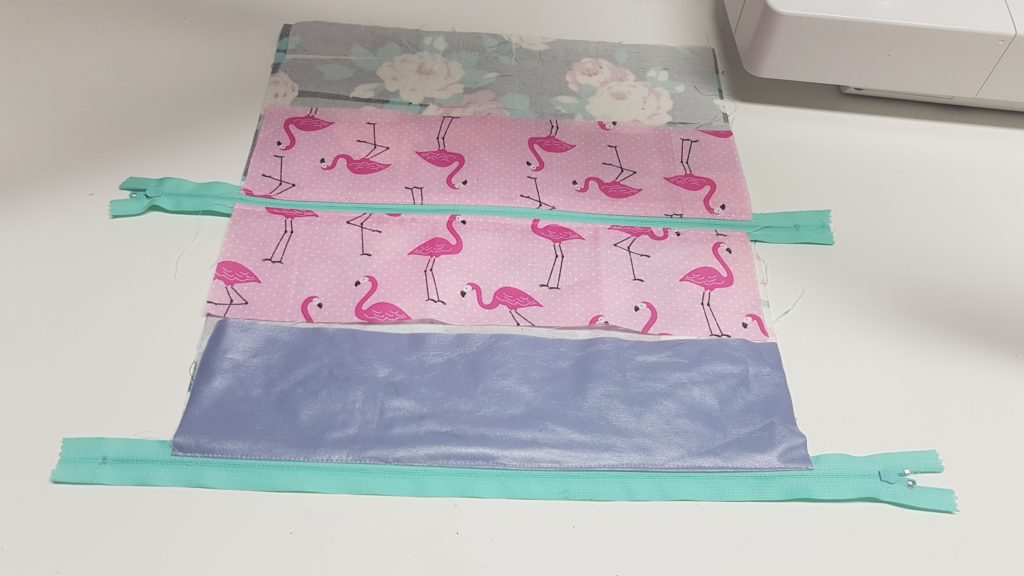
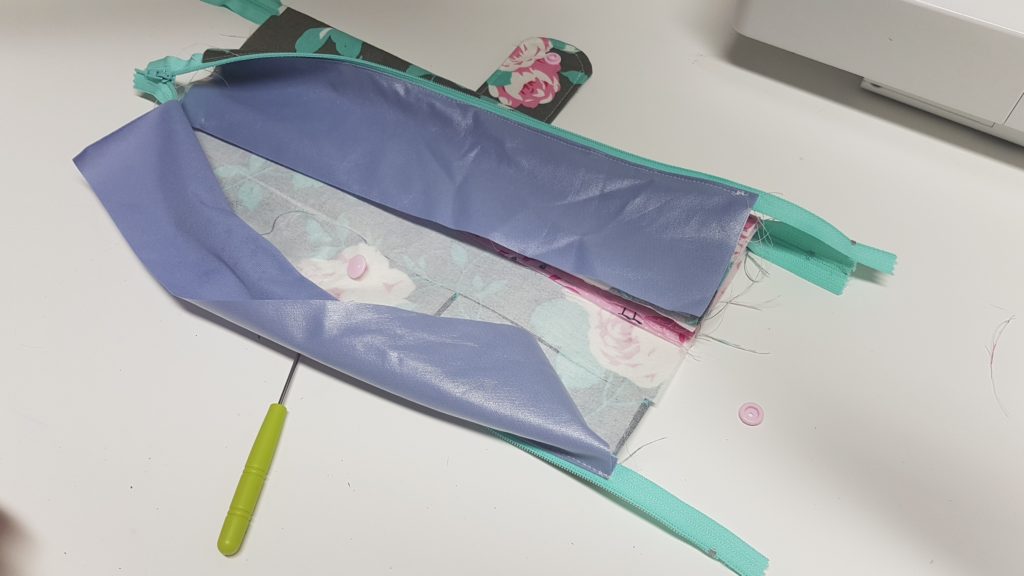
Begin installing the zipper, sandwhich the lining of the “clean pouch” with the outer fabric, sew and then flip right sides out and top stitch
Place other outer piece and second “clean pouch” lining and sandwhich the fabric, place your tab piece lining up the raw edges and centreing the tab
sew along the edge, flip right sides out and top stitch along the zipper
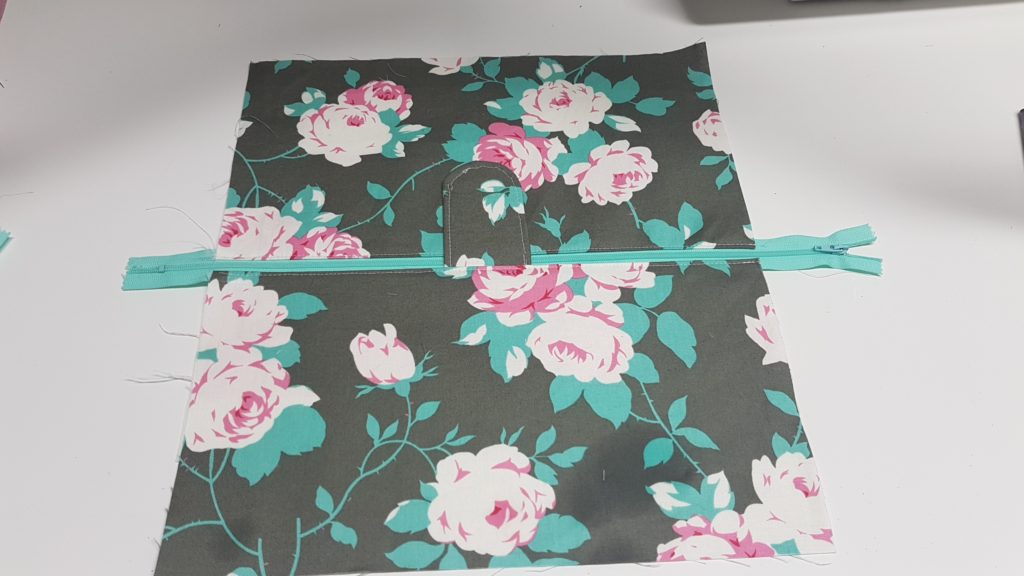
*Note the tab piece, make sure you dont top stitch over your tab

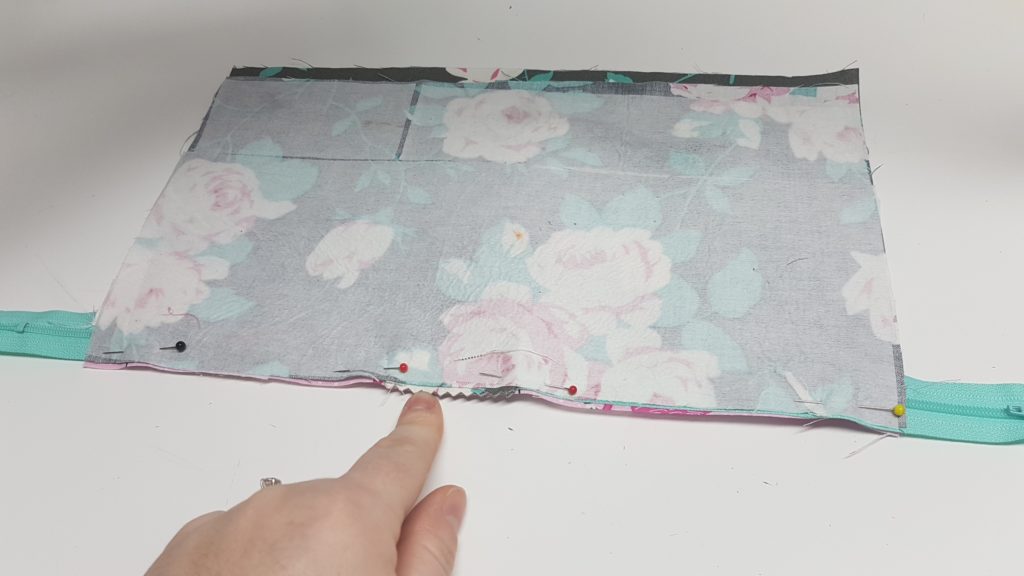
Now to install the second zipper on the other side of the outer fabric in the same way.
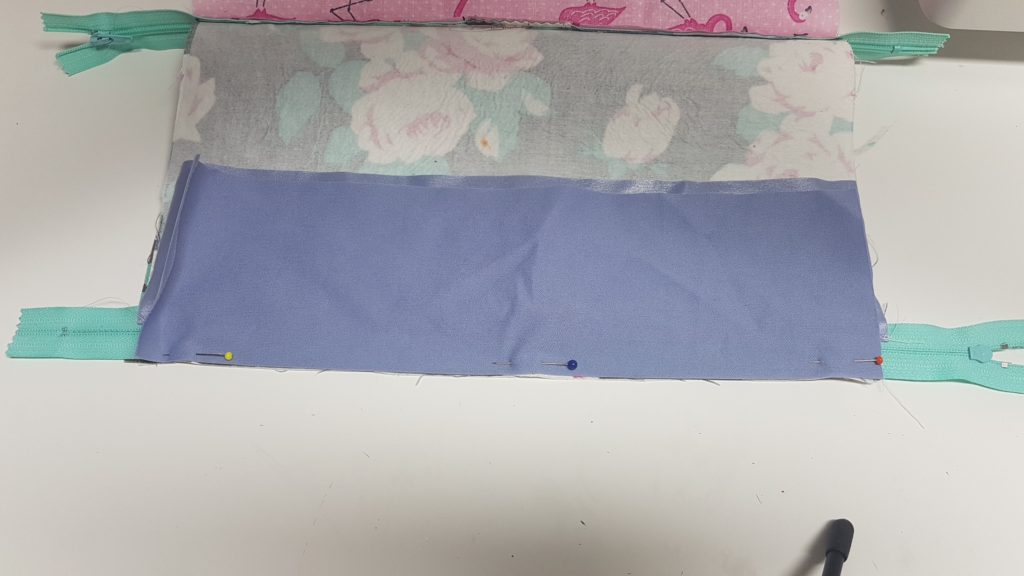
when doing the top stitch on the last two peices you will need to unzip the zipper so you can place it in the sewing machine.
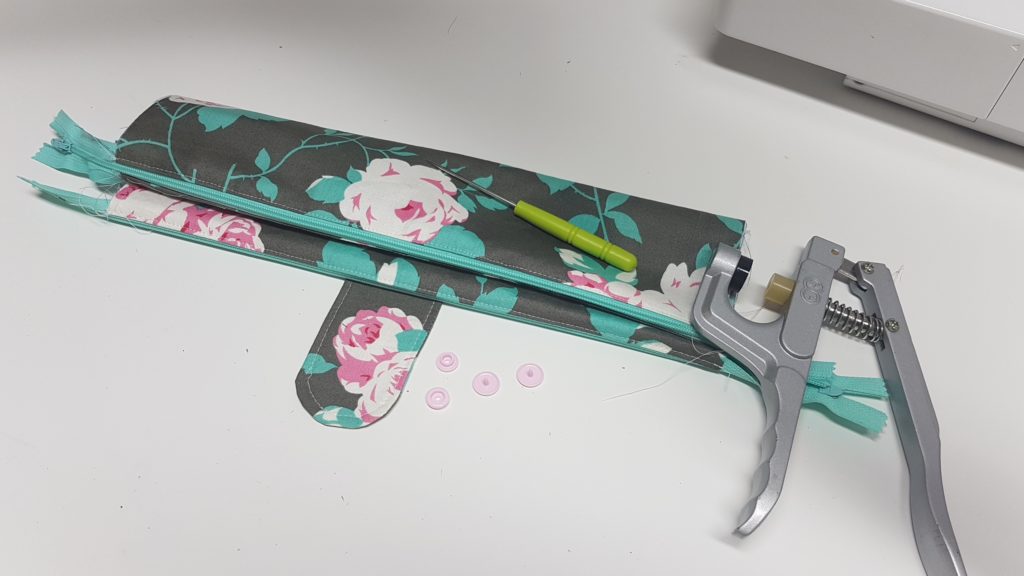
Now we will decide out closure, i will be using Plastic snaps but you can use velcro, or magnetic closure
Centre your male end on the tab piece. fold over your tab to find the placement of the female end. because the pouch isnt completely sewn i can place my female end on the inside of the bag and it doesnt infringe on the pocket lining.
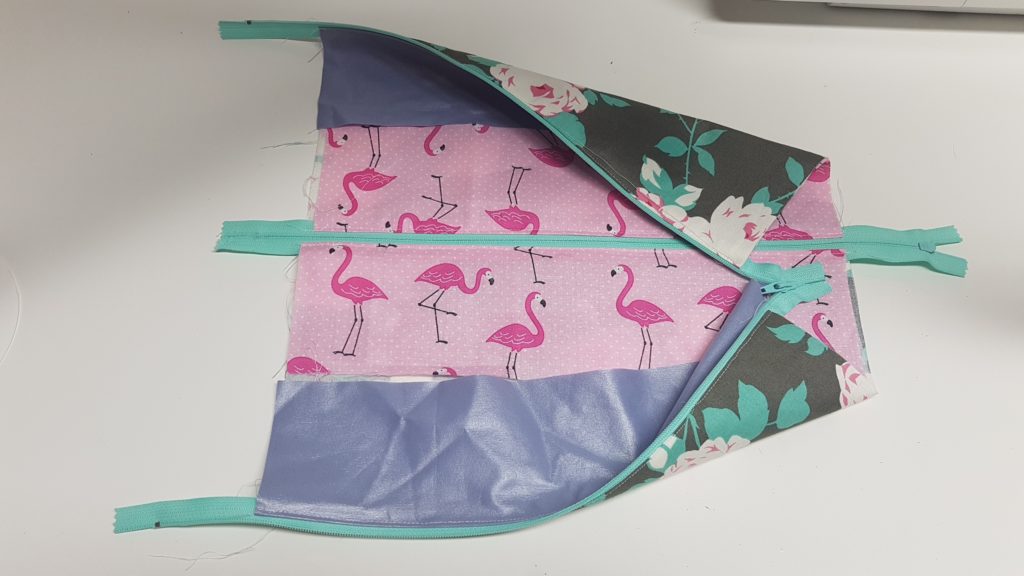
So now we will turn the bag inside out, bring all the right sides of each fabric together, make sure your raw edges of the lining fabrics are lined up so the zippers are sort of standing on their sides, this will ensure your zipper ends up nice and even once sewn

When sewing you will fold your zippers as your sew over top of them and also make sure you unzip the zipper so the zipper pull is inside the bag when you sew over the teeth.
Sew all the way around leaving a 4″ gap in the “clean pouch” lining
Flip the whole bag right sides out and close up the hole in the lining.


0 Comments