
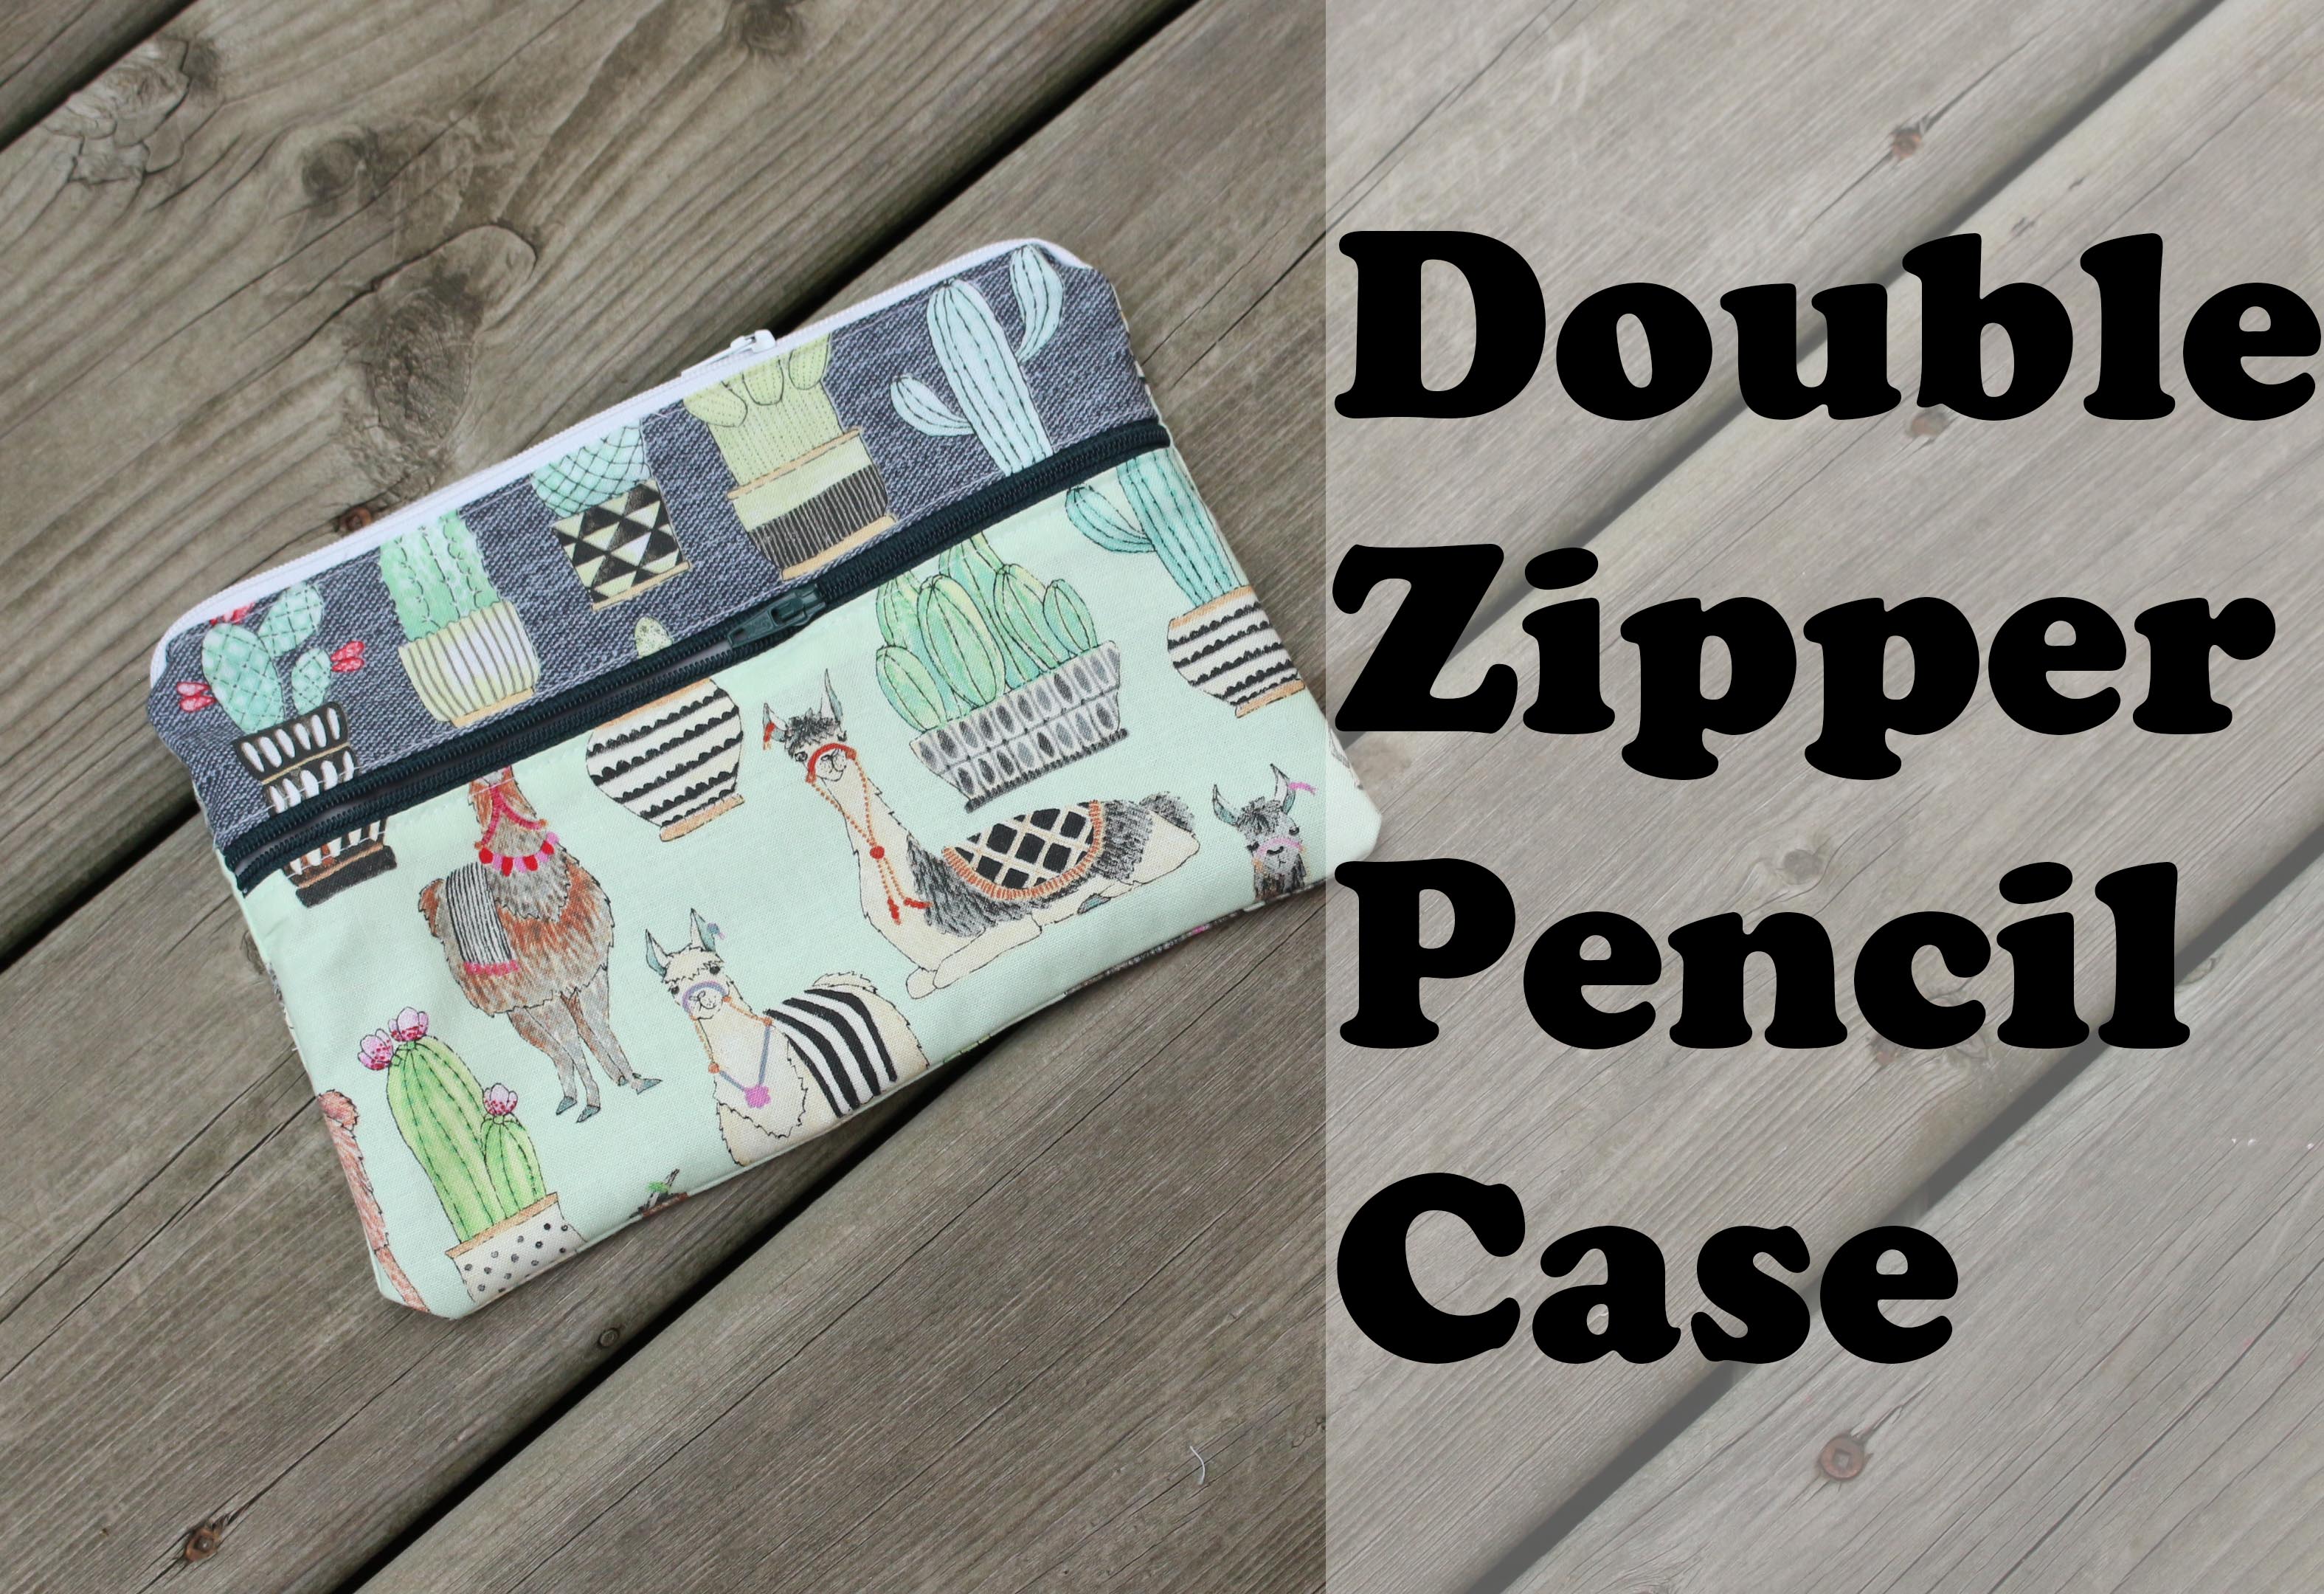
This is the tutorial for the Double Zipper pouch, To download this pattern first PIN This project and then download from the link below
Charmedbyashley-doublezipperpencilcase
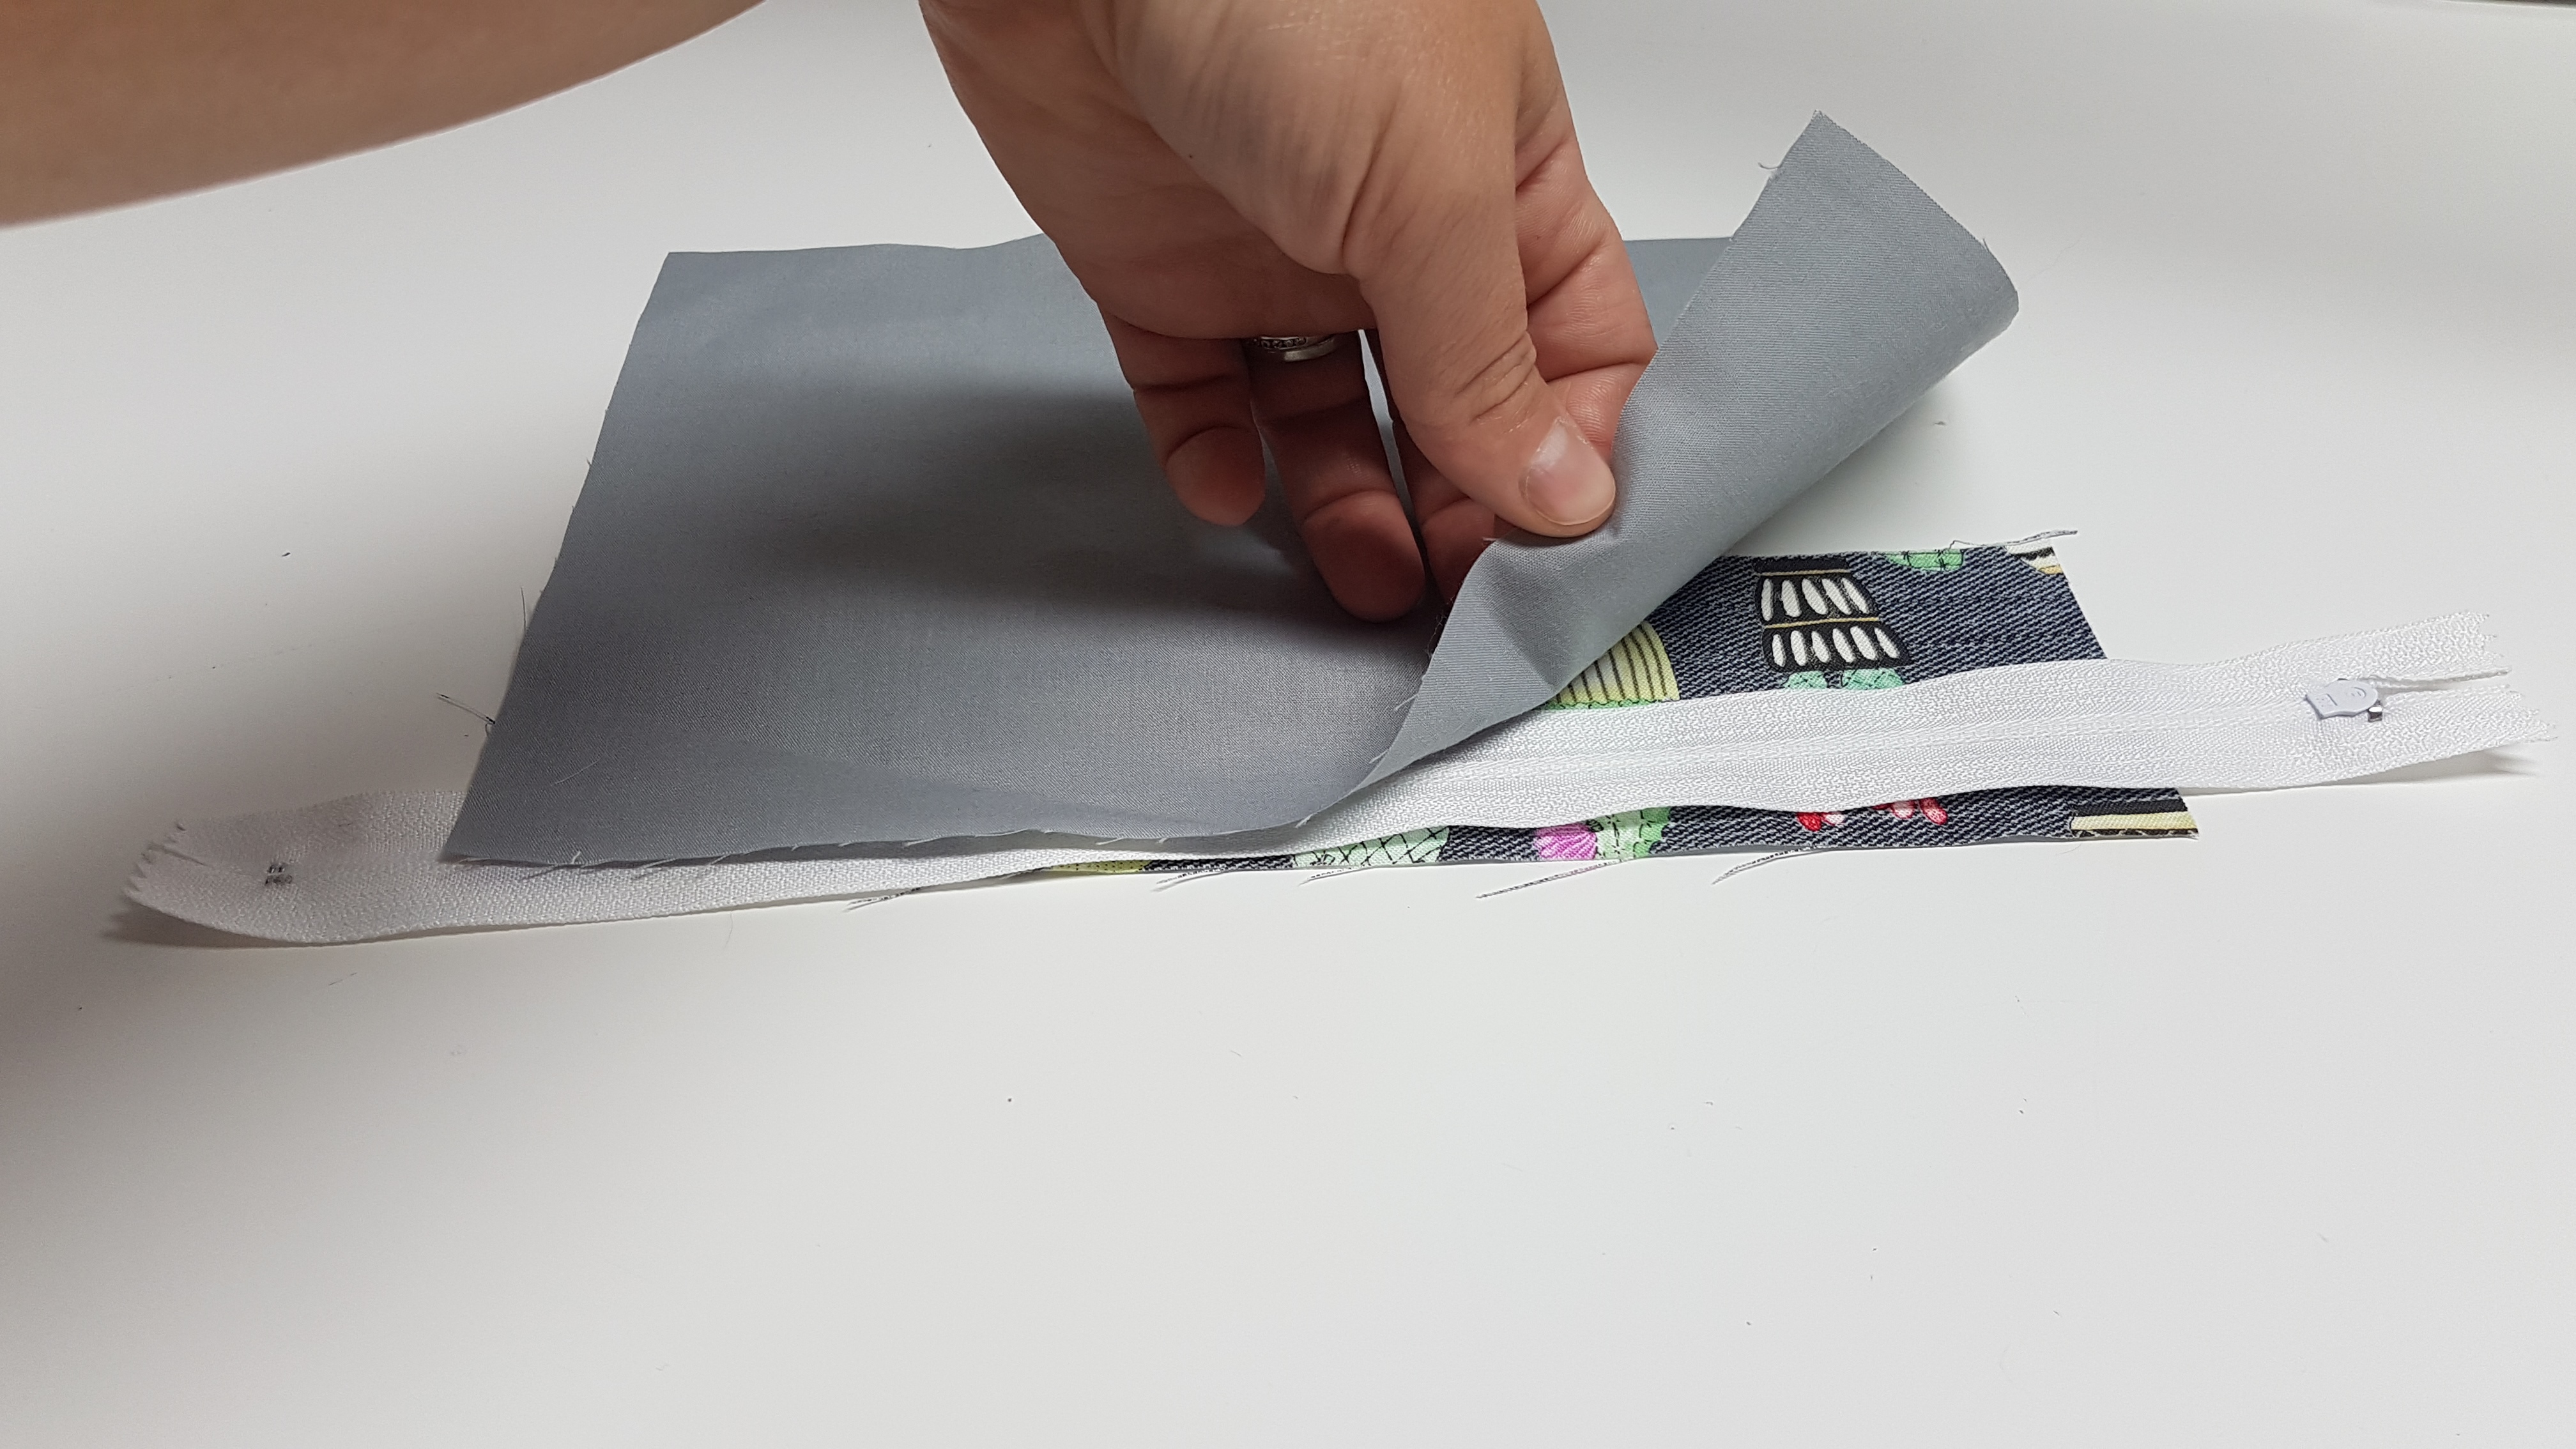
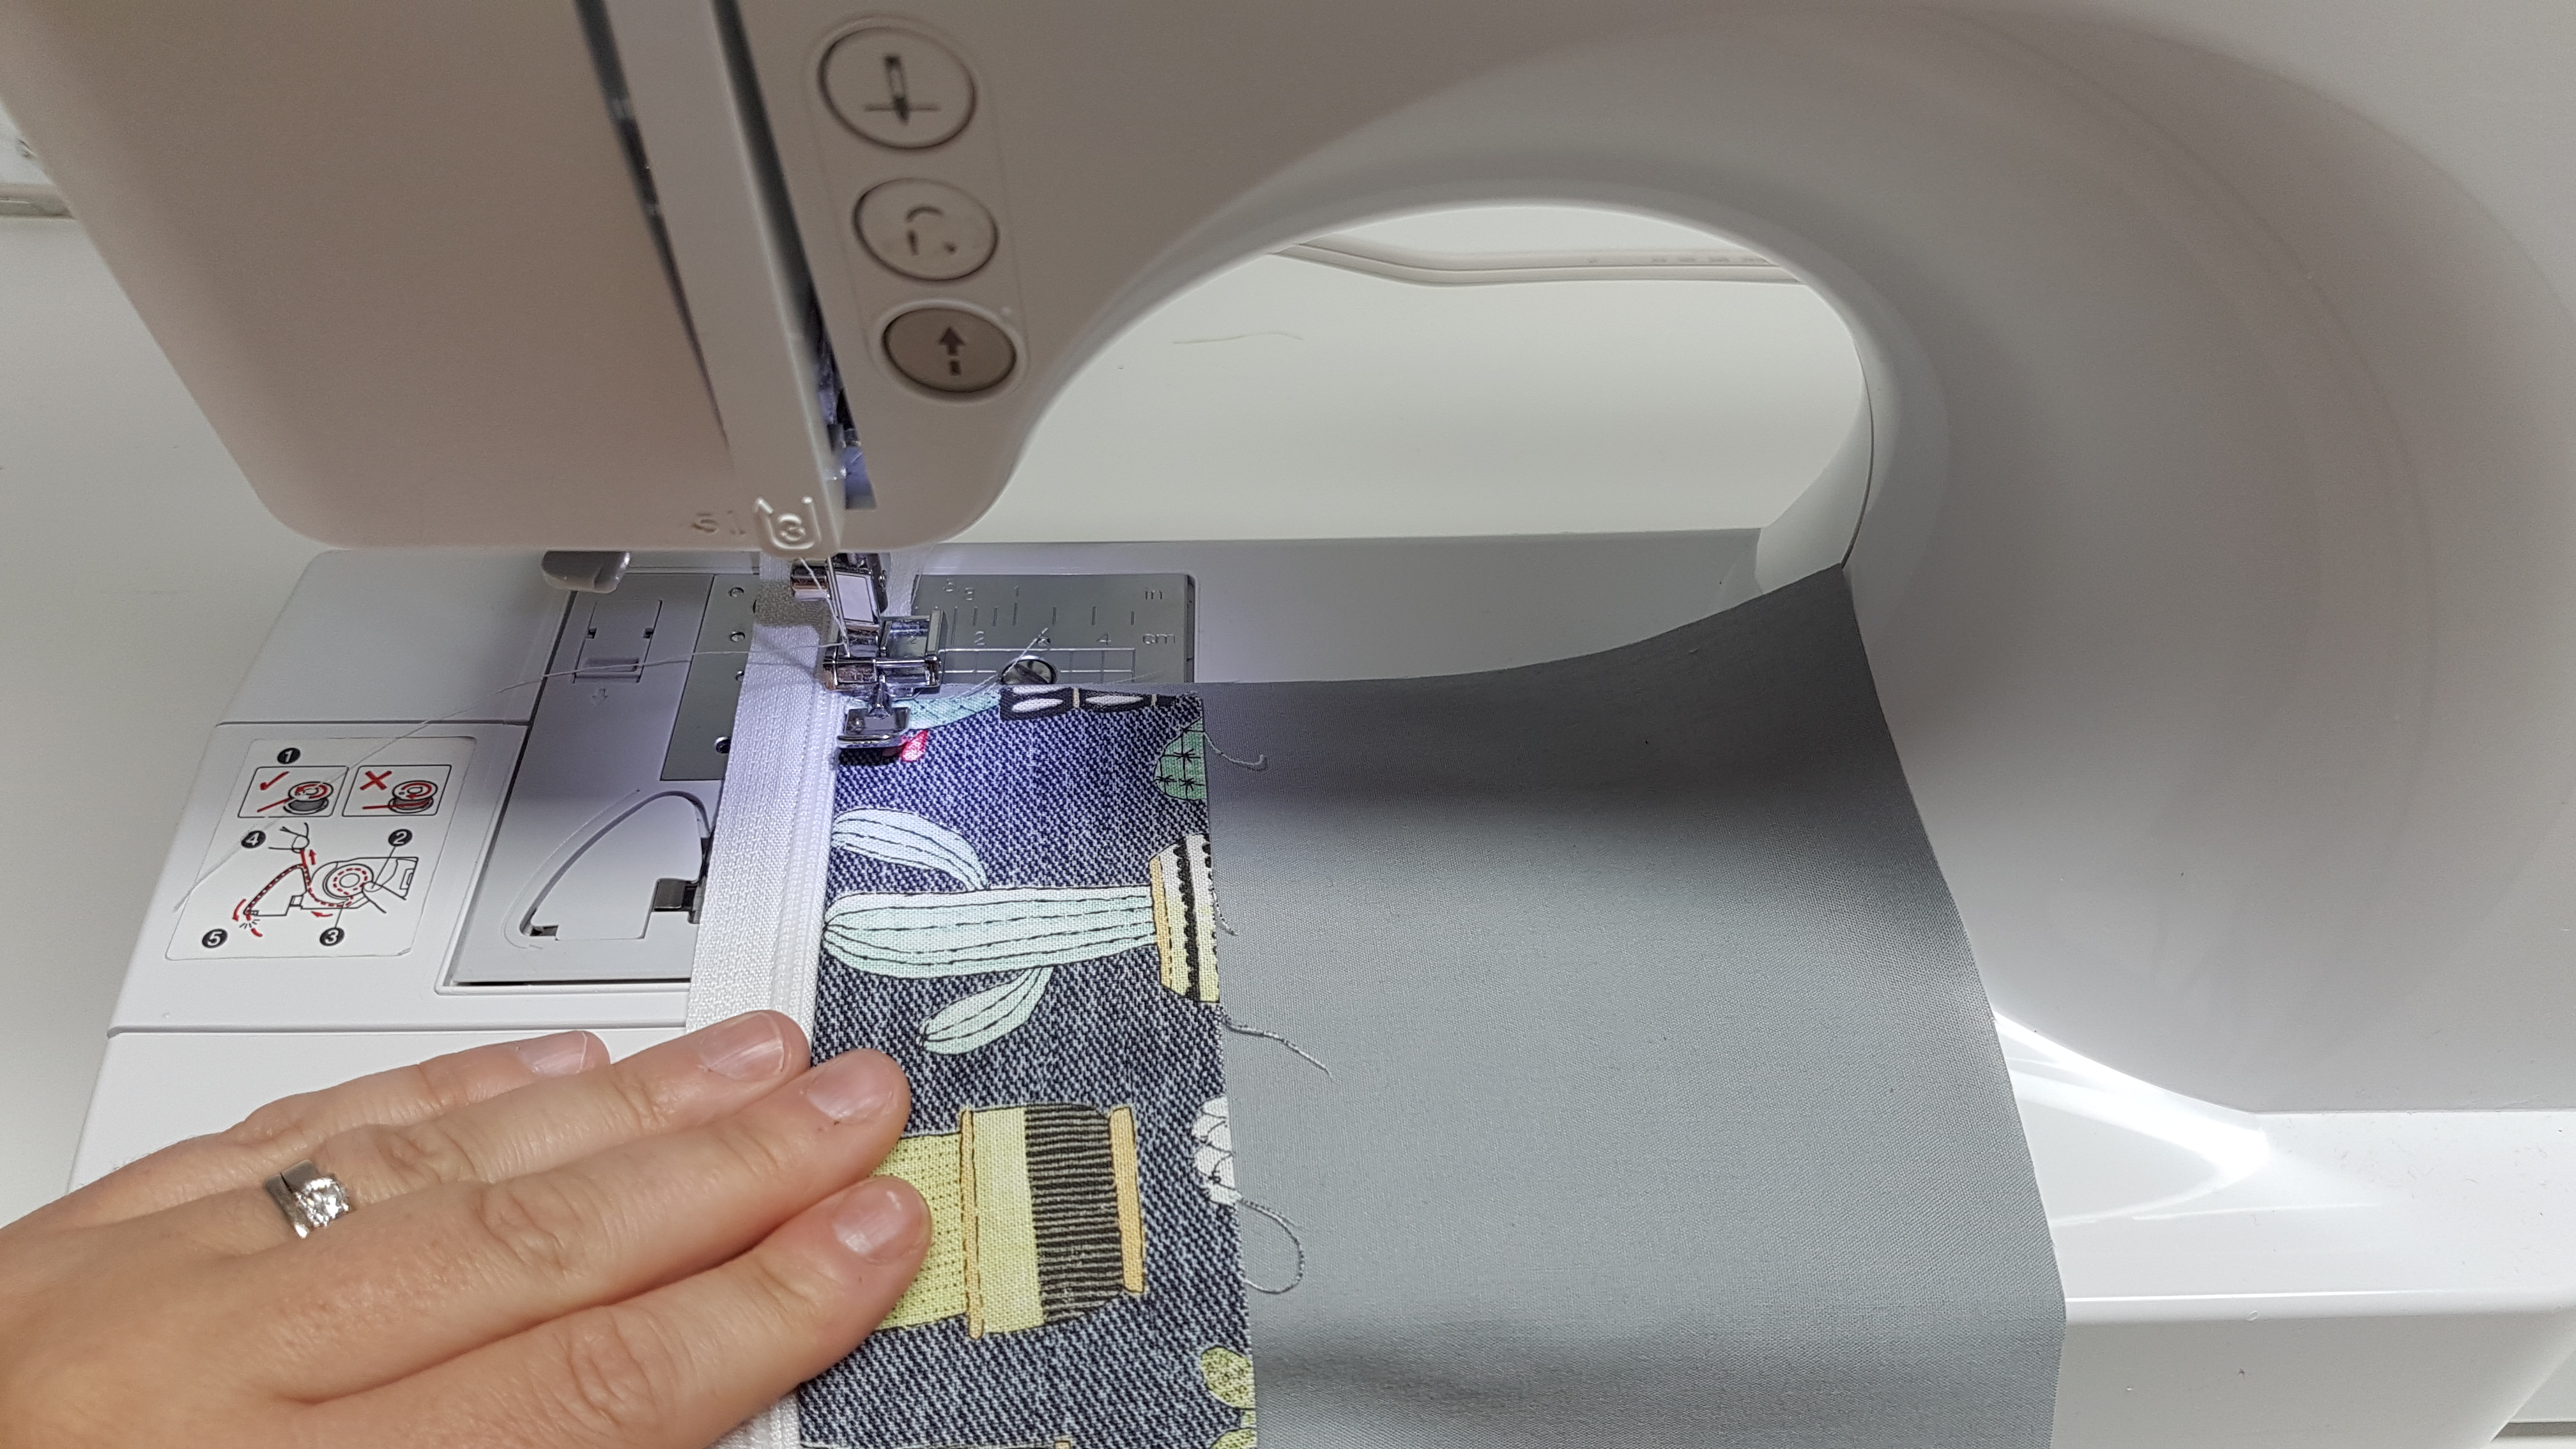
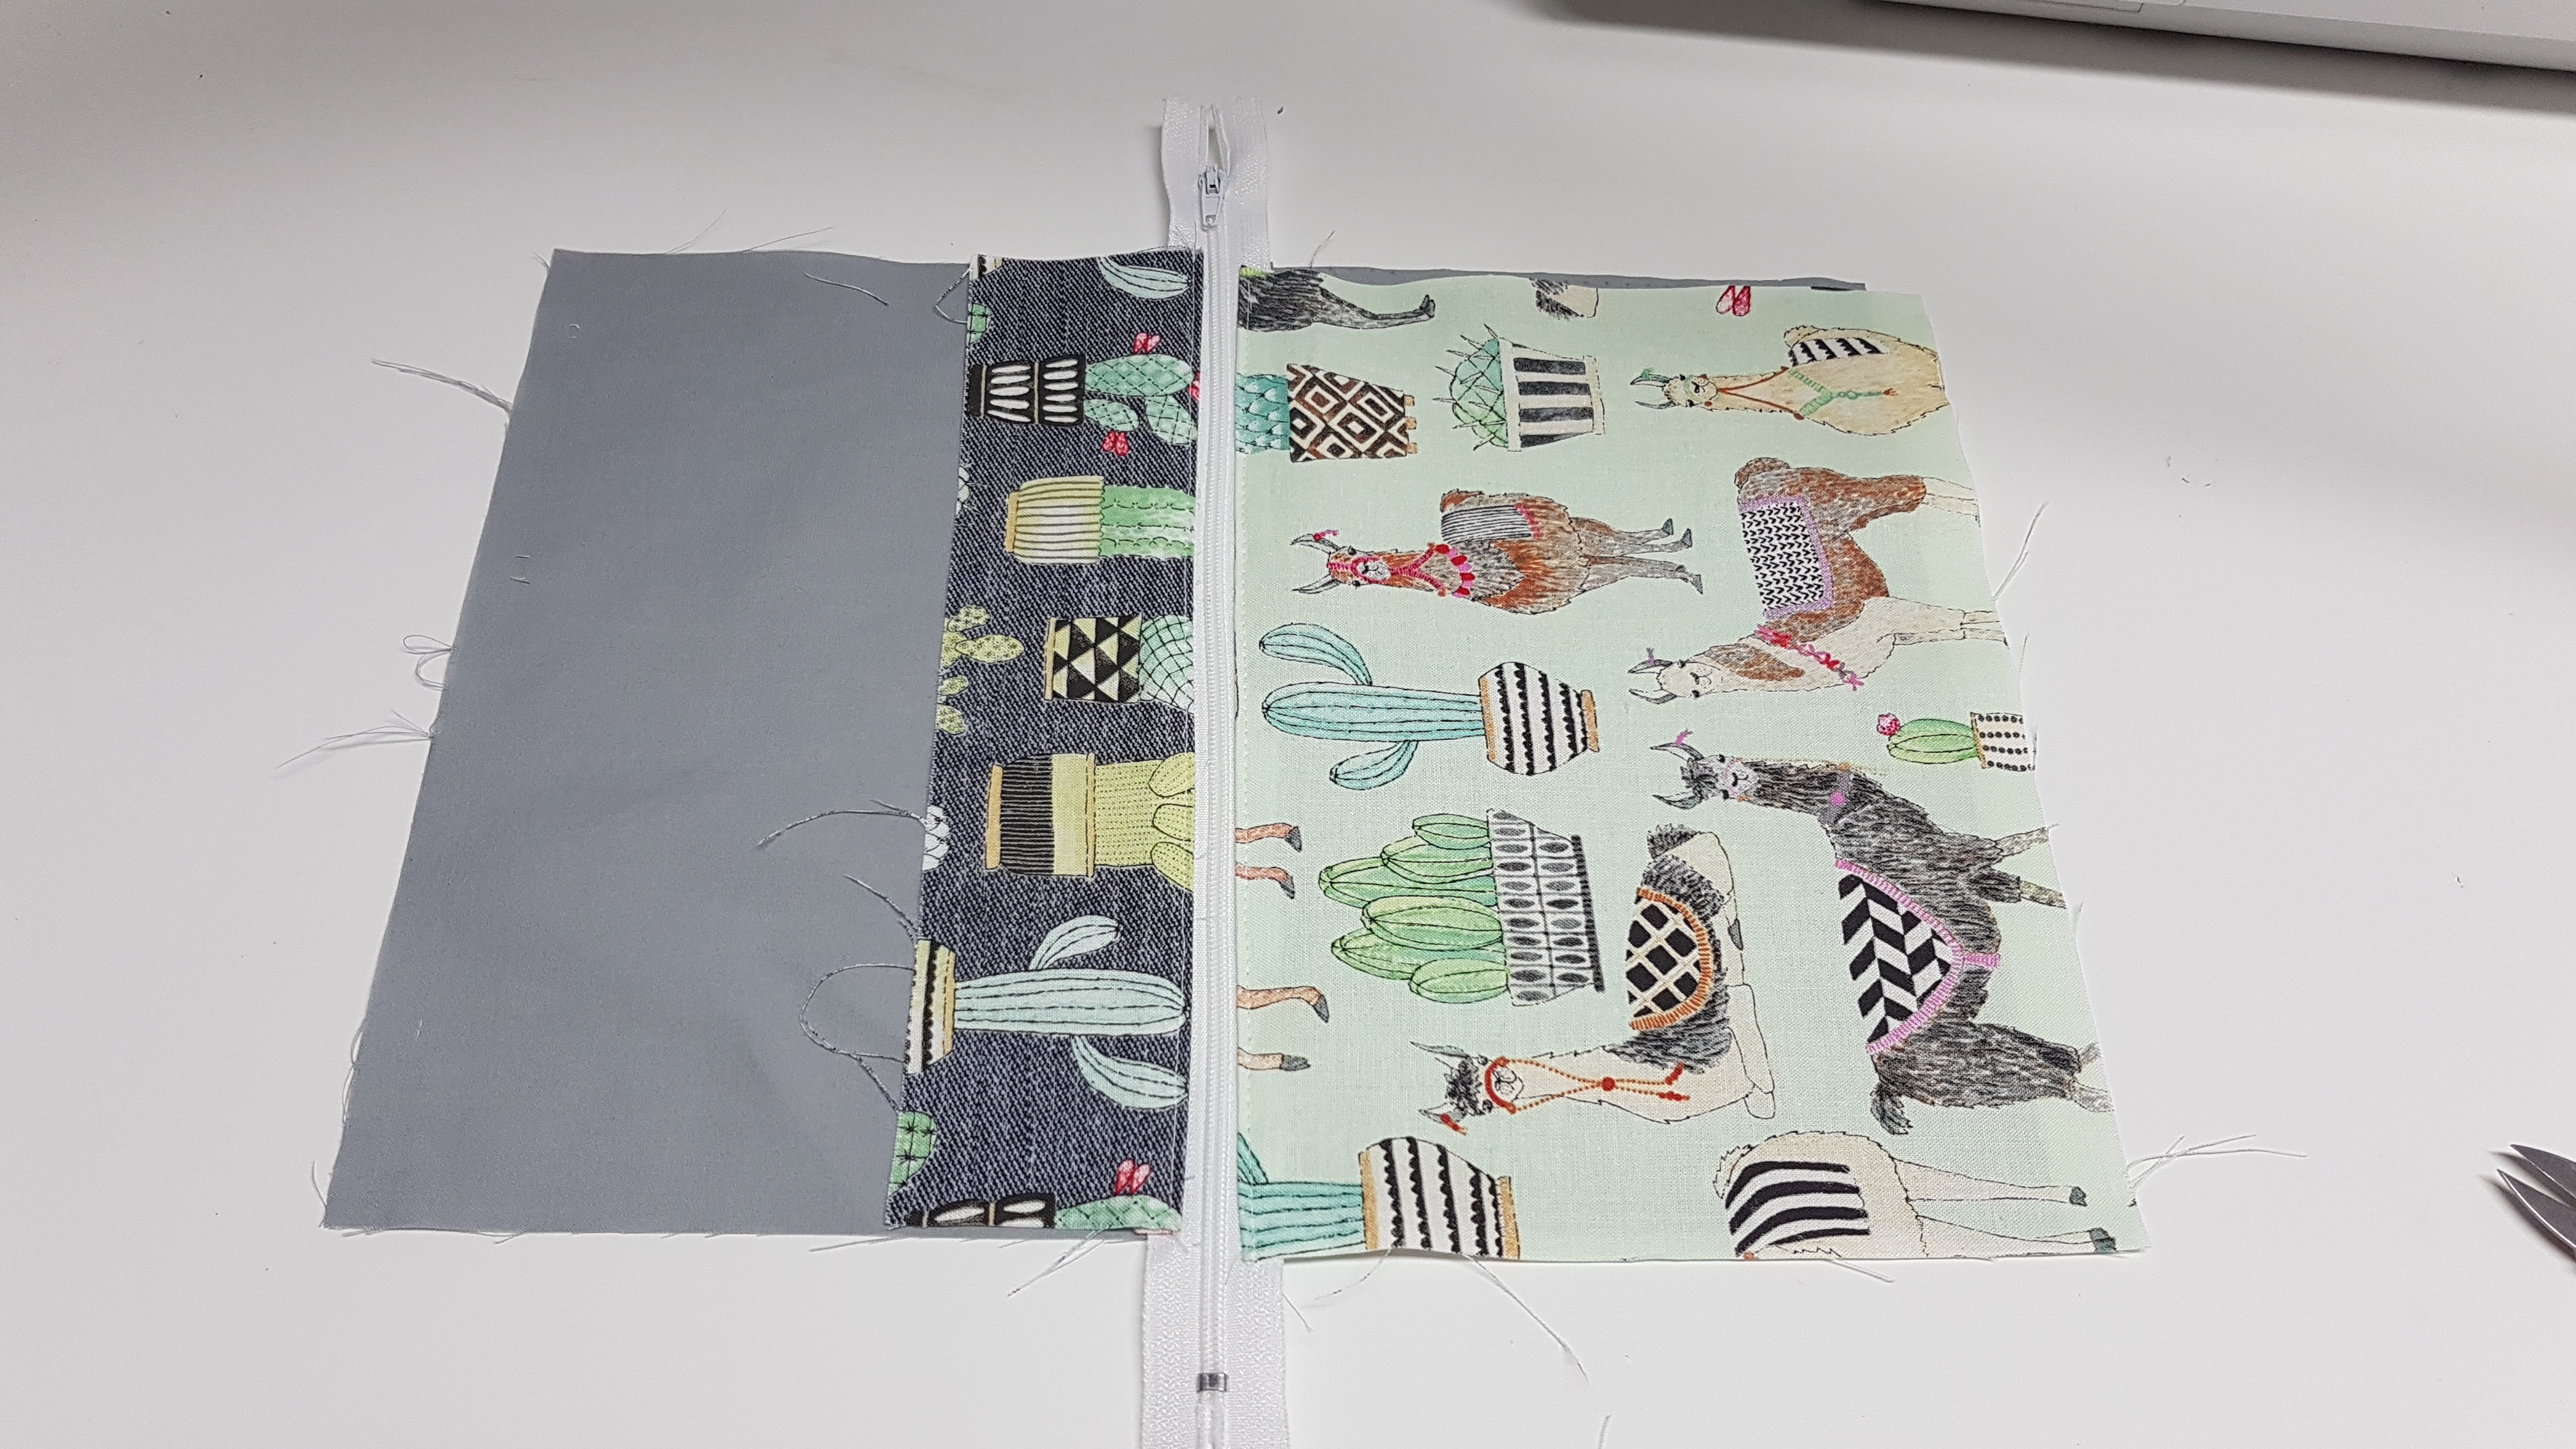
step 1 – take small front piece lay it late with right sides facing up, lay zipper down one edge with the zipper pull down, sandwich with 1 large piece of lining. sew along the edge, once sewn flip right sides out and top stitch
Grab the pattern here! Charmedbyashley-doublezipperpencilcase
Step 2 – sandwich the large back fabric and the last large lining piece with the other side of the zipper, sew and then flip and top stitch like shown.
If there is any confusion during this tutorial please check out the video tutorial
This is how it should work
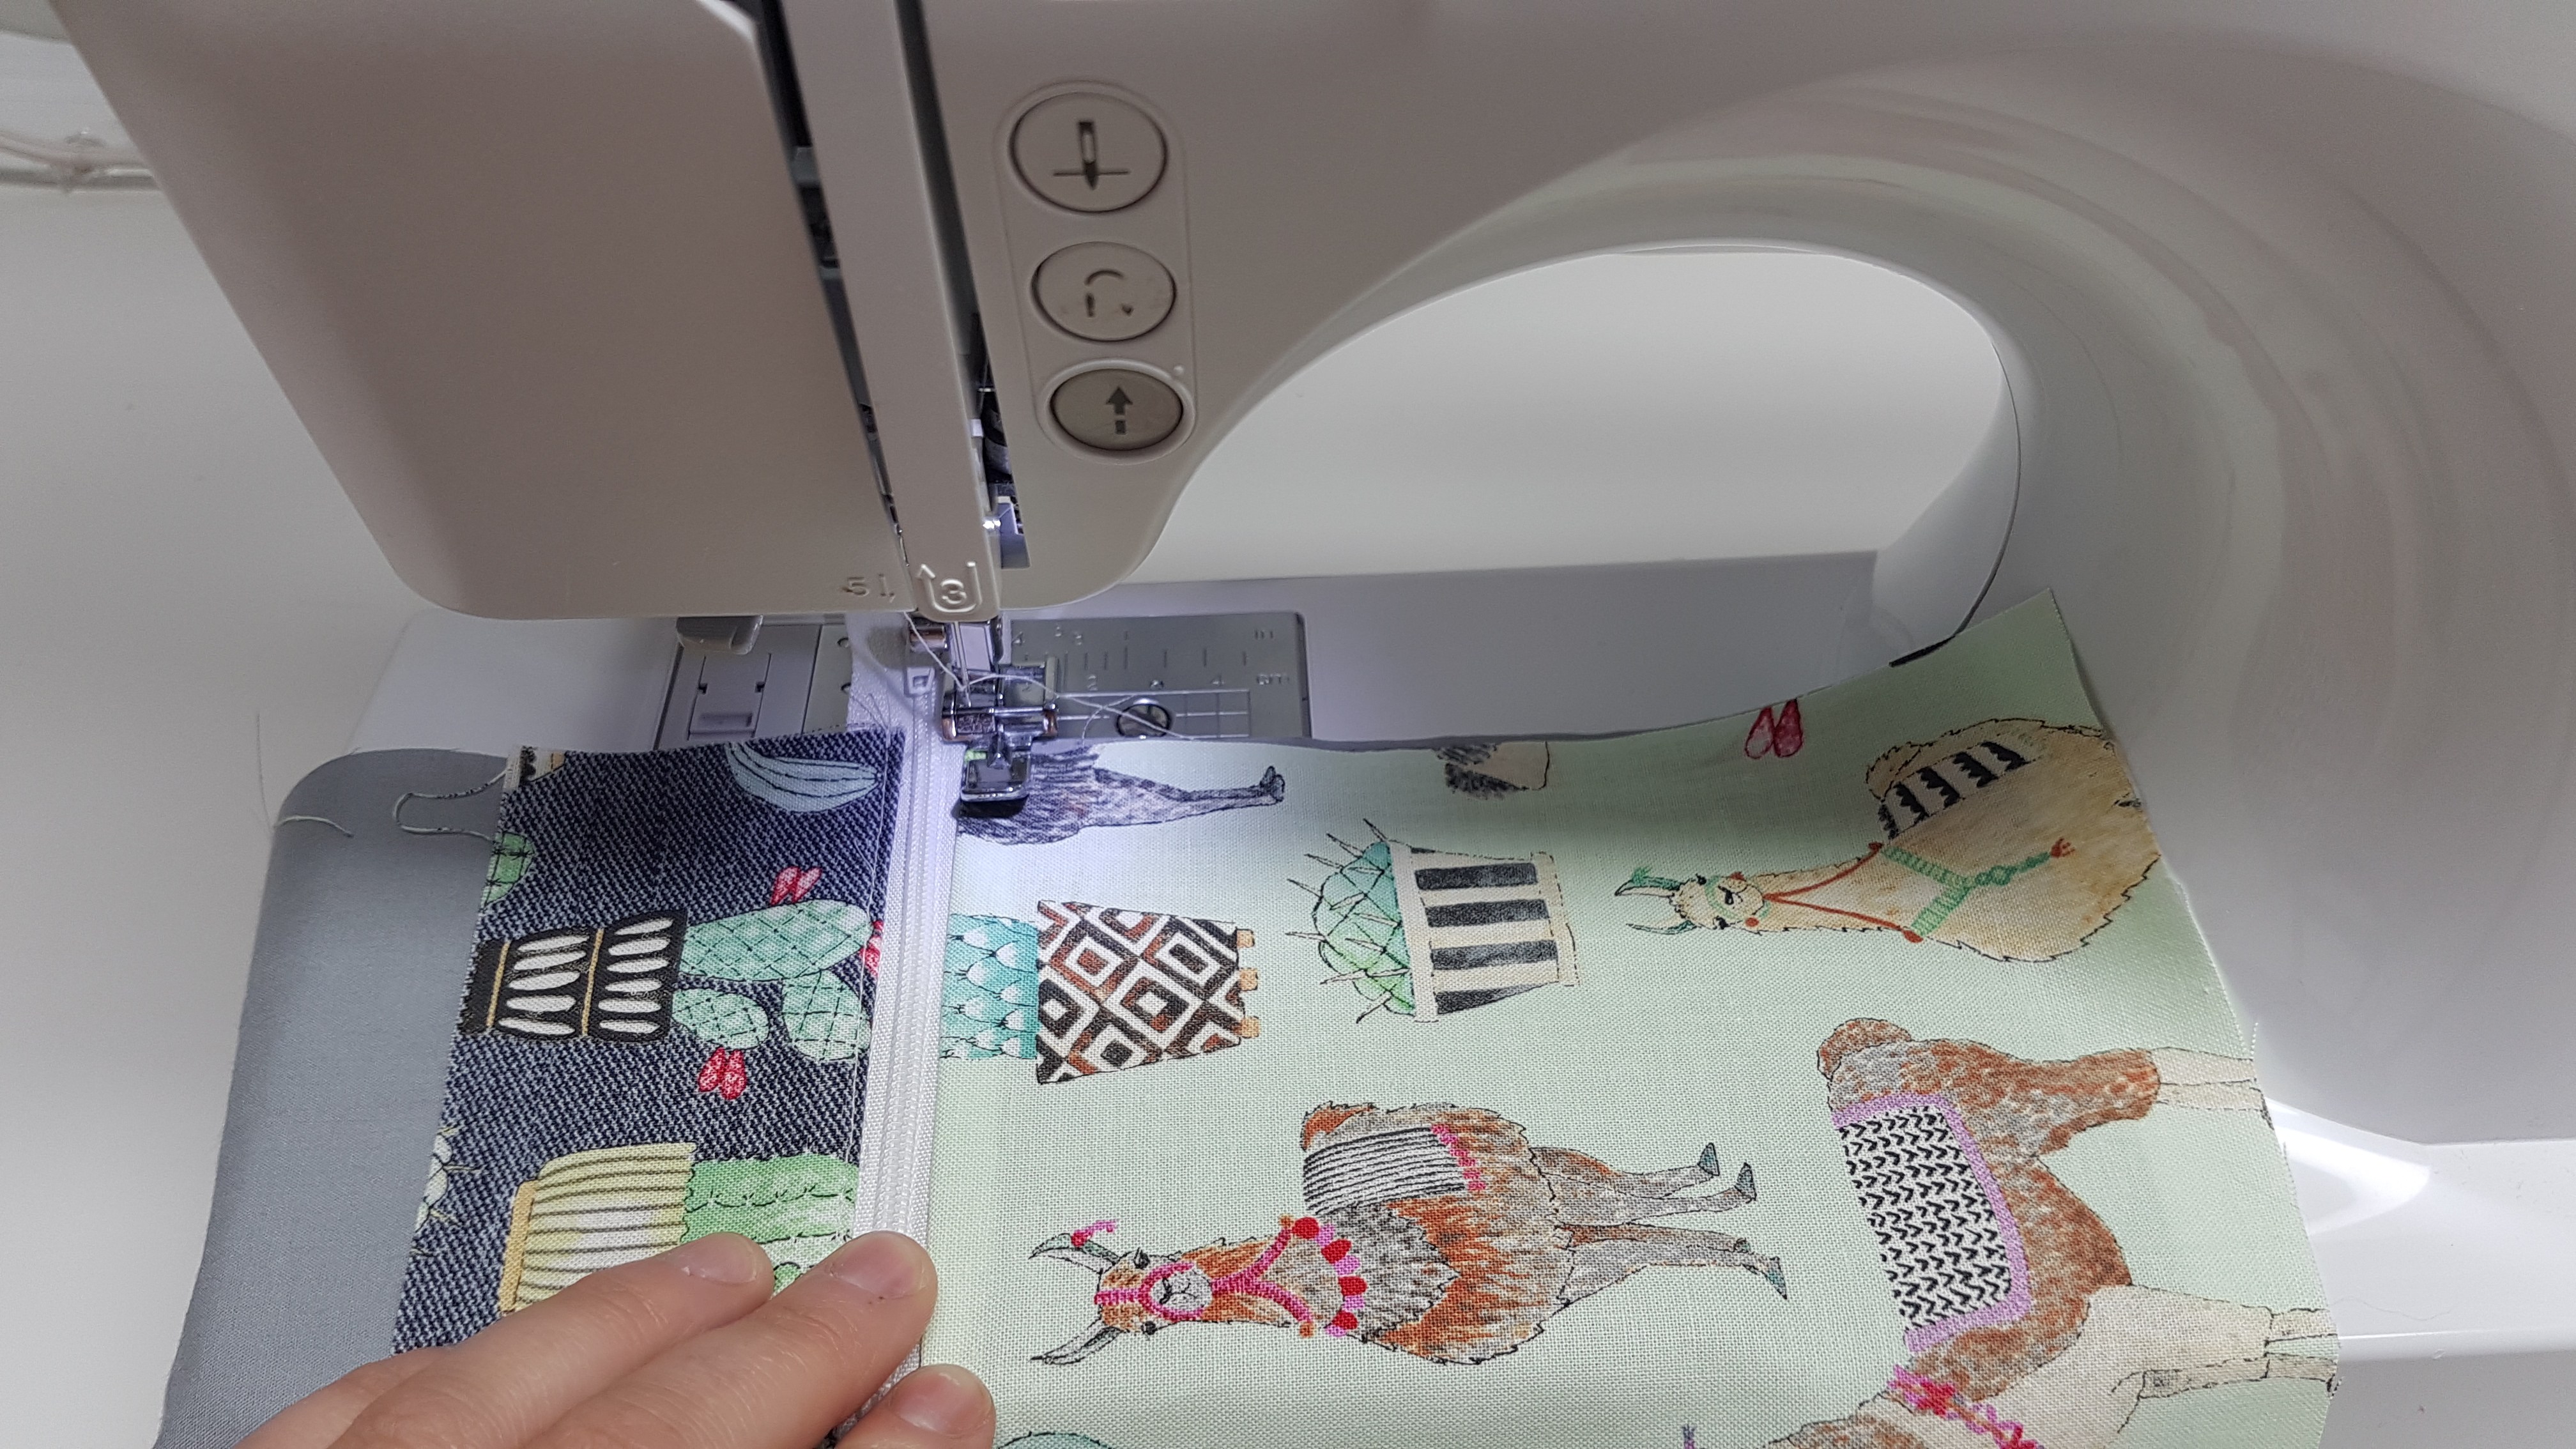
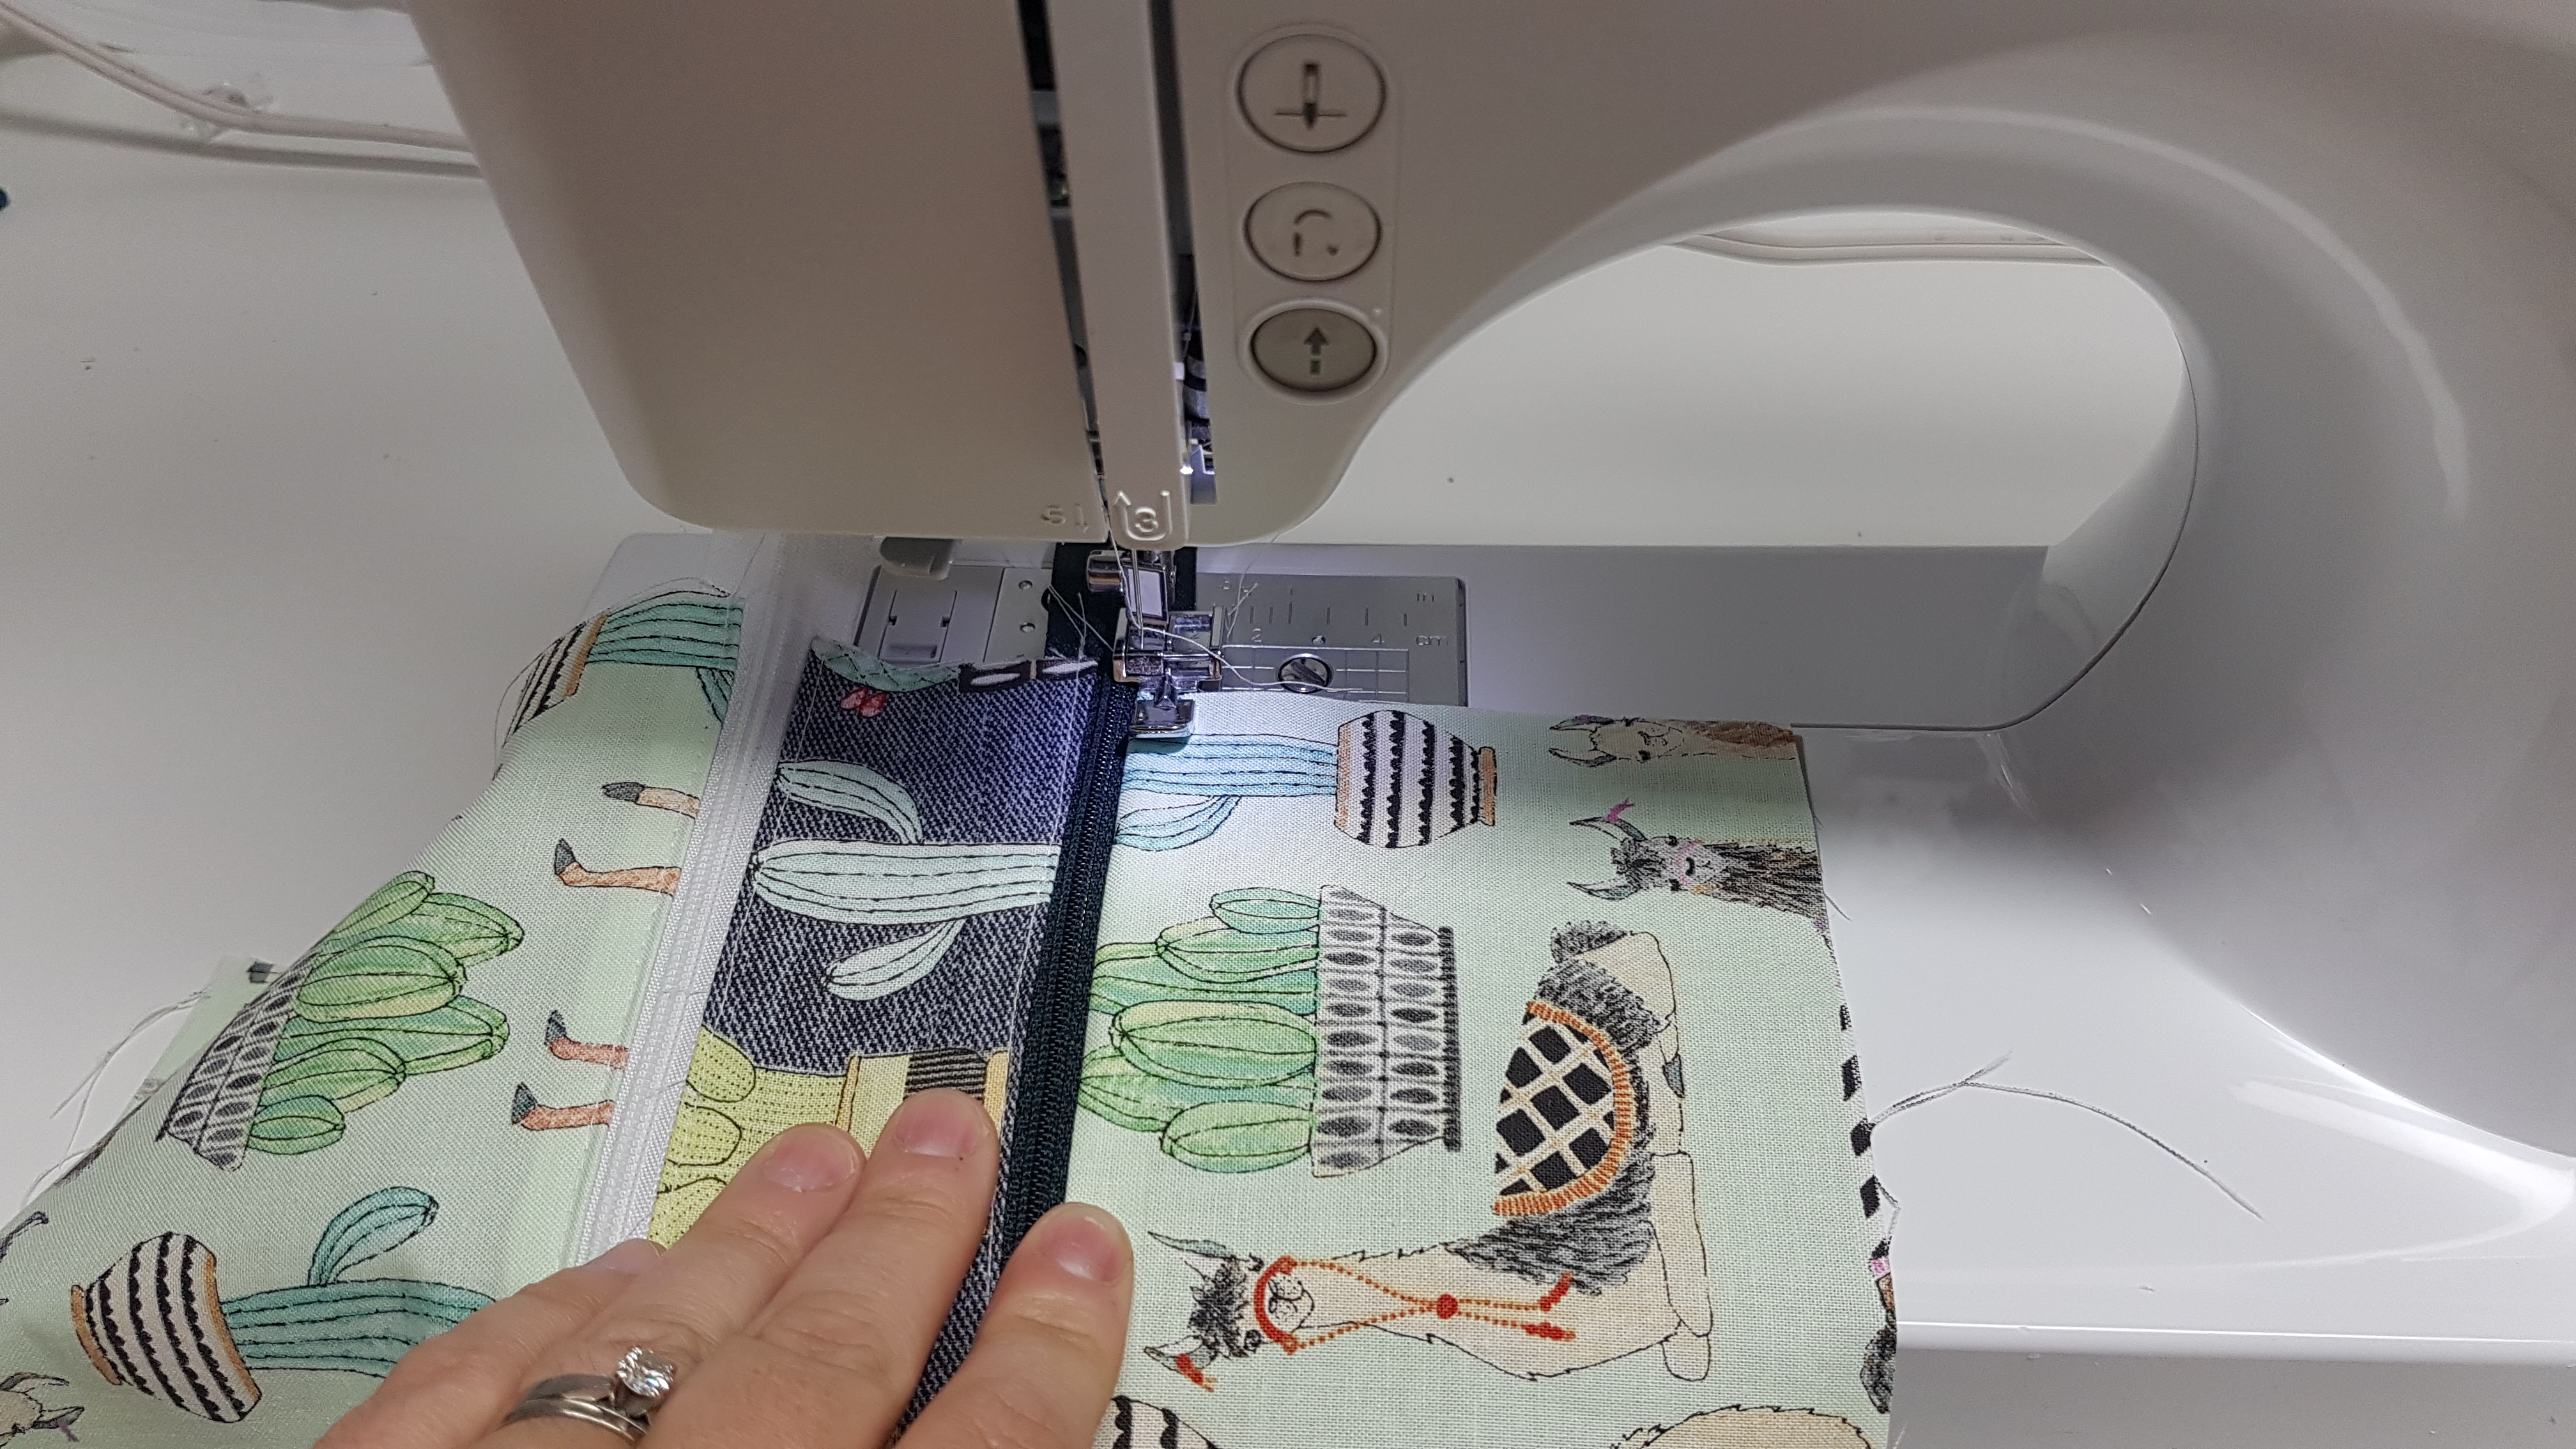
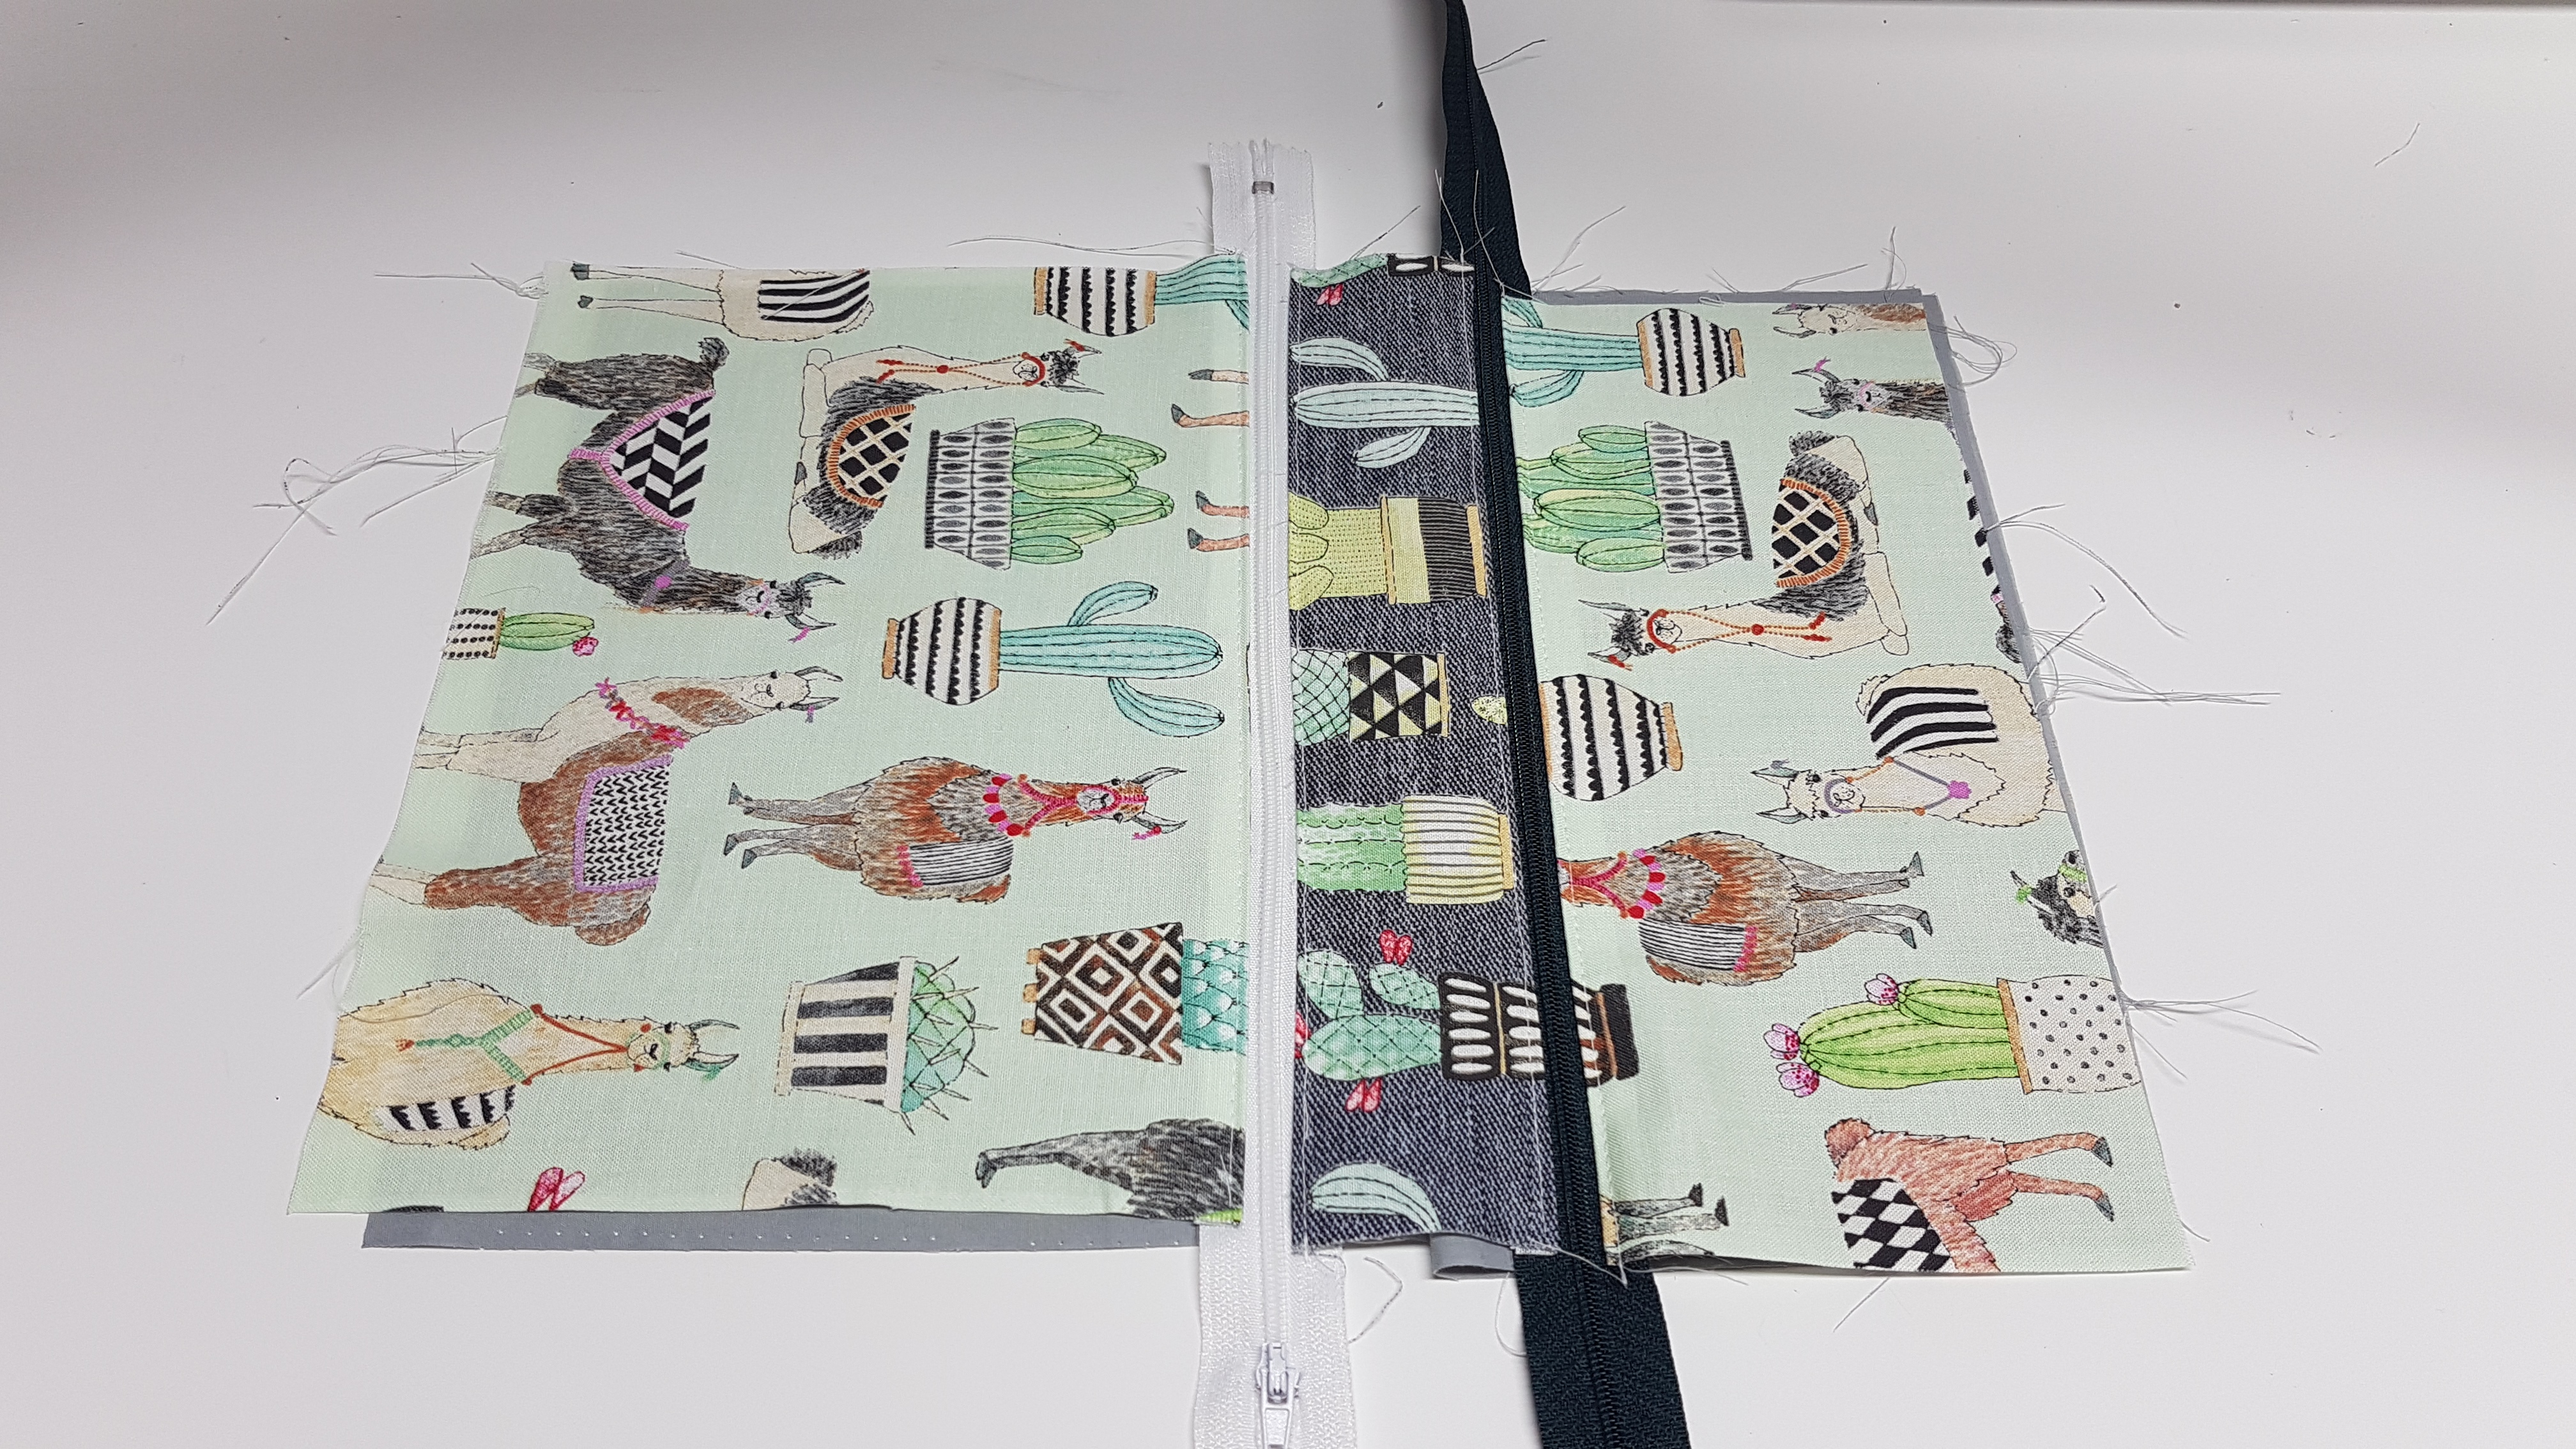
Now i will install the second zipper onto the bottom of the short from piece, lay the zipper with the zipper pull down ontop of the small front piece, lay the medium size lining piece on top, sew along and then again top stitch
This is how it should look, the lining will hang down
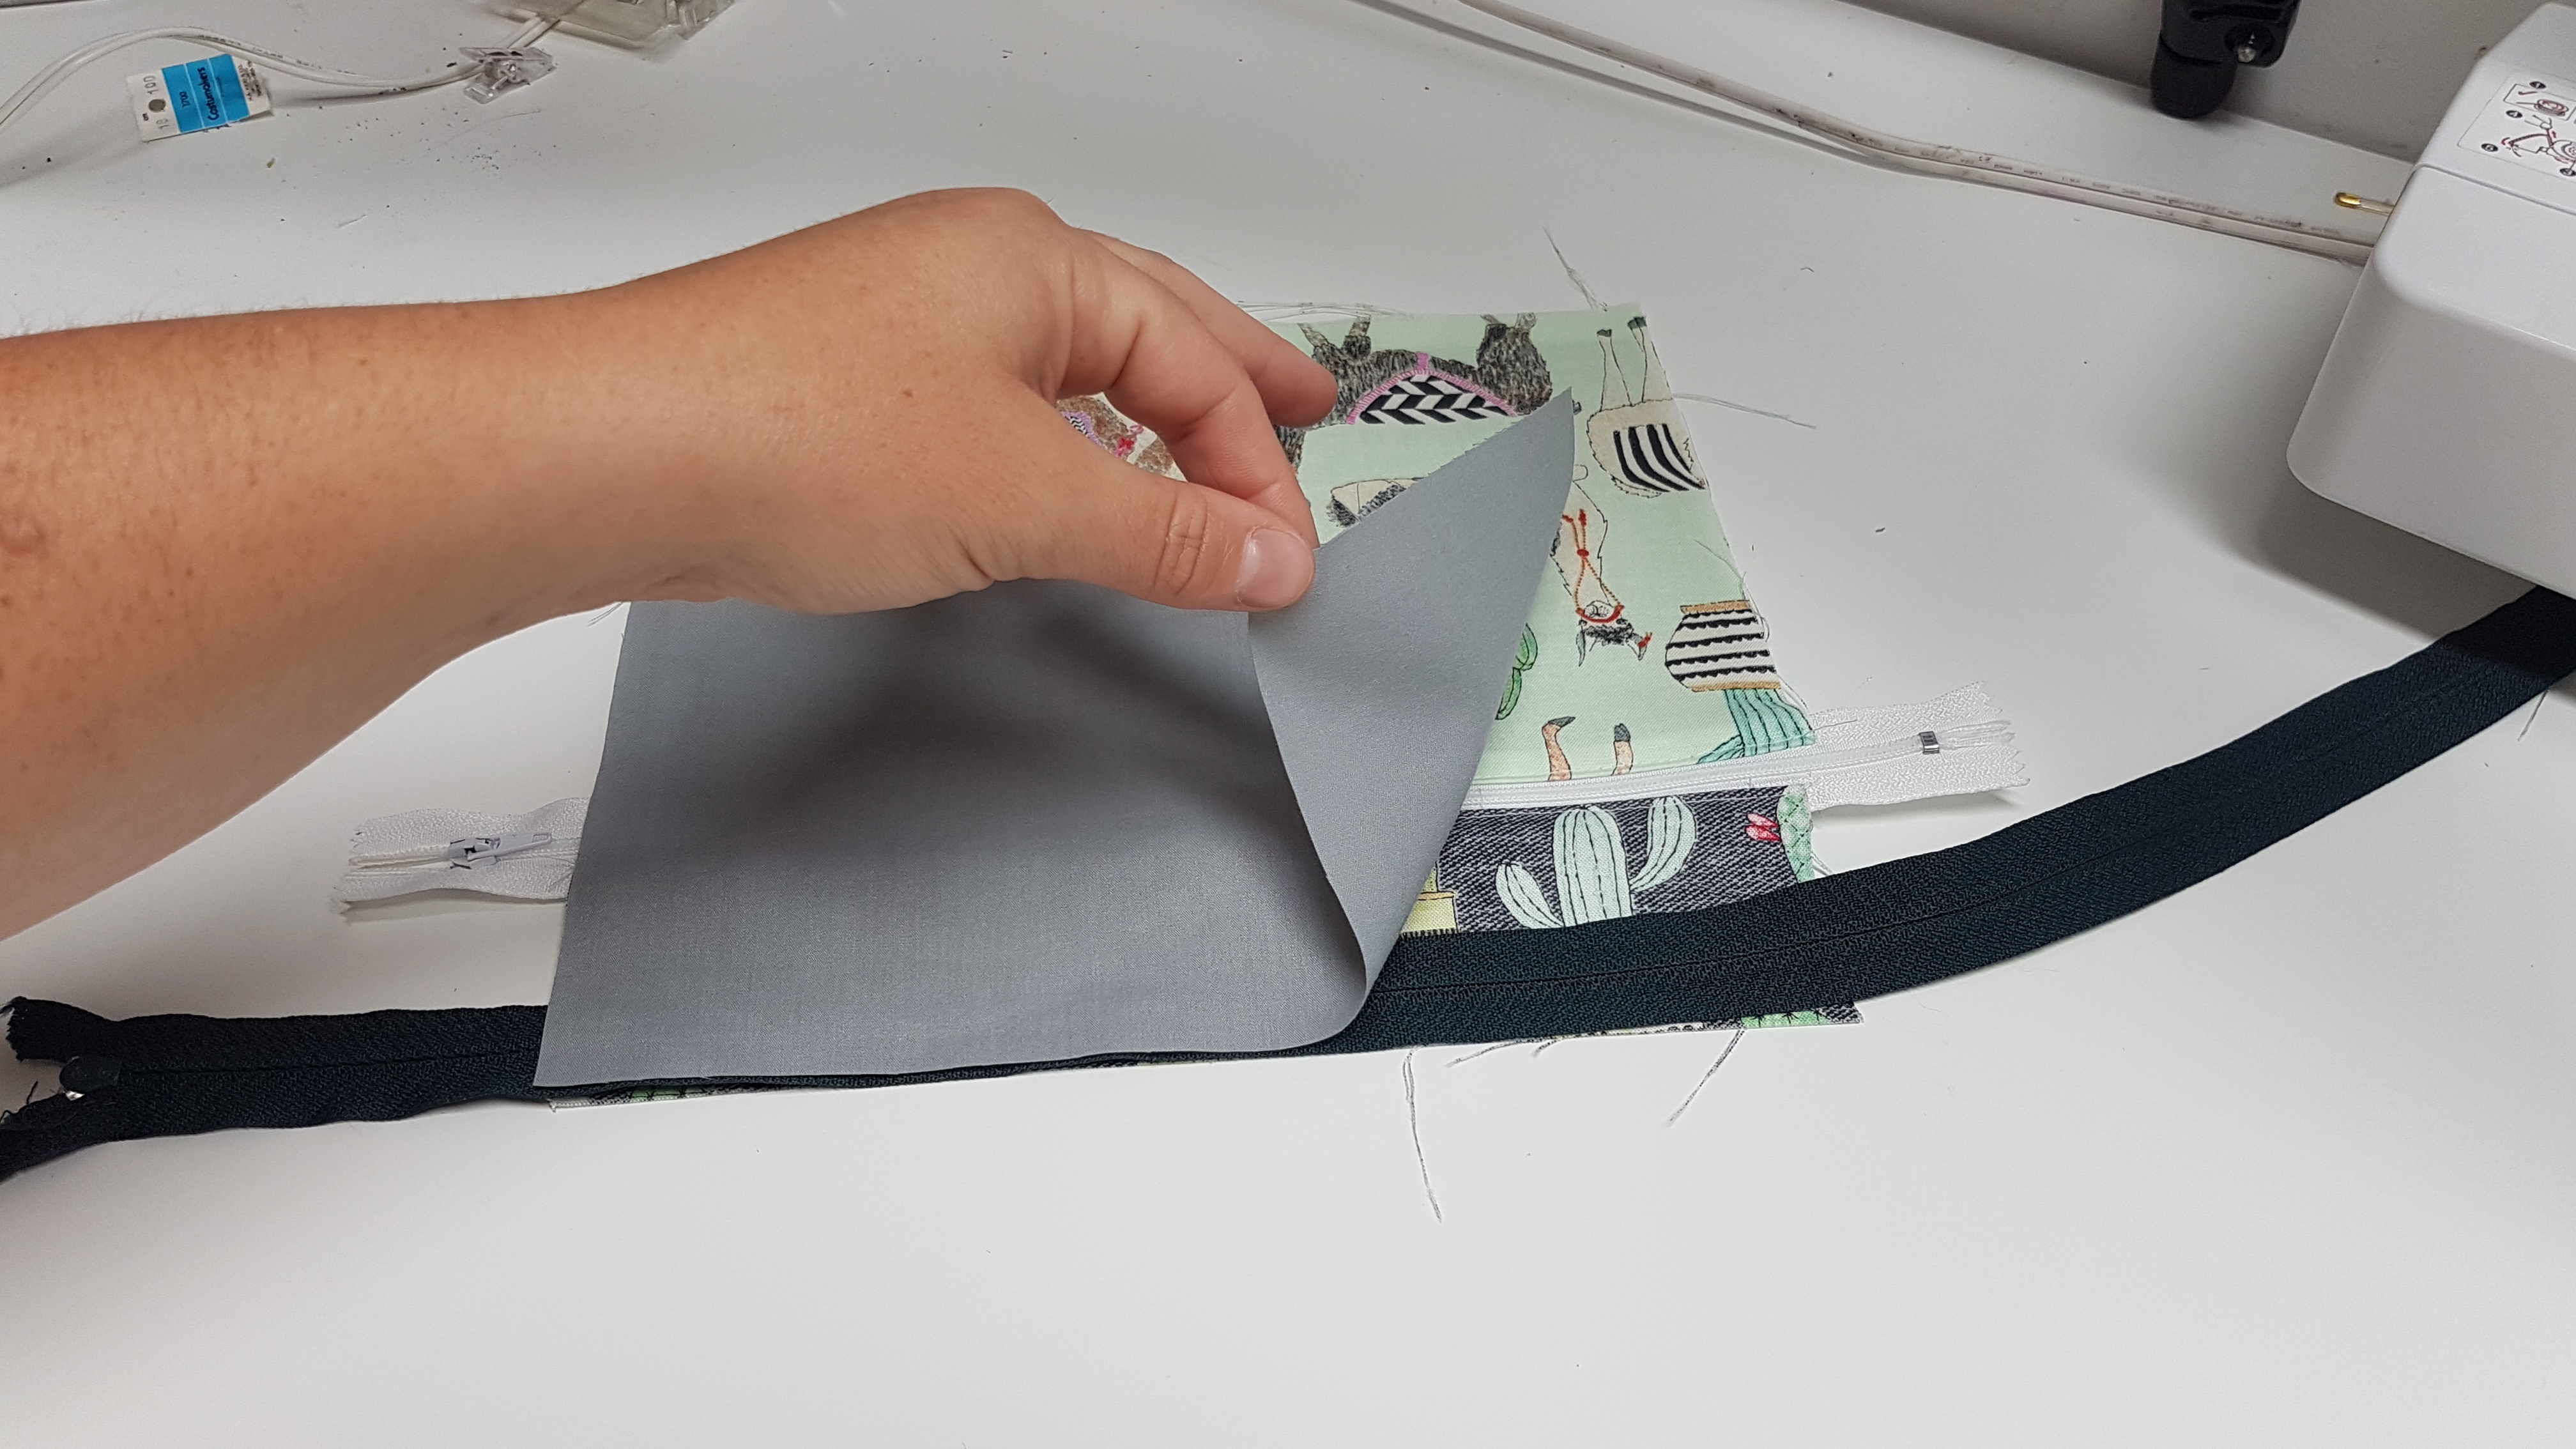
Now i will sandwich the last lining piece and front piece with the other side of the zipper.
and again top stitch
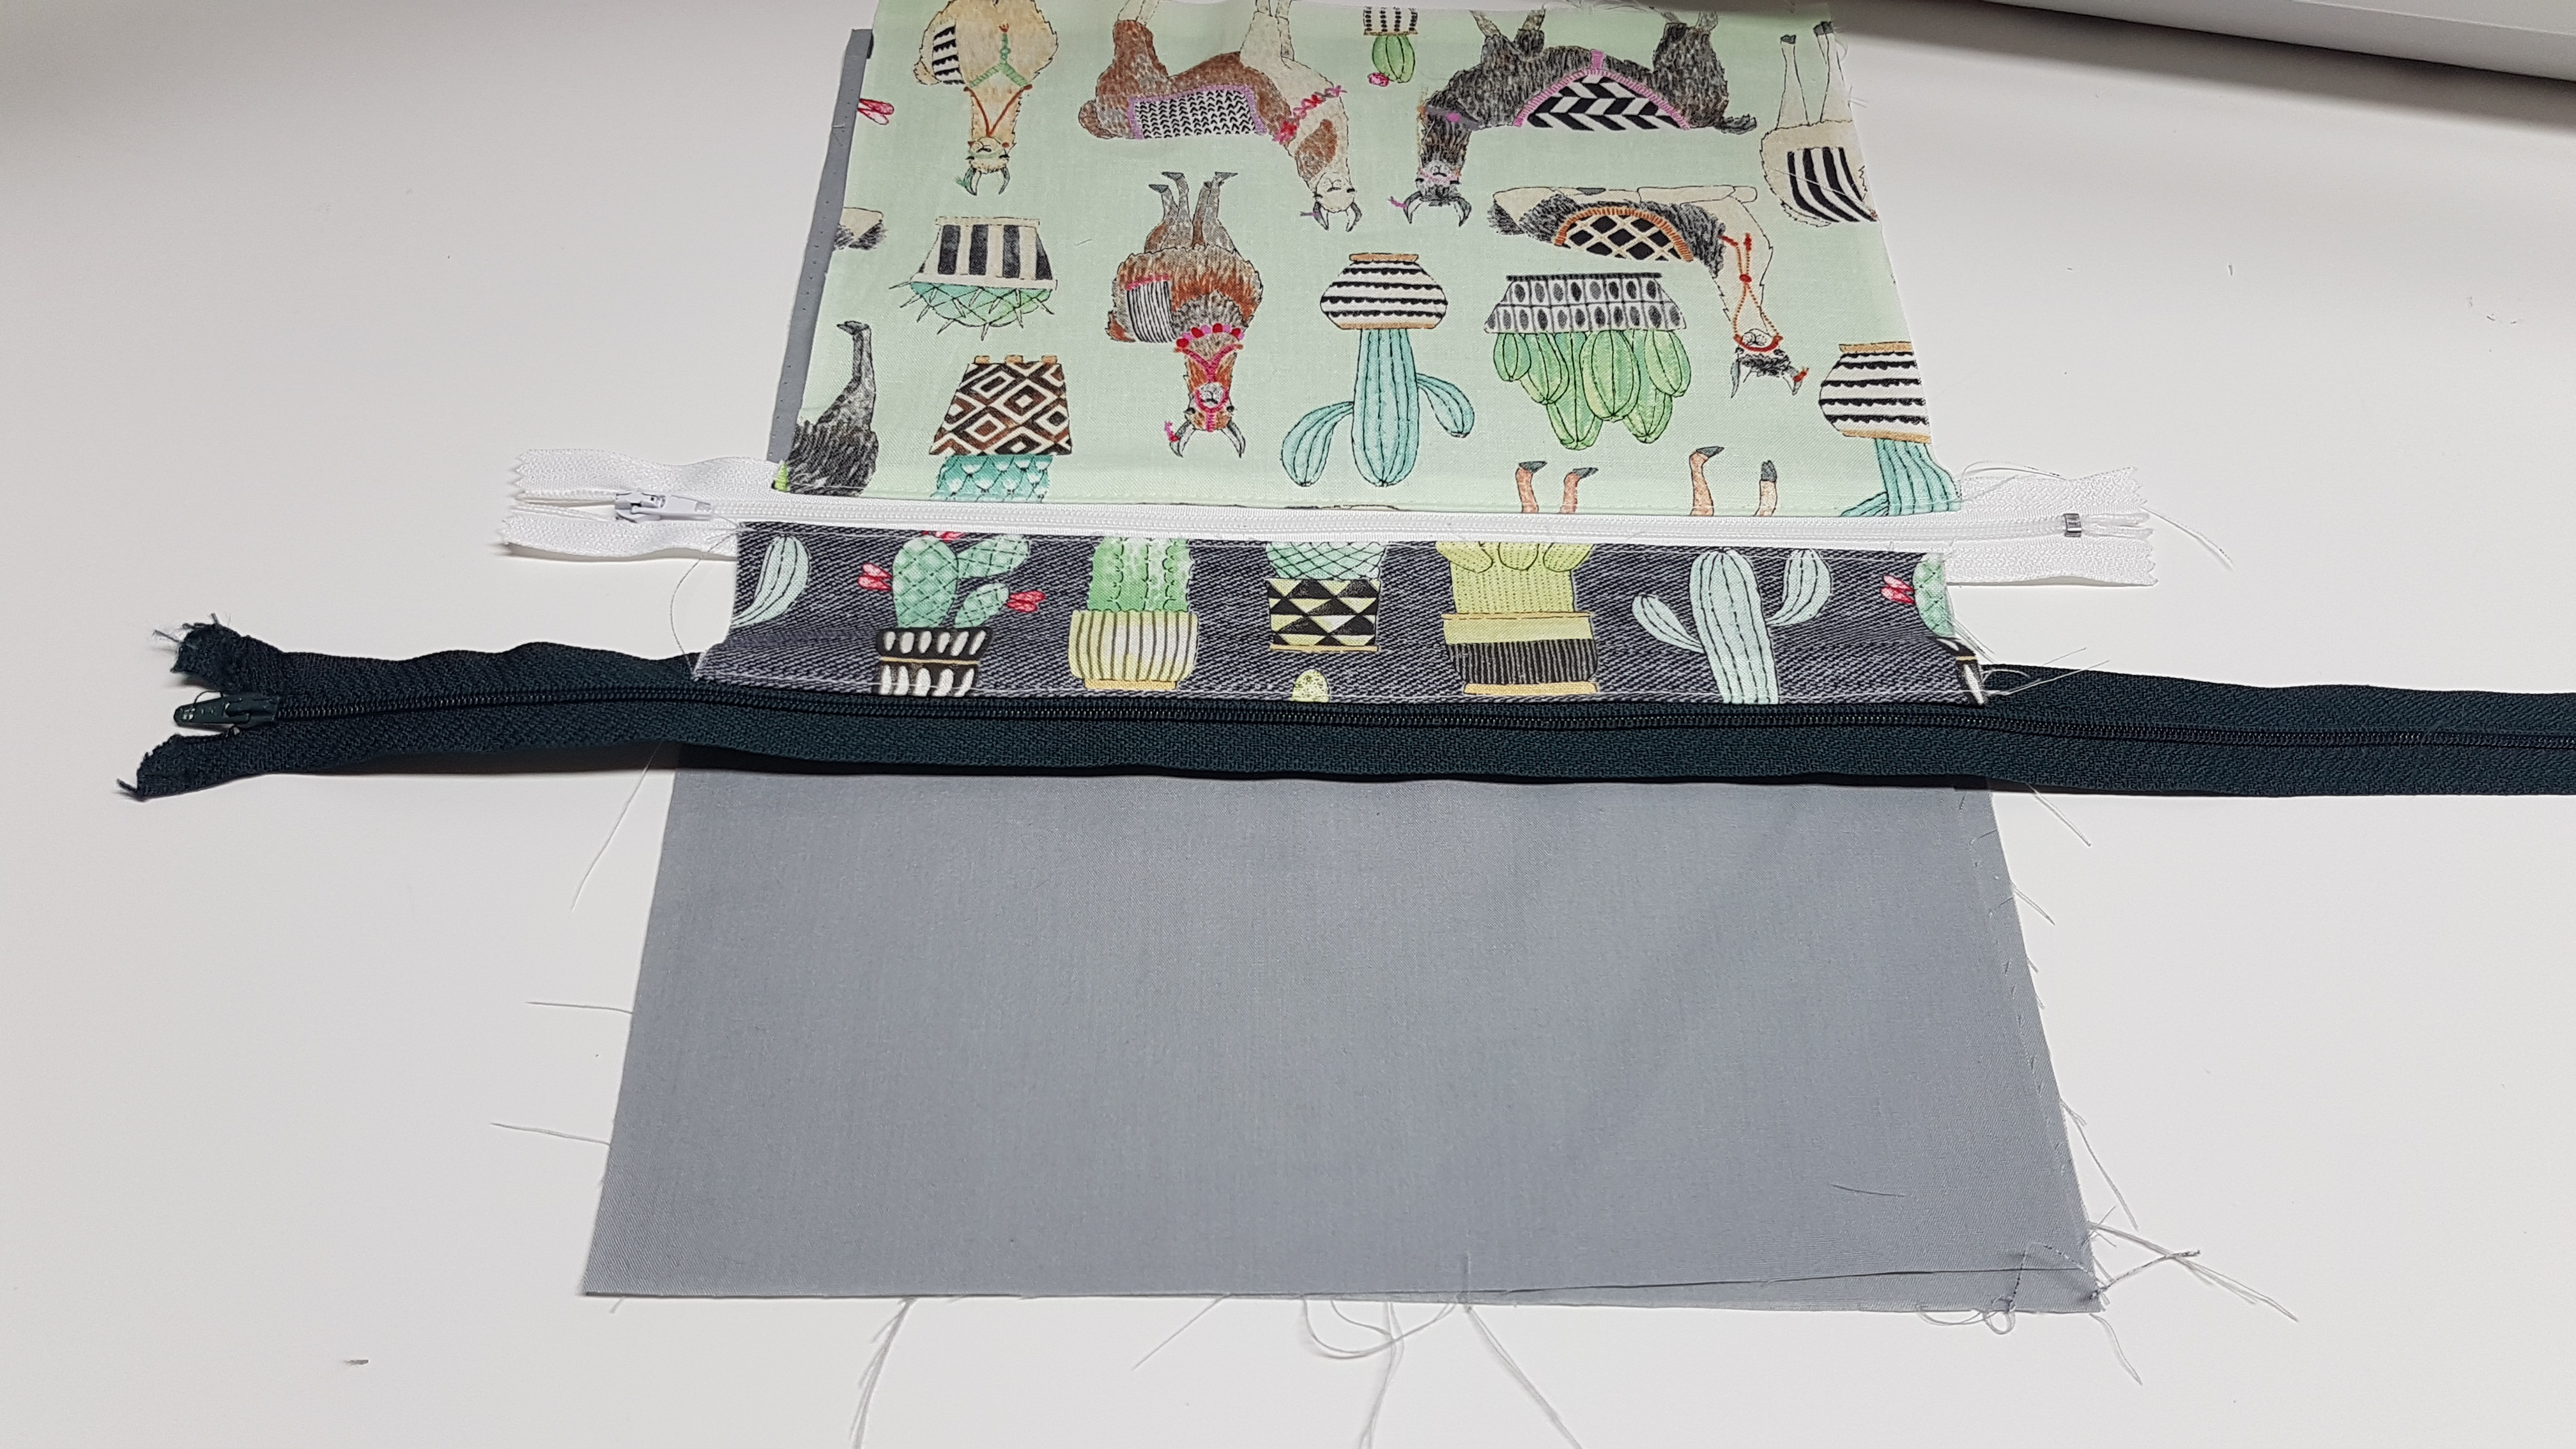
This is how it should look
Now we will take the two large lining pieces and bring it to one side, take the remaining fabric and keep it on the other side
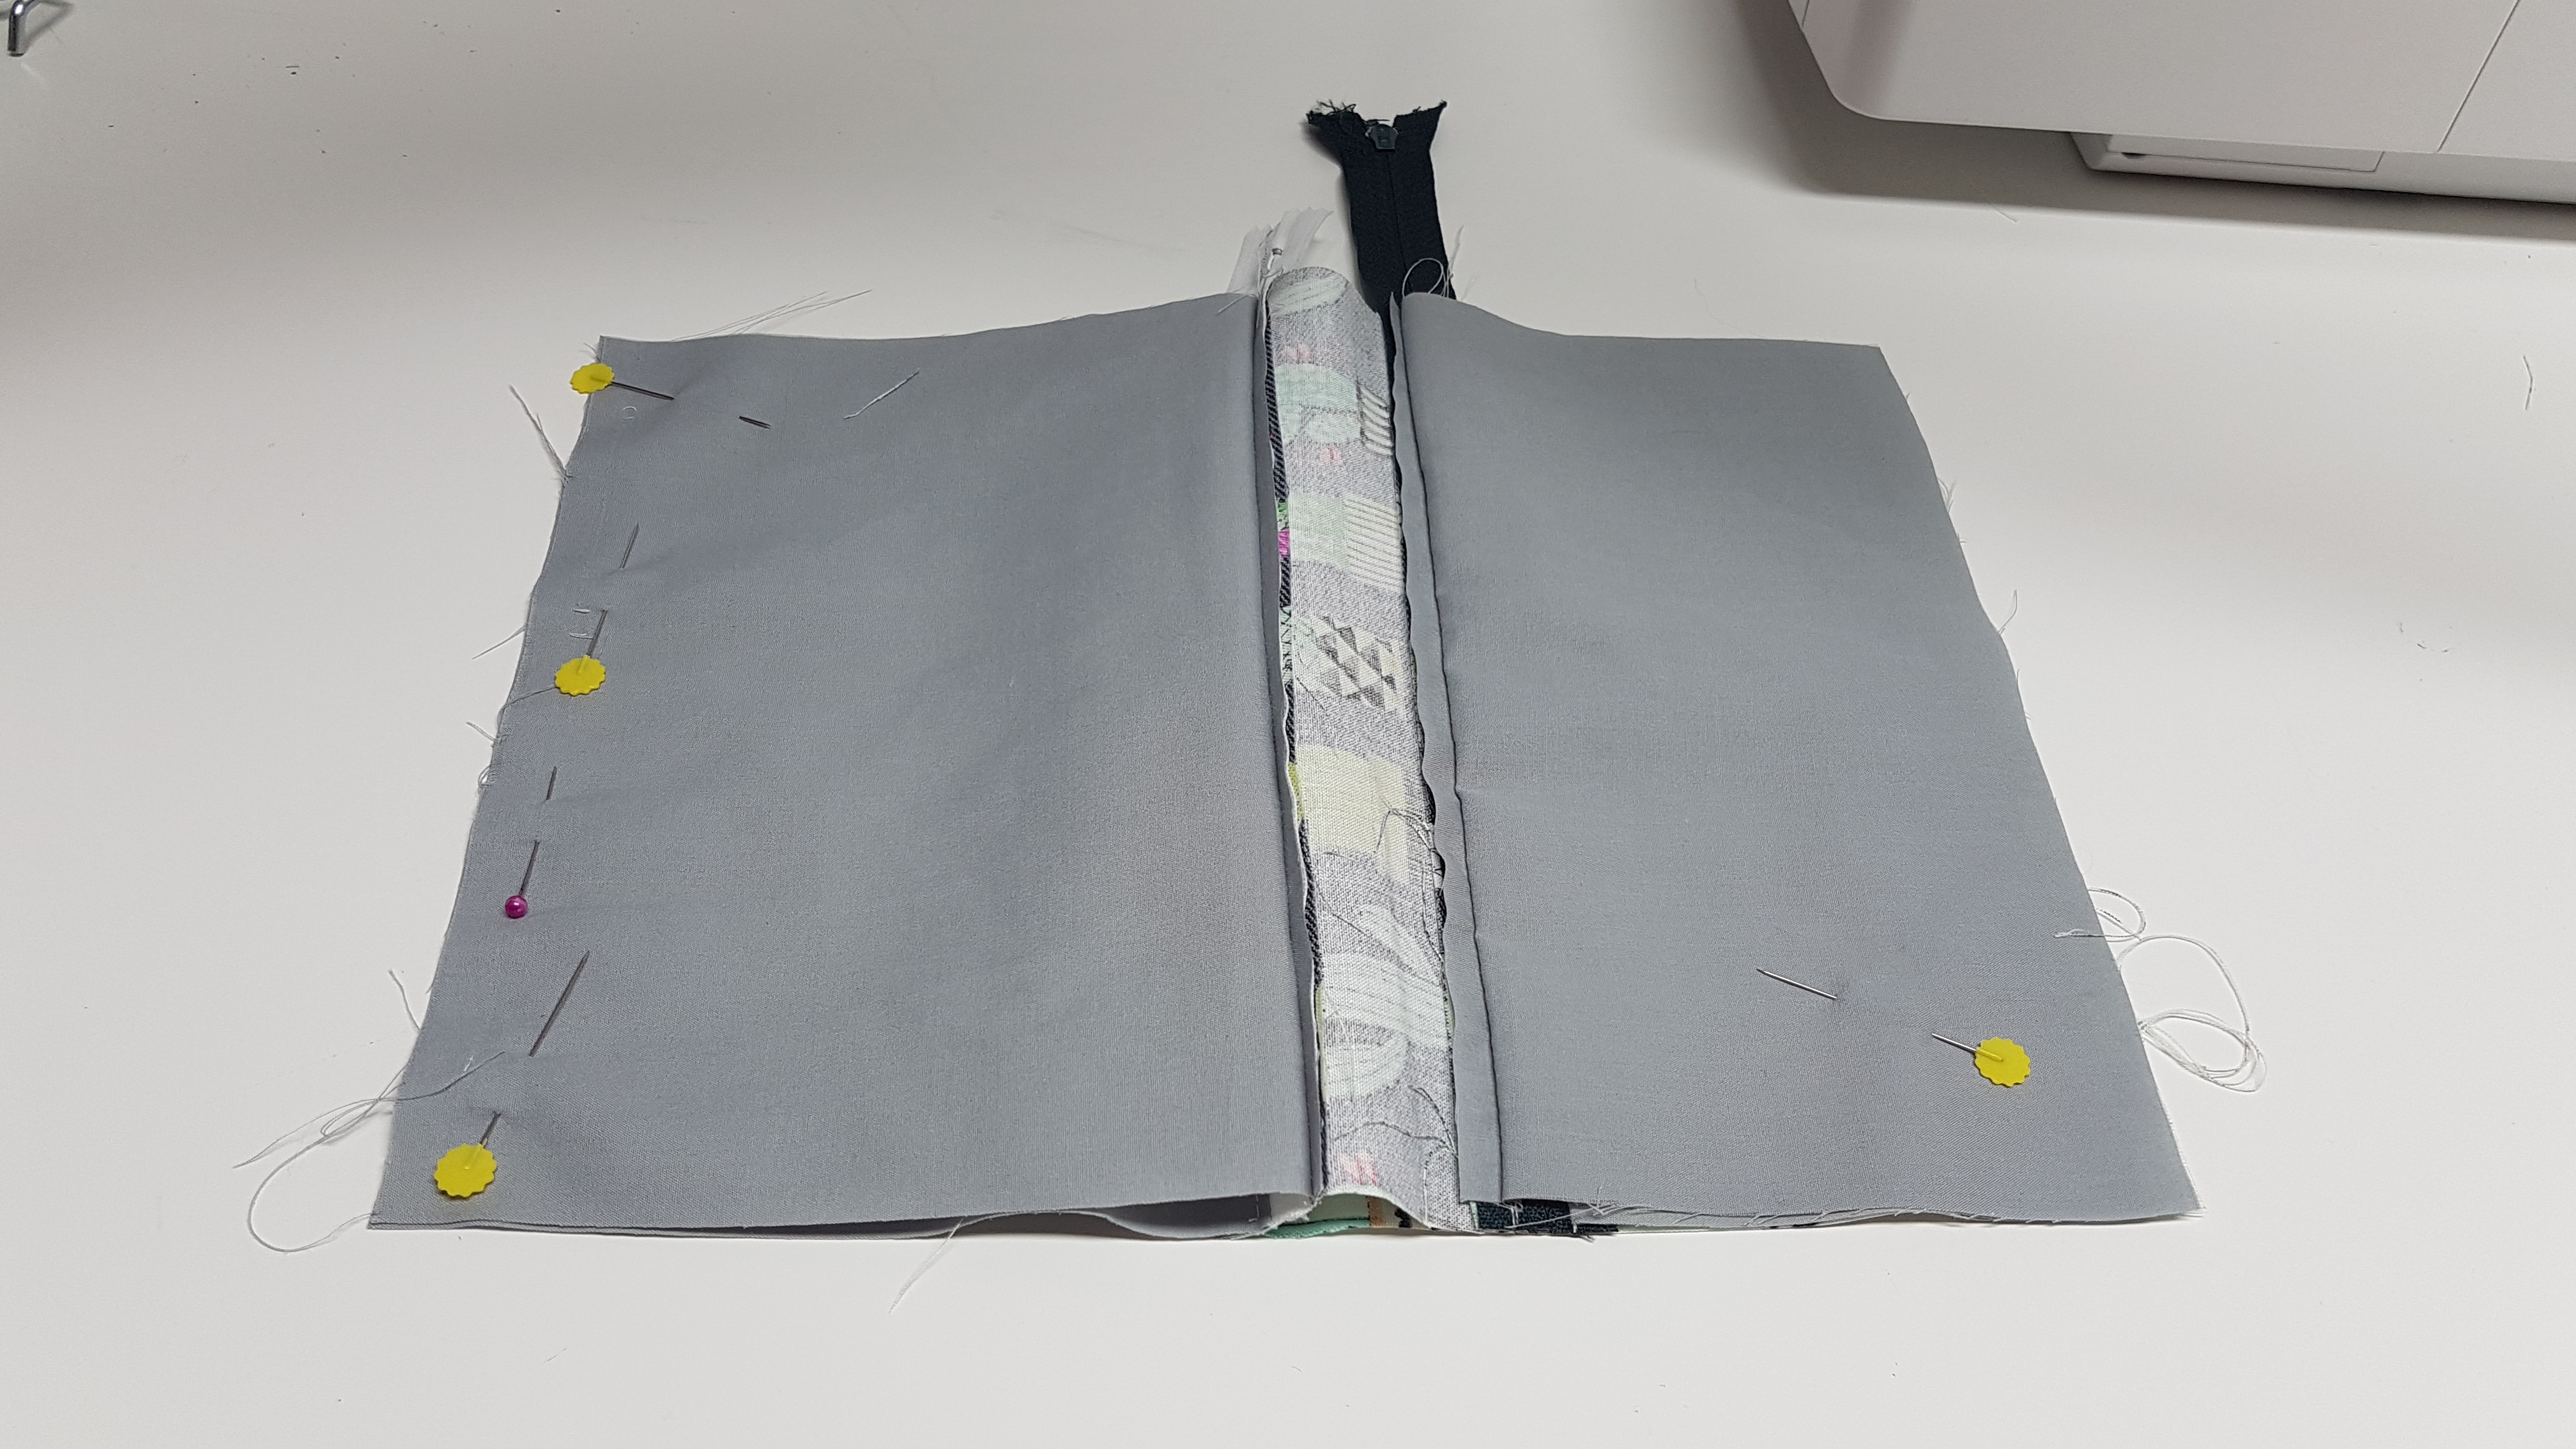
This is how it should look, the piece is inside out, if the fabric isnt lined up nicely you can square up the entire pouch before moving onto this step, i snipped off the excess zipper from the one side and squared up that edge in this photo.
We will leave a 4″ hole in the base of the lining, starting from the large lining pieces sew partially from the middle to the corner, down the edge over the zipper teeth down to the other corner, sew down the other side and back up the other side making sure you push the zipper pulls into the bag before you sew over the zipper teeth. sew back down and partially up the lining making sure there is a 4″ gap
Turn the bag right side out from the hole in the lining, you may need to reach in and undo the zipper more to be able to do this.
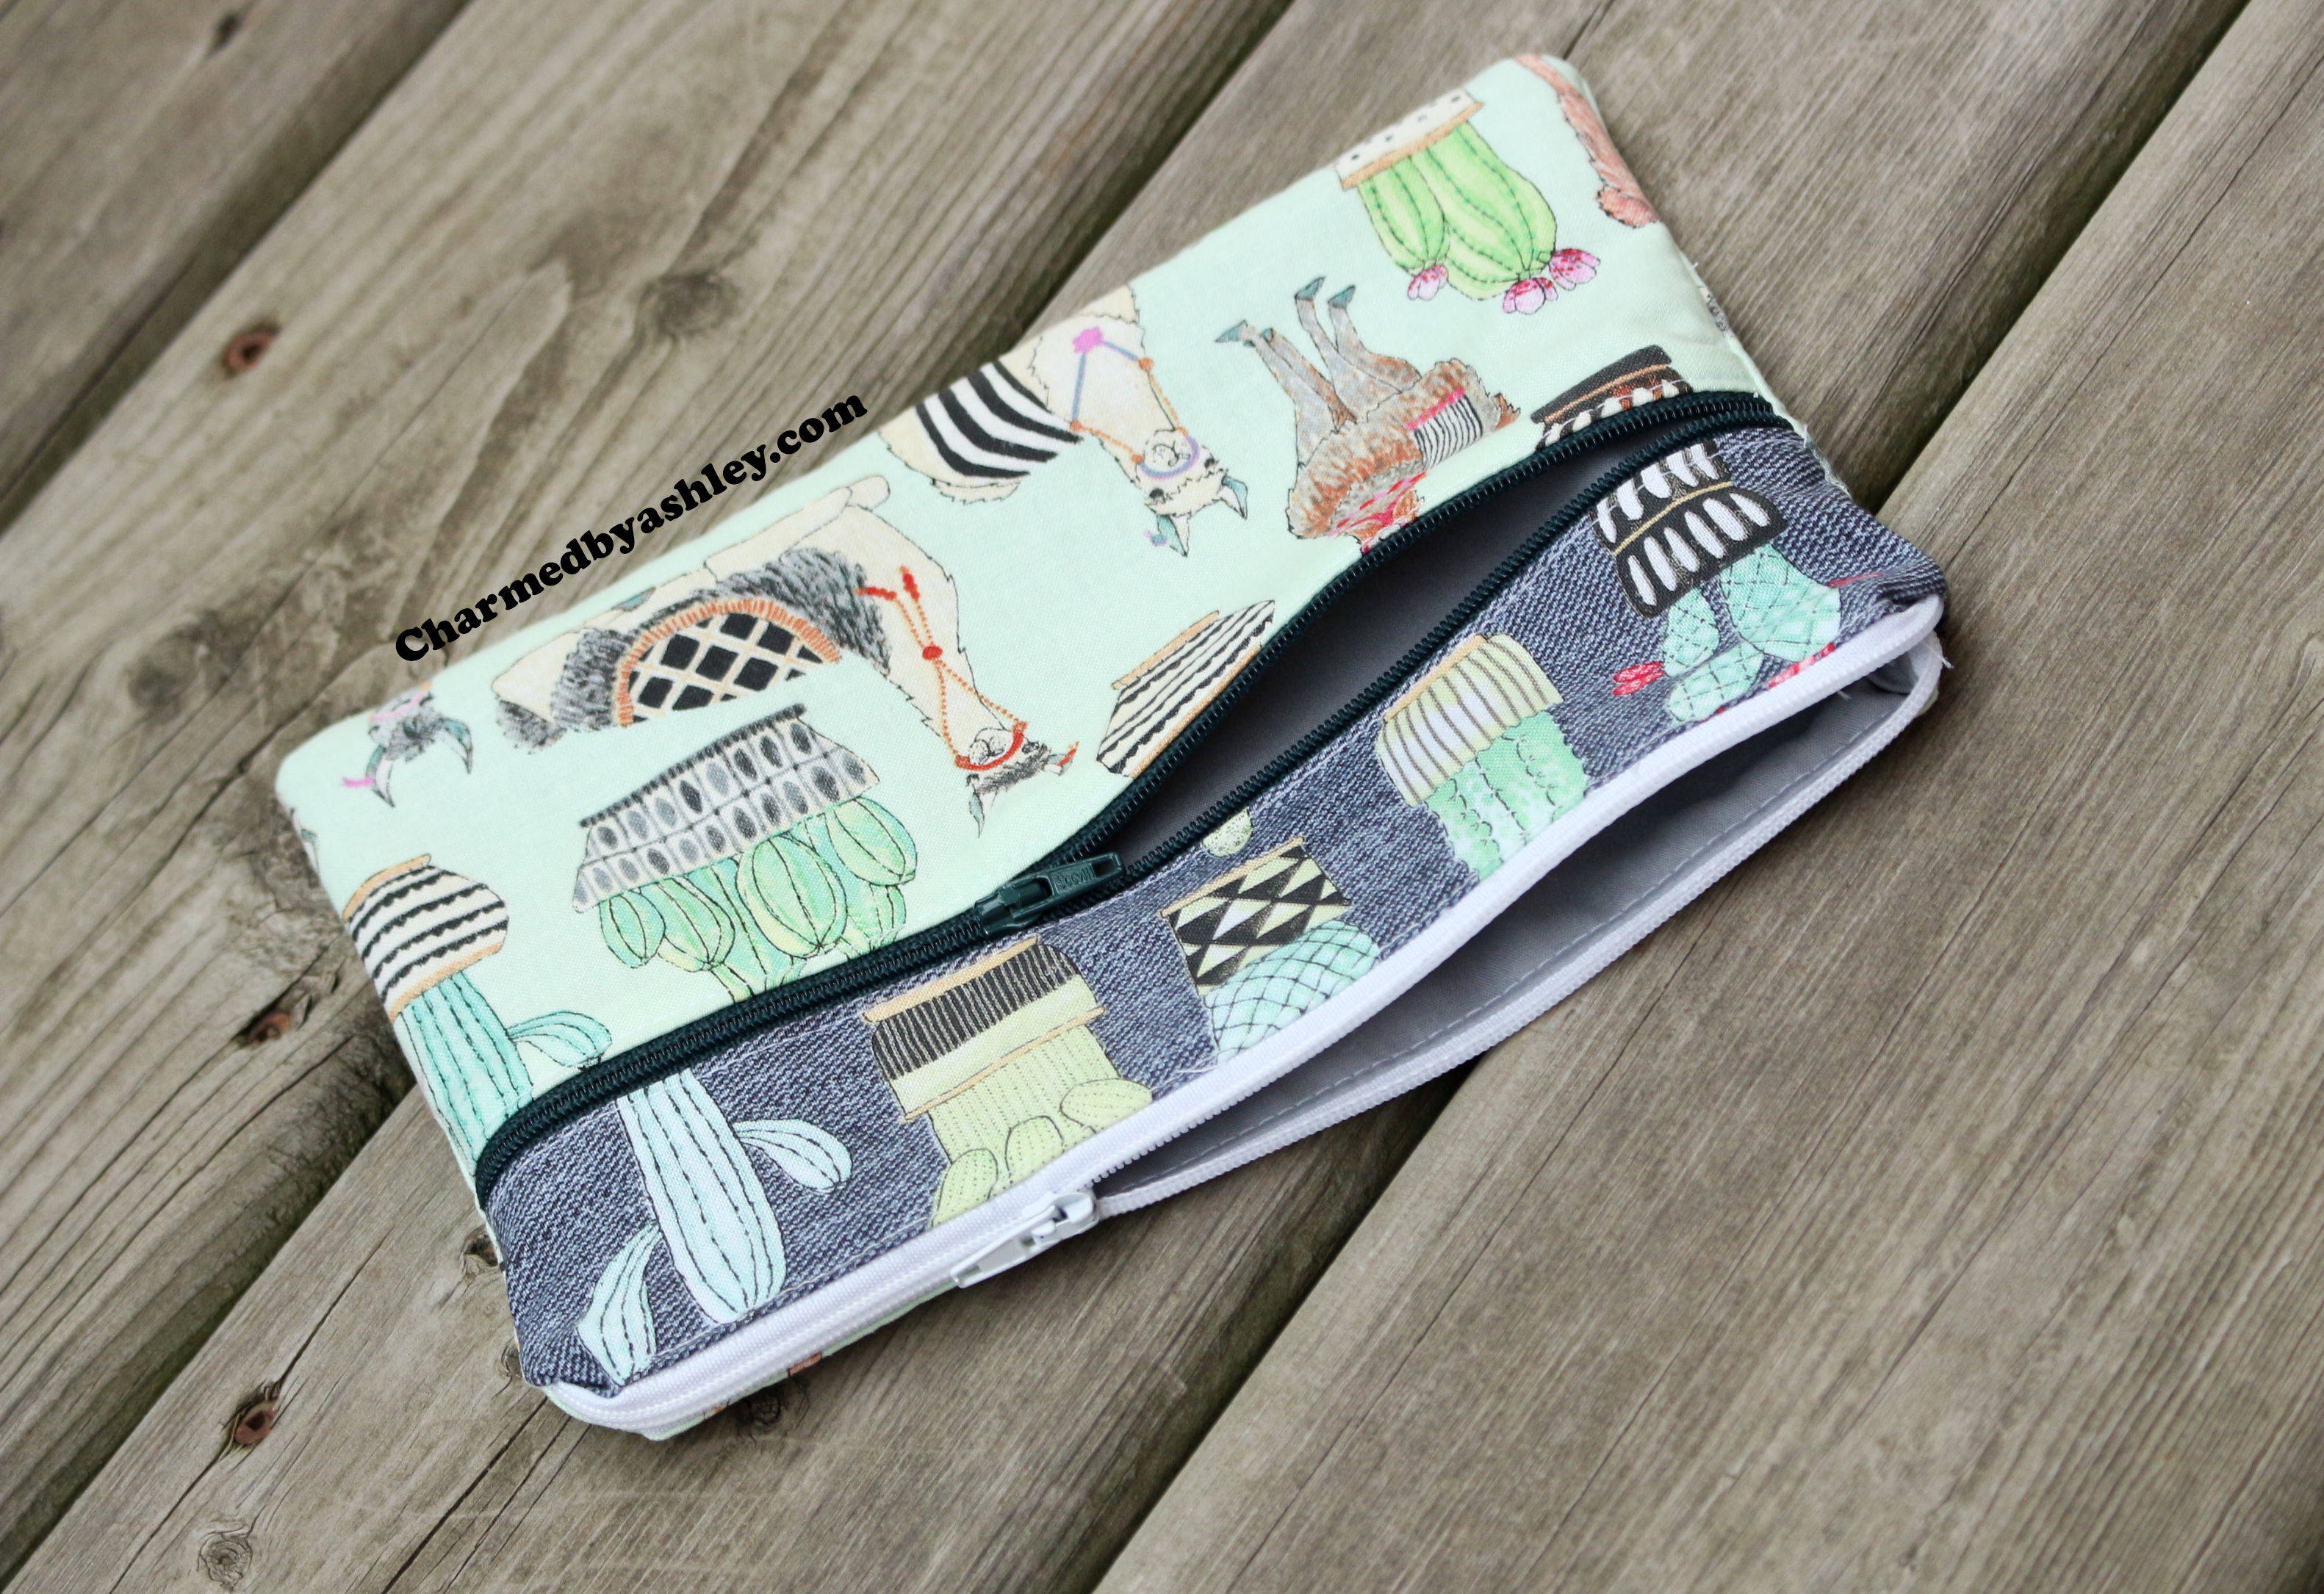
iron the bag flat and sew up the hole in the lining.


0 Comments