
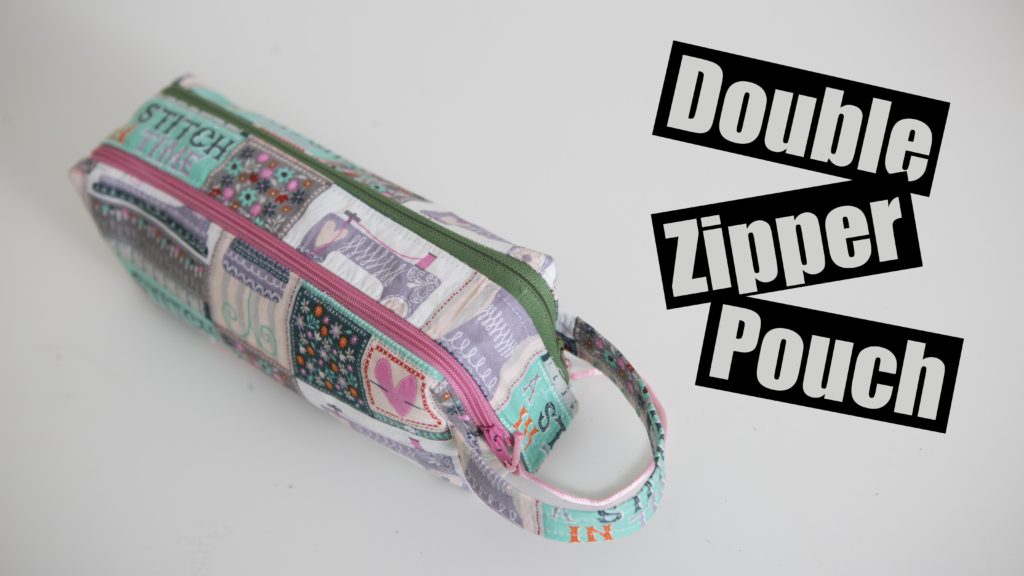
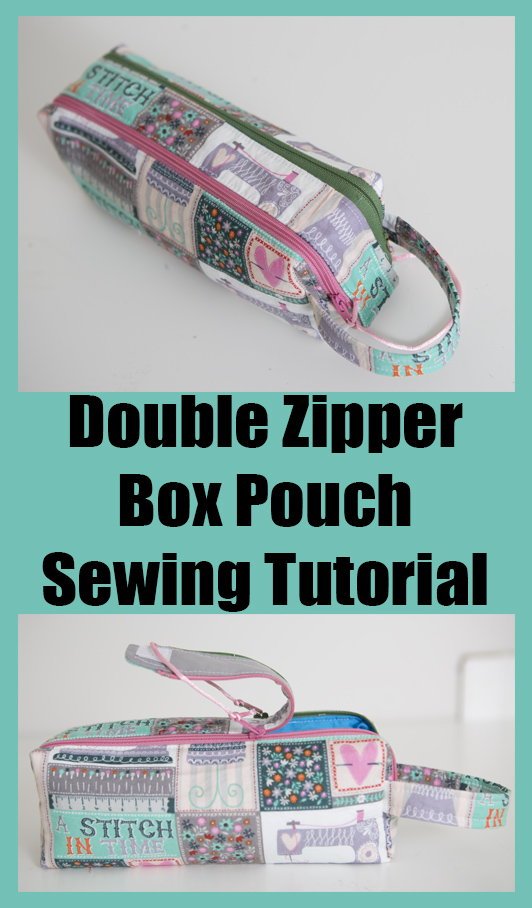
Welcome to the double zipper pouch tutorial!
In this post you will find the materials used, Free measurements for 2 sizes, the instructional video as well as photo tutorial.
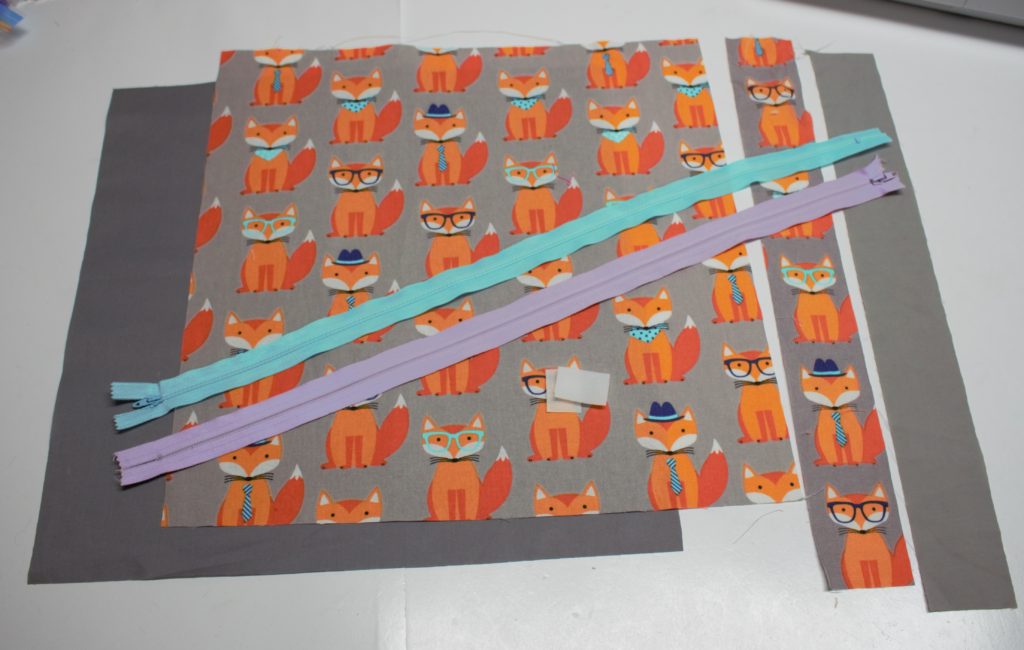
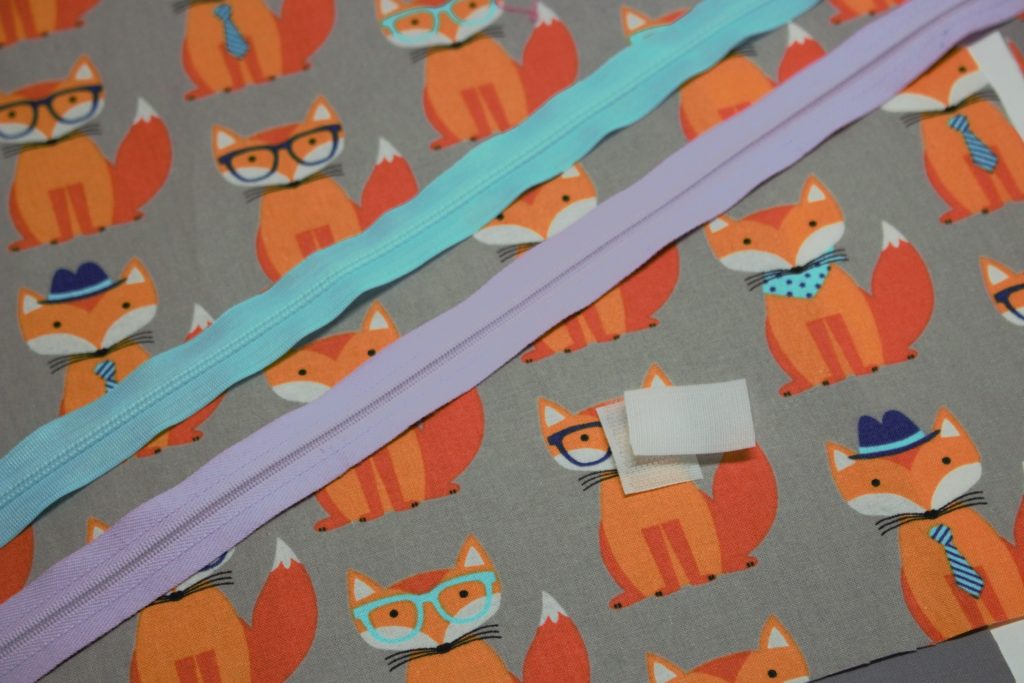
Materials
For this bag i recommend using a heavy to medium weight fabric, if you would like to use a cotton or lighter weight material Interfacing will be required to create stability and to help your bag maintain its shape.
For this bag i used Cotton fabric
Medium / heavy / fleece weight fusible interfacing.
Silk cord or a ribbon to tie the zipper pulls together.
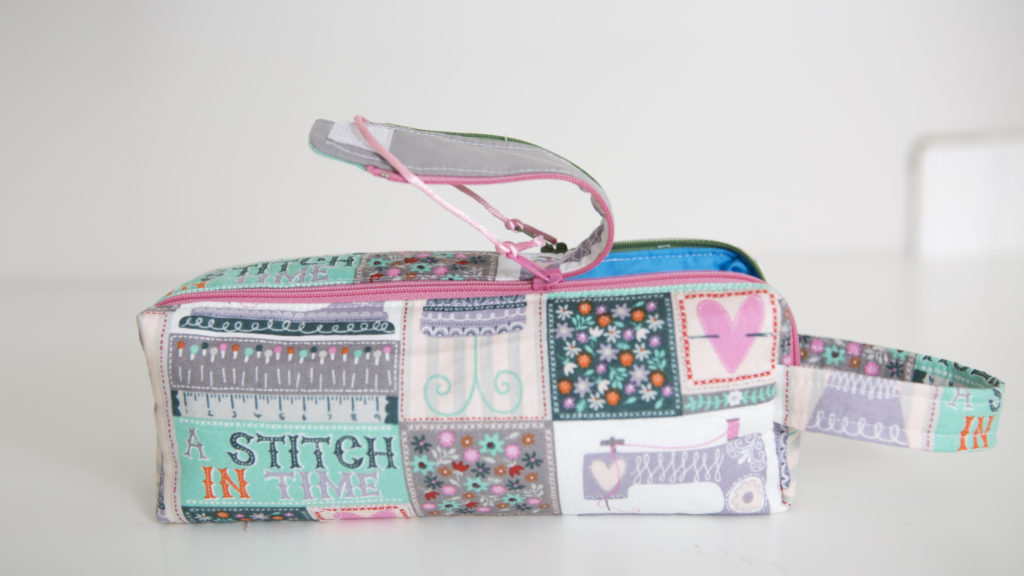
Measurements for the pencil case size
Outer fabric – Cut 1 – 10″ wide x 12″ Long
Inner fabric – Cut 1 – 10 x 12″ long
Outer fabric centre strip – Cut 1 – 13″ x 1 1/2″
Inner fabric centre strip – Cut 1 – 13″ x 1 1/2″
Optional Handle – 4″ x 10″ (to learn how to install a handle refer to the video tutorial posted)
Zipper – 14+ inches – 2 count
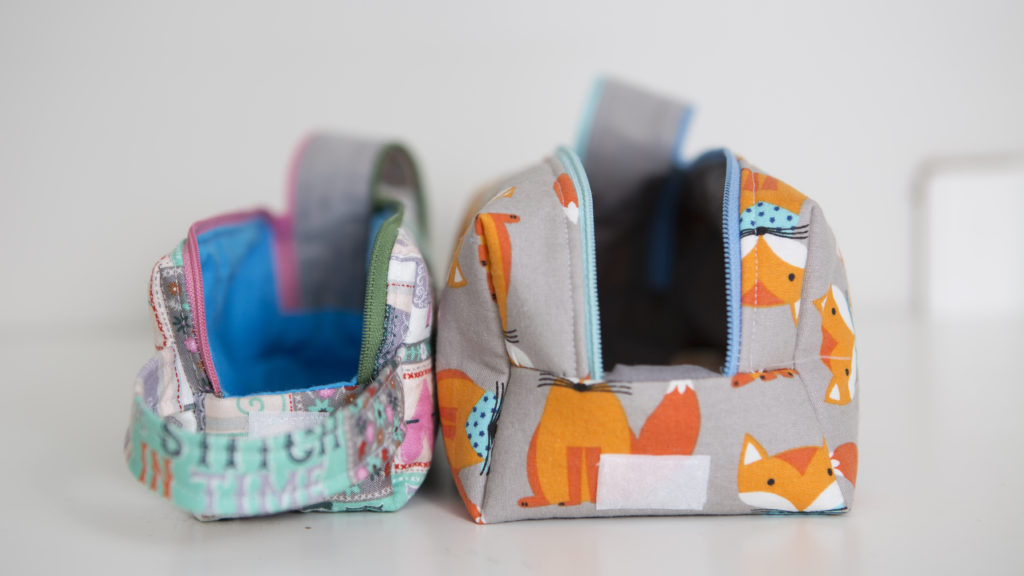
Finished measurements – 3″ x 3″ x 10″
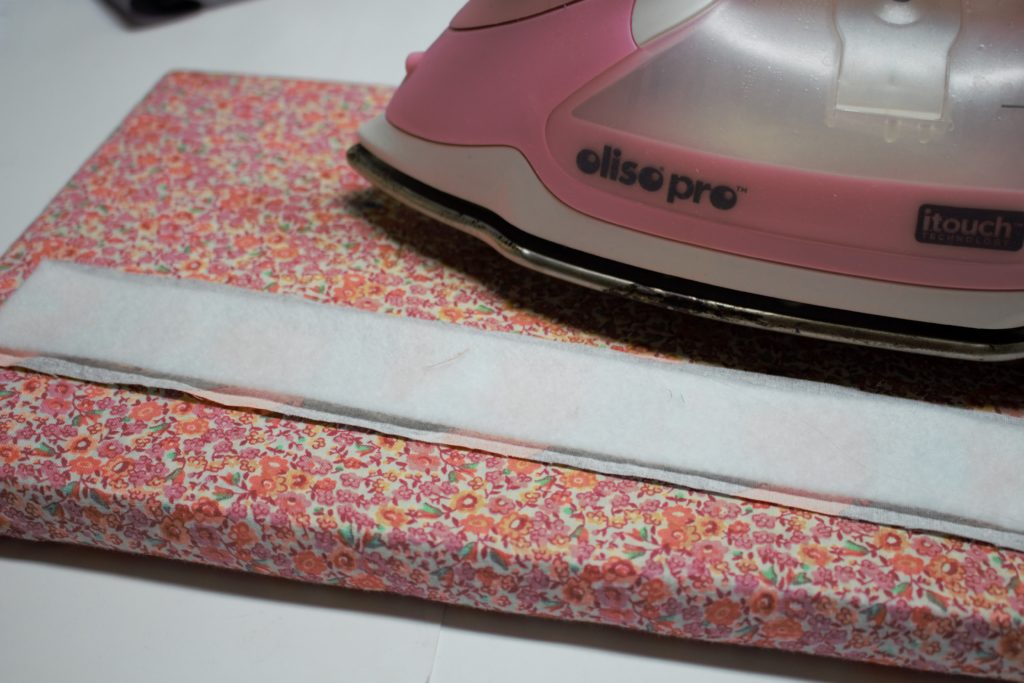
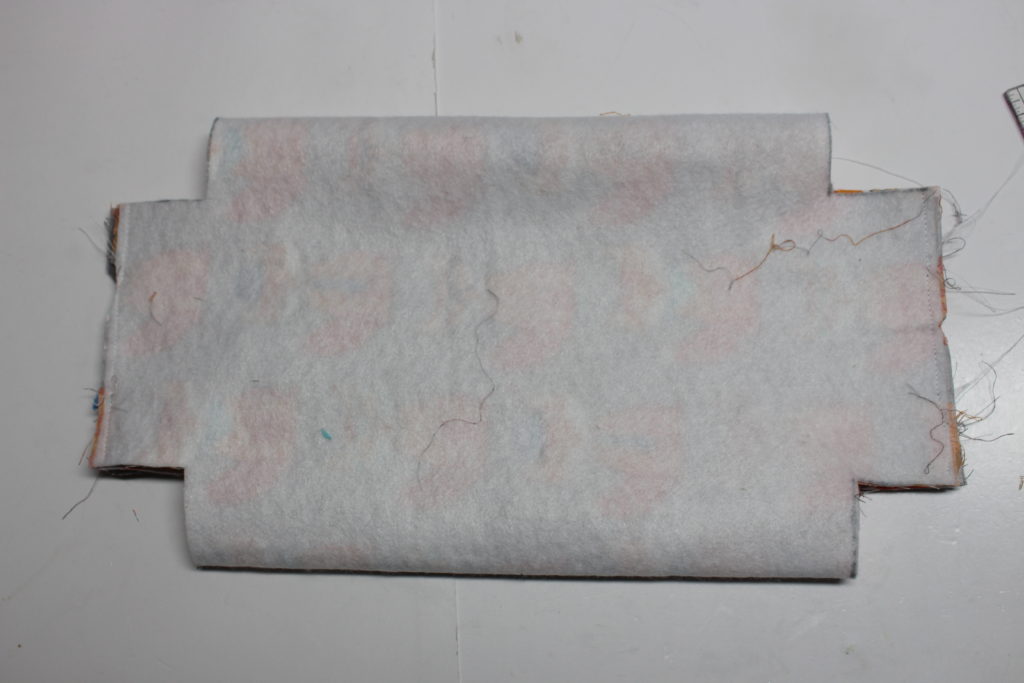
Step 1 Iron on any of your interfacing if your using cotton i would interface all pieces.
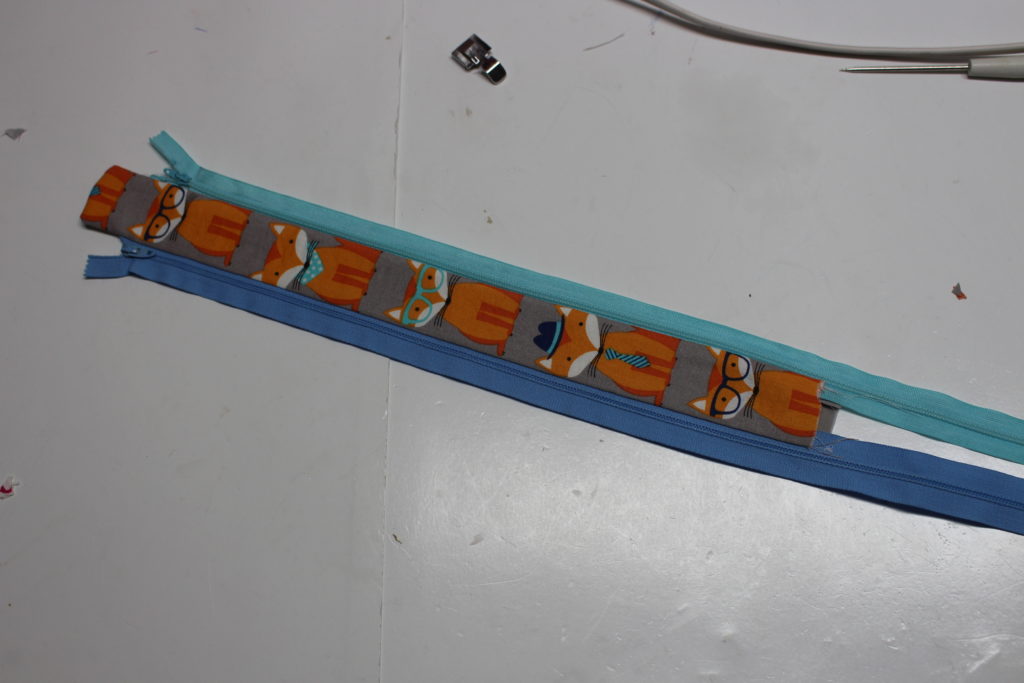
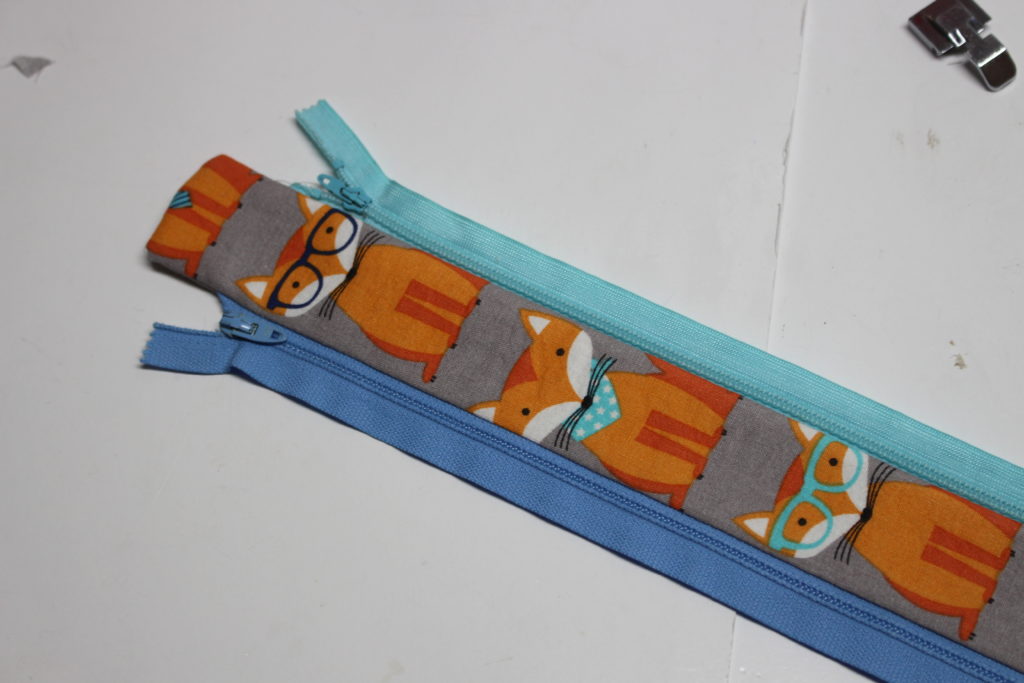
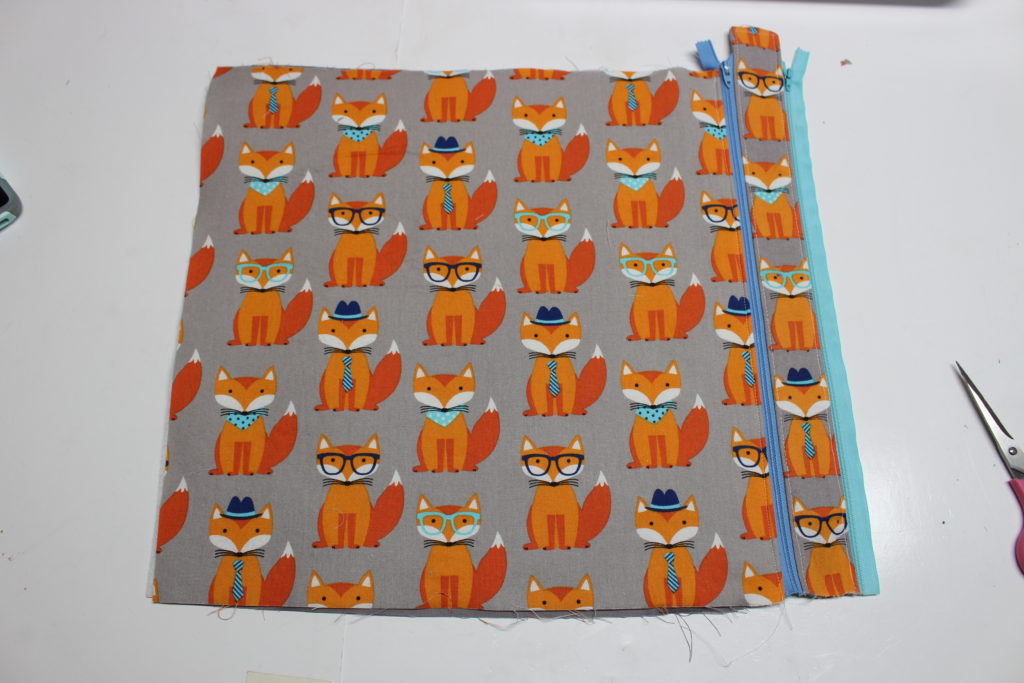
Step 2 – To start we will install the zippers, place on zipper with the zipper pull towards the outer fabric, sandwich between the outer and lining fabric with the right sides together, have your zipper stop about 1″ from the end as show in the photo, curl down the end towards the side of the fabric.
A closer look

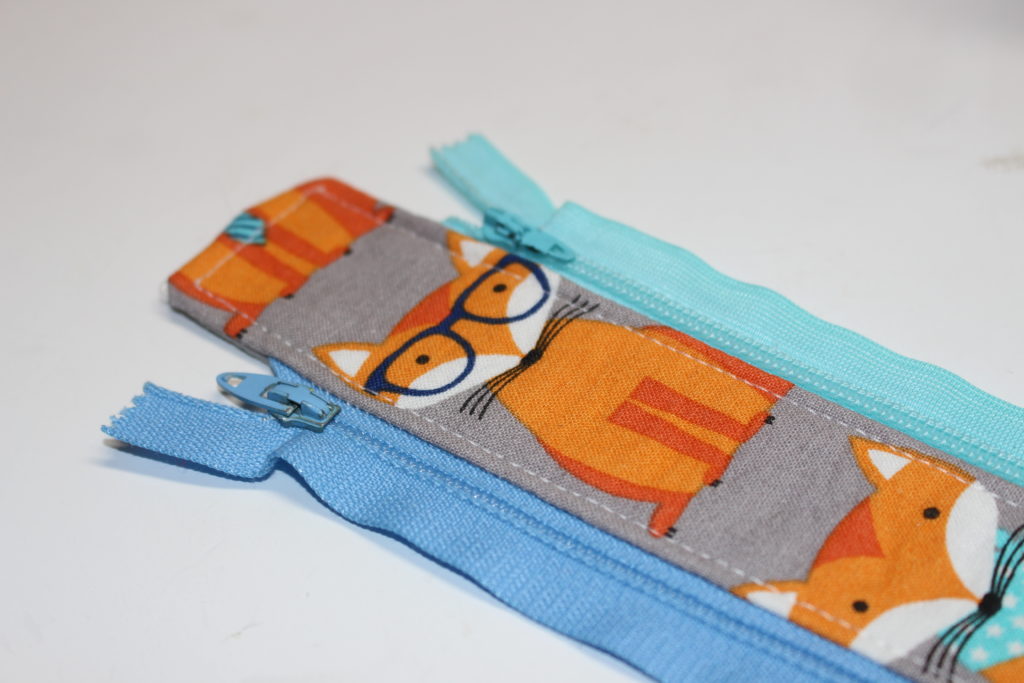
do the same with the other zipper on the opposite side, line up the zippers so they are even and again curl the end toward the side of the fabric
Sew down both long edges and the short end that has the zipper pulls.
flip this piece right side out
top stitch to finish it off
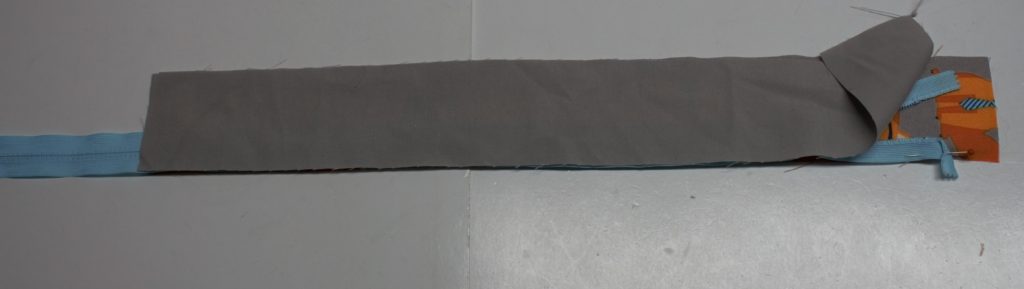
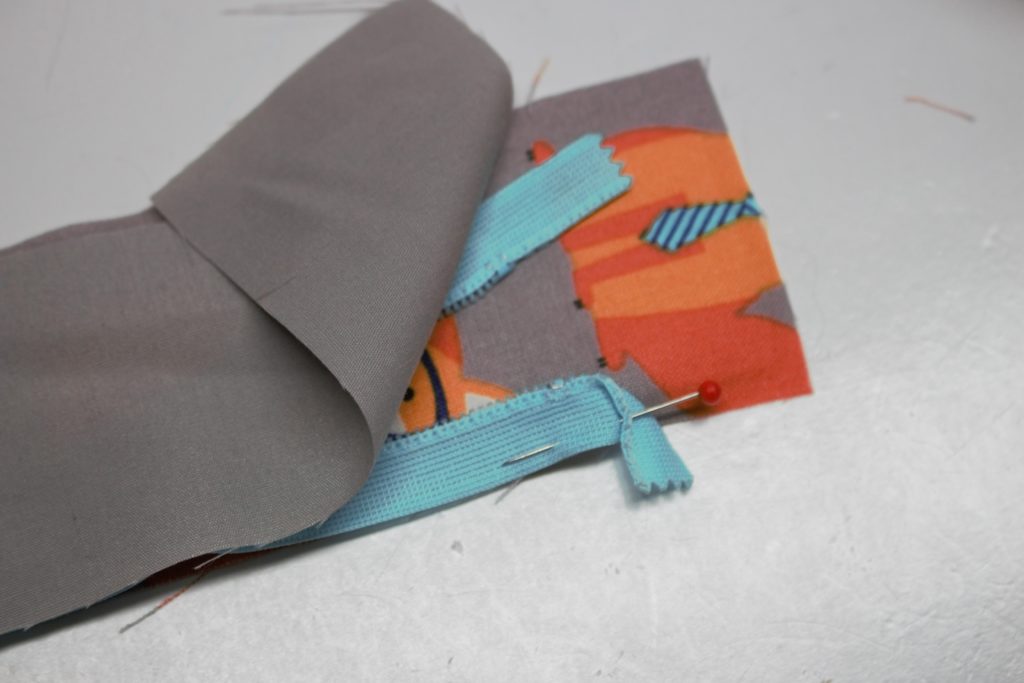
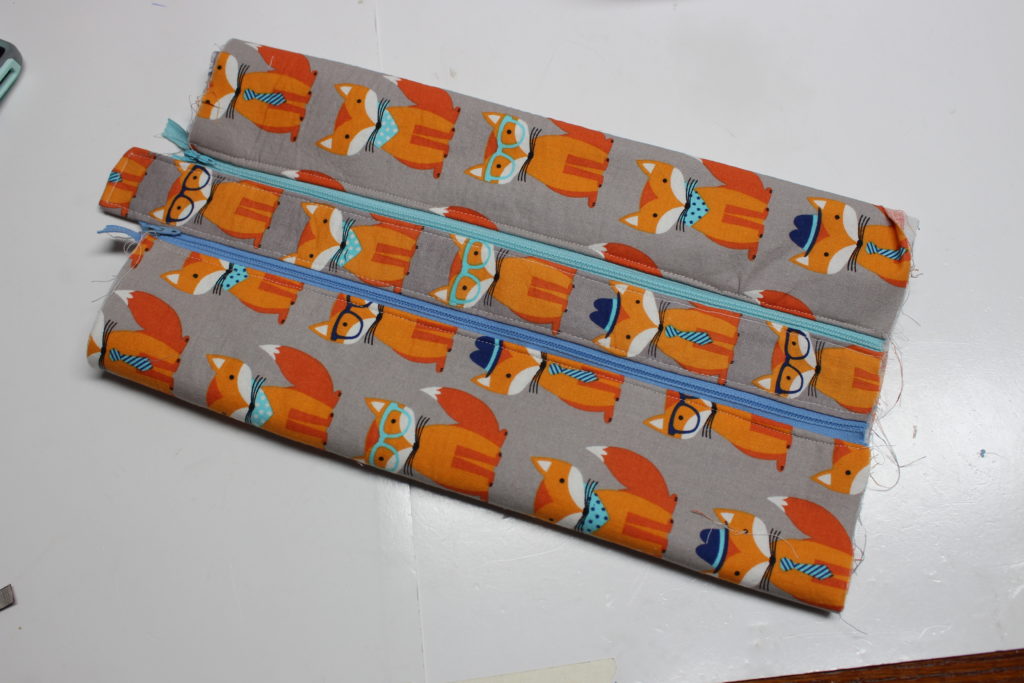
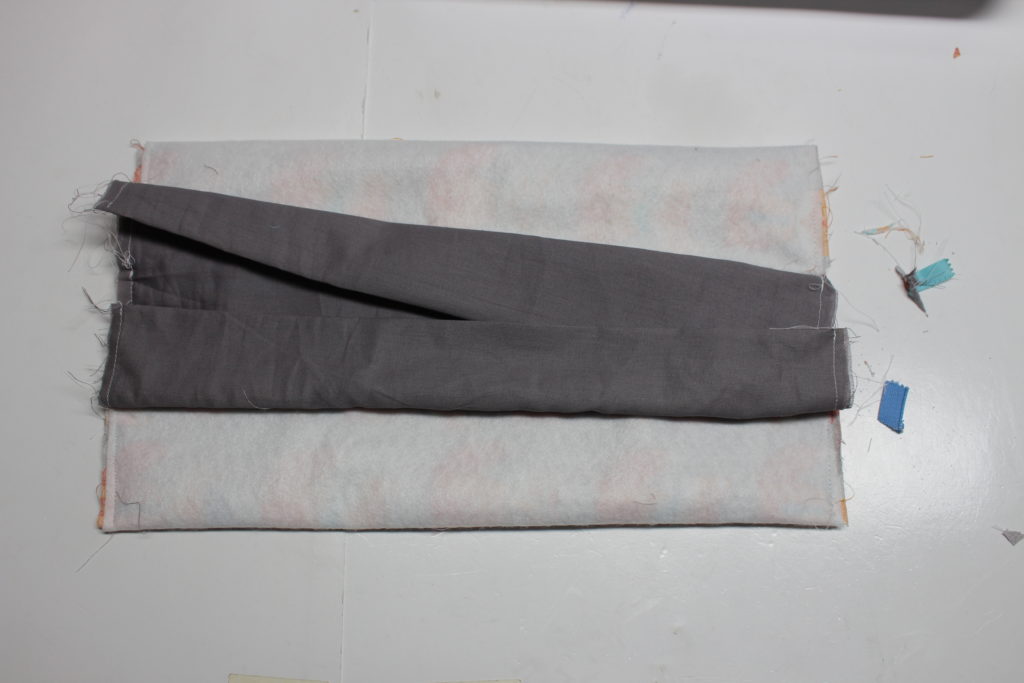
install that panel onto the two large pieces, line up the raw edge of the panel with the edge of the fabric allowing the over hand of the finished end.
place the centre panel with the right sides towards the outter fabric, sandwich with the lining fabric,
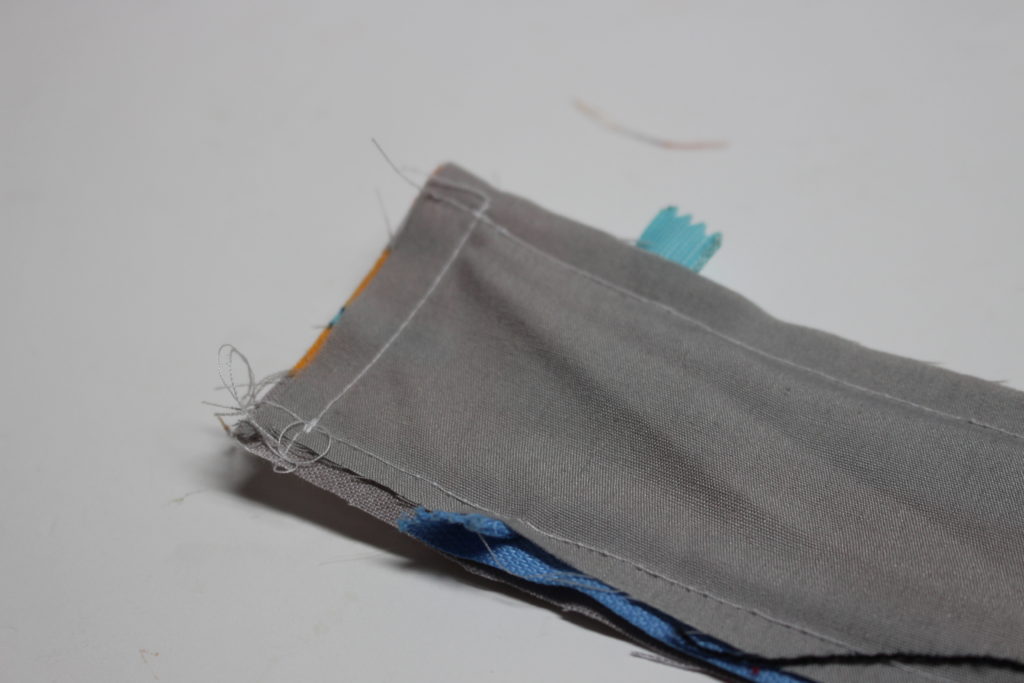
do a top stitch along the zipper
fold up the main fabric to the second zipper, flip and fold up the lining fabric to the second zipper lining up the raw edges, sew along the zipper. do a top stitch again, open up the zipper so you are able to put it in your sewing machine easier
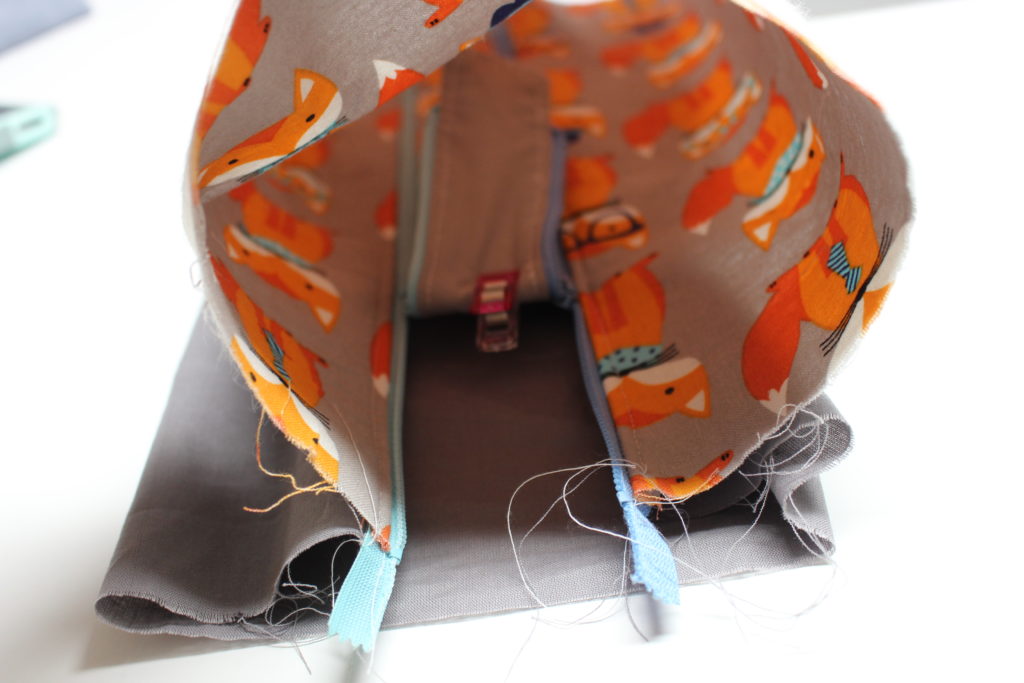
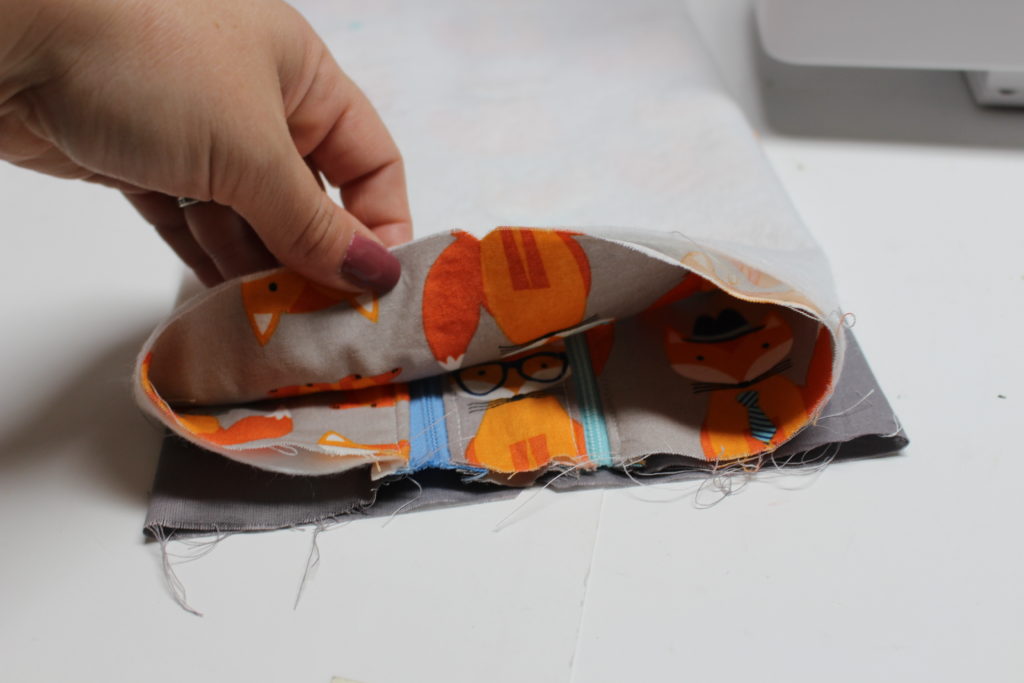
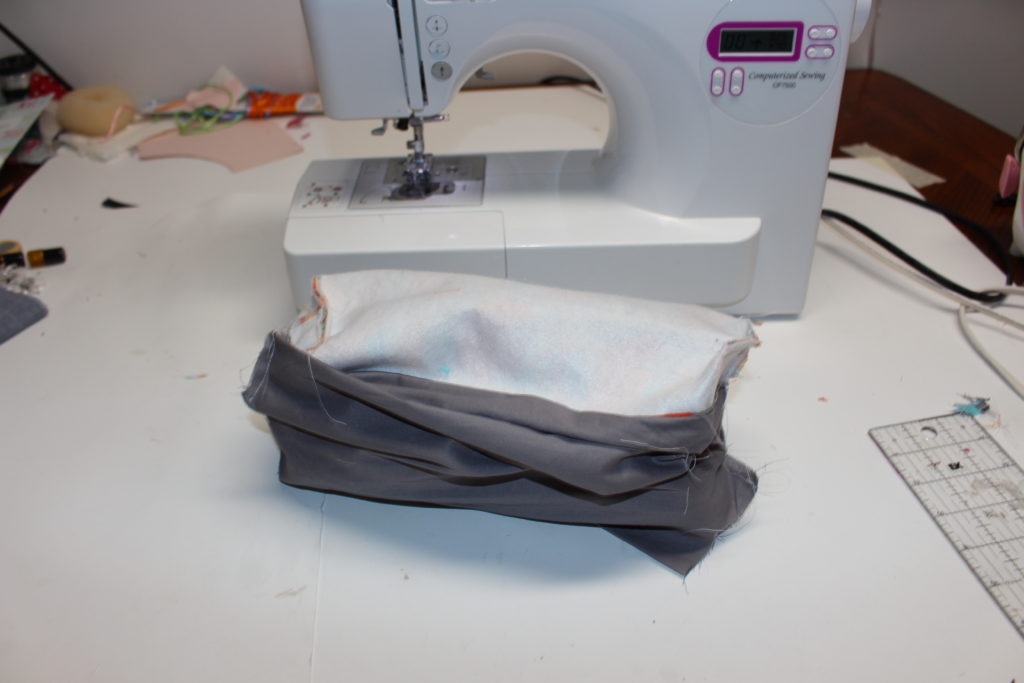
This is how it will look, now flip the bag inside out so the outer fabric is on one side of the zippers and the lining is on the other side.
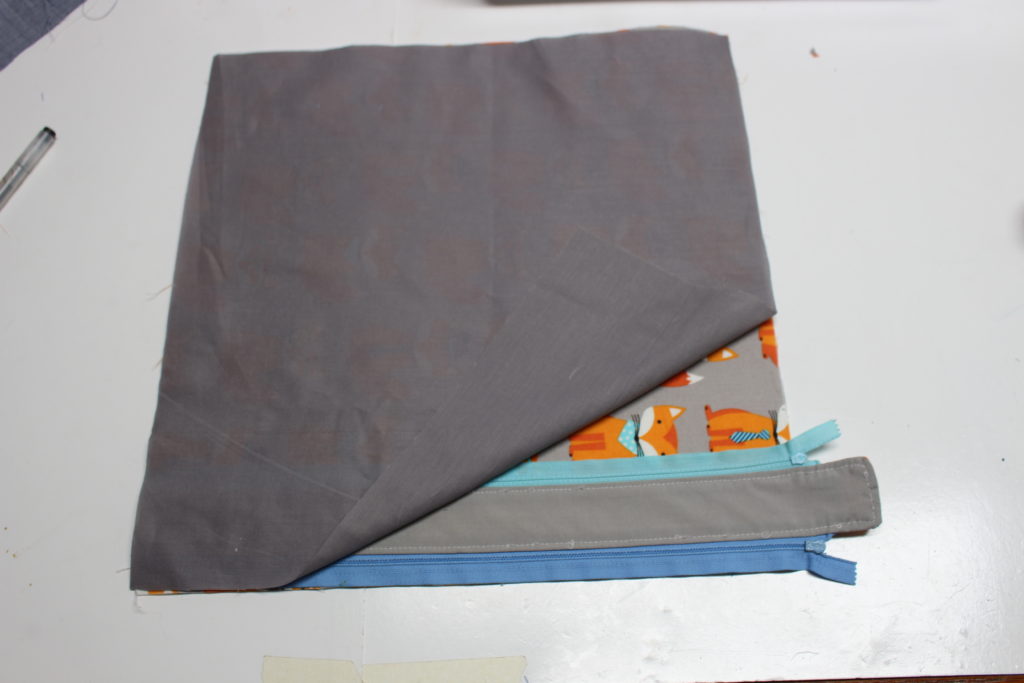
find the centre of the lining fabric and outer fabric by folding it in half. your going to flatten the bag lining up the centre of the zipper panel and the outer and lining fabrics.
for the end with the finished end fold that in to the inside so you dont sew over it
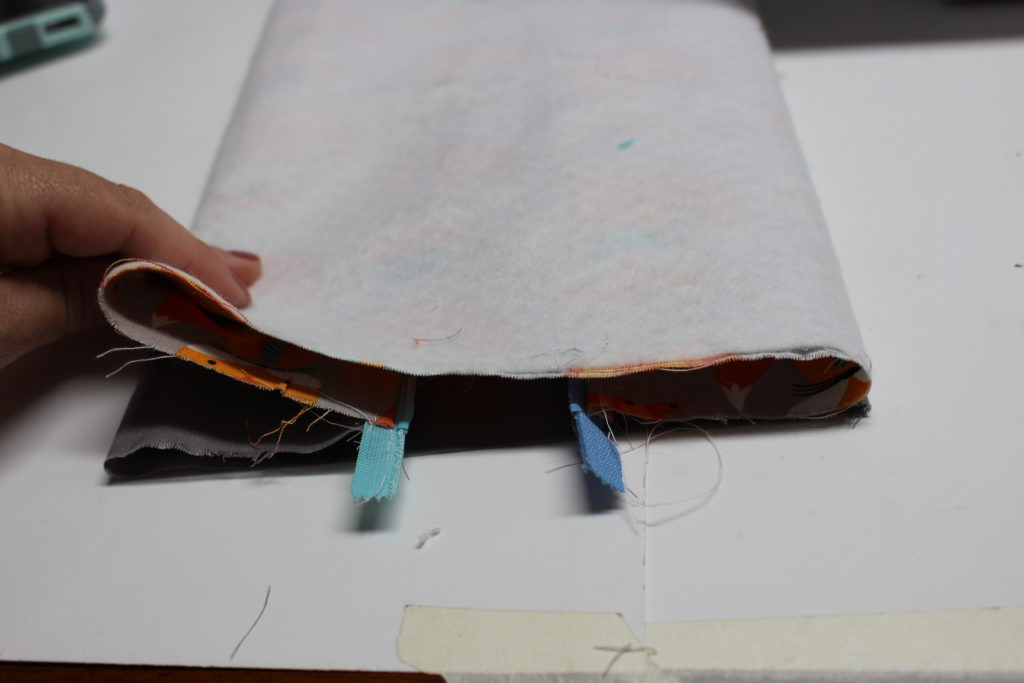
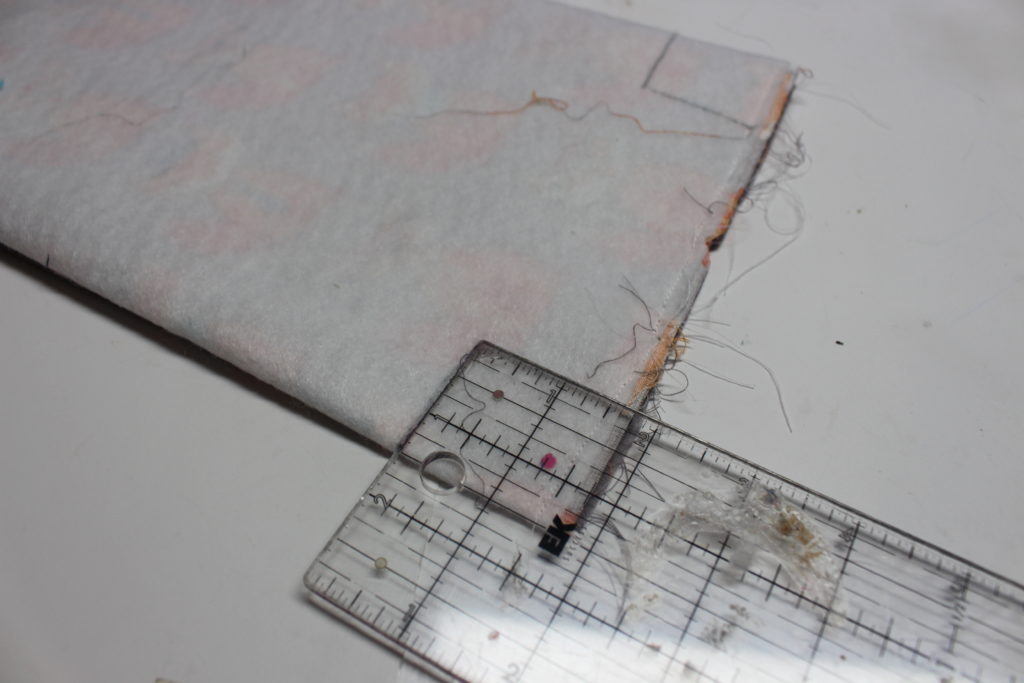
I cut some notches in my fabric to mark the centre.
place clips so there is no shifting during the sewing process
This might be hard to explain and i do recommend watching the tutorial for a better understanding.
‘first – sew in the centre from zipper to zipper, sew over the zipper teeth and then stop.
second sew the outer fabric to the zipper and stop,
third sew the other outer fabric to the zipper and stop
fourth sew the lining to the zipper and stop
fifth sew the other lining to the zipper and stop.
Do this for both ends.
ues a 1/4″ seam allowance
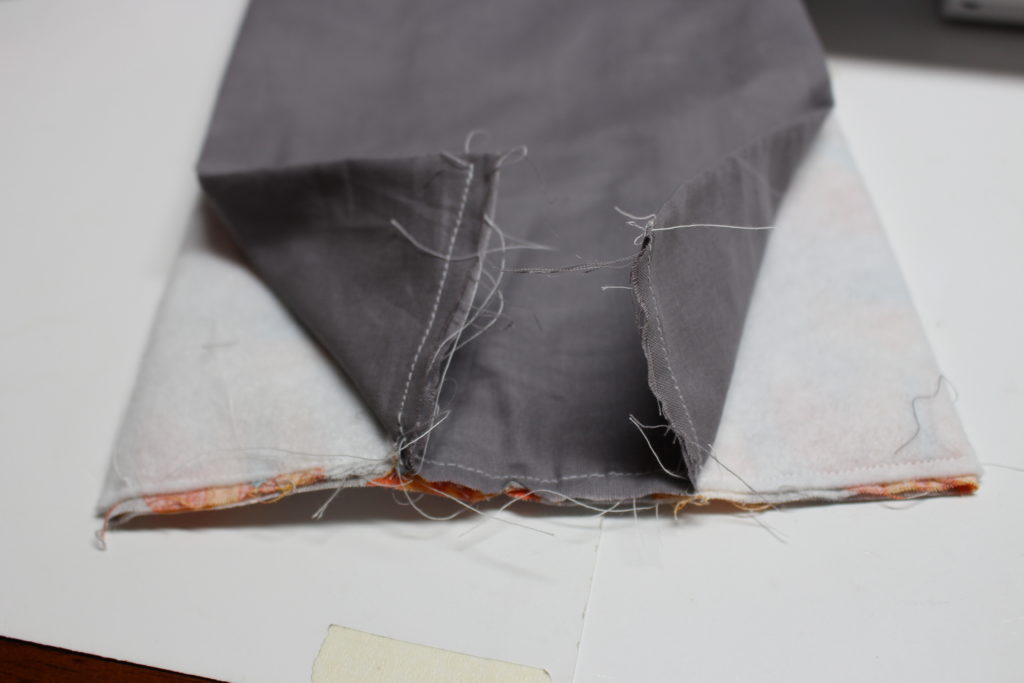
now we will cut notches into the 4 corners, for the Small pouch cute 1″ x 1″ notches, for the larger pouch cut 1 1/2″ x 1 1/2″ notches
Cut the notches
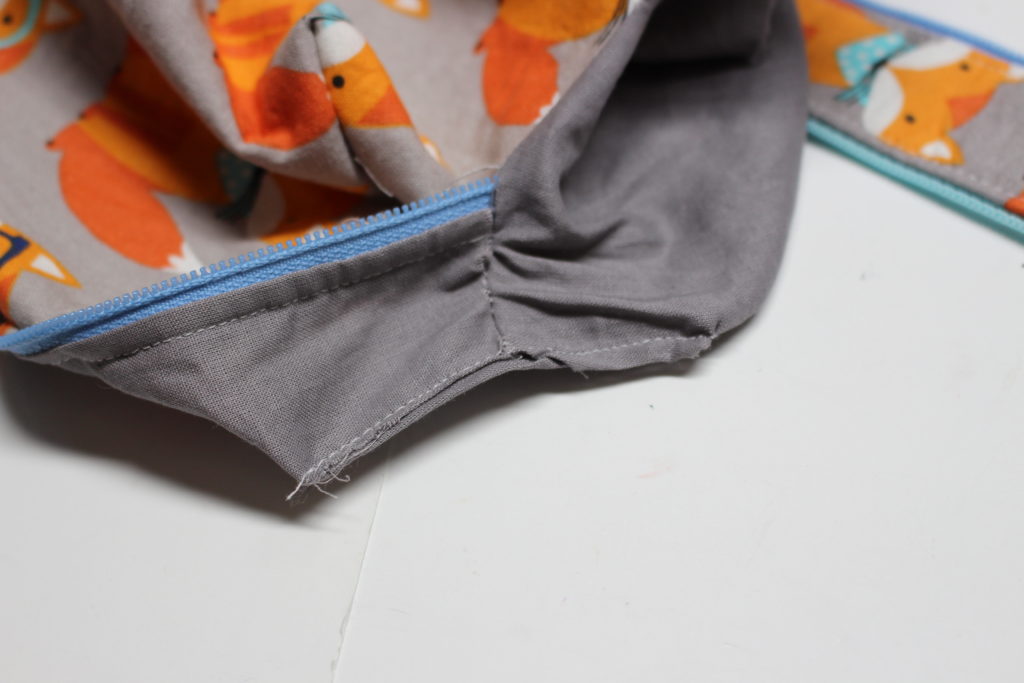
for each notches (total of 8) fold down the notch to line up the seam with the centre
sew a quarter inch seam allowance to close up 7 of the 8 notches, leave 1 lining hole open.

turn your bag right side out using the last hole in your lining.
mind my messy table haha!

do a top stitch to close up that hole or do an invisible stitch by hand.
stick some velcro on the finish end of your zipper tab and then on the side of the bag.
Measurements for the larger size
Outer fabric – Cut 1 – 16″ wide x 14″ Long
Inner fabric – Cut 1 – 16 x 14″ long
Outer fabric centre strip – Cut 1 – 15″ x 2 1/2″
Inner fabric centre strip – Cut 1 – 15″ x 2 1/2″
Optional Handle – 4″ x 10″ (to learn how to install a handle refer to the video tutorial posted)
Zipper – 14+ inches – 2 count
Finished measurements – 4″ x 4″ x 10″
tie a ribbon or cord to your two zippers for easy opening and closing.
Some links are affiliate links to help support this blog and keep my tutorials free


0 Comments